
In this how-to we will be using Puppeteer, a headless Google Chrome instance, to make animated GIFs of user interactions with websites.
For the purposes of this tutorial we will only use scrolling, but with Puppeteer the possibilities are only limited to your imagination. Let's get started!
The first step is to make sure you have nodeJS installed. Open your terminal of choice and type:
node --version

Any node version above 8 should work for this tutorial. If you don't have node installed yet, head over to https://nodejs.org/ and download the most recent version.
Let's go ahead and create our working directory. I'll call mine puppeteer-gif-caster but you can name yours anything you want.
mkdir puppeteer-gif-caster
cd puppeteer-gif-caster
We also need to initiate our NodeJS project. Let's take the quick approach and accept all the defaults provided to us by node:
npm init -y

The defaults for node use index.js as its entry point for this project, so let's go ahead and create that file as well!
touch index.js
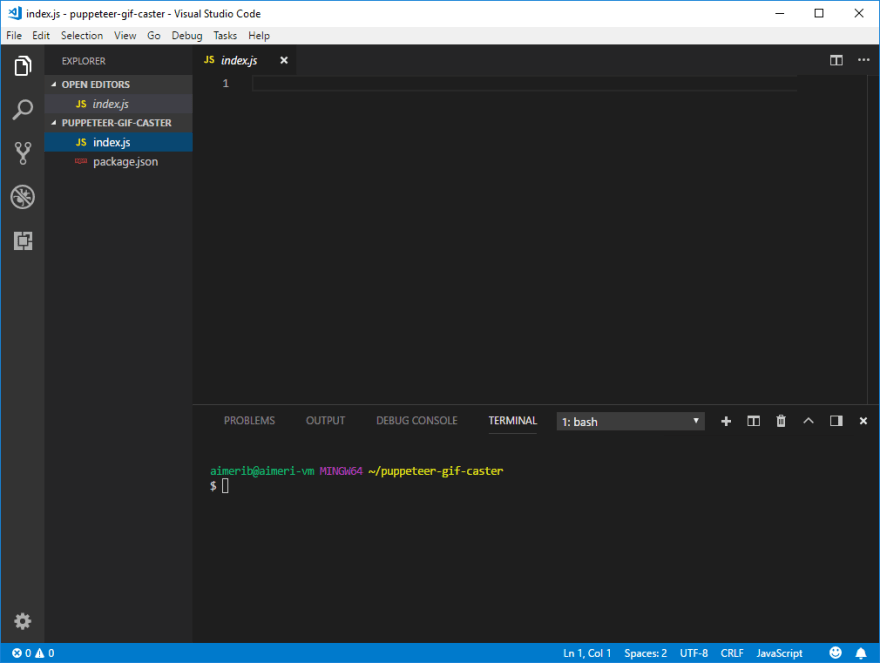
Now we can open this file using our preferred code editor. I'll be using Microsoft's VS Code, but feel free to use your editor of choice.
code .
Next thing we need to do is to install our dependencies for this project. For this particular tutorial we will use the following npm packages:
- puppeteer
- gif-encoder (the library we are using to create a gif from the screenshots taken by puppeteer)
- get-pixels (gif-encoder expects an array of pixels to buffer each of the frames. This library returns the pixel arrays of pngs, bmps, and jpegs)
Go ahead and install them by running:
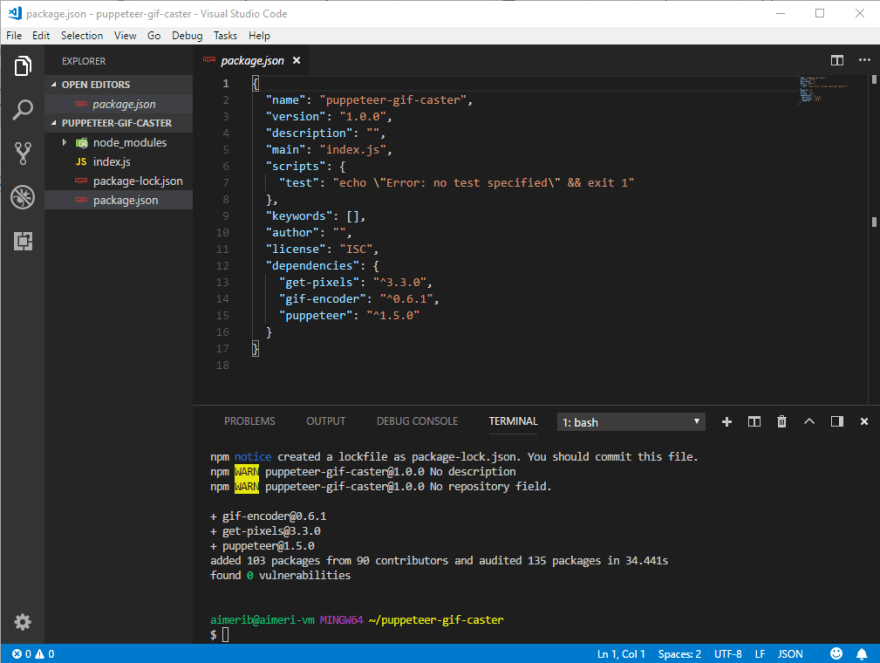
npm install puppeteer gif-encoder get-pixels
This process will take a little while to complete. Once it's completed open your package.json and check that the dependencies are now listed under the appropriate section:
Ok, we are finally ready to start coding! Since this project is just meant as an example we will be coding our gif caster inside an IIFE (Immediately invoked function expression), meaning that all the code inside this function will be invoked when we run our file using node. The signature of an IIFE is:
(function())();
This would be equivalent of writing your code like this:
myFunction() {
    //code goes here
};

myFunction();
Let's start by declaring your constants and variables and instantiating our dependencies:
const puppeteer = require('puppeteer');
const GIFEncoder = require('gif-encoder');
const fs = require('fs'); /* we will need access to the file system. Fortunately
Node allows us to do that by using the file system library out of the box, hence
why we didn't need to install it with npm.*/
const getPixels = require('get-pixels');

const encoder = new GIFEncoder(width, height);
const workDir = './temp/'; /* we will create a temporary folder to work with
puppeteer's screenshots until we export the gif image. */
const file = require('fs').createWriteStream('mygif.gif'); /* we will need a
stream to add the frames of the gift to, so let's go ahead and create a write
stream using the fs library. */
It's a good idea to check and make sure that our working directory exists first, and if not, we should create it:
if (!fs.existsSync(workDir)) {
  fs.mkdirSync(workDir);
};
We also need to configure our gif encoder with the parameters it will use when creating our gif. Let's go ahead and do that now:
encoder.setFrameRate(60);
encoder.pipe(file); /* we will pipe the encoded pictures into the stream we
created earlier */
encoder.setQuality(40); /* the quality ranges from 10 to 90 with 10 being the
highest */
encoder.setDelay(500);
encoder.writeHeader();
encoder.setRepeat(0); /* how many times the gif will loop. 0 is infinite loop. */

/* Let's go ahead and start puppeteer and have it ready for our screenshot request */
const browser = await puppeteer.launch({ headless: true });
const page = await browser.newPage();
You can read more about the specific settings for each parameter by checking gif-encoder's github documentation: https://github.com/twolfson/gif-encoder
At this point we are almost ready to get started! We just need a few helper functions to help us handle adding each screenshot as a frame in our gif, and cleaning up the screenshot files after we've created our gifs. Let's do that now.
I will start with the addToGif() function since this is the more involved function. addToGif() takes two parameters: an array of pictures and a counter (since we will be recurring through this function until all the images in the array have been added to the gif). Let's declare that function:
function addToGif(images, counter = 0) {

};
Next we need to call getPixels() to extract the array of pixels from each screenshot we will create. getPixels() expects two parameters: a single image, and a callback function that handles the pixels extracted and any errors received in the process. Let's pass the images from our array to getPixels():
function addToGif(images, counter = 0) {
  getPixels(images[counter], function (err, pixels) {

  });
};
Two main things need to happen in the callback function: We need to add the pixels to the gif encoder, and we need to check whether we have added all the pictures in the array yet or not. Thanks to getPixels() adding the frame to our gif becomes as easy as just passing the pixel data to our encoder:
function addToGif(images, counter = 0) {
  getPixels(images[counter], function (err, pixels) {
    encoder.addFrame(pixels.data);
    encoder.read();
  });
};
Now we need to check whether or not our counter has the same size of the number of items in our images array (-1 since arrays start at 0), and if so we need to tell the encoder we are done, otherwise we need to increase the counter and call the addToGif() function again:
function addToGif(images, counter = 0) {
  getPixels(images[counter], function (err, pixels) {
    encoder.addFrame(pixels.data);
    encoder.read();
    if (counter === images.length - 1) {
      encoder.finish();
    }
    else {
      addToGif(images, ++counter);
    }
  });
};
This function is almost ready. But wait! What are we going to do with all of the leftover screenshots? We can't just leave them everywhere! Let's go ahead and create a cleanUp() helper function and implement it inside our addToGif(). cleanUp() will take an array of files and a callback function, and for each file in the array it will delete the file. When no files are left in the array the callback will run and we will program it to delete the working directory, log our progress in the console, and exit the node process:
function cleanUp(listOfPNGs, callback) {
  let i = listOfPNGs.length;
  listOfPNGs.forEach(function (filepath) {
    fs.unlink(filepath, function (err) {
      i--;
      if (err) {
        callback(err);
        return;
      } else if (i <= 0) {
        callback(null);
      }
    });
  });
};
Let's implement cleanUp() in our addToGif() function and handle the cleanUp() callback:
function addToGif(images, counter = 0) {
  getPixels(images[counter], function (err, pixels) {

    encoder.addFrame(pixels.data);
    encoder.read();
    if (counter === images.length - 1) {
      encoder.finish();
      cleanUp(images, function (err) {
        if (err) {
          console.log(err);
        } else {
          fs.rmdirSync(workDir);
          console.log('Gif created!');
          process.exit(0);
        }
      });

    } else {
      addToGif(images, ++counter);
    }
  });
};
The last helper function we need will handle the scrolling of the page in puppeteer. The idea is simple. We just need a function that tells puppeteer to scroll the page by a certain amount before we take the next screenshot. We can send javascript code that puppeteer will execute on the headless browser for us by calling page.evaluate() and passing a function we want executed on the browser. Something like this should suit our needs perfectly:
async function scrollPage() {
  await page.evaluate(async () => {
    window.scrollBy(0, 100);
  });
}
Phew! That was a lot of preparation, but we are now ready to start our AmazingGIFMaker™! Let's start by defining the size of our viewport and telling puppeteer to browse to the page we are trying to capture:
await page.setViewport({ width: 800, height: 600 });
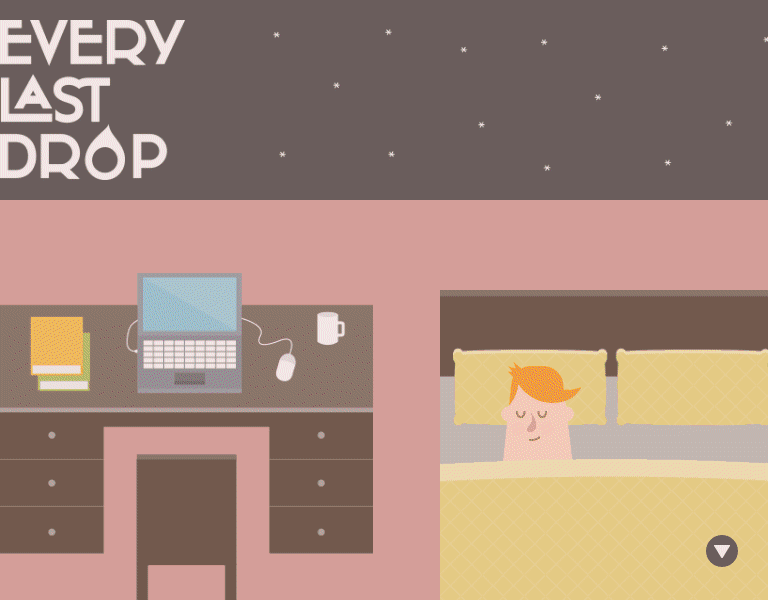
await page.goto('https://en.wikipedia.org/wiki/JavaScript'); /* We are using
wikipedia's entry for JavaScript for this example, but feel free to try any other website.
Everylastdrop.co.uk is a good one to play with the window.scrollBy method from above! */
We can take as many screenshots as we need to make sure the gif gives the illusion of scrolling. I've settled on 60 as being a good number but feel free to play around with this number. Just remember that the more screenshots you have, the larger your gif size will be. Let's create a for loop that will loop 60 times, and it will take a screenshot, scroll the page, and repeat:
for (let i = 0; i < 60; i++) {
  await page.screenshot({ path: workDir + i + ".png" });
  await scrollPage();
}
Then we can just close puppeteer. We have all the screenshots we need at this point and can just use our helper functions from this point on:
await browser.close();
We have a folder containing 60 PNG images, so now we need to add those to an array, and pass that array to our addToGif() function. To create the list of PNGs let's read our working directory, remove the extension, sort the file names by ascending order, and add the full path and extension back to each item of the array:
let listOfPNGs = fs.readdirSync(workDir)
  .map(a => a.substr(0, a.length - 4) + '')
  .sort(function (a, b) { return a - b })
  .map(a => workDir + a.substr(0, a.length) + '.png');
We can finally call our addToGif() function passing the array of screenshots and wait for our gif to be generated!
Here's how the full code looks like. Take the code for a spin and have fun creating animated gifs of any pages you choose!
(async () => {
  const puppeteer = require('puppeteer');
  const GIFEncoder = require('gif-encoder');
  const encoder = new GIFEncoder(800, 600);
  const fs = require('fs');
  const getPixels = require('get-pixels');
  const workDir = './temp/';
  let file = require('fs').createWriteStream('mygif.gif');
  const browser = await puppeteer.launch({ headless: true });
  const page = await browser.newPage();

  if (!fs.existsSync(workDir)) {
    fs.mkdirSync(workDir);
  };

  // Setup gif encoder parameters
  encoder.setFrameRate(60);
  encoder.pipe(file);
  encoder.setQuality(40);
  encoder.setDelay(500);
  encoder.writeHeader();
  encoder.setRepeat(0);

  // Helper functions declaration
  function addToGif(images, counter = 0) {
    getPixels(images[counter], function (err, pixels) {

      encoder.addFrame(pixels.data);
      encoder.read();
      if (counter === images.length - 1) {
        encoder.finish();
        cleanUp(images, function (err) {
          if (err) {
            console.log(err);
          } else {
            fs.rmdirSync(workDir);
            console.log('Gif created!');
            process.exit(0);
          }
        });

      } else {
        addToGif(images, ++counter);
      }
    });
  };

  function cleanUp(listOfPNGs, callback) {
    let i = listOfPNGs.length;
    listOfPNGs.forEach(function (filepath) {
      fs.unlink(filepath, function (err) {
        i--;
        if (err) {
          callback(err);
          return;
        } else if (i <= 0) {
          callback(null);
        }
      });
    });
  };

  async function scrollPage() {
    await page.evaluate(async () => {
      window.scrollBy(0, 100);
    });
  }

  await page.setViewport({ width: 800, height: 600 });
  await page.goto('https://en.wikipedia.org/wiki/JavaScript');

  for (let i = 0; i < 60; i++) {
    await page.screenshot({ path: workDir + i + ".png" });
    await scrollPage();
  }

  await browser.close();

  let listOfPNGs = fs.readdirSync(workDir)
    .map(a => a.substr(0, a.length - 4) + '')
    .sort(function (a, b) { return a - b })
    .map(a => workDir + a.substr(0, a.length) + '.png');

  addToGif(listOfPNGs);
})();


Top comments (3)
Good work!
Any reason you did not use the
every-last-drop.gifat beginning of this post? :DThank you!
Honestly, simply because I forgot I had it in my github repo. I've updated my post to include it since it is one of my favorite uses for this little script. Thanks for the suggestion/reminder!
Excellent work! I'm going to be featuring this article in my niche Puppeteer newsletter tomorrow.