Current FreeBSD versions will allow you to create a zroot zpool from which you can boot. However, when I created the main zpool for slocum (on Fri May 3 2:16 2013), that option did not exist.
You might ask: how do I know that date?
[dan@slocum:~] $ zfs get creation system
NAME    PROPERTY  VALUE                  SOURCE
system  creation  Fri May  3  2:16 2013  -
At present, the system boots from a raidz2 zpool. This is a 6-drive zpool, and those drives are all connected to the m/b via an HBA.
[dan@slocum:~] $ zpool status system
  pool: system
 state: ONLINE
  scan: scrub repaired 0 in 3 days 06:42:42 with 0 errors on Sun Dec 30 10:22:10 2018
config:

	NAME                                                    STATE     READ WRITE CKSUM
	system                                                  ONLINE       0     0     0
	  raidz2-0                                              ONLINE       0     0     0
	    da4p3                                               ONLINE       0     0     0
	    da1p3                                               ONLINE       0     0     0
	    da3p3                                               ONLINE       0     0     0
	    da5p3                                               ONLINE       0     0     0
	    da2p3                                               ONLINE       0     0     0
	    da0p3                                               ONLINE       0     0     0
	logs
	  mirror-1                                              ONLINE       0     0     0
	    diskid/DISK-134106400102%20%20%20%20%20%20%20%20p1  ONLINE       0     0     0
	    diskid/DISK-133887400683%20%20%20%20%20%20%20%20p1  ONLINE       0     0     0

errors: No known data errors
This works. It works until it doesn’t.
Booting from a drive directly connected to the m/b is much more predictable and safer. I like the idea of booting from simple drives, without the complexity of a raidz array. The BIOS usually lets you select one or two drives for booting from. If that particular drive dies, your boot will fail.
I credit Josh Paetzel for convincing me of this approach.
I want to move my boot environment from the raidz2 zpool to a new mirror zpool.
This is very similar to something I did to the knew server back in 2017.
Assumptions about the system
I am running FreeBSD 12.0 and the system is configured for use with beadm.
I will create a new zpool from two drives directly connected to the m/b.
The existing filesytems will be copied from the old zpool to the new zpool via zfs send | zfs recv. I was concerned about this copy process and ran a test first, the results of which are stored in this gist.
Adding the drives in
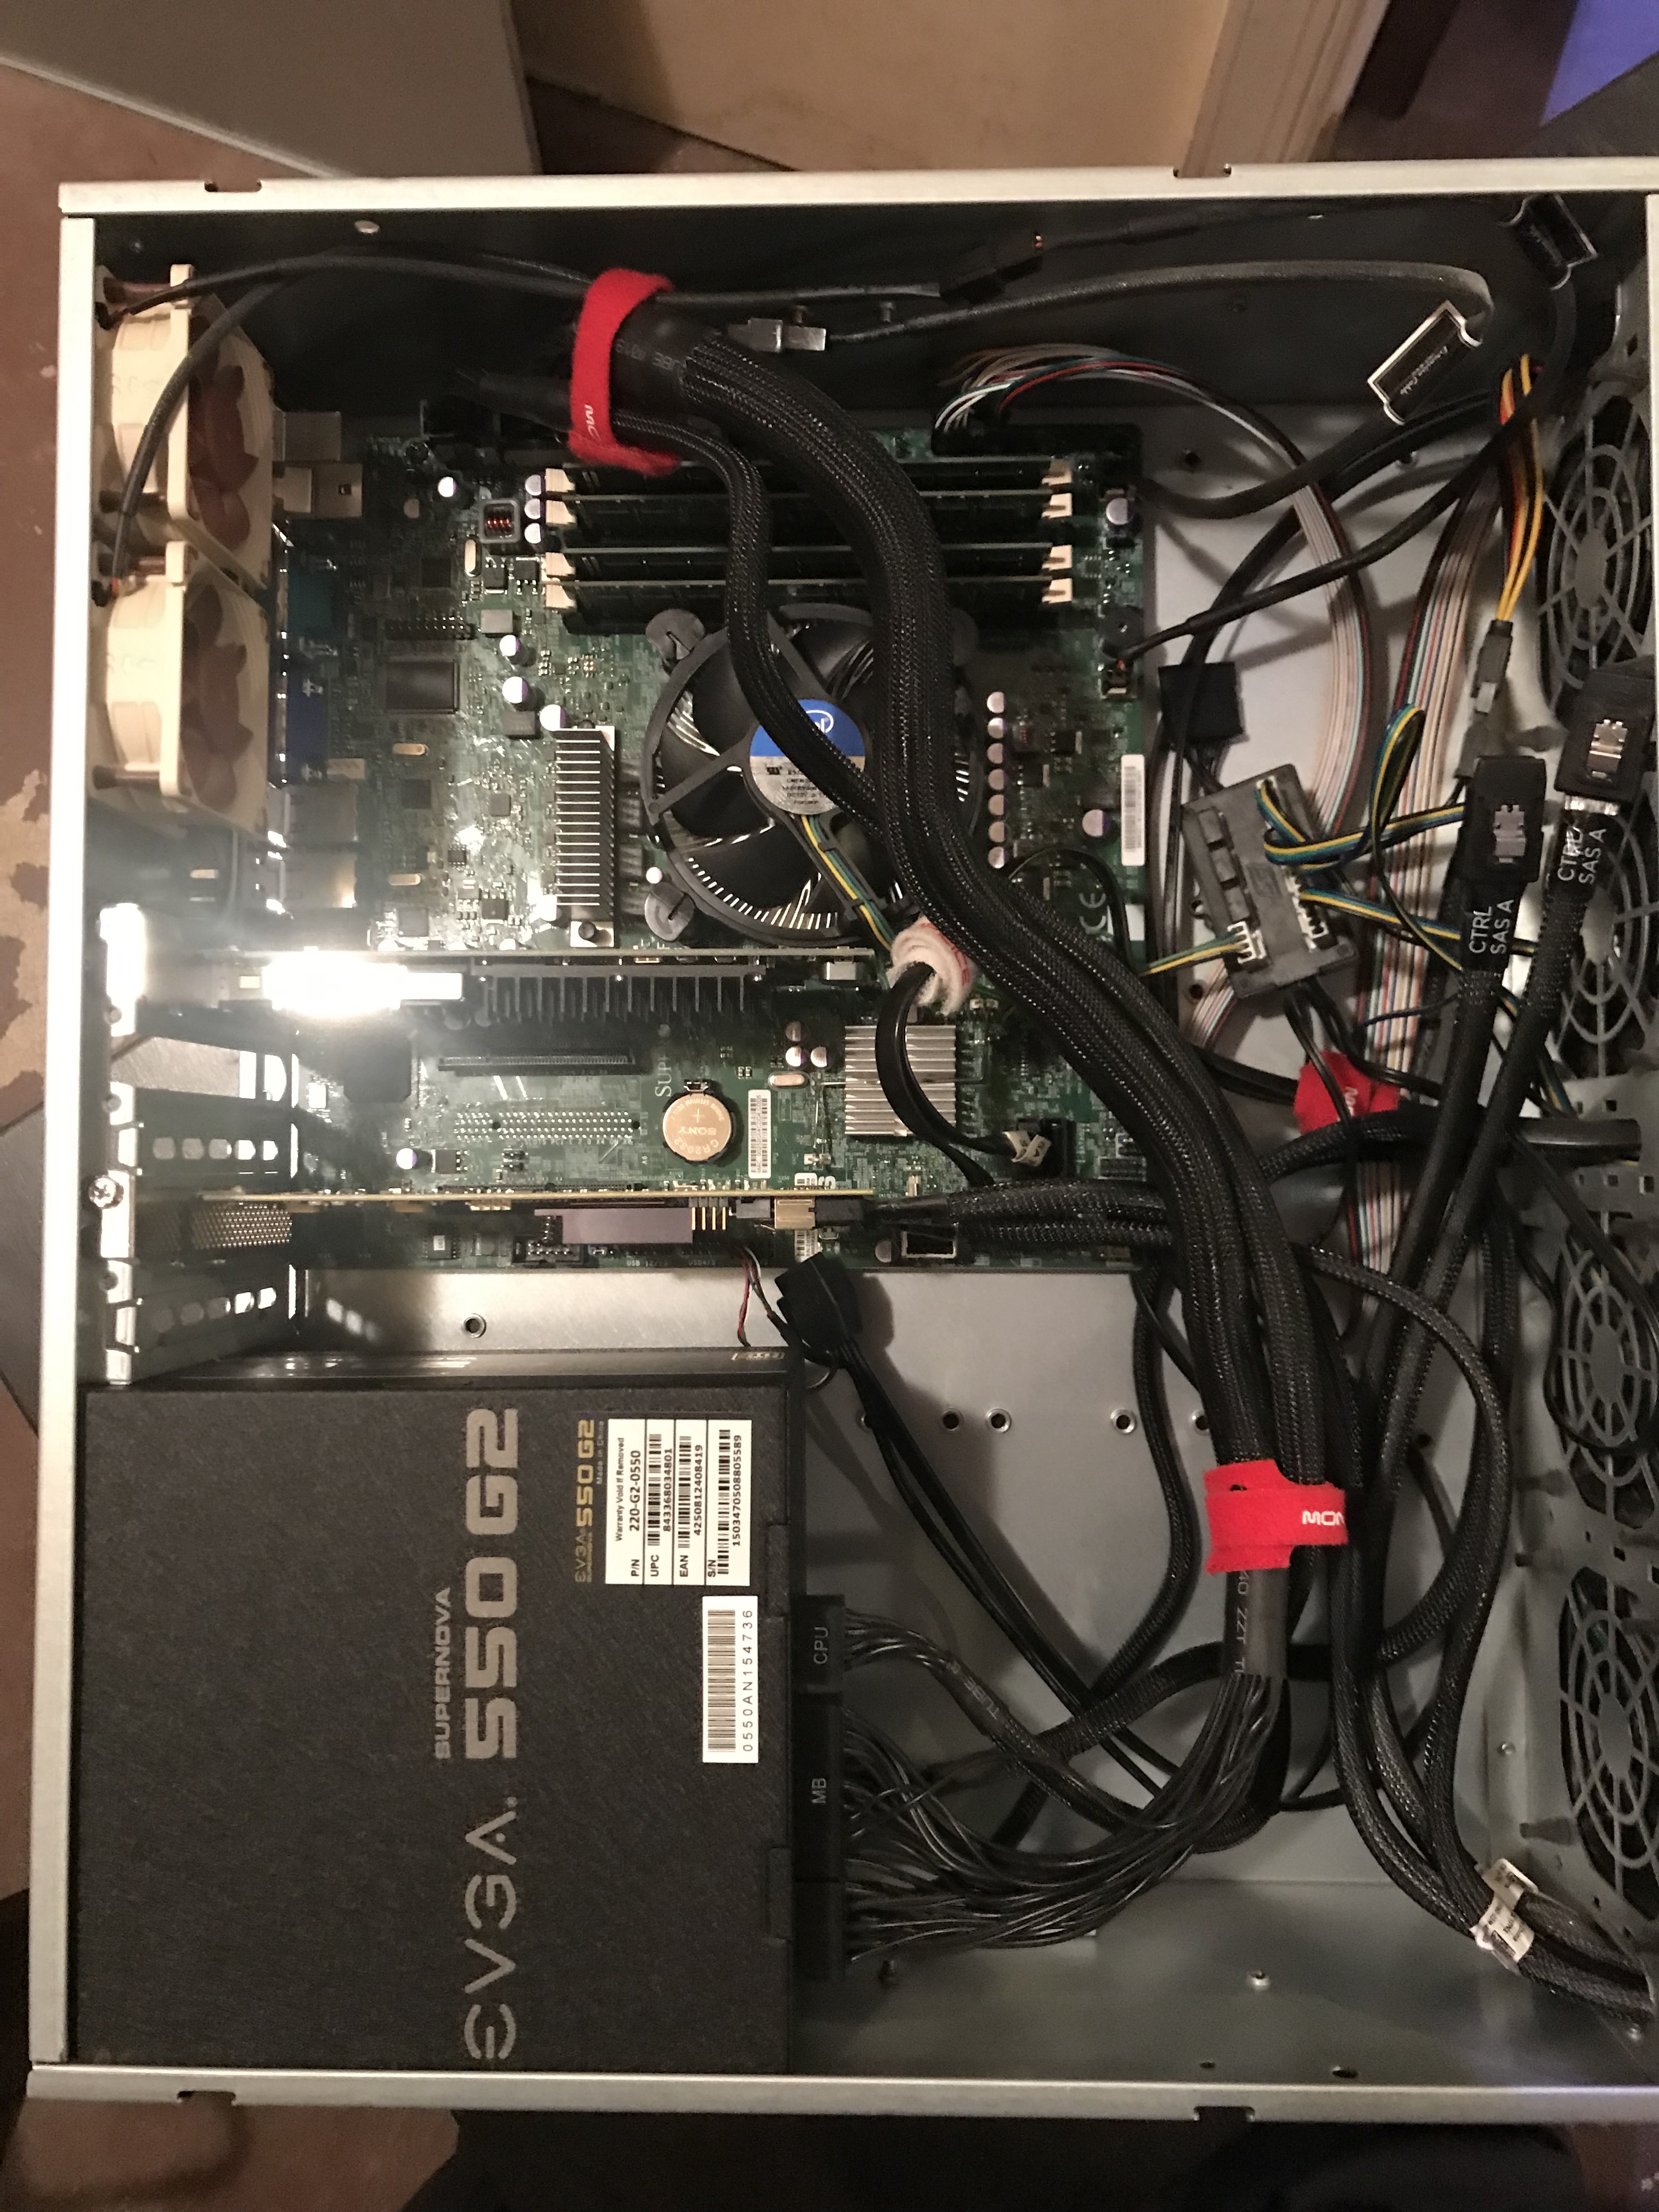
The system is currently installed in a Norco case. Yes, these cases are cheaper and easy to find and I was happy to have it when I got it. However, now I do not recommend them. I much prefer SuperMicro chassis.
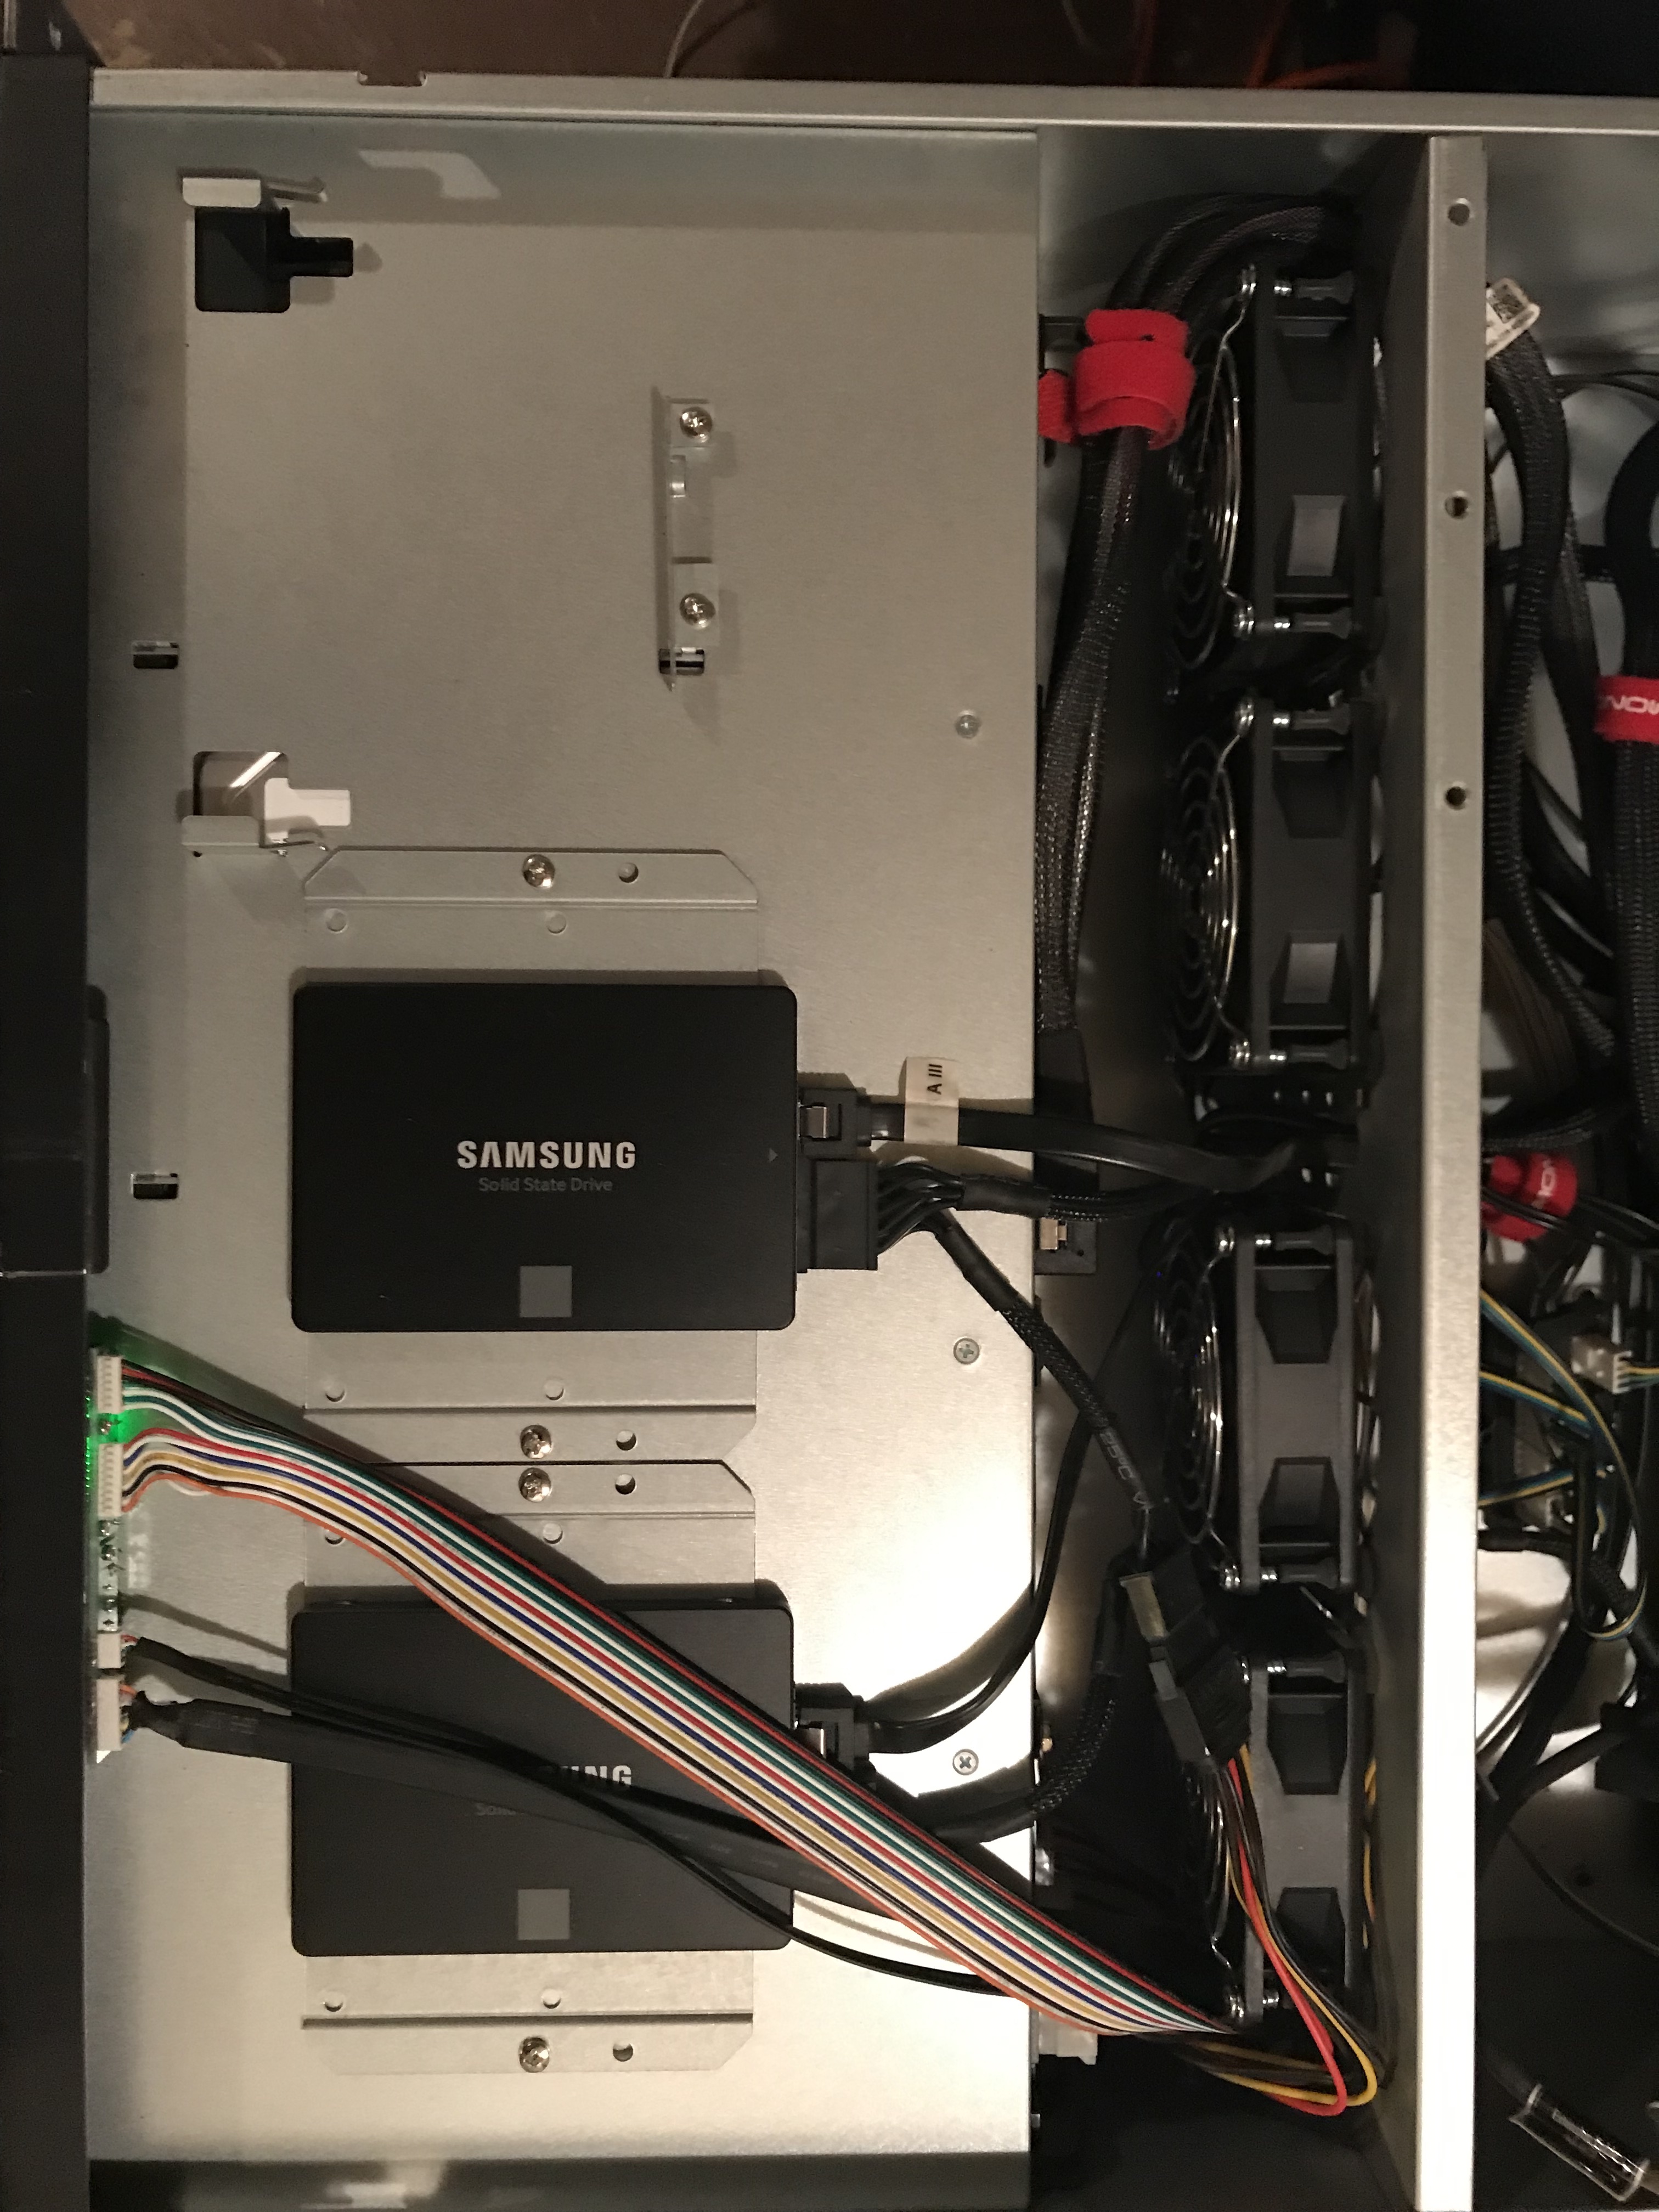
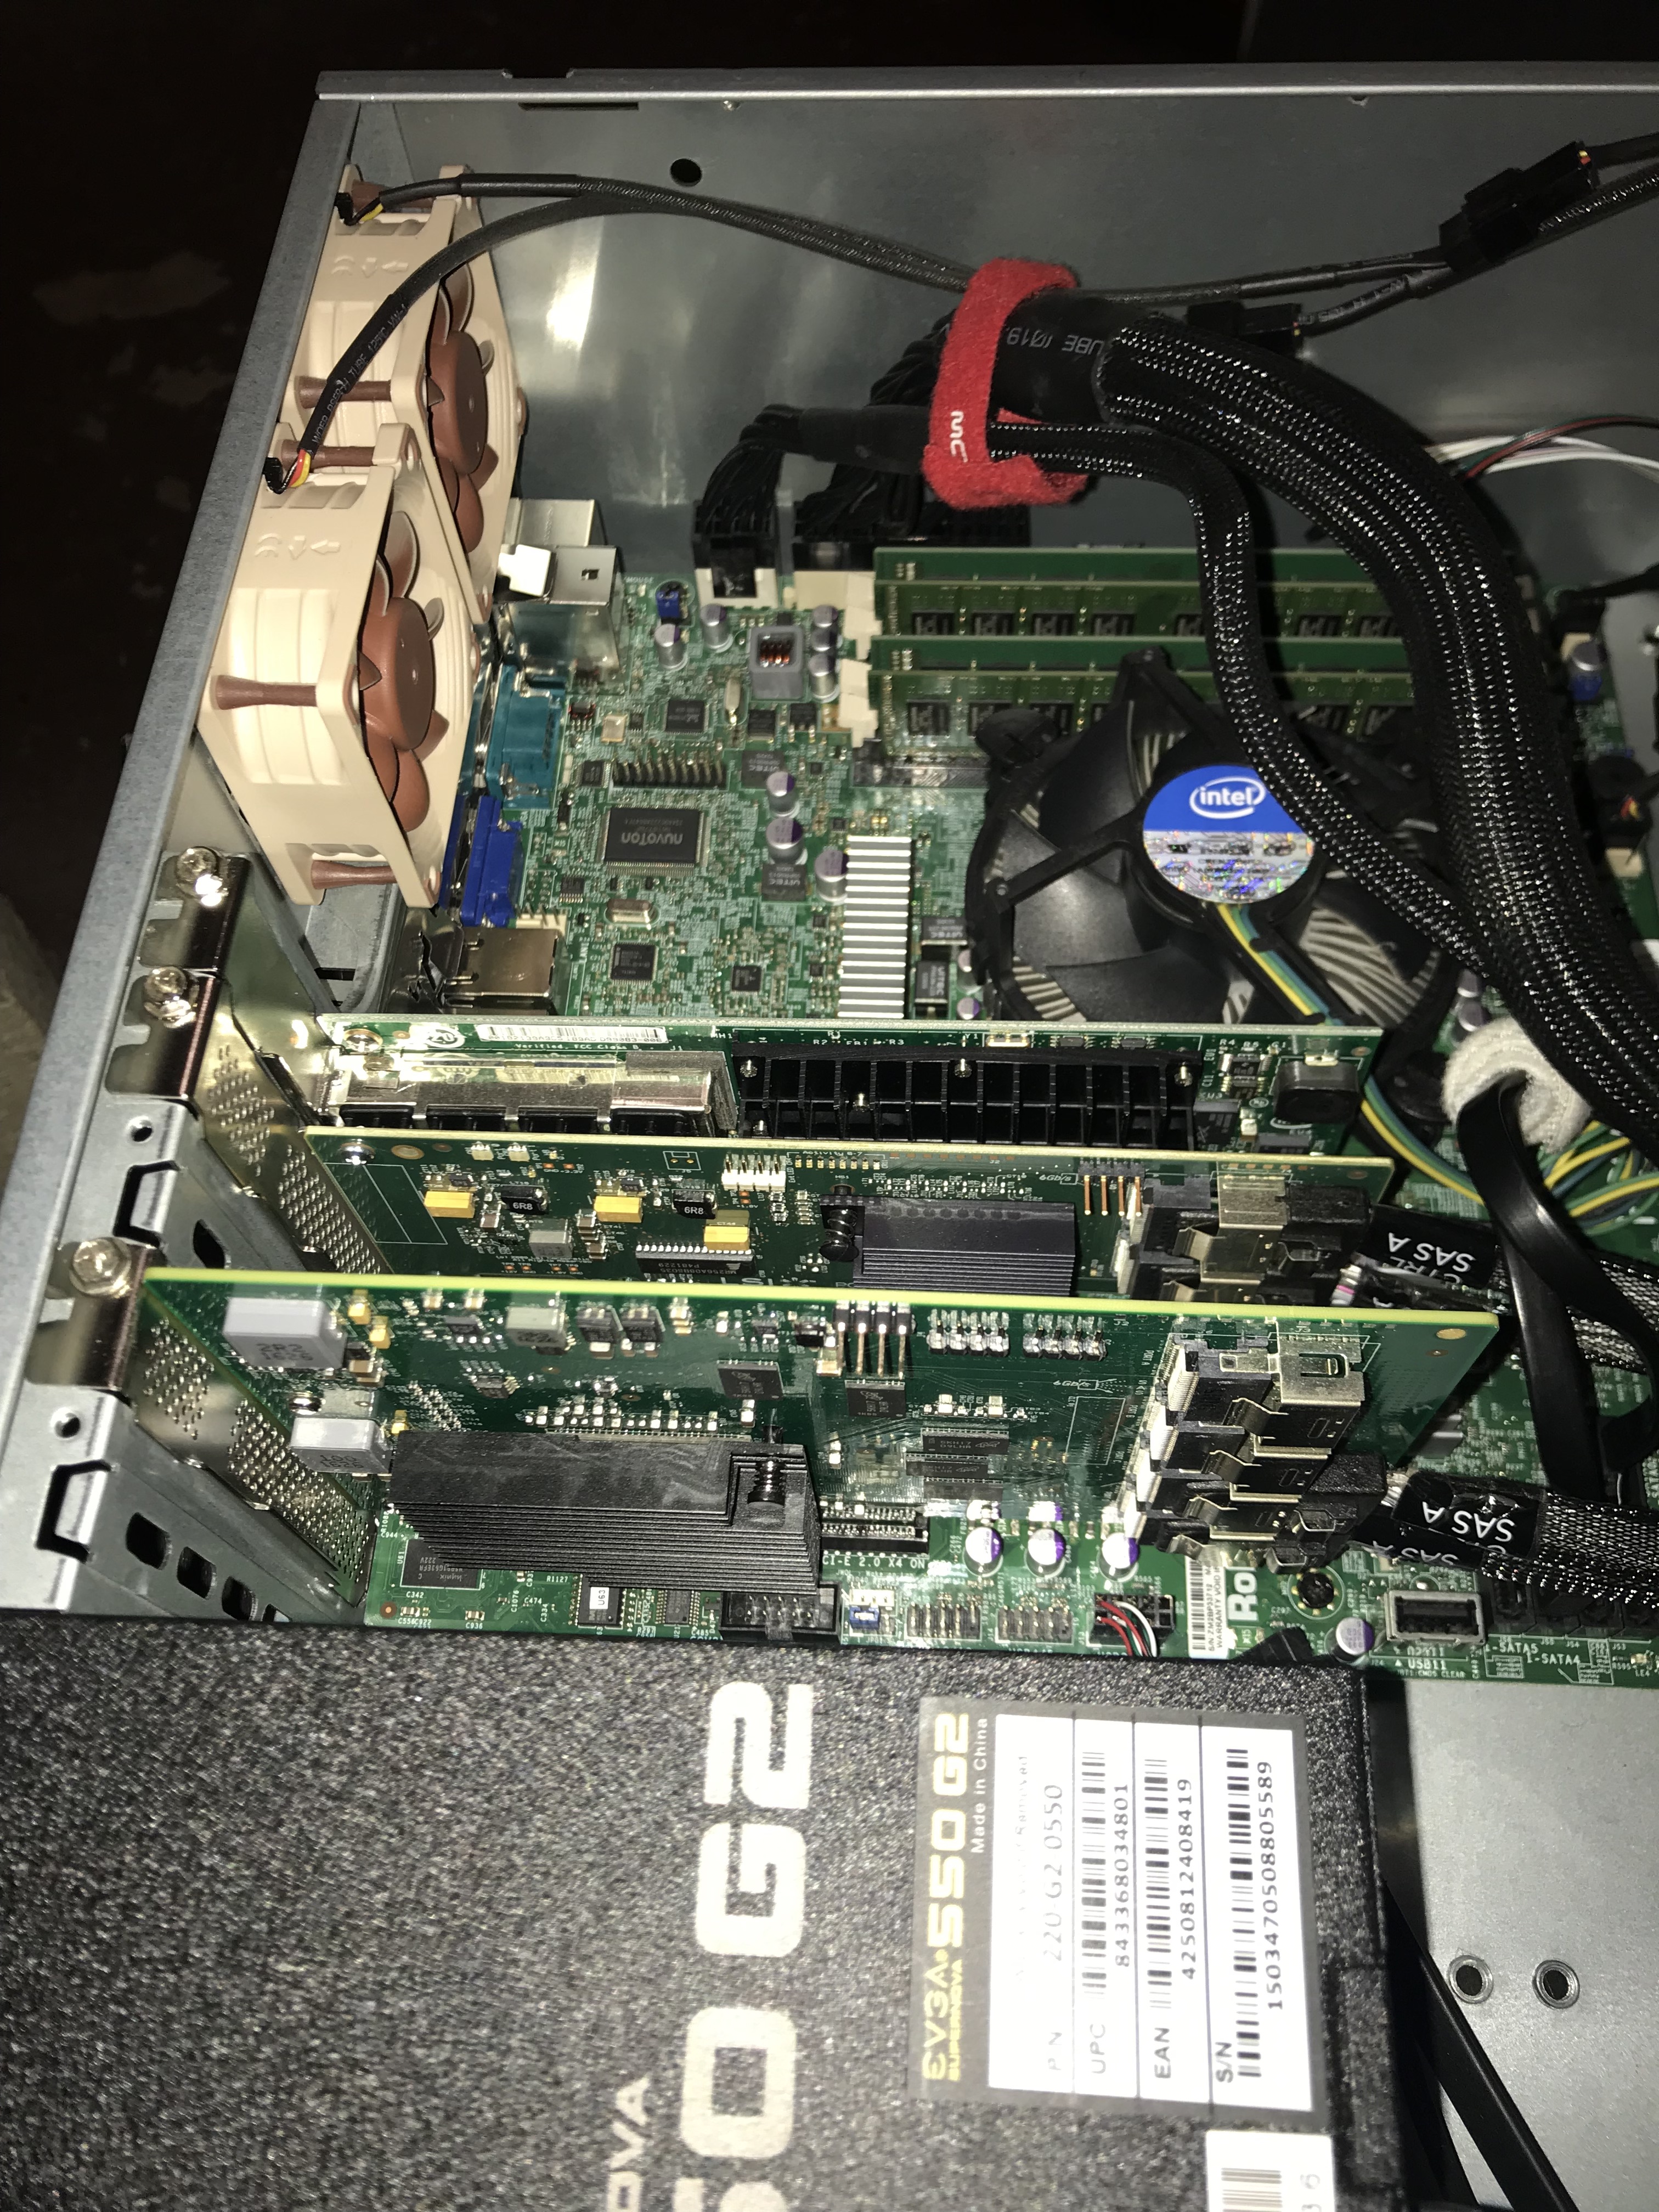
As shown in this photo, there are two SSD already installed in this chassis. They are directly attached to the m/b but are not boot drives. These two 30GB SanDisk drives were cheap and do not have any SMART ability. I will relocate these drives to drive trays and mount the new two SSDs here.
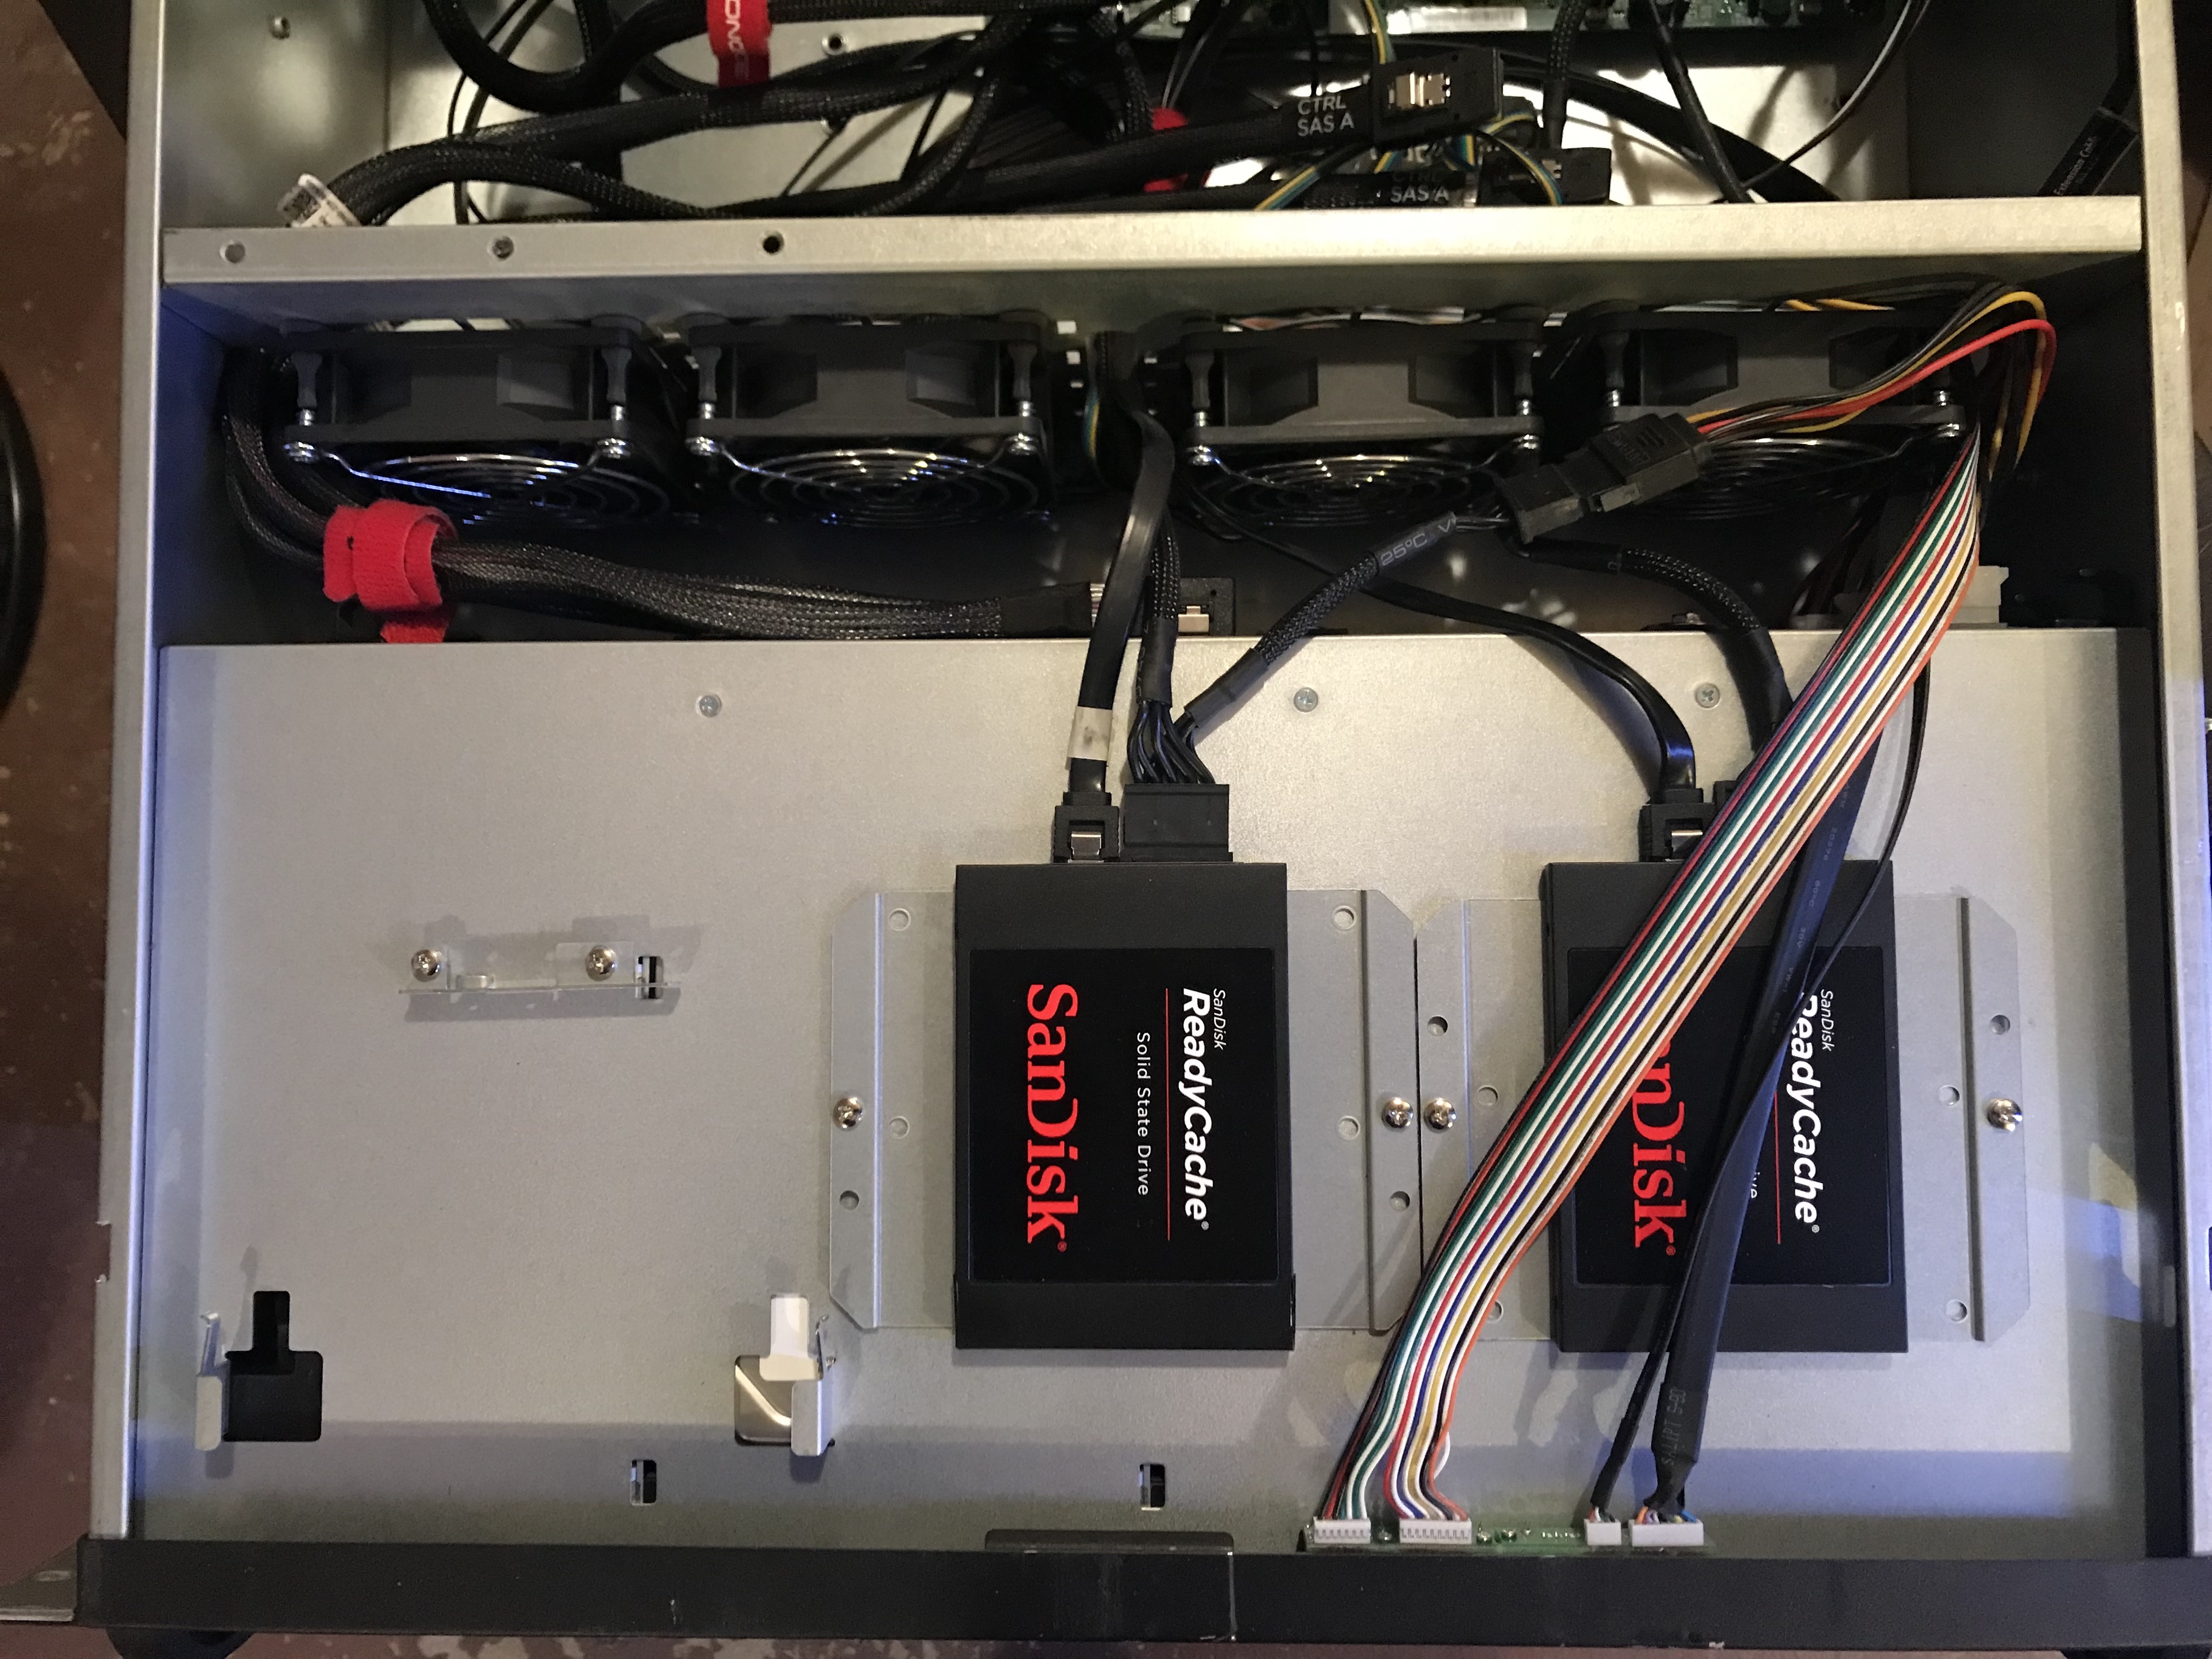
In this photo you can see two spare SFF-8087 cables, each each for the two lower backplanes of this system. The upper two backplanes are connected to the LSI HBA which is right next to the power supply. That HBA has only two connections. I need to add another HBA to this system.
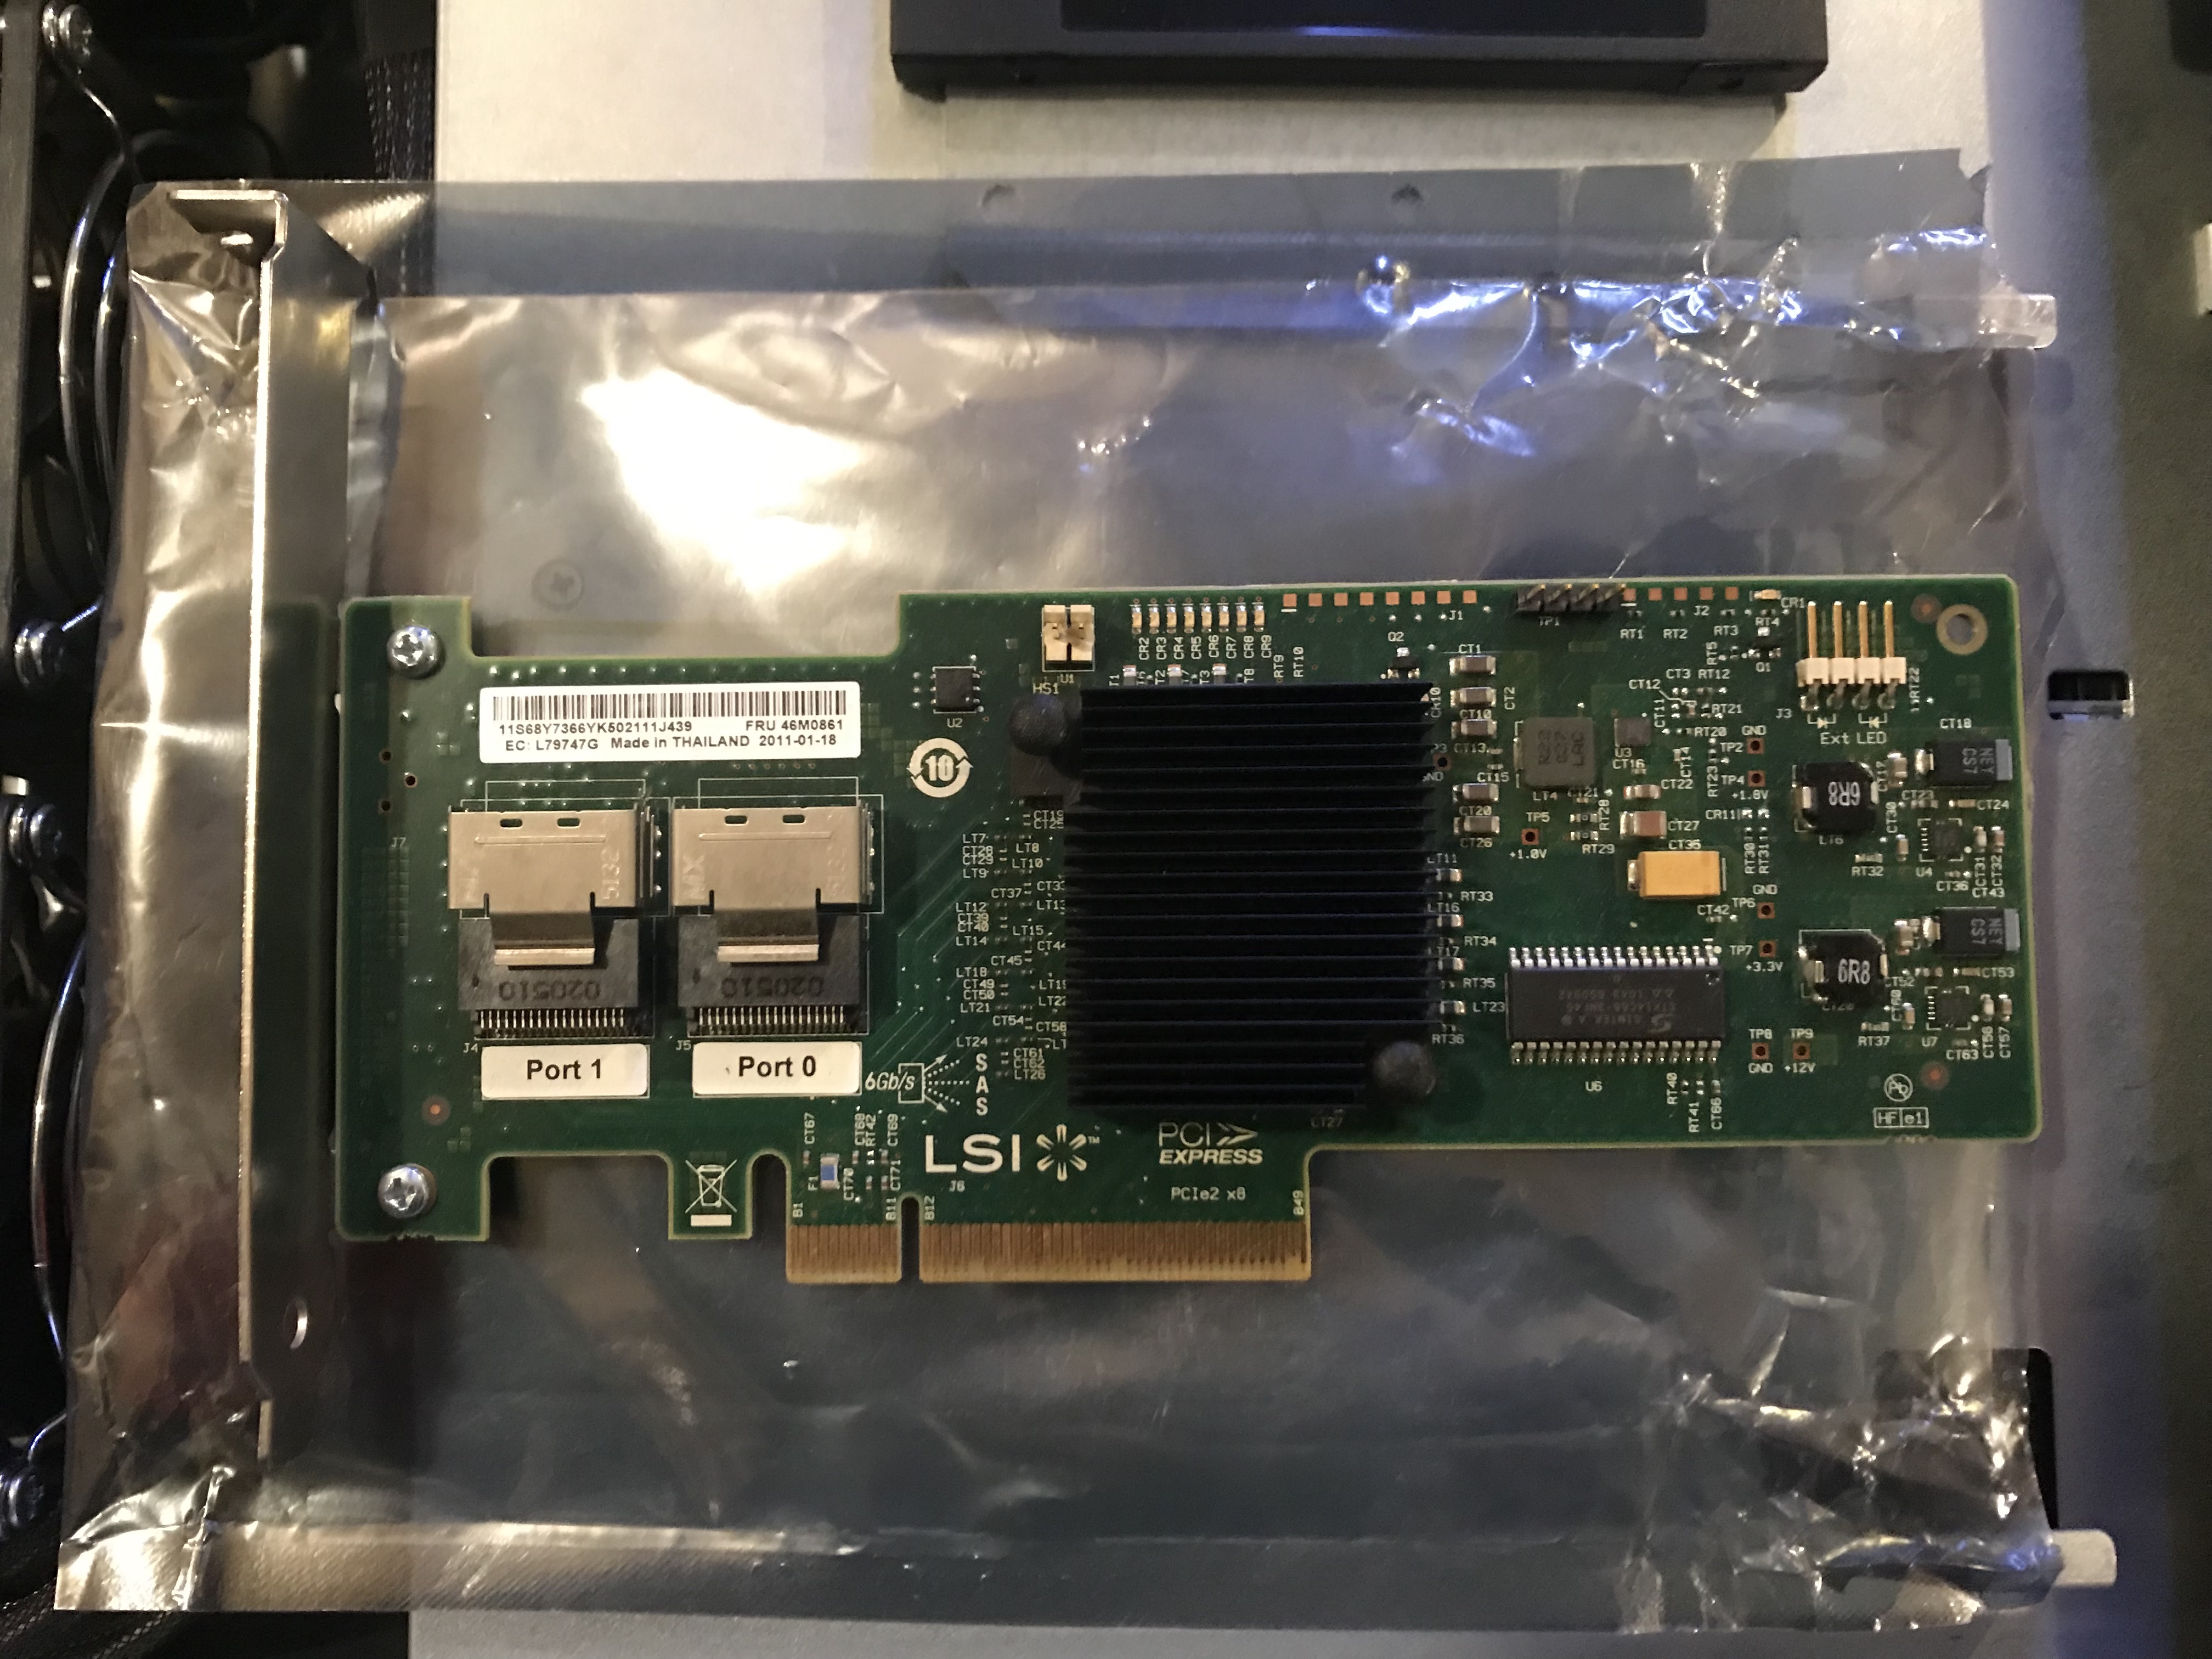
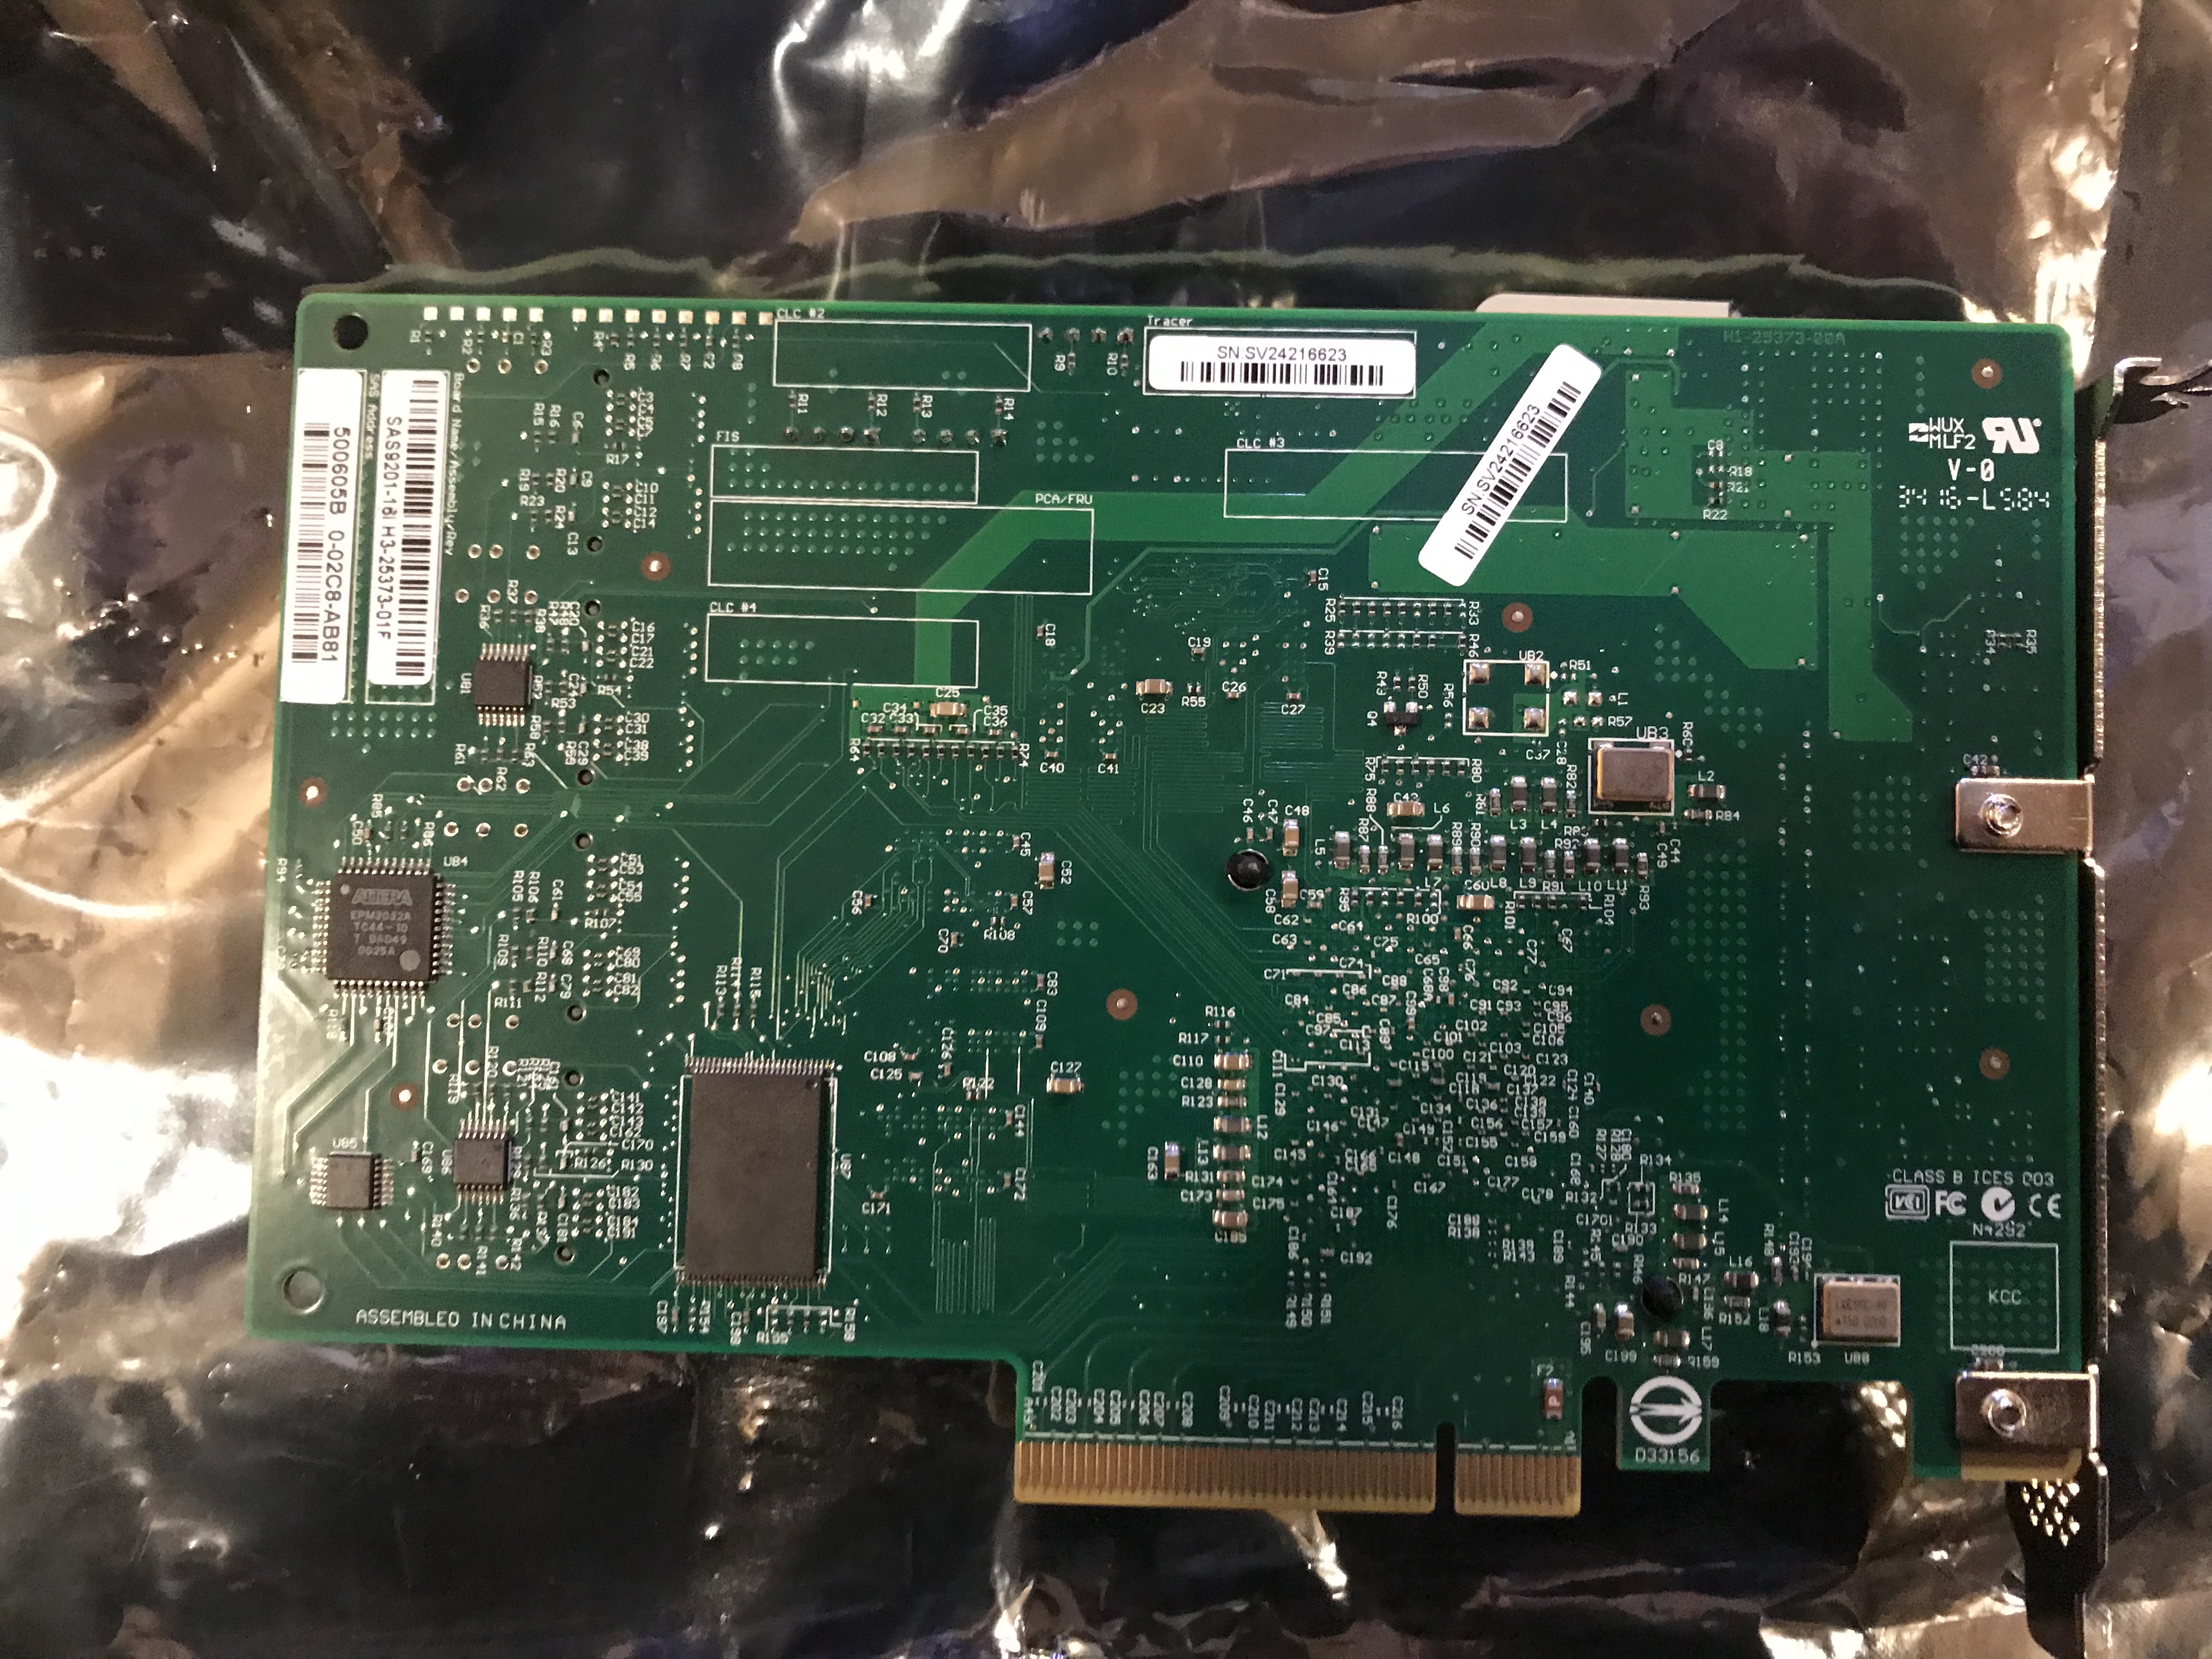
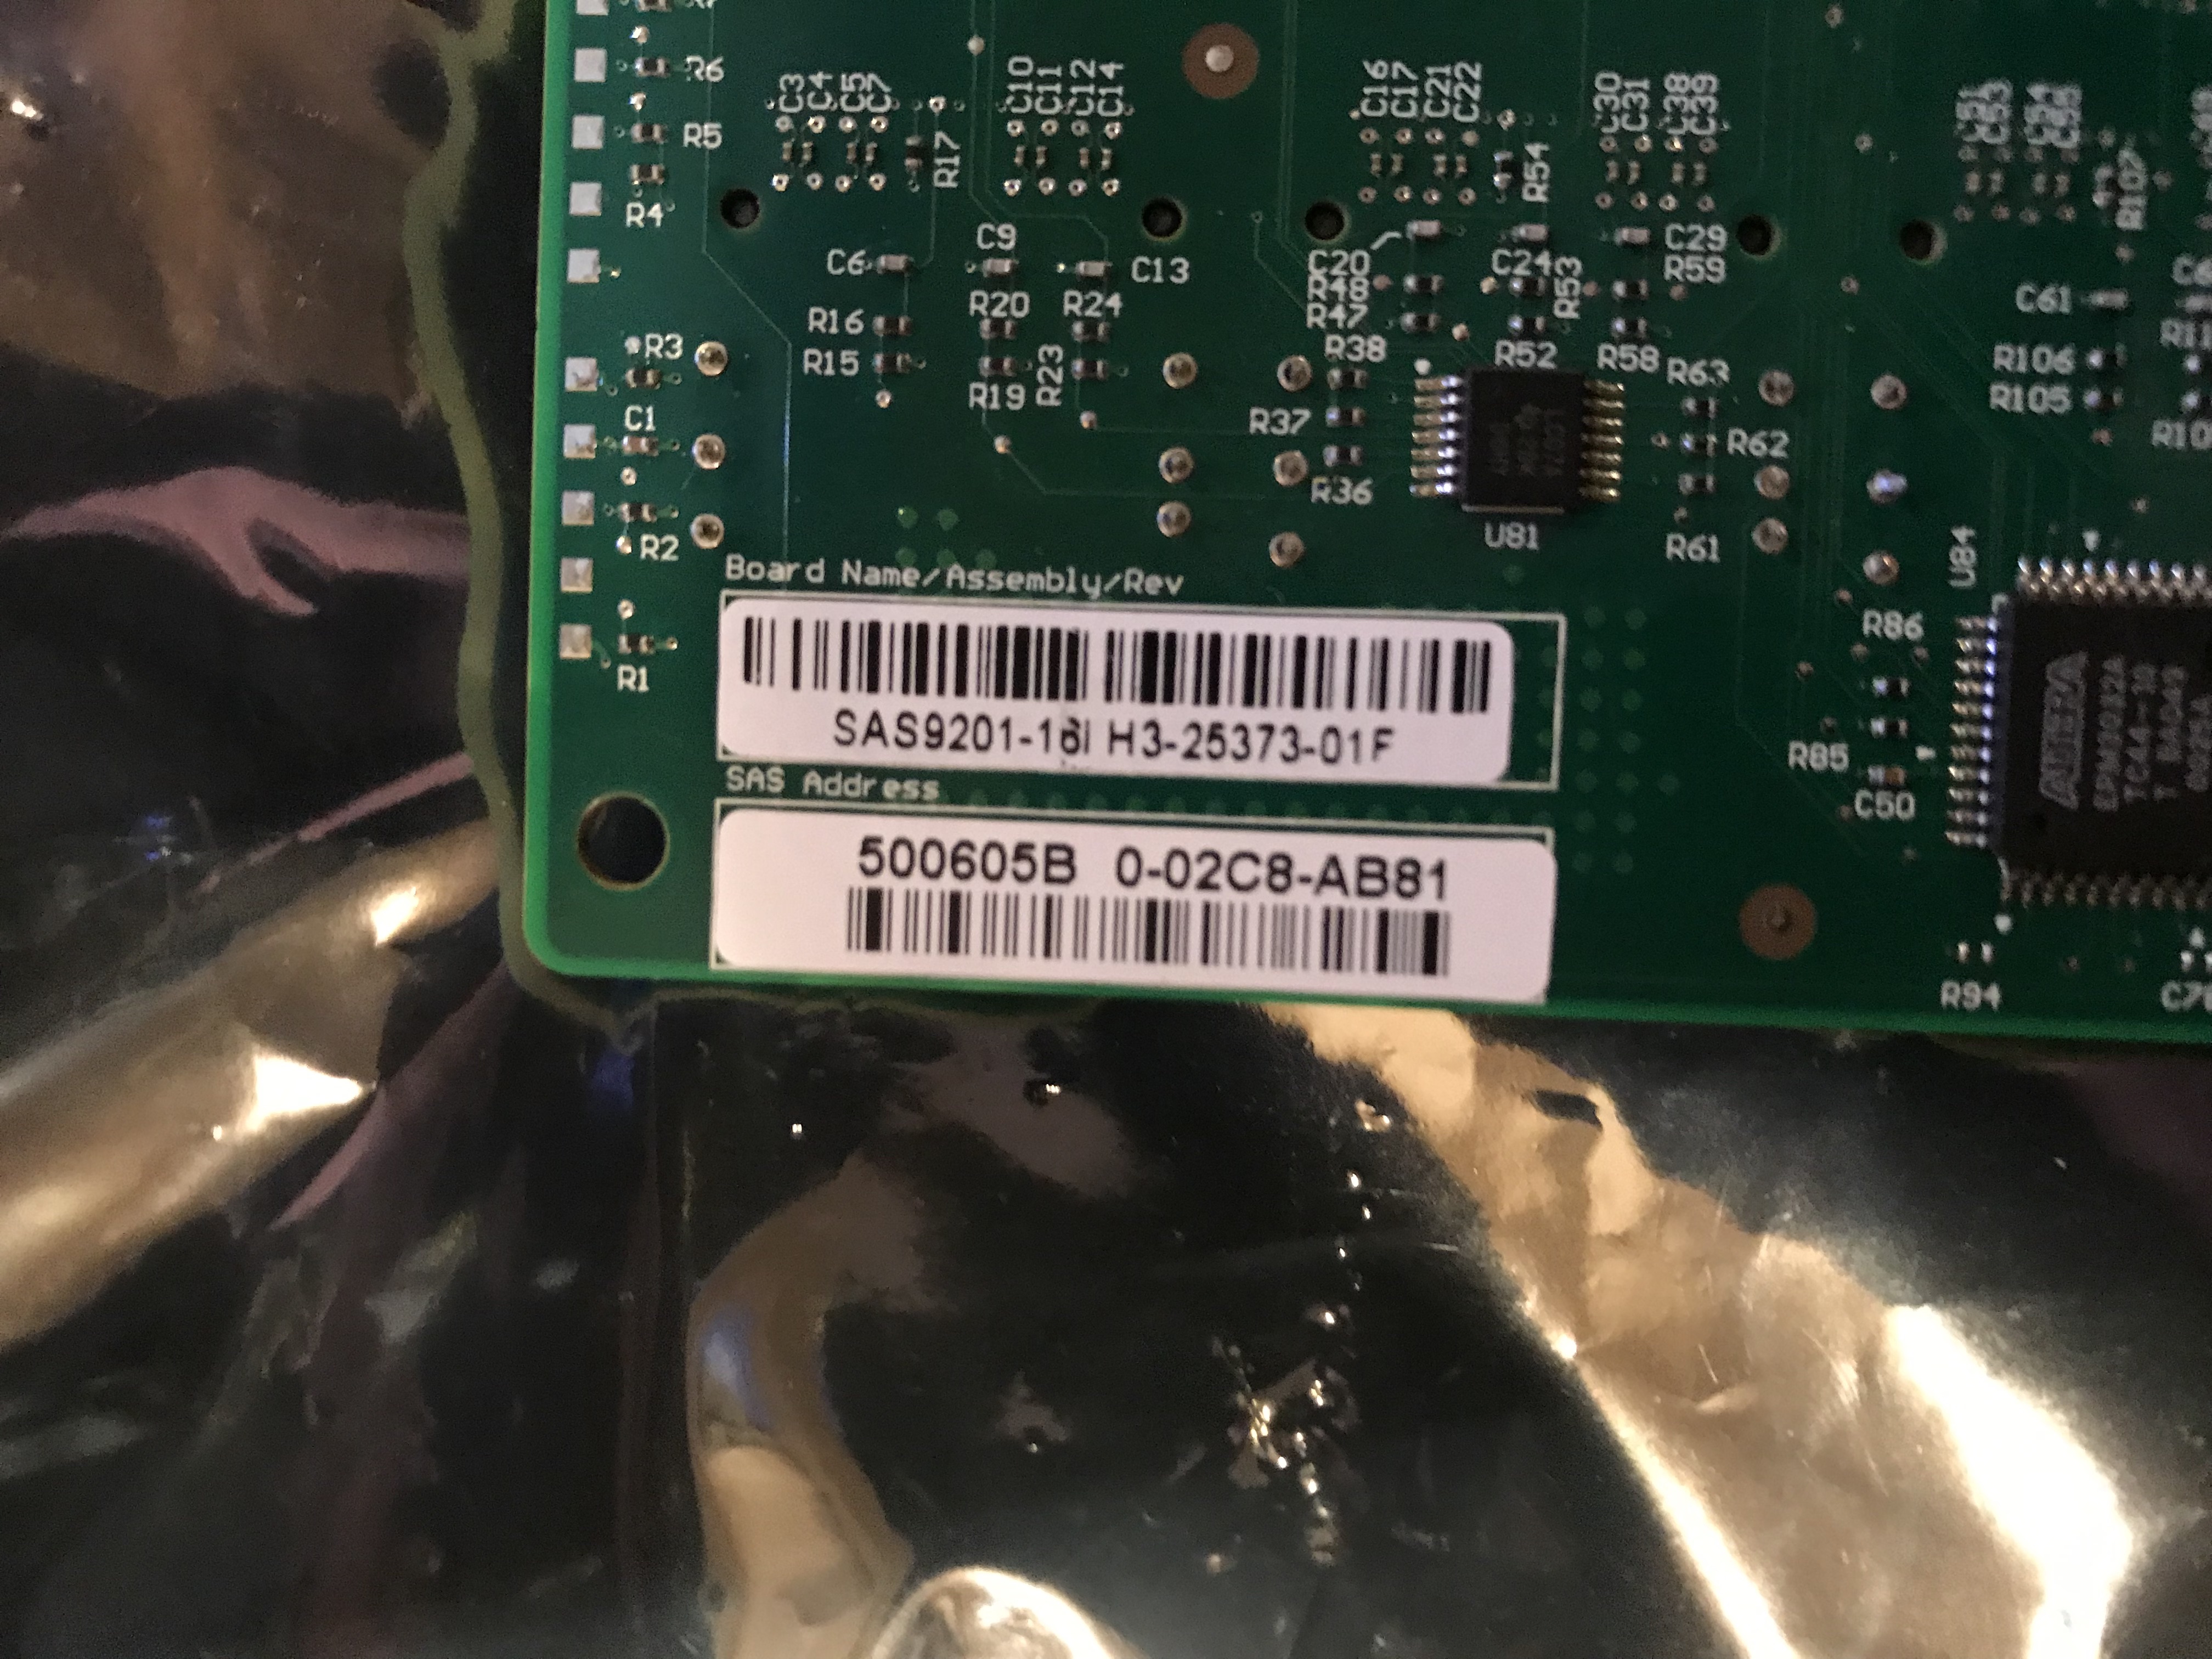
This HBA, while I am sure it would work, will not do. The connectors are at the front of the card and the existing cables will not reach. I have included photos of the numbers and stickers in case anyone is interested in tracking down the details.
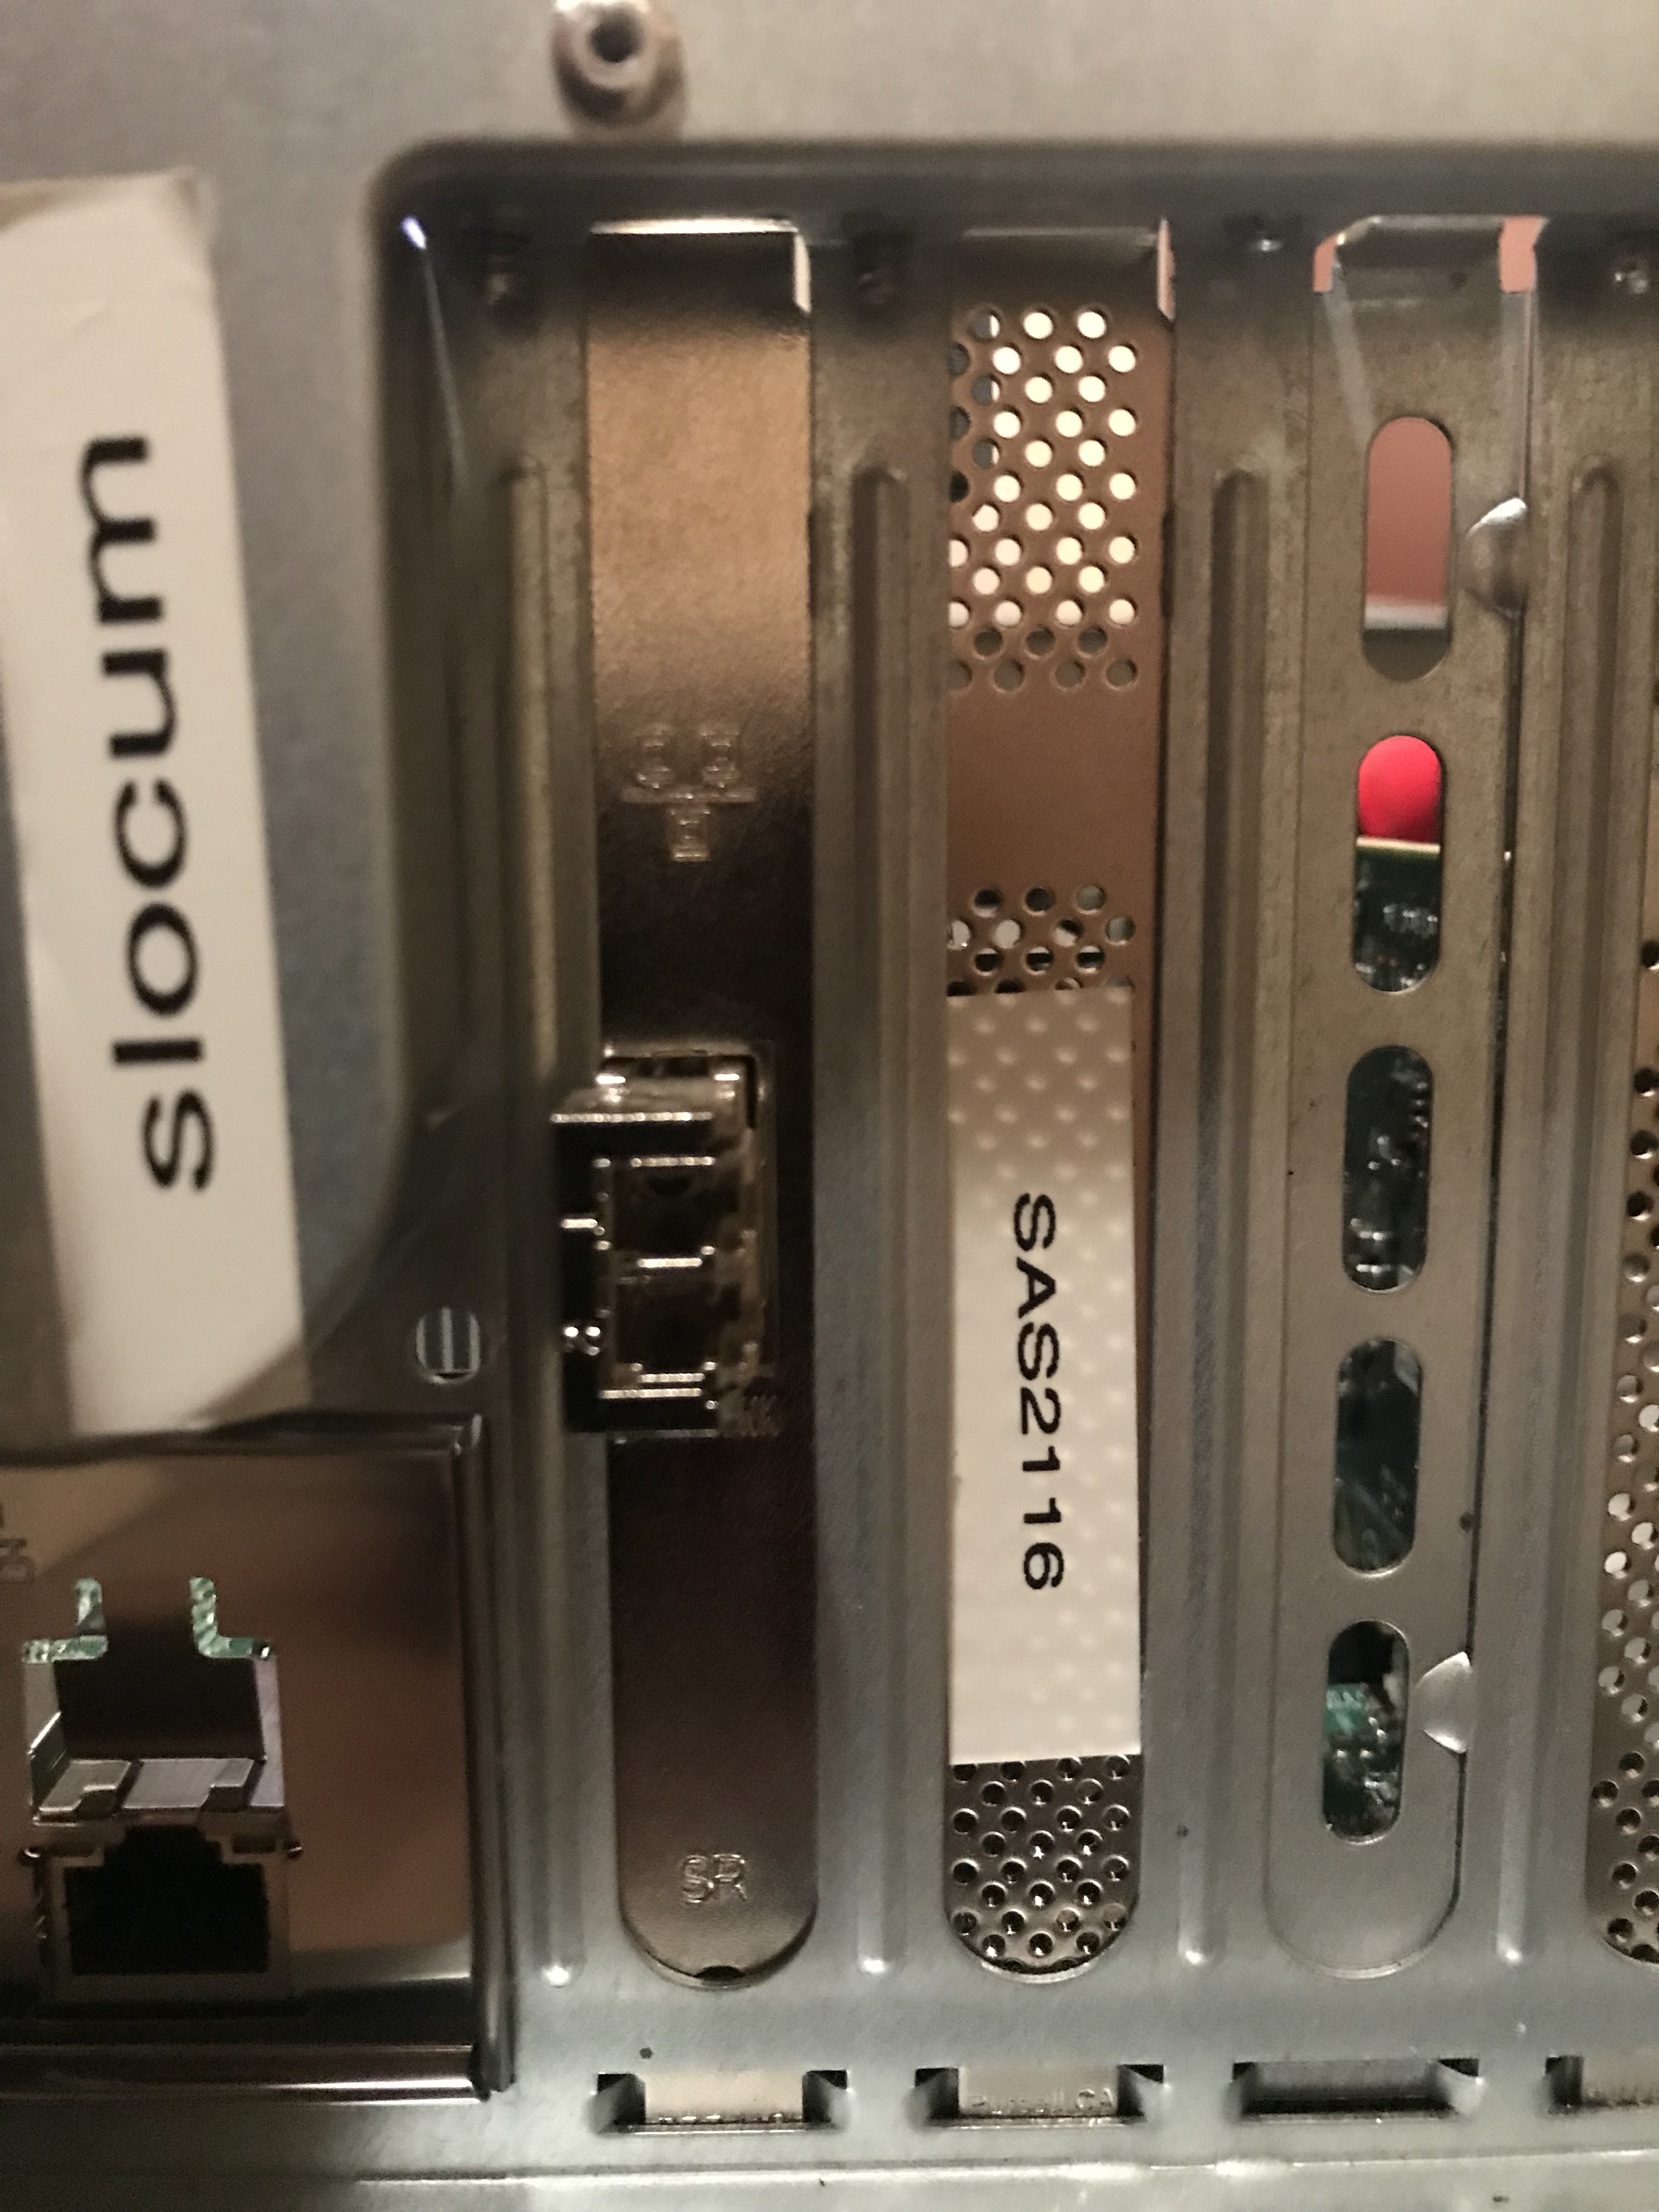
The next four photos are of an LSI SAS 2116 with four internal connectors. There was talk about this being a counterfeit card, but it has always worked for me.
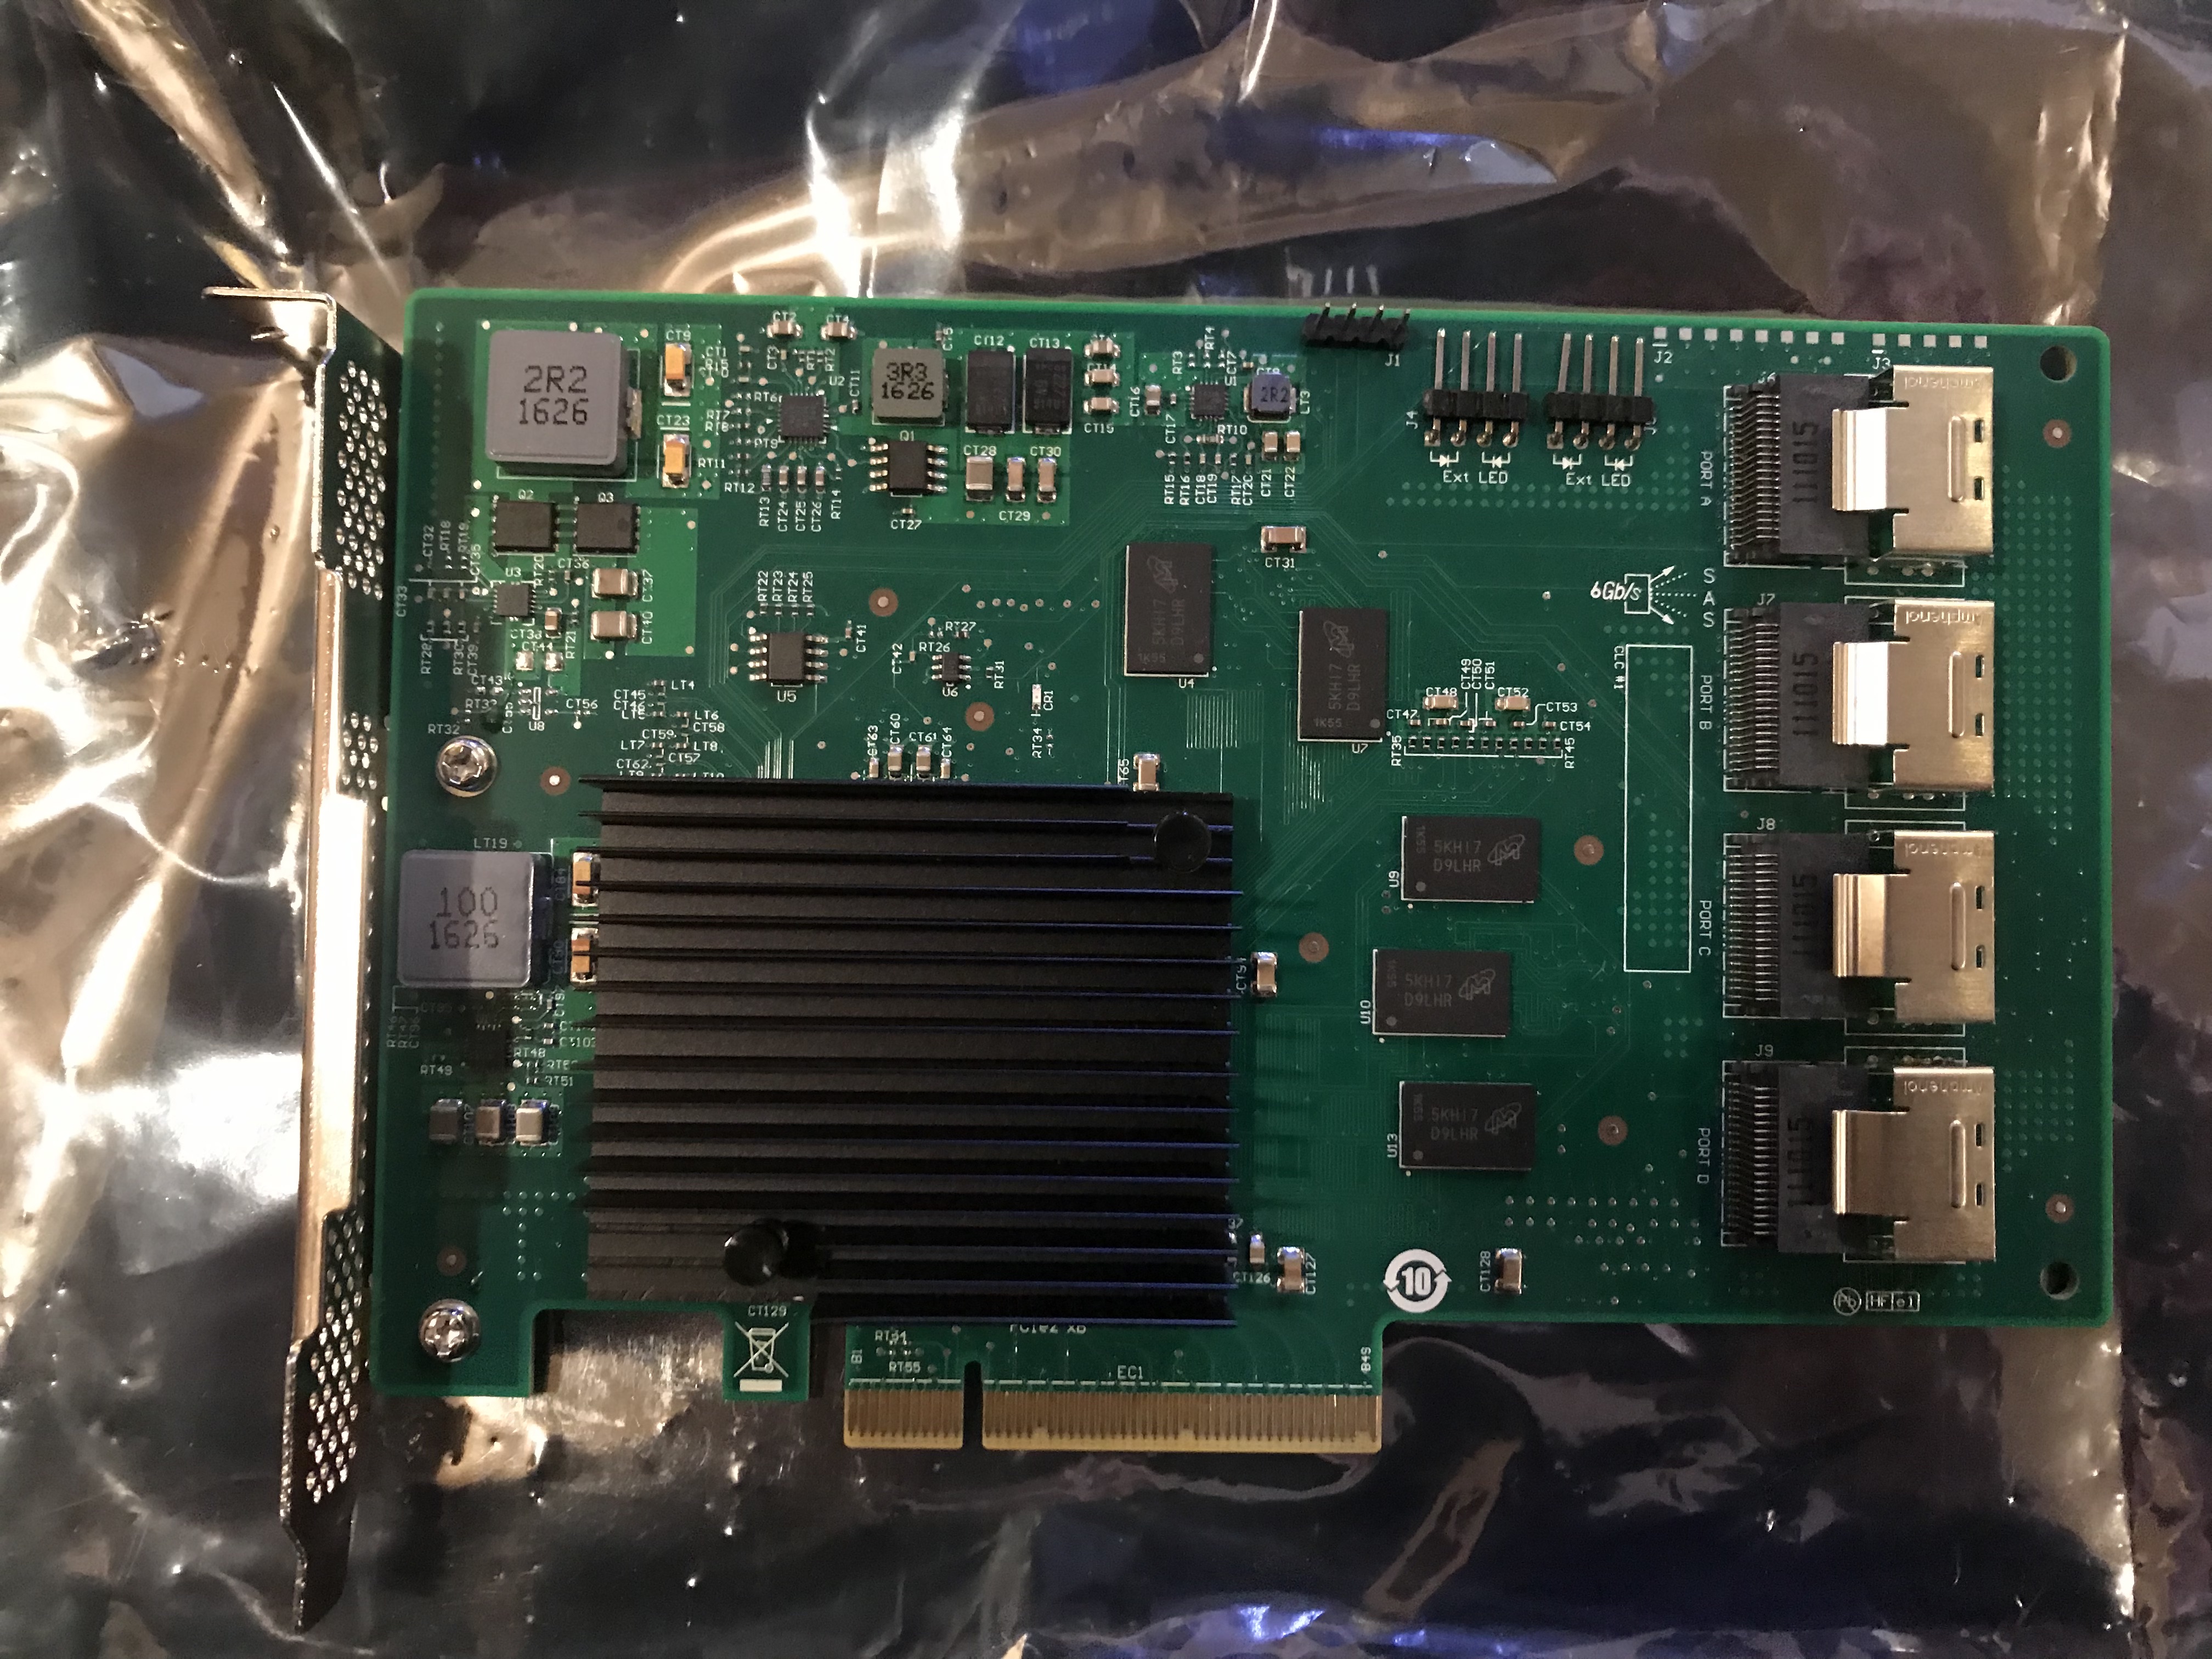
I installed the SAS 2116 installed into a spare slot and attached the two free cables.
The existing SanDisk drives were removed and installed them into a cheap Dell caddy, which I do not recommend. The drives are connected to the caddy by two screws on one side of the drive. It seems sloppy to me.\
In this photo, you can see that I mistakenly installed the new Samsung drive, and that it is upside down.
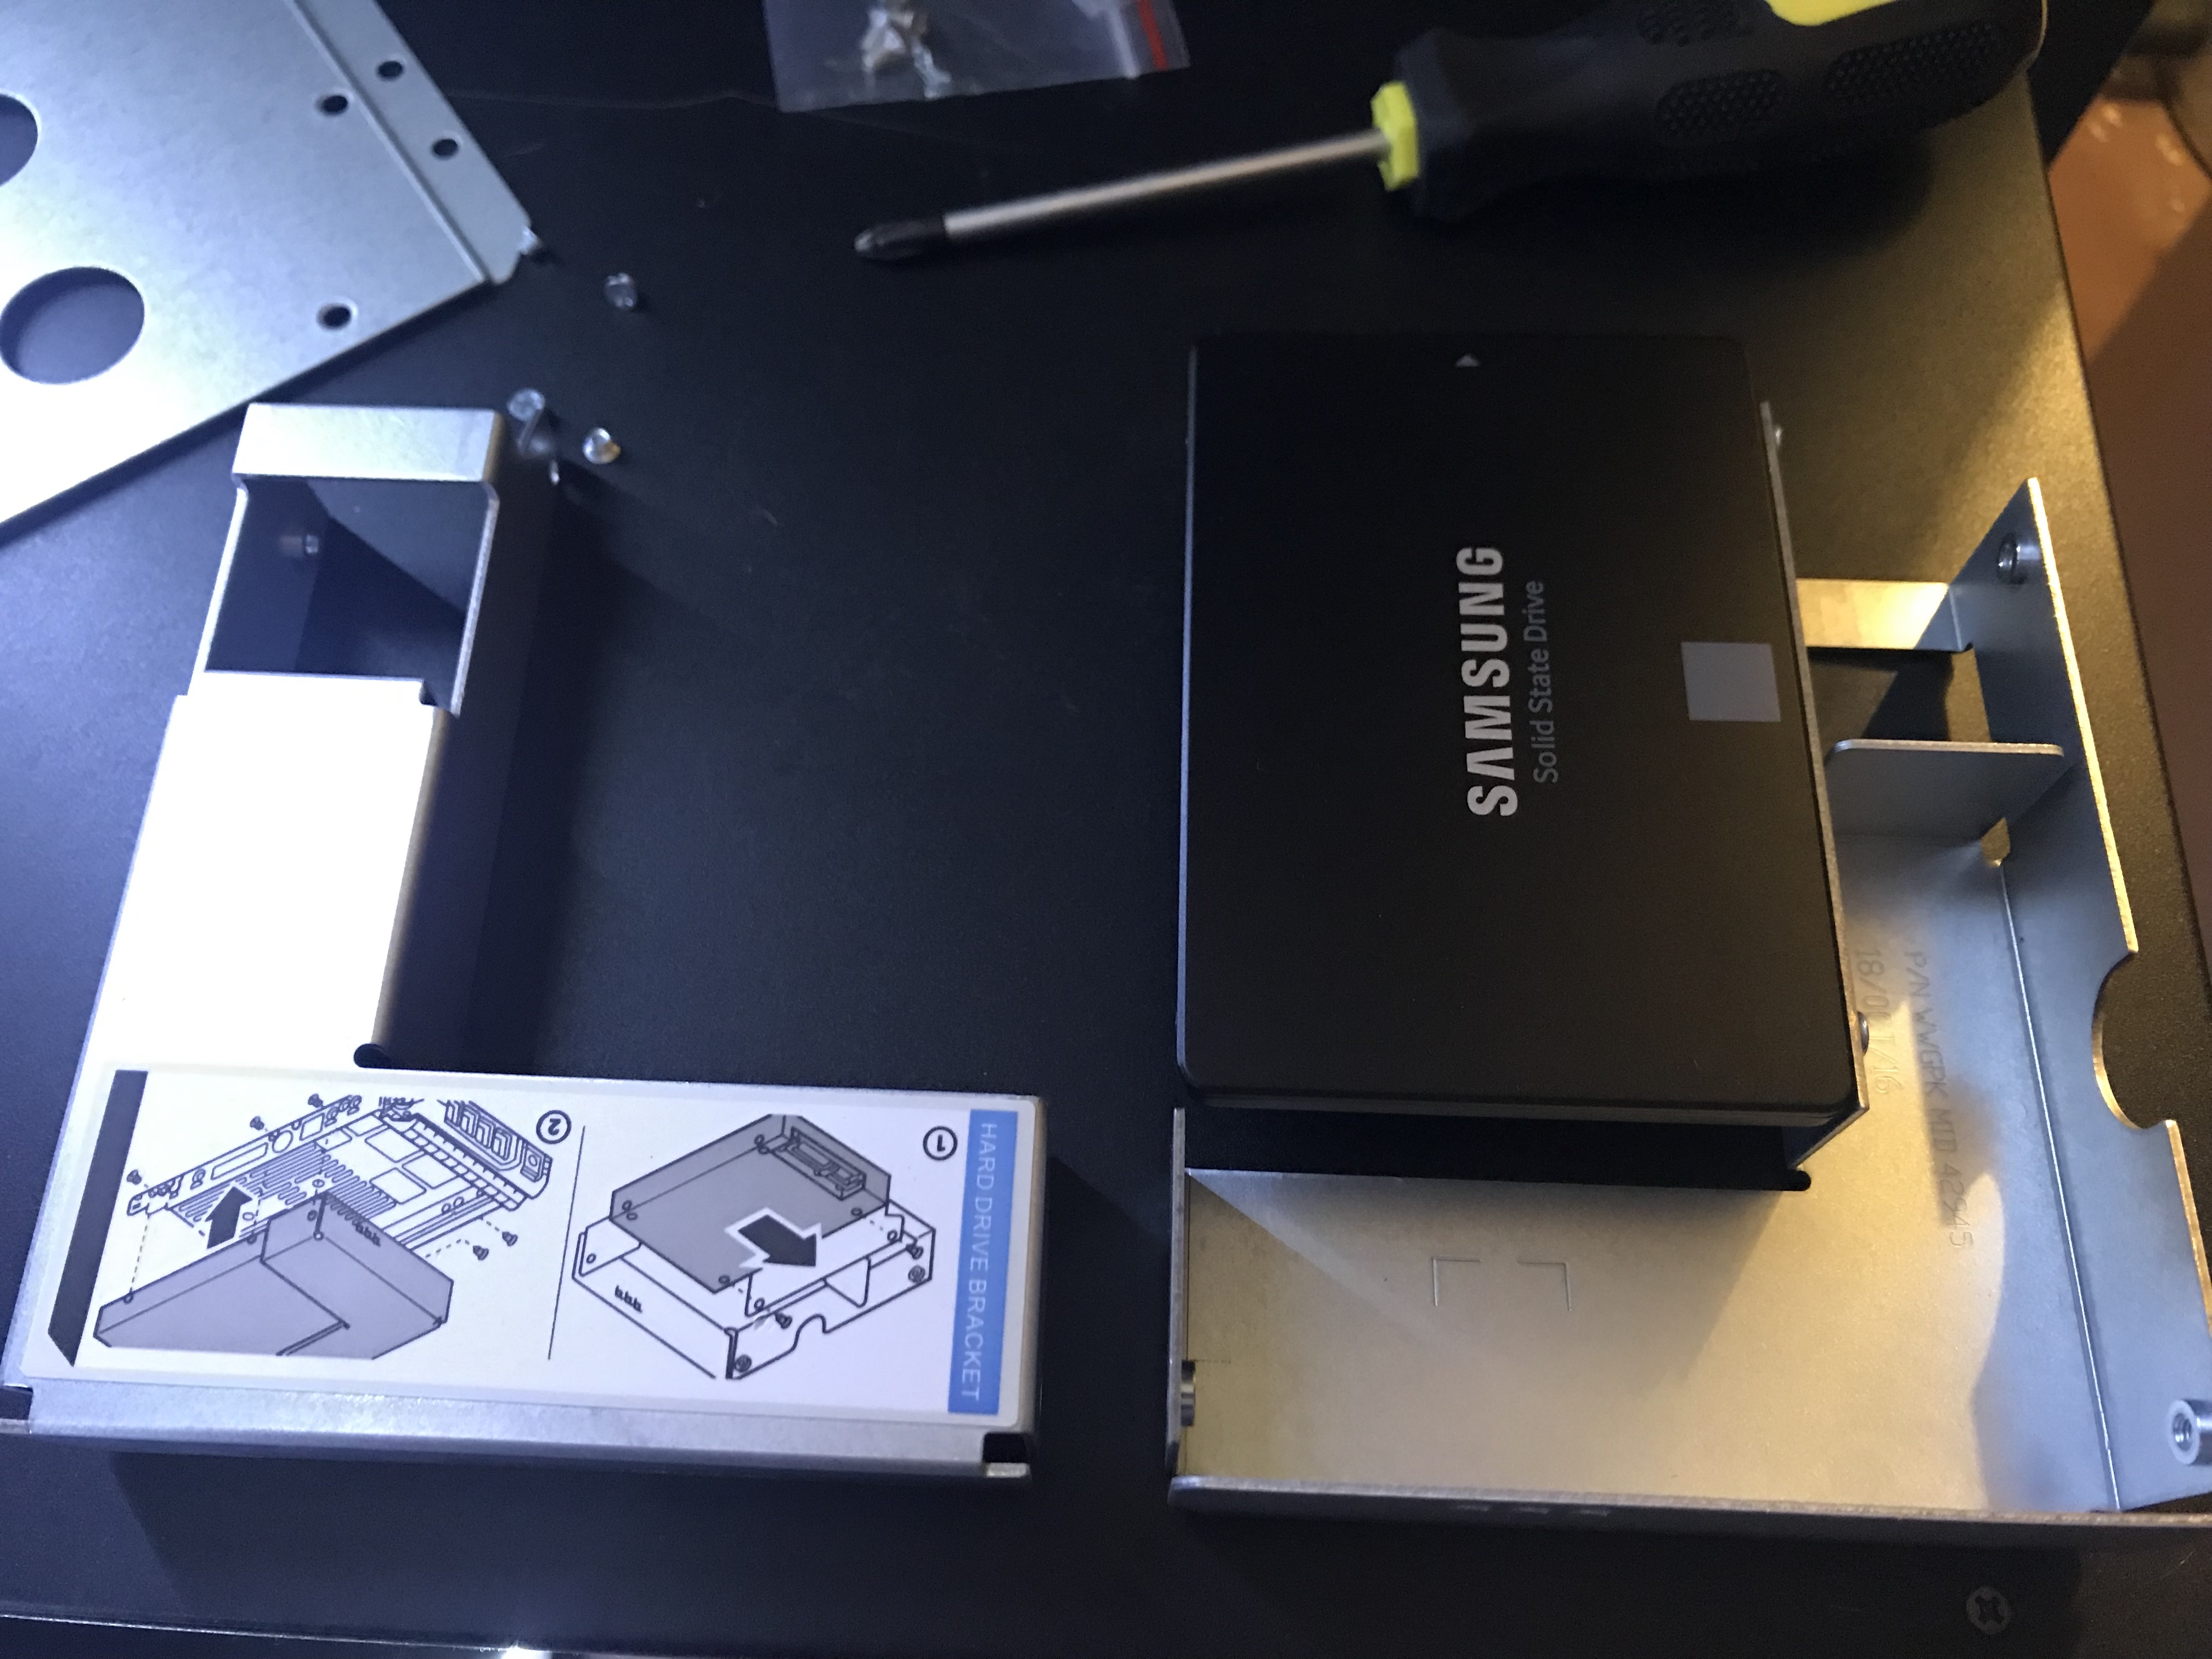
The two new Samsung EVO 860 250GB drives installed in the former SanDisk location.
With everything now in place, I rebooted.
Drives not found
The system could see the two SanDisk drives and the two Samsung drives, but none of the raidz2 array.
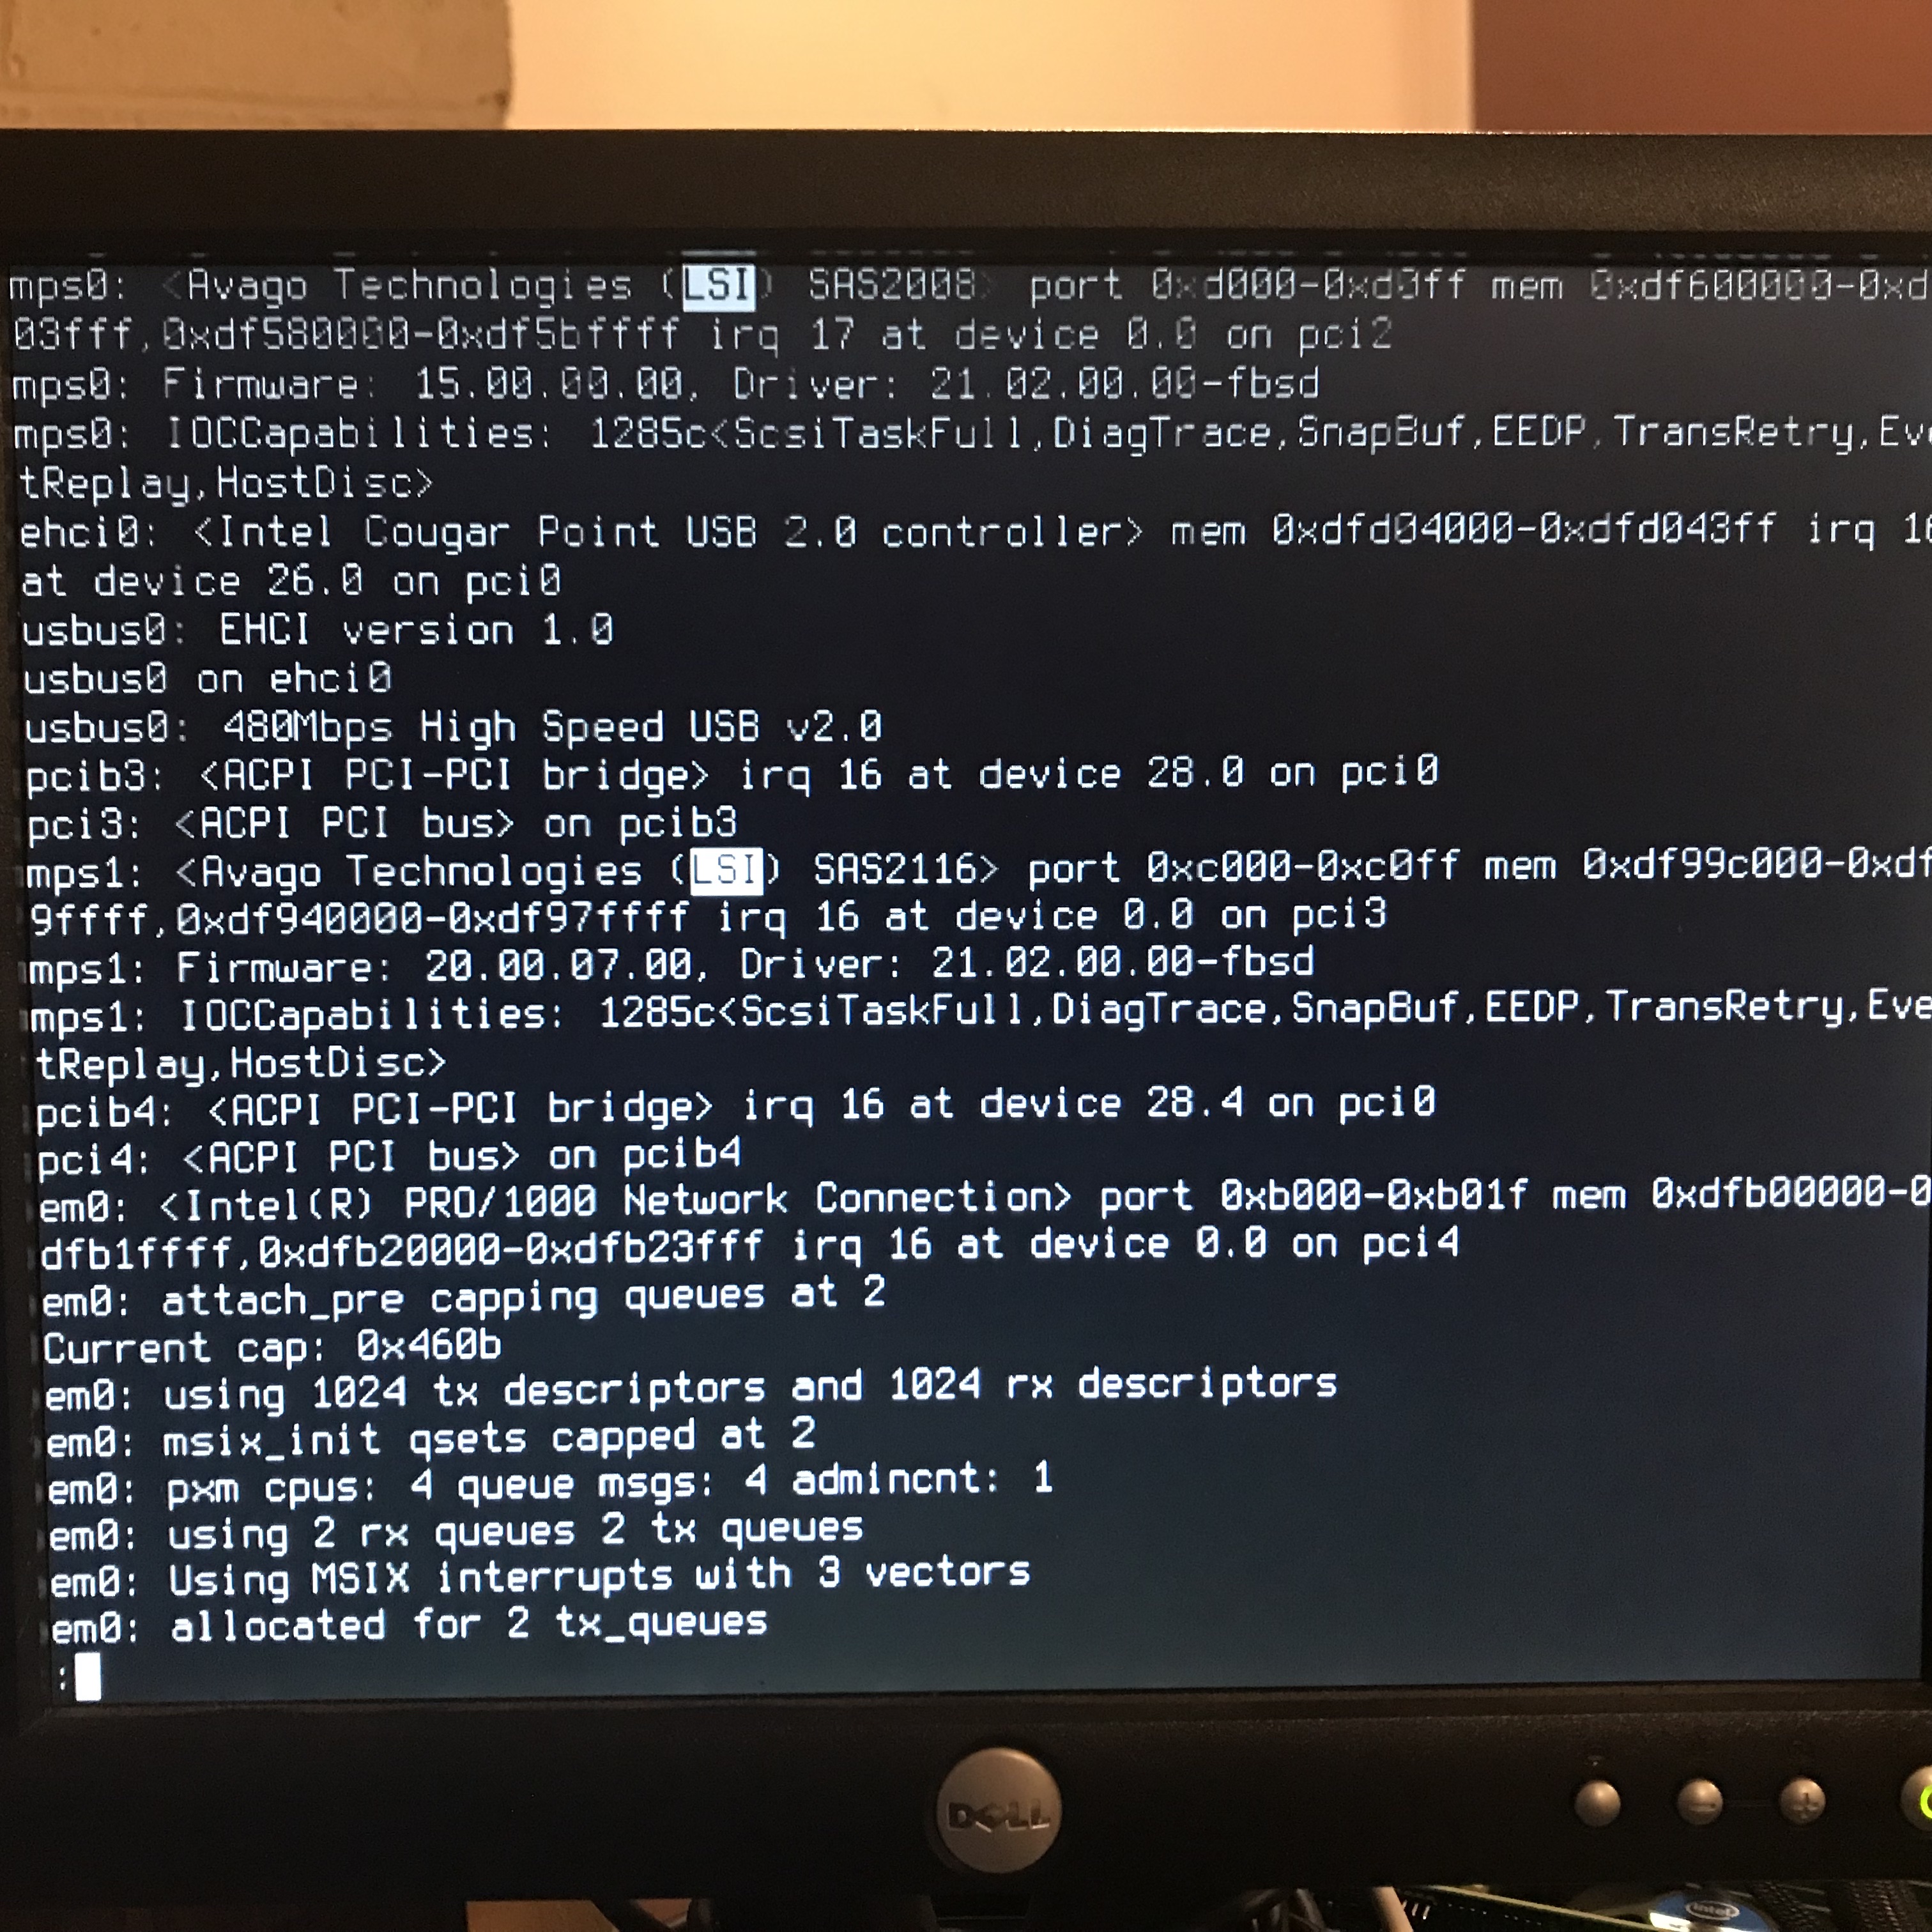
The newly added HBA was working, but not the existing HBA.
Swap the HBA slots
I really wanted to not use the SAS2116, mostly because I knew I had at least two SAS2008 HBA sitting around, somewhere. I could not find them.
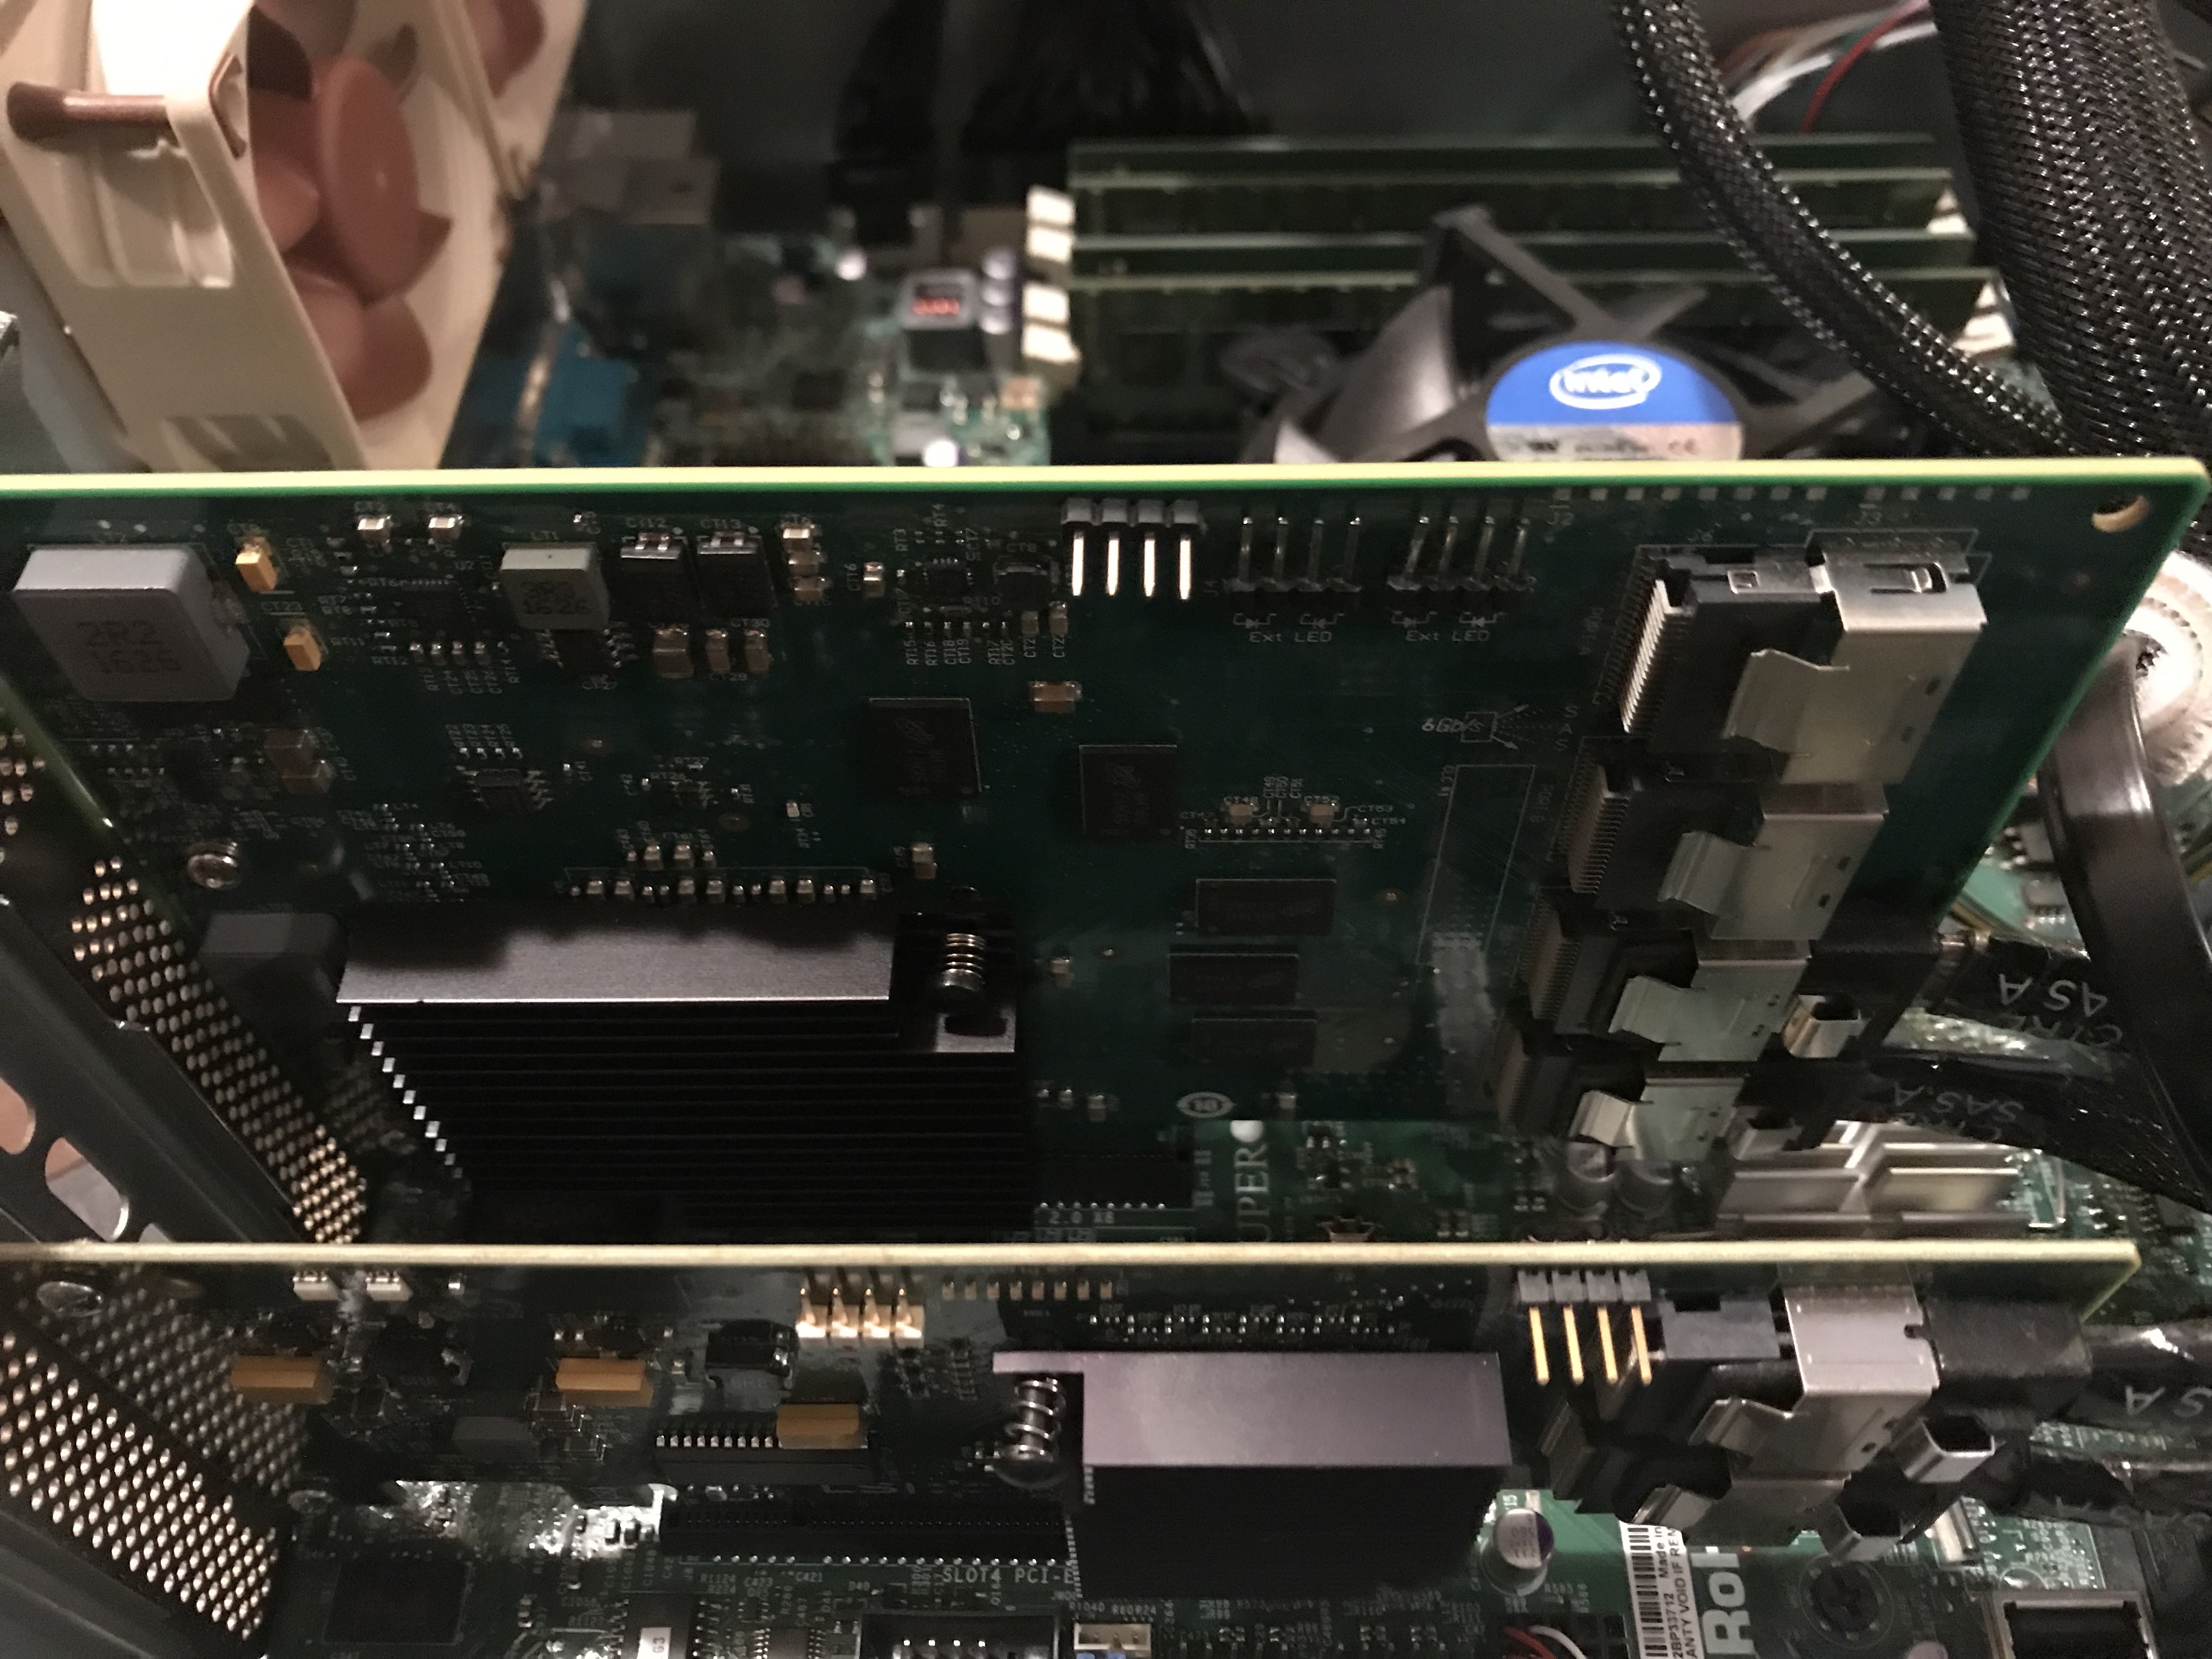
I eventually swapped the two HBA within the system and rebooted. That worked. These photos show the current locations.
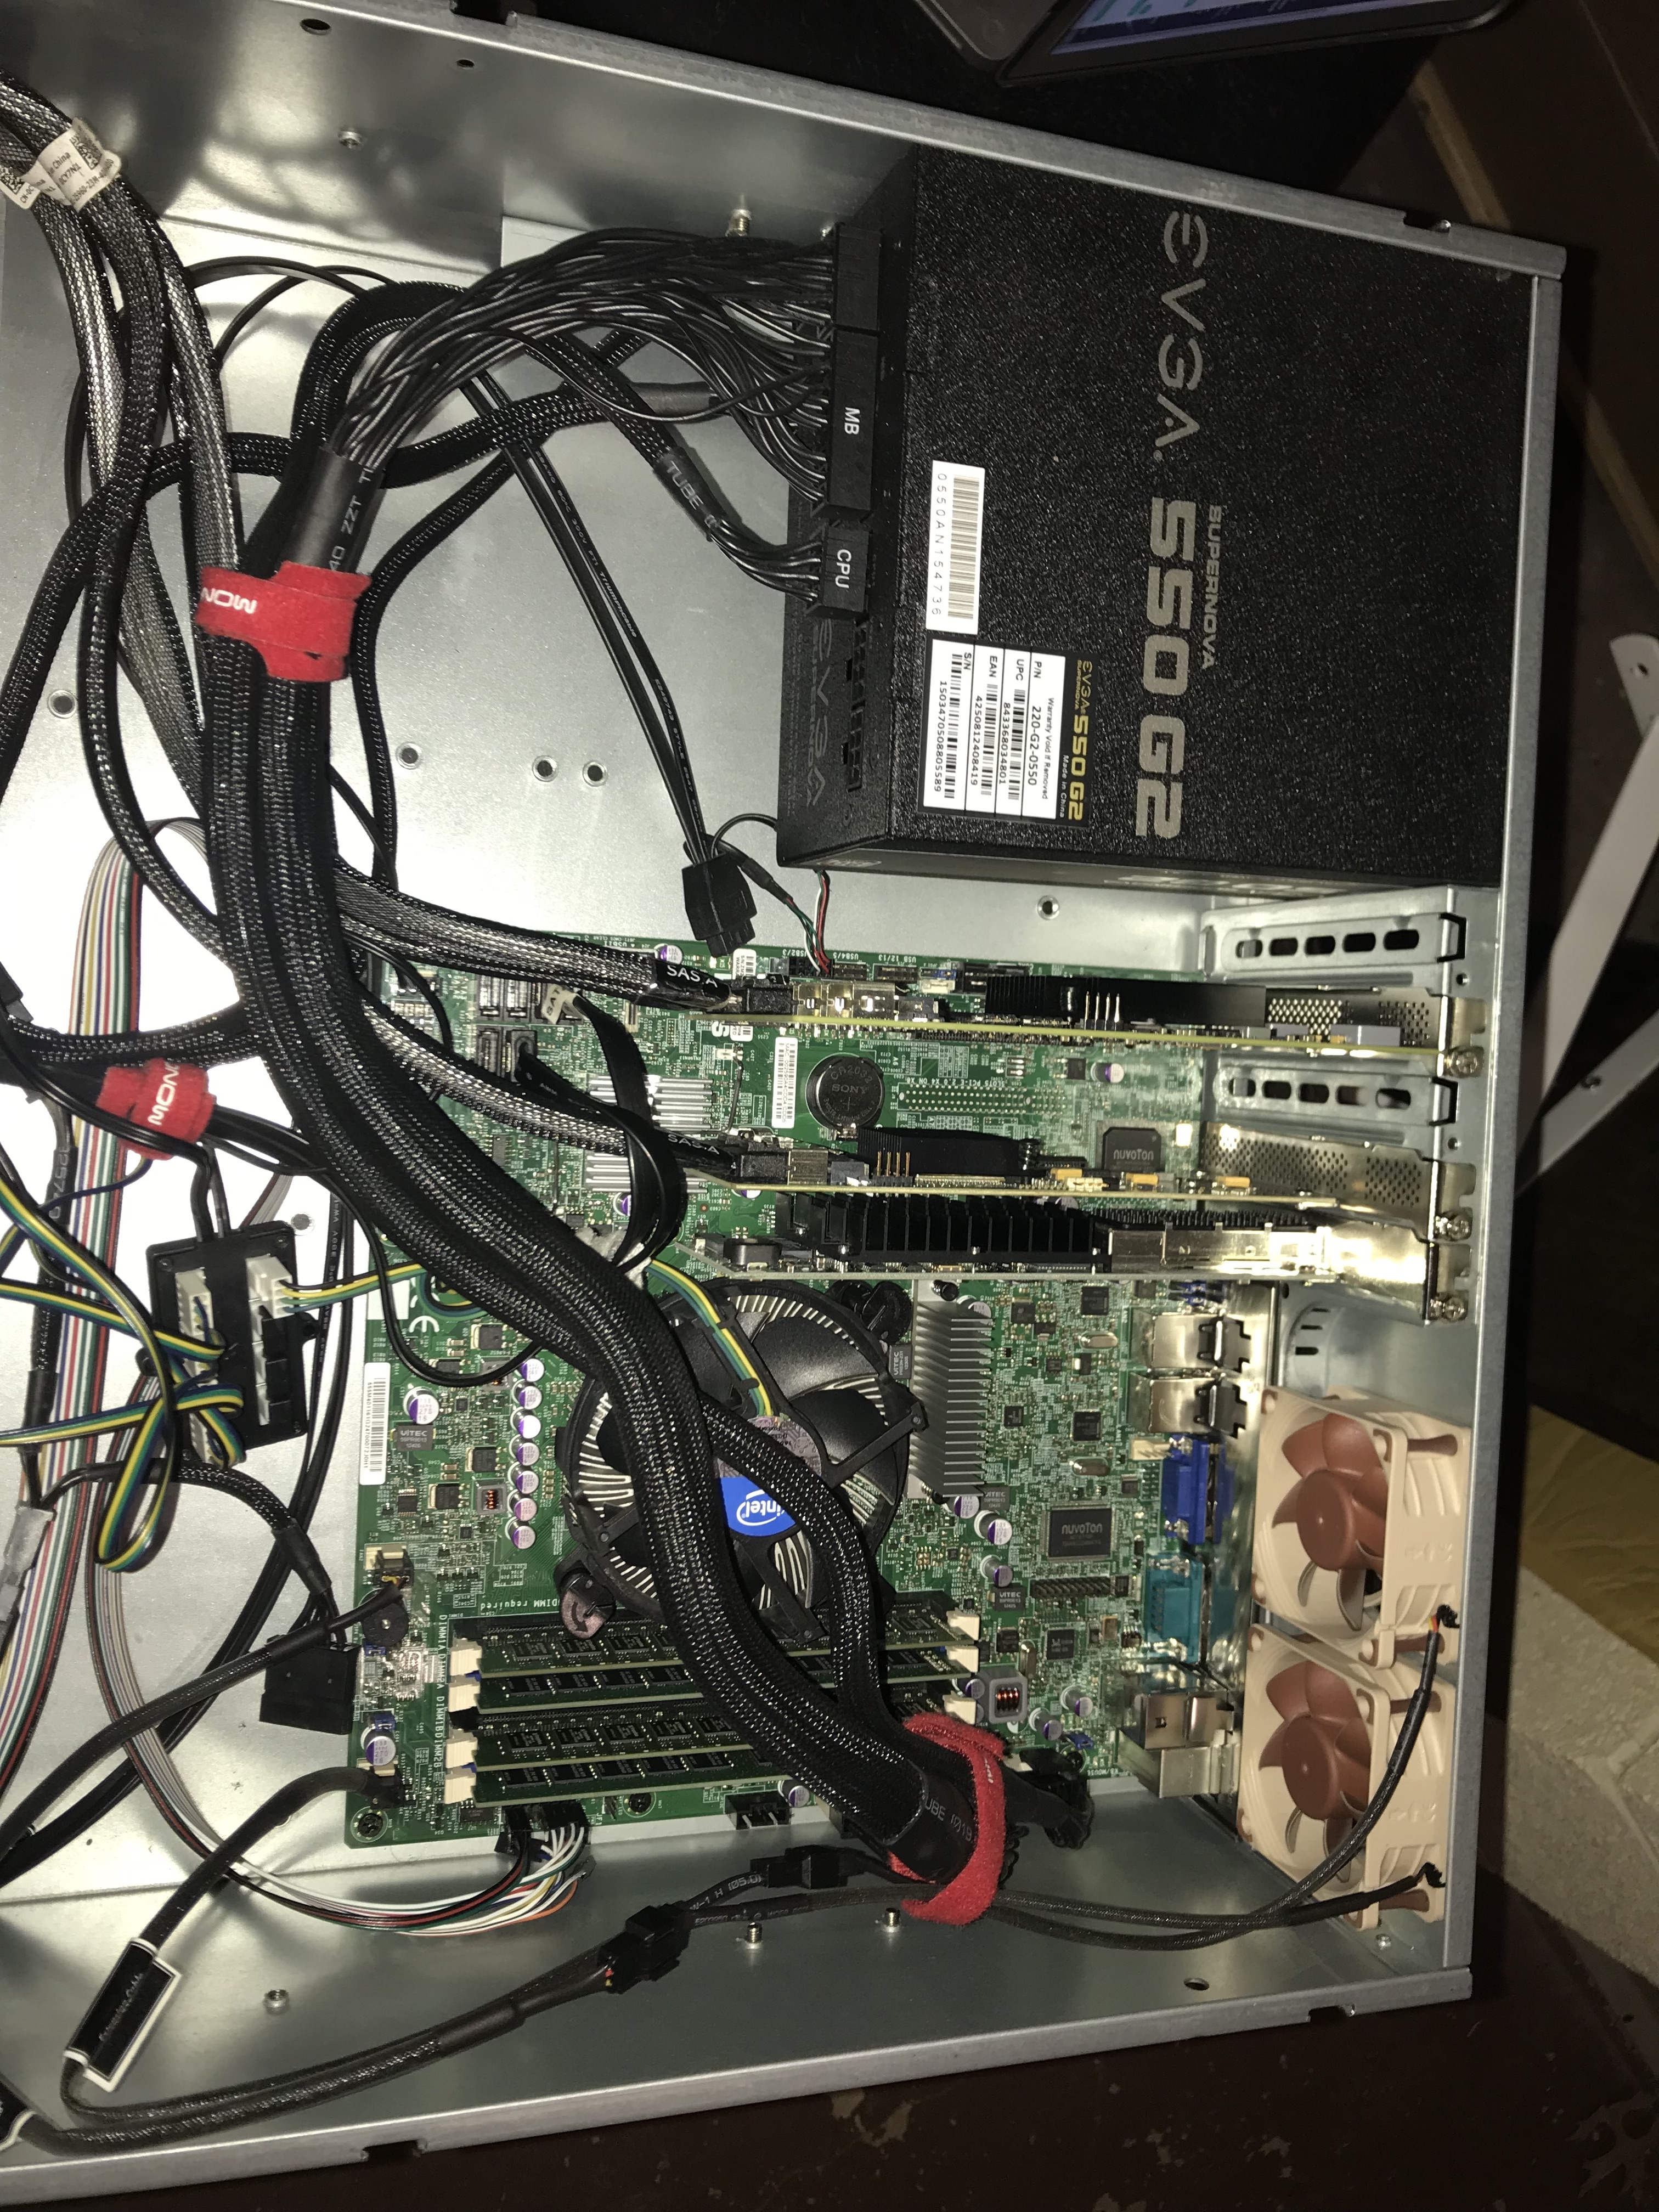
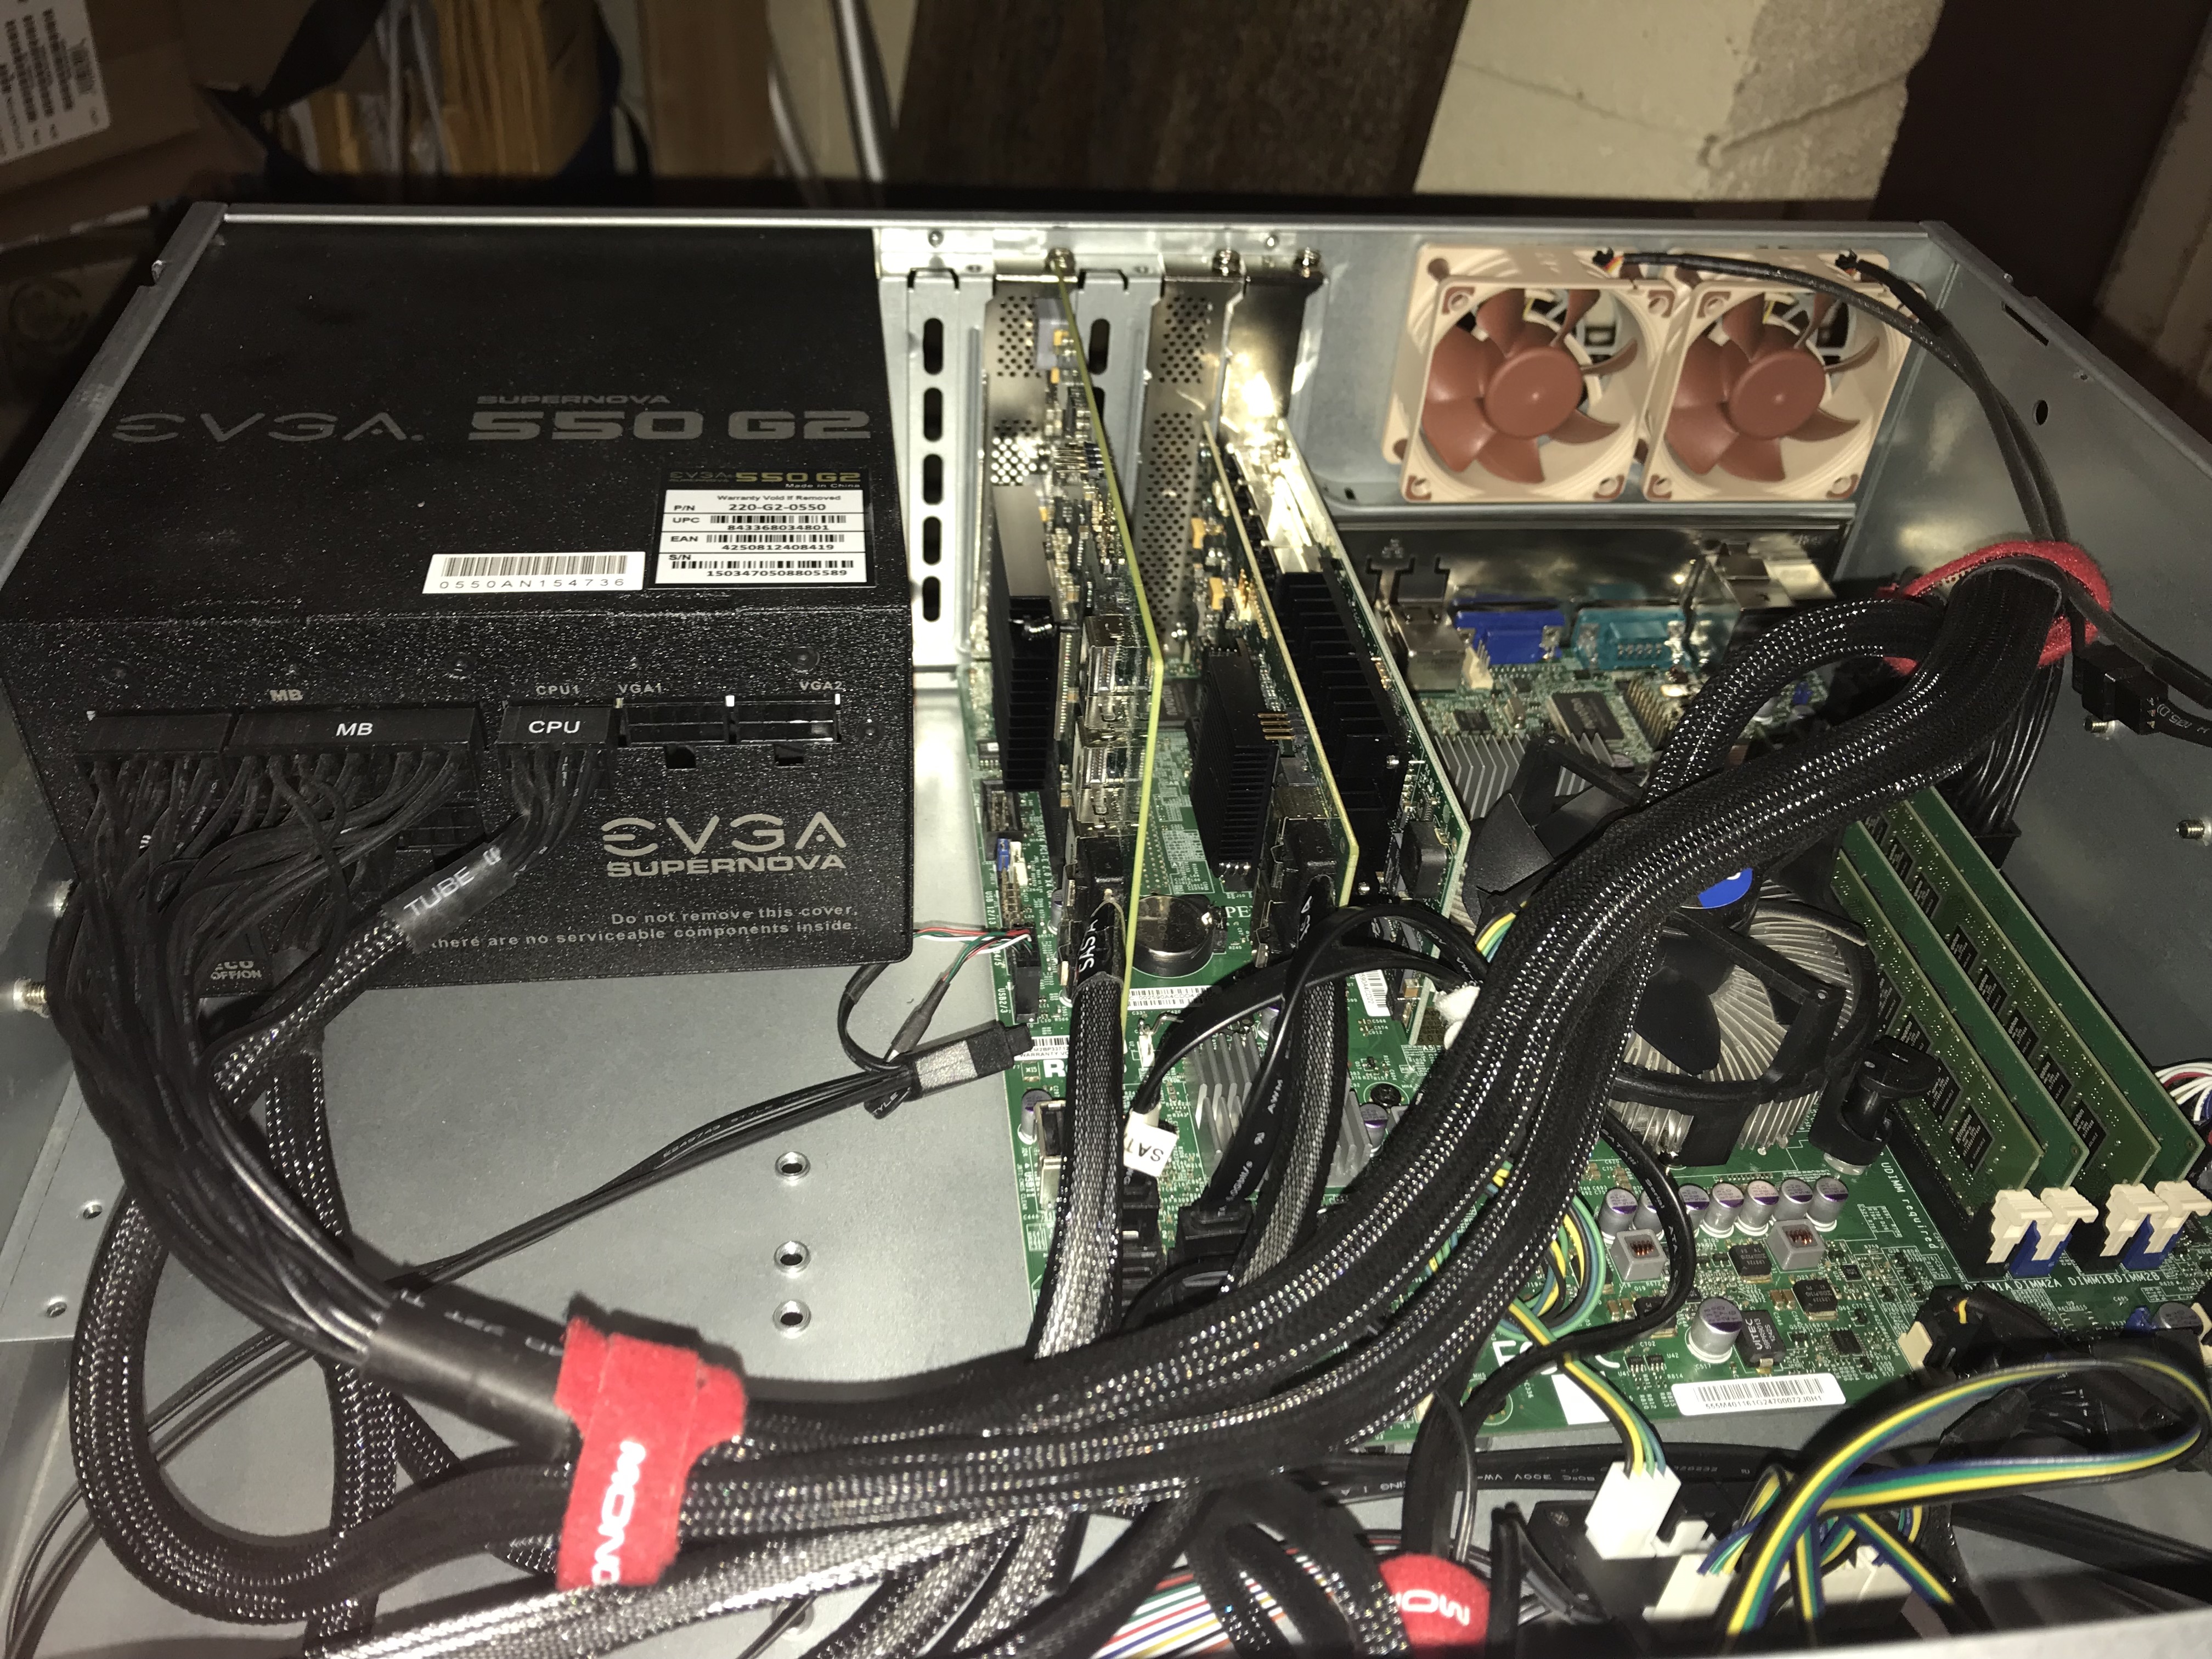
This photo shows the other drives on the original HBA after the swap. The two Samsung drives shown here are not the two drives used to create the new zroot zpool. These drives were already in the system.

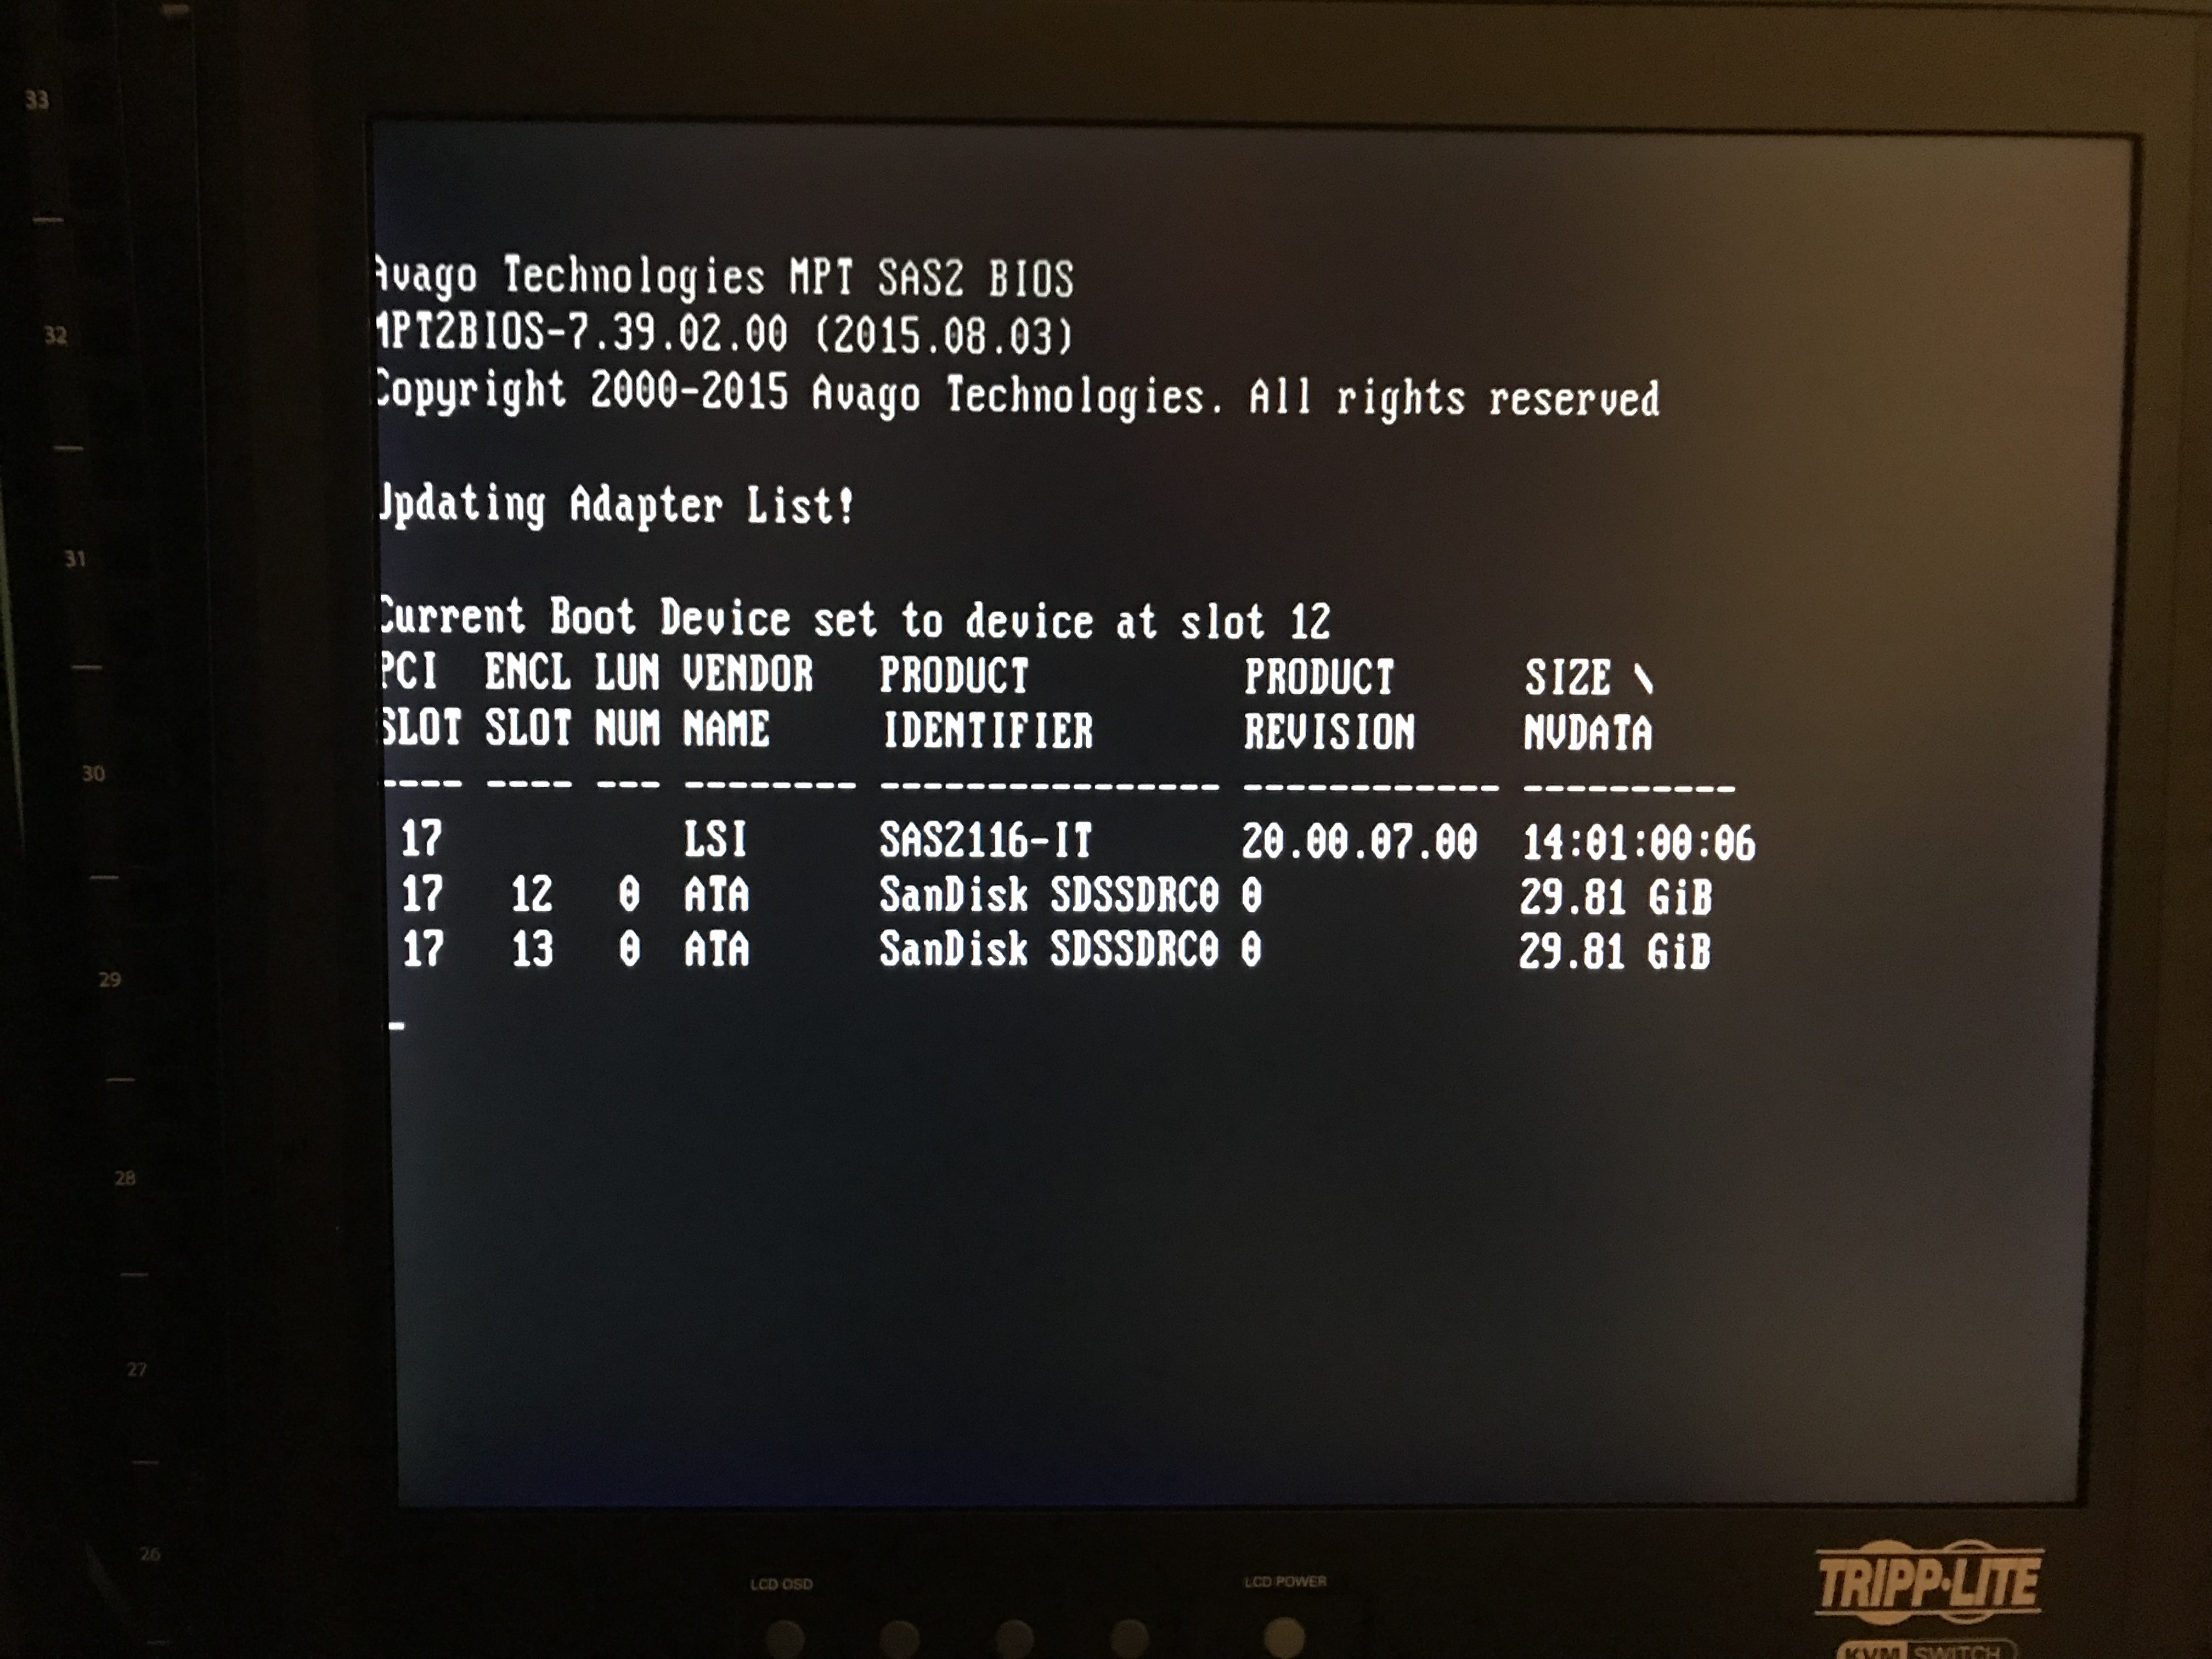
After a successful reboot, the boot messages show the two HBA:
mfsBSD
NOTE: I am not booting the live system. I am booting from a thumbdrive, using mfsBSD.
I downloaded a thumbdrive image, not the ISO image, and burned it to the thumbdrive using:
dd if=mfsbsd-se-12.0-RELEASE-amd64.img of=/dev/DISK bs=64k
Where
- DISK is the thumbdrive on which you want to install mfsBSD.
- mfsbsd-se-12.0-RELEASE-amd64.img is the drive image you downloaded
I always download the special edition versions.
Also keep in mind that although I did everything from the console, you can network with mfsBSD, just start the dhclient or run ifconfig to suit.
Configuring the new drives
These photos document the commands used to configure the drives into a zpool.
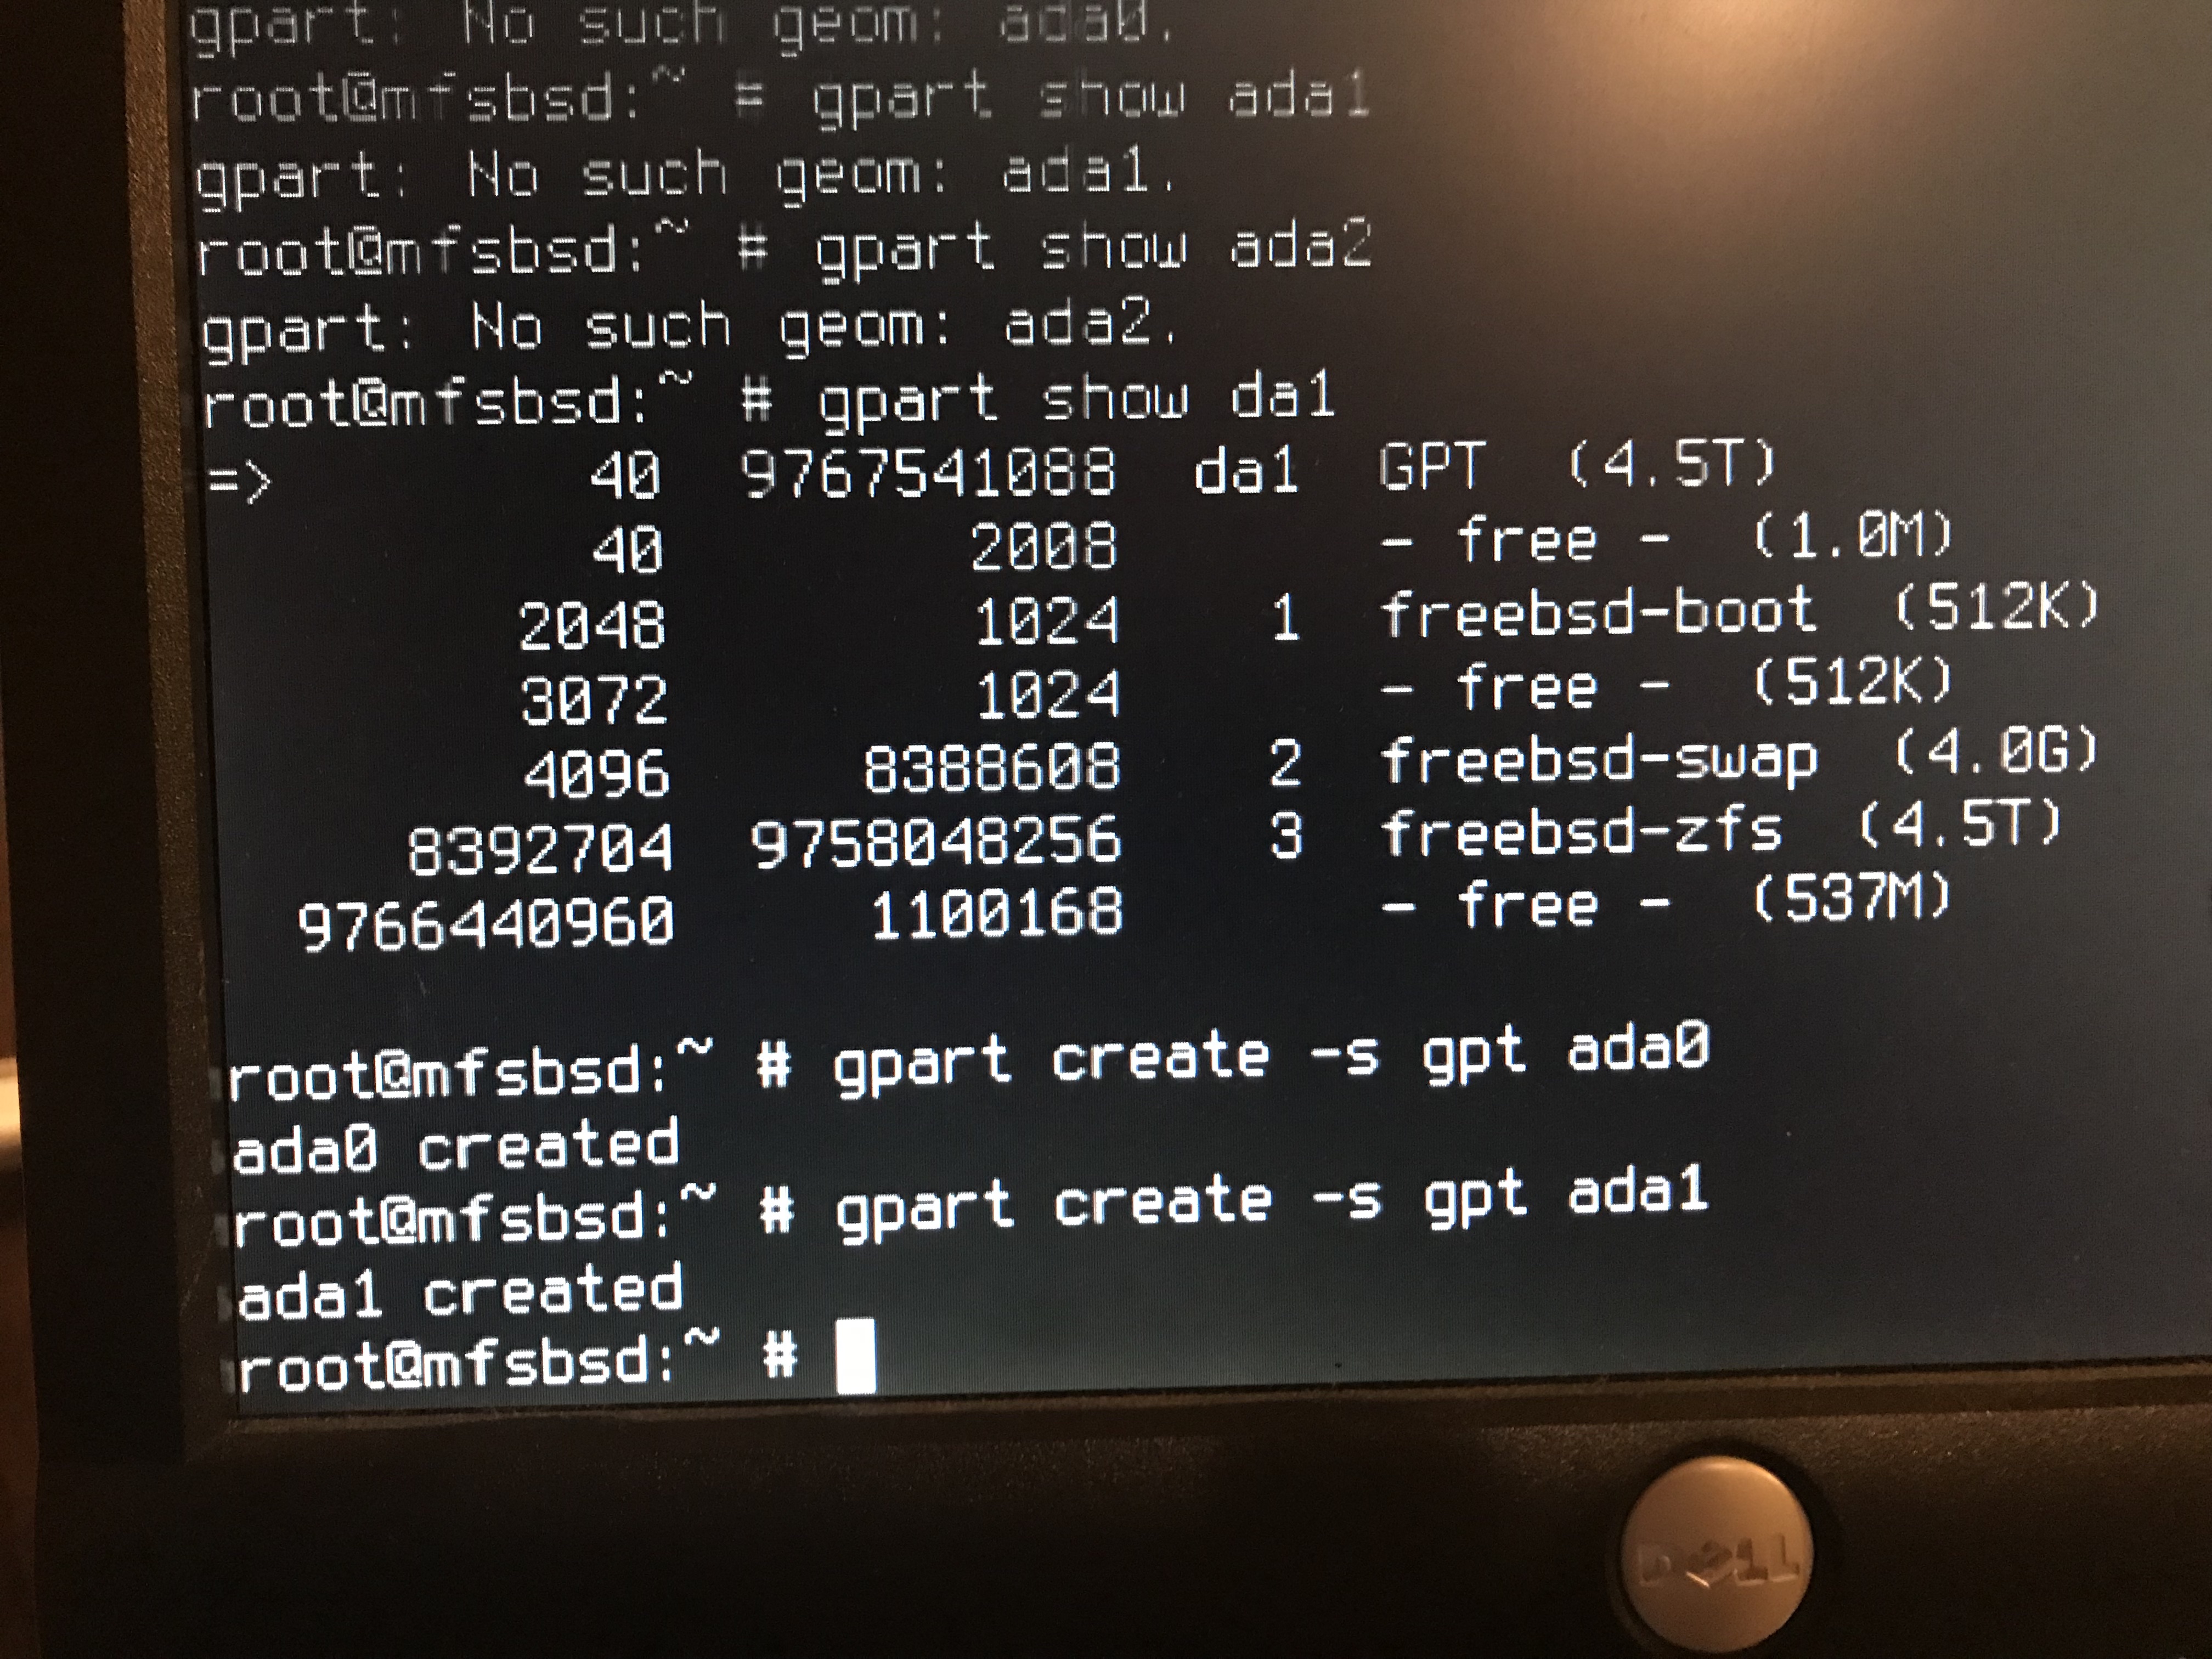
First step:
gpart create -s gpt ada0
At the top of the photo, you can see the partition configuration from an existing drive in the raidz2 array. This will be used as reference when creating the partitions on the two new SSDs.
Create the boot partition: gpart add -a 4k -s 512k -t freebsd-boot ada0

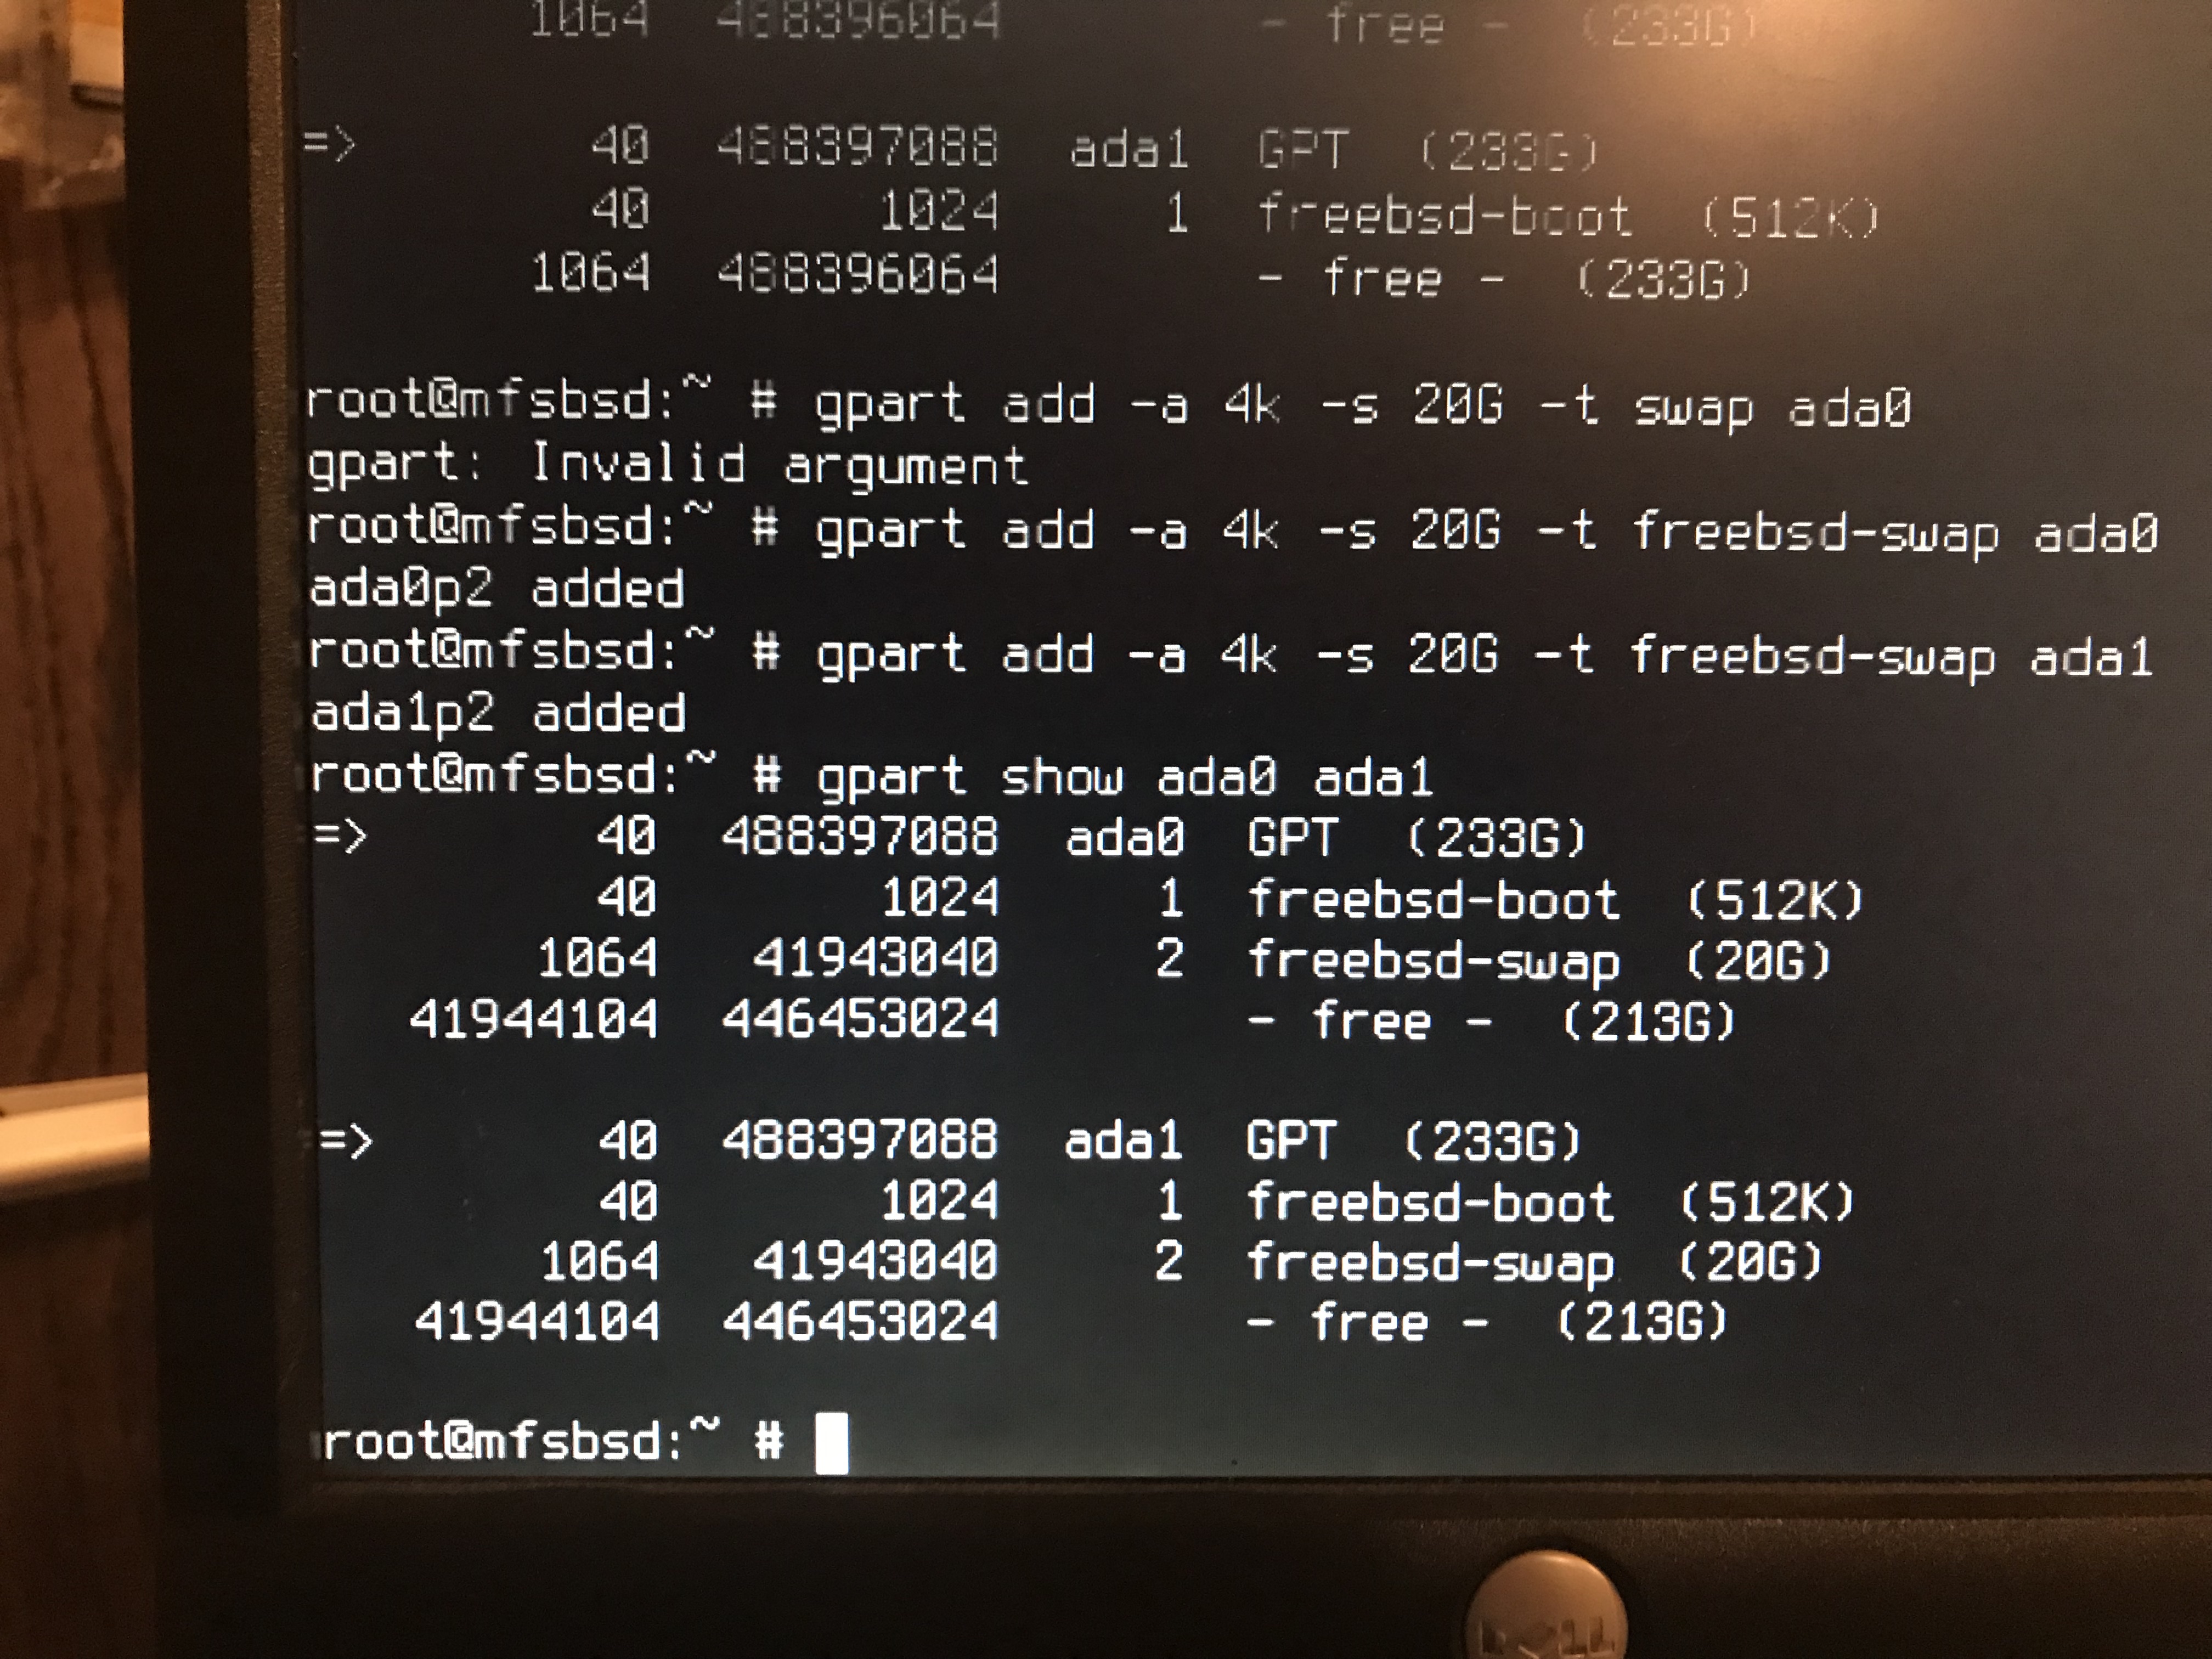
Create the swap partition:
gpart add -a 4k -s 20G -t freebsd-swap ada0
20G? Why 20G?
Because I can.
Create the ZFS partition:
gpart add -a 4k -t freebsd-zfs ada0
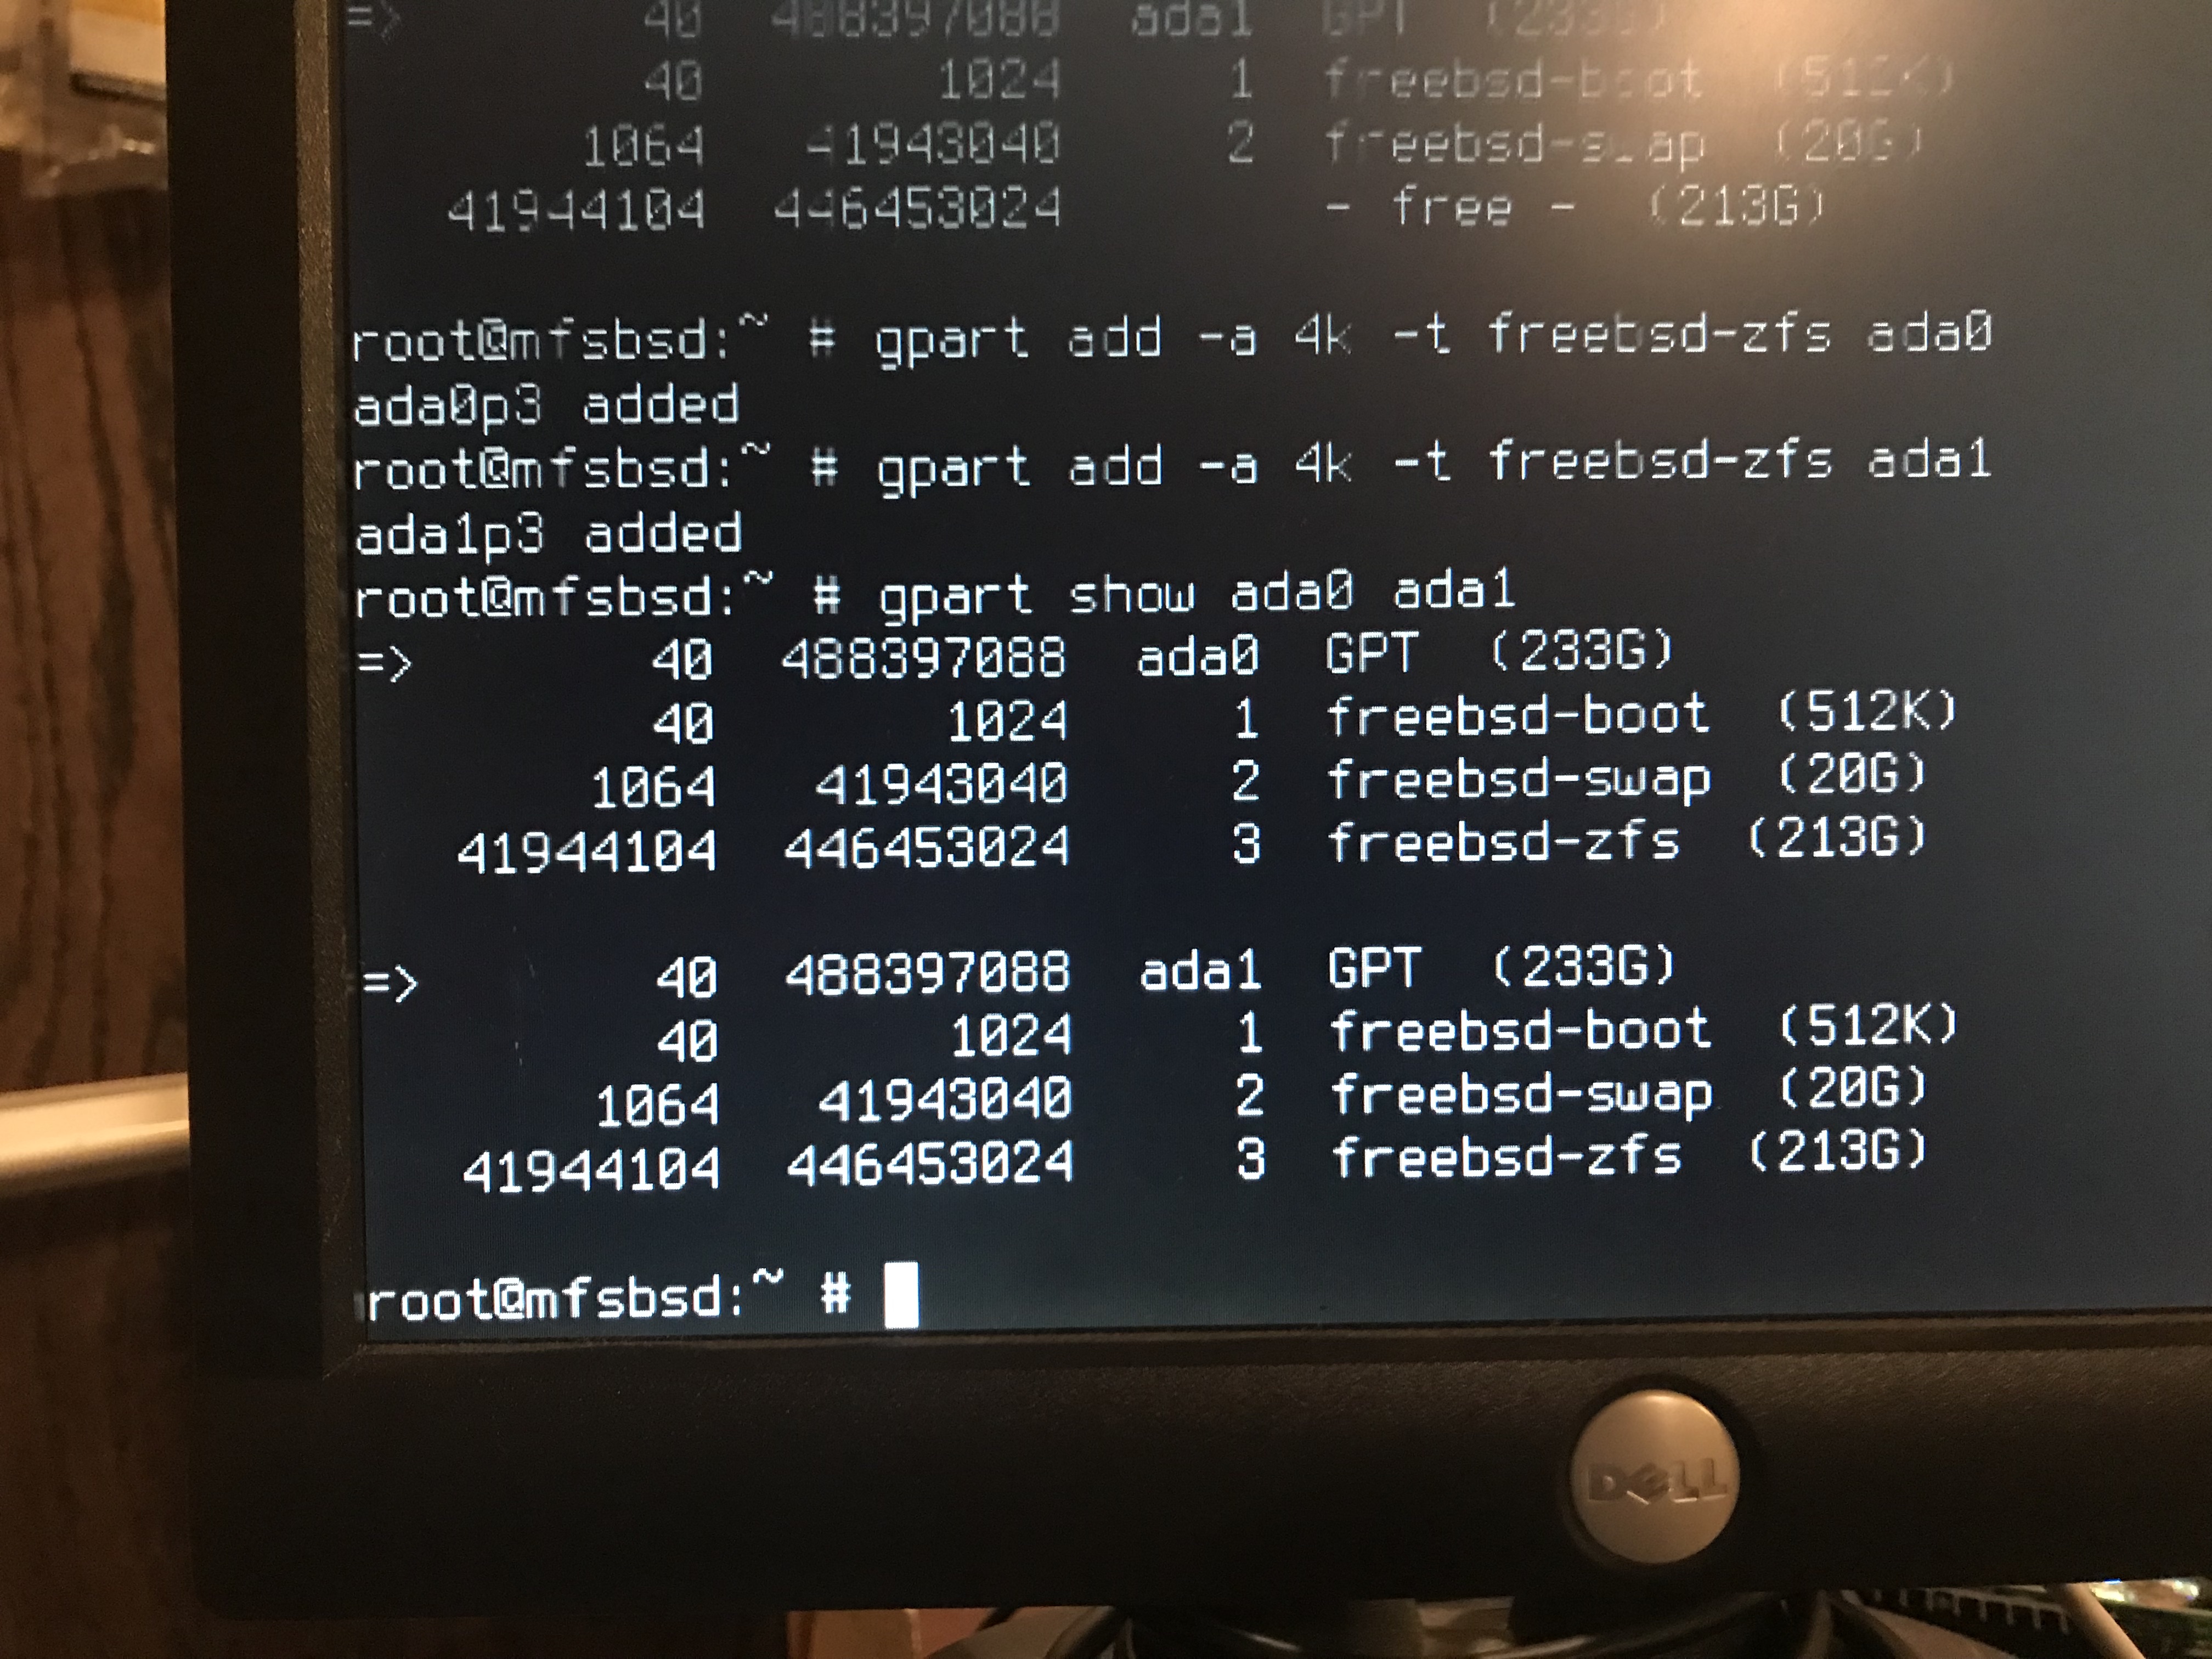
I could have done this command in combination with the previous command, but I didn’t.
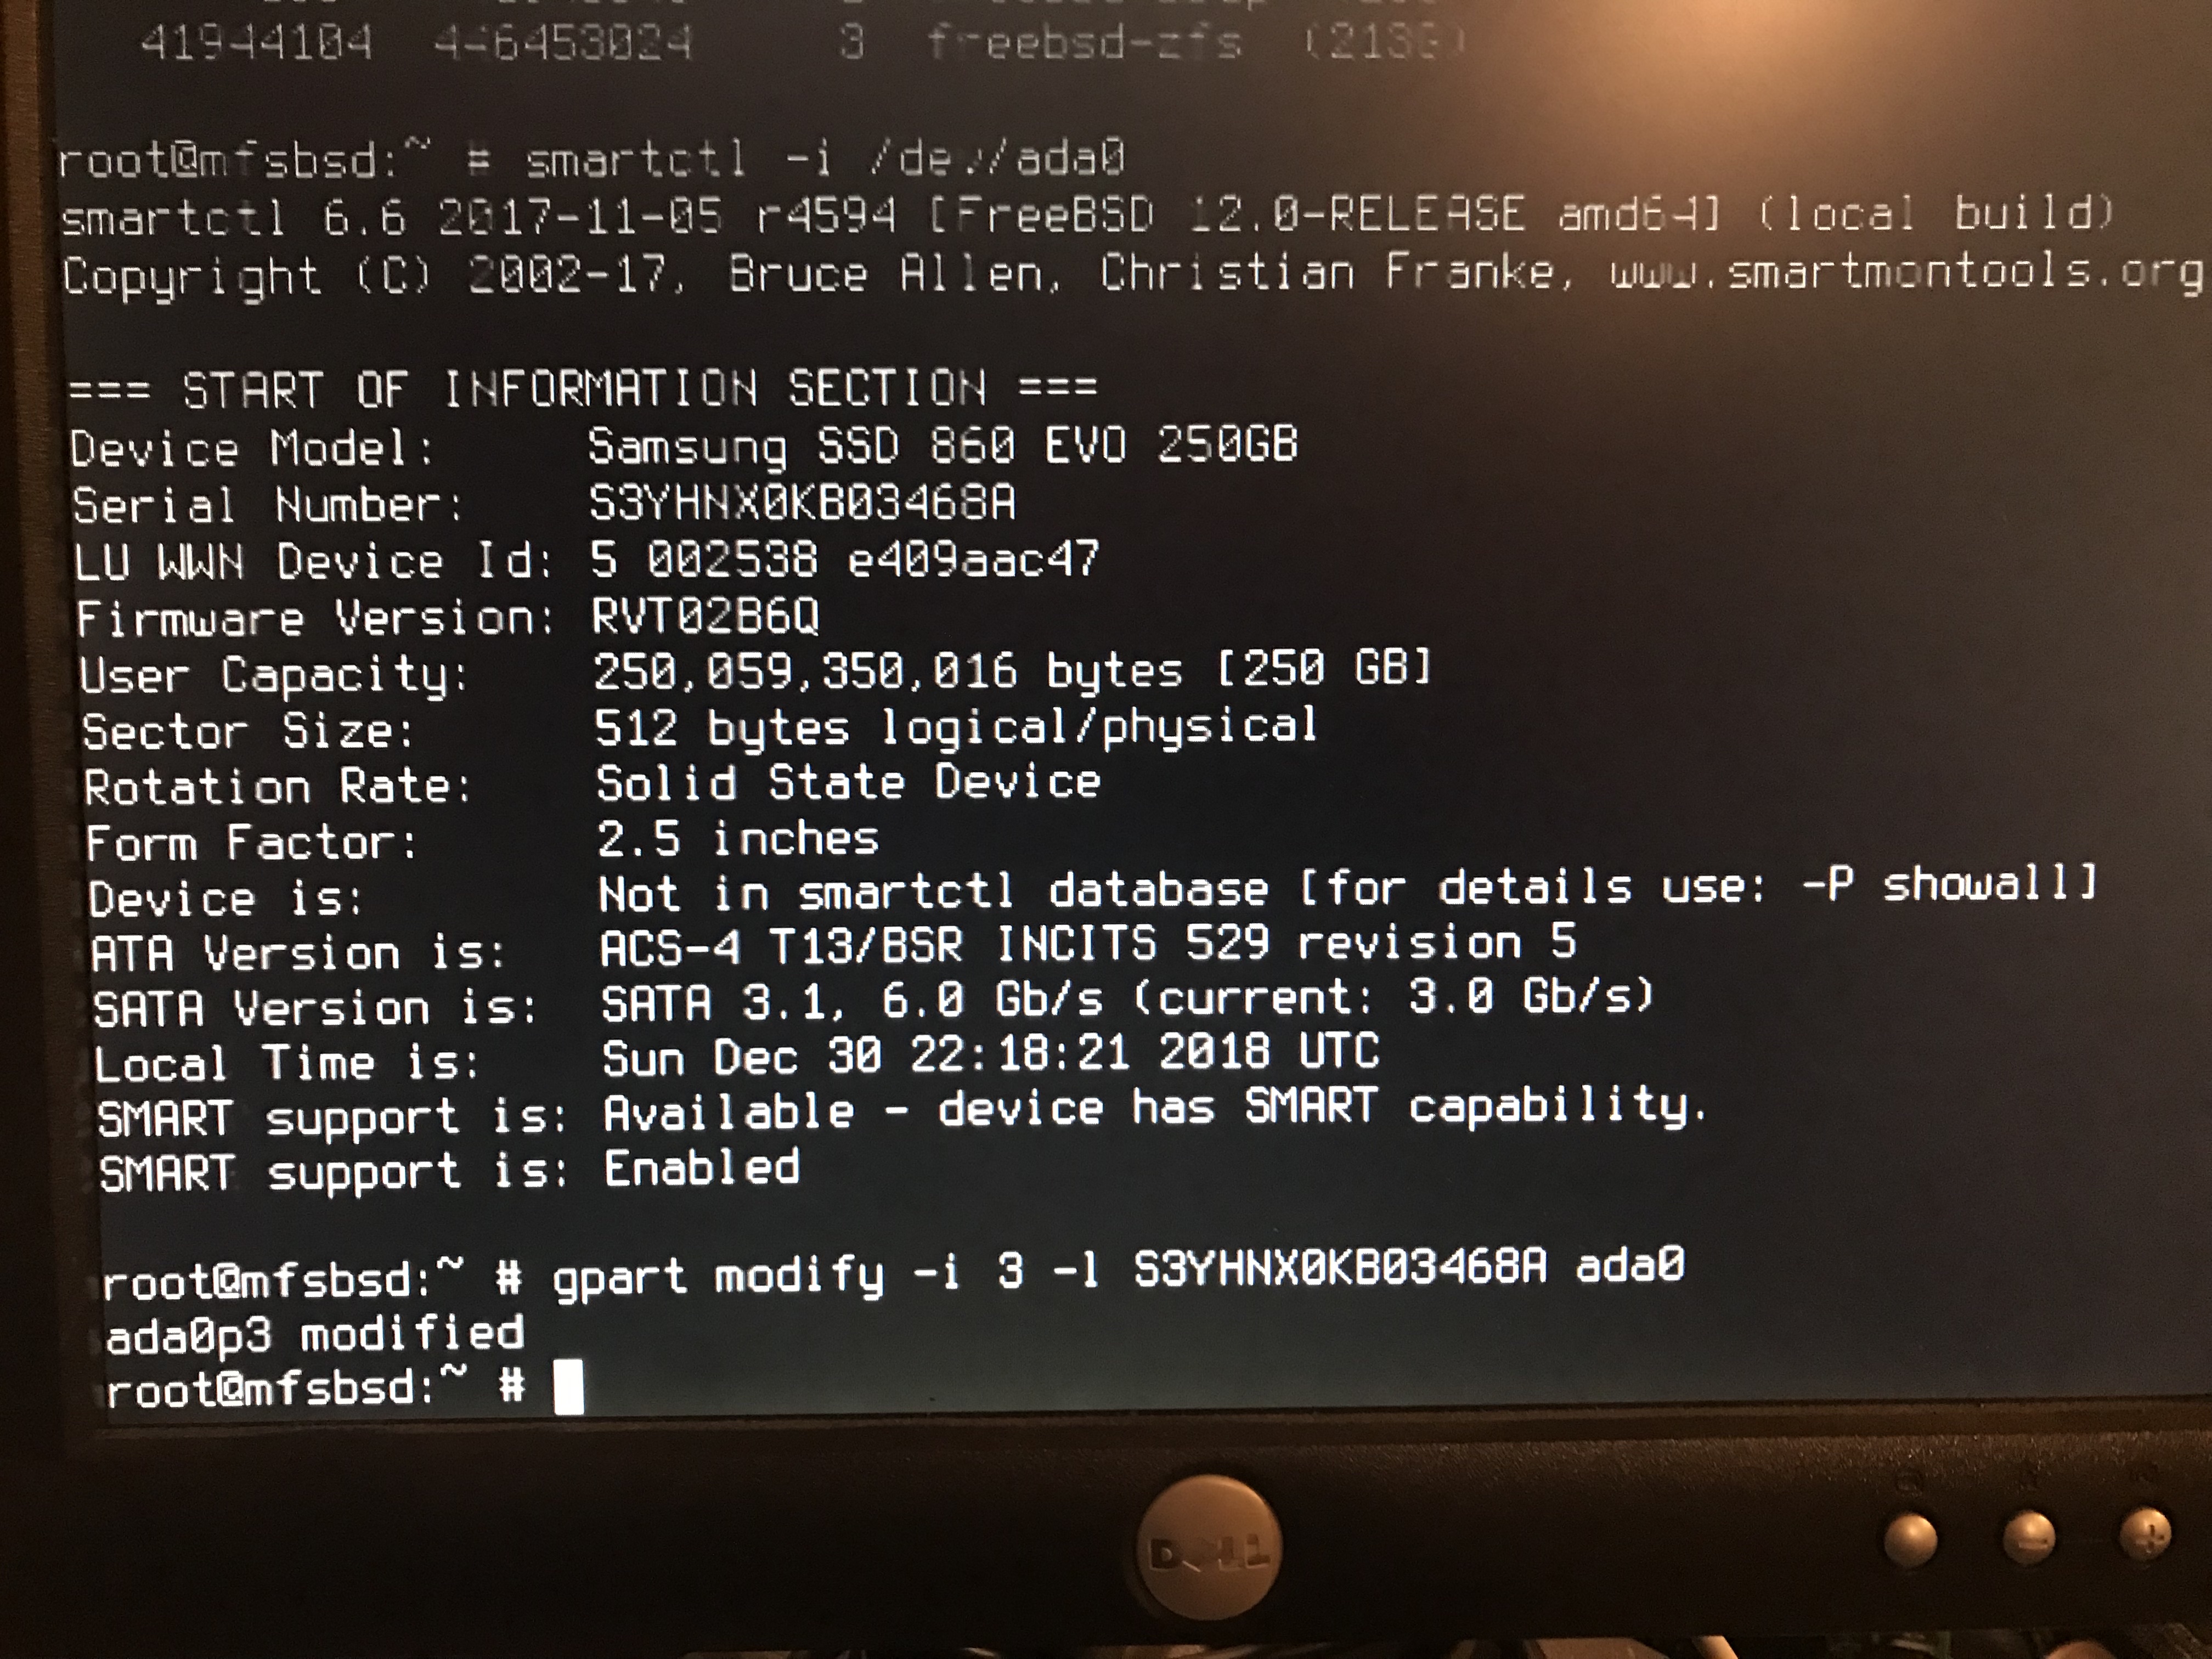
This labels the partition with the serial number of the drive, as obtained via smartctl.
gpart modify -i 3 -l SERIAL ada0
This photo shows us the partitions, and the labels.

Create the zroot zpool
Creating the zpool is done using the gpt labels / devices, and not by specifying the partitions directly (e.g. /dev/ada0p3). This allows zpool status to show us the serial numbers, not the device names. This can be useful information.
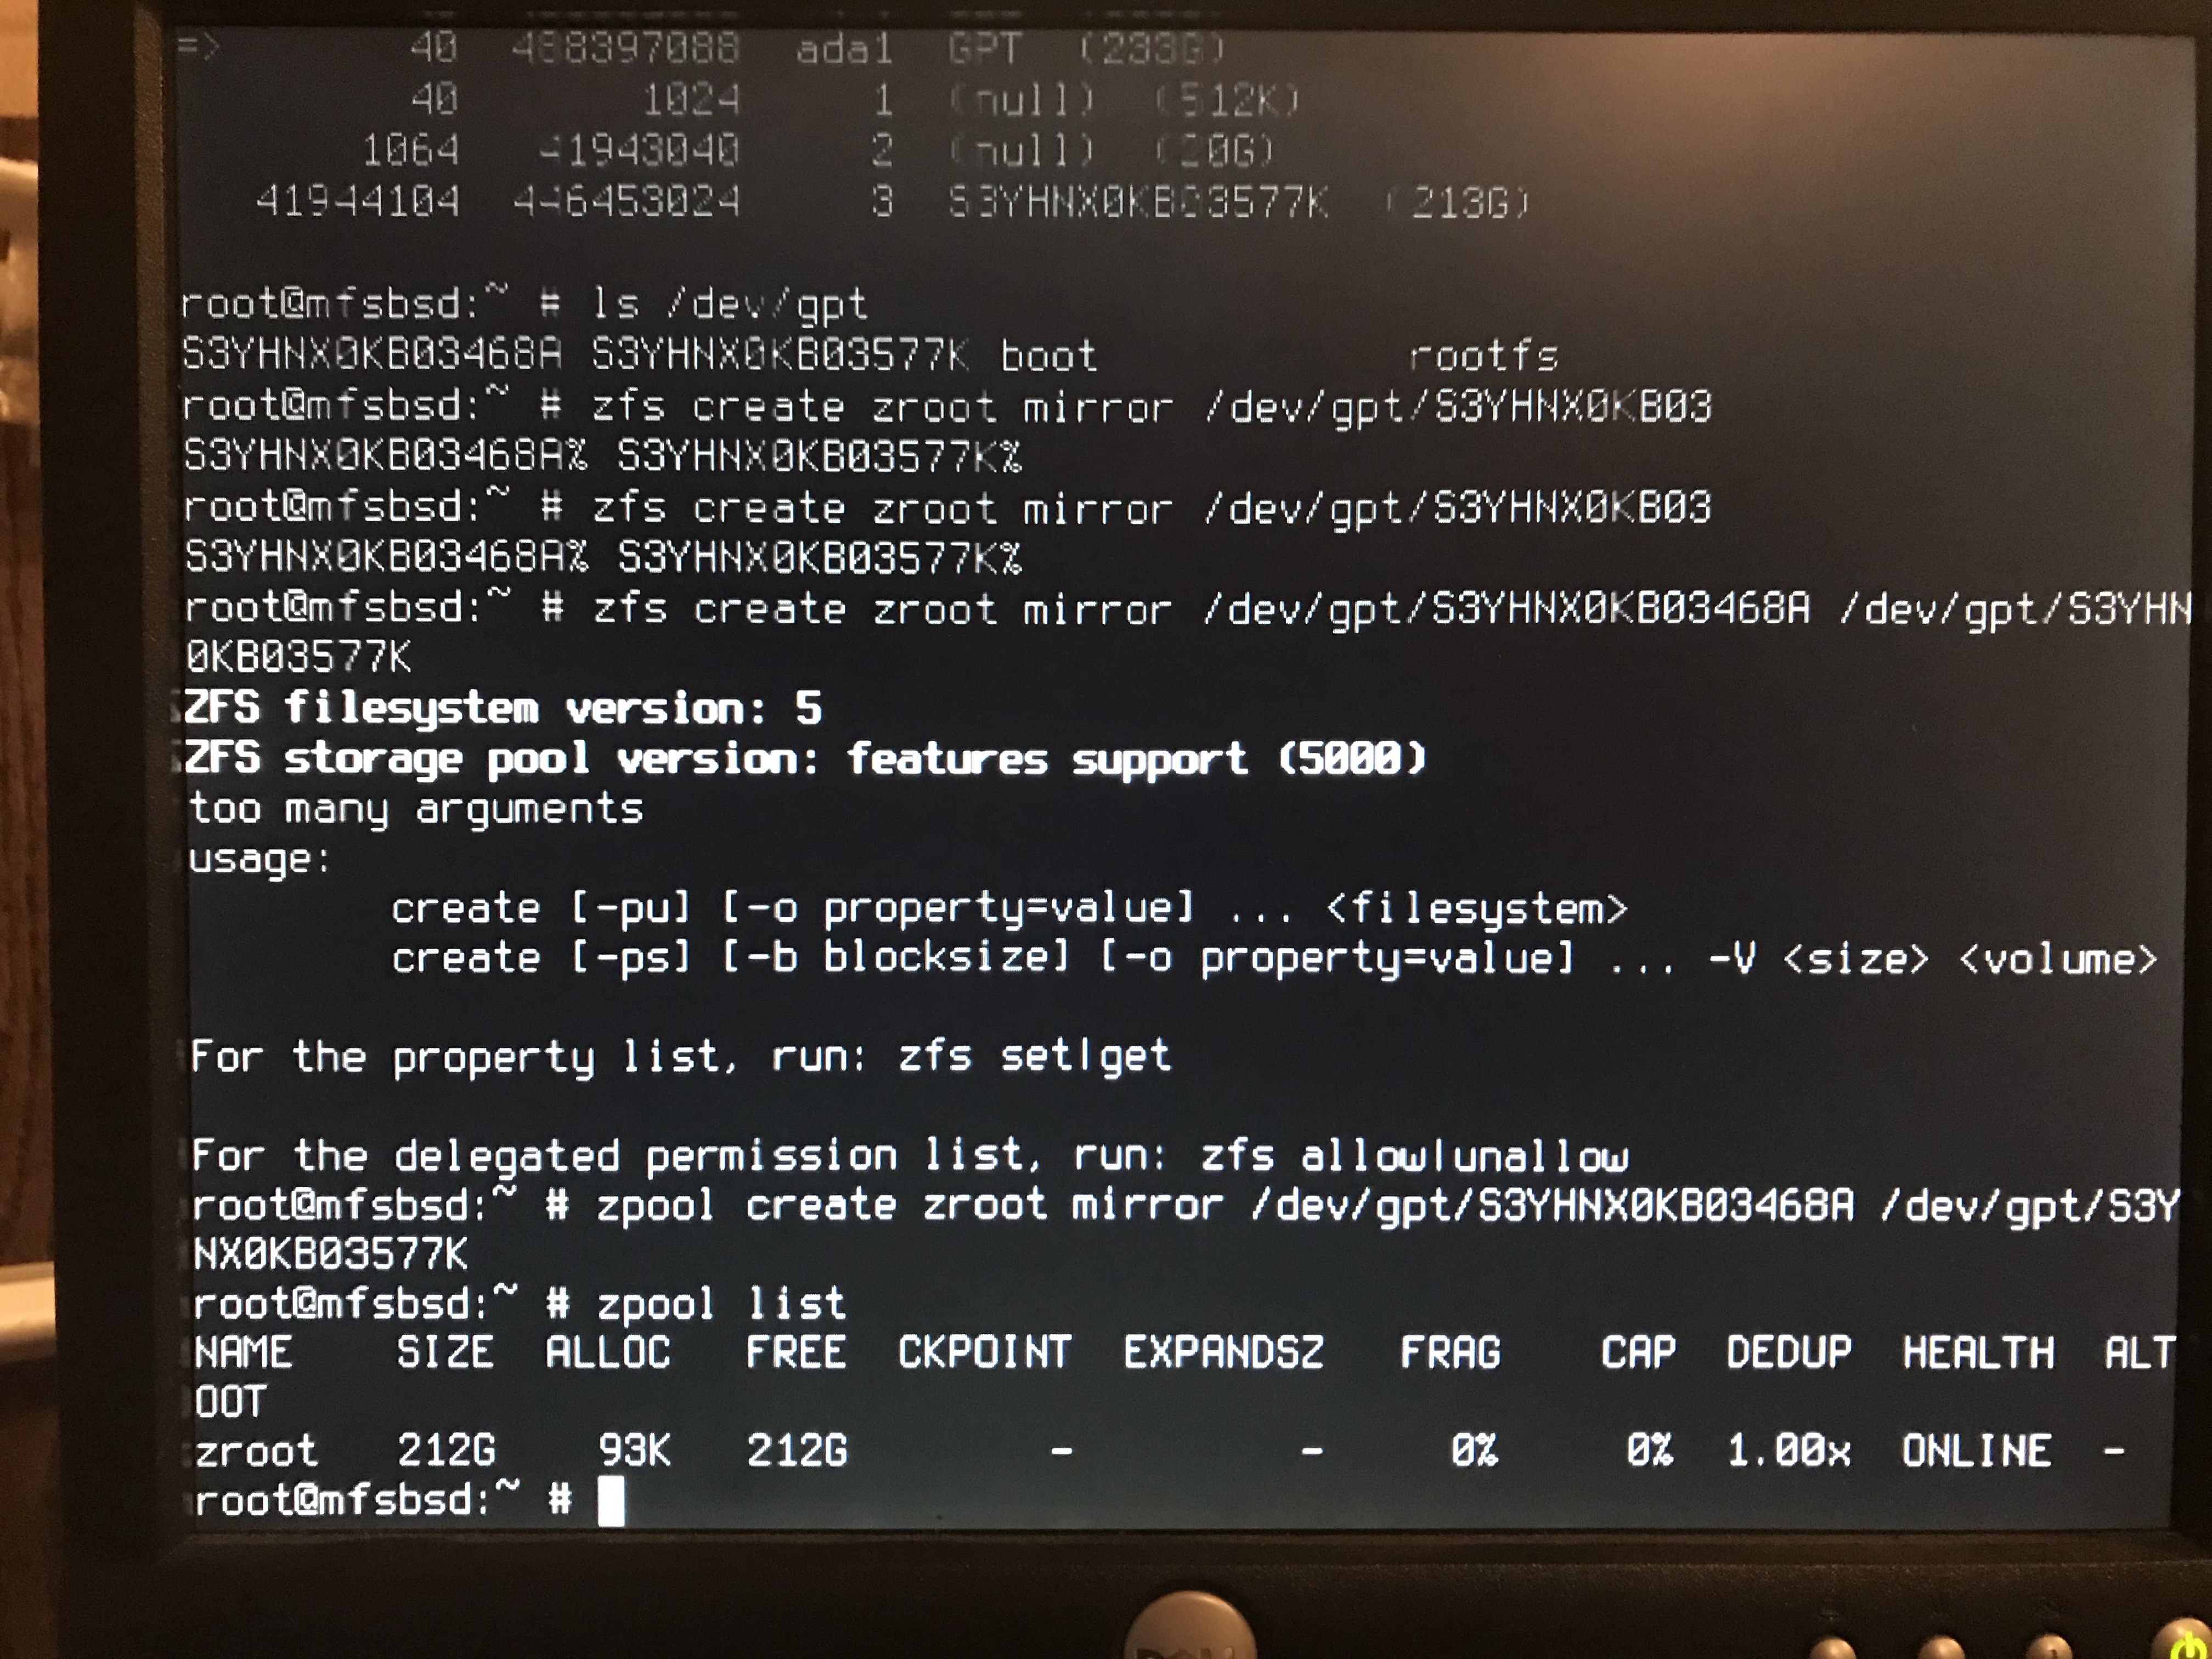
This command, issued long after the work was completed, demonstrates the label usage:
$ zpool status zroot
  pool: zroot
 state: ONLINE
  scan: scrub repaired 0 in 0 days 00:02:44 with 0 errors on Mon Dec 31 03:01:24 2018
config:

	NAME                     STATE     READ WRITE CKSUM
	zroot                    ONLINE       0     0     0
	  mirror-0               ONLINE       0     0     0
	    gpt/S3YHNX0KB03468A  ONLINE       0     0     0
	    gpt/S3YHNX0KB03577K  ONLINE       0     0     0

errors: No known data errors
Import the pools
In order to work with the zpools we need to import them. This import is necessarily because these zpools are not normally associated with this server (i.e. mfsBSD).
zpool import -R /mnt/system system
zpool import -R /mnt/zroot  zroot
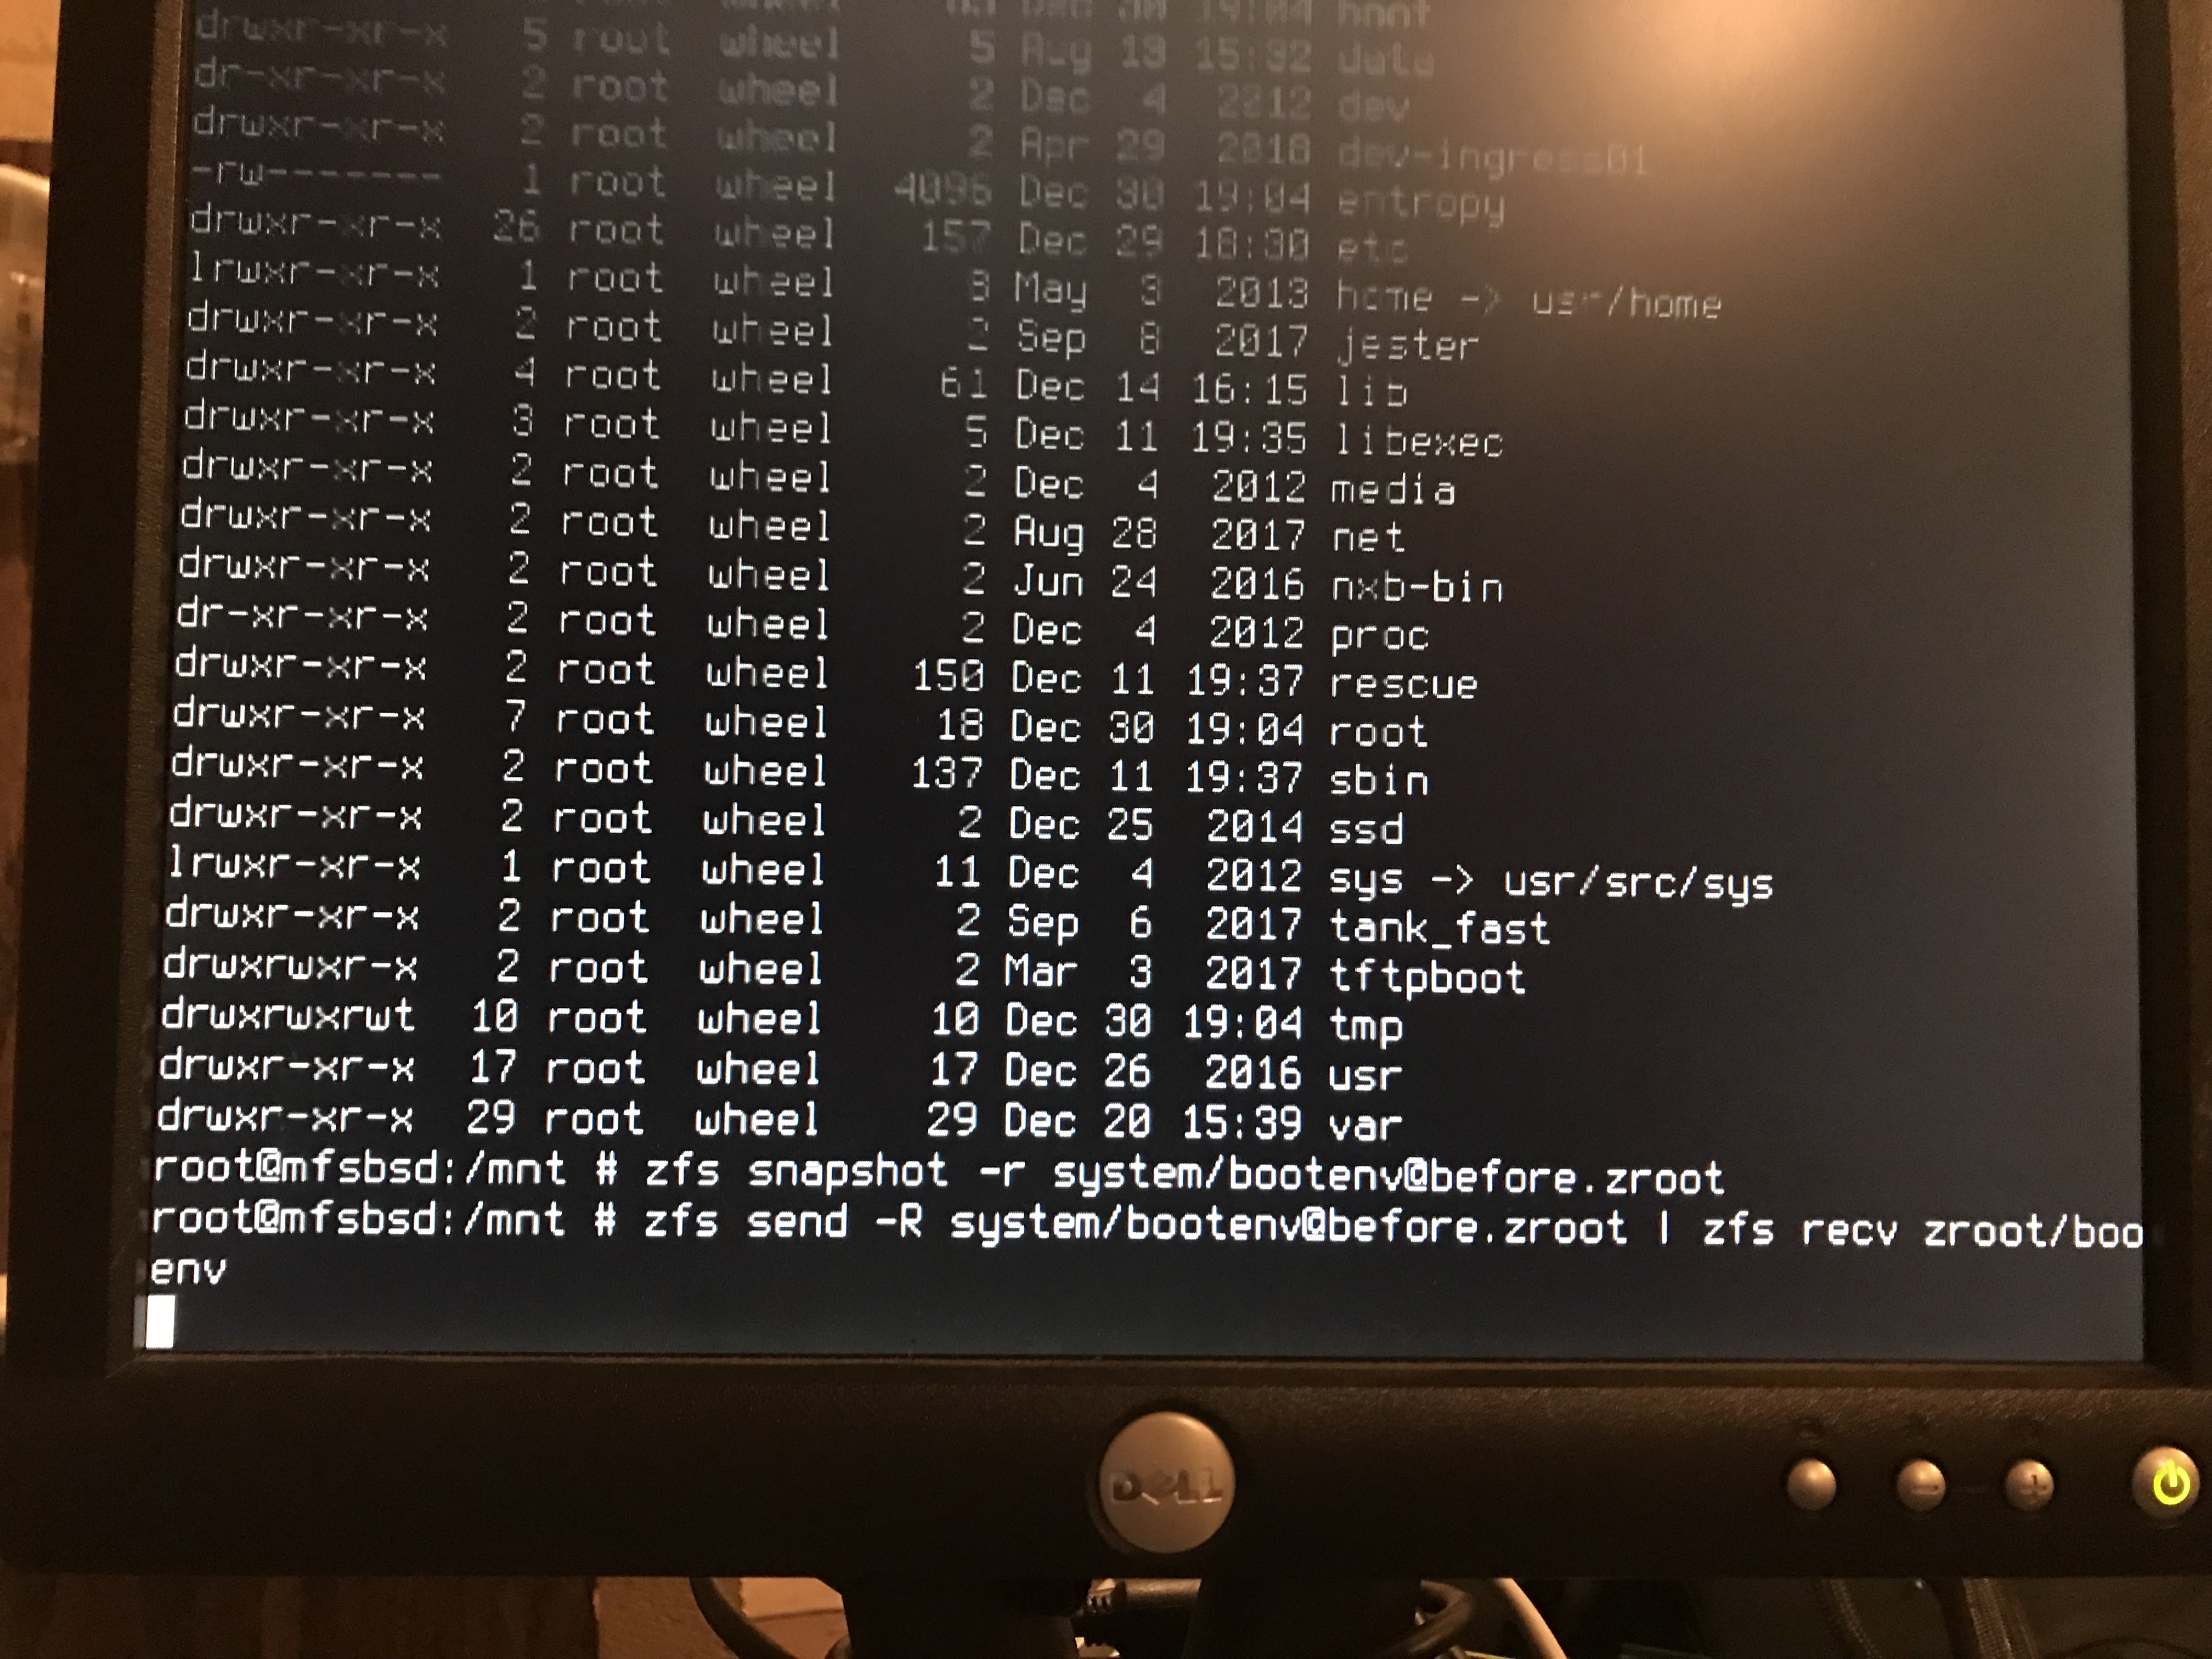
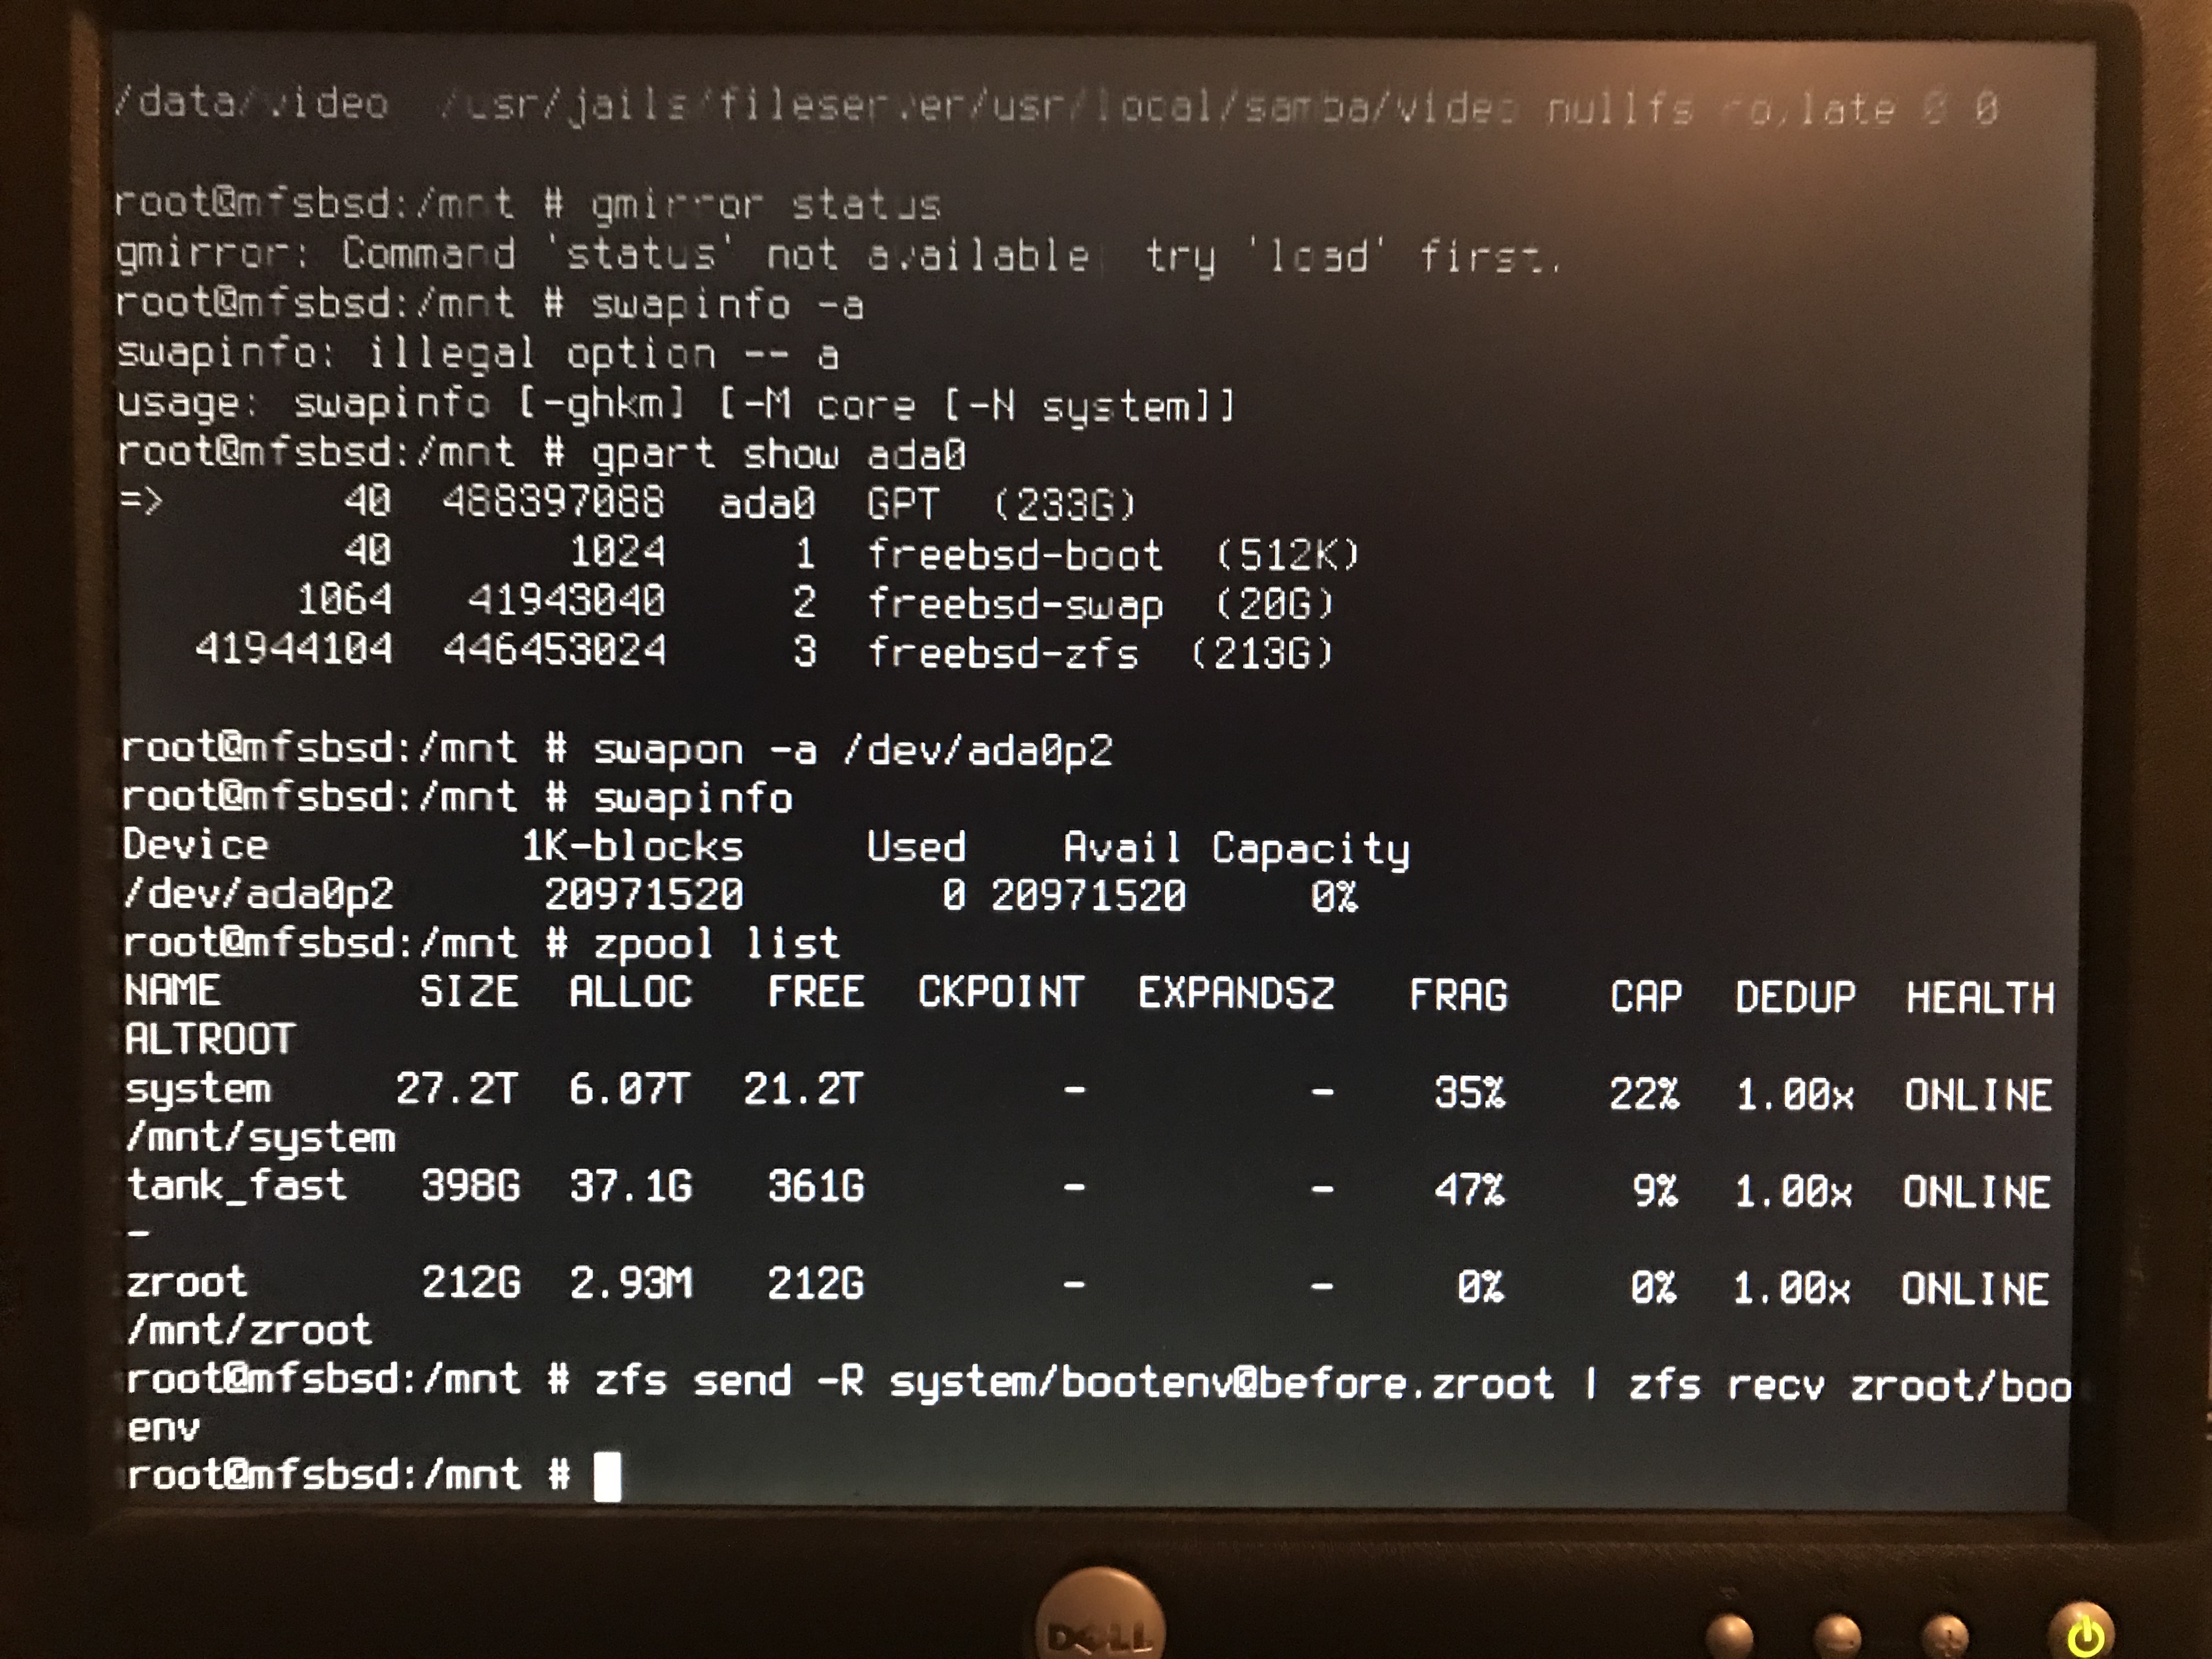
Snapshot the source
In this photo, the snapshot is taken, and then sent to the receiving zpool:
zfs snapshot -r system/bootenv@before.zroot
zfs send -r system/bootenv@before.zroot | zfs recv zroot/bootenv
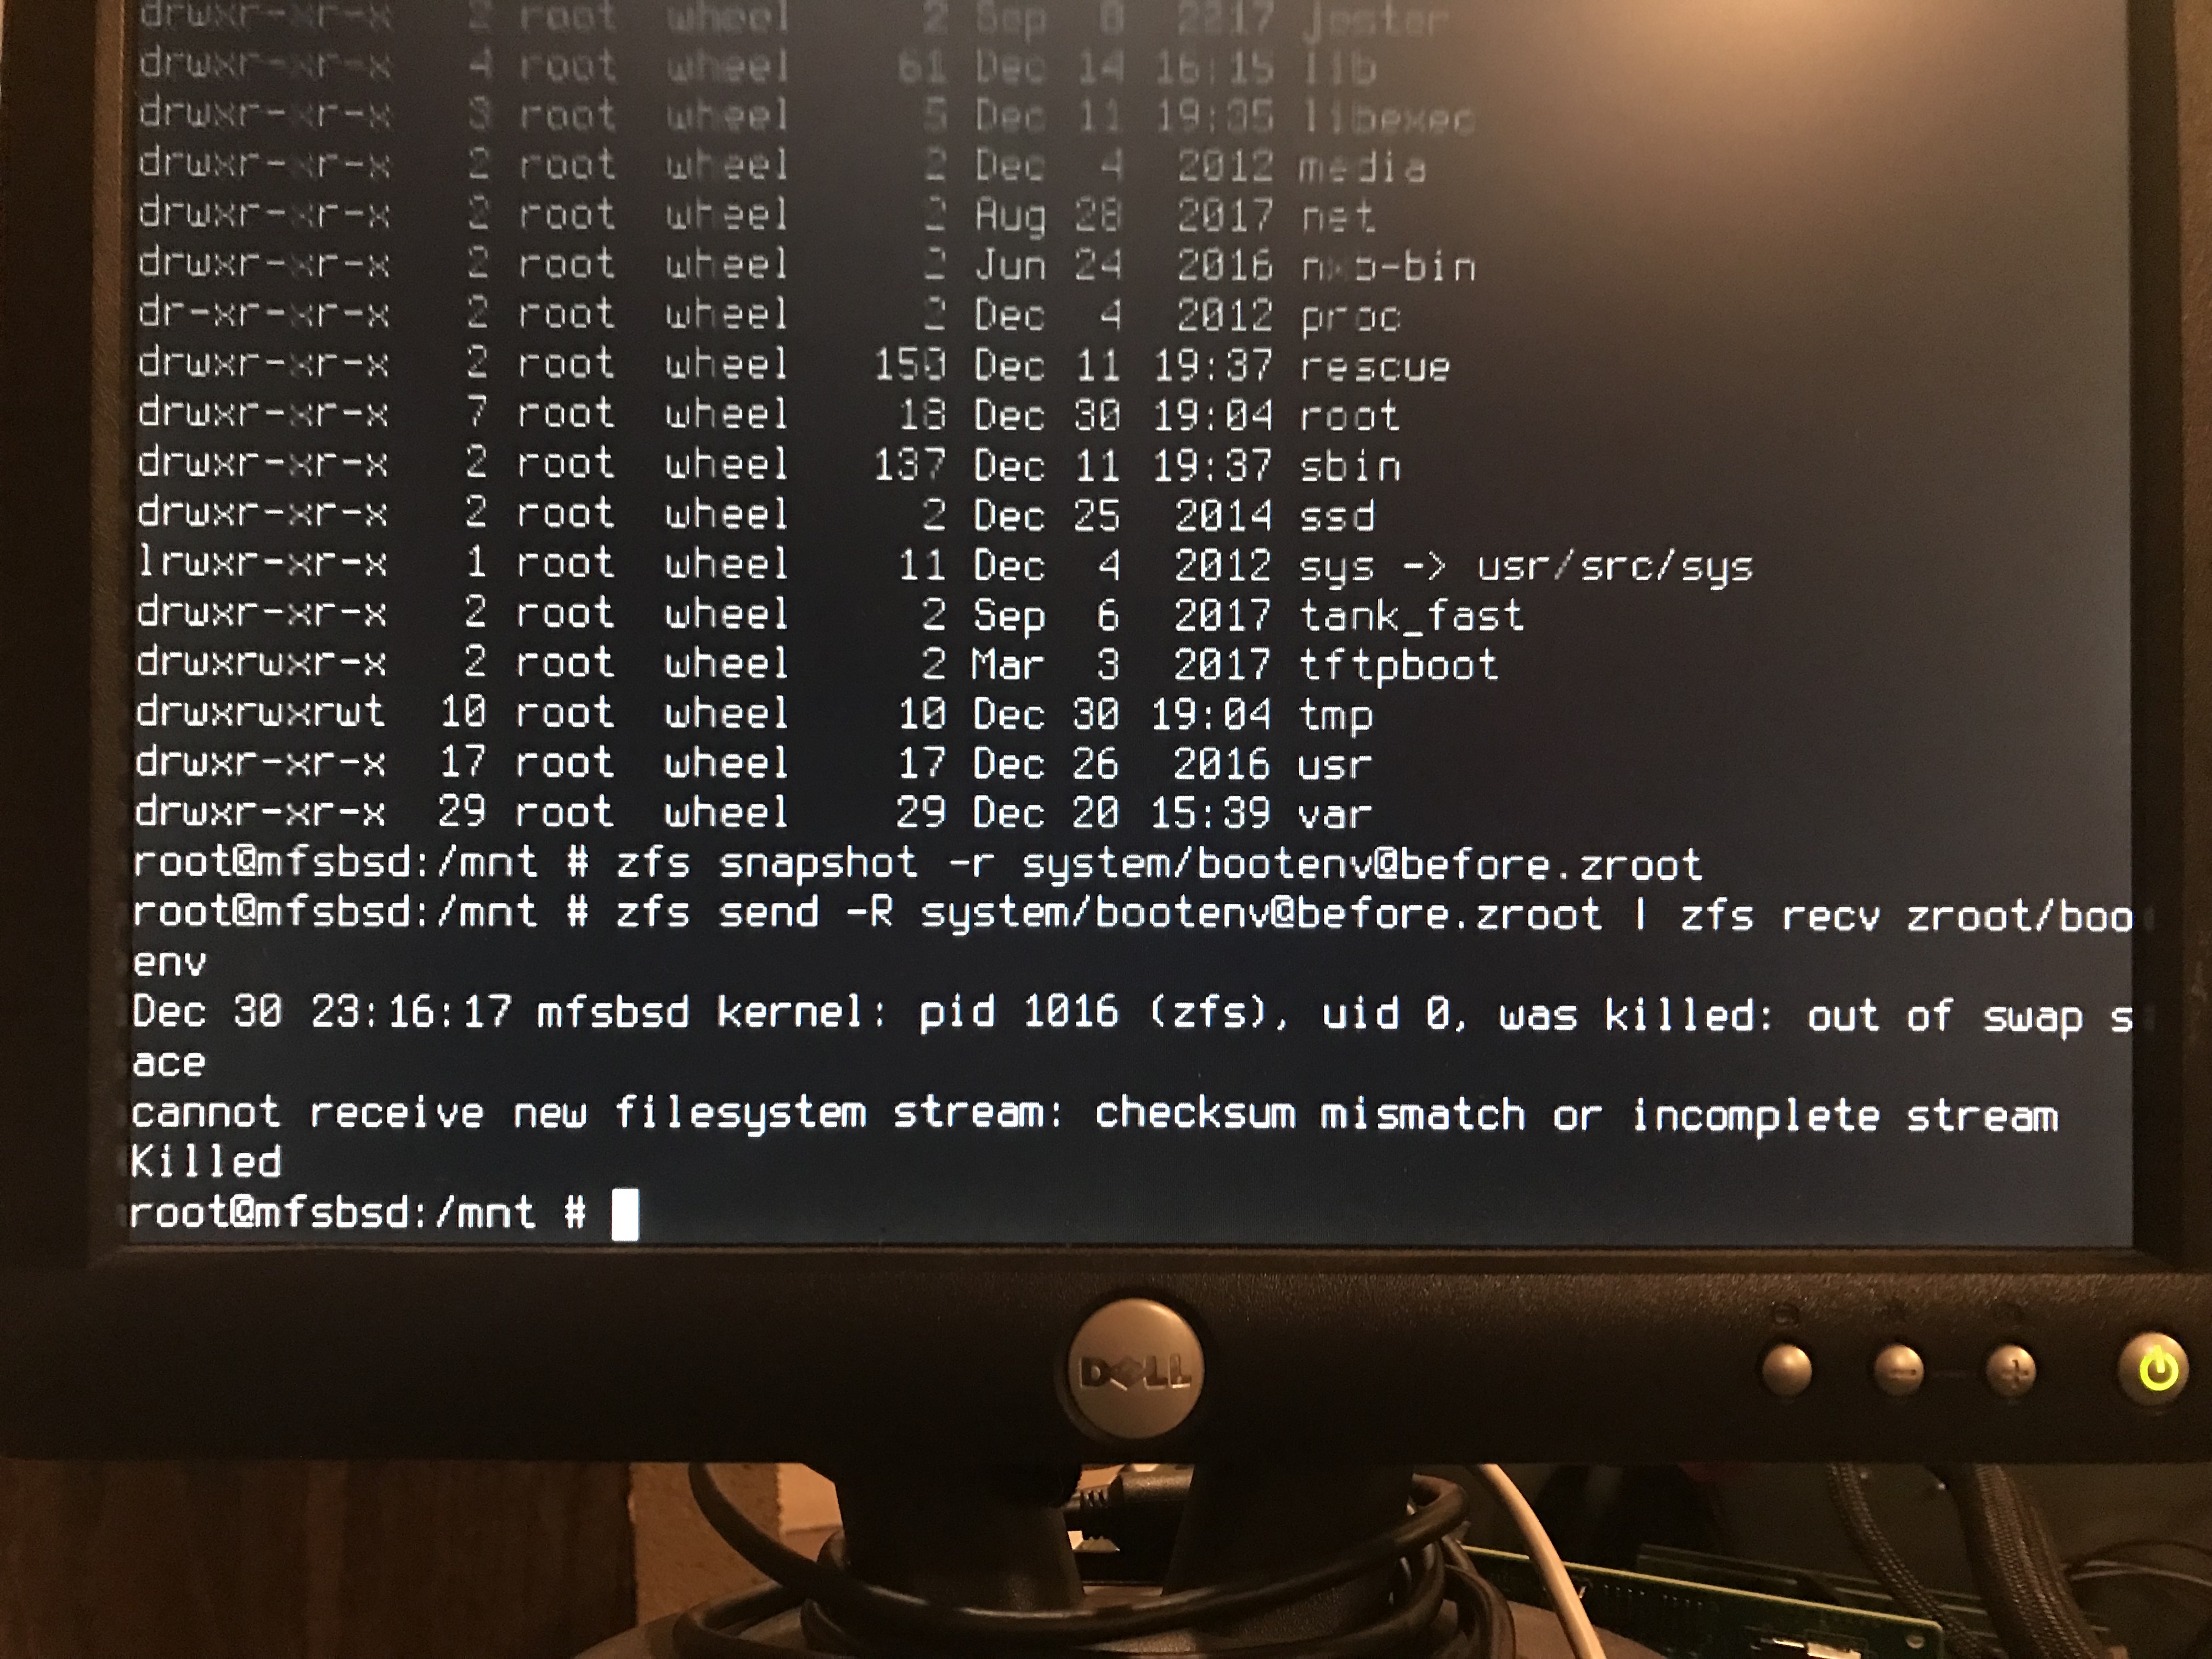
Now I waited. But not for long.
Out of swap
Damn. How do I get swap here?
I know, use the swap partition on one of the raidz2 drives:
swapon -a /dev/ada0p2
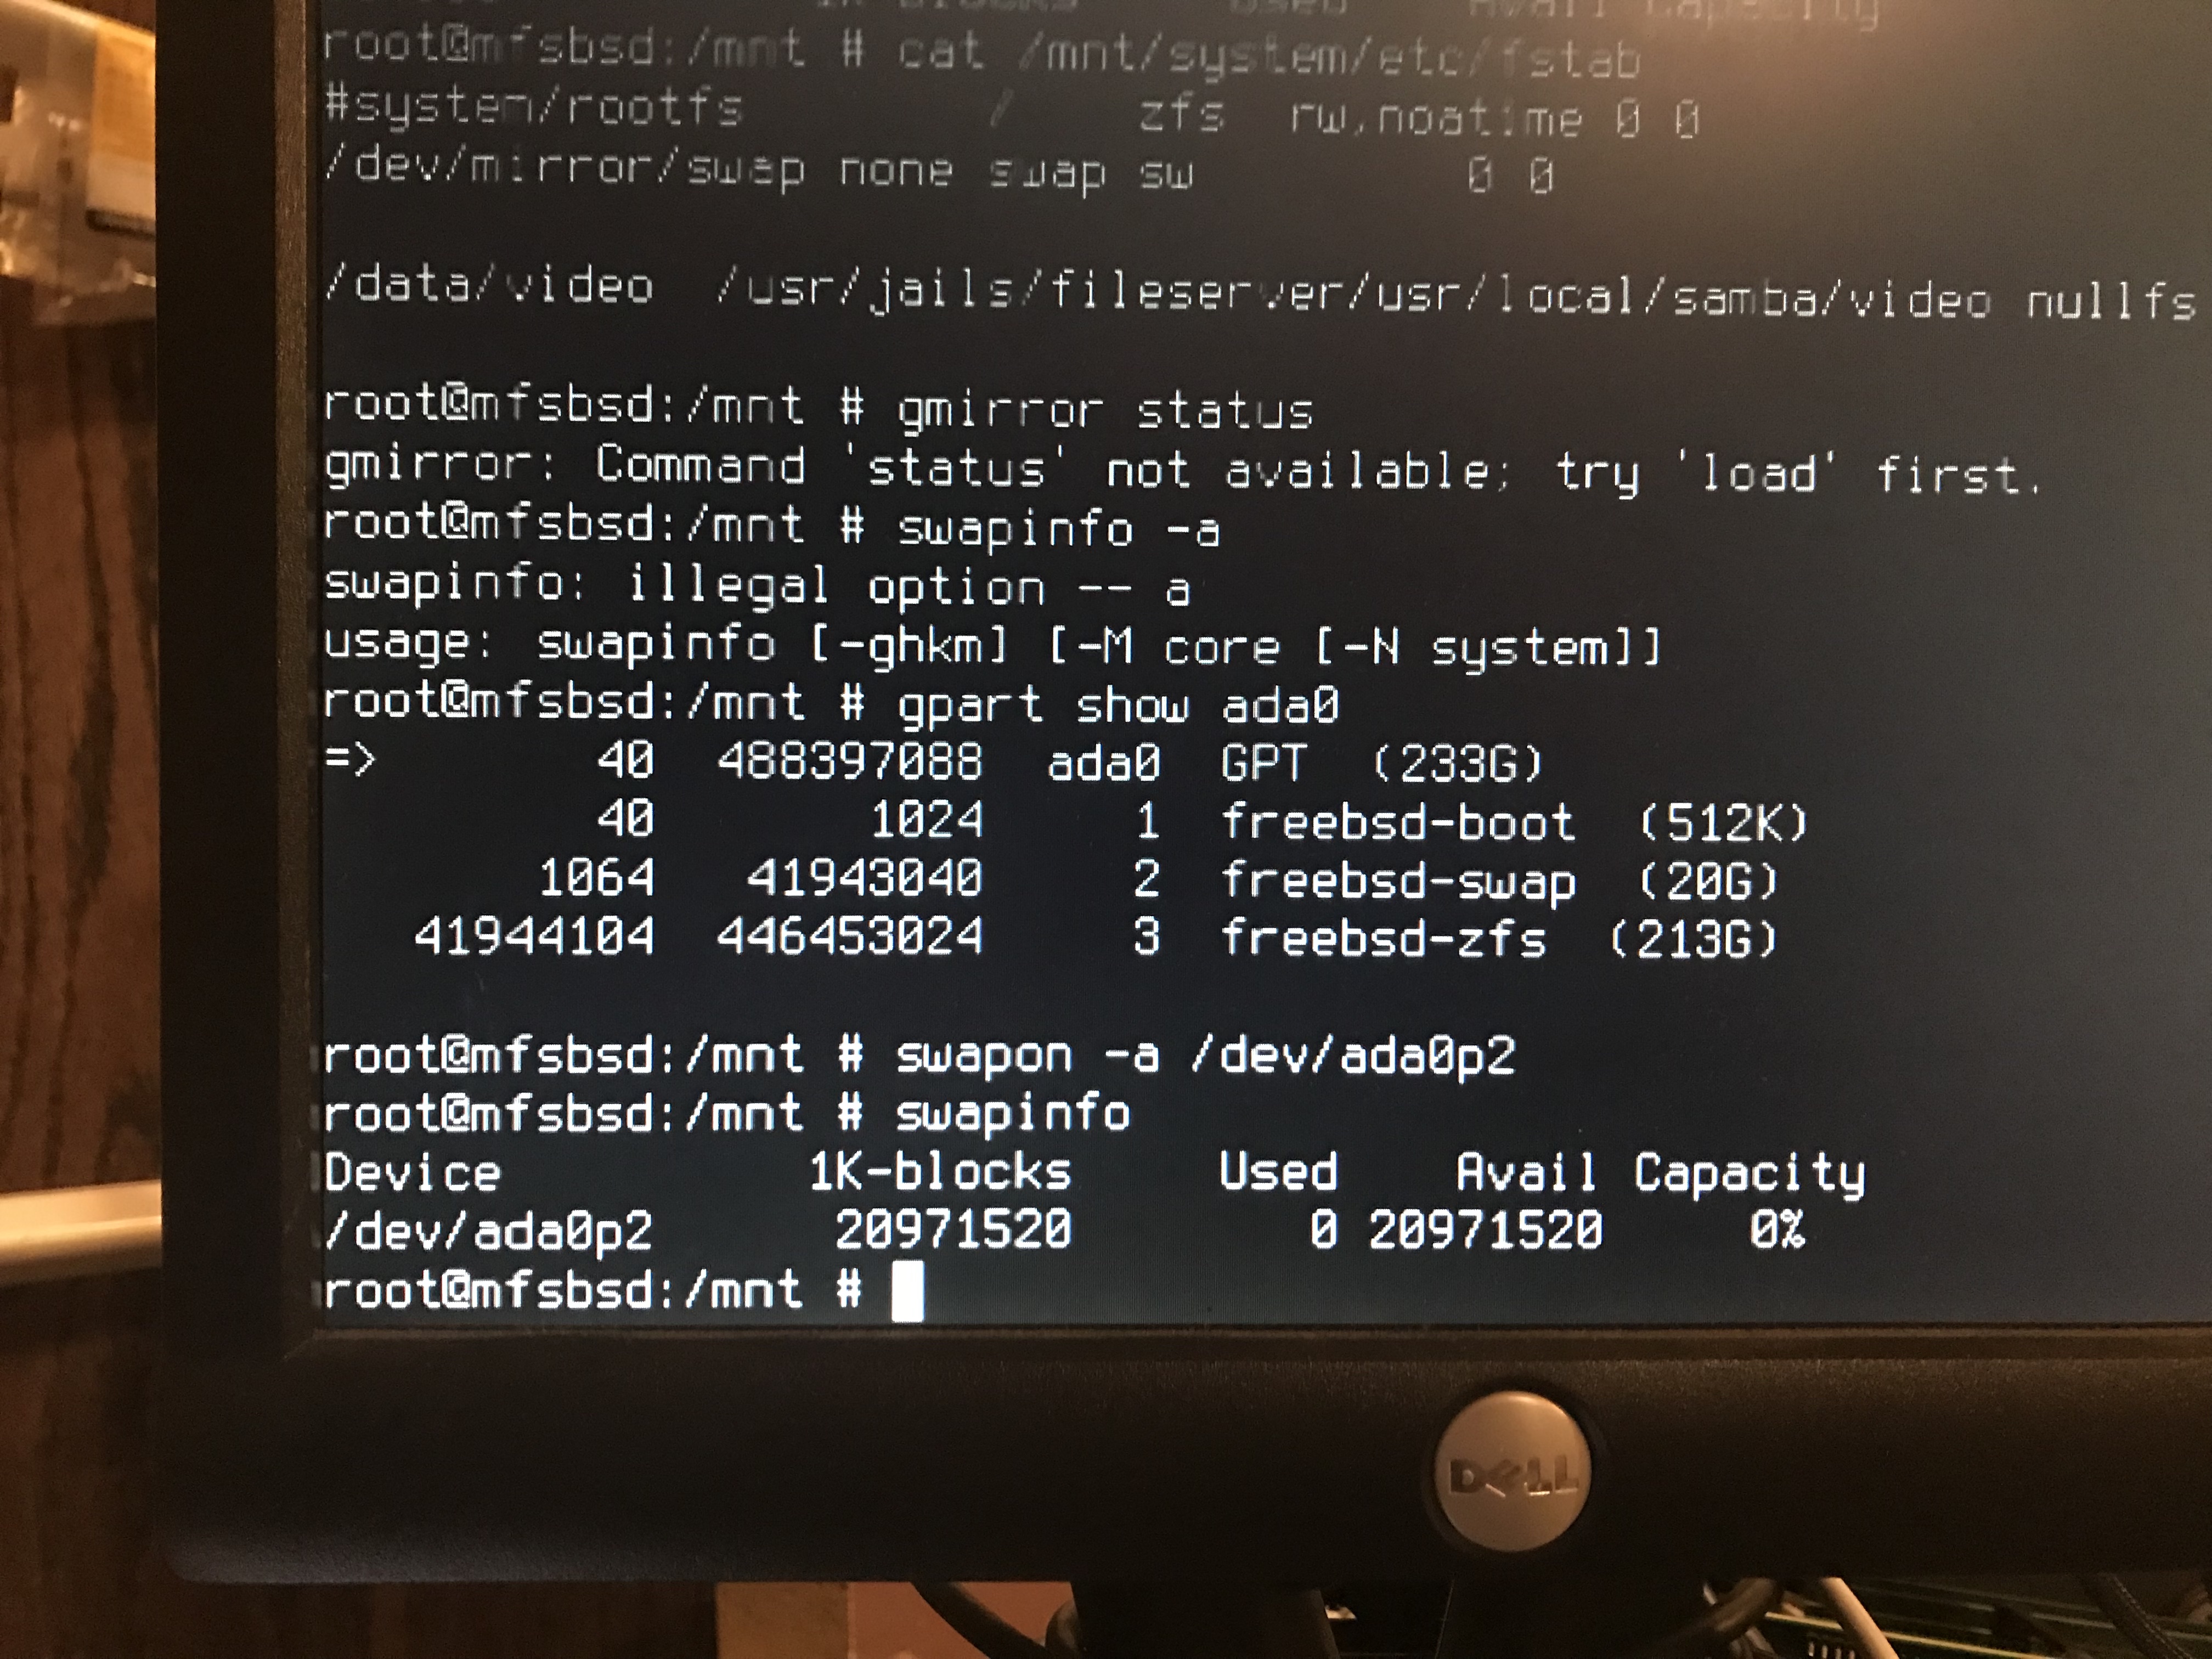
Successful send/recv
With the newly added swap, the send/receive succeeded.
Disabling the existing bootenv
These steps ensure that the old bootenv will be disabled and not mounted.
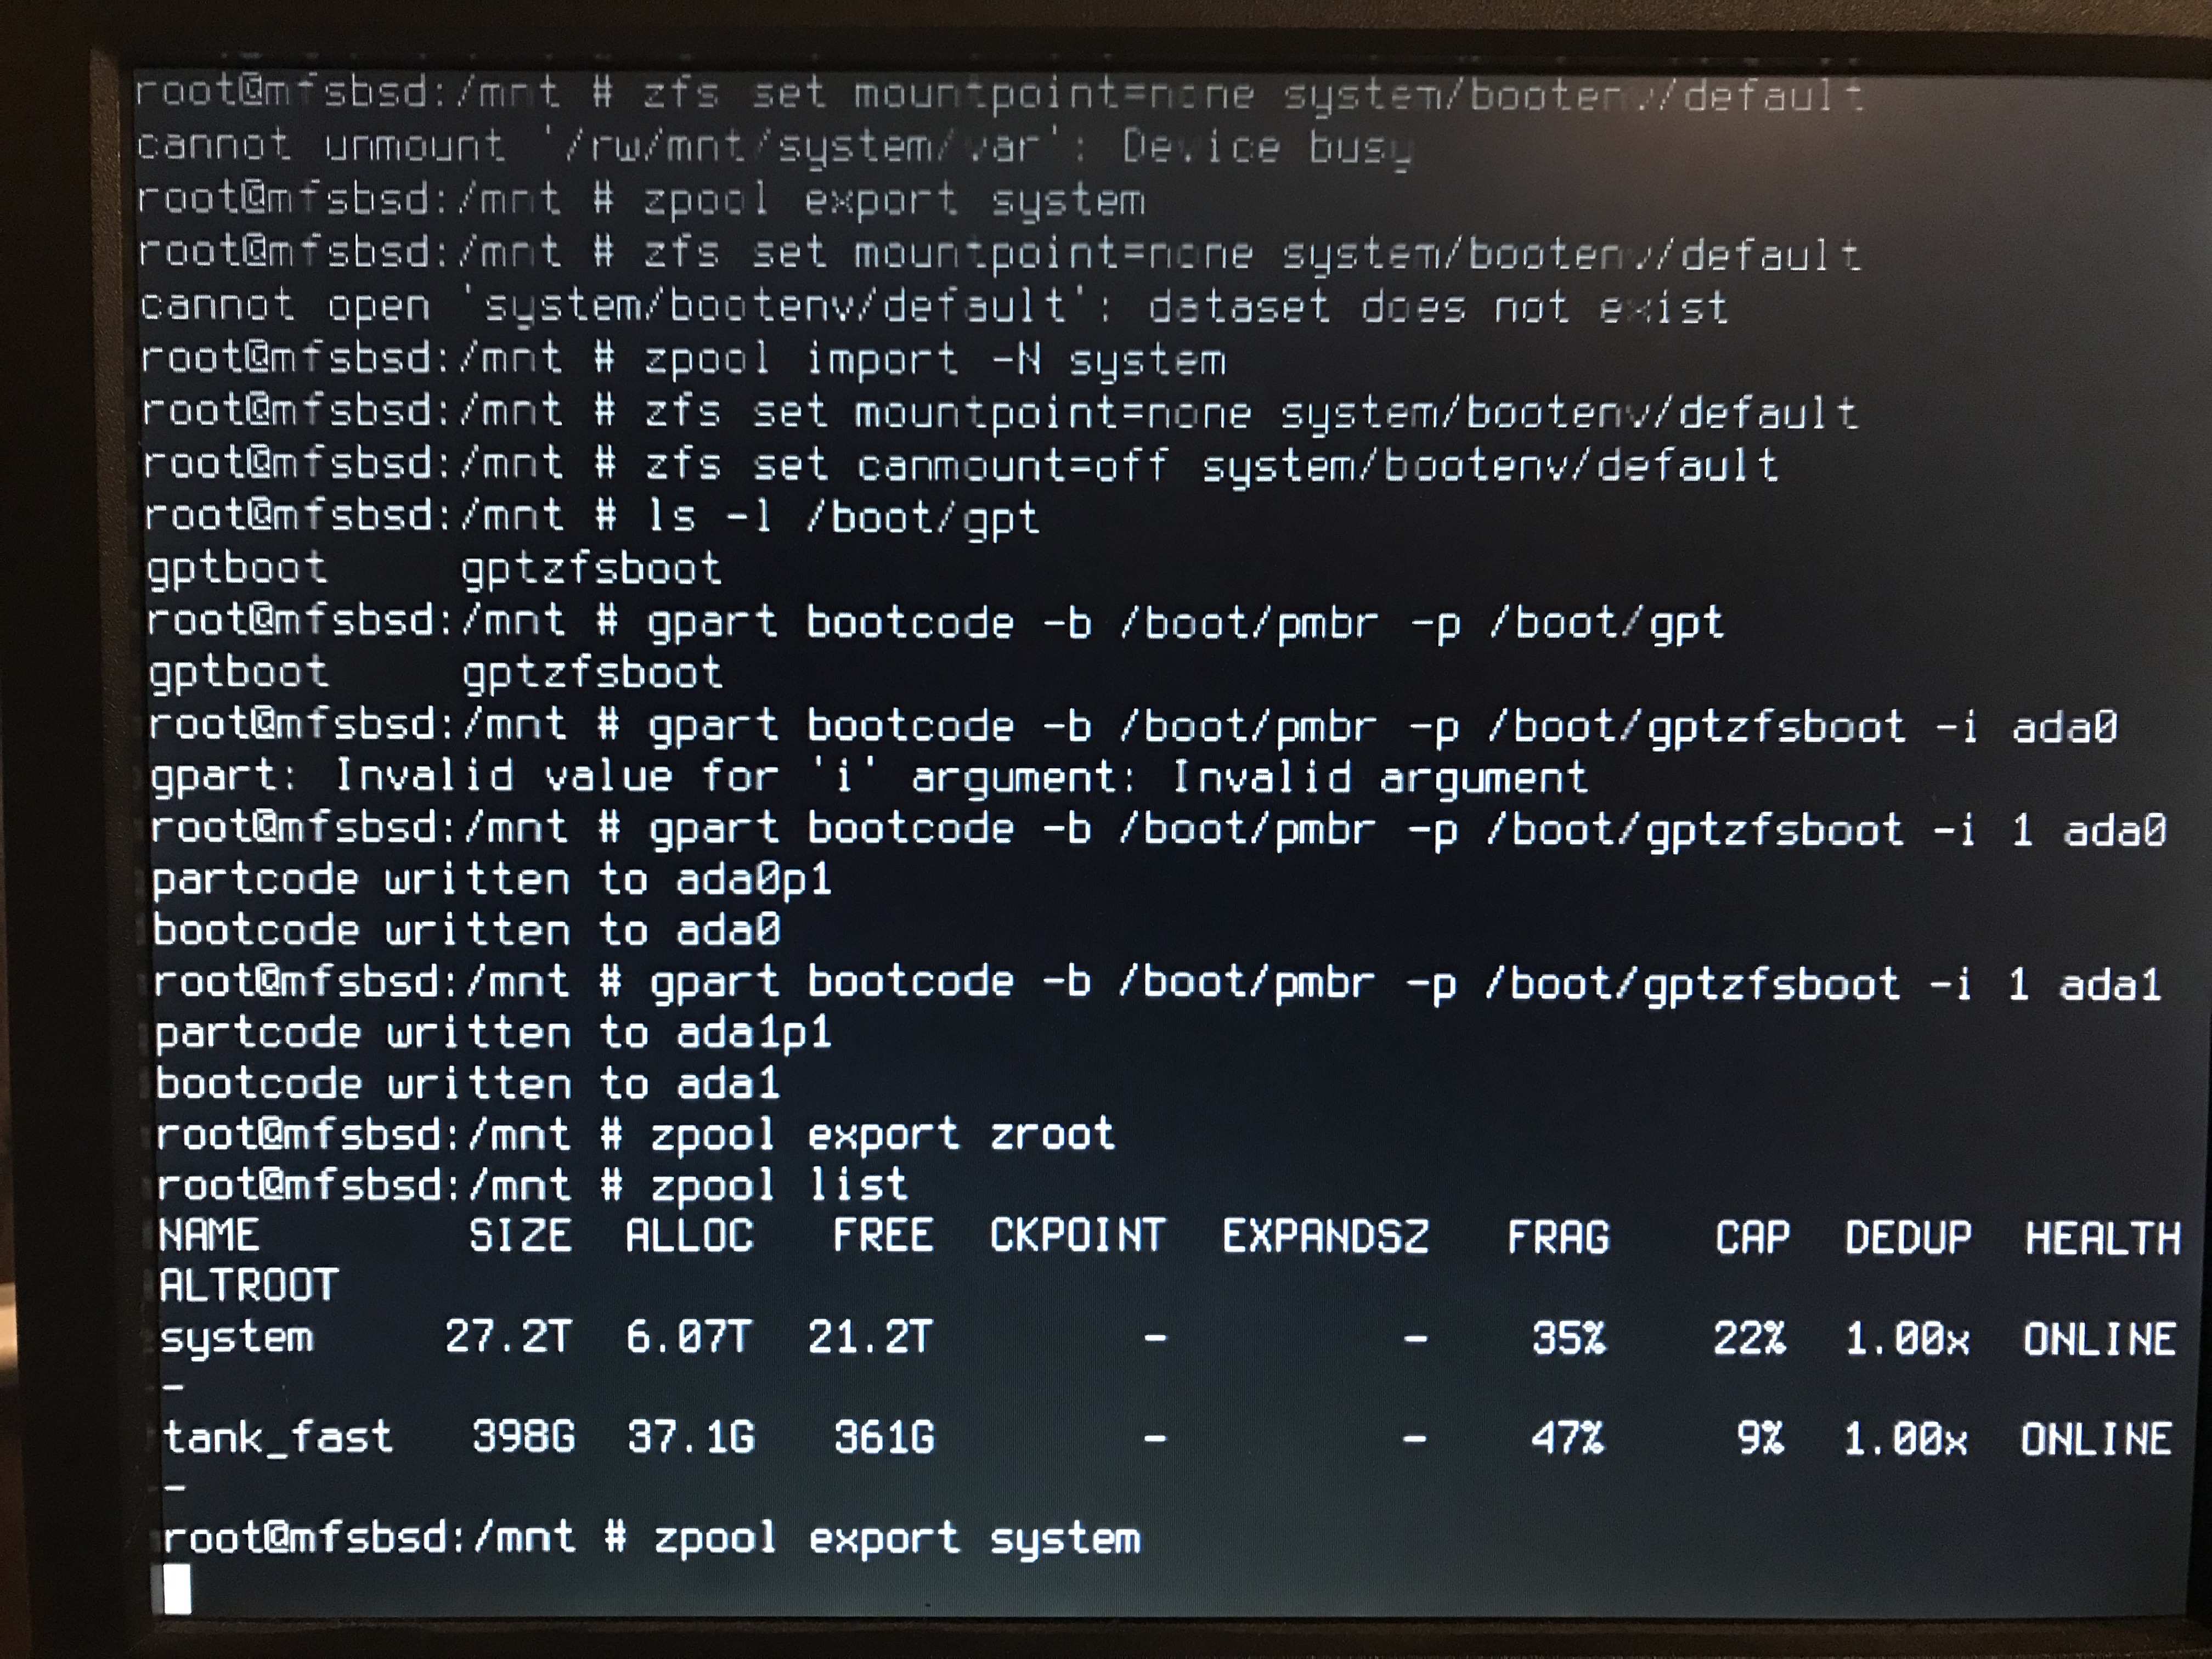
As you can see, my first attempt at the top of the screen shot failed because the filesystem was mounted. Exporting, then importing with -N allowed the set mountpoint and set canmount to proceed.
Next, we add the bootcode to the two SSDs in the zroot zpool. This will allow the drives to boot.
BIOS settings
At some point, you will need to tell the BIOS to boot from at least one of those two drives, if not both. How you do that is outside scope for this post.
OK, let’s boot!
Fail. Can’t find /boot/loader. Can’t find /boot/kernel/kernel

Can’t find /boot/kernel/kernel
With that, I stopped and went to dinner.
After dinner, I started reading about the FreeBSD Boot process. I concluded this was Stage Three and that my bootcode on the SSDs was not the issue.
Some searching found this post which mentioned bootfs.
Ironically, I had read either one of my two blog posts which mention bootfs, I would probably have not missed this step.
Here is what I did:
zpool import -N system
zpool set bootfs= system

zpool import -N zroot
zpool set bootfs=zroot/bootenv/default zroot
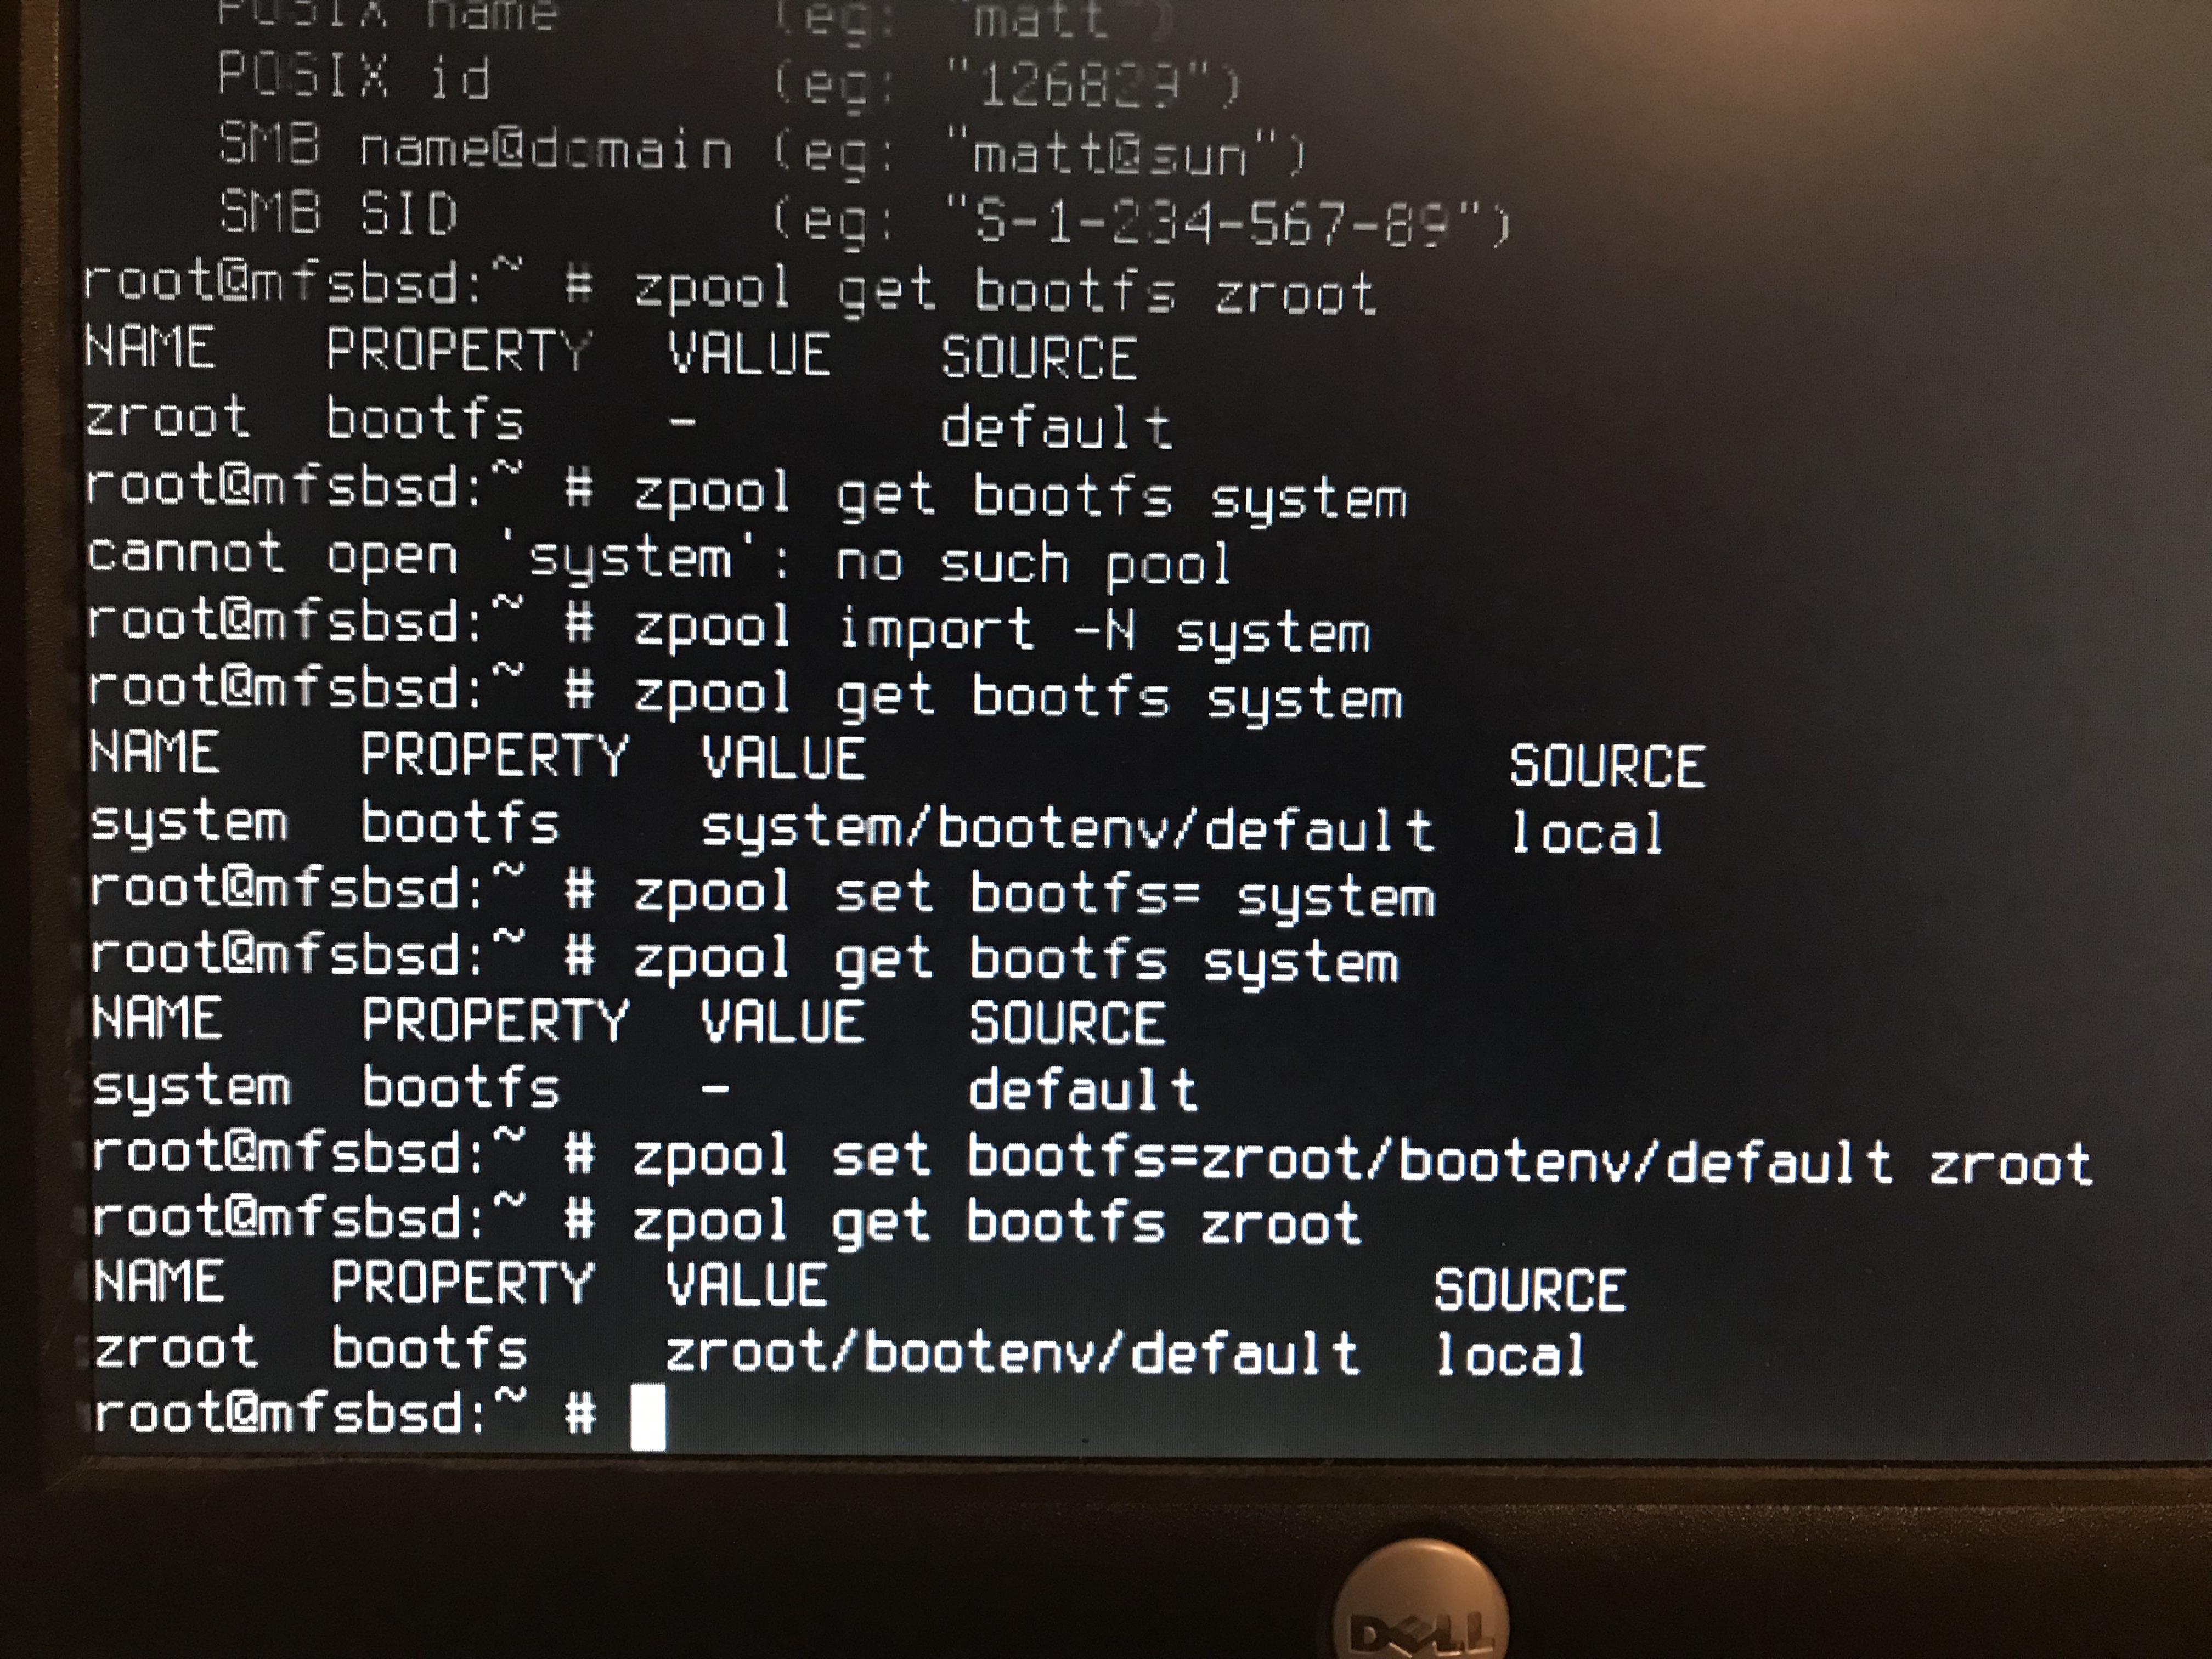
Surely it will work this time!
Boot!
Things booted, but failed when mounting other filesystems.
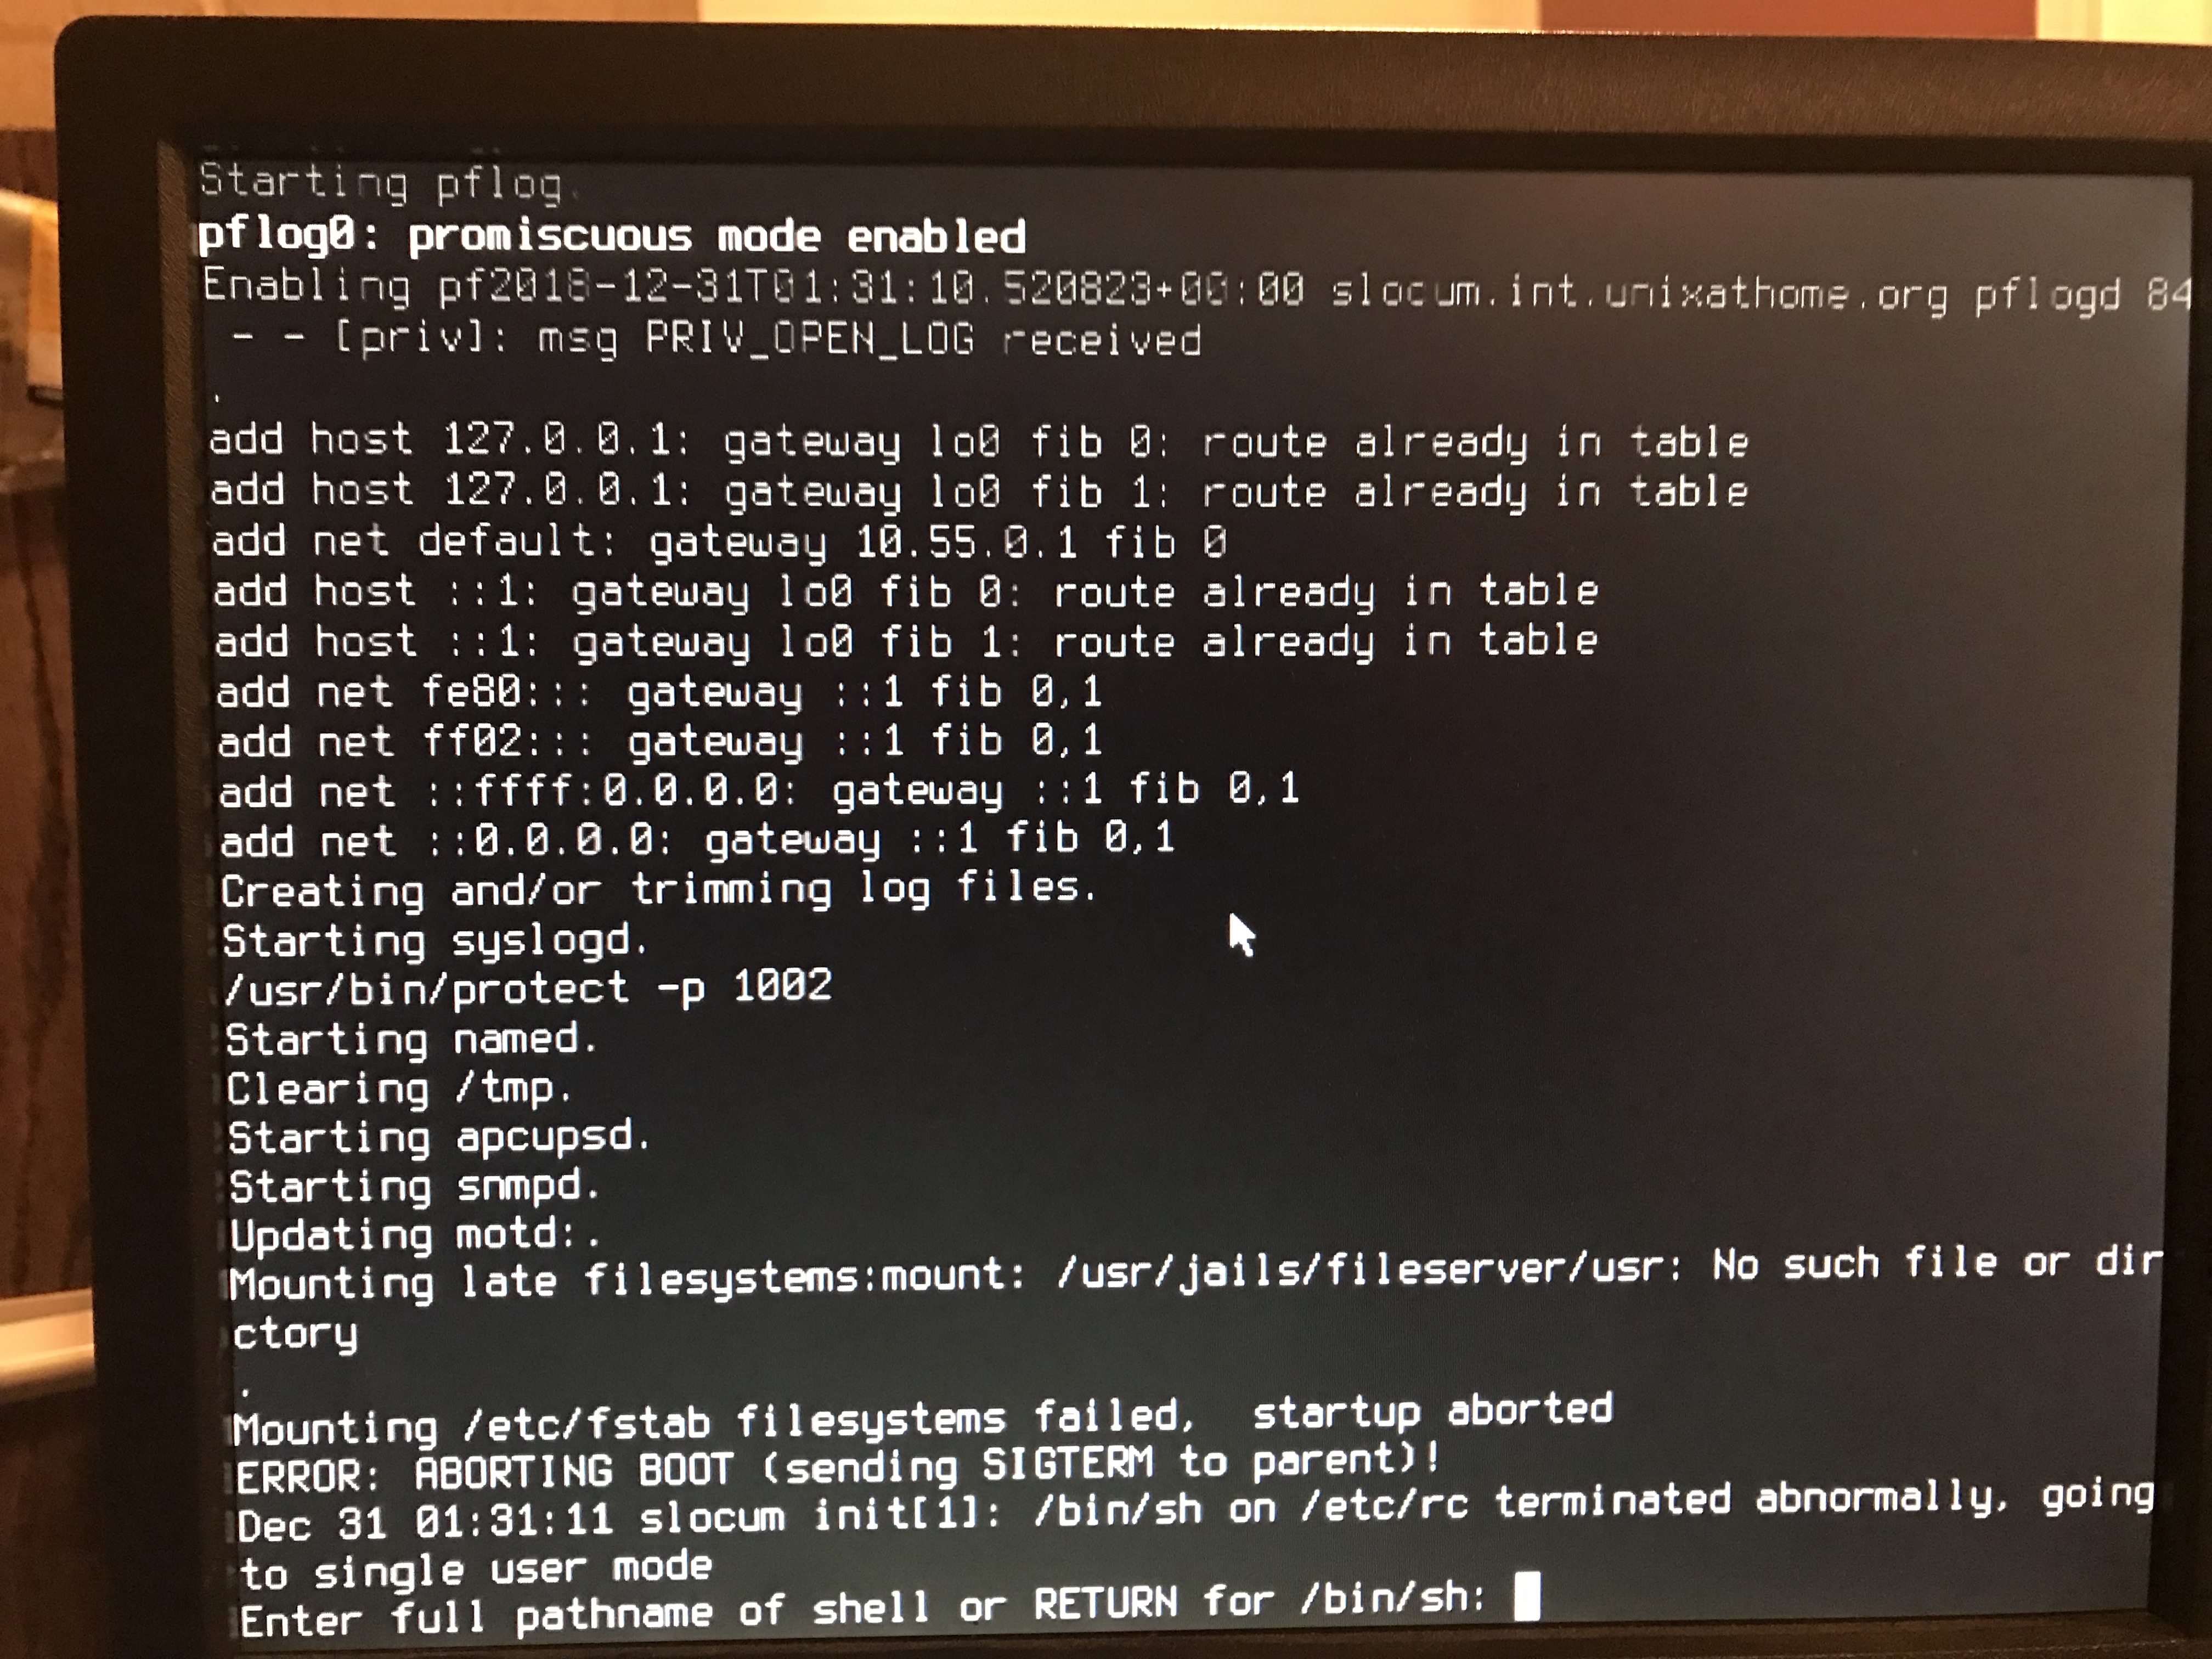
As you can see, only the zroot pool was imported, and the others were missing. Very little was mounted.
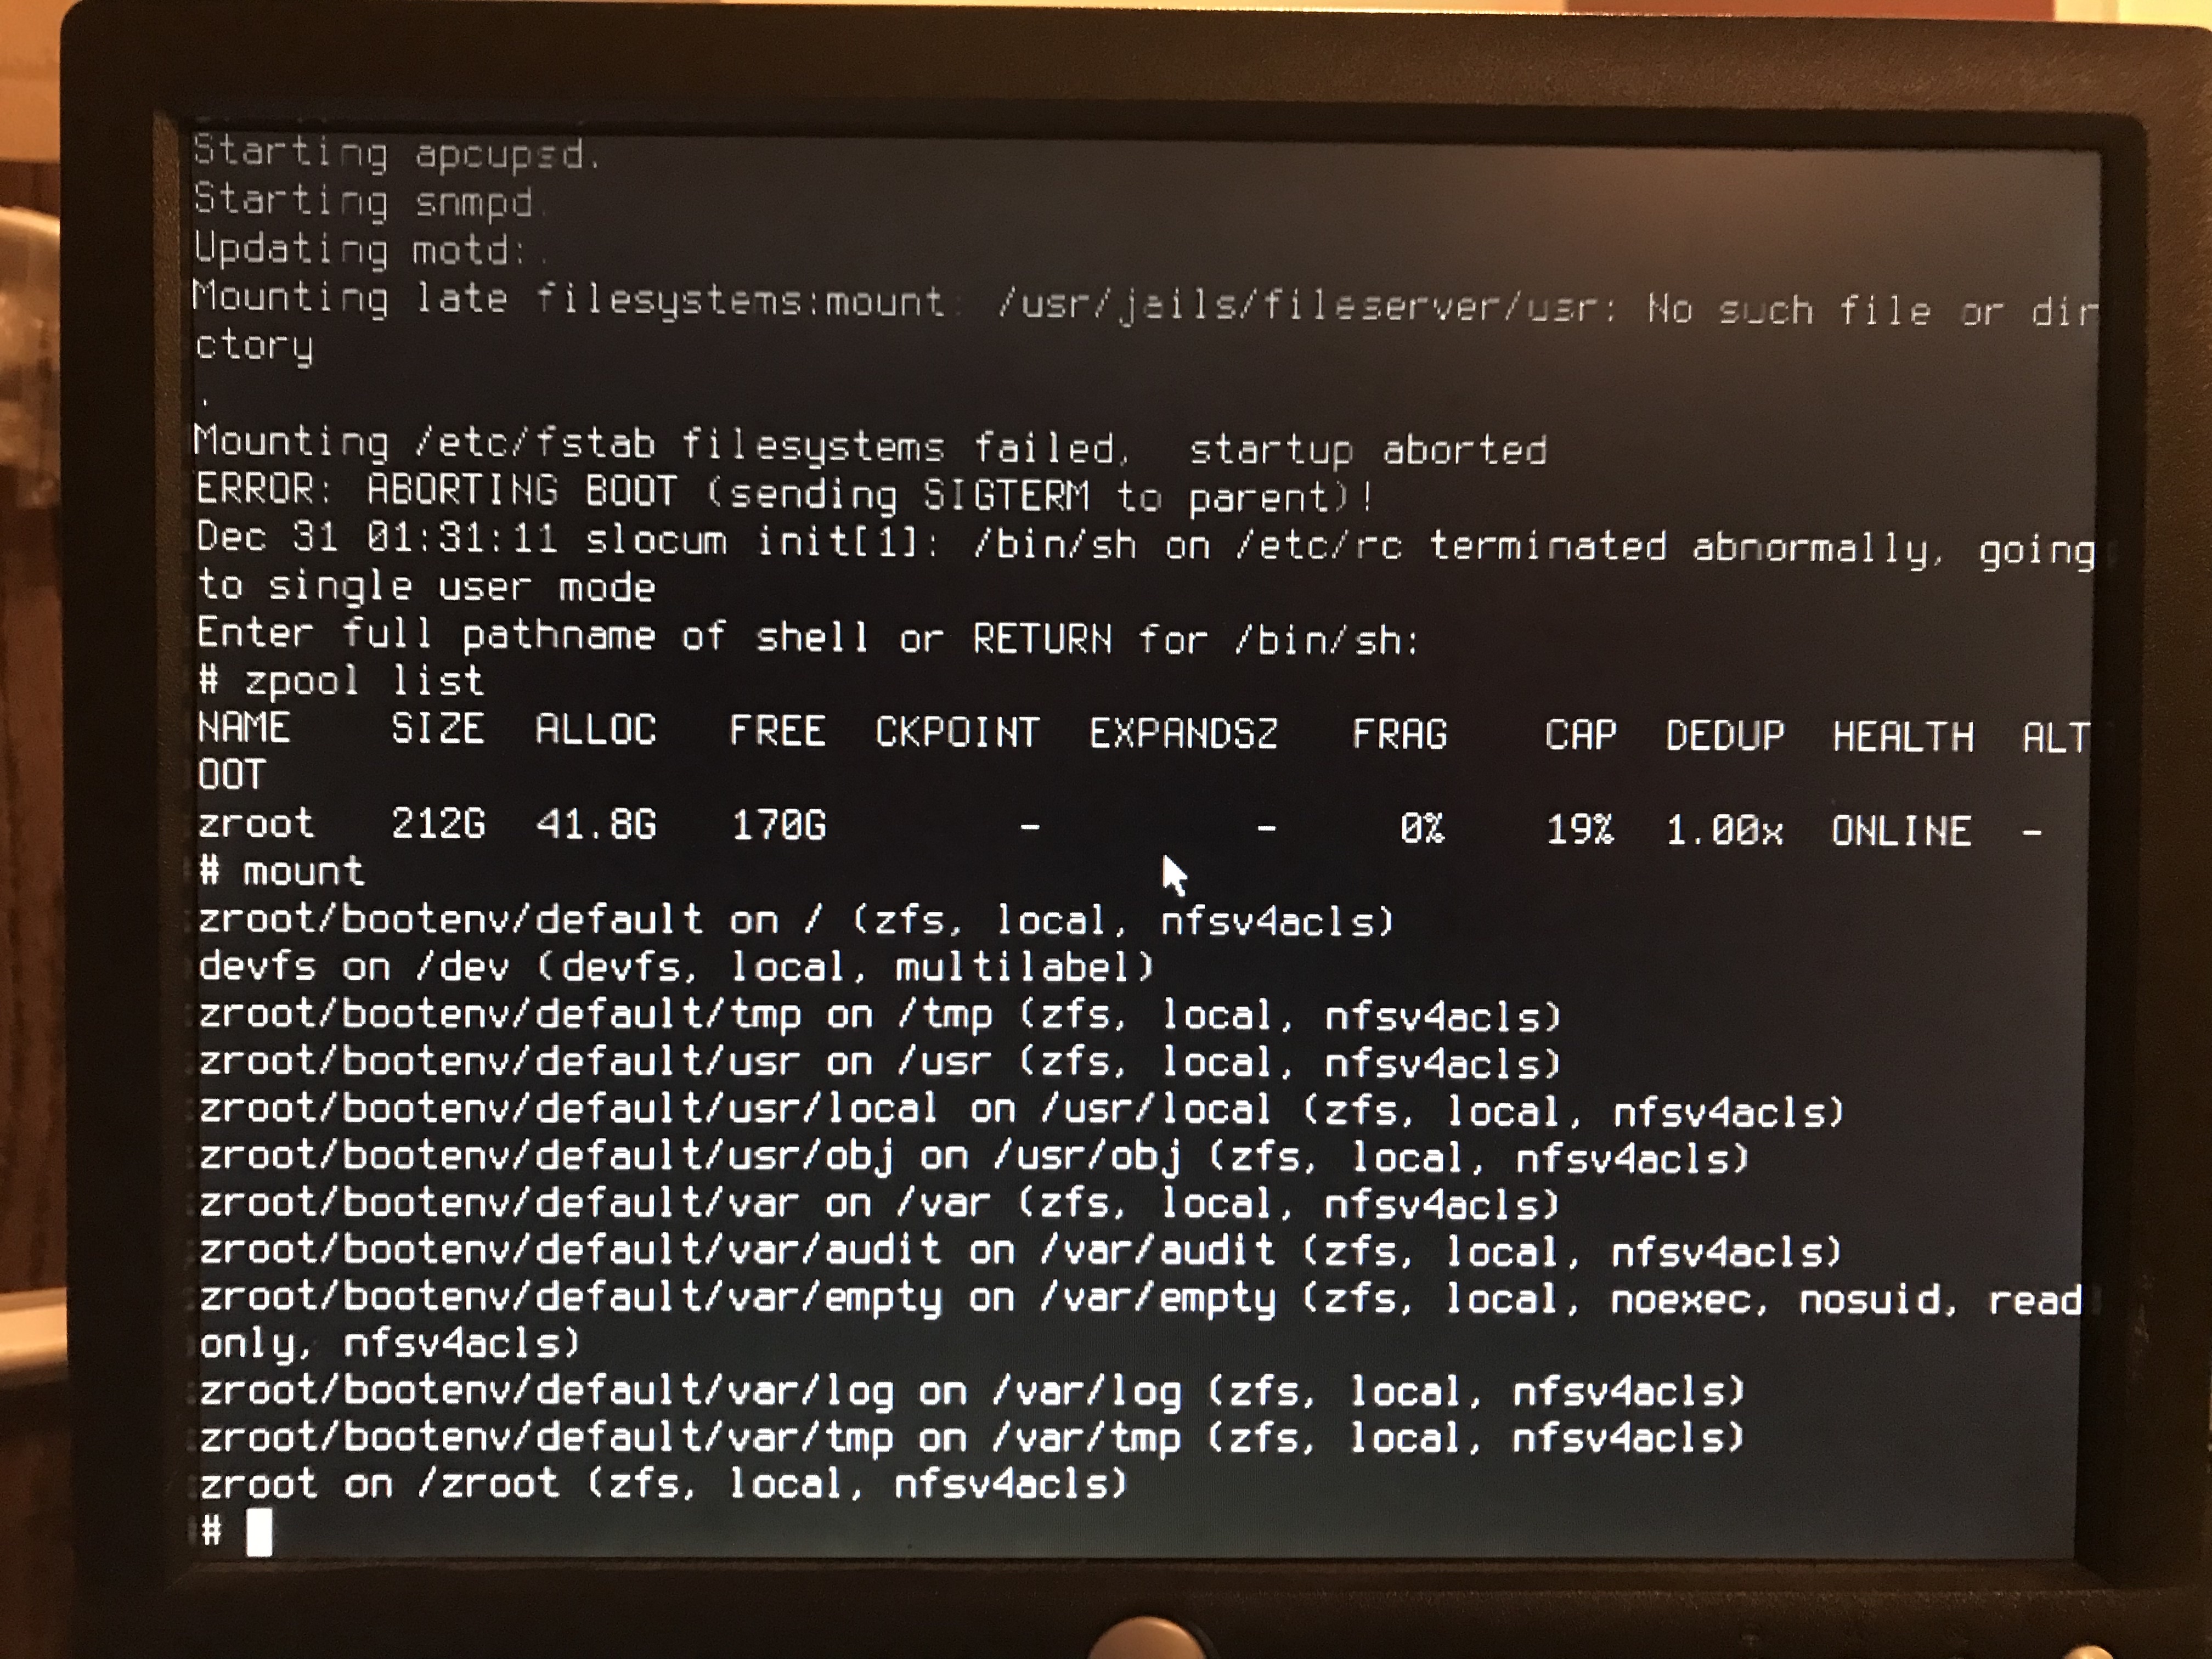
I did some manual zpool import commands. I was able to get a list of the available zpools by issuing zpool import. Some of that output is shown at the top of this screen shot.
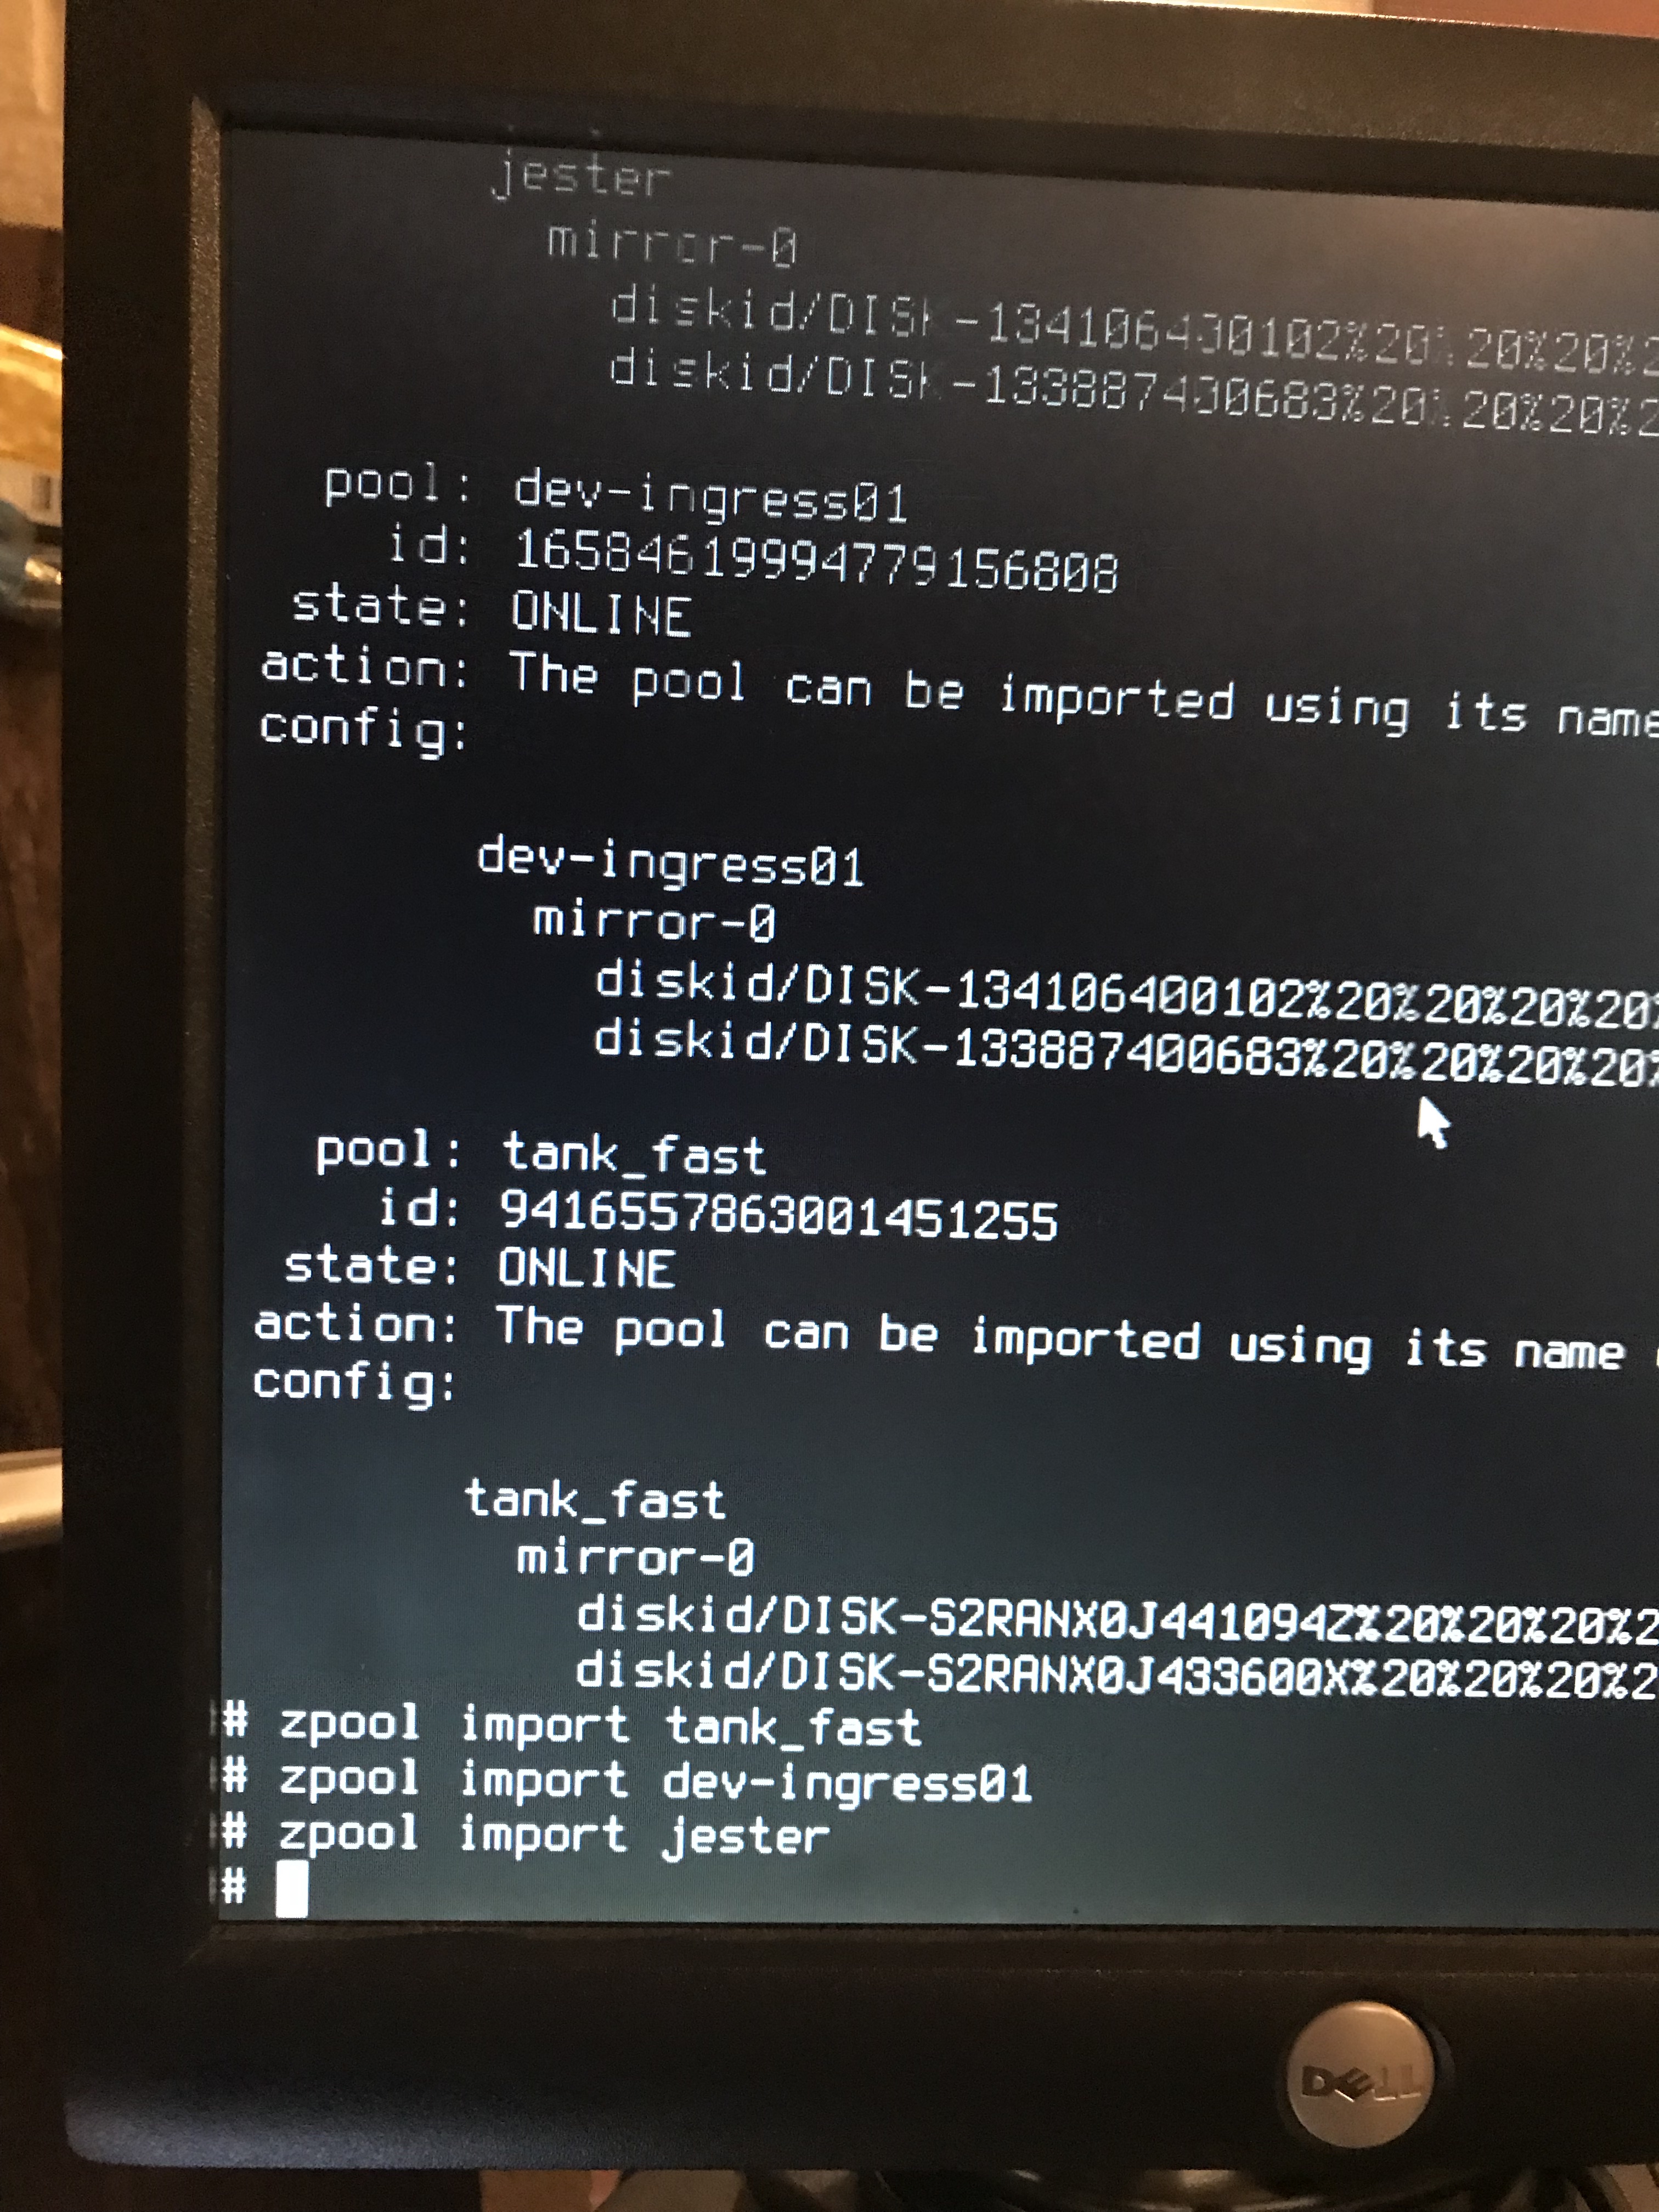
Successful boot
With that, the reboot was successful and all zpools were imported and all jails started.
I reassembled the case, and reracked it.
I then decided I wanted to replace this chassis.
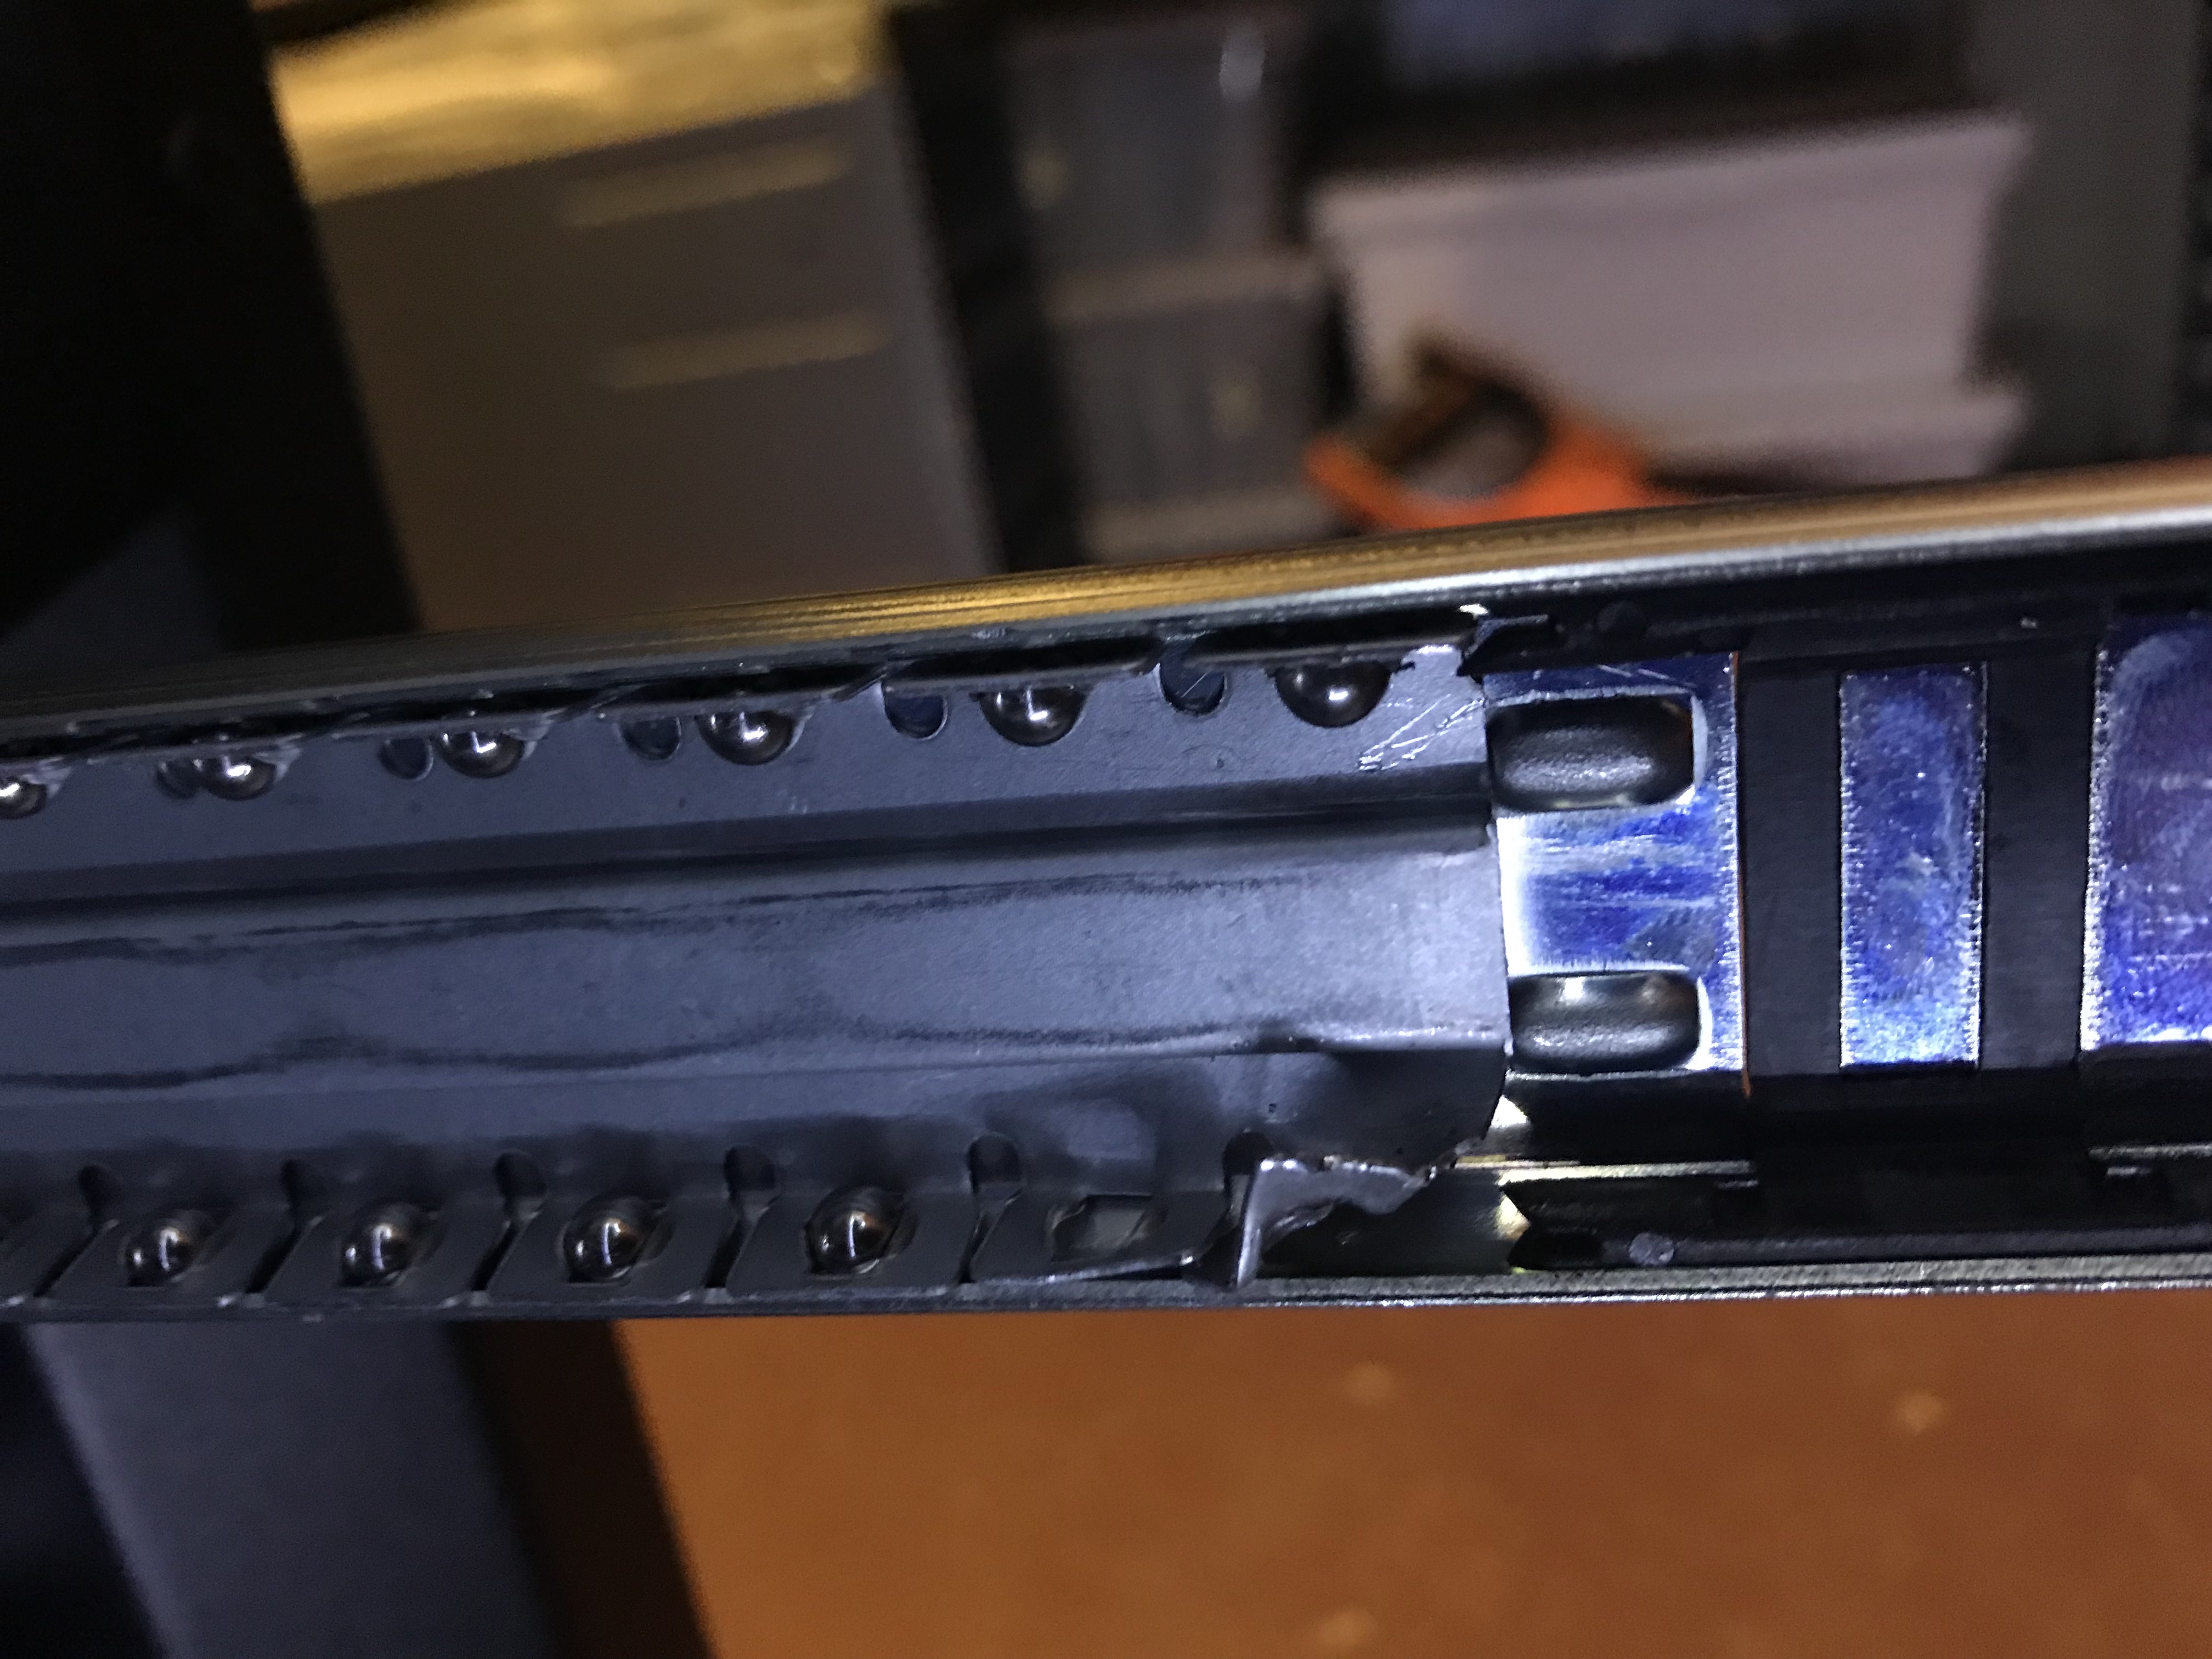
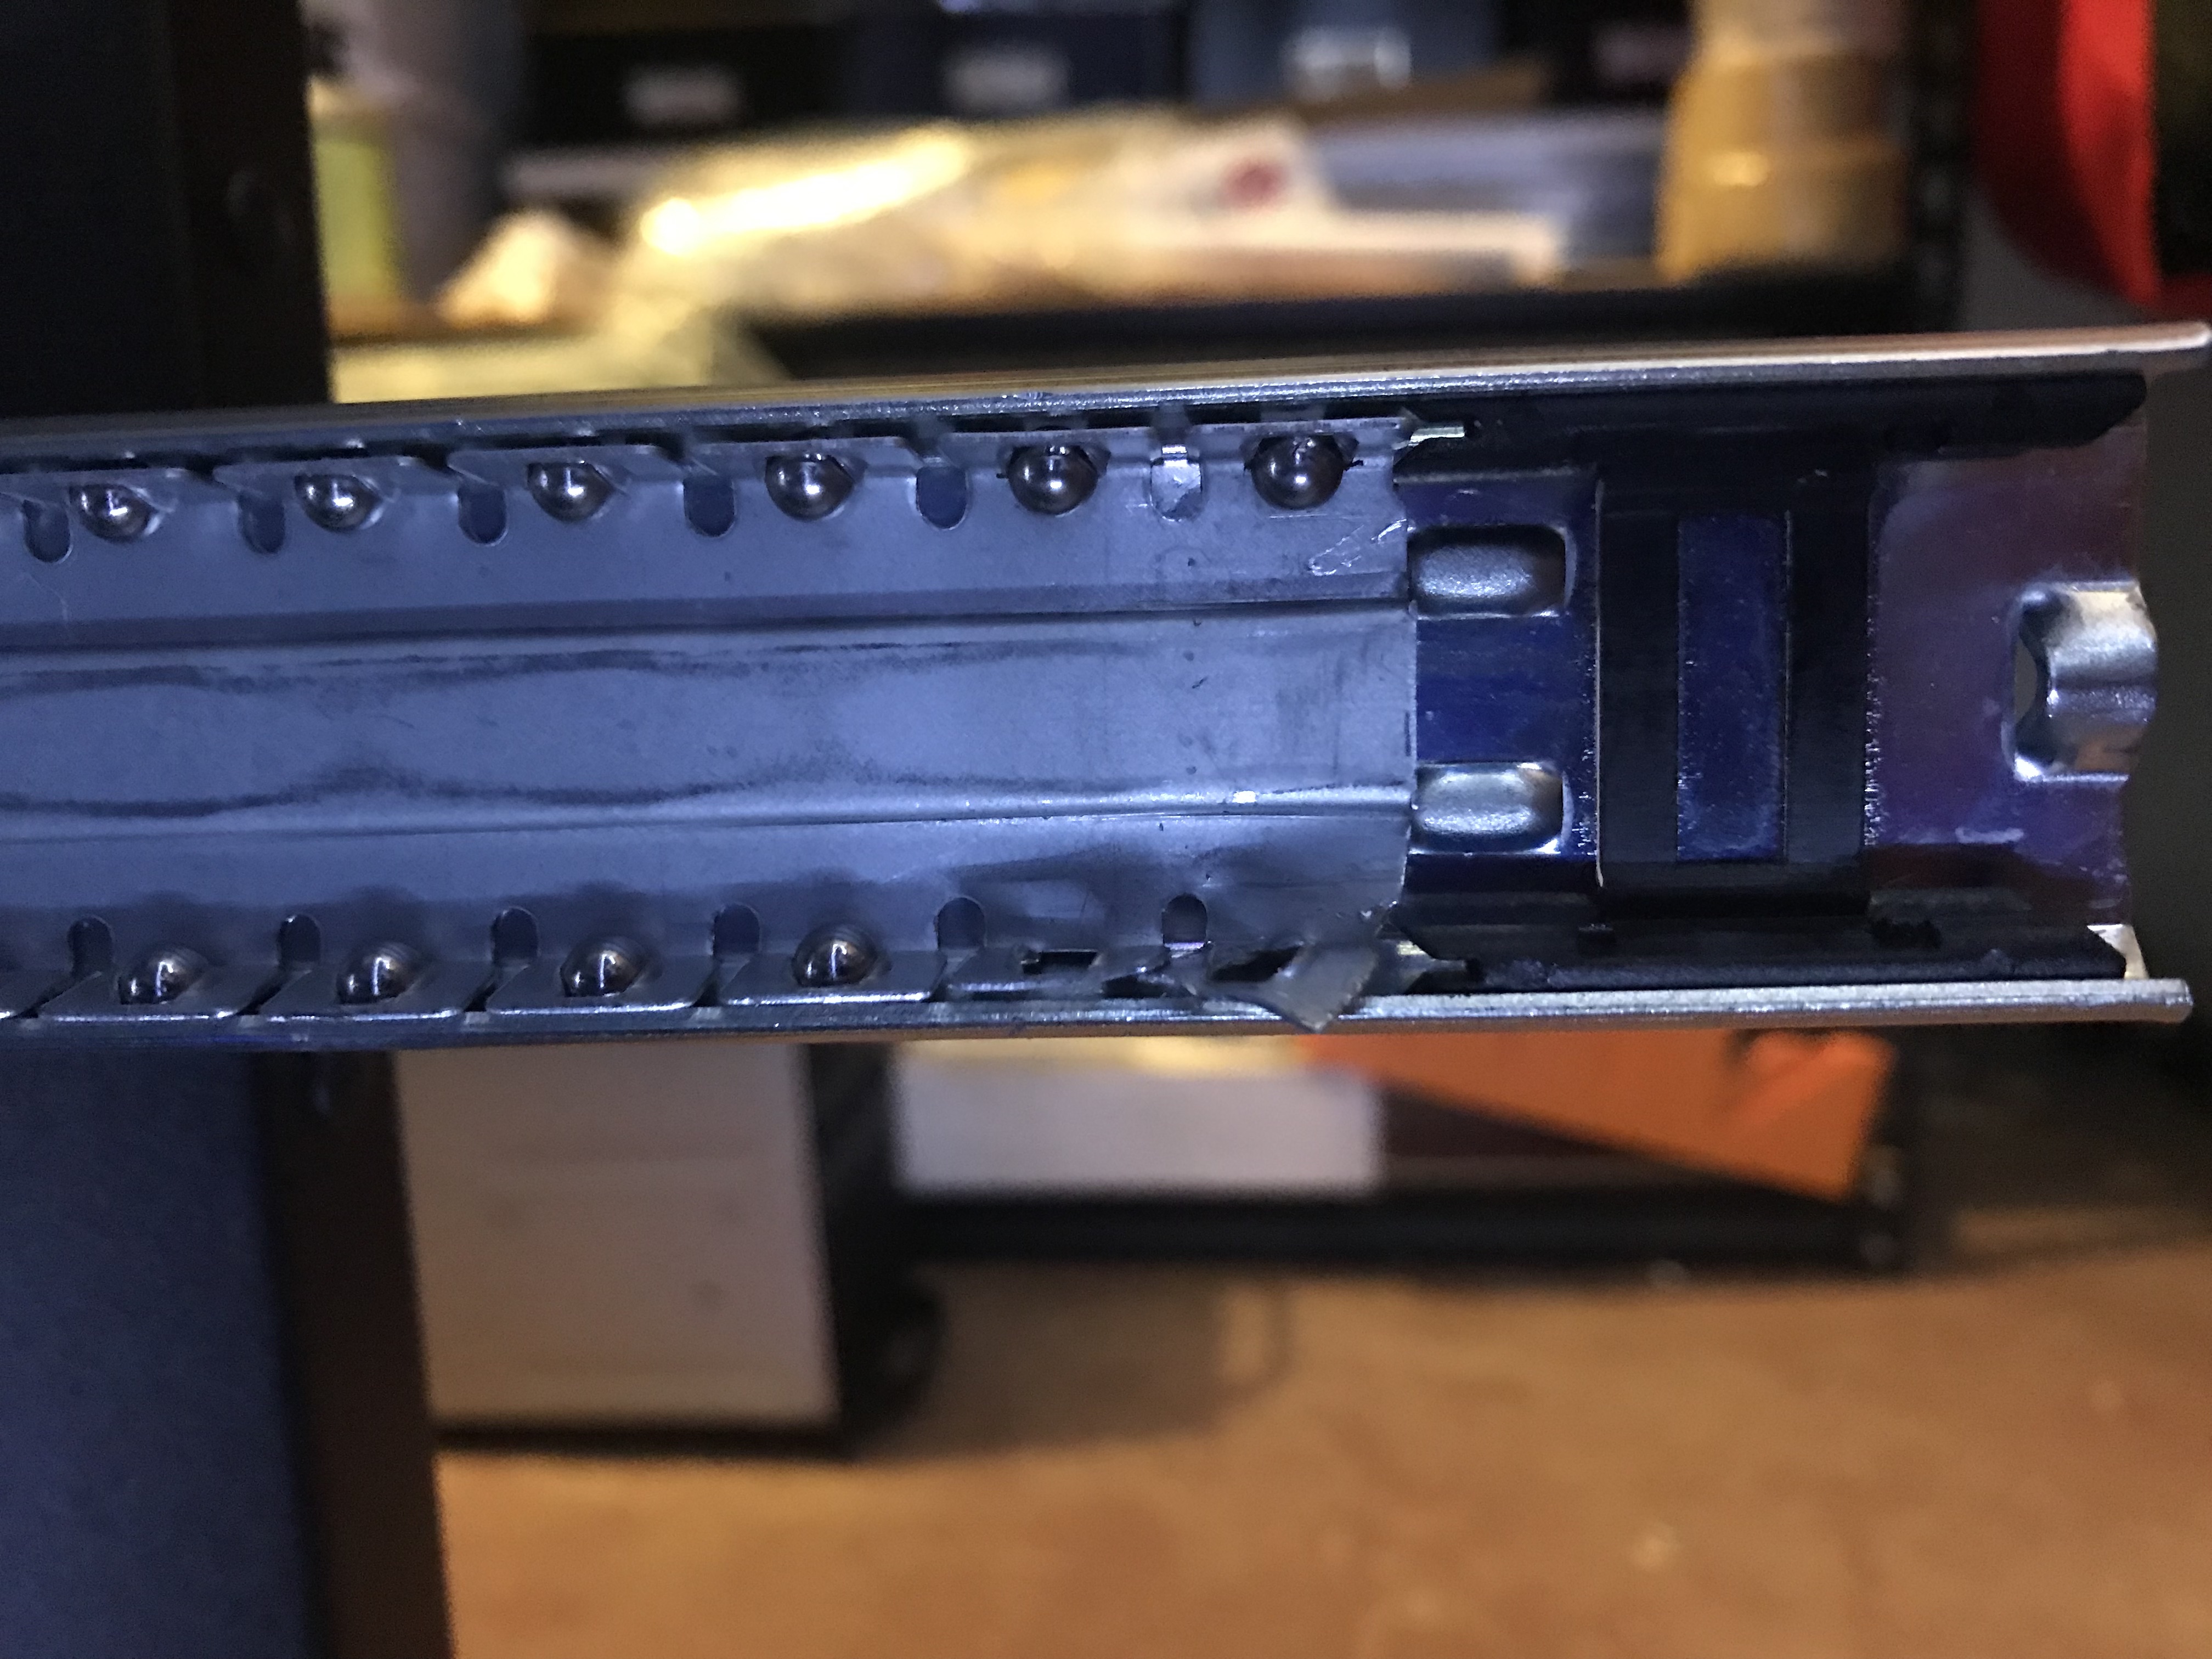
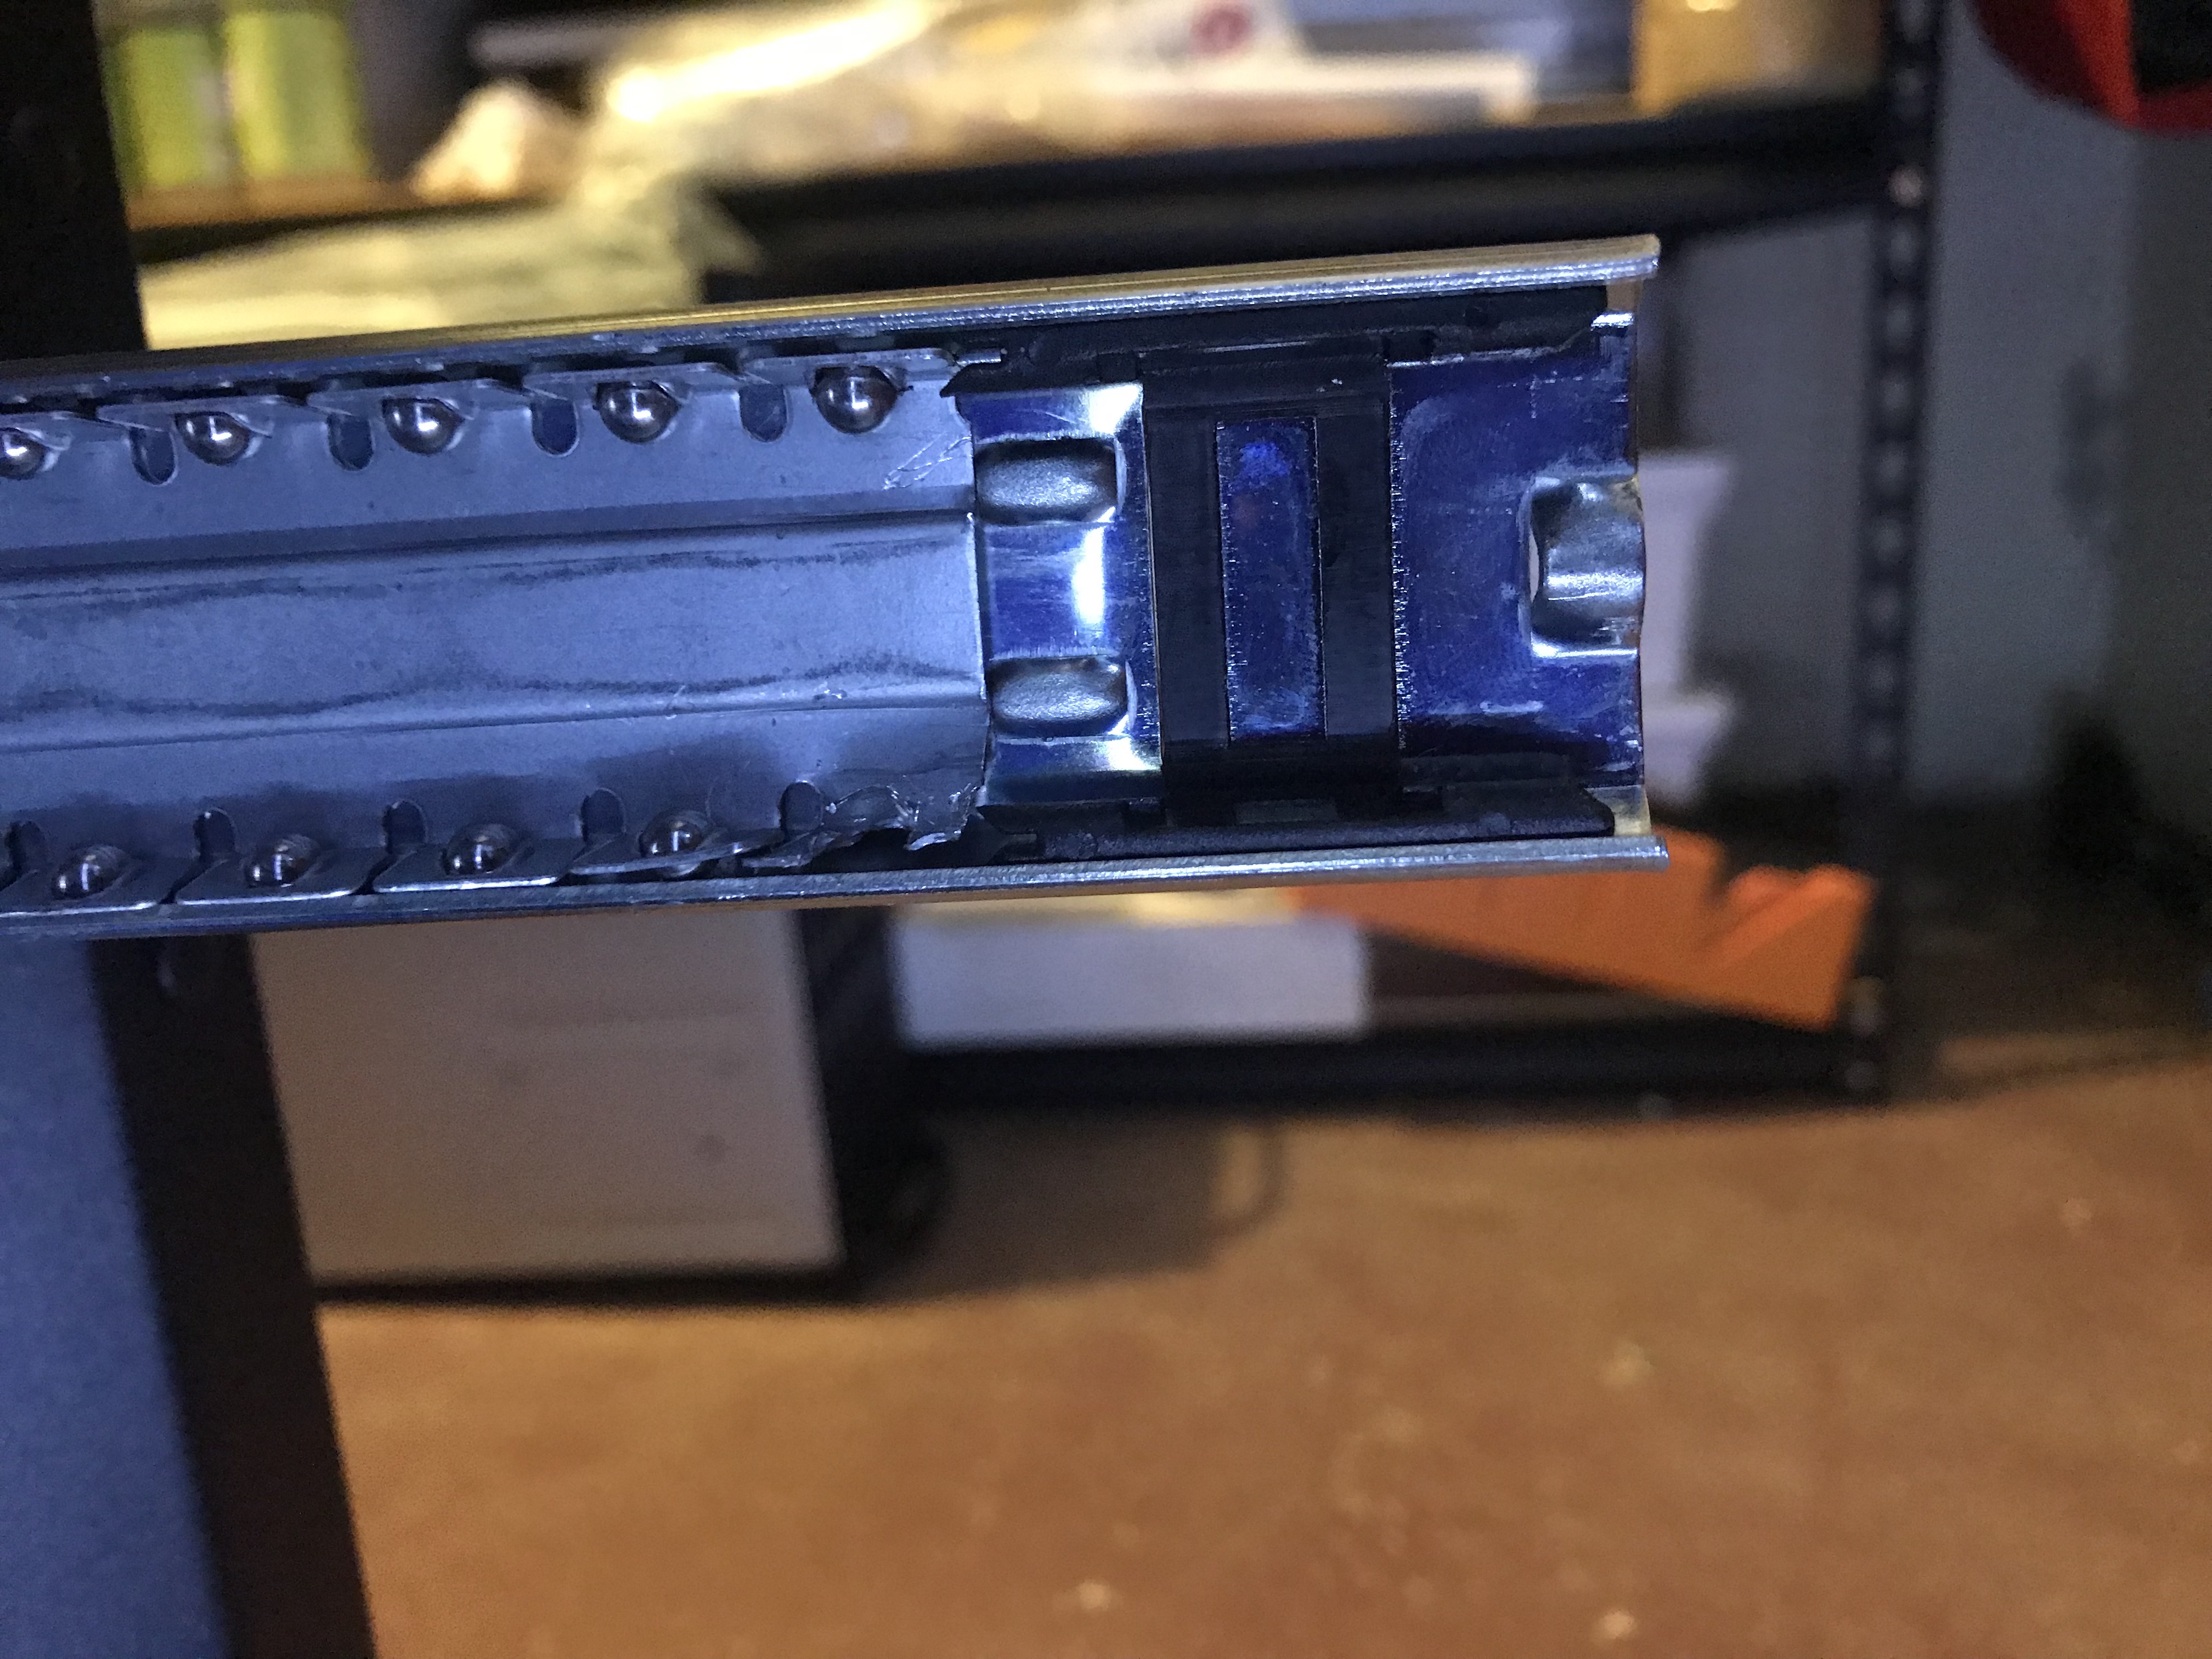
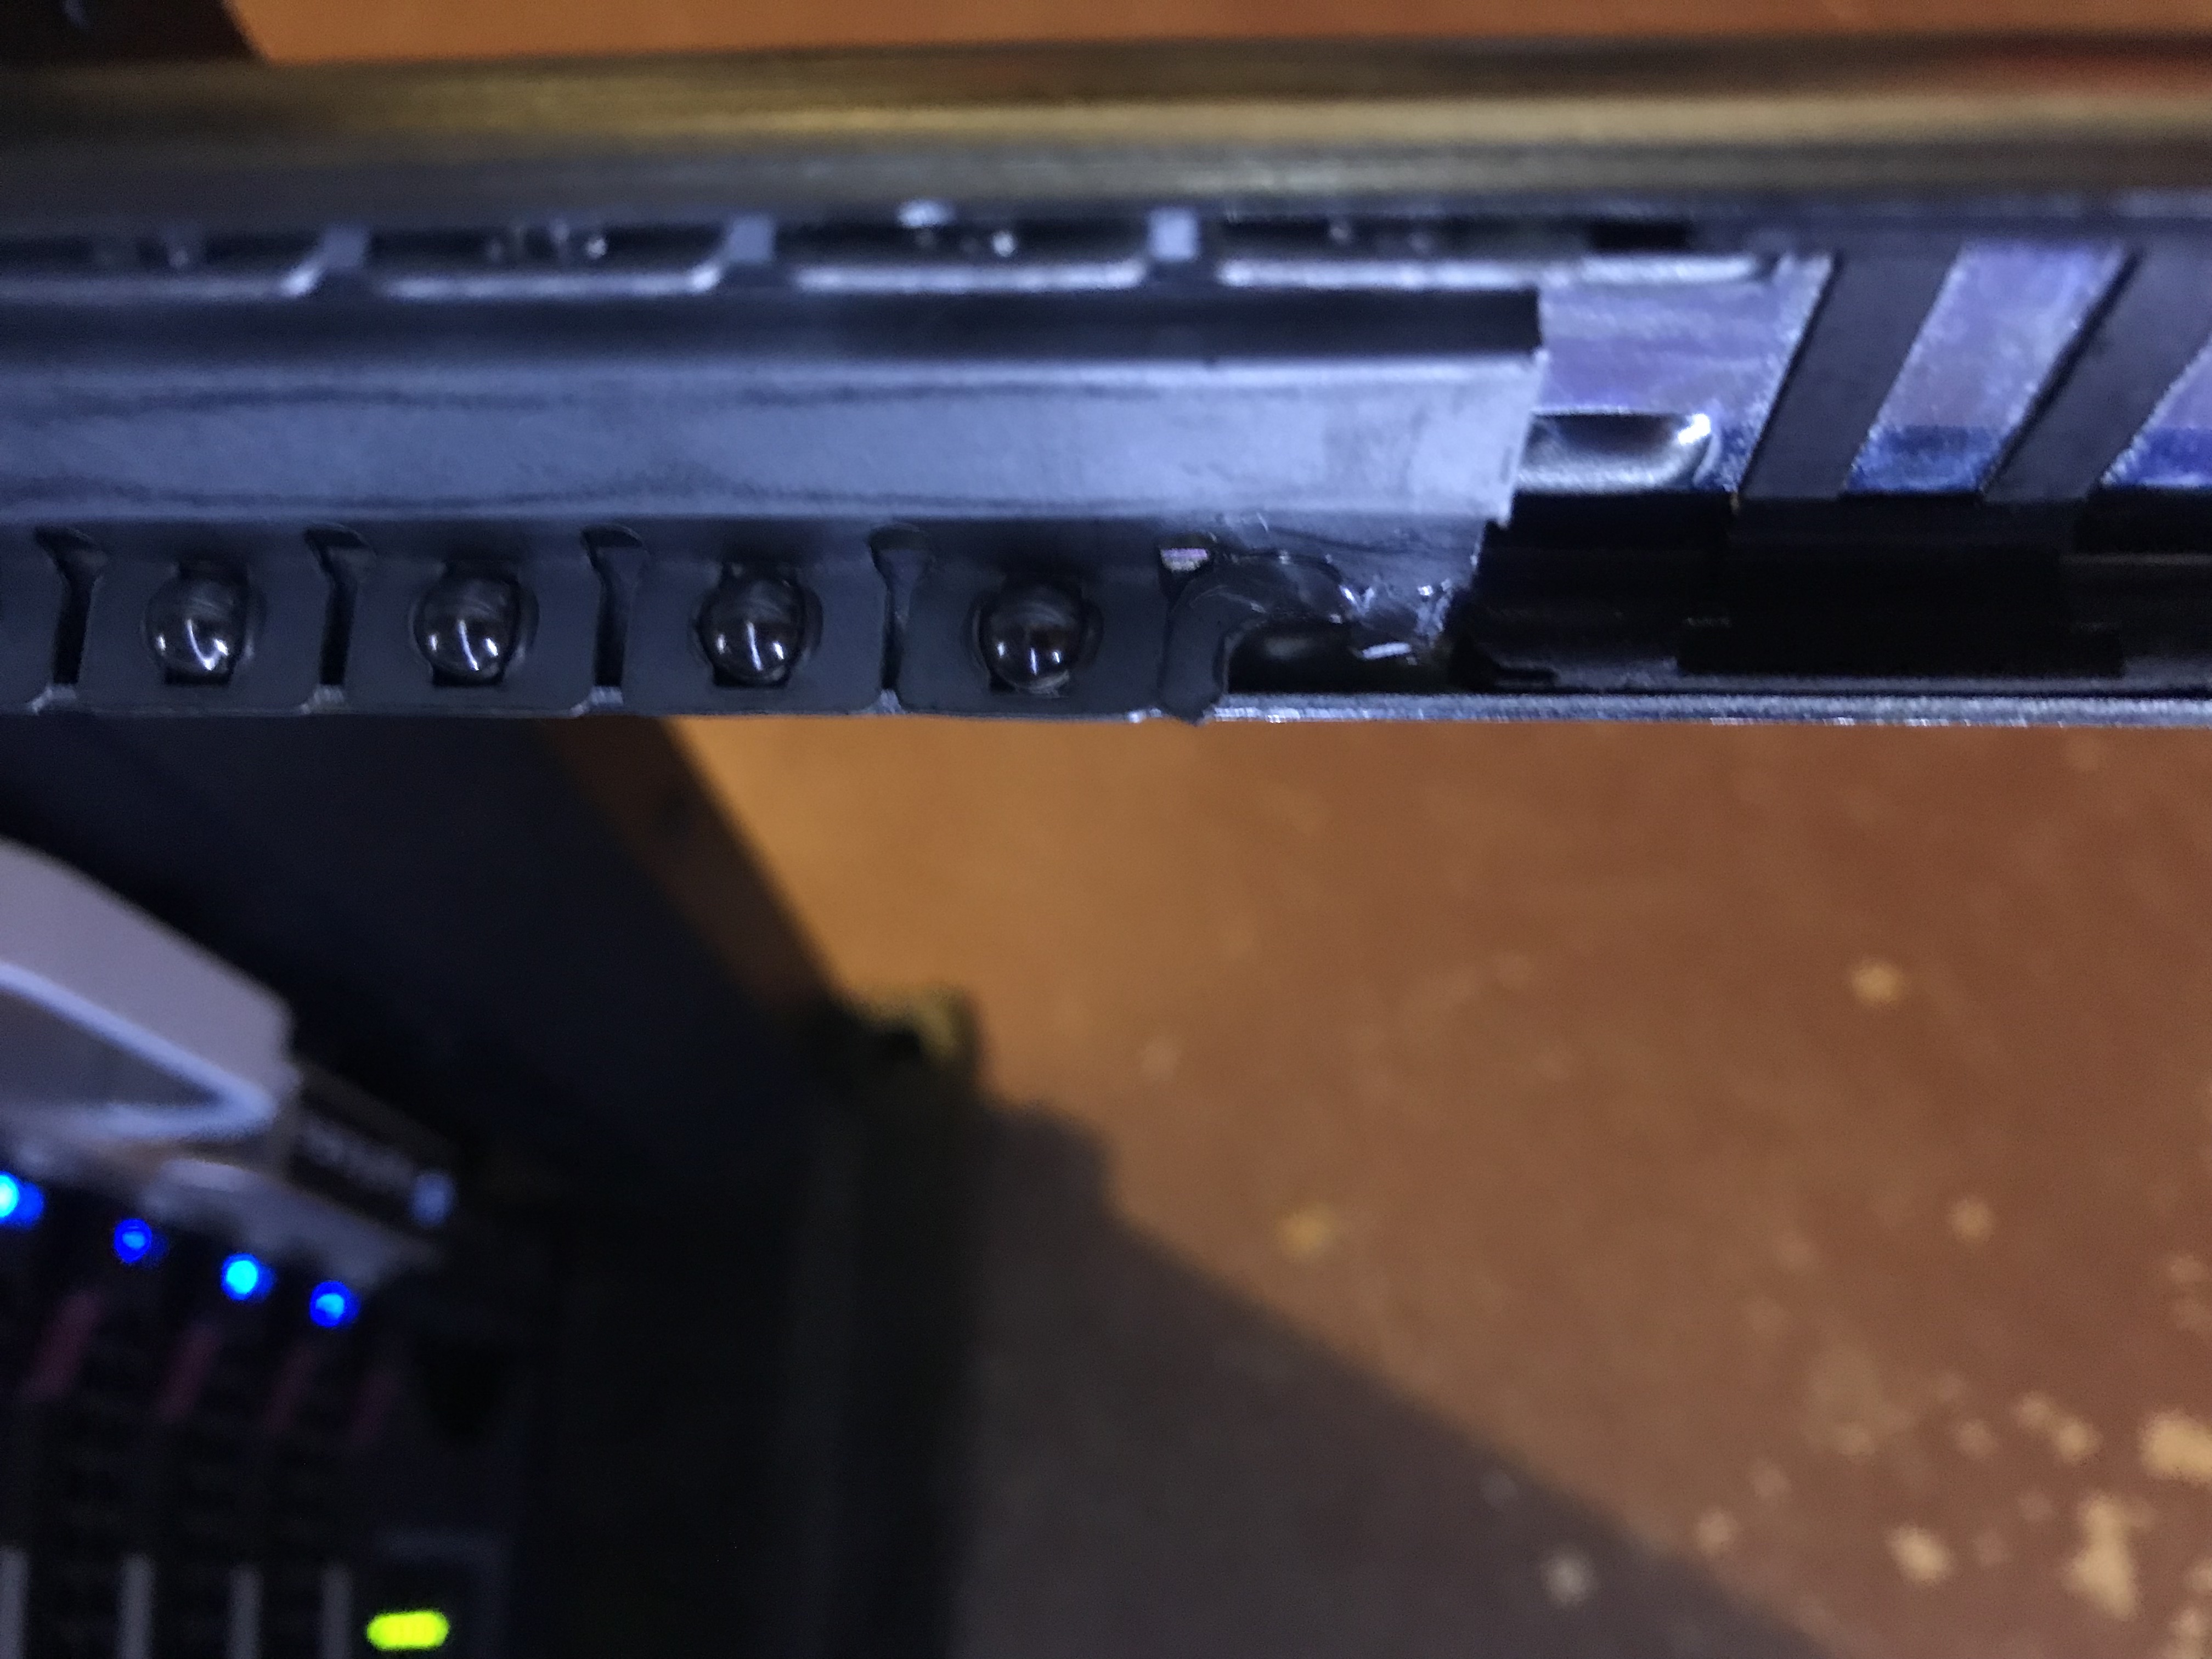
The rails broke, or at least one part of one rail.
I manually broke off the bit which was sticking out, but it got worse. About ten bearings got stripped out as I forced the chassis back into the rack. It was not pretty. It was not quiet.
Perhaps I’ll just buy another SuperMicro chassis.
The next day
It is now about 11:30 AM the next day, and things seem fine with the system, despite the chassis issues. I now really want to replace that chassis, after having so much success upgrading the knew server (photos here).
Happy New Year.


