
A lot of modern mobile application use lists to present their data.
Look at Twitter or Instagram app, those apps are the list based apps. They display messages and images as a list. Bank applications display a list of transactions etc.
Looks like knowing how to work with the list is an important piece of knowledge for the mobile developer.
Today we are going to see what can we use to render the list of things.
That article is a part of the series of articles, where we are building an application.
You may want to review the previous articles to get more context about that.
Let’s get started.
In the previous article, we have integrated Tab Navigator and extracted the High Scores screen into one of these tabs.
High Scores rendered as a list of 25 items. They are looks fine in a portrait orientation. Although, there is a problem in a landscape mode.
Problem

High scores are centered and we can’t see the beginning and the end of the list. The list is bigger than a screen size and there is no scrolling functionality in there.
ScrollView
One of the ways to solve it is to use a ScrollView component.
A ScrollView makes all the content inside scrollable.
It’s as simple as using a View component.
Here is how our HighScores component looks at the moment:
export default HighScores = ({ data, totalNumber }) => {
  const highScores = getTopScores(
    data, totalNumber || DEFAULT_TOTAL_NUMBER
  );

  return (
    <View style={styles.container}>
      <Text style={styles.header}>High Scores</Text>
      <TableHeader />
      {
        highScores.map((highScore, index) =>
          <Row highScore={highScore} index={index} key={index} />)
      }
    </View>
  );
};
Let’s fix it by wrapping our rows into a ScrollView.
Open a src/components/HighScores.js file and update the component implementation to use a ScrollView:
export default HighScores = ({ data, totalNumber }) => {
  const highScores = getTopScores(
    data, totalNumber || DEFAULT_TOTAL_NUMBER
  );

  return (
    <View style={styles.container}>
      <Text style={styles.header}>High Scores</Text>
      <TableHeader />
      <ScrollView>
        {
          highScores.map((highScore, index) =>
            <Row highScore={highScore} index={index} key={index} />)
        }
      </ScrollView>
    </View>
  );
};
Next, at the top of the file, we need to import the component.
import { View, Text, ScrollView, StyleSheet } from 'react-native';
We also need to add marginTop: 50 into the styles, to give our component a small indent in the horizontal mode.
const styles = StyleSheet.create({
  container: {
    width: 300,
    marginBottom: 15,
    marginTop: 50
  }
  // rest of the styles
});
After we do all those steps, we can see how the app looks now:
Is that a working solution? Yes. Can we improve it? Let’s find out.
The ScrollView component renders all its children at ones.
That can be a performance issue when the list of its children is lengthy.
Can that problem be solved? Yes, it can. We can use a FlatList component instead.
FlatList
Unlike a ScrollView, a FlatList component renders its children lazily.
What does it mean? That means, it renders only items which are visible on the screen.
When we are scrolling, it renders the items which about to be shown.
Also, it removes the items outside the screen, when we were scrolling away.
It also updates only those rows which have been changed.
Those qualities of the FlatList make it more performant.
On top of that, the component also provides some other features such as header and footer support, pull to refresh functionality etc.
To render the FlatList we need to feed it with the two props: data and renderItem.
data- is a plain array of elements we are going to renderrenderItem- takes an item from thedataand renders it using a custom component of our choice.
Let’s refactor our HighScores component to use a FlatList instead of ScrollView.
Update the HighScores component:
export default HighScores = ({ data, totalNumber }) => {
  const highScores = getTopScores(
    data, totalNumber || DEFAULT_TOTAL_NUMBER
  );

  return (
    <View style={styles.container}>
      <Text style={styles.header}>High Scores</Text>
      <TableHeader />
      <FlatList
        data={highScores}
        renderItem={
          ({ item, index }) =>
            <Row highScore={item} index={index} key={index} />
        }
      />
    </View>
  );
};
In the example above, we have provided the list of high scores as a data property and the render component to the renderItem prop.
Don’t forget to import a FlatList at the top of the file.
import { FlatList, View, Text, StyleSheet } from 'react-native';
Now, if we run our application, we will see the following warning message:
VirtualizedList: missing keys for items, make sure to specify a key property on each item or provide a custom keyExtractor.
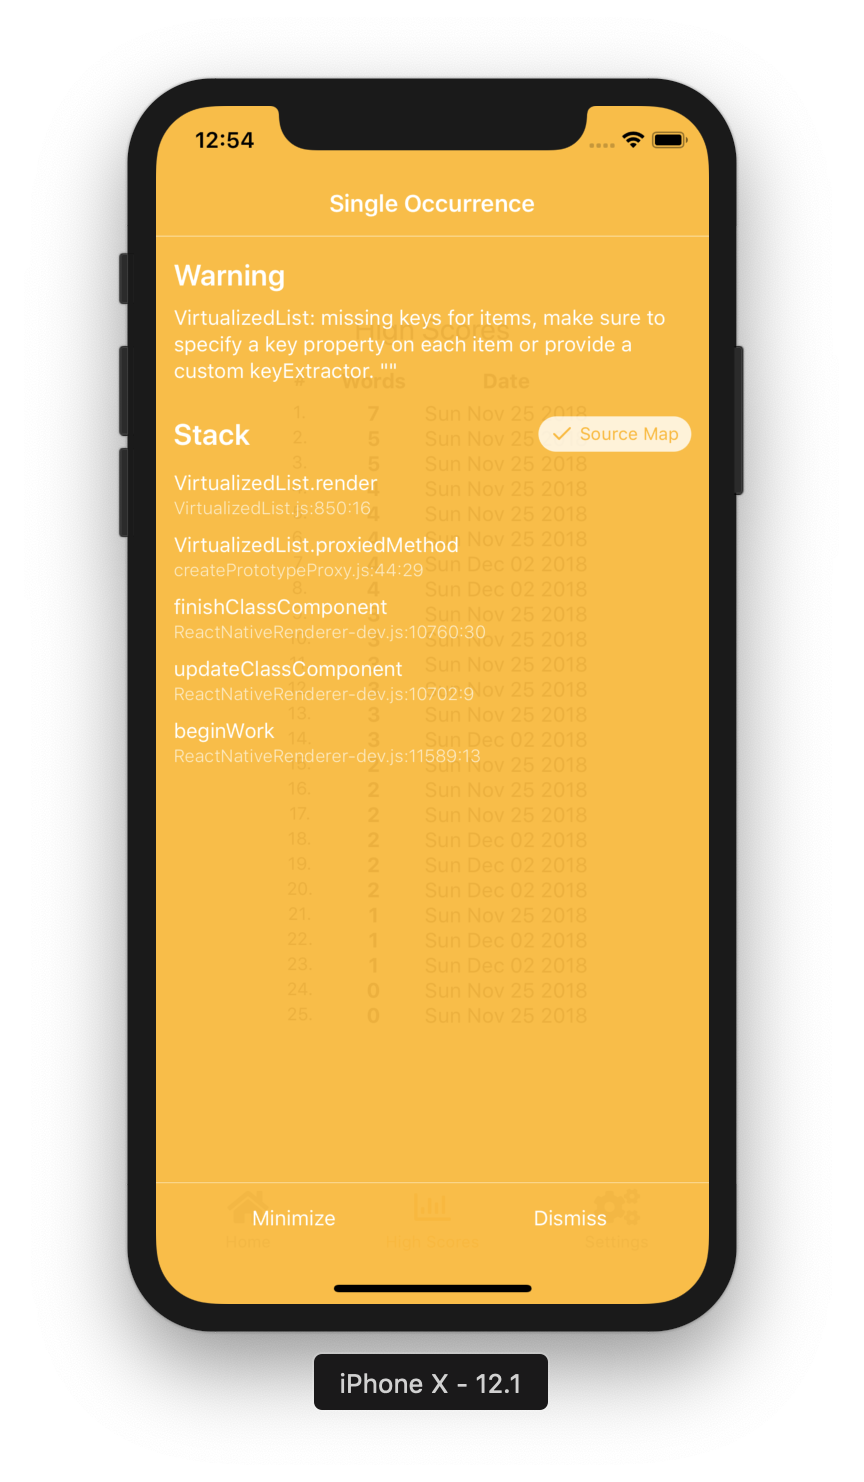
What is going on? We can see we are passing key={index} into our element.
The thing is, that FlatList is not using default key property to fill in the key.
One way to fix that is to provide a key value for every item of our collection.
For example, we can iterate through the collection and add a new key to it.
Pay attention, the key should be a string, not a number.
const highScores = getTopScores(
  data, totalNumber || DEFAULT_TOTAL_NUMBER
).map((highScore, index) => {
  highScore.key = index.toString();
  return highScore;
});
Of course, we can build or collection in a way that it will contain key in the first place.
Another way would be to use keyExtractor property:
<FlatList
  data={highScores}
  renderItem={
    ({ item, index }) =>
      <Row highScore={item} index={index} key={index} />
  }
  keyExtractor={(item, index) => index.toString()}
/>
In that case, we can calculate the keys on the flight. That can be useful if our items have an ID field, or something else unique.
Let’s check that we’ve got.

You can see, that each element of the list renders one by one. They do not appear at the same time.
It also looks fine in the horizontal orientation.

It seems to me that the scrolling is smoother.
FlatList provides us with a bunch of other useful features.
Let’s take a look at some of them.
ListEmptyComponent prop
Sometimes, our lists might be empty.
If we want to style it differently, we can to that by using ListEmptyComponent property.
<View style={styles.container}>
  <Text style={styles.header}>High Scores</Text>
  <TableHeader />
  <FlatList
    data={highScores}
    renderItem={
      ({ item, index }) =>
        <Row highScore={item} index={index} key={index} />
    }
    keyExtractor={(item, index) => index.toString()}
    ListEmptyComponent={() =>
      <Text style=>
        There are no High Scores yet!
      </Text>
    }
  />
</View>
![]()
Seems like we need to hide a header, it does not look nice.
Let’s display the header, only when there are some records.
Change
<TableHeader />
to
{highScores.length > 0 && <TableHeader />}
![]()
ListHeaderComponent prop
As soon as we hide the header for an empty list, let’s move that header to a ListHeaderComponent props.
It works quite similar to the ListEmptyComponent.
The property receives a custom component for the header.
We already have ours: <TableHeader />.
Let’s update the code:
<View style={styles.container}>
  <Text style={styles.header}>High Scores</Text>
  <FlatList
    data={highScores}
    renderItem={
      ({ item, index }) =>
        <Row highScore={item} index={index} key={index} />
    }
    keyExtractor={(item, index) => index.toString()}
    ListEmptyComponent={() =>
      <Text style=>
        There are no High Scores yet!
      </Text>
    }
    ListHeaderComponent={() => highScores.length > 0 && <TableHeader />}
  />
</View>
We can see a visual difference, but now the header is backed by our FlatList.
FlatList has a bunch of other interesting options which you can find in a documentation page.
Wrapping up
Today we’ve learned how to use high performant list component.
We’ve refactored the high scores component to use FlatList.
We’ve also taken a look at differences between a ScrollView and FlatList.
I encourage you to check out the documentation page of the component to figure out what else we can do with it.
All the changes we’ve made today you can find on a GitHub page of the project.
See you next time.