CreateML: Start Your Adventure in Machine Learning with Swift


Why is it so important?
In summer 2017, Apple introduced the CoreML , a framework that allows you to easily
integrate Machine Learning models into your app. However, these models could be either downloaded from Apple’s website or created with the help of one of the supported Python’s Deep Learning libraries like Tensorflow, Keras, etc. Regarding the latter option, you still needed to convert the trained model to the .mlmodel format in order to integrate it into your application. No surprise that a lot of developers mentioned in their reviews for CoreML last year that it is not really a Machine Learning framework, as it doesn’t enable model creation. This year, everything has changed with CreateML.
The CreateML framework enables you to easily build machine learning models with no machine learning expertise required. In Swift. On your Mac. Isn’t it exciting enough?
What can it do?
Create ML lets you to build a machine learning model for:
-
Image recognition
Differentiating a cat from a dog on a picture? Easy! 😅
-
Text classification
Now you can create your own spam email classifier 🎉 in Swift.
-
Predicting values using the structural data
You can predict a house price based on its square footage, location, and a number of bedrooms, as an example.
How easy is that?
Extremely. Let’s take a look at the Create ML workflow. It may look familiar to those who have already had some Machine Learning experience but, at the same time, it’s not too complicated for those who haven’t.
The workflow consists of these steps:
- The problem
First of all, we need to define the problem that needs to be solved. The crucial step is to make sure that machine learning can be applied to it. Basically, all tasks that could be solved with CreateML are listed in the previous paragraph. - The data
Then, relevant data needs to be collected and preprocessed for the purposes of training and testing our model. In most cases, it is the most important part of the whole process if you want your model to be successful. - The training
We train our model with the data. And then we have to test it. The testing dataset should be different from the one you use for training, and usually, the ratio is around 80/20. If we are satisfied with the evaluation results on the test dataset, we just save the model. - The improvement
However, if the results don’t look great , we need to go back to previous steps in order to improve the model. You can clearly see in the picture below that the step you need to come back to is preparing the data. Well, that’s true as it’s the most popular way of improving the model. However, there are other options you might want to consider.
The most popular ways of improving a model are:
- Changing the dataset. Adding more or better data, double-checking the data already in the dataset.
- Using data augmentation.
- Changing the training parameters – the ML algorithm, the number of iterations, etc.
That’s it. It may sound a bit overwhelming if you haven’t had any prior experience, but the basic principles are not that complicated, believe me! That’s all we need to know about the CreateML process to start trying it out!
Let’s dive into the code!
So, after a short theoretical introduction, we are ready to dig into the practical part. 💪 For this purpose, I came up with an idea: let’s create an application that checks whether your lunch is healthy!
I called it HealthyLuncher. Unexpected name, I know. Anyway, the app has a tab bar with three screens in it: Images, Text, and Data Tables. Having those screens, we can easily try out all three capabilities available in CreateML. Let’s start with the image part.
Disclaimer: The app and the ML models are made only for education purposes. They are not precise. If you would like to have a real application with successful results, it would take you much-much more time! Machine learning tasks are very complex and sometimes you can spend months on training one model.
TL;DR
- CreateML Playground with all of the datasets for you to create your own models!
- HealthyLuncher on GitHub for the testing ML models with the help of CoreML.
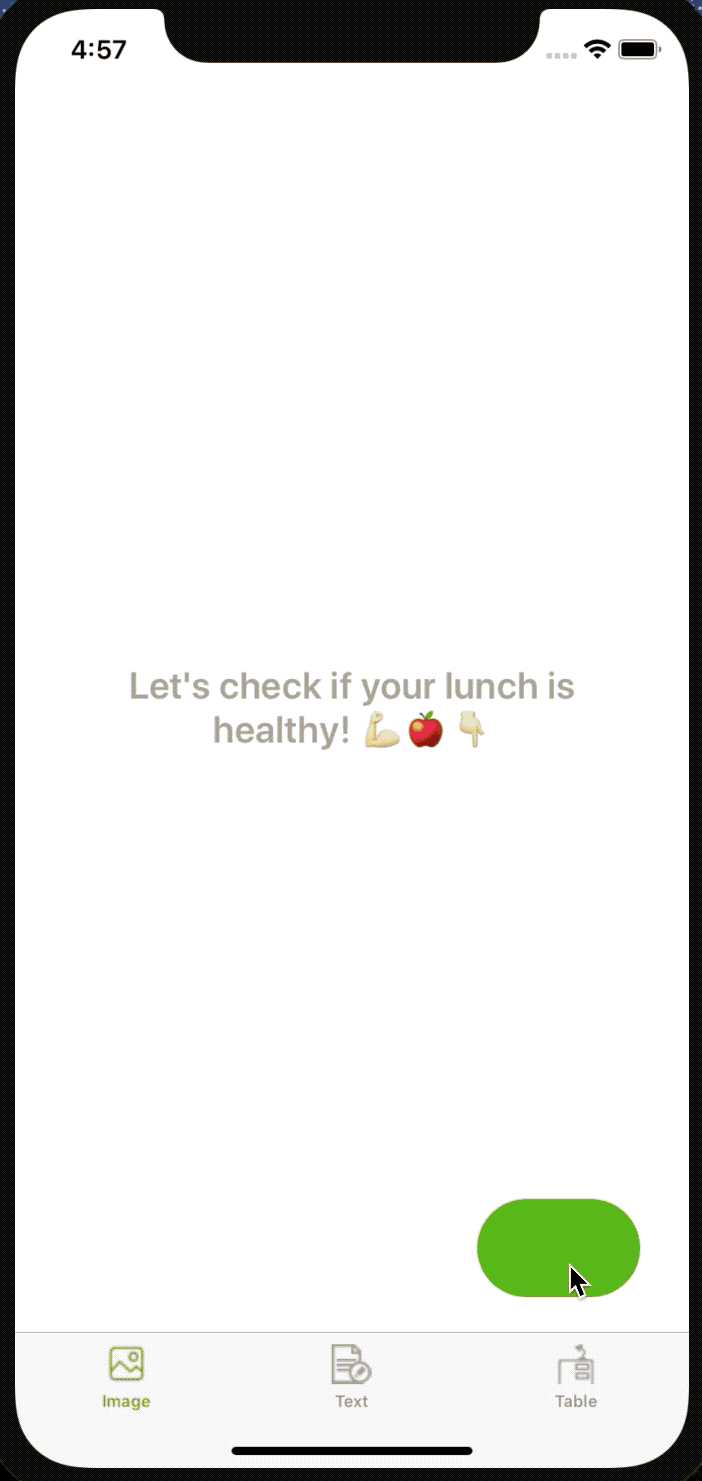
Images
Task
The idea behind HealthyLuncher images section is straightforward: you upload a picture from your photo library and the app evaluates whether your lunch is healthy or not. The task itself is not that easy, but as long as we are going to create a Machine Learning model for educational purposes, we can simplify the task as much as we like. So, let’s assume that salad, fruit, and vegetables are healthy, while the most popular kinds of fast food are not (burgers, fries, pizza, donuts, etc.). And that is how we will create our image classifier.
Data preparation
First of all, you need to obtain your data. I downloaded salad, fruit, vegetables, and fast food datasets from Open Images v4 dataset. In addition, I also searched for a few pictures on Google Search, choosing the option ‘labeled for reuse’. Again, for a real commercial product, it might be a more difficult task. Finally, I got 63 pictures for healthy and 59 for fast food training dataset + 20 images for healthy and 17 for fast food testing dataset.
Things to remember:
-
Apple recommends using at least 10 pictures for each label.
-
But the more images, the better.
-
The more pictures you have, the longer training the training will be.
-
Prepare training and testing datasets.
-
Alternatively, you can split one dataset into training and testing data in the code.
-
Ideally, the ratio of train/test data should be around 80/20 or 70/30.
-
The number of pictures for each label should be almost the same (avoid huge differences like 50 images for one and 500 for another).
-
Images should be similar to the ones for which the real model will be used.
-
Provide a variety of pictures (different angles, lighting conditions, etc.).
-
There is no constraint for size; however, it’s advised that they have at least 299x299 pixels.
Next, you just need to create two folders with train and test data and add subfolders to them with class labels as their names.
Training
And here comes the most interesting part. Actually, you can train your image classifier in just 3 simple lines of code in a playground!
MLImageClassifierBuilder
import CreateMLUI

let builder = MLImageClassifierBuilder()
builder.showInLineView()
Run the playground and add a training folder to the assistant editor. That’s all! You will have your model in a matter of seconds.
Let me just add a few words about training and validation accuracy. These values help to improve the algorithm, and testing accuracy evaluates its performance. Training accuracy improves the algorithm for its next iterations. Validation accuracy tells us whether there is overfitting, that is whether the algorithm becomes fixated on a specific feature (for example, background color, which is actually irrelevant to the task at hand). CreateML automatically and randomly splits the data into the training and validation data sets, so each time you train the algorithm, the validation accuracy might be different.
It took 15.28s to train 122 images. After training, you can add a testing dataset, and if you’re happy with the results, just save the model. Our evaluation showed 97-percent accuracy, which is a very nice result. So the improvement is not needed in this case. However, I was curious to see which results were not classified right. Theoretically, you could just scroll and see which one had the wrong label. But in our case, it just showed that all the images were classified correctly. I guess that might be a bug in Xcode, which I’ve already reported.
After that, we can simply hit Save in the playground. The newly created model’s size is.. 17 kB! 👏
MLImageClassifier
Alternatively, you can use MLImageClassifier which has a pretty similar workflow to the MLImageClassifierBuider, just with more lines of code. In comparison to its simpler counterpart, in MLImageClassifier, you can specify the training parameters or split the data into training and testing ones in the code. You could say that MLImageClassifier gives you more room for experimentation. If you are already familiar with Machine Learning, this option should interest you more. So, our model training looks like that:
import CreateML
import Foundation

// Initializing the properly labeled training data from Resources folder.
let trainingDataPath = Bundle.main.path(forResource: "train", ofType: nil, inDirectory: "Data/image")!
let trainingData = MLImageClassifier.DataSource.labeledDirectories(at: URL(fileURLWithPath: trainingDataPath))

// Initializing the classifier with a training data.
let classifier = try! MLImageClassifier(trainingData: trainingData)

// Evaluating training & validation accuracies.
let trainingAccuracy = (1.0 - classifier.trainingMetrics.classificationError) * 100 // Result: 100%
let validationAccuracy = (1.0 - classifier.validationMetrics.classificationError) * 100 // Result: 100%

// Initializing the properly labeled testing data from Resources folder.
let testingDataPath = Bundle.main.path(forResource: "test", ofType: nil, inDirectory: "Data/image")!
let testingData = MLImageClassifier.DataSource.labeledDirectories(at: URL(fileURLWithPath: testingDataPath))

// Counting the testing evaluation.
let evaluationMetrics = classifier.evaluation(on: testingData)
let evaluationAccuracy = (1.0 - evaluationMetrics.classificationError) * 100  // Result: 97.22%

// Confusion matrix in order to see which labels were classified wrongly.
let confusionMatrix = evaluationMetrics.confusion
print("Confusion matrix: \(confusionMatrix)")

// Metadata for saving the model.
let metadata = MLModelMetadata(author: "Author",
                               shortDescription: "A model trained to classify healthy and fast food lunch",
                               version: "1.0")

// Saving the model. Remember to update the path.
try classifier.write(to: URL(fileURLWithPath: "Path where you would like to save the model"),
                     metadata: metadata)
Which is, as you can see, also not that complicated. The evaluation performance is just the same as in MLImageClassifierBuilder. Though in this case, unfortunately, there you cannot see which images were incorrectly classified. All you can do is take a look at the values of the MLClassifierMetrics.
Adding the model to the app
Now you can add your .mlmodel file to HealthyLuncher. After you do it, you need to update ImageClassificationService.swift with the name of the model if it’s different from mine. Also, in case you named your folders differently than in this blog post , change the classLabels values in Prediction.swift enum. That’s it. Nothing more is needed, let’s just run the app!
As you can see it works pretty well! Especially if you take into account a relatively small amount of data used. The model will behave weirdly for non-related pictures and it is normal, as we didn’t train it for those pictures.
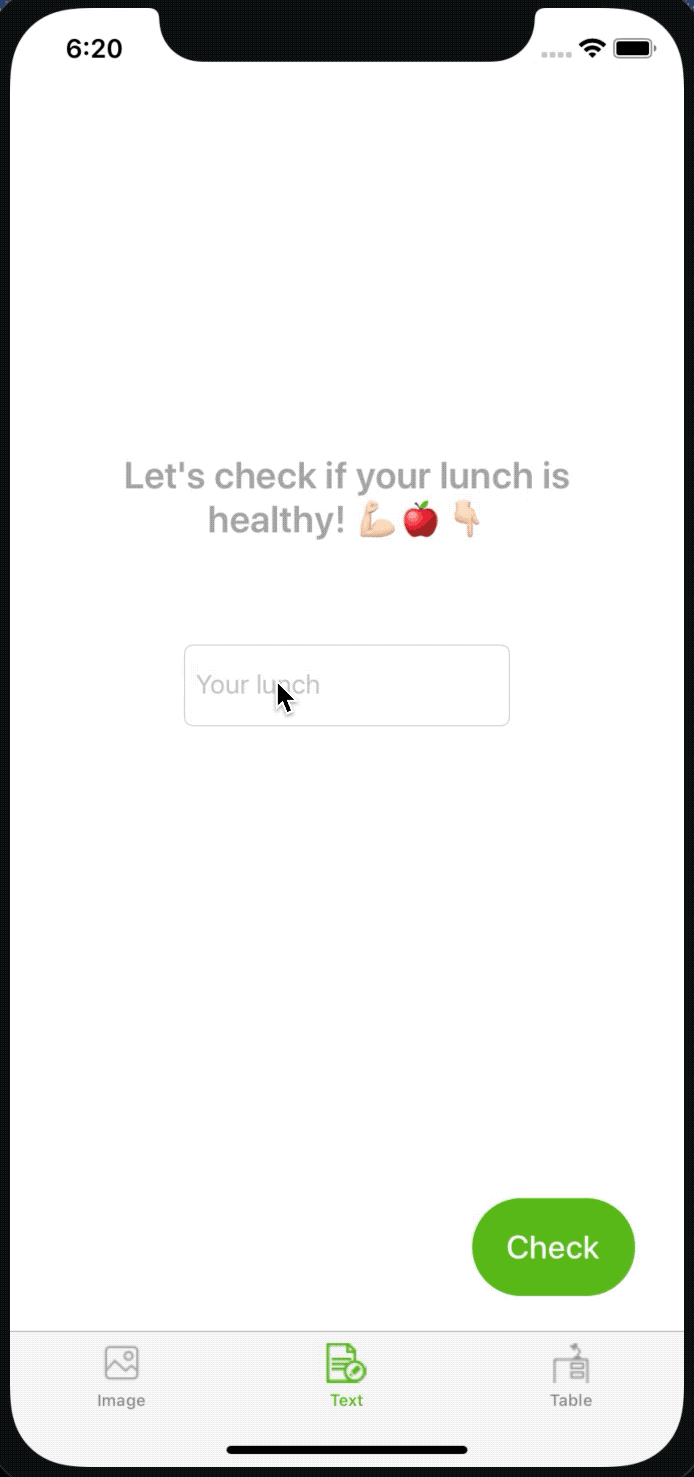
Text
Task
The text section in HealthyLuncher is supposed to work similarly to the one on images. Basically, we expect a user to type in what they had for lunch and they will see whether it was healthy or not.Data preparation
Again, we can set the rules according to which food should be specified as healthy or not. I assumed that everything boiled, grilled, and steamed is healthy. Everything fried and greasy is fast food. In the real app, you may need to analyze a lot of information and text to classify lunches with adequate precision. But for educational purposes, our dataset should be enough. Most of the things written above for images stay relevant for text, such as training on similar data to the one on which model will be used, the more data the better, etc.
In order to import the data into the classifier, you can:
-
Use a .json or .csv format.
-
Put .txt files in labeled subfolders as we did with images.
-
Create an MLDataTable instance from code.
I chose the .json format and simply added the data manually. As an example, those are the words I used for each label:
Healthy: salad fish steamed boiled raw vegetables fruits apple banana smoothie avocado
Fast food: burger fried mcdonalds oily deep-fried crispy fat hamburger pizza bagel bread.
Training
The training process looks very similar to the one we used for images.import CreateML
import Foundation
// Initializing the training data from Resources folder.
let trainingDataPath = Bundle.main.path(forResource: "data", ofType: "json", inDirectory: "Data/text/train")!
let trainingData = try! MLDataTable(contentsOf: URL(fileURLWithPath: trainingDataPath))
// Initializing the classifier with a training data.
let classifier = try! MLTextClassifier(trainingData: trainingData, textColumn: "text", labelColumn: "type")
// Evaluating training & validation accuracies.
let trainingAccuracy = (1.0 - classifier.trainingMetrics.classificationError) * 100 // Result: 100%
let validationAccuracy = (1.0 - classifier.validationMetrics.classificationError) * 100 // Result: 60%
// Initializing the properly labeled testing data from Resources folder.
let testingDataPath = Bundle.main.path(forResource: "data", ofType: "json", inDirectory: "Data/text/test")!
let testingData = try! MLDataTable(contentsOf: URL(fileURLWithPath:testingDataPath))
// Counting the testing evaluation.
let evaluationMetrics = classifier.evaluation(on: testingData)
let evaluationAccuracy = (1.0 - evaluationMetrics.classificationError) * 100 // Result: 100%
// Confusion matrix in order to see which labels were classified wrongly.
let confusionMatrix = evaluationMetrics.confusion
print("Confusion matrix: \(confusionMatrix)")
// Metadata for saving the model.
let metadata = MLModelMetadata(author: "Author",
shortDescription: "A model trained to classify healthy and fast food lunch",
version: "1.0")
// Saving the model. Remember to update the path.
try classifier.write(to: URL(fileURLWithPath: "Path where you would like to save the model"),
metadata: metadata)
The validation accuracy turned out to be very low this time – only 60%. That’s because of the data used. Basically, every text was different and not related to the other texts. It would be ideal to create a separate validation dataset or simply enlarge and improve the training dataset.
As for the testing dataset, I also created a .json file this time. Adding the model to the app
Again, just like for ImageClassifier , you need to add the model to the app! Run it and test it.
As you can see it also works pretty well. When I typed in “grilled fish and vegetables,” it said it’s healthy and “burger with french fries” turned out to be fast food. Yay 🎉
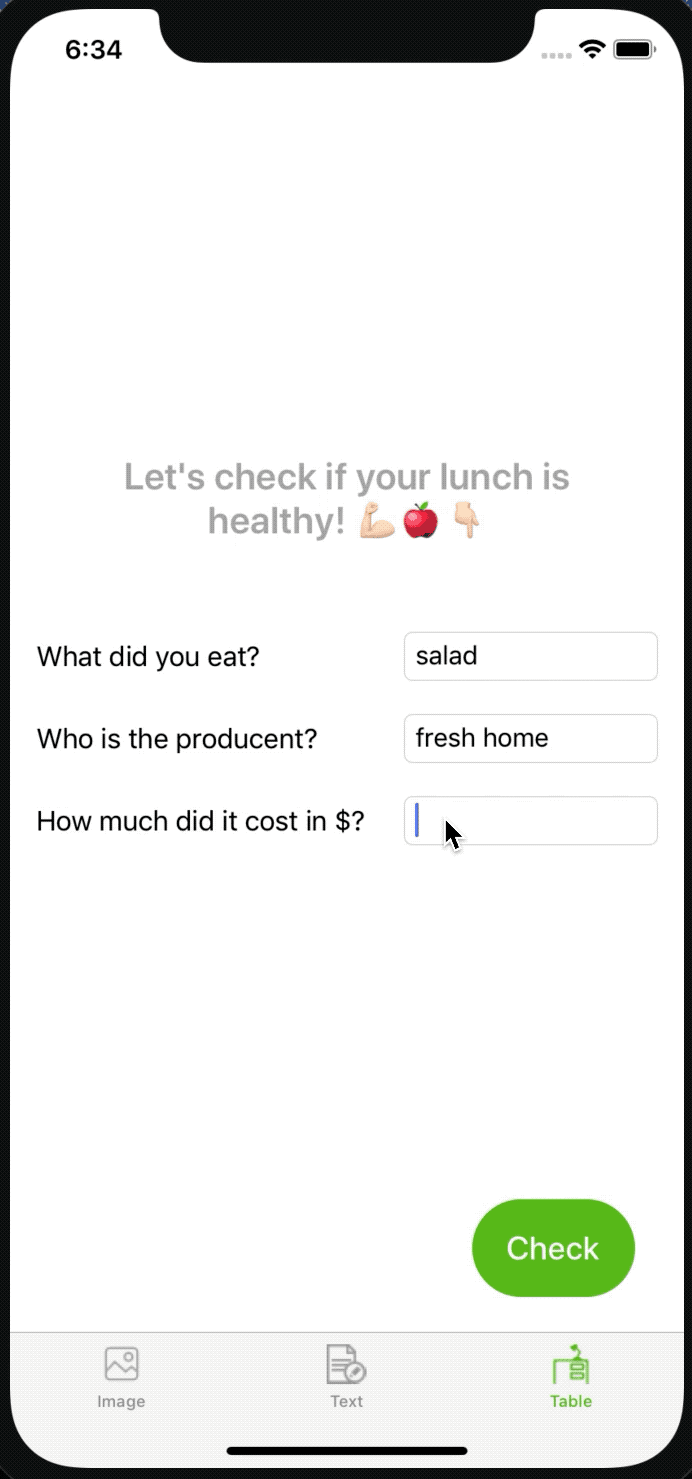
Data table
Task
In the table screen in HealthyLuncher we want to tell the user whether their lunch was healthy based on three criteria: the name of the dish, the name of the producer (a cafe or a company), and the price.Data preparation
Let’s assume that all things that come from Mars, McDonald's, KFC, and so on are fast food, and food bought in places whose names contain words: “Fresh”, “Healthy”, “Home”, and so on, is considered as healthy. Fast food is cheap, while healthy food is more expensive.
You can import your data in the same way as you did text. This time, I tried out the .json option. This is an excerpt from the file:
[
 {
   "name": "Snickers",
   "company": "Mars",
   "price": 2,
   "type": "fast food"
 }, {
   "name": "Salad",
   "company": "Fresh",
   "price": 6,
   "type": "healthy"
 }, {
    …
 }
]
I’ve used only 10(!) examples. Let’s see if it works well.
Training
Again, the flow is very similar to the previous cases. With the only exception that this time, we’ll finally try out the option of splitting one dataset into training and testing sets. Here, obtained a validation accuracy of 200%. WOW! After printing out the validationMertics.error I found out that the data set was not big enough for running a validation. This is pretty logical – it contained only 10 examples. Obviously, for a real model, you do not want to leave it like that.
import CreateML
import Foundation

// Initializing the data from Resources folder.
let dataPath = Bundle.main.path(forResource: "data", ofType: "json", inDirectory: "Data/table")!
let dataTable = try! MLDataTable(contentsOf: URL(fileURLWithPath: dataPath))

// Spliting the data into training and testing ones.
let (trainingData, testingData) = dataTable.randomSplit(by: 0.8, seed: 5)

// Initializing the classifier with a training data.
let classifier = try! MLClassifier(trainingData: trainingData, targetColumn: "type")

// Evaluating training & validation accuracies.
let trainingAccuracy = (1.0 - classifier.trainingMetrics.classificationError) * 100 // Result: 100%
let validationAccuracy = (1.0 - classifier.validationMetrics.classificationError) * 100 // Result: 200%

// Initializing the properly labeled testing data from Resources folder.
let evaluationMetrics = classifier.evaluation(on: testingData)
let evaluationAccuracy = (1.0 - evaluationMetrics.classificationError) * 100 // Result: 100%

// Confusion matrix in order to see which labels were classified wrongly.
let confusionMatrix = evaluationMetrics.confusion
print("Confusion matrix: \(confusionMatrix)")

// Metadata for saving the model.
let metadata = MLModelMetadata(author: "Author",
                               shortDescription: "A model trained to classify healthy and fast food lunch",
                               version: "1.0")
// Saving the model. Remember to update the path.
try classifier.write(to: URL(fileURLWithPath: "Path where you would like to save the model"),
                     metadata: metadata)
The testing evaluation showed a 100-percent outcome this time.
Adding the model to the app
As you can see below: it works well again. Yay 🎉
More like a pro
In this post, we used the easiest ways of training machine learning models with CreateML. However, as we mentioned at the very beginning of the post, CreateML offers some room for more creativity too.
Images
Apple uses transfer learning when it comes to training image classification or recognition. It means that the model that we are creating has already been pre-trained with enormous sets of images. It facilitates significantly faster training and makes a model a lot lighter. But it also means that you don’t have full control over the model’s training, as you cannot run it from scratch. You could alternatively change the training parameters, such as the number of iterations, the augmentation type used for the images, etc.Text
Just like in the image classifier, you can change the parameters. With text, you can change the algorithm used by the classifier or specify the language which you would like to classify. Additionally – we haven’t covered it here – there is also an MLWordTagger out there, which enables the classification of text at the word level.Data table
As for data tables, we can use a classifier (for such problems as whether food is healthy or not) or regressor (for calculating values, for example, to predict house pricing). Both of them support a variety of different algorithms. MLRegressor supports linear regression, decision trees, boosted trees, and random forests. MLClassifier offers logistic regression, decision trees, boosted trees, random forests, and support vector machines. When you initialize MLRegressor or MLClassifier, they automatically choose the best algorithm by themselves. But if you know which one will work better for your problem or if you want to try them out, you can just initialize a specific option (ex.: MLDecisionTreeClassifier()).Pros & Cons
If I were to give a rundown of CreateML’s pros and cons, they would be as follows.
Pros:
-
Easy to use and doesn’t require strong ML skills.
-
Efficient.
-
The easiest way to build a Machine Learning model on macOS.
-
Allows for building ML models in Swift.
Cons:
-
Limited tools for ML pros
Well, it’s not for me to judge, of course. However, it seems that you can do so much more by using Python and other tools specific to the trade. And even I, as an iOS Developer, noticed few tools missing, which I wish were there.
-
Unknown models are used under the hood for Image Classification
That’s because of the transfer learning used by Apple. We don’t really know what’s hidden there and we cannot train the model from scratch. Somebody can consider transfer learning a plus but it’s not always so.
-
No way of training a model somewhere in the cloud
Actually, most models are trained in the cloud. When you have lots of data it requires lots of time and energy for training. If you run a model in a cloud, it won’t affect your computer processes. There is no such option with CreateML. However, at the same time, it promises efficient and quick model training.
To sum up
CreateML is an awesome tool that enables iOS developers to start their journey with Machine Learning. It finally introduced a complete Machine Learning solution in Swift – right from creating the model to actually using it. It allows for training models by using images, text, and tabular data. The approach is very simple and easy to understand. Still, it could be improved, especially in order to become attractive for Machine Learning experts. It’s a perfect tool to start your journey with ML. However, it is not major news for pros in the field. At least, that’s how I see it for now.Where to go from here?
There so much you can do now! You can improve the model by using larger datasets or playing around with the parameters. You can easily test your new models with the help of HealthyLuncher! Even ones that are not related to healthy food. You’ll simply need to change the labels in order to try out the different models in the app :)
I hope you enjoyed this CreateML journey together with me. See you next time!
Useful materials
-
CoreML documentation — in case you would like to create the demo app from scratch by yourself