Introduction
Node.js is an open source JavaScript runtime environment for easily building server-side applications. It's also the runtime that powers many client-side development tools for modern JavaScript frameworks.
In this tutorial, you'll set up a Node.js programming environment on your local macOS machine using Homebrew, and you'll test your environment out by writing a simple Node.js program.
Prerequisites
You will need a macOS computer running High Sierra or higher with administrative access and an internet connection.
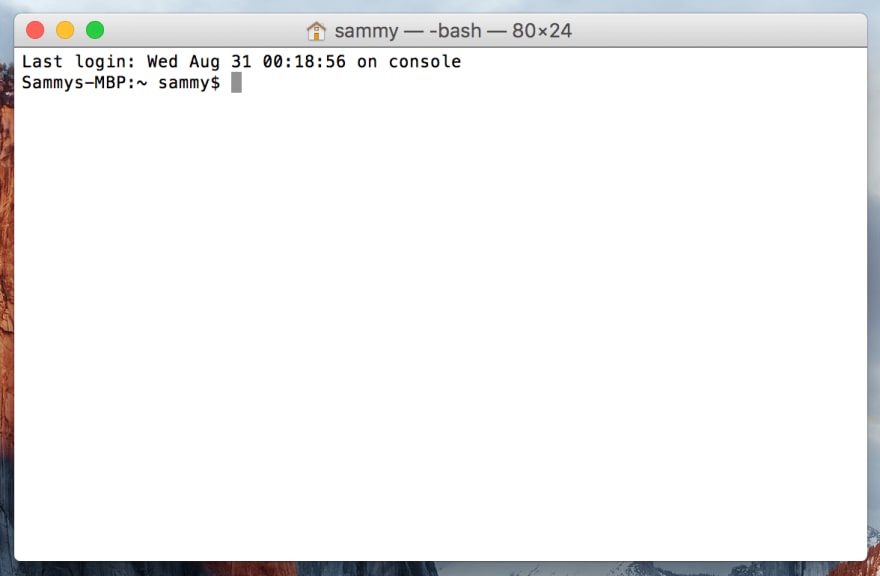
Step 1 — Using the macOS Terminal
You'll use the command line to install Node.js and run various commands related to developing Node.js applications. The command line is a non-graphical way to interact with your computer. Instead of clicking buttons with your mouse, you'll type commands as text and receive text-based feedback. The command line, also known as a shell, lets you automate many tasks you do on your computer daily, and is an essential tool for software developers.
To access the command line interface, you'll use the Terminal application provided by macOS. Like any other application, you can find it by going into Finder, navigating to the Applications folder, and then into the Utilities folder. From here, double-click the Terminal application to open it up. Alternatively, you can use Spotlight by holding down the COMMAND key and pressing SPACE to find Terminal by typing it out in the box that appears.
If you'd like to get comfortable using the command line, take a look at An Introduction to the Linux Terminal. The command line interface on macOS is very similar, and the concepts in that tutorial are directly applicable.
Now that you have the Terminal running, let's install some prerequisites we'll need for Node.js.
Step 2 — Installing Xcode's Command Line Tools
Xcode is an integrated development environment (IDE) that is comprised of software development tools for macOS. You won't need Xcode to write Node.js programs, but Node.js and some of its components will rely on Xcode's Command Line Tools package.
Execute this command in the Terminal to download and install these components:
xcode-select --install
You'll be prompted to start the installation, and then prompted again to accept a software license. Then the tools will download and install automatically.
We're now ready to install the package manager Homebrew, which will let us install the latest version of Node.js.
Step 3 — Installing and Setting Up Homebrew
While the command line interface on macOS has a lot of the functionality you'd find in Linux and other Unix systems, it does not ship with a good package manager. A package manager is a collection of software tools that work to automate software installations, configurations, and upgrades. They keep the software they install in a central location and can maintain all software packages on the system in formats that are commonly used. Homebrew is a free and open-source software package managing system that simplifies the installation of software on macOS. We'll use Homebrew to install the most recent version of Node.js.
To install Homebrew, type this command into your Terminal window:
/usr/bin/ruby -e "$(curl -fsSL https://raw.githubusercontent.com/Homebrew/install/master/install)"
The command uses curl to download the Homebrew installation script from Homebrew's Git repository on GitHub.
Let’s walk through the flags that are associated with the curl command:
- The -
for--failflag tells the Terminal window to give no HTML document output on server errors. - The
-sor--silentflag mutescurlso that it does not show the progress meter, and combined with the-Sor--show-errorflag it will ensure thatcurlshows an error message if it fails. - The
-Lor--locationflag will tellcurlto handle redirects. If the server reports that the requested page has moved to a different location, it'll automatically execute the request again using the new location.
Once curl downloads the script, it's then executed by the Ruby interpreter that ships with macOS, starting the Homebrew installation process.
The installation script will explain what it will do and will prompt you to confirm that you want to do it. This lets you know exactly what Homebrew is going to do to your system before you let it proceed. It also ensures you have the prerequisites in place before it continues.
You'll be prompted to enter your password during the process. However, when you type your password, your keystrokes will not display in the Terminal window. This is a security measure and is something you'll see often when prompted for passwords on the command line. Even though you don't see them, your keystrokes are being recorded by the system, so press the RETURN key once you’ve entered your password.
Press the letter y for “yes” whenever you are prompted to confirm the installation.
Now let's verify that Homebrew is set up correctly. Execute this command:
brew doctor
If no updates are required at this time, you'll see this in your Terminal:
OutputYour system is ready to brew.
Otherwise, you may get a warning to run another command such as brew update to ensure that your installation of Homebrew is up to date.
Now that Homebrew is installed, you can install Node.js.
Step 4 — Installing Node.js
With Homebrew installed, you can install a wide range of software and developer tools. We'll use it to install Node.js and its dependencies.
You can use Homebrew to search for everything you can install with the brew search command, but to provide us with a shorter list, let’s instead search for packages related to Node.js:
brew search nodejs
You'll see a list of packages you can install, like this:
Output==> Formulae
node.js
nodejs
Both of these packages install Node.js on your system. They both exist just in case you can't remember if you need to use nodejs or node.js.
Execute this command to install the nodejs package:
brew install nodejs
You'll see output similar to the following in your Terminal. Homebrew will install many dependencies, but will eventually download and install Node.js itself:
Output==> Installing dependencies for node: icu4c
==> Installing node dependency: icu4c

==> Installing node
==> Downloading https://homebrew.bintray.com/bottles/node-11.0.0.sierra.bottle.tar.gz
######################################################################## 100.0%
==> Pouring node-11.0.0.sierra.bottle.tar.gz
...

==> Summary
🍺 /usr/local/Cellar/node/11.0.0: 3,936 files, 50.1MB
In addition to Node.js itself, Homebrew installs a few related tools, including npm, which makes it easy to install and update Node.js libraries and packages you might use in your own projects.
To check the version of Node.js that you installed, type
node -v
This will output the specific version of Node.js that is currently installed, which will by default be the most up-to-date stable version of Node.js that is available.
Outputv11.0.0
Check the version of npm with
npm -v
You'll see the version displayed:
Output6.4.1
You'll use npm to install additional components, libraries, and frameworks.
To update your version of Node.js, you can first update Homebrew to get the latest list of packages, and then upgrade Node.js itself:
brew update

brew upgrade nodejs
Now that Node.js is installed, let's write a program to ensure everything works.
Step 5 — Creating a Simple Program
Let's create a simple "Hello, World" program. This will make sure that our environment is working and gets you comfortable creating and running a Node.js program.
To do this, create a new file called hello.js using nano:
nano hello.js
Type the following code into the file: hello.js
let message = "Hello, World!";
console.log(message);
Exit the editor by pressing CTRL+X. Then press y when prompted to save the file. You'll be returned to your prompt.
Now run the program with the following command:
node hello.js
The program executes and displays its output to the screen:
OutputHello, World!
This simple program proves that you have a working development environment. You can use this environment to continue exploring Node.js and build larger, more interesting projects.
Conclusion
You've successfully installed Node.js, npm, and tested out your setup by creating and running a simple program. You can now use this to develop client-side apps or server-side apps. Take a look at the following tutorials to learn more:
- How to Use Vue.js and Axios to Display Data from an API
- How To Build a Modern Web Application to Manage Customer Information with Django and React on Ubuntu 18.04
![]()
This work is licensed under a Creative Commons Attribution-NonCommercial-ShareAlike 4.0 International License


Top comments (1)
Another thing to point out is some modules will not compile for MacOS properly... such as bcrypt. I usually run in a docker container easier to link items together as well. A Linux vm would work as well.