
This sponsored post features a product relevant to our readers while meeting our editorial guidelines for being objective and educational.
In this series, we've been learning about Channels from Pusher, a platform that allows you to give your users the seamless real-time experience they want.
Presence channels build on the security provided by private channels, but they add the benefit of knowing which users are subscribed and connected to that channel. The best part is how easy it is to implement and use presence channels, and it's even easier if you've already configured your app to use private channels. You'll learn how to use presence channels in this post.
An Even Better Chat App
Our chat application currently uses a private channel in order to facilitate instantaneous, client/server communication. So configuring our app to use a presence channel is going to be extremely easy. Let's start with the server app.
Modifying the Server
In order to use a private channel, we configured an endpoint to ensure a user is authenticated with our application. This endpoint executes the ChannelsController's authorizeUser() method, and it calls the Pusher library's socket_auth() method to help authenticate the user. In order to use a presence channel, we need to change authorizeUser() to call the Pusher library's presence_auth() method, like this:
1 |
public function authorizeUser(Request $request) { |
2 |
|
3 |
if (!Auth::check()) { |
4 |
|
5 |
return new Response('Forbidden', 403); |
6 |
|
7 |
}
|
8 |
|
9 |
|
10 |
|
11 |
$presenceData = ['name' => Auth::user()->name]; |
12 |
|
13 |
|
14 |
|
15 |
echo $this->pusher->presence_auth( |
16 |
|
17 |
$request->input('channel_name'), |
18 |
|
19 |
$request->input('socket_id'), |
20 |
|
21 |
Auth::user()->id, |
22 |
|
23 |
$presenceData
|
24 |
|
25 |
);
|
26 |
|
27 |
}
|
But the method name change is only the first modification; we also have to provide presence_auth() with the user's unique identifier and any extra information we want to provide about the user. The above code stores this extra user data in the $presenceData variable and passes it as the final argument to presence_auth().
Additionally, we have to modify the sendMessage() method. The first change is the channel name. Just like with all of our other names, we have to prefix the channel name to denote the type of channel we want to use: presence- in this case, as shown in the following code.
1 |
$this->pusher->trigger('presence-chat', 'send-message', $data); |
We can also modify the data we send with the event—instead of supplying the user's name that initiated the event, we can include the user's ID.
1 |
$data['user'] = Auth::user()->id; |
Because we'll be using a presence channel, we can look up the usernames from the client, and this small change will reduce the size of data passing over the network.
Changing the Client
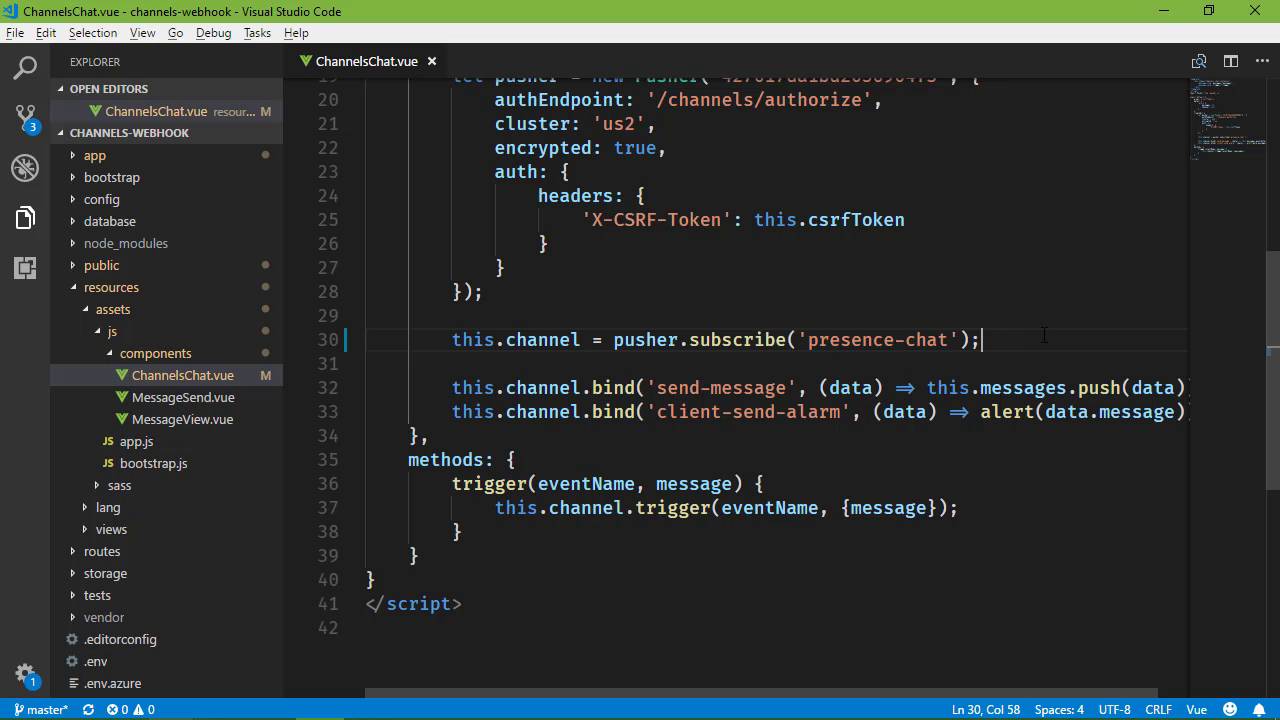
The client's channel object contains everything we need to work with the subscribed channel, and querying user data is no exception. Our channel object has a property called members that we can use to retrieve a specific user's information. We'll use this object in the send-message event handler, like this:
1 |
this.channel.bind('send-message', (data) => { |
2 |
|
3 |
let user = this.channel.members.get(data.user); |
4 |
|
5 |
this.messages.push({ |
6 |
|
7 |
message: data.message, |
8 |
|
9 |
user: user.info.name |
10 |
|
11 |
});
|
12 |
|
13 |
});
|
Here, we call this.channels.members.get() and pass in the user's ID (remember, our server application now supplies the ID instead of the name). This method returns an object with an info property, and this info object contains all the extra information we provided in the $presenceData variable in the authorizeUser() method on the server. So in the above code, we retrieve the user's name with user.info.name.
We can also modify the trigger() method to include the information about the user who initiated the client alarm event. To retrieve the currently logged-in user's member data, you use the me property, as shown in the following code:
1 |
trigger(eventName, message) { |
2 |
|
3 |
|
4 |
|
5 |
this.channel.trigger(eventName, { |
6 |
|
7 |
message, |
8 |
|
9 |
user: this.channel.members.me |
10 |
|
11 |
});
|
12 |
|
13 |
}
|
In this code, we add a user property to the event payload and set it to the logged-in user's user object. This means we can modify the client-send-alarm event handler to include the user's name with the alarm message, like this:
1 |
this.channel.bind('client-send-alarm', (data) => |
2 |
|
3 |
alert(`${data.user.info.name}: ${data.message}`) |
4 |
|
5 |
);
|
Here, we use data.user.info.name to access the user's name so that we can see which user sent the alarm, as shown here:


Conclusion
Using presence channels not only provides your application with the increased security of an anonymous channel, but it also gives you the ability to query user data for users that subscribe to the channel. With Channels from Pusher, it is incredibly easy to add secure, real-time, and feature-rich communication to your apps.


