How to Install LAMP Stack (Linux, Apache, MariaDB and PHP) on Ubuntu 24.04
This tutorial exists for these OS versions
- Ubuntu 24.04 (Noble Numbat)
- Ubuntu 22.04 (Jammy Jellyfish)
- Ubuntu 18.04 (Bionic Beaver)
- Ubuntu 16.04 (Xenial Xerus)
- Ubuntu 15.10 (Wily Werewolf)
- Ubuntu 15.04 (Vivid Vervet)
On this page
The LAMP Stack (Linux, Apache, MySQL/MariaDB, and PHP) is a bundle of open-source technologies for building websites and web applications. Each component of LAMP Stack is free, and you can install it for both development and production environments.
In this guide, you will learn how to install LAMP Stack (Linux, Apache, MySQL/MariaDB, and PHP) on the Ubuntu 24.04 "Noble Numbat" server. You will also learn how to secure MariaDB and create a virtual host using an Apache web server.
Prerequisites
To begin with this guide, make sure you have the Ubuntu 24.04 "Noble Numbat" with the root user or non-root user with the administrator privileges.
Installing Apache web server
Apache is one of the most popular web server software on the internet. Apache powered some of the big sites on the internet, including Wikipedia, Slack, LinkedIn, The New Your Times, and many more.
Apache web server is famous for its modularity, which allows users to extend its features via modules. In this section, you'll install the Apache web server on the Ubuntu 24.04 server.
To start, run the following command to update your Ubuntu package list and get the latest package information.
sudo apt update

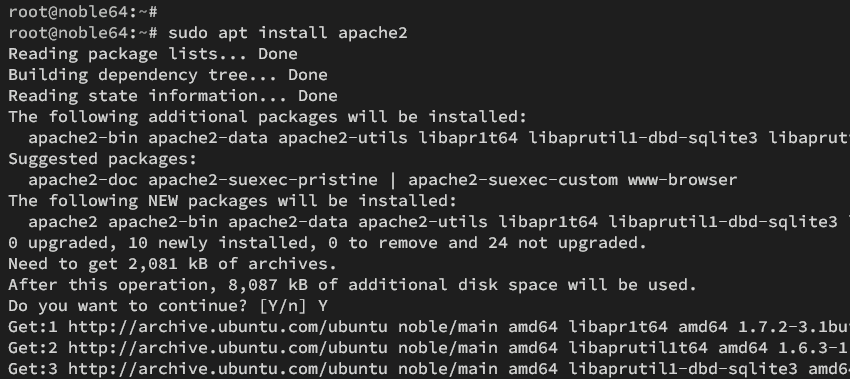
Now install the Apache web server using the 'apt install' command below. Input Y to confirm with the installation.
sudo apt install apache2
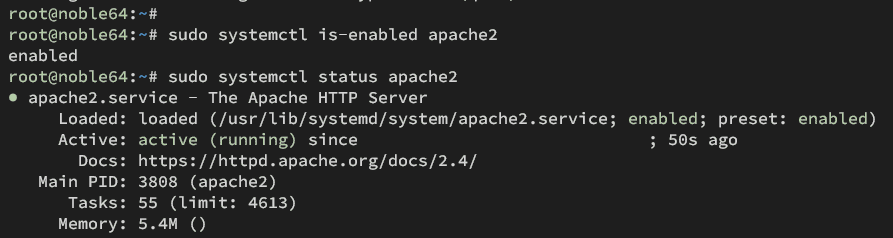
Once the installation is finished, the apache2 service should start and run automatically at system boot. Check the apache2 service status with the following command.
sudo systemctl is-enabled apache2
sudo systemctl status apache2
You will see the apache2 service 'enabled' and will run automatically at boot. The status of the current apache2 service is 'active (running)'.
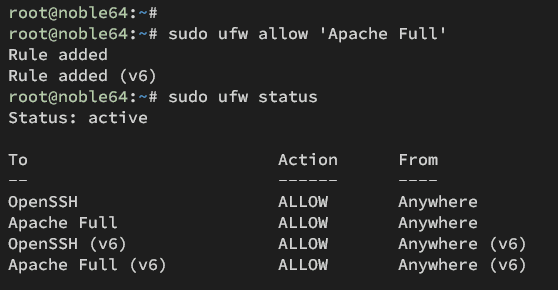
If you have UFW (Uncomplicated Firewall) running on your Ubuntu, you need to allow traffic to your Apache web server via UFW.
Run the following 'ufw' command to allow traffic to the Apache web server via the 'Apache Full' profile. The 'Apache Full' profile on UFW will open both HTTP and HTTPS ports.
sudo ufw allow 'Apache Full'
Now run the command below to verify the list rules on UFW. You will see the 'Apache Full' profile with the status 'ALLOW'.
sudo ufw status
Lastly, open your web browser and visit your server IP address, such as http://192.168.5.30/. If everything goes well, you should get the 'index.html' page of the Apache web server like the following:
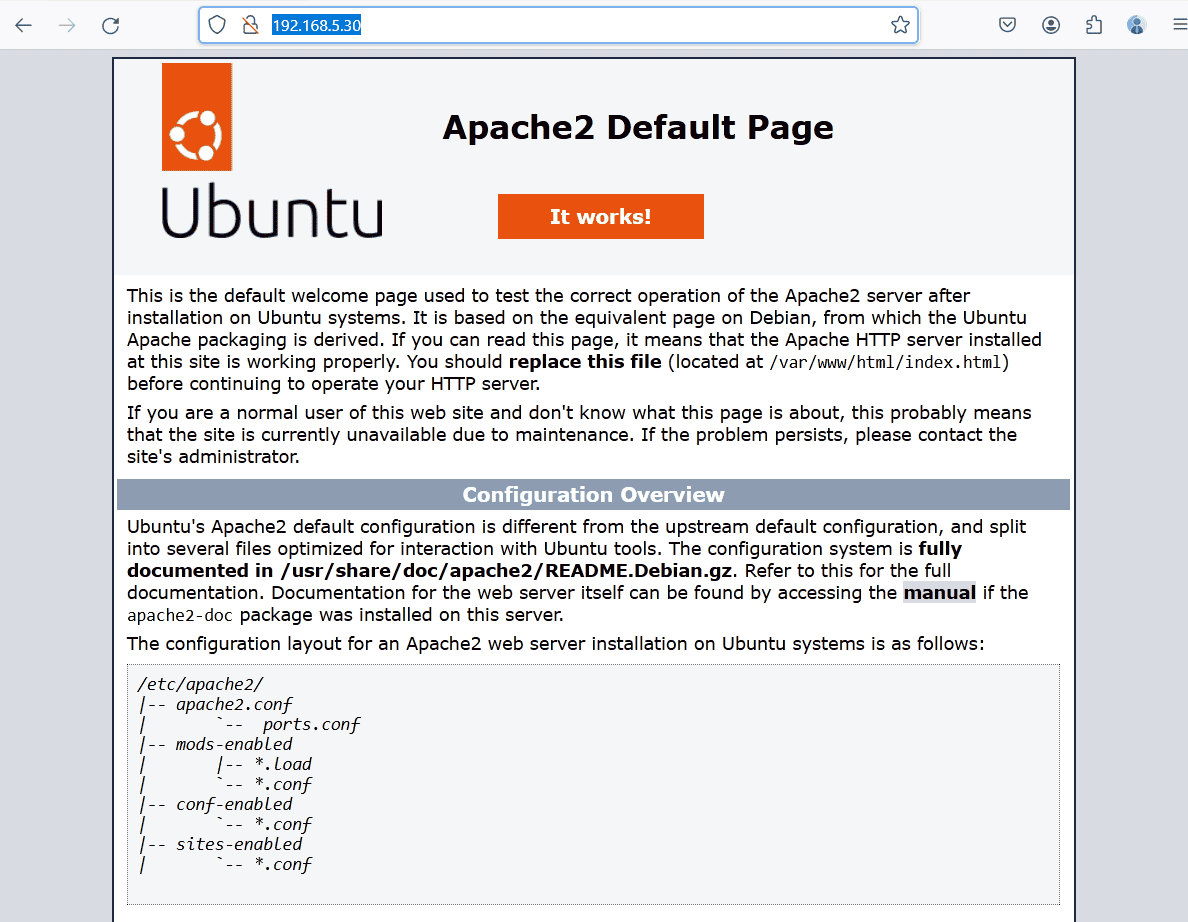
If you're unsure of the IP address of your Ubuntu server, run the command below to check your server IP address.
ip a
Installing MariaDB database server
MariaDB is a free and open-source RDBMS (Relational Database Management System) fork of MySQL. it was created by the original MySQL developers but with more features, higher query speed, and more scalable.
For this LAMP Stack installation, you will be using MariaDB instead of MySQL. So now you'll be installing and securing the MariaDB database server on Ubuntu 24.04.
To install the MariaDB server on Ubuntu, run the following 'apt install' command. Enter Y to proceed with the installation.
sudo apt install mariadb-server

Once the installation is complete, the MariaDB service should be running and enabled on your system. Check the MariaDB service status using the command below.
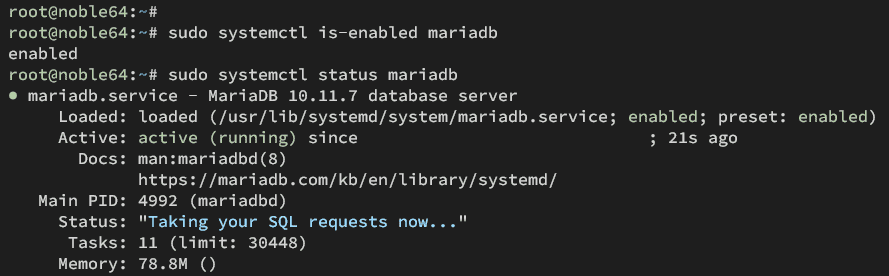
sudo systemctl is-enabled mariadb
sudo systemctl status mariadb
You will see an output 'enabled' when the mariadb service is enabled. You'll also see the current status of the mariadb service is 'active (running)'.
With the MariaDB server running, you need to secure it via the 'mariadb-secure-installation' utility. This allows you to set up the MariaDB root password, disable remote authentication for the MariaDB root user and allows you to remove default data from your MariaDB server.
Run the 'mariadb-secure-installation' command below to secure your MariaDB server deployment.
sudo mariadb-secure-installation
Press ENTER when prompted for the MariaDB root password.
Enter current password for root (enter for none):
OK, successfully used password, moving on...
Type 'n' when asked to switch to the unix_socket authentication.
Switch to unix_socket authentication [Y/n] n
 ... skipping.
Type Y to configure the MariaDB root password. Then, input your new password and repeat.
Change the root password? [Y/n] Y
New password:
Re-enter new password:
Password updated successfully!
Reloading privilege tables..
 ... Success!
Type Y to remove the default anonymous user from your MariaDB server installation.
Remove anonymous users? [Y/n] Y
 ... Success!
Type Y to disable remote login for the MariaDB root user. The root user should always connect from localhost.
Disallow root login remotely? [Y/n] Y
 ... Success!
Now type Y again to remove the default database test and its privileges from your MariaDB server.
Remove test database and access to it? [Y/n] Y
 - Dropping test database...
 ... Success!
 - Removing privileges on test database...
 ... Success!
Type Y to reload the privilege tables and apply all changes that you have made so far.
Reload privilege tables now? [Y/n] Y
 ... Success!
When complete, you will see the following message:
All done! If you've completed all of the above steps, your MariaDB
installation should now be secure.

Thanks for using MariaDB!
Installing PHP
PHP is an open-source programming language for web development. it also powered the most popular CMS (Content Management System) such as WordPress and Drupal. In this section, you will install PHP with some extensions below:
- libapache2-mod-php: This package will enable integration between the Apache web server and PHP.
- php-mysql: The MySQL/MariaDB driver for PHP. You must install this package, especially when you're developing or deploying a PHP web application with MySQL/MariaDB as the database.
- php-opcache and php-apcu: This package offers cache performance for your PHP web applications.
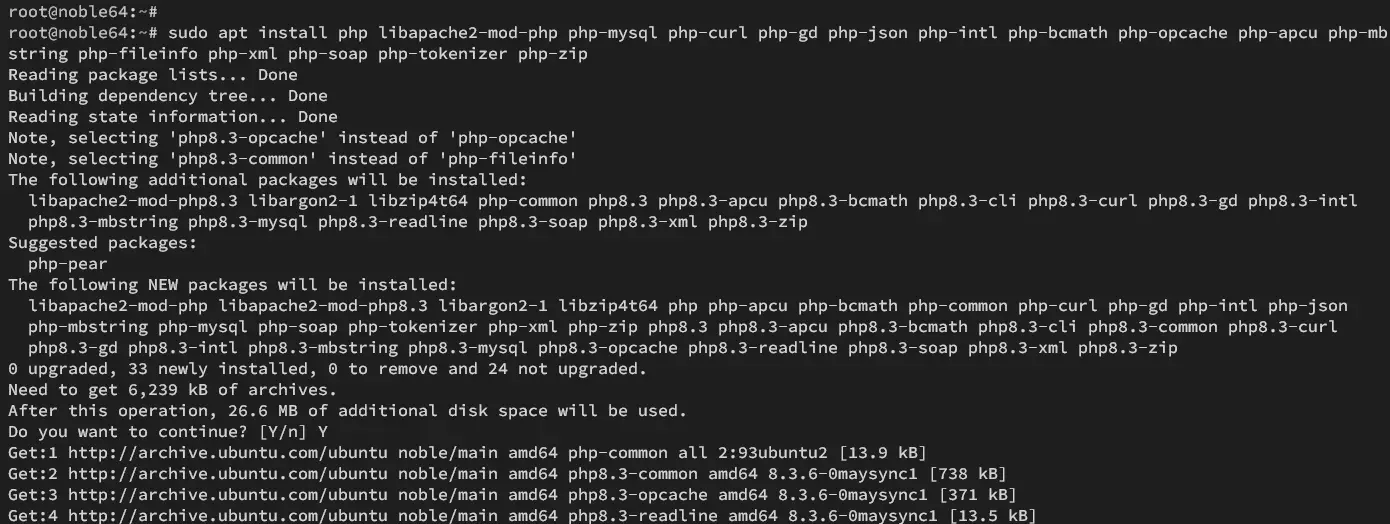
First, install PHP packages to your Ubuntu with the following command. Input Y to confirm with the installation.
sudo apt install php libapache2-mod-php php-mysql php-curl php-gd php-json php-intl php-bcmath php-opcache php-apcu php-mbstring php-fileinfo php-xml php-soap php-tokenizer php-zip
Once the installation is complete, run the following nano editor command to modify the PHP configuration 'php.ini' file.
sudo nano /etc/php/8.3/apache2/php.ini
Change the default PHP configuration with the following and make sure to adjust the 'date.timezone' with your server time zone, and the 'memory_limit' with the max memory of your Ubuntu server.
date.timezone = Europe/Paris
memory_limit = 256M
upload_max_file_size = 64M
max_execution_time = 300
Save the file and exit.
Lastly, run the following command to restart the apache2 service and apply your changes to your PHP configuration.
sudo systemctl restart apache2
Apache and PHP Integration
To verify your Apache and PHP integration, you'll be creating a PHPINFO file that will show you detailed info about your PHP installation. Your PHPINFO file should be located in the default DocumentRoot directory /var/www/html.
Create a new 'info.php' file using the following command.
echo "<?php phpinfo(); ?>" > /var/www/html/info.php
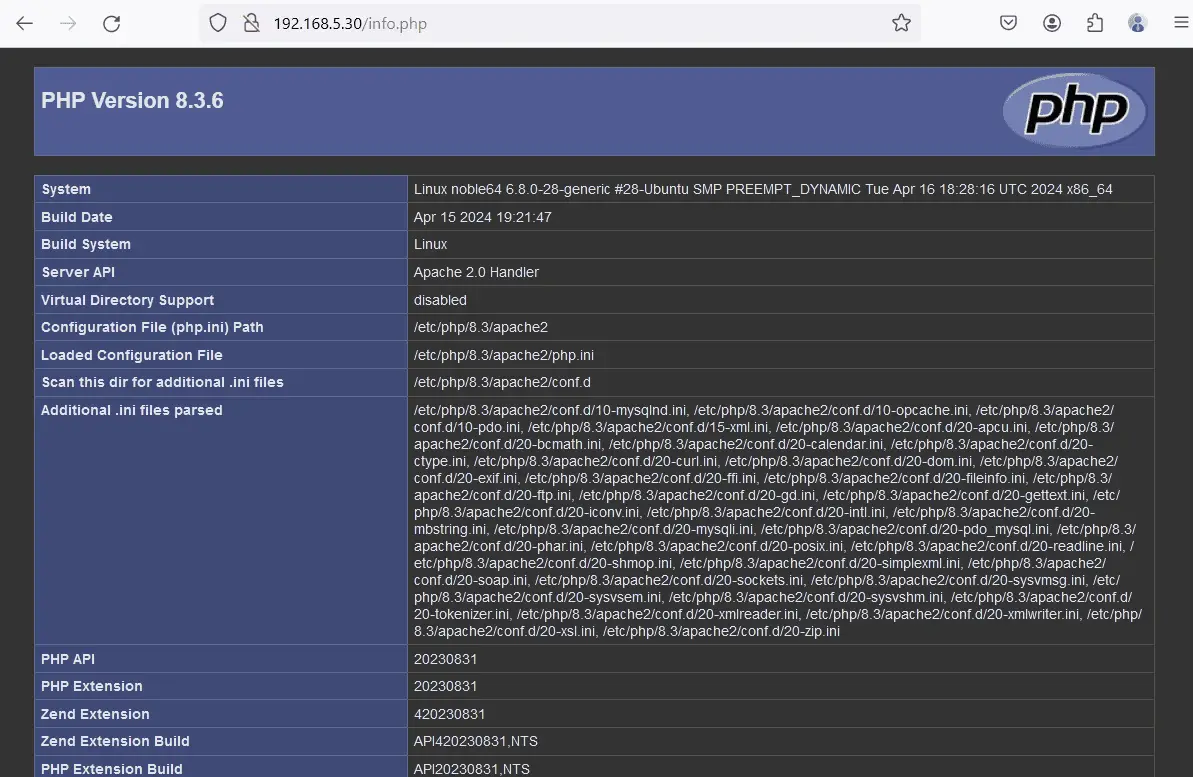
Open your web and visit http://192.168.5.30/info.php. If your Apache and PHP installation is successful, you should get the PHPINFO page like the following:
As you can see, PHP 8.3 is running with an Apache web server via Apache Handler.
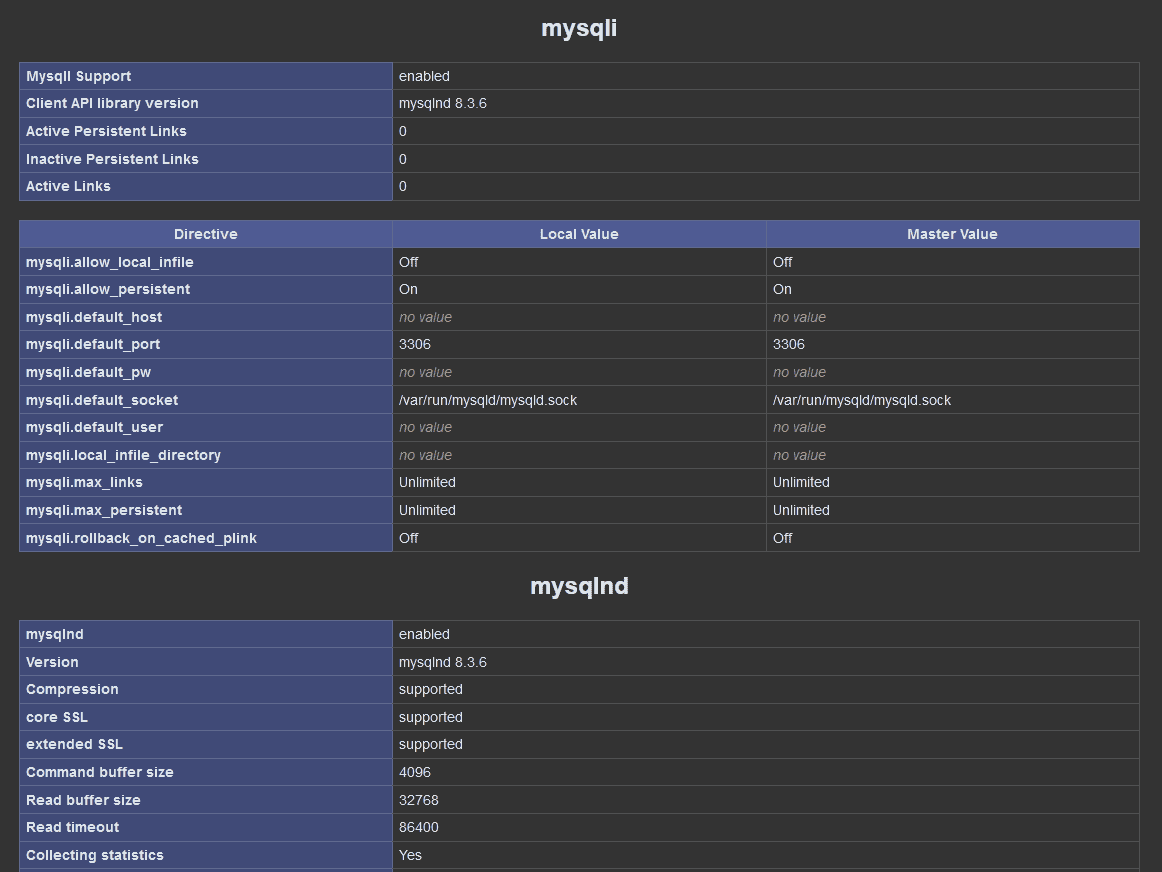
Scroll down the page and you will also find the PHP mysql module installed.
Lastly, check also PHP caching modules via APC like the following.
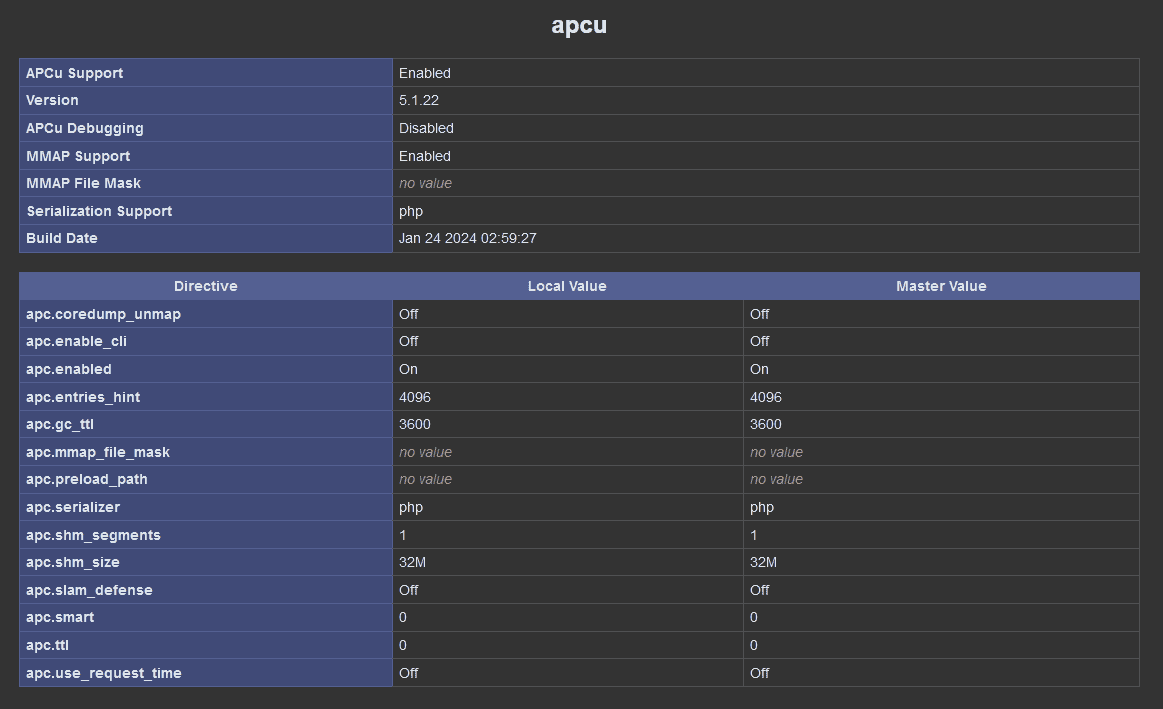
Creating Virtual Host in Apache
Virtual host is a term for hosting multiple websites such as site1.com and site2.com on a single server. In this section, you'll learn how to set up a virtual host on the Apache web server.
First, run the command below to create a new DocumentRoot directory /var/www/mysite/public_html and a new custom 'index.html' page.
mkdir -p /var/www/mysite/public_html
echo "Welcome to mysite.com" > /var/www/mysite/public_html/index.html
Now run the command below to change the ownership of the /var/www/mysite directory to the user 'www-data'.
sudo chown -R www-data:www-data /var/www/mysite
After that, create a new Apache virtual host configuration '/etc/apache2/sites-available/mysite.conf' using the following nano editor command.
sudo nano /etc/apache2/sites-available/mysite.conf
Insert the following virtual host configuration. Make sure to change the ServerName option with your domain name, and the DocumentRoot directory with the path '/var/www/mysite/public_html'.
<VirtualHost *:80>

 ServerAdmin [email protected]

 ServerName mysite.com
 ServerAlias www.mysite.com

 DocumentRoot /var/www/mysite/public_html

 ErrorLog ${APACHE_LOG_DIR}/mysite-error.log
 CustomLog ${APACHE_LOG_DIR}/mysite-access.log combined

</VirtualHost>
Save and exit the file.
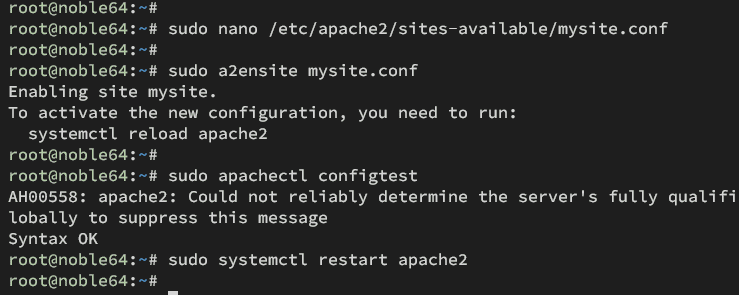
Next, run the following command to activate the virtual host file mysite.conf and verify your Apache syntax.
sudo a2ensite mysite.conf
sudo apachectl configtest
If you're correct and proper Apache syntax, you should get an output 'Syntax OK'.
Now run the command below to restart the apache2 service and apply your new virtual host configuration.
sudo systemctl restart apache2
Testing your Apache virtual host
To access your virtual host domain name, you can modify the 'hosts' file on your local system.
- For Windows users, edit the file 'C:\Windows\System32\drivers\etc\hosts' as administrator.
- For Linux or MacOS users, edit the '/etc/hosts' file with the sudo/root privileges.
Input your virtual host domain name such as 'mysite.com' and your Ubuntu server IP address.
192.168.5.30 mysite.com
Save the file and exit the editor.
Now open your web browser and visit http://mysite.com/. If your virtual host configuration is successful, you should get the custom 'index.html' like the following:
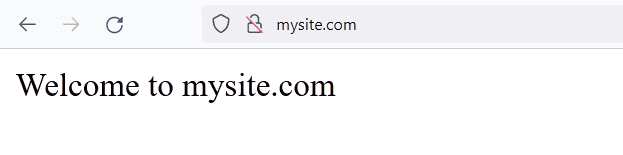
You have completed the installation of LAMP Stack (Linux, Apache, MySQL/MariaDB, and PHP) on the Ubuntu 24.04 "Noble Numbat" server.

