How to Install Wiki.js with Apache2 Reverse Proxy on Ubuntu 22.04
Wiki.js is free and open-source wiki software based on Node.js, Git, and Markdown. It's released under the AGPL-v3 License and designed for performance and conservation system resources. Wiki.js is a powerful Wiki software that can be installed anywhere on your system; you can install it on your operating system or using cloud services such as Heroku and also deploy Wiki.js on your container environments such as Docker and Kubernetes.
Wiki.js is compatible with the PostgreSQL database and provides 50+ integrations for additional authentication, logging systems, search engines, rendering, and storage. It's powerful Wiki software built on beautiful and intuitive interfaces for the administration dashboard and pages. it's fully customizable wiki software for documenting your tech stack.
In this guide, you will install and configure Wiki.js on an Ubuntu 22.04 server, using PostgreSQL as the default database and Apache2 as a reverse proxy. Also, you will have a secure HTTPS/SSL connection on your Wiki.js installation. When you are finished, you will have a fully functional and secured Wiki.js on your Ubuntu system.
Prerequisites
To complete this guide, you will first need the following requirements:
- An Ubuntu 22.04 server.
- A non-root user with root/administrator privileges.
- A domain name pointed to your Ubuntu server IP address.
Installing Node.js
Before installing Wiki.js, you must install the dependencies that Wiki.js requires.
Wiki.js is a wiki software mainly written in JavaScript so that you will install the JavaScript runtime Node.js in this first step. The default Ubuntu repository provides the Node.js package, but for this guide, you will use the Nodesource repository to install Node.js.
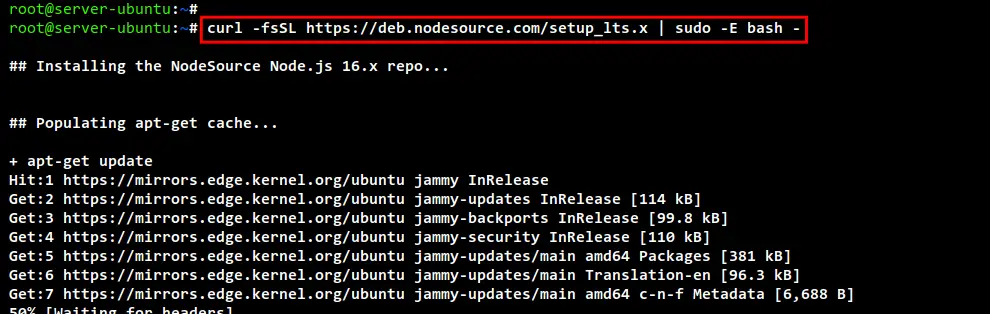
Run the curl command below to add the Nodesource repository to your Ubuntu system. At the time of this writing, Wiki.js required at least Node.js v8 and above. And for this guide, you will install the LTS version of Node.js v16.
curl -fsSL https://deb.nodesource.com/setup_lts.x | sudo -E bash -
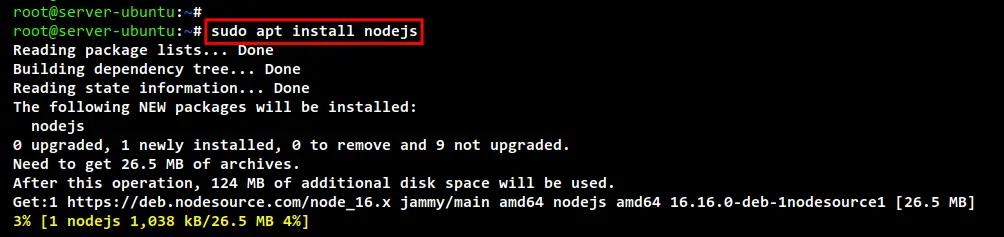
Now you can install the Node.js package using the apt command below.
sudo apt install nodejs
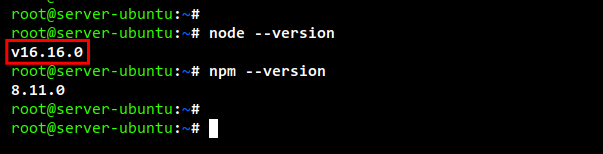
After installation is completed, check and verify the Node.js version using the following command. You should see the Node.js v16 LTS version on your terminal screen.
node --version
npm --version
Installing PostgreSQL Database
The default WIki.js supports multiple RDBMS such as PostgreSQL, MySQL/MariaDB, and SQLite (default), but the recommended database for production is PostgreSQL. You will install the PostgreSQL package on the Ubuntu system, then create the database and user for the Wiki.js.
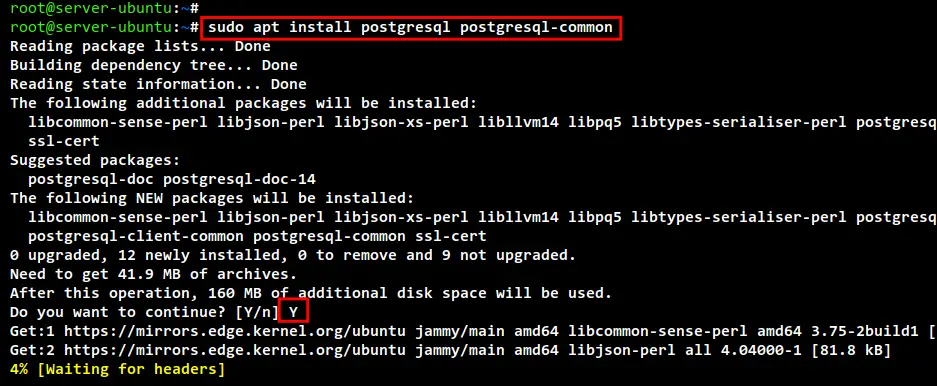
To get started, run the following apt command to install PostgreSQL database on your server. Input Y to confirm the installation and press ENTER to continue, and the installation will begin.
sudo apt install postgresql postgresql-common
When the installation is finished, run the following systemctl command to check and verify the PostgreSQL service. And you should see the PostgreSQL service is enabled, which means it will automatically start at system boot. And the current status of the PostgreSQL service is "Active".
sudo systemctl is-enabled postgresql
sudo systemctl status postgresql
Log in to the PostgreSQL console using the command below to create the PostgreSQL database and user.
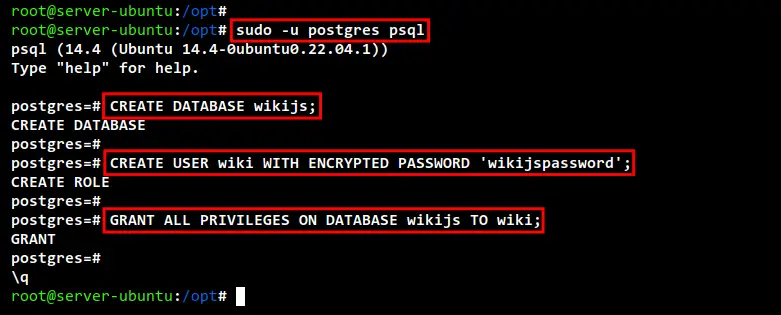
sudo -u postgres psql
Run the following command from your PostgreSQL console to create a new database and user for the Wiki.js. In this example, we're creating a database "wikijs" and the user "wiki" with the password "wikijspassword".
CREATE DATABASE wikijs;
CREATE USER wiki WITH ENCRYPTED PASSWORD 'wikijspassword';
GRANT ALL PRIVILEGES ON DATABASE wikijs TO wiki;
Now you can use "Ctrl+d" to exit from the PostgreSQL console, or simply use the command "\q" for quit.
Installing Wiki.js
You will now install the Wiki.js manually to your Ubuntu system. Through this guide, you will create a system user for Wiki.js, download the Wiki.js source code, set up Wiki.js with the PostgreSQL database, and lastly, you will run the Wiki.js as a systemd service.
First, run the following command to create a new user for Wiki.js. In this example, we're creating a new system user named "wiki" with the default home directory "/opt/wikijs" and because this is a system user, we are disabling the shell access.
sudo useradd -r -d /opt/wikijs -s /usr/sbin/nologin wiki
Now download the Wiki.js source code using the wget command below.
wget https://github.com/Requarks/wiki/releases/latest/download/wiki-js.tar.gz
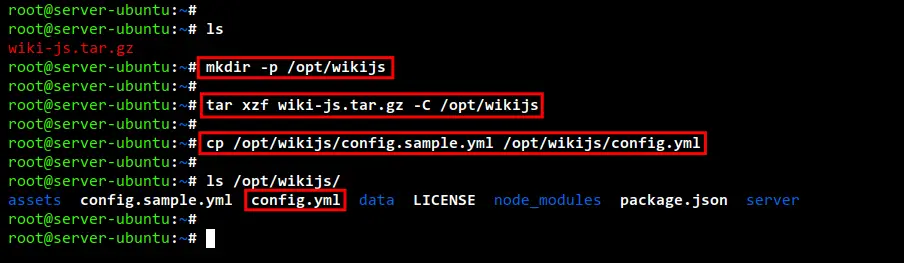
When the download is finished, create a new directory "/opt/wikijs" and extract the Wiki.js source code into it. You should see the Wiki.js source code is available on the installation directory "/opt/wikijs".
mkdir -p /opt/wikijs
tar xzf wiki-js.tar.gz -C /opt/wikijs
To set up the Wiki.js with the PostgreSQL database, you will copy the default sample configuration "config.sample.yml" and modify/edit it using your text editor.
Run the following command to copy the example Wiki.js configuration file to "/opt/wikijs/config.yml". Then, edit the new file "/opt/wikijs/config.yml" using nano editor.
cp /opt/wikijs/config.sample.yml /opt/wikijs/config.yml
nano /opt/wikijs/config.yml
Change the default configuration as below.
In this example, we will run the Wiki.js on the default TCP port "3000". Be sure to change the PostgreSQL database name, user, and password. On the "bindIP" option, change to localhost or "127.0.0.1". For the Wiki.js log configuration, we will use the default level "info" with the format "json".
# default port wikijs will run
port: 3000

# PostgreSQL database details
db:
  type: postgres
  host: localhost
  port: 5432
  user: wiki
  pass: wikijspassword
  db: wikijs
  ssl: false

# bind wikijs to localhost only
bindIP: 127.0.0.1

# setup log and the format
loglevel: info
logFormat: json
Save and close the file when you are done.
Now run the chown command below to change the ownership of the Wiki.js installation directory "/opt/wikijs" to the user "wiki".
sudo chown -R wiki:wiki /opt/wikijs
In this example, we will run Wiki.js as a systemd service. So, you need to create a new systemd service file for Wiki.js.
Run the following command to create a new systemd service file "/etc/systemd/system/wikijs.service".
sudo nano /etc/systemd/system/wikijs.service
Add the following configuration to the file.
[Unit]
Description=Wiki.js
After=network.target postgresql.service

[Service]
Type=simple
ExecStart=/usr/bin/node server
Restart=always

User=wiki
Environment=NODE_ENV=production
WorkingDirectory=/opt/wikijs

[Install]
WantedBy=multi-user.target
Save and close the file when you are done.
Next, run the following command to reload the system manager and apply the new service file "wikijs.service"
sudo systemctl daemon-reload
You can now start and enable the "wikijs" service using the following command.
sudo systemctl start wikijs
sudo systemctl enable wikijs

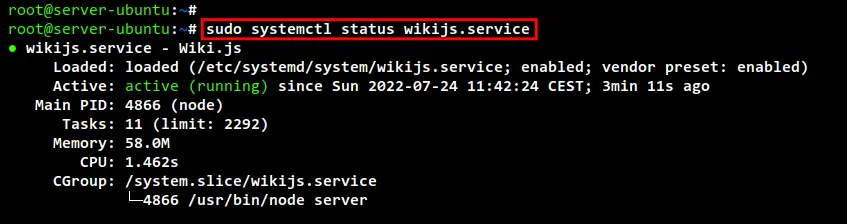
Lastly, check and verify the "wikijs" service using the following command. You should now see the "wikijs" service is running on the default TCP port "3000" with PostgreSQL as the default database.
sudo systemctl status wikijs
Setting up Apache2 as Reverse Proxy
In this example, Wiki.js is now running on the TCP port "3000". To expose to outside networks or the internet, it's better to set up the reverse proxy in front of Wiki.js and apply the HTTPS/SSL on top of it to protect any credentials and log-in. You will also use Apache2 as the reverse proxy for Wiki.js.
Run the apt command below to install the Apache2 package. Input Y to confirm the installation and press ENTER to continue, and the installation will begin.
sudo apt install apache2

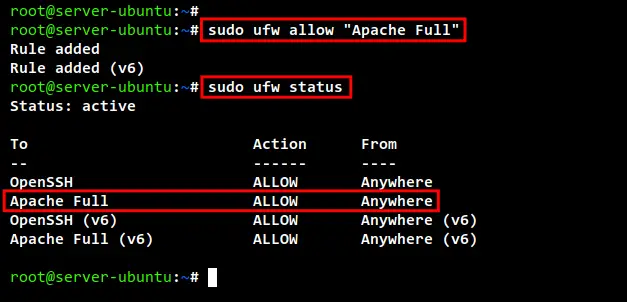
After installation is finished, run the "ufw" command below to open the HTTP and HTTPS ports on your ubuntu system. Then, verify the list of UFW rules.
sudo ufw allow "Apache Full"
sudo ufw status
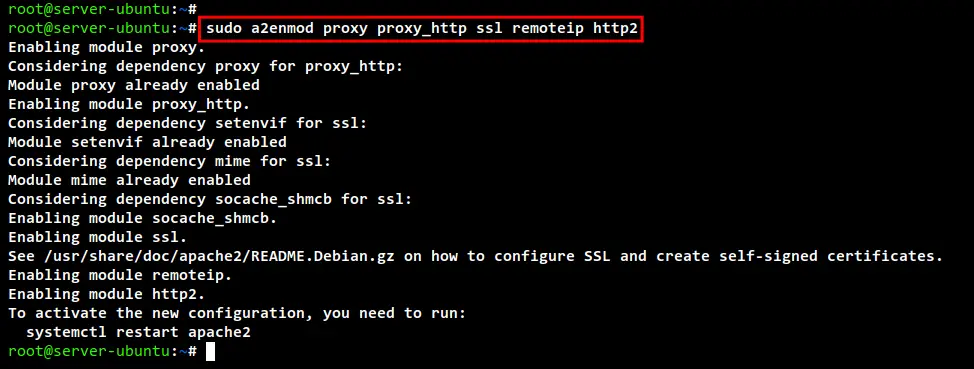
Next, enable some Apache2 modules using the following command. You will use these modules for setting up the Apache2 reverse proxy.
sudo a2enmod proxy proxy_http ssl remoteip http2
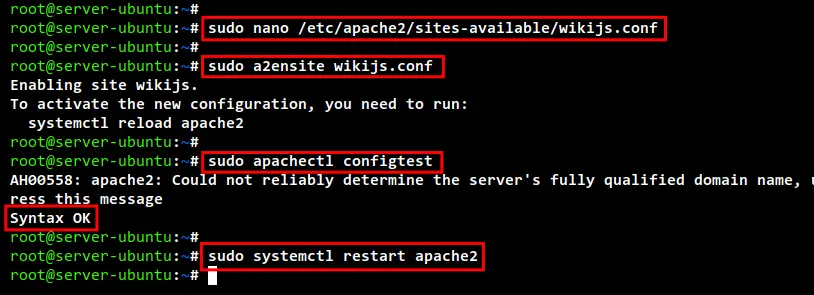
Now create a new Apache2 vitual host configuyration "/etc/apache2/sites-available/wikijs.conf" using the following command.
sudo nano /etc/apache2/sites-available/wikijs.conf
Add the following configuration to the file. In this example, we will use the domain "wiki.hwdomain.io" for the Wiki.js installation and the SSL certificates from letsencrypt. Be sure to change the domain name and path of the SSL certificates.
<VirtualHost *:80>
    ServerName wiki.hwdomain.io

    # Comment to prevent HTTP to HTTPS redirect
    Redirect permanent / https://wiki.hwdomain.io

    ErrorLog /var/log/apache2/wiki.hwdomain.io-error.log
    CustomLog /var/log/apache2/wiki.hwdomain.io-access.log combined
</VirtualHost>

<IfModule mod_ssl.c>
<VirtualHost *:443>
    ServerName wiki.hwdomain.io

    ProxyPreserveHost On

    ProxyPass "/" "http://127.0.0.1:3000/"
    ProxyPassReverse "/" "http://127.0.0.1:3000/"

    SSLEngine on
    SSLCertificateFile /etc/letsencrypt/live/wiki.hwdomain.io/fullchain.pem
    SSLCertificateKeyFile /etc/letsencrypt/live/wiki.hwdomain.io/privkey.pem
    Protocols h2 http/1.1

    # Enable only strong encryption ciphers and prefer versions with forwarding Secrecy
    SSLCipherSuite HIGH:RC4-SHA:AES128-SHA:!aNULL:!MD5
    SSLHonorCipherOrder on

    # Disable insecure SSL and TLS versions
    SSLProtocol all -SSLv2 -SSLv3 -TLSv1 -TLSv1.1

    ErrorLog /var/log/apache2/wiki.hwdomain.io-error.log
    CustomLog /var/log/apache2/wiki.hwdomain.io-access.log combined
</VirtualHost>
</IfModule>
Save and close the file when you are done.
Next, activate the virtual host file 'wikijs.conf" using the following command.
sudo a2ensite wikijs.conf
Check and verify the Aache2 configuration using the following command. if you get the output message such as "Syntax OK", it means the Apache2 configuration is ready. Then, restart the Apache2 service to apply new changes.
sudo apachectl configtest
sudo systemctl restart apache2
Configuring Wiki.js Installation
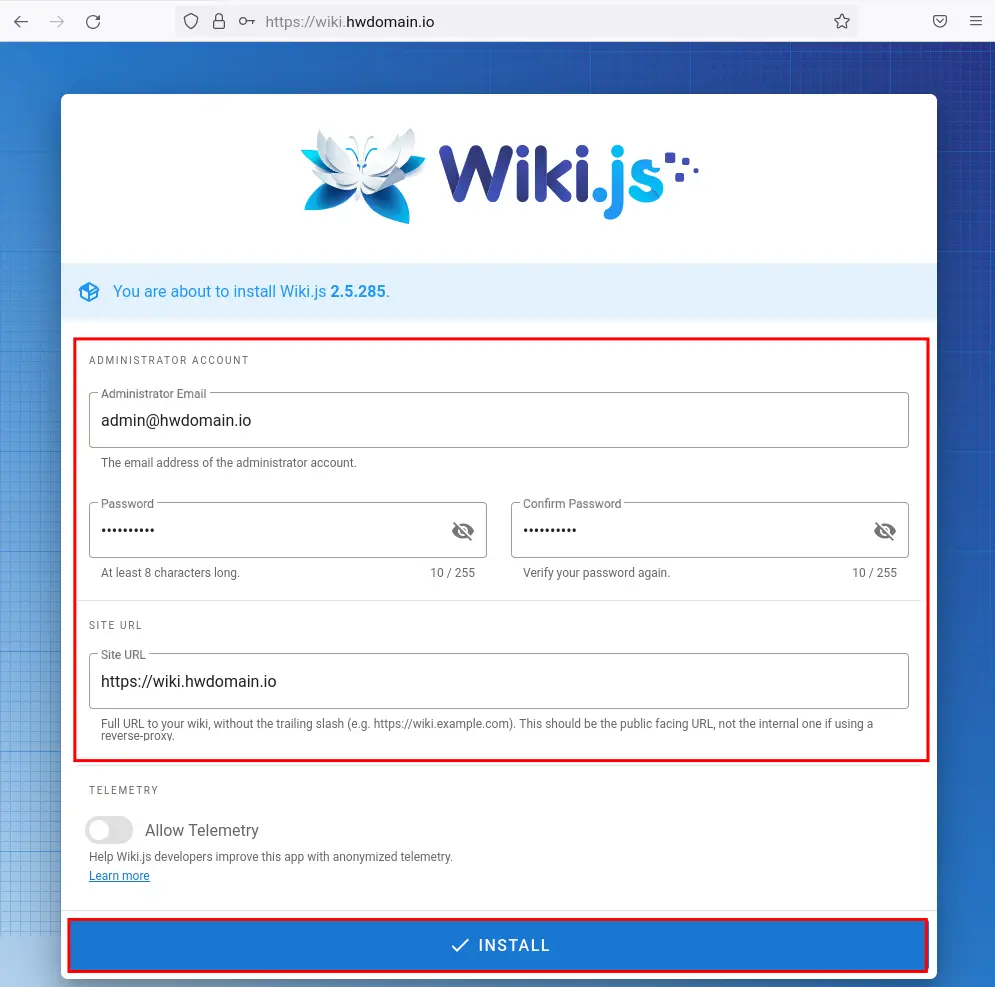
Open your web browser and visit the domain name of your Wiki.js installation (i.e: https://wiki.hwdomain.io/).
Input the new administrator email, password, and site URL for your Wiki.js installation. Then, click the "INSTALL" button to start the installation.
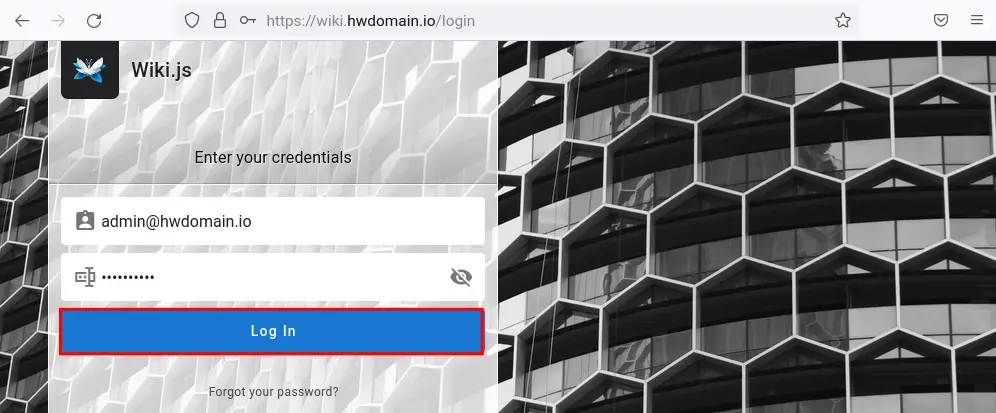
After installation is finished, you will see the login page of Wiki.js. input the admin email and password and click "Log in".
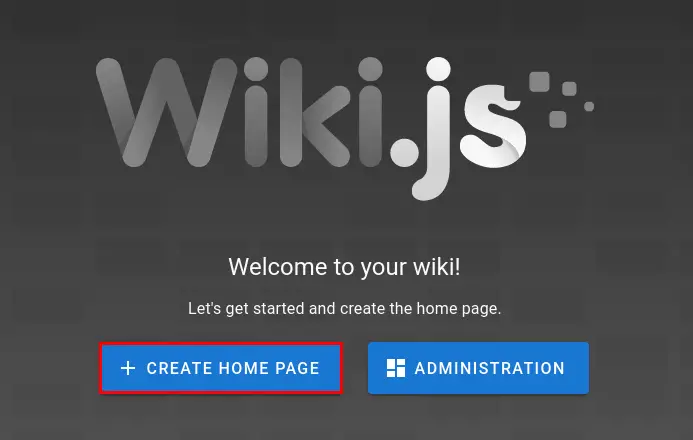
You now will see the welcome message from Wiki.js. Click the button "CREATE HOME PAGE" to set up the default index page for your Wiki.js.
Choose the editor you want to use. In this example, we will use the Markdown editor.

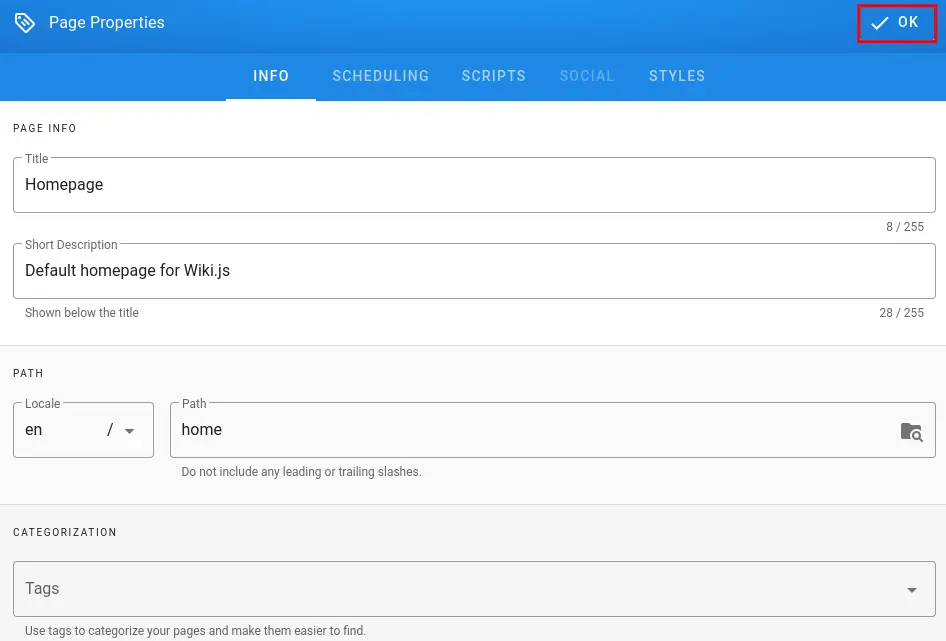
Input the title, description, and the others. Then click "OK".
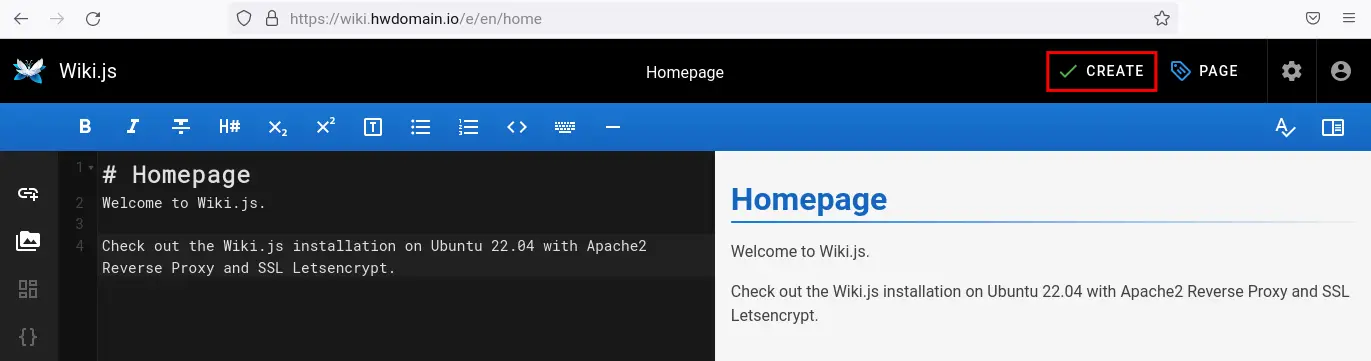
Type details index page for your Wiki.js and click "CREATE" to confirm.
And you should see the default home page of the Wiki.js that you just created.
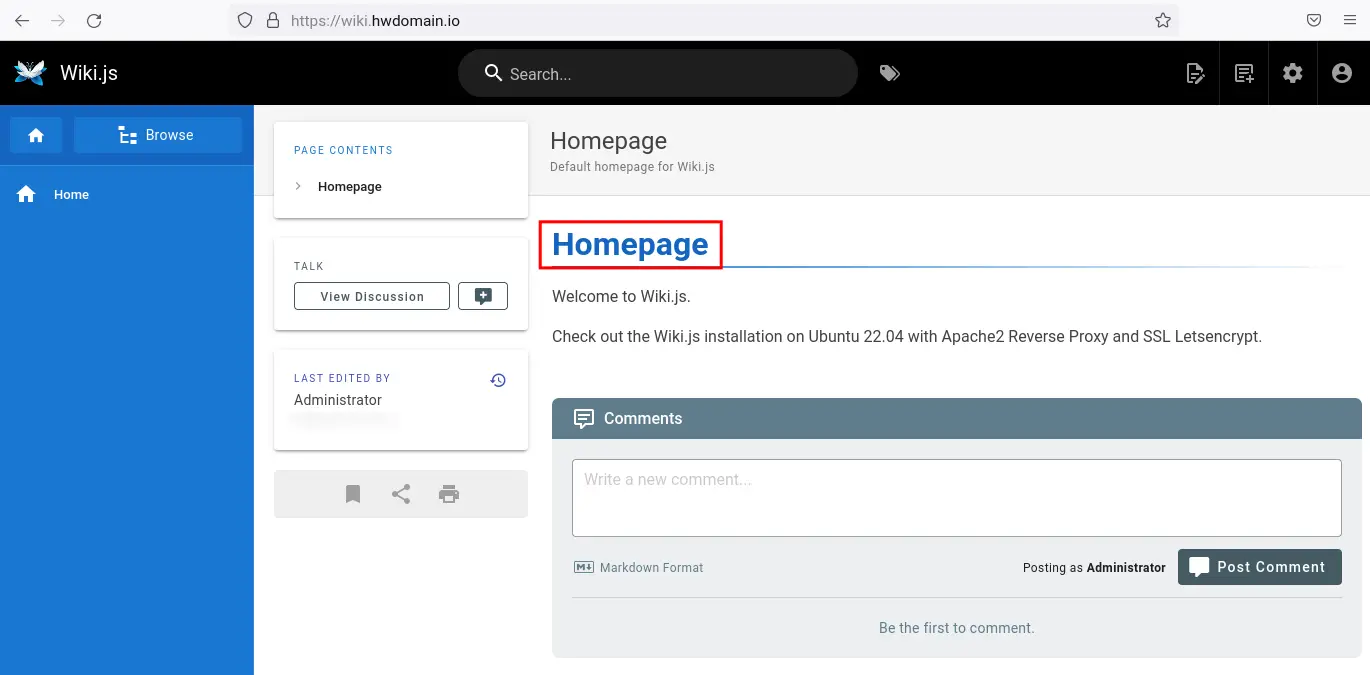
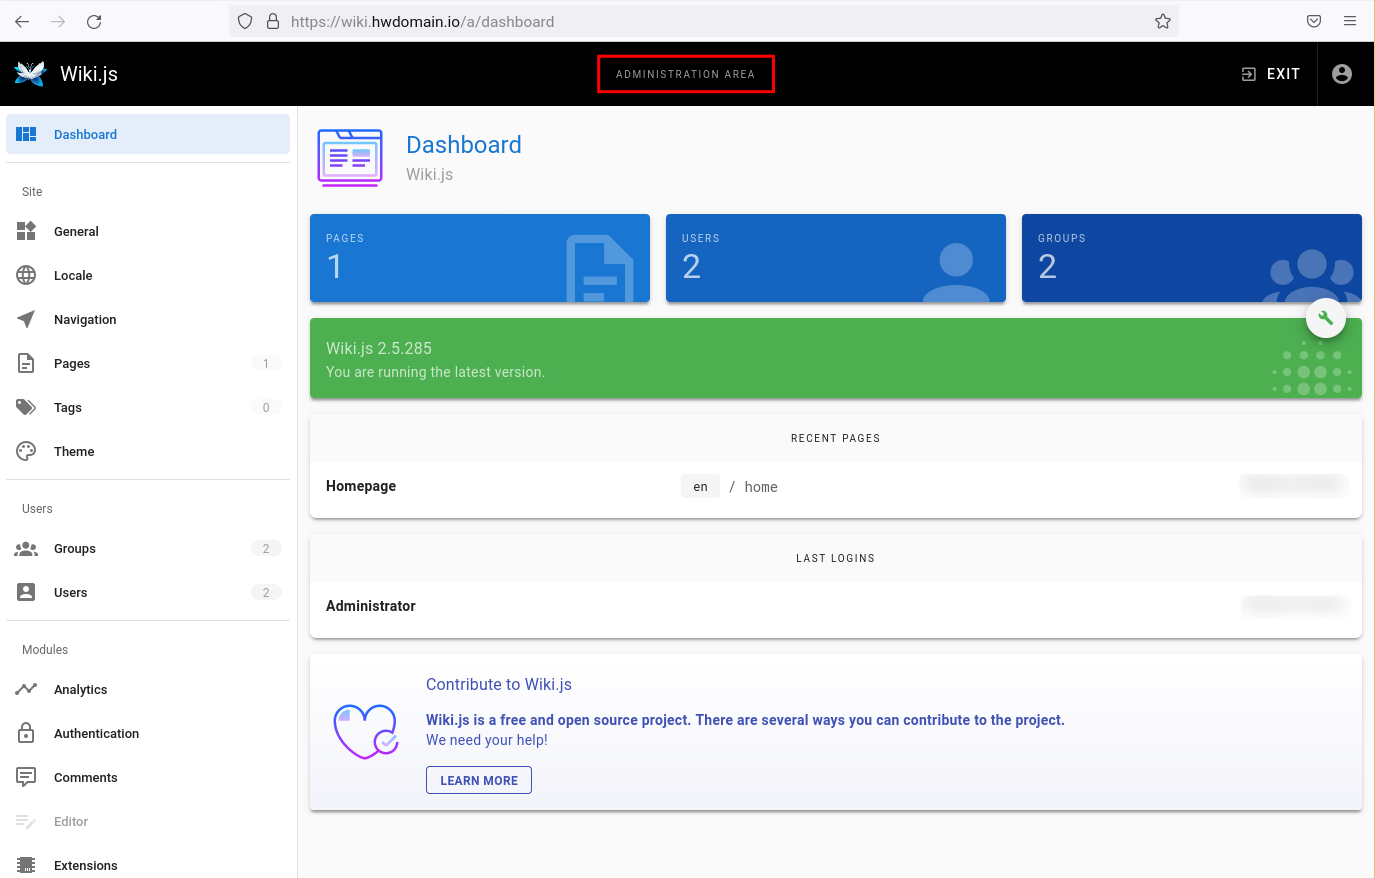
To access the Wiki.js administration dashboard, click the gear settings icon on the top left. You should see the Wiki.js administration dashboard below.
Conclusion
In this tutorial, you have set up Wiki.js on top of the PostgreSQL database and Apache2 reverse proxy, running on the latest Ubuntu server 22.04. You have also secured your Wiki.js with a UFW firewall and SSL/HTTPS enabled on the Apache reverse proxy. In the end, you have also configured the default homepage or index for your Wiki.js installation.
You can create additional content and set up categories for your Wiki project. You can also add some modules to your Wiki.js to extend its functionality or set up new themes for Wiki.js.

