This article describes the recommended way to integrate Cloudflare Turnstile into a React application.
When I first heard about Cloudflare Turnstile, I remembered the New York City subway entrances. After all, I have been commuting with the subway for over ten years and can’t even count how many turnstiles there would ever be.
CAPTCHAs are probably the most hated things on the internet. How often were you tired of clicking those traffic lights and motorcycles? I know I hate them. I am almost sure that you do, too. Even though we all know this, as developers, we sometimes have to show CAPTCHA in front of a user. We need our applications to be secure and keep the bots away, right? We didn’t have any better alternatives until just recently.
A single CAPTCHA takes 32 seconds to complete on average. Given 4.6 Billion global internet users see a CAPTCHA every ten days, would equate to 500 human years wasted every single day. This madness has to stop. Cloudflare can reduce the average verification time to about a second. A substantial reduction from 32 seconds
Cloudflare Turnstile to rescue! Drum roll, please 🥁🥁🥁
Cloudflare Turnstile is a free, tool to replace the dreaded CAPTCHAs. Why is the hype? How are they different? Let’s dive a little deeper.
In order to distinguish bots from humans, turnstile checks for typical human behavior in the browser by running non-interactive javascript challenges. Turnstile uses the results of these challenges to make its judgement to identify bots from humans.
How would this help us, the ReactJS developers? Let’s dive into that.
Turnstile in ReactJS and NextJS
This Turnstile team has released different integration libraries for popular front-end frameworks. For ReactJS, the recommended approach from Cloudflare is to use open-source libraries such as react-turnstile.
Turnstile is a powerful tool for production websites. Since for the rest of the blog, we need an easy ReactJS framework to deploy a test website and turn on Turnstile; we will be using NextJS. Don’t worry; Turnstile works equally well on vanilla ReactJS as well; the addition of NextJS is only for easy deployment to Vercel, nothing more.
Create a React App with NextJS.
|
1 |
$ npx create-next-app@latest |
This is a standard npx command you can run from your Terminal (If you have VS Code, use its Terminal). Make sure you are in the folder you want your application to be housed in before running this command. For our purposes, you will likely want to make sure you are running this command in the root directory for your github configuration (certainly for the easiest setup. This will create a directory that matches your project name that you will be checking in.
Choosing the default can’t be wrong here. After all, we are focused on Turnstile, not NextJS..
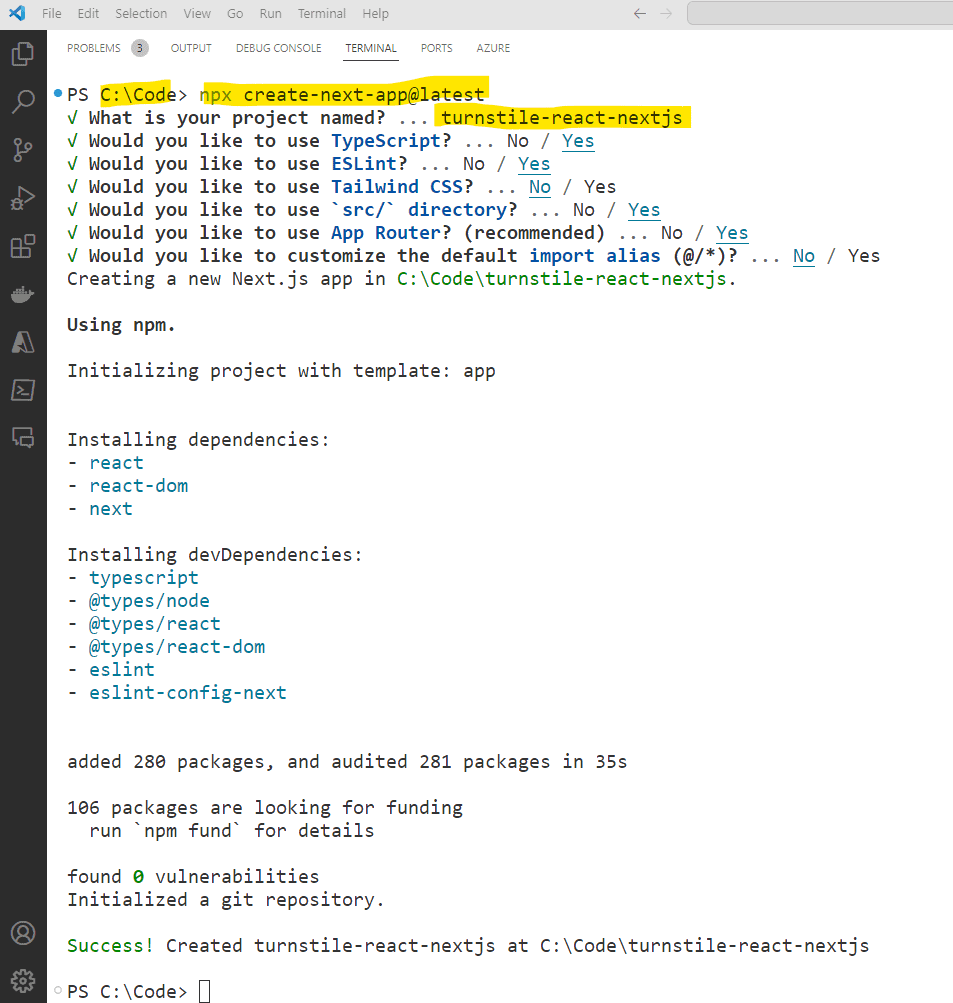
Please see the highlighted ‘project name’ in the picture above. npx command will create a folder with this name. Make sure to move to that folder using the below command cd .\turnstile-react-nextjs\. This will be the root folder of your newly created application.
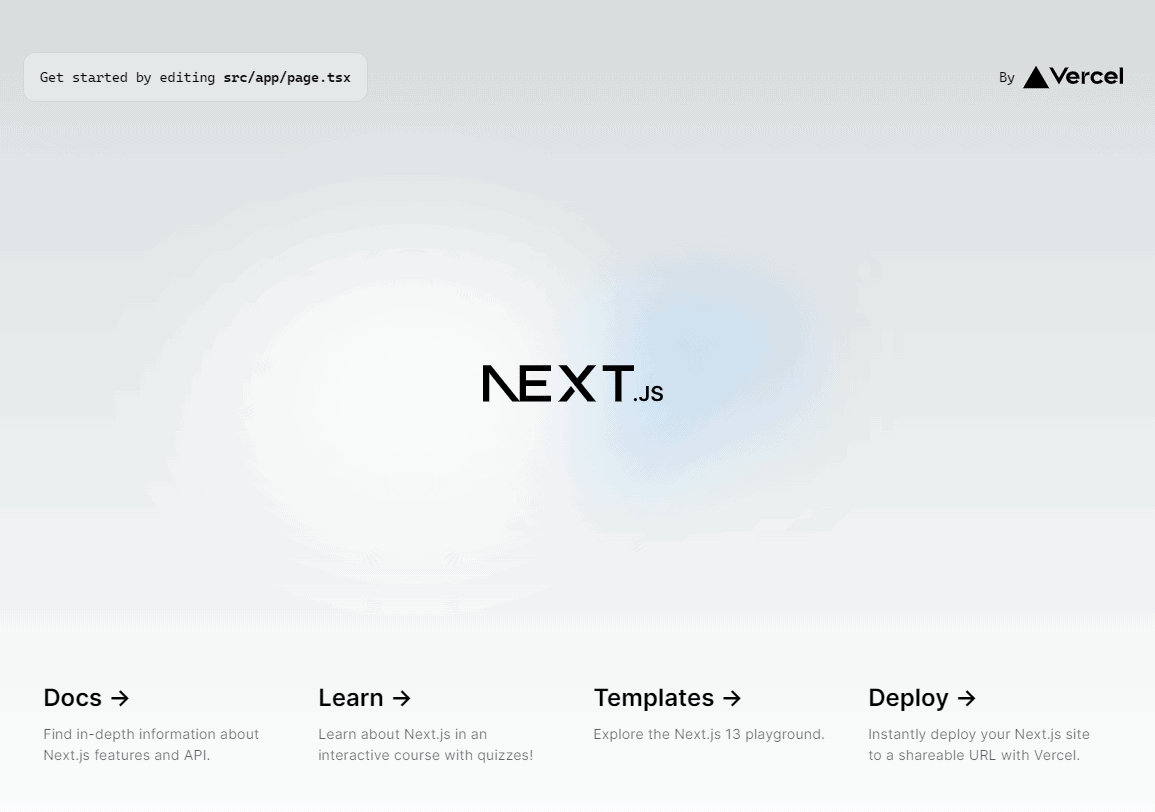
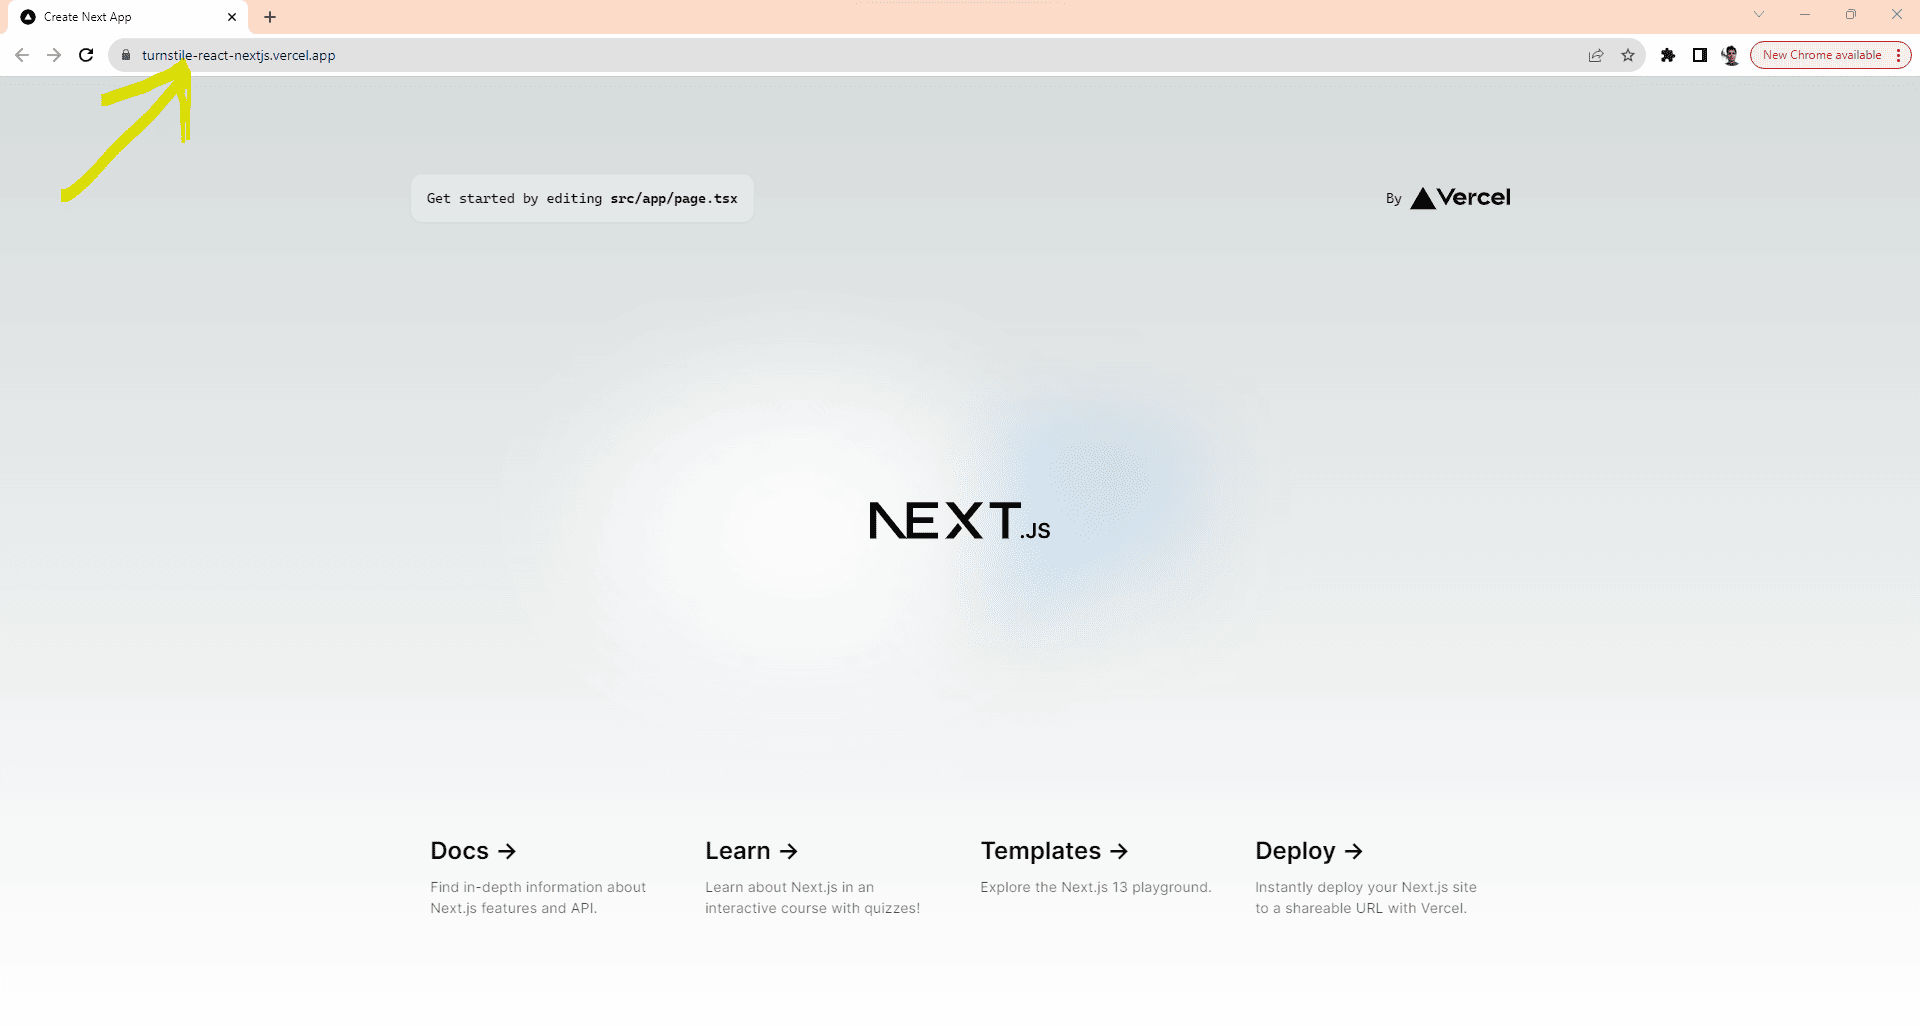
Test your app quickly using npx next dev in the context of the base folder for the project (In above example, it is C:\Code\turnstile-react-nextjs>)
Once the command finishes executing, you should see something very similar to the next images when you go to http://localhost:3000 in your browser.
Deploy our new NextJS application to a public domain with Vercel
We need an actual website to create a siteKey for Cloudflare (We need this for complete configuration). The best bet for us is Vercel. It is from the same team as NextJS, and basic deployments to a public vercel subdomain are free. So, how about we deploy the website we just built?
We will not be getting to the nitty-gritty of Vercel deployments, but we will use the seamless integration by Vercel to Github to connect Vercel to our codebase. Connected a Github repository to Vercel is available on Vercel’s home page after logging in using Github credentials.
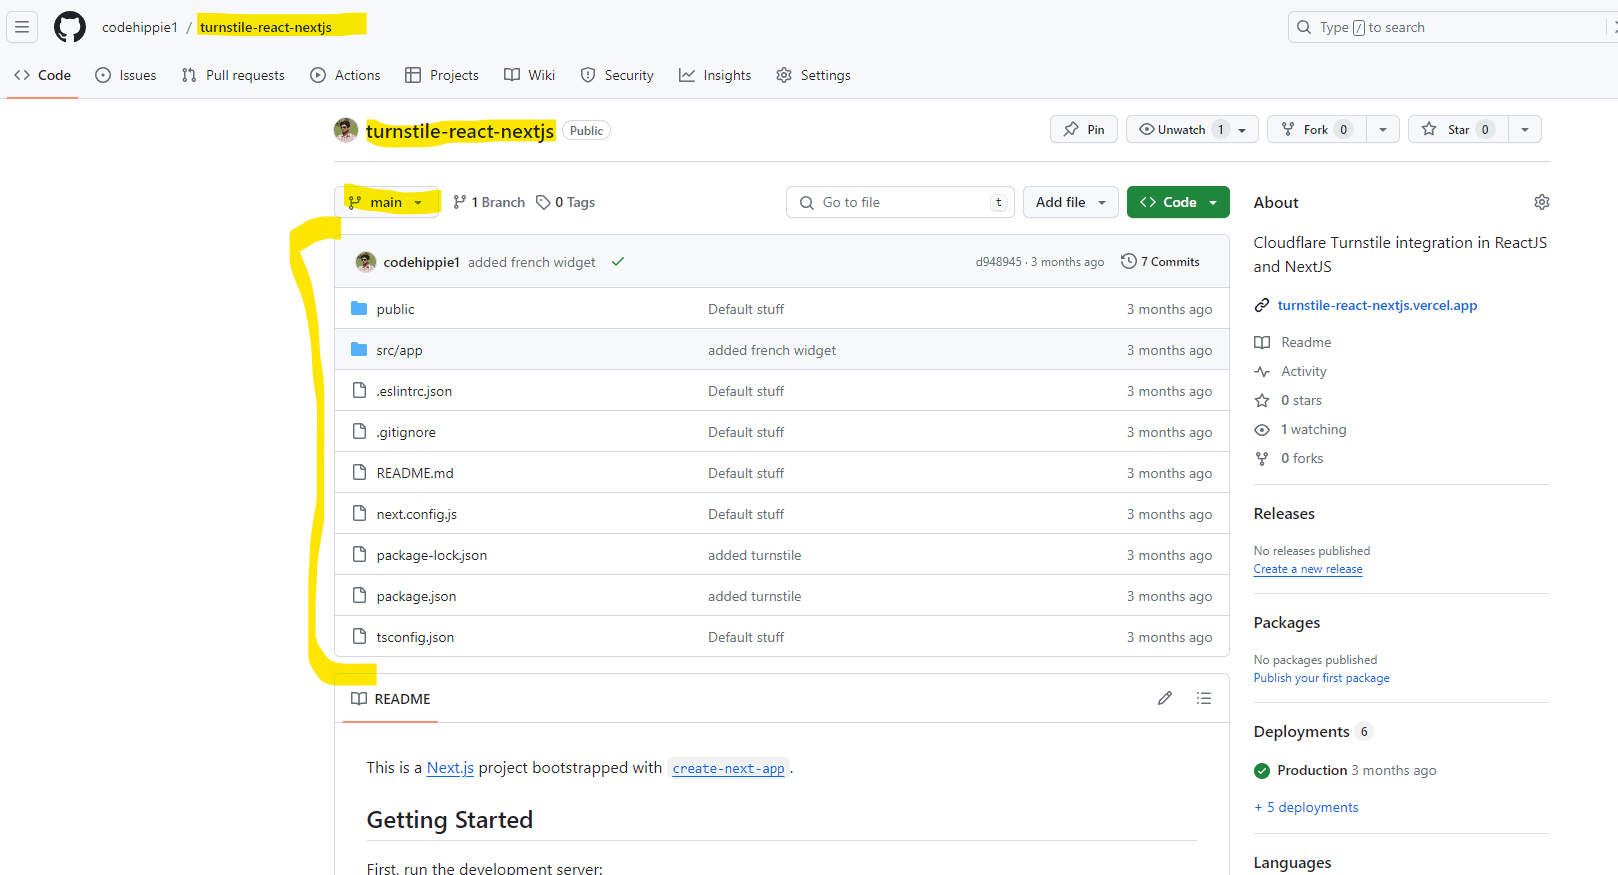
- Push the source code of your newly created NextJS app to a repository in a Git provider such as Github. For Github, follow these steps to push your source code into a new repository – https://docs.github.com/en/repositories/creating-and-managing-repositories/creating-a-new-repository.
- For vercel to identify our NextJS project, the project’s source code should be at the root of the repository as shown below.
- Go to https://vercel.com/new (Create a new Vercel account or log in with your existing credentials when prompted).
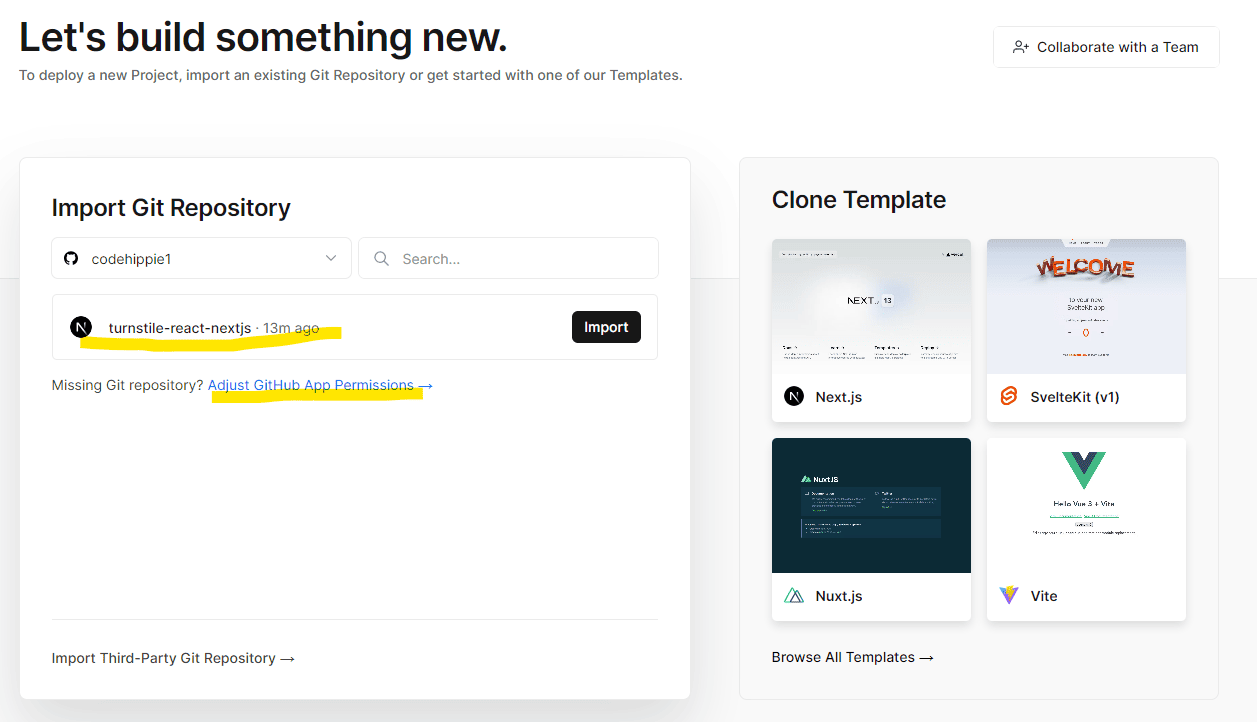
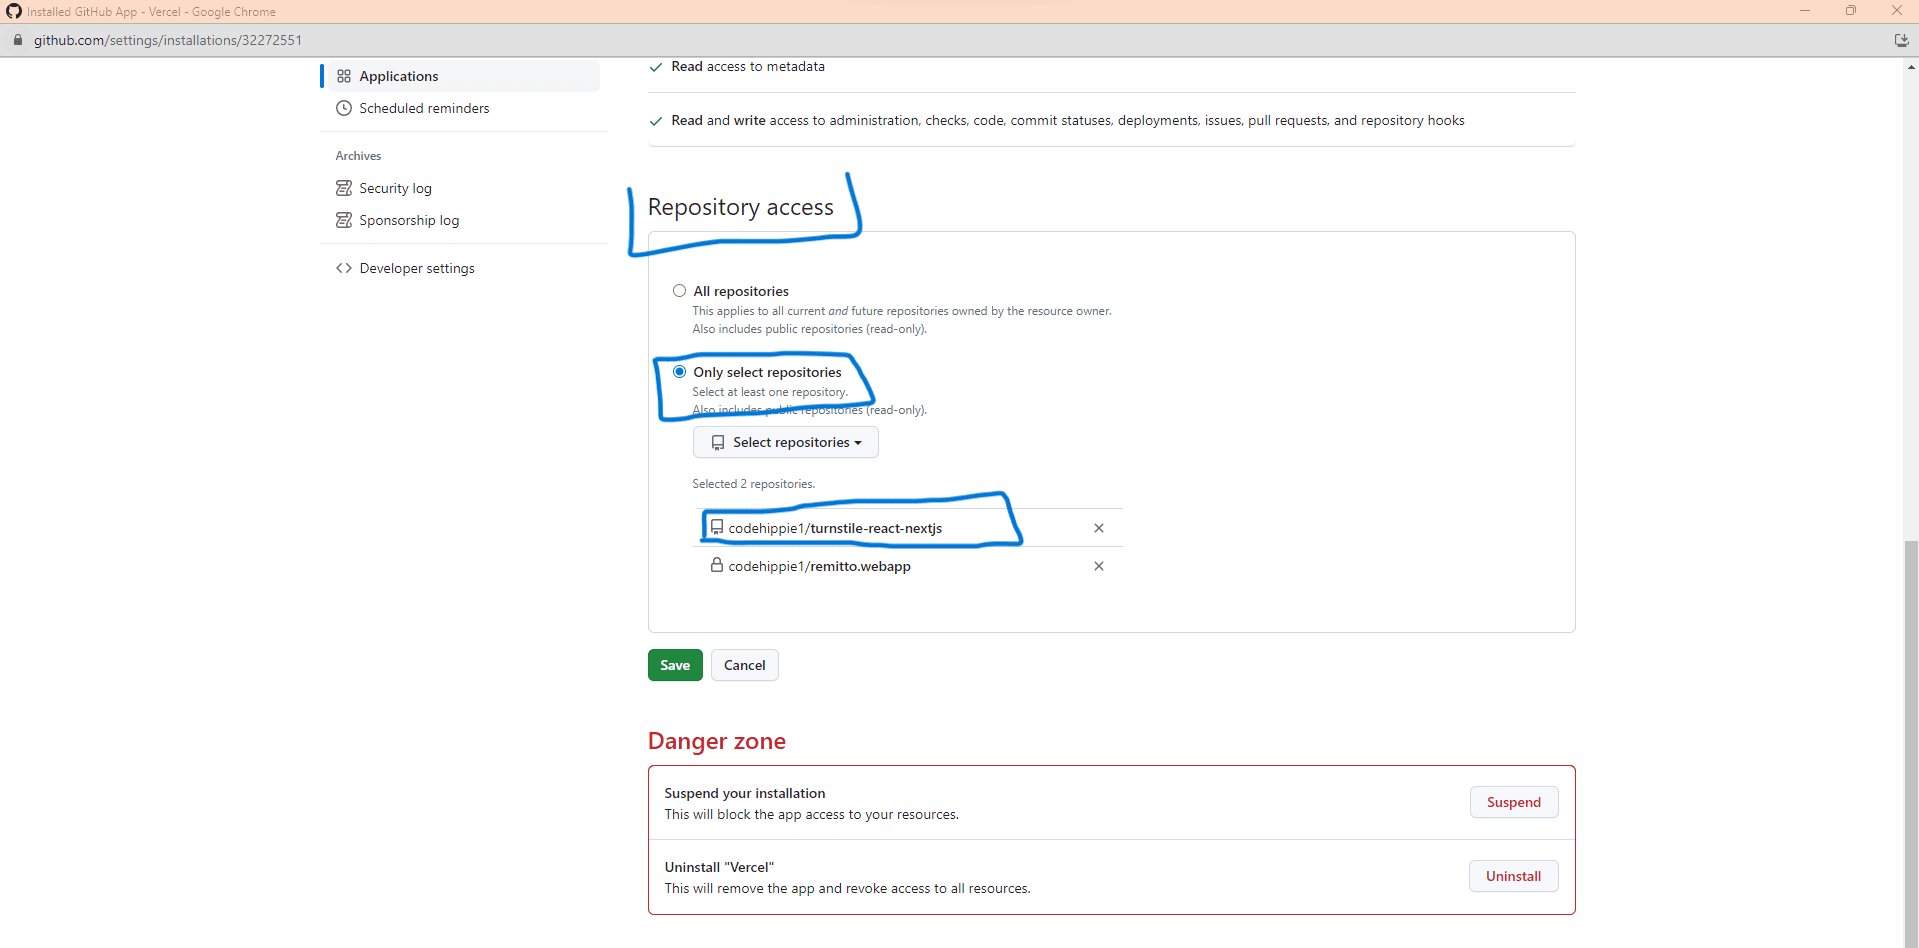
- Vercel should have permissions to access the repository. To provide access, choose “Adjust Github App Permissions ->” link. This will allow you to connect Vercel to your repo. On the configuration pop-up, Select your new repository under ‘Repository access’ and click ‘Save’
- Now, using the ‘import’ button, import your repo into Vercel as shown below. With this step, you are ready to deploy.
- Connect the Github repo
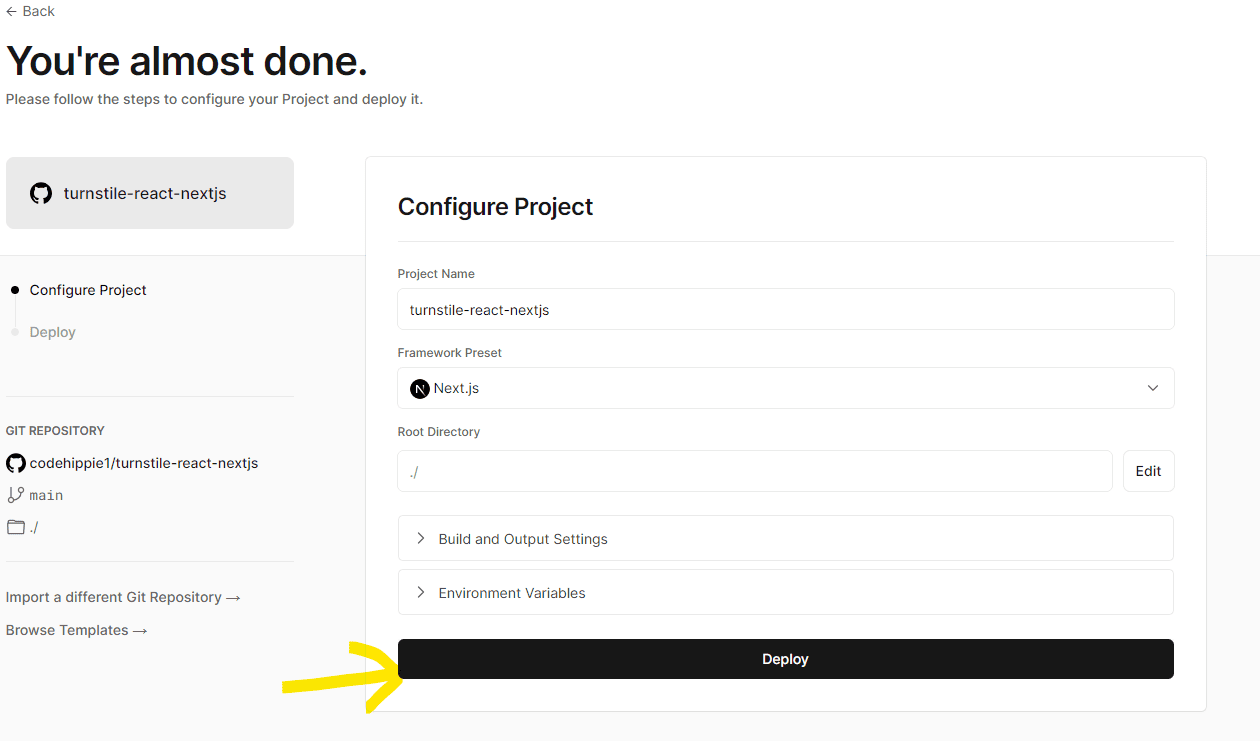
- The Deploy Step – Select ‘Netx.js’ from the Framework Preset dropdown, then click ‘Deploy’ and…
- That’s it! – Now, if we push the code to our Github repo, Vercel will take care of deploying it. Auto-magically!
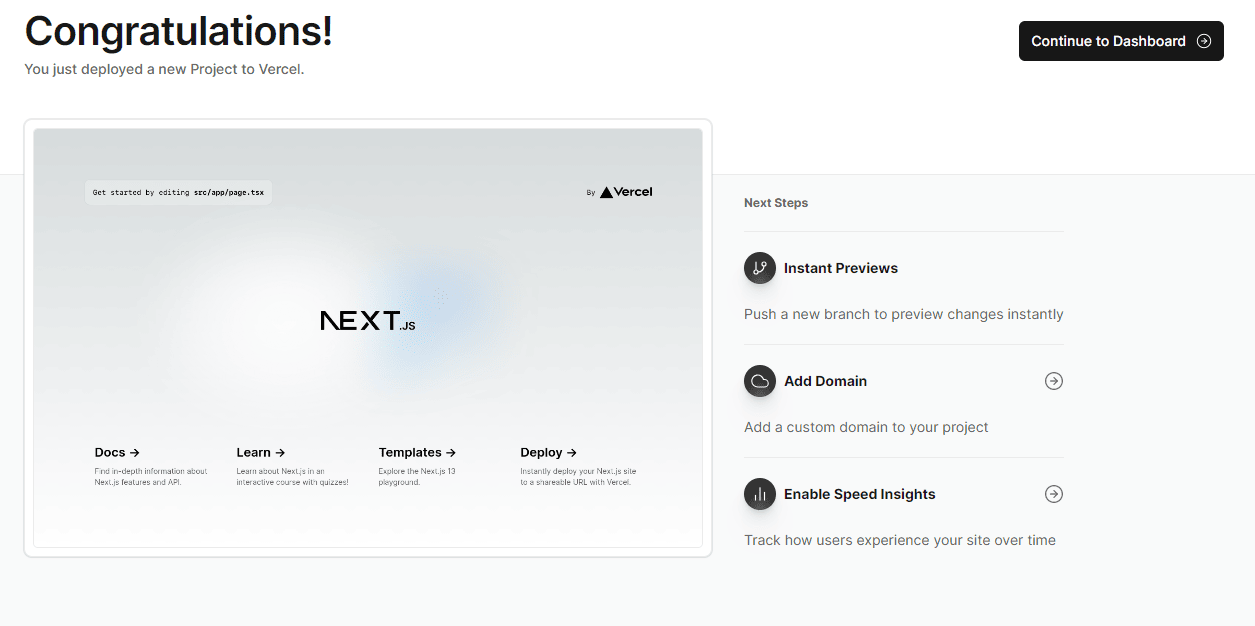
- Our website is up Look at the URL!
Cloudflare Turnstile Configurations
It is time to configure Turnstile and generate a siteKey. We will later marry this siteKey to the web app we just deployed.
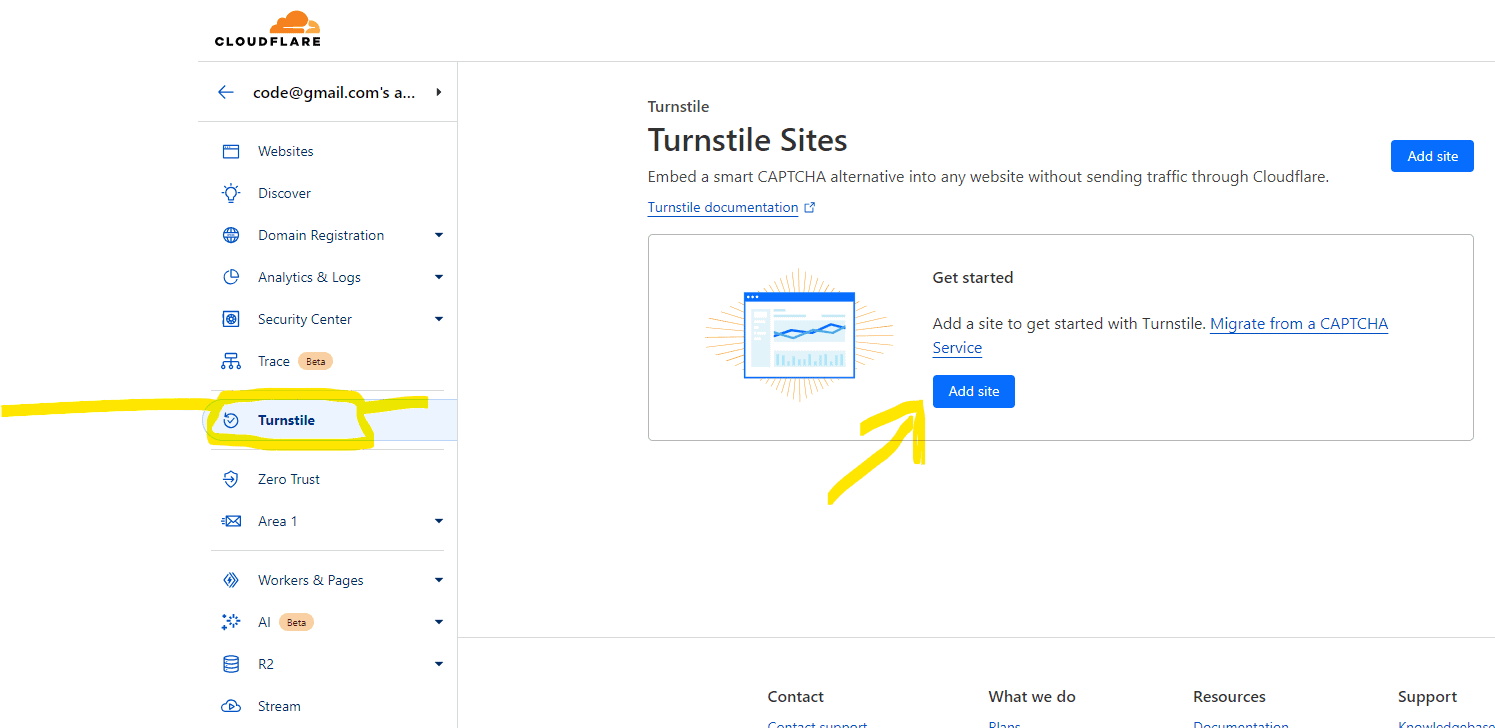
As the first step, log in to Cloudflare.com. Select Turnstile from the left navigation menu on your dashboard and click the ‘Add site’ button.
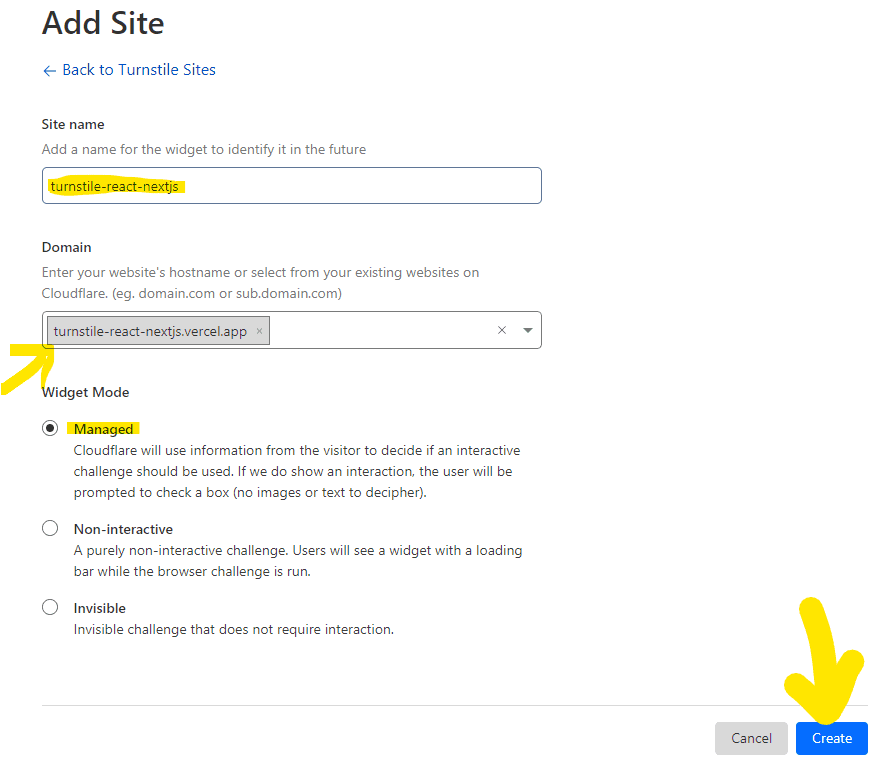
The next screen is where we connect the web app we just deployed with Turnstile. Enter our website’s domain/subdomain name(Did you see? This is where we let Turnstile know who we are and we are real) and press ‘Create’.
Copy the Site Key and Secret Key from the generated screen. We need these keys later.
Setup Turnstile in our NextJS/React App.
Install Turnstile
The Turnstile team recommends two major packages @marsidev/react-turnstile and react-turnstile. Both have similar configurations. For this article, we will use @marsidev/react-turnstile.
Install the package like this.
|
1 |
npm i @marsidev/react-turnstile |
Add turnstile into a form.
Now that Turnstile is installed let’s protect a login form using that. First, let’s remove all the content of src\app\page.tsx and insert the following code. After inserting the code, replace the Site Key from Cloudfare in the locations in the code where it is requested.
|
1 2 3 4 5 6 7 8 9 10 11 12 13 14 15 16 17 18 19 20 21 22 23 24 25 26 27 28 29 30 31 32 33 34 |
'use client'; import { useRef, useState } from 'react'; import styles from './page.module.css' import { Turnstile, TurnstileInstance } from '@marsidev/react-turnstile'; // <------------- Importing Turnstile component const Home = () => { const [canSubmit, setCanSubmit] = useState(false); // <------------- We will use this state to enable submit button if Turnstile says all is well. const refTurnstile = useRef<TurnstileInstance>(null); // <------------- Ref to Turnstile component. We will use this to reset Turnstile after each submit. const handleSubmit = async () => { refTurnstile.current?.reset(); // <------------- After each submit, recycling turnstile for next usage. console.log('submitted!'); } return ( <div className={styles.pageCenter}> <form onSubmit={handleSubmit}> <div><input type="text" placeholder="username" /></div> <div><input type="password" placeholder="password" /></div> <div><button type='submit' disabled={!canSubmit}>Login</button></div> <br /> <Turnstile id='turnstile-1' ref={refTurnstile} siteKey='YOUR_SITE_KEY' onSuccess={() => setCanSubmit(true)} /> </form> </div> ) } export default Home; |
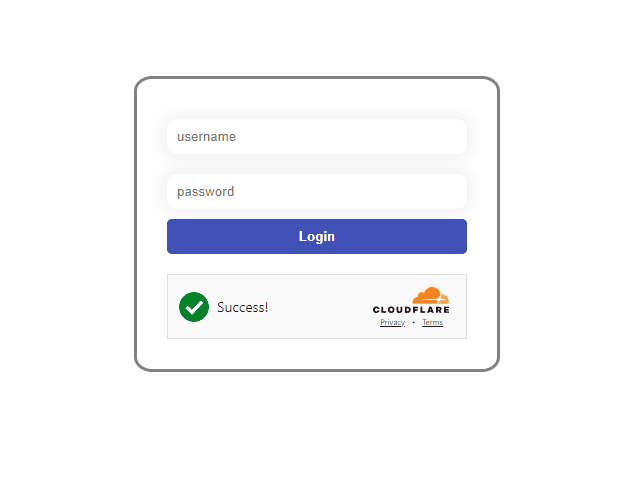
Now, just push the changes to your git repository. Vercel should take care of auto-deployment. Check your site after deployment, Viola! The turnstile is set up and ready to go.
The styling of the buttons and inputs is done through some quick CSS. A link to this entire project on GitHub is available towards the end of this article.
What is in the source code
The source code is quite self-explanatory, yet we will go through some of the corners.
|
1 |
import { Turnstile, TurnstileInstance } from '@marsidev/react-turnstile'; |
We are importing Turnstile here.
|
1 2 3 4 5 6 7 8 |
const [canSubmit, setCanSubmit] = useState(false); ..... <button type='submit' disabled={!canSubmit}>Login</button> ..... <Turnstile siteKey='YOUR_SITE_KEY' onSuccess={() => setCanSubmit(true)} /> |
We ensure the login button stays disabled until Turnstile gives us a green signal.
|
1 2 3 4 5 6 7 8 9 10 11 |
const refTurnstile = useRef<TurnstileInstance>(null); ..... const handleSubmit = async () => { refTurnstile.current?.reset(); } ..... <Turnstile ref={refTurnstile} siteKey='YOUR_SITE_KEY' onSuccess={() => setCanSubmit(true)} /> |
Here, we are keeping a ref to the Turnstile widget and asking it to reset after we submit a form.
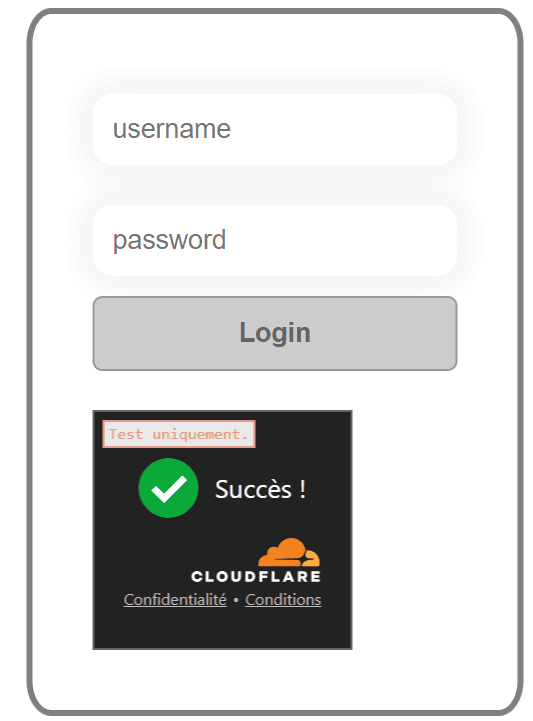
Turnstile is configurable to your needs of language, size, and theme. What if you need a smaller ‘dark’ themed widget in French? You got it with the code below. You can do many more fine-tuning on this widget for your needs.
|
1 2 3 4 5 6 7 |
<Turnstile siteKey='YOUR_SITE_KEY' options={{ theme: 'dark', size: 'compact', language: 'fr', }} /> |
Now, that’s it. You have built a react + next web app, deployed it using Vercel, connected our website with Cloudflare Turnstile, and finally wrote some code to ensure it all works. I have uploaded the source code for this article here. Clone it, change the siteKey, and you are good to go.
Wrap up
Cloudflare Turnstile is a powerful tool that helps us secure web applications without making our users pull all their hair. It is in the news that bots solve CAPTCHAs better than humans lately. Turnstile is here to stay. Packages like react-turnstile wrap away much of the implementation details and help us integrate Turnstile into our code with few lines. Welcome to a new world without a million traffic lights!
Load comments