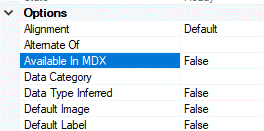
Power BI Semantic Models have a property called Available In MDX. Each field in the model has this property and we can only see or change its value through XMLA. For example, we can use Tabular Editor for this.
We can disable this property in the fields where it will not be needed (and in some cases, it may be many). We will achieve some level of model optimization.
Important: The benefits are easier to notice when the model is in Import mode. All the examples here use Import mode. On Direct Query or Direct Lake, it’s more difficult to notice benefits.
What is the Available in MDX Property
The semantic model is managed by an internal analysis service, which is in the core of Power BI services.
Power BI uses DAX, not MDX. Because this, it’s not affected by this property (mostly). Excel, on the other hand, communicates using MDX.
Excel allows the user to build pivot tables using the data from the semantic model. The user can choose which field will be positioned in columns, rows, or values, such as in the pivot table illustrated bellow.
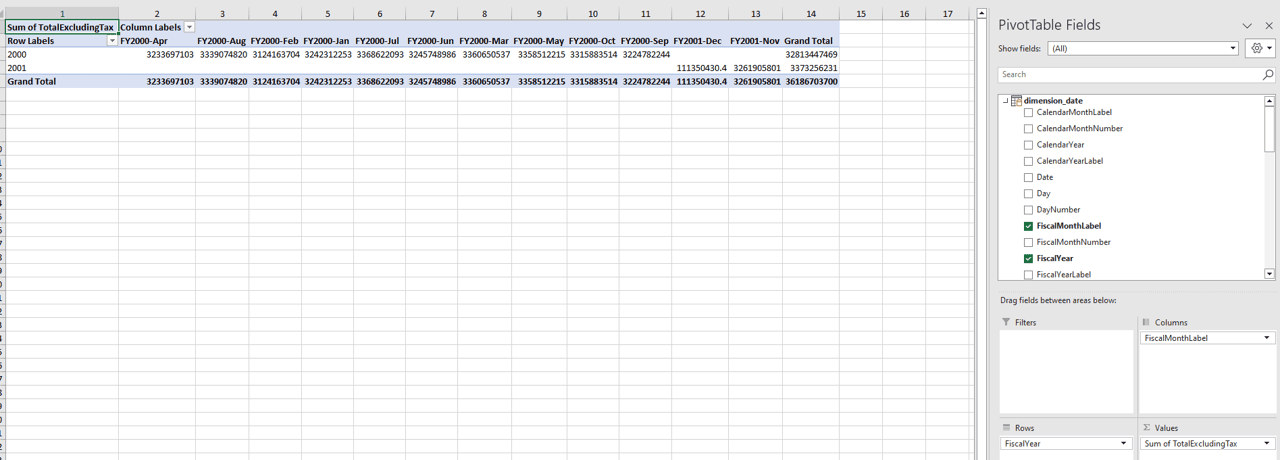
Here is the rub: For the field to be used in columns or rows, it needs a hierarchy, and this hierarchy is only built if the property Available in MDX is enabled.
If we disable this property, the user can’t add the field in question as column or row in an Excel pivot table.
On the other hand, do you notice how many fields in your semantic model will never be added as columns or rows in an excel pivot table?
What Tools you will need
We can check how this will affect our model using DAX Studio.
We can change the property value using Tabular Editor
Power BI .Tips portal has a tool to install external tools in Power BI, it’s the easiest way to do it. Once installed, the external tools will appear in power bi menu, like the image below

Once you have tools like DAX Studio and Tabular Editor installed, you can open a model in Power BI and click on the tool. You will use the tool to connect to your model.
What’s the Impact after disabling Available In MDX
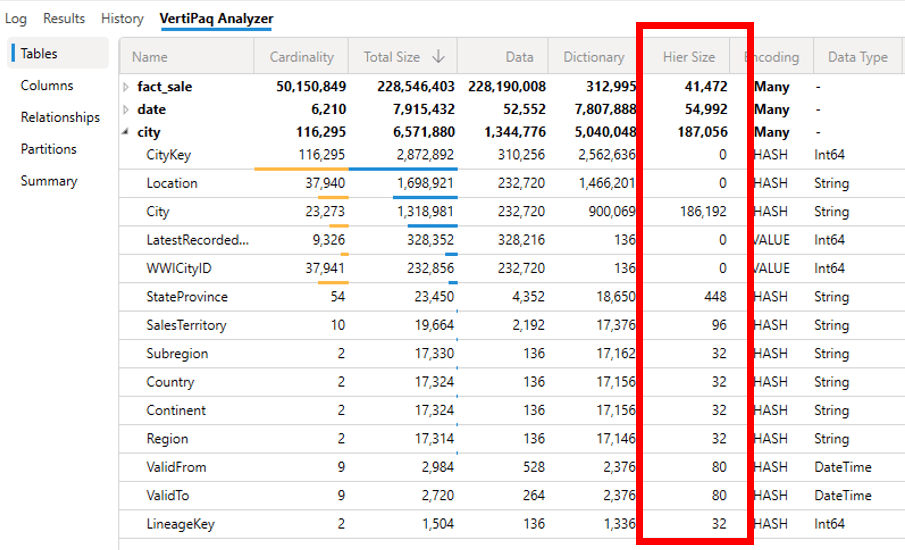
Using DAX Studio, you can check the size of your model. After opening DAX Studio, you click on Advanced menu -> View Metrics button.
The metrics show information about each table and field in the model, like the image below:

On our example, let’s use Tabular Editor to disable the Available in MDX property on the following tables and fields:
Table City:
- WWICityID
- CityKey
- Location
- LastRecordedPopulation
Table Fact_Sale:
- SaleKey
Once we open the model in Tabular Editor, we will be able to navigate through the model, like the image below:
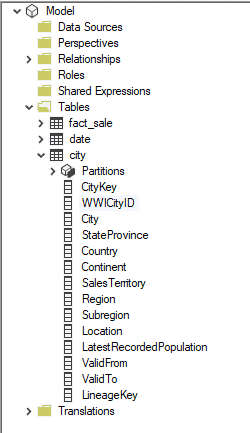
We select the fields which we would like to change and modify the property in the properties window.
After disabling the property, we can check the metrics in DAX Studio again.
PBIX File Size
Our example uses Import mode, making it easy to notice the impact on the PBIX file size. Of course, it’s not only a matter of size, but memory consumption on Power BI service and processing.
File size before the property changes:

File size after the property changes:

Load comments