
Ansible Dev Environment Setup
Using Ansible to take away the overhead of getting your dev machine setup the way you like it.


Installing Linux for the first time is an exciting and confusing time. You may have picked a common distribution like Ubuntu or went for the esoteric option like Arch Linux.
After a few months you have tweaked your operating system, you have the tools you need installed, the UI how you like it and most importantly your TTY terminal.
Then after a year you change jobs or your machine gets replace or upgraded and you find yourself starting from scratch. You start downloading the latest version of your chosen Linux distro and then after installing it you find yourself once again installing tools and applications.
At some point after repeating these steps you begin to wonder if there is an easier way to just have your machine working from the get go, with all your desired software and tweaks.
For our fellow Mac and Windows users this dream is much more achievable thanks to cloud and remote management software tool (add some examples like JAMF) that can easily rebuild and setup a machine in less than an hour.
With Linux of course you don't get that luxury and you have to go and do it "your" way.
“I choose a lazy person to do a hard job. Because a lazy person will find an easy way to do it.” - Bill Gates
You have several options to get your trusty development environment up in no time
1. Build from image
I tried this approach early in my Nix use, it was after upgrading from an IBM ThinkPad to a fancier HP Zenbook. Expecting the slog of a day trying to setup my machine I opted to try and build an image of my current system,
Essentially you are taking a snapshot of your OS on disk including all folders you have specified. This is then represented in a standard Disk image format (.ISO file type).
It's pretty much like a time-capsule of everything that you are interested on the mounted file system your Linux lives on.
There are several tools available including CloneZilla and partclone, I ended up going with CloneZilla, which requires you to boot it from a Live USB/CD. It then scans your OS and creates a bootable image from it. You can then use that bootable image to rebuild your dev environment elsewhere.
Advantages:
- Immutable, the snapshot cannot be altered which gives a feeling of certainty that there will be no surprises.
- Instantly working and can be used on VMs if desired
Disadvantages:
- I think in today's world of OCI (Open container Initiative) the concept of taking snapshots of an installation and then applying them to other machines is a bit outdated.
- Depending on how much stuff was on your Linux distro the images can get quite big.
- With its immutability, comes the inevitability of it being outdated or incompatible in future hardware. As well as needing to upgrade the system after restoring it, as there could be security or compatibility issues with tools etc.
All in all this is a method that might feel like stepping back in time, it is certainly appealing for its simplicity but ultimately overshadowed by the evolving needs of modern software development. While system imaging remains invaluable in certain situations; particularly for sysadmins who managing servers and critical infrastructure. In my case I quickly realised this was not the solution I was looking for.
2. Dotfiles and a repository of settings and install scripts
The next port of call was Dotfiles, a concept driven by the idea of backing up all your configuration files stored in the /home directory of your Linux installation e.g..bashrc .npmconfig .git-config .idea
Things like how you like to run your terminal, UI settings etc. are stored in Dotfiles on the system. For example in my .bashrc file I have a few customizations in how my terminal displays output (date time, git information, colours).
In a manual install of those customisations, it would take me about 30 minutes. However if I backup the .bashrc file, I can simply restore it when I need it.
The persistence of these files can be done separately on a remote file server but the most common way is to use a Git repository. Which allows you to clone these settings and scripts and bootstrap your machine in a short period of time with settings and installation commands.
There is a large community around Dotfiles and many variations can be found. Which is a great thing to have, people can combine and modify these files easily and before long you will have a very functional dev environment.
Advantages:
- Customization; Dotfiles are highly extensible and you have a lot of freedom in how you structure them. Allowing you to experiment and chop and change when you like
- Portability; assuming the same shell is being used then Dotfiles should work on Linux, Mac and even Windows systems (running WSL Linux).
- Version control; with the files hosted on a place like Github, they are safe and can be retrieved whenever needed, meaning your settings are always available in case of emergencies.
Disadvantages:
- Footgun; with all the options available, it can be overwhelming to new users and the chances or messing stuff up is high. Its very much a trial and error experience.
- Security; one should never just download any Dotfiles they see without a proper inspection as there could be security vulnerabilities or even worse, some nasty code lurking in them. Use caution.
- Maintenance; once you get going with Dotfiles, you soon find them growing, with custom shell scripts to handle specific situations or features you want to turn on or off. This comes with an overhead and can be time consuming ensuring they always work.
I enjoyed Dotfiles, and to an extent would still use them for small configuration needs. However the main thing it lacked for me was recording the state of my machine. I could not know for certain that my Dotfiles are applied or working properly and there is a risk if I make other changes locally that my Dotfiles from a remote repository could override my local changes. What I needed was something that could keep track of what changes I made, which led me to Ansible.
3. Ansible
I had heard about Ansible for a long time, even since the start of my career in Software engineering. However it wasn't until I saw some examples online of people using Ansible to setup their development machines, rather than setting up commercial servers, that I decided to give it a go.
With Ansible you define all your work as playbooks, which consist of a series of tasks. These tasks can perform changes or operations on the machine they run on. If the changes require elevated permissions, then Ansible can assume the role of a higher privileged user or use sudo.
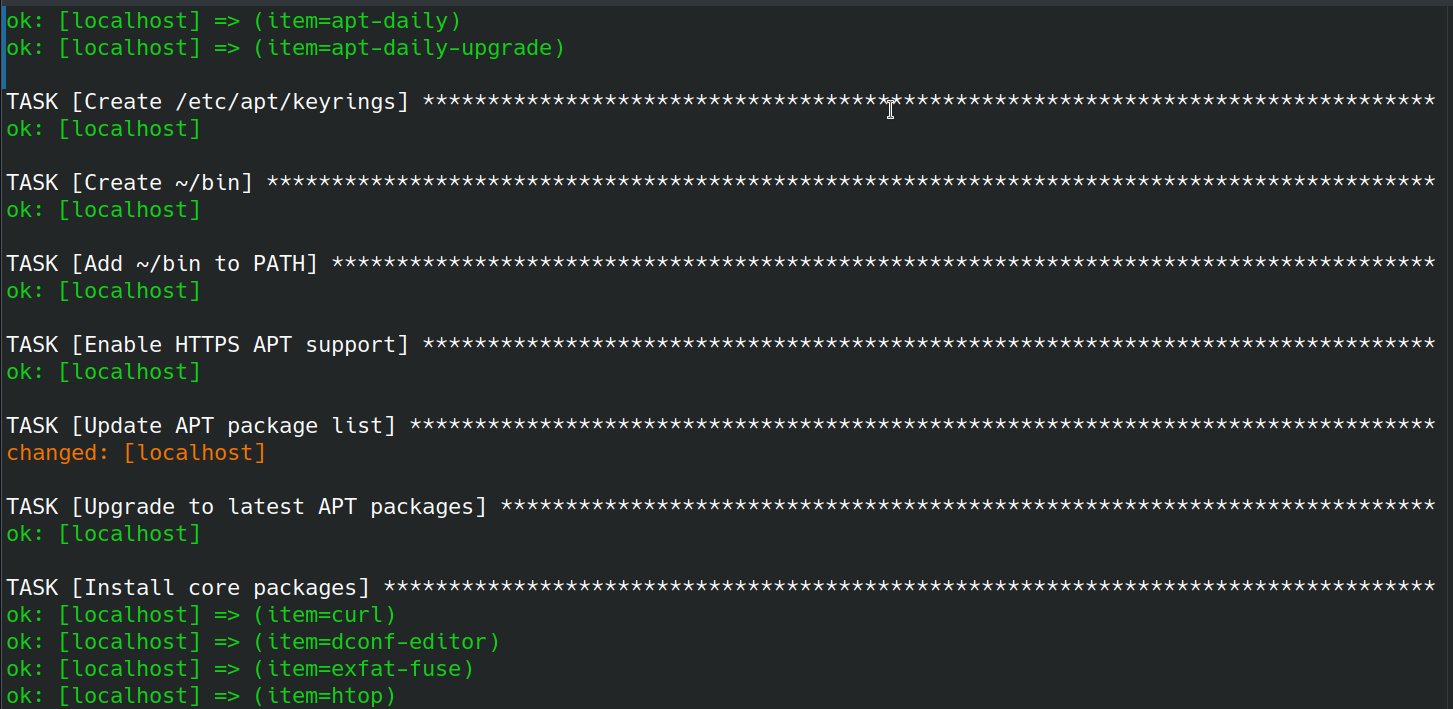
The playbooks are done in a simple to read YAML format. Here is my playbook for installing all the bare minimum tools I need on Kubuntu
- name: Install Core tools
  hosts: localhost
  connection: local

  tasks:

    - name: Enable HTTPS APT support
      become: yes
      apt:
        name: "{{ packages }}"
      vars:
        packages:
          - apt-transport-https
          - ca-certificates
          - gnupg-agent
          - software-properties-common

    - name: Update APT package list
      become: yes
      apt:
        update_cache: yes
      register: apt_update
      retries: 5
      until: apt_update is success

    - name: Upgrade to latest APT packages
      become: yes
      apt:
        upgrade: yes

    - name: Install core packages
      become: yes
      apt:
        package: "{{ item }}"
      loop:
        - curl
        - dconf-editor
        - exfat-fuse
        - htop
        - inetutils-traceroute
        - jq
        - net-tools
        - p7zip-full
        - unzip
        - uuid
        - xclip
        - vim
        - htop
        - iftop
        - net-tools

    - name: Get installed package list
      package_facts: {}
In this Ansible playbook, we see that it configures some system settings related to APT and then installs a list of packages from the APT repository
When I execute this playbook, Ansible knows what the state of my system is after running it, whether it changed something or didn't need to change anything, as it was already applied before.
This idempotency is great, it means I can make changes to my scripts and re-apply them. If one machine has some stuff applied then Ansible will make sure it aligns with the necessary changes. Whilst another machine that is already up to date will not require alignment.
Tasks themselves are defined as atomic operations, which could be anything from running an install command with apt install curl or running downloading a remote file using wget. Additional functionality can be added by using community modules that tasks can invoke. Lots of these custom modules are available on Ansible's community hub called Galaxy.
After a few days of getting my head around Ansible I had come up with a nice structured approach to setup my dev machine, with two playbooks.
main.yml # applies system changes that require (sudo required)
user.yml # applied user specific customizations (sudo not required)
Advantages:
- Simplicity; as mentioned before with Dotfiles, but Ansible makes it more consistent and accessible with a YAML format
- Statefulness; as a dev I like state, it shows me where I am and in this case tells me what my dev machine is like. I have confidence that all my necessary tools and tweaks are there, and I haven't missed anything, otherwise Ansible will let me know.
Disadvantages:
- Learning curse; if you are just getting into the world of configuration and machine setup. Then it might seem a bit alien at first but you will be able to wrap your head around it quickly. There are plenty of example Ansible playbooks out there to copy and re-use.
- Simple tasks; do you just write a two line shell script or have a twenty line YAML file? I can't make that decision for you.
I have now been using Ansible for over a year now and have rebuilt my dev machine three times. Over that period of time I have added tweaks and improvements. For now I am happy with this solution, but who knows what else is around the corner?
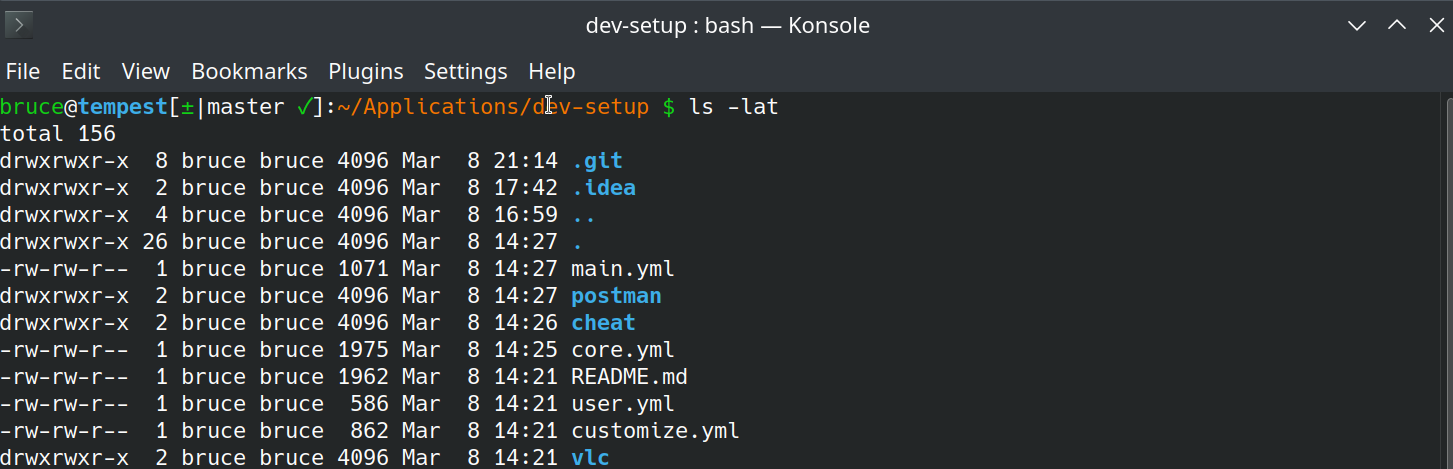
My Ansible playbooks can be found in a nice simple repo here on Github
 tomaytotomato