How to Install JupyterLab on Rocky Linux 9
Jupyter is a free and open-source web application for interactive computing and data science.
Jupyter supports all programming languages and provides multiple software, such as JupyetrLab, which provides a feature-rich and tabbed multi-notebook editing environment, Notebook as a lightweight and simplified notebook authoring, Qtconsole, and many more.
In this guide, we'll show you step-by-step instructions on how to install JupyterLab on the Rocky Linux 9 server. You will install JupyterLab, enable the JupyterLab authentication, and then set up Nginx as a reverse proxy.
Prerequisites
To complete this guide, make sure you have the following:
- A Rocky Linux 9 server.
- A non-root user with sudo privileges.
- A SELinux with status permissive.
Install Dependencies
Before installing JupyterLab, you must install dependencies on your Rocky Linux server. This includes Pip, Node.js, and development tools. In addition to that, you will also install Nginx for reverse proxy.
To start, run the command below to install development packages to your system.
sudo dnf -y groupinstall development
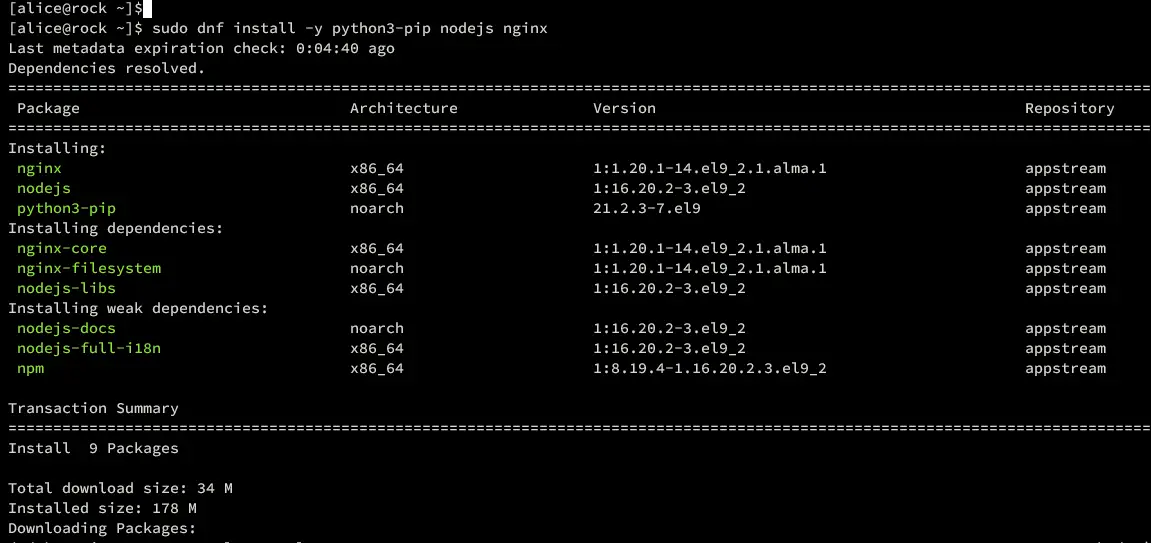
Then, install Pip, Node.js, and Nginx using the following command.
sudo dnf install -y python3-pip nodejs nginx
Once installation is complete, move on to the next step.
Setting Up Python Virtual Environment
In this example, you will install and run JupyterLab with a normal user. So make sure that you have prepared your user with sudo privileges.
Log in to your user using the command below.
su - user
Create a new ~/project directory and move into it. then, create a new Python virtual environment venv.
mkdir -p ~/project; cd ~/project
python3 -m venv venv
Once venv virtual environment is created, you can activate it using the command below.
source venv/bin/activate
Here, your prompt should become like (venv) alice@hostname, which means that your Python virtual environment is active.

Installing JupyterLab
Now that you have created a Python virtual environment, you now ready to install JupyterLab. In this section, you will install JupyterLab, generate JupyterLab configuration, set up password authentication, and then verify JupyterLab.
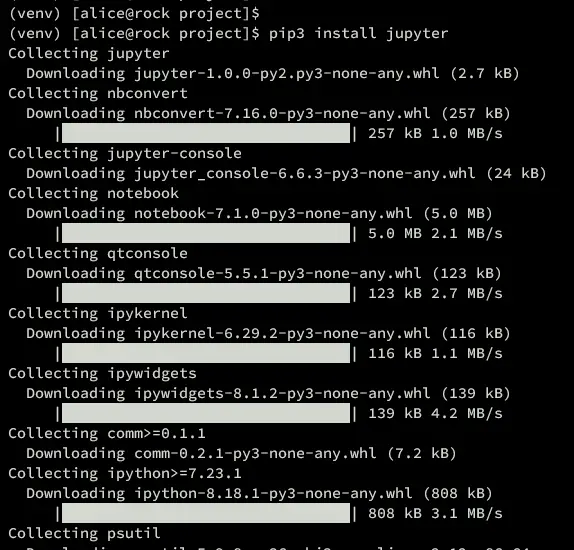
To install JupyterLab, run the pip3 command below.
pip3 install jupyter
Once the installation begins, you should get the output like this:
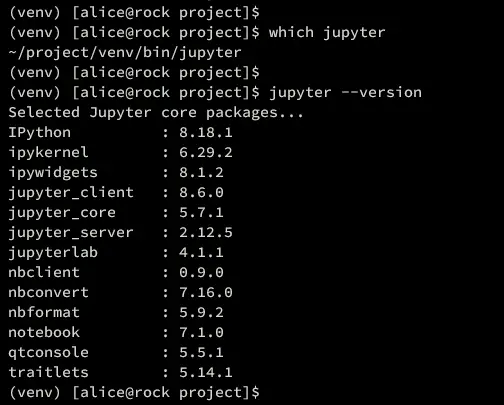
After the installation is complete, run the command below to locate the Jupyter binary file and check the JupterLab version.
which jupyter
jupyter --version
You should get the JupyterLab binary file located in your Python virtual environment. And the JupyterLab version is 4.1.1.
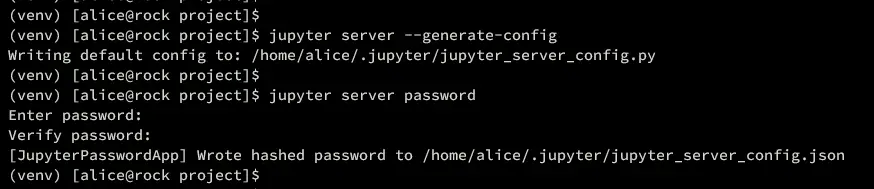
Next, run the Jupyter command below to generate the Jupyter server configuration and set up the password authentication.
jupyter server --generate-config
jupyter server password
When asked for the password, input your new password and repeat.
Next, run the command below to generate JupyterLab and input y when asked to overwrite. Then, verify your JupyterLab configuration.
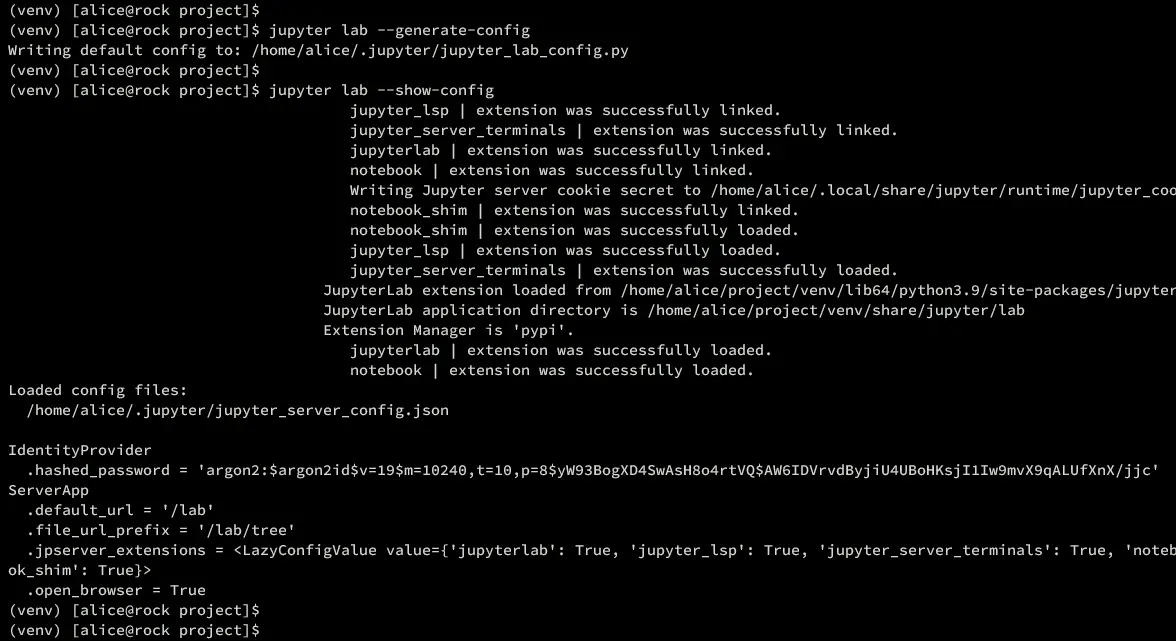
jupyter lab --generate-config
jupyter lab --show-config
As you can see below the password authentication is hashed and the path location of your JupyterLab should be accessible.
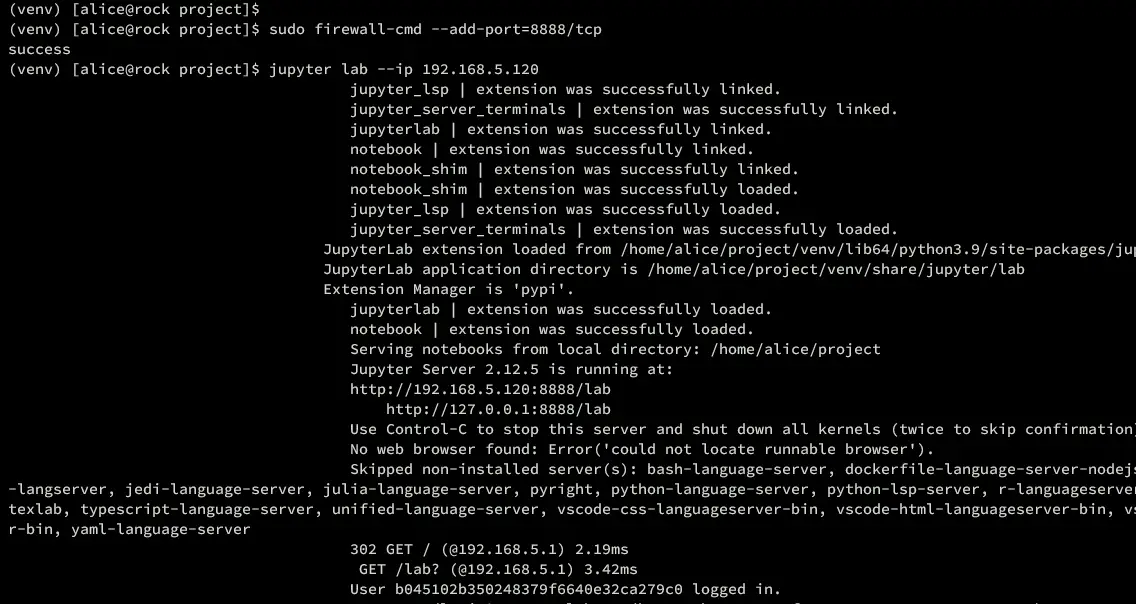
You can now execute the command below to open port 8888 for JupyterLab. Then, start your JupyterLab on local IP 192.168.5.120, and Make sure to change the IP address.
sudo firewall-cmd --add-port=8888/tcp
jupyter lab --ip 192.168.5.120
Once started, you should get a similar output like this:
Now open your web browser and visit your local IP address with port 8888, http://192.168.5.120:8888/. You will be prompted with the JupyterLab login page.
Input your password and press Log in.
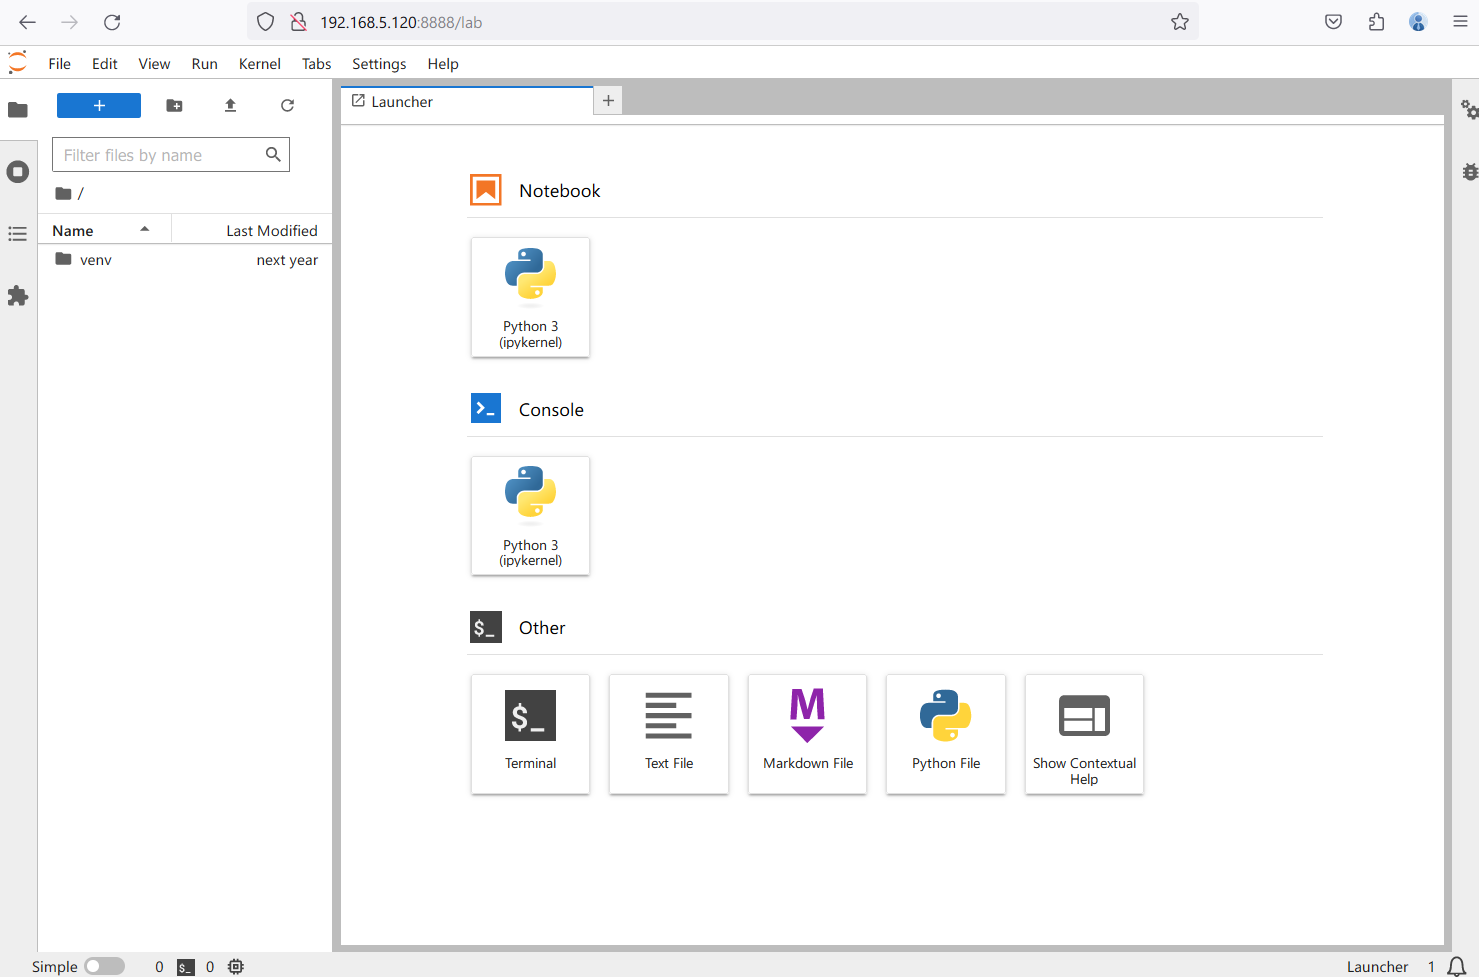
If successful, you should get the JupyterLab dashboard like the following:
Lastly, back to your terminal and press Ctrl+c to terminate the JupyterLab process. In the next step, you will set up JupyterLab as a systemd service.
Running JupyterLab as Systemd Service
With JupyterLab installed, you will now create a new systemd service for JupyterLab. This enables you to manage JupyterLab easily via system utility. Also, you can start JupyterLab at boot by enabling the service.
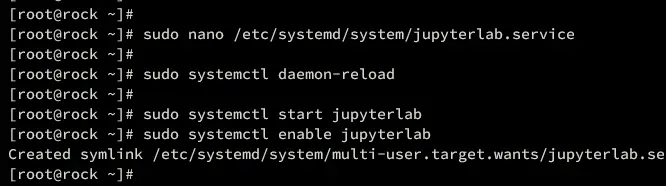
Now run the following nano editor command to create a new jupyterlab service /etc/systemd/system/jupyterlab.service.
sudo nano /etc/systemd/system/jupyterlab.service
Add the configuration below to the file and make sure to change the detail user with your user. This includes the binary path of the Jupyter program and the generated configuration.
[Unit]
Description=JupyterLab Service

[Service]
Type=simple
PIDFile=/run/jupyter.pid
ExecStart=/home/alice/project/venv/bin/jupyter lab --config=/home/alice/.jupyter/jupyter_lab_config.py
User=alice
Group=alice
WorkingDirectory=/home/alice/project
Restart=always
RestartSec=10

[Install]
WantedBy=multi-user.target
When you're finished, save and exit the file.
Next, run the command below to reload the systemd manager and apply the systemd changes.
sudo systemctl daemon-reload
Then, start and enable the jupyterlab service with the following command.
sudo systemctl start jupyterlab
sudo systemctl enable jupyterlab
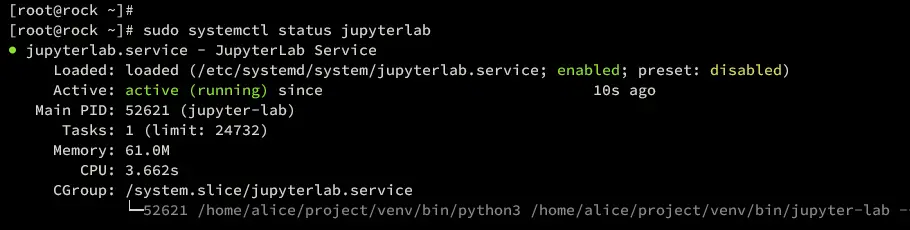
Once starts, run the command below to verify your jupyterlab service.
sudo systemctl status jupyterlab
If the jupyterlab service is running, you should get an output like the following:
Configuring Remote Access for JupyterLab
To run JupyterLab behind a reverse proxy, you must enable remote access on your JupyterLab installation. You need to modify the default JupyterLab config script and enable remote access from there.
Run the following nano editor command to open the JupyterLab config script ~/.jupyter/jupyter_lab_config.py.
nano ~/.jupyter/jupyter_lab_config.py
Uncomment the parameter c.ServerApp.allow_remote_access and change the value to True. This will enable remote access for reverse proxy in JupyterLab installation.
c.ServerApp.allow_remote_access = True
When done, save and exit the file.
Next, run the command below to restart the JupyterLab service and verify the generated token. this token will be used for logging in to JupyterLab under the reverse proxy.
sudo systemctl restart jupyterlab
sudo systemctl status jupyterlab
At the bottom of the service log, you can see the JupyterLab token.

Setting Up Nginx Reverse Proxy
Now that you've allowed remote access in JupyterLab, you're ready to configure Nginx as a reverse proxy for your JupyterLab installation.
First, run the following nano editor command to create a new Nginx configuration /etc/nginx/conf.d/jupyterlab.conf.
sudo nano /etc/nginx/conf.d/jupyterlab.conf
Insert the configuration below and make sure to change the domain name with your local JupyterLab installation.
server {
listen 80;
server_name jupyterlab.hwdomain.io;

access_log /var/log/nginx/hwdomain.io.access.log;
error_log /var/log/nginx/hwdomain.io.error.log;

location / {
proxy_pass http://127.0.0.1:8888;
proxy_set_header X-Forwarded-For $proxy_add_x_forwarded_for;
proxy_set_header X-Real-IP $remote_addr;
proxy_set_header Host $http_host;
proxy_http_version 1.1;
proxy_redirect off;
proxy_buffering off;
proxy_set_header Upgrade $http_upgrade;
proxy_set_header Connection "upgrade";
proxy_read_timeout 86400;
}
}
Save and exit the file when done.
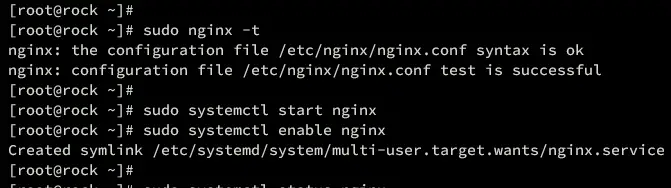
Now run the command below to verify your Nginx syntax. If successful, you should get an output 'syntax is ok - test is successful'.
sudo nginx -t
Next, start and enable the Nginx service using the following command.
sudo systemctl start nginx
sudo systemctl enable nginx
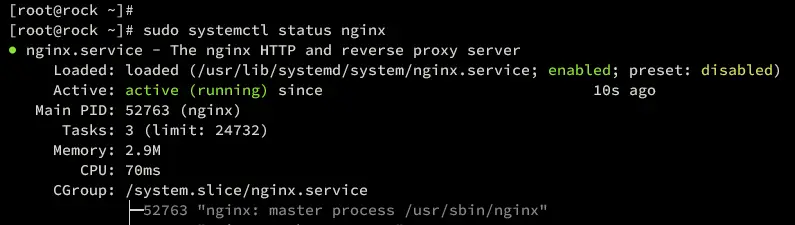
Once Nginx starts, verify the service with the command below. Make sure the Nginx service is running.
sudo systemctl status nginx
Lastly, run the command below to open the HTTP port on your system and allow traffic to your JupyterLab installation.
sudo firewall-cmd --add-service={http,https} --permanent
sudo firewall-cmd --reload
With this, your JupyterLab installation should be accessible via reverse proxy.
Logging in to JupyterLab
Open a new tab on your web browser and visit the domain name of your JupyterLab installation, such as http://jupyterlab.hwdomain.io/. If your installation is successful, you will be prompted with the JupyterLab login page.
scroll to the bottom page and paste your JupyterLab token. then, input the new password for your JupyterLab installation press Login and set up the new password.
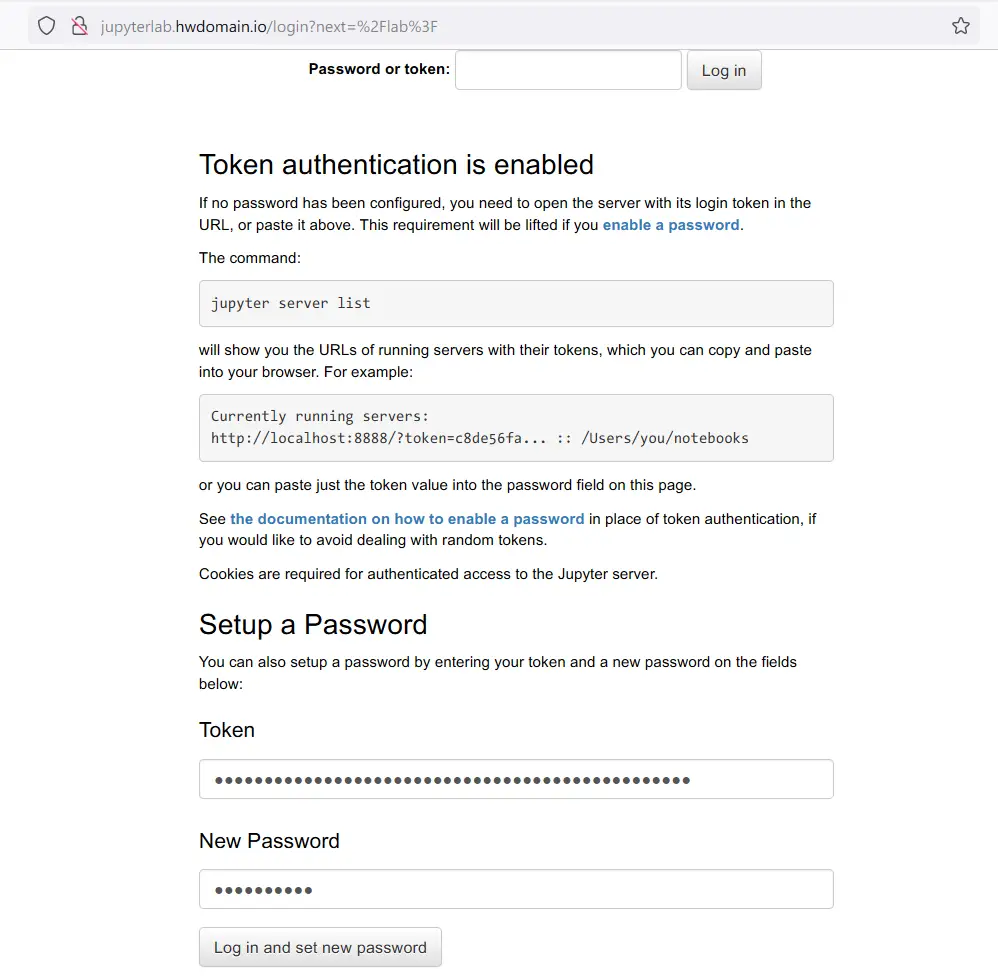
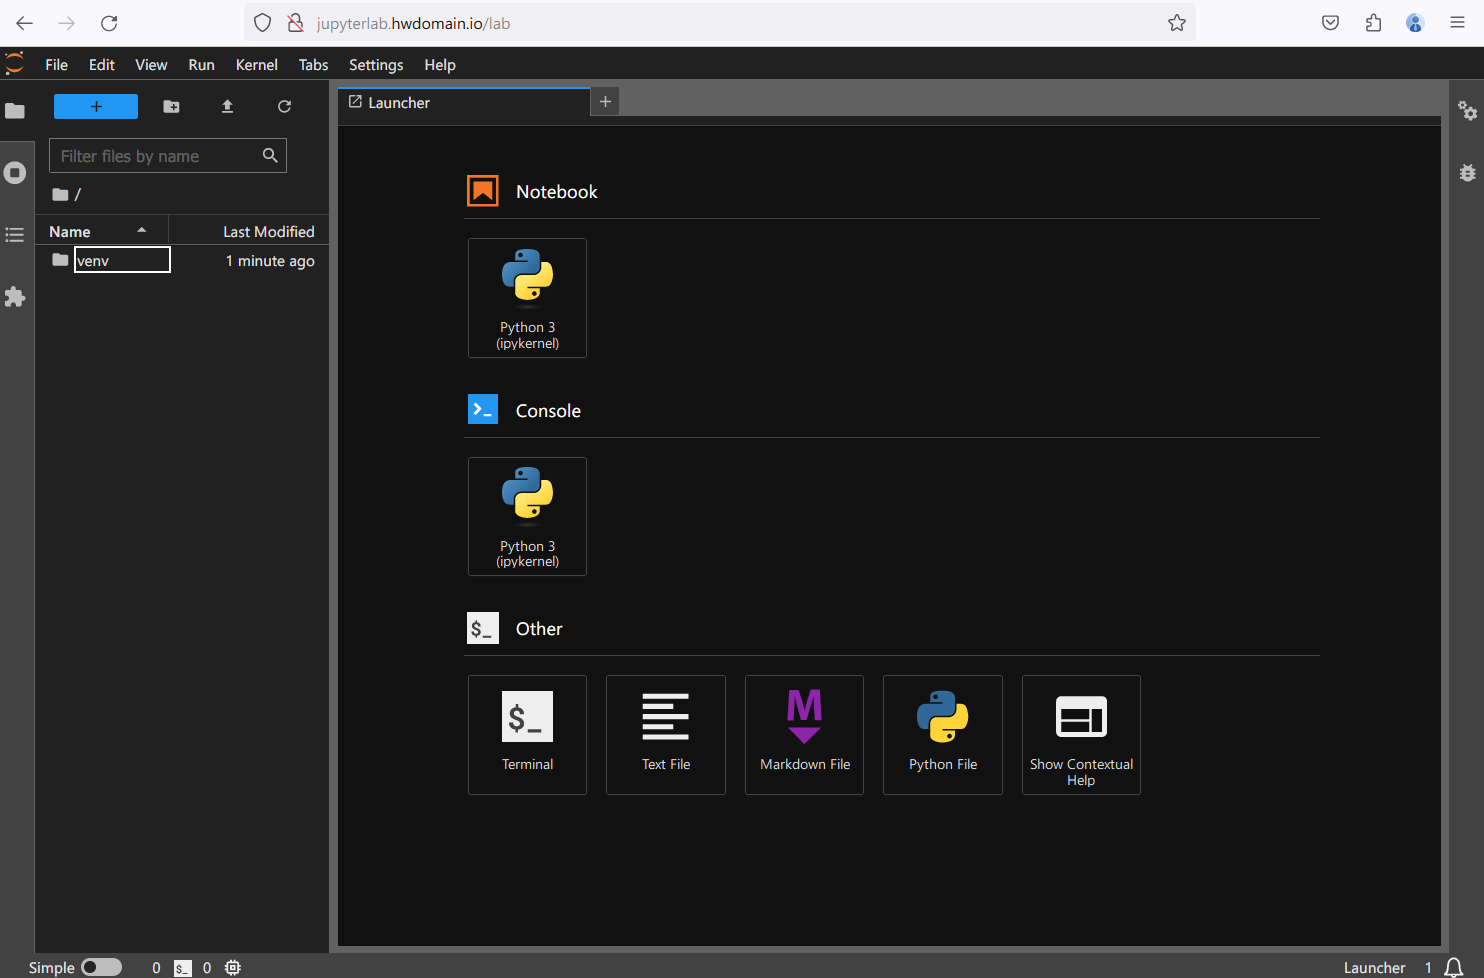
if you have the correct token, you should get the JupyterLab dashboard and your password should also be changed.
Conclusion
Congratulations! You have successfully installed JupyterLab on Rocky Linux 9. You have installed JupyterLab, configured JupyetrLab authentication, and also configured Nginx as a reverse proxy for your JupyterLab installation.

