How to Install CockroachDB Cluster on Debian 12
This tutorial exists for these OS versions
- Debian 12 (Bookworm)
- Debian 11 (Bullseye)
On this page
CockroachDB is an open-source distributed and scalable SQL database for cloud applications. CockroachDB provides next-level consistency, a replicated SQL database, and a transactional data store.
CockroachDB stores your data in multiple locations making data delivery faster. Also, it's easy to scale and provides high availability and fault tolerance for your applications.
In this guide, we'll show you how to install CockroachDB on Debian 12 servers. Then, we'll show you how to initialize the CockroachDB cluster with multiple Debian servers.
Prerequisites
Before you proceed, ensure you have the following:
- Two or more Debian 12 servers that connect to each other via local network.
- A non-root user with administrator privileges.
- An FQDN is configured on each server.
Installing CockroachDB
CockroachDB is a distributed and scalable SQL database system. Before deploying the CockroachDB cluster, you must install the CockroachDB application on each of your servers.
Now you will install CockroachDB on each of your Debian servers.
First, create a new system user cockroach with the default home directory /opt/cockroachdb.
sudo adduser --home /opt/cockroachdb --system --group cockroach
sudo chown -R cockroach:cockroach /opt/cockroachdb
Download the latest version of CockroachDB using the curl command below. Be sure to visit the CockroachDB download page to get the link to the latest version of CockroachDB.
curl https://binaries.cockroachdb.com/cockroach-v23.1.14.linux-amd64.tgz --output cockroach-v23.1.14.linux-amd64.tgz
Once downloaded, extract the cockroach-v23.1.14.linux-amd64.tgz file and copy the CockroachDB binary file to the /usr/bin/ directory.
tar -xzf cockroach-v23.1.14.linux-amd64.tgz
cp -i cockroach-v23.1.14.linux-amd64/cockroach /usr/bin/
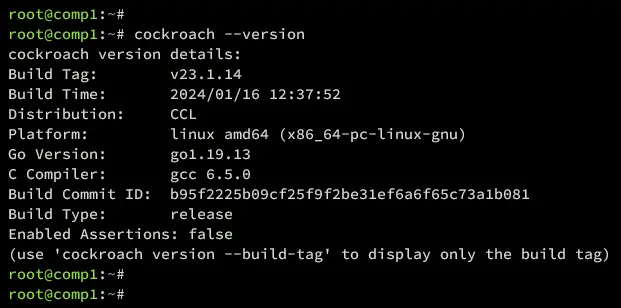
Lastly, verify the CockroachDB version using the command below.
cockroach --version
You can see below that CockroachDB v23.1.14 is installed, which is the latest version of the current time.
Setting Up UFW
After installing CockroachDB, you must install UFW to secure your servers. Then, open TCP ports 8080 and 26257 which will be used by the CockroachDB cluster.
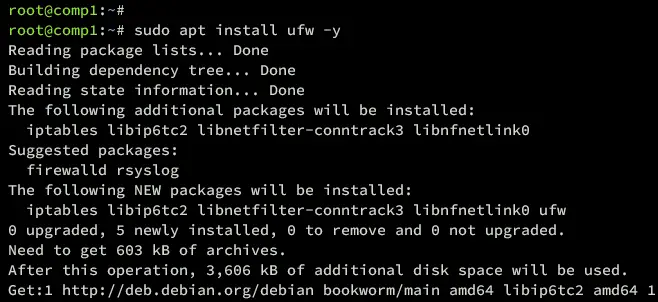
Install the UFW package to your Debian server with the command below.
sudo apt install ufw -y
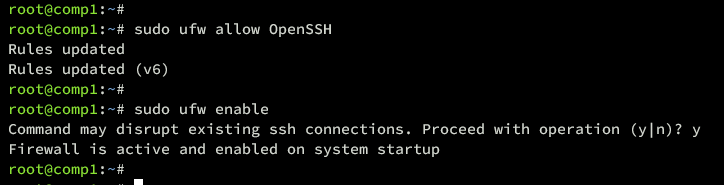
Now add the OpenSSH profile and enable UFW by executing the command below. Type y to start and enable the UFW.
sudo ufw allow OpenSSH
sudo ufw enable
Once UFW is enabled, you will see the output 'Firewall is active and enabled on system startup'.
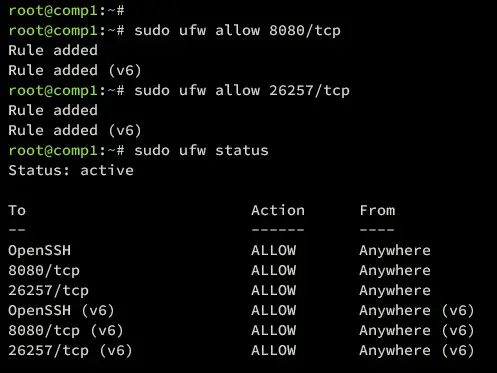
Next, add TCP ports 8080 and 26257 to UFW with the following command. Those TCP ports will be used by the CockroachDB cluster.
sudo ufw allow 8080/tcp
sudo ufw allow 26257/tcp
Lastly, verify the UFW status and list of enabled rules with the command below. You will see UFW with the status Active and the OpenSSH, ports 8080/tcp and 26257/tcp enabled.
sudo ufw status
Generating Certificates
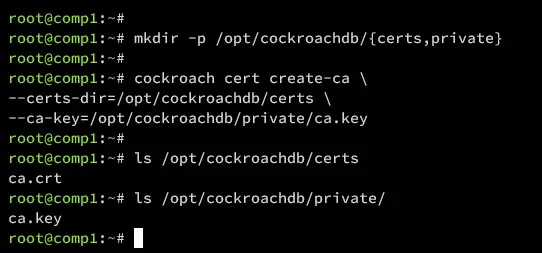
Before generating certificates for the CockroachDB cluster, execute the command below to create new directories certs and private within /opt/cockroachdb for storing your certificates.
mkdir -p /opt/cockroachdb/{certs,private}
Now go on to generate these certificates: CA Certificate, Node certificate, and Client certificate.
Generating CA
CA certificate is important for signing both clients and node certificates. In this section, you will generate a CA certificate on the comp1 server and a CA certificate and key to the comp2 server via scp. So be sure that you have SSH access to the comp2 server.
Execute the following command to generate a CA certificate on the comp1 server.
cockroach cert create-ca \
--certs-dir=/opt/cockroachdb/certs \
--ca-key=/opt/cockroachdb/private/ca.key
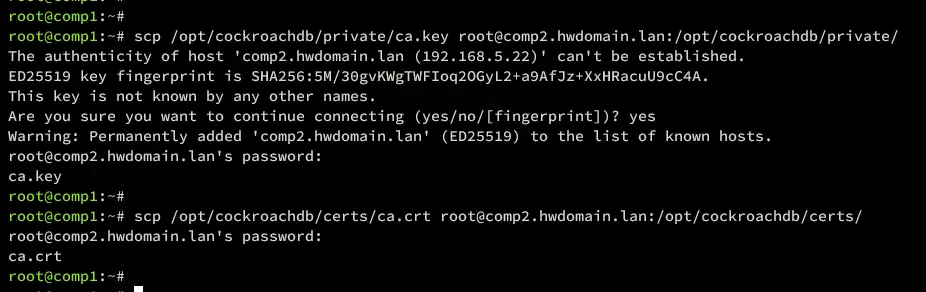
Once CA is generated, copy both ca.key and ca.crt to the comp2 server.
scp /opt/cockroachdb/private/ca.key [email protected]:/opt/cockroachdb/private/
scp /opt/cockroachdb/certs/ca.crt [email protected]:/opt/cockroachdb/certs/
Generating Client
After generating CA, the next certificate you need is a client certificate. This will be used to connect to the CockroachDB cluster in a secure way via TLS.
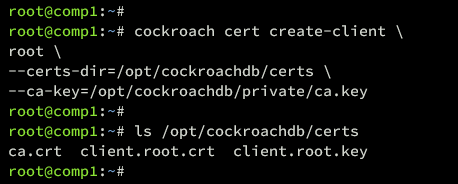
Still, on the comp1 server, execute the following command to create the client certificate for the default user root.
cockroach cert create-client \
root \
--certs-dir=/opt/cockroachdb/certs \
--ca-key=/opt/cockroachdb/private/ca.key
Once the process is finished, your client certificate will be available at /opt/cockroachdb/certs/client.root.crt and /opt/cockroachdb/certs/client.root.key.
Generating Node
In the last, you need to generate Node certificates, which also depend on the number of servers within the cluster. In this example, I will generate a Niode certificate for comp1 and comp2 servers.
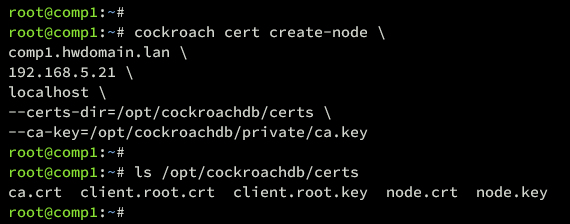
Execute the command below on the comp1 server to generate a Node certificate for comp1. Be sure to change the IP address and fqdn with your server details.
cockroach cert create-node \
comp1.hwdomain.lan \
192.168.5.21 \
localhost \
--certs-dir=/opt/cockroachdb/certs \
--ca-key=/opt/cockroachdb/private/ca.key
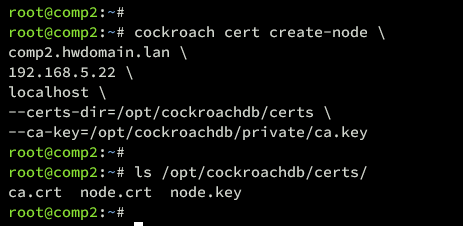
Move to the comp2 server and execute the command below to generate a Node certificate for comp2. Also, change the details of the IP address and fqdn of the comp2 server.
cockroach cert create-node \
comp2.hwdomain.lan \
192.168.5.22 \
localhost \
--certs-dir=/opt/cockroachdb/certs \
--ca-key=/opt/cockroachdb/private/ca.key
Setup Permission for Certificates
With all certificates generated, run the following command to allow the cockroach user to access certificate files. Be sure to run this on both comp1 and comp2 servers.
sudo chown -R cockroach:cockroach /opt/cockroachdb/certs
sudo chown -R cockroach:cockroach /opt/cockroachdb/private
Setting Up Systemd Service
After generating certificates for CockroachDB, the next step is to create the CockroachDB service file for each server. Then, start and enable the CockroachDB service.
CockroachDB Service for comp1
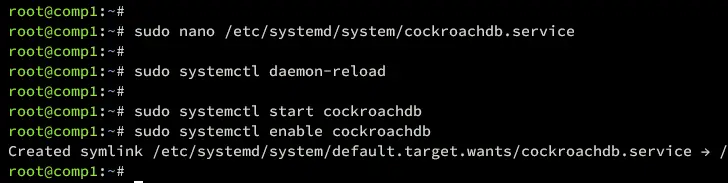
On the comp1 server, create a new systemd service /etc/systemd/system/cockroachdb.service with the nano editor command below.
sudo nano /etc/systemd/system/cockroachdb.service
Add these service configurations. Be sure to change the --advertise-addr parameter with the comp1 IP address.
[Unit]
Description=Cockroach Database cluster node
Requires=network.target

[Service]
Type=notify
WorkingDirectory=/opt/cockroachdb
ExecStart=/usr/bin/cockroach start --certs-dir=/opt/cockroachdb/certs --advertise-addr=192.168.5.21 --join=192.168.5.21,192.168.5.22
TimeoutStopSec=60
Restart=always
RestartSec=10
StandardOutput=syslog
StandardError=syslog
SyslogIdentifier=cockroach
User=cockroach

[Install]
WantedBy=default.target
Save and exit the file when you're finished.
CockroachDB Service for comp2
Move to the comp2 server and execute the nano editor command below to create a new service file /etc/systemd/system/cockroachdb.service.
sudo nano /etc/systemd/system/cockroachdb.service
Insert the configuration below and be sure to change the --advertise-addr parameter with the comp2 IP address.
[Unit]
Description=Cockroach Database cluster node
Requires=network.target

[Service]
Type=notify
WorkingDirectory=/opt/cockroachdb
ExecStart=/usr/bin/cockroach start --certs-dir=/opt/cockroachdb/certs --advertise-addr=192.168.5.22 --join=192.168.5.21,192.168.5.22
TimeoutStopSec=60
Restart=always
RestartSec=10
StandardOutput=syslog
StandardError=syslog
SyslogIdentifier=cockroach
User=cockroach

[Install]
WantedBy=default.target
When finished, save the file and exit the editor.
Starting CockroachDB
With the CockroachDB service file created, you can now apply your changes, and then start and enable the CocroachDB service.
Execute the following command to reload the systemd manager and apply the new service for CockroachDB.
sudo systemctl daemon-reload
Now start and enable the CockroachDB service on both comp1 and comp2 servers with the command below.
sudo systemctl start cockroachdb
sudo systemctl enable cockroachdb
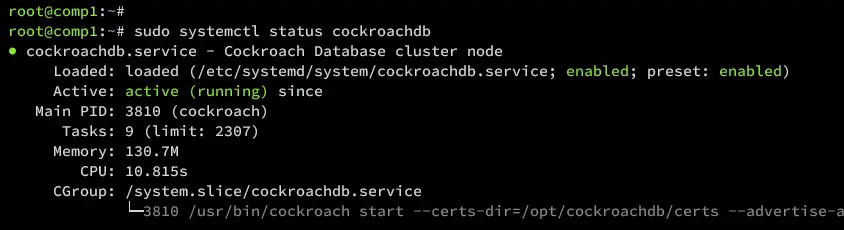
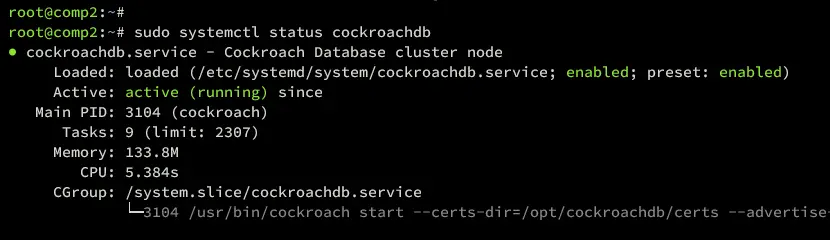
Lastly, verify the CockroachDB service with the following command to ensure that the service is running.
sudo systemctl status cockroachdb
So be sure you have the CockroachDB service running on both of your Debian servers.
Initializing CockroachDB Cluster
Now that the CockroachDB service is running on each server, you can continue to initialize the CockroachDB cluster from the comp1 server. Then, create the admin user for CockroachDB and access the CockroachDB web administration dashboard.
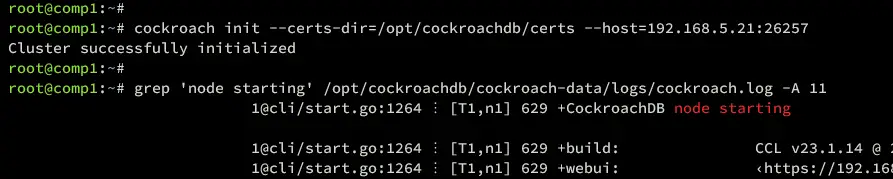
In the comp1 server, execute the following command to initialize the CockroachDB cluster. You should get an output "Cluster successfully initialized" when the process is complete.
cockroach init --certs-dir=/opt/cockroachdb/certs --host=192.168.5.21:26257
Additionally, you can also verify the initialization process via the CockroachDB log file with the command below.
grep 'node starting' /opt/cockroachdb/cockroach-data/logs/cockroach.log -A 11
The output 'CockroachDB node starting...' confirms that the cluster is initialized.
Next, verify your CockroachDB cluster by executing the following command. The ls option is used to get the list of servers within the cluster, while the status command is used to check the CockroachDB cluster status.
cockroach node --certs-dir=/opt/cockroachdb/certs --host=192.168.5.21 ls
cockroach node --certs-dir=/opt/cockroachdb/certs --host=192.168.5.21 status
Below you can see the number of servers within the CockroachDB cluster including the status of each server.

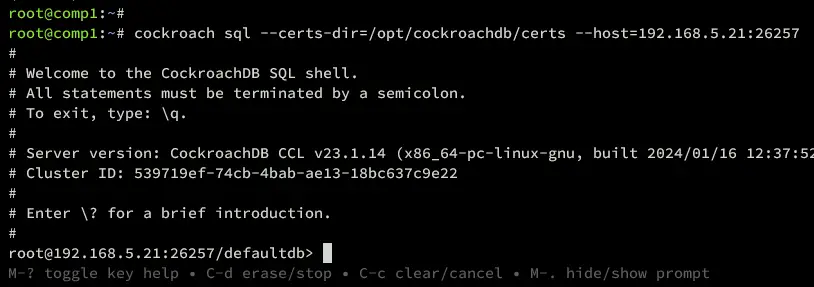
Now that the cluster is running, execute the following command to log in to the CockroachDB server. Be sure to run this command from the comp1 server, because your client certificate is available on the comp1 machine.
cockroach sql --certs-dir=/opt/cockroachdb/certs --host=192.168.5.21:26257
Once connected, you will see the CockroachDB prompt like the following:
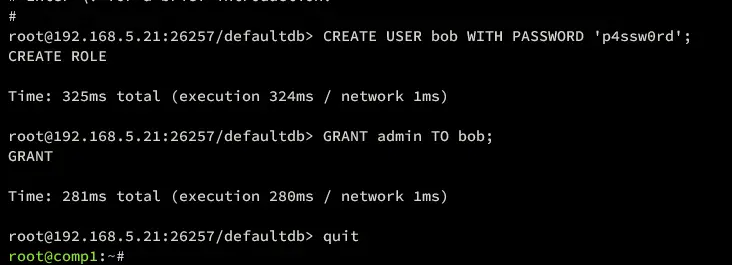
Execute the following queries to create a new user bob with the password p4ssw0rd. Then, grant the admin privileges to user bob.
CREATE USER bob WITH PASSWORD 'p4ssw0rd';
GRANT admin TO bob;
Press Ctrl+d to exit from the CockroachDB server.
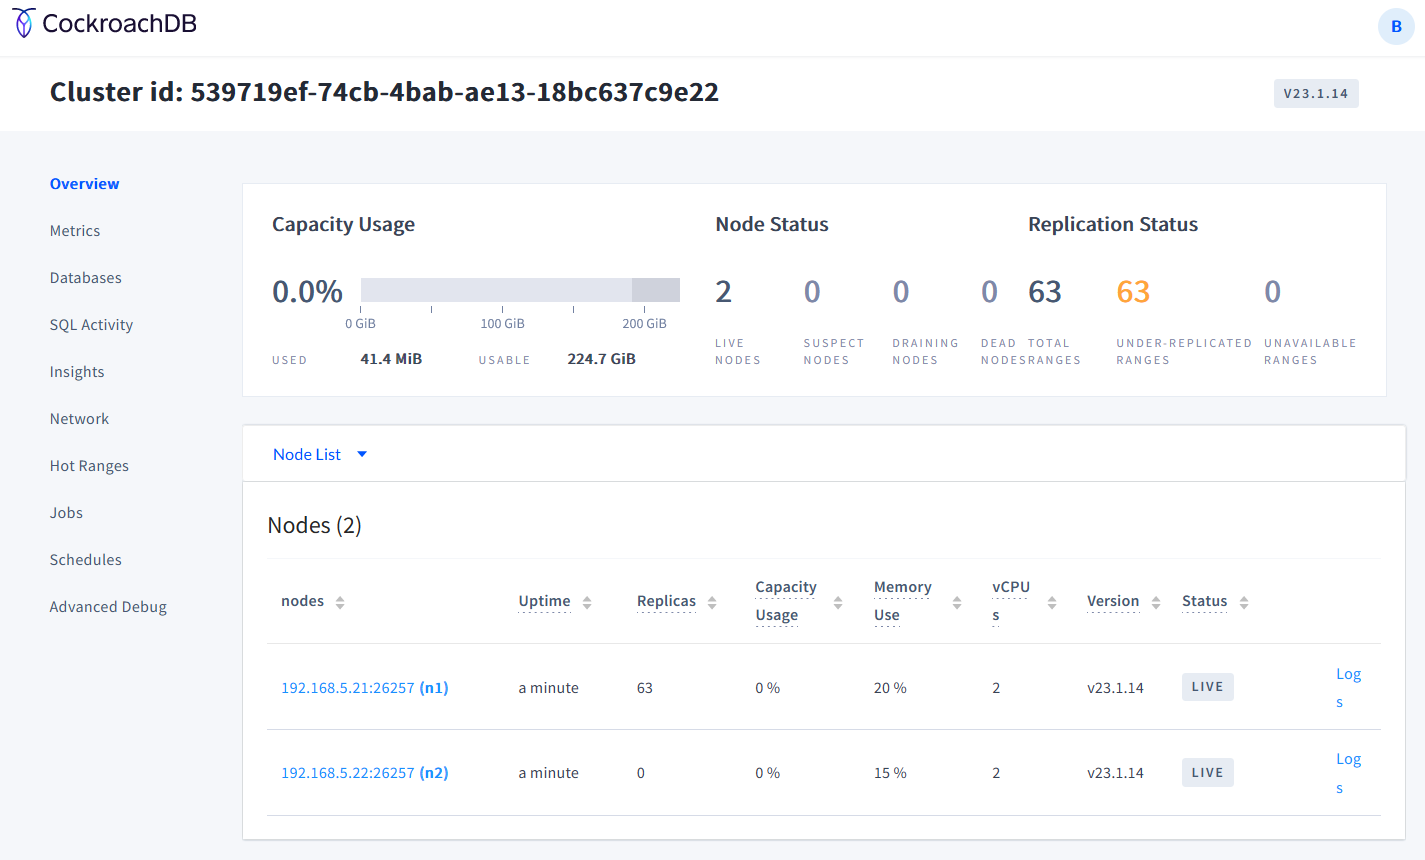
Lastly, open your web browser on your local machine and visit the comp1 IP address with port 8080 (https://192.168.5.21:8080). You will be prompted with the CockroachDB login page.
Log in with user bob and password p4ssw0rd.
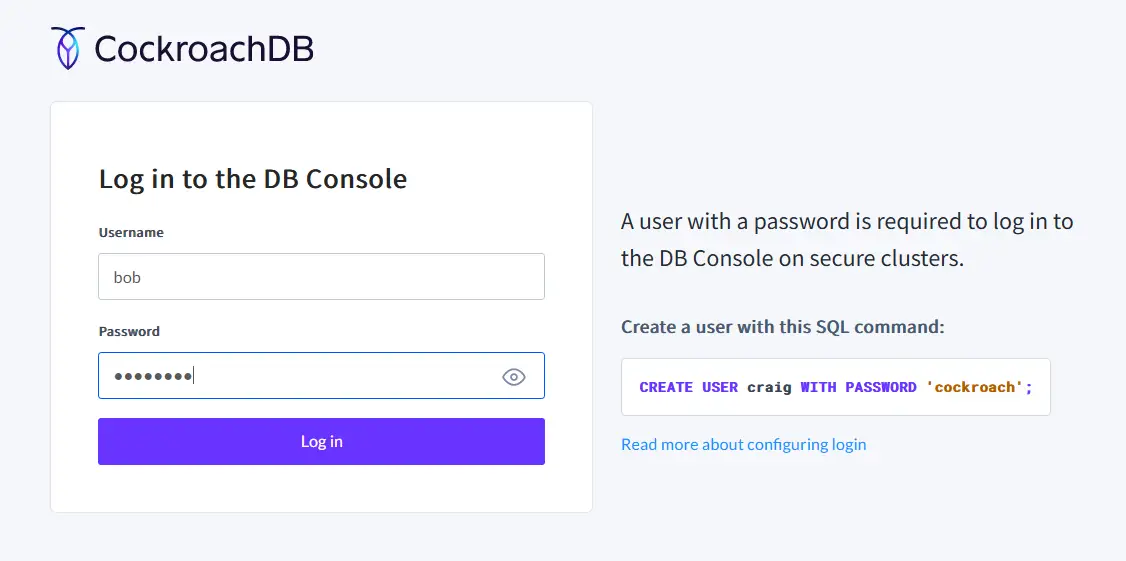
Once logged in, you will see the CockroachDB administration dashboard like this:
Conclusion
To wrap up, you have now completed the installation of the CockroachDB cluster on Debian 12 servers. You have also created the admin user for CockroachDB and accessed the CockroachDB web administration dashboard. Now you can create a new database and user, and utilize the CockroachDB web administration dashboard for managing CockroachDB installation.

