How to Install Zammad Customer Support System on Debian 12
Zammad is an open-source customer support/ticketing solution that helps manage communications across various channels such as email, chat, and social media.
In this guide, you will learn how to install the Zammad Customer Support System with PostgreSQL and Nginx on the Debian 12 server. You will also integrate Zammad with Elasticsearch and Redis, so stay tuned for this.
Prerequisites
Before you proceed, make sure you are prepared with the following:
- A Debian 12 server with 4GB memory or more.
- A non-root user with administrator privileges.
- A domain name pointed to a server IP address.
Installing Dependencies
The first step, you install package dependencies for the Zammad Customer Support System. This includes the following packages:
- Elasticsearch
- PostgreSQL database server
- Redis
- Nginx Web Server
- Node.js
- UFW
Those packages you will be installing on your Debian server.
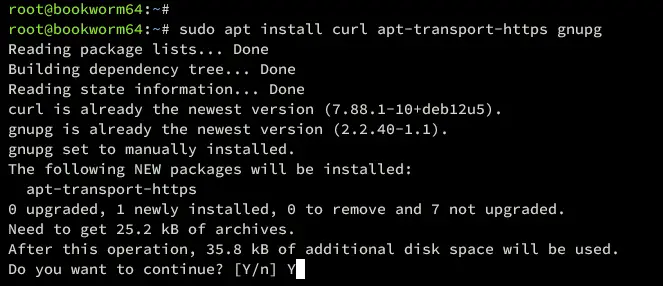
First, run the following command to install basic packages for managing the repository. Type y to confirm the installation.
sudo apt install curl apt-transport-https gnupg
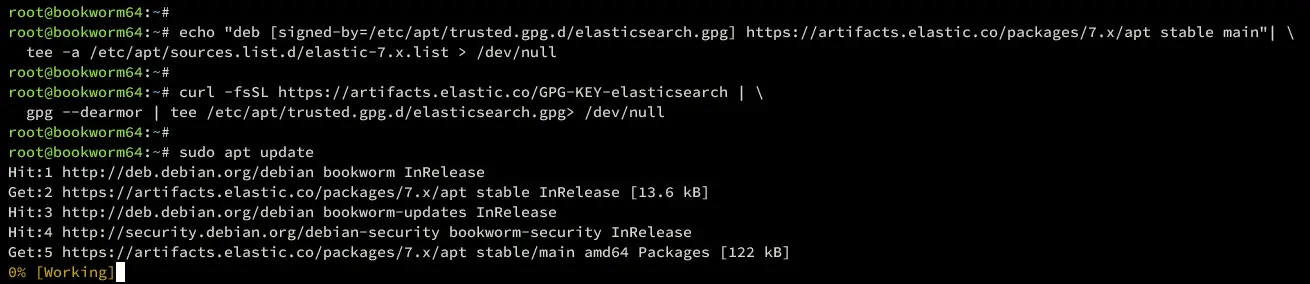
Now run the command below to add the Elasticsearch 7.x repository to your Debian 12 server.
echo "deb [signed-by=/etc/apt/trusted.gpg.d/elasticsearch.gpg] https://artifacts.elastic.co/packages/7.x/apt stable main"| \
tee -a /etc/apt/sources.list.d/elastic-7.x.list > /dev/null
Then add the GPG key Elasticsearch repository using the command below.
curl -fsSL https://artifacts.elastic.co/GPG-KEY-elasticsearch | \
gpg --dearmor | tee /etc/apt/trusted.gpg.d/elasticsearch.gpg> /dev/null
Next, update your Debian repository using the following command.
sudo apt update
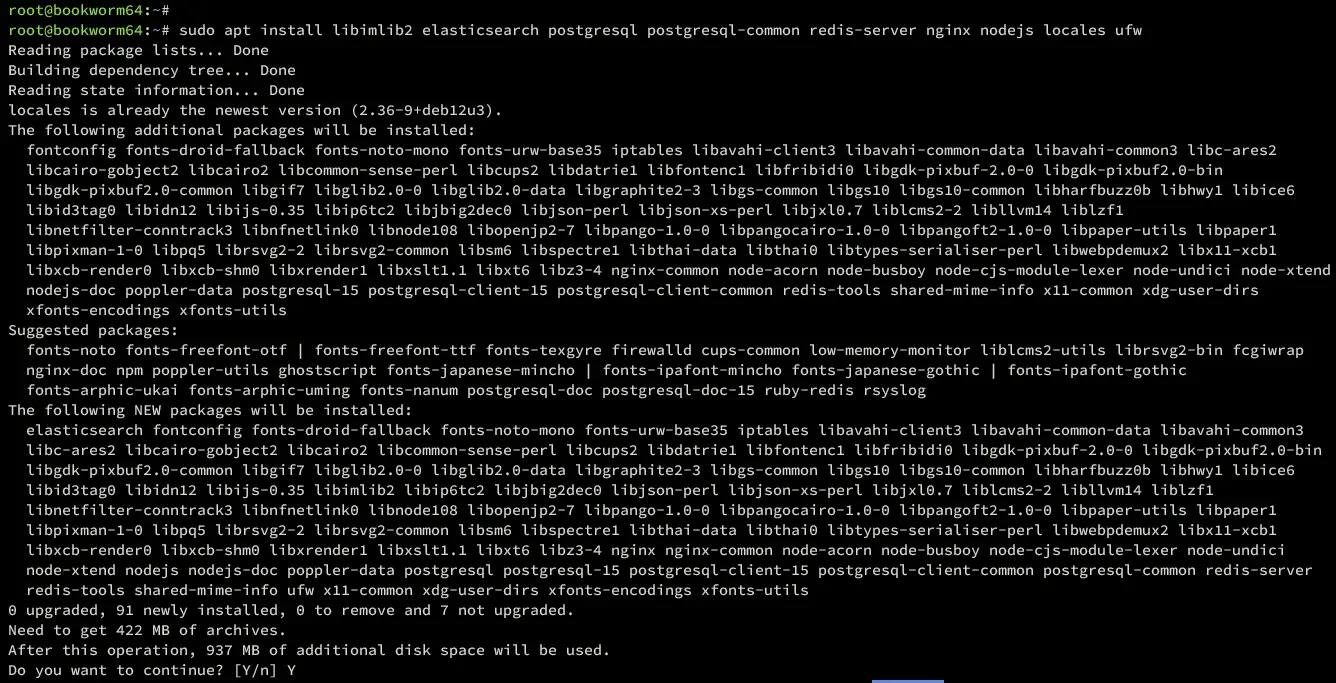
Once the repository is updated, install dependencies for Zammand using the following command. Input Y to confirm the installation.
sudo apt install libimlib2 elasticsearch postgresql postgresql-common redis-server nginx nodejs locales ufw
Once everything is installed, verify each of the services to ensure that the service is running and enabled.
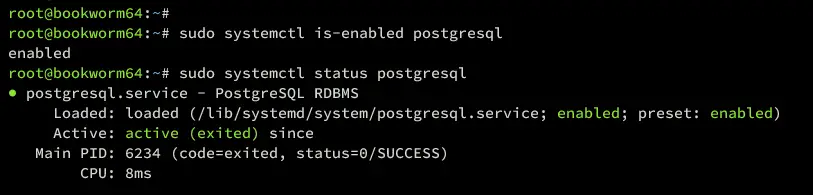
Verify the PostgreSQL server using the command.
sudo systemctl is-enabled postgresql
sudo systemctl status postgresql
Below you can see the PostgreSQL is running and enabled.
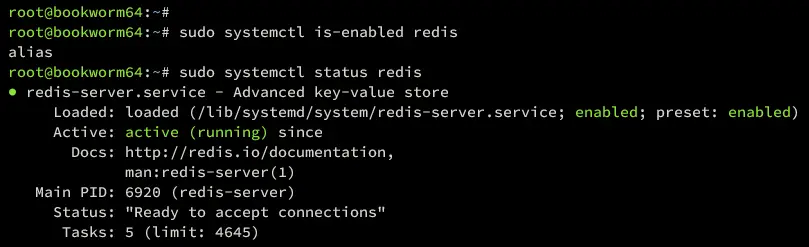
Verify the Redis server using the following command.
sudo systemctl is-enabled redis
sudo systemctl status redis
You can see below Redis is running.
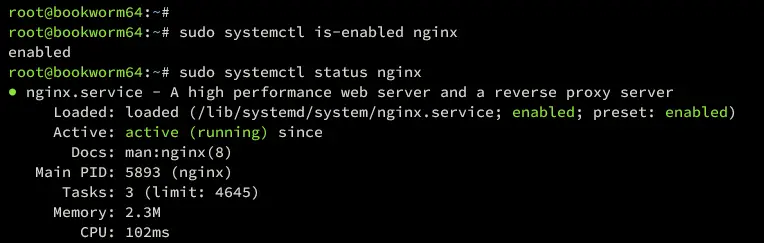
Now verify Nginx using the command below.
sudo systemctl is-enabled nginx
sudo systemctl status nginx
The Nginx web server should be running and enabled like this:
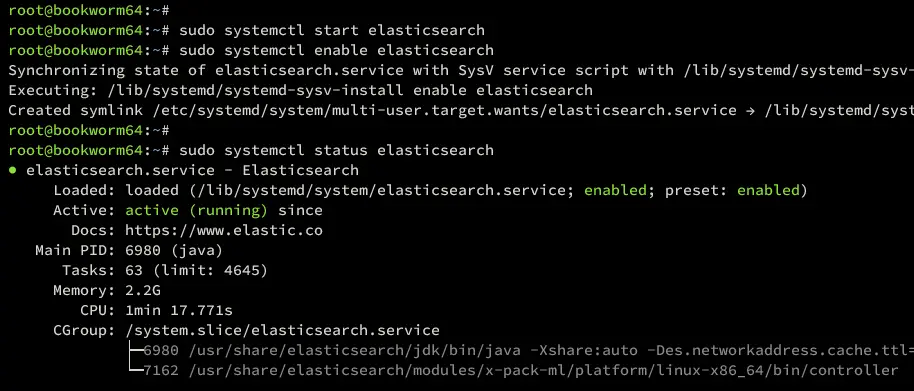
Lastly, run the command below to start and enable Elasticsearch.
sudo systemctl start elasticsearch
sudo systemctl enable elasticsearch
Then verify it using the command below. You should see Elasticsearch is running and enabled.
sudo systemctl status elasticsearch
Configuring Dependencies
After you have installed package dependencies for Zammad, the next step is to configure each of the dependencies for Zammad. You will configure the following:
- PostgreSQL: Increase the default max_connections to 2000.
- Elasticsearch: Installing plugin ingest-attachment that is needed by Zammad.
- Setup default locale to en_US.UTF-8
- UFW: Start and enable, open ports SSH, HTTP, and HTTPS.
Setup PostgreSQL
Open the default PostgreSQL configuration /etc/postgresql/15/main/postgresql.conf using the nano editor command below.
sudo nano /etc/postgresql/15/main/postgresql.conf
Change the default max_connections in PostgreSQL to 2000m, which is required by Zammad.
max_connections = 2000
Save the file and exit the editor.
Now run the following systemctl command to restart PostgreSQL and apply the changes,
sudo systemctl restart postgresql
Setup Elasticsearch
After configuring PostgreSQL, let's set up the Elasticsearch.
Install the ingest-attachment plugin for Zammad using the elasticsearch-plugin command below.
/usr/share/elasticsearch/bin/elasticsearch-plugin install ingest-attachment
Input y to confirm the installation. When finished, you will get the following.
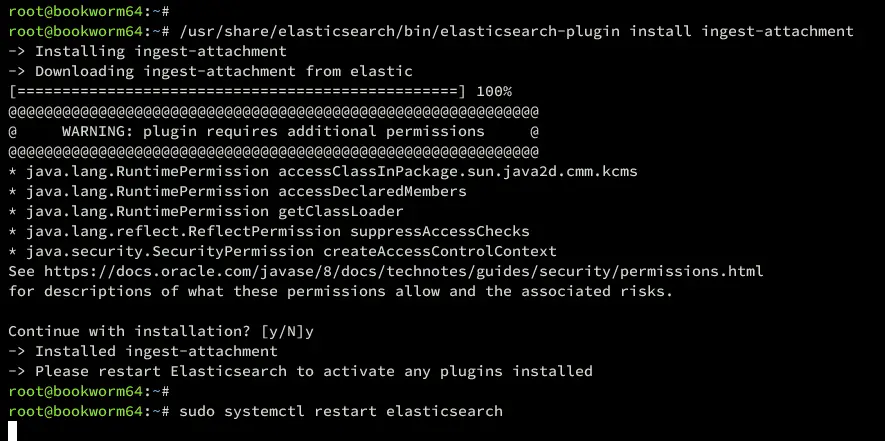
Now restart the elasticsearch using the command below.
sudo systemctl restart elasticsearch
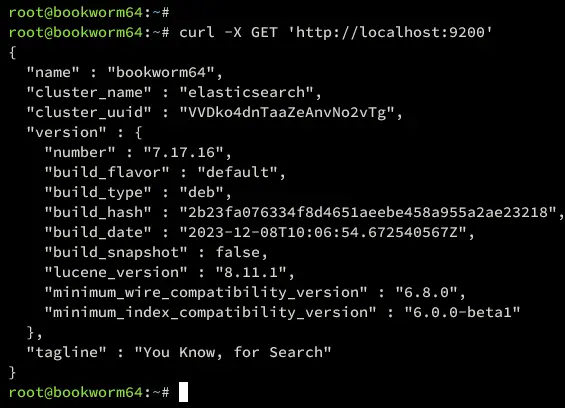
Lastly, verify that the Elasitcsearch is running using curl.
curl -X GET 'http://localhost:9200'
You can see below that Elasitcsearch is running on a Debian server.
Setup Default Locale
For Zammad to work properly, you need to set up the default locale to en_US.UTF-8.
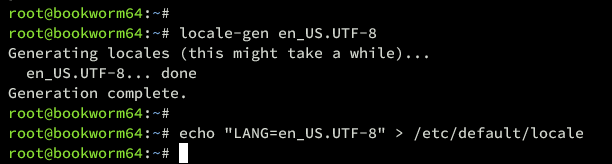
Run the command below to generate en_US.UTF-8 locale.
locale-gen en_US.UTF-8
Then set up the default locale to en_US.UTF-8 by adding a new configuration to the /etc/default/locale file.
echo "LANG=en_US.UTF-8" > /etc/default/locale
Setup UFW
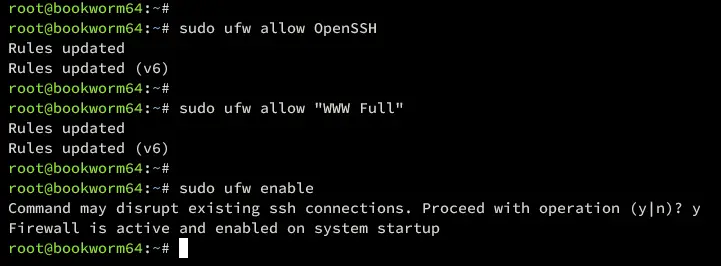
Now run the ufw command below to enable profiles OpenSSH and WWW Full.
sudo ufw allow OpenSSH
sudo ufw allow "WWW Full"
Then enable UFW using the command below. type y to confirm and start UFW.
sudo ufw enable
Once enabled, you will get the following:
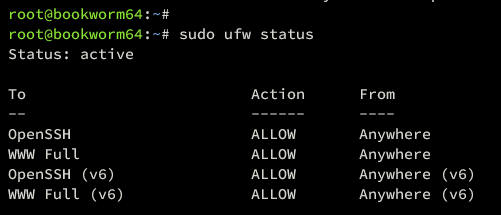
With UFW enabled, run the command below to verify it.
sudo ufw status
You can see UFW with the status Active and enabled profiles OpenSSH and WWW Full.
Installing Zammad Customer Support System
At this point, you have finished the installation and configuration of Dependencies for Zammad. Now you will start Zammad installation, which can be done using multiple methods. The easiest way is by using packages from the official Zammad repository.
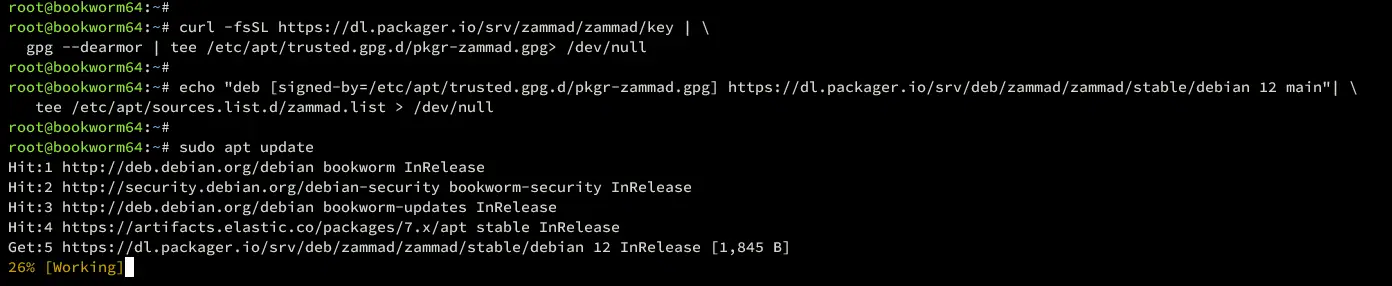
Run the command below to add the GPG key for the Zammad repository.
curl -fsSL https://dl.packager.io/srv/zammad/zammad/key | \
gpg --dearmor | tee /etc/apt/trusted.gpg.d/pkgr-zammad.gpg> /dev/null
Now add the Zammad repository for Debian 12 using the following command.
echo "deb [signed-by=/etc/apt/trusted.gpg.d/pkgr-zammad.gpg] https://dl.packager.io/srv/deb/zammad/zammad/stable/debian 12 main"| \
tee /etc/apt/sources.list.d/zammad.list > /dev/null
Update and refresh your Debian repository using the following command.
sudo apt update
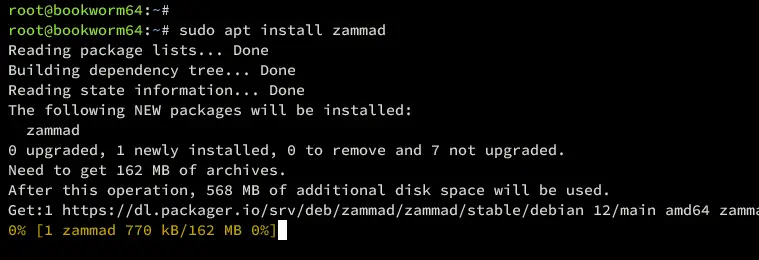
Once the repository is updated, install Zammad with the command below.
sudo apt install zammad
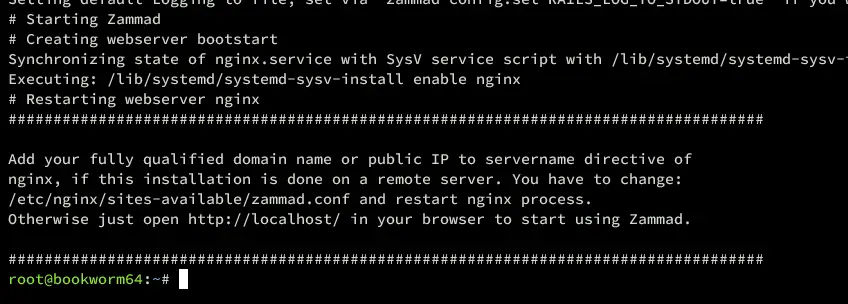
Below the installation of Zammad installation:
During the installation, the PostgreSQL database and user will be created, alongside the database migration.
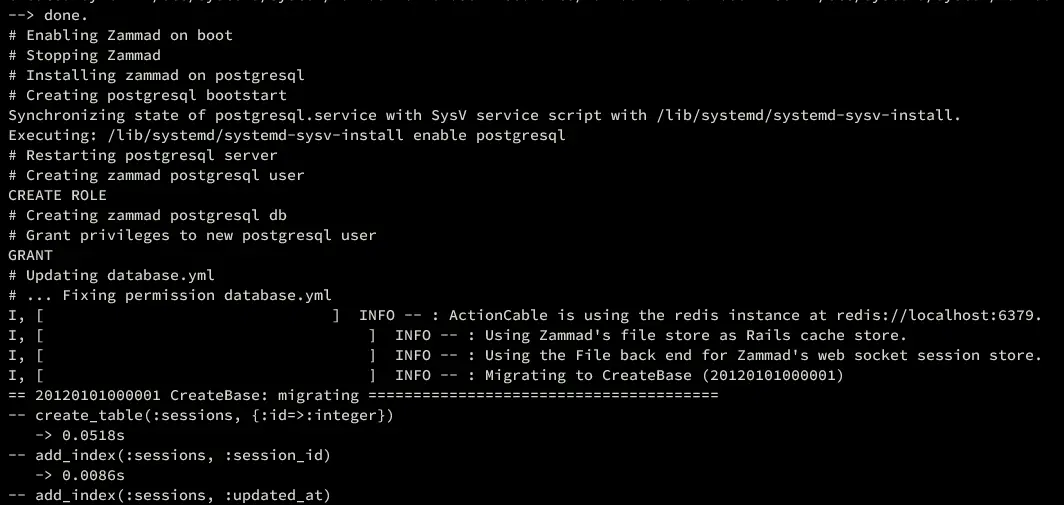
Also, the Nginx server block configuration will be created.
After the installation is complete, run the zammad command below to set up integration with Elasticsearch and rebuild the search index in Elasticsearch.
zammad run rails r "Setting.set('es_url', 'http://localhost:9200')"
zammad run rake zammad:searchindex:rebuild

Then, run the command below to restart zammad services. Zammad comes with multiple services, including zammad, zammad-web, zammad-worker, and zammad-websocket.
sudo systemctl restart zammad
sudo systemctl restart zammad-web
sudo systemctl restart zammad-worker
sudo systemctl restart zammad-websocket
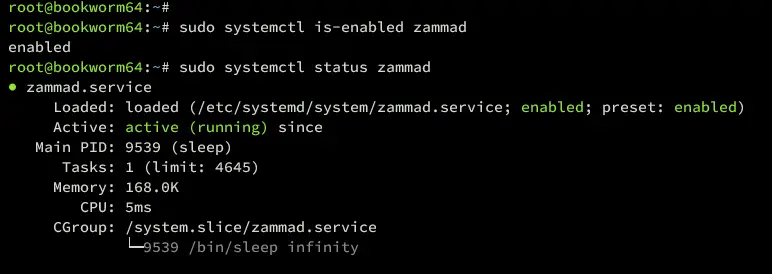
Lastly, run the command below to verify zammad service status.
sudo systemctl is-enabled zammad
sudo systemctl status zammad
Below you can see zammad service is running and enabled on the Debian server.
Setting Up Nginx Web Server
By default, zammad generates Nginx server block configuration located at /etc/nginx/sites-available/zammad.conf. To set up Zammad in production, you must ensure to change the domain configuration. Also, you must secure with HTTPS on production.
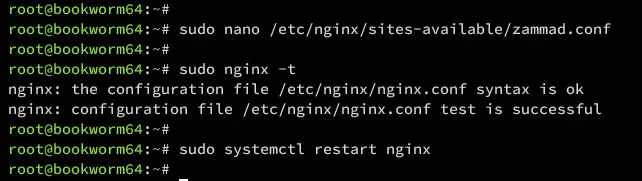
Now open the file /etc/nginx/sites-available/zammad.conf using the following nano editor command.
sudo nano /etc/nginx/sites-available/zammad.conf
Change the default domain name in the server_name option like this:
server_name help.hwdomain.io;
Save and exit the file.
Next, run the command below to verify the Nginx syntax and restart the Nginx service to take effect.
sudo nginx -t
sudo systemctl restart nginx
Below you can see Nginx syntax test is successful.
Securing Zammad
If you deploy on production, ensure to enable HTTPS via Letsencrypt.
Install the certbot and certbot nginx plugin using the following command. Input y to confirm the installation.
sudo apt install certbot python3-certbot-nginx
Once the installation is complete, generate SSL/TLS certificates for your Zammad domain name using the certbot command below. Be sure to change the information of the domain name and email address in this command.
sudo certbot --nginx --agree-tos --redirect --hsts --staple-ocsp --email [email protected] -d help.hwdomain.io
The generate process will be running. When finished, your SSL certificates will be available at /etc/letsencrypt/live/domain.com directory.
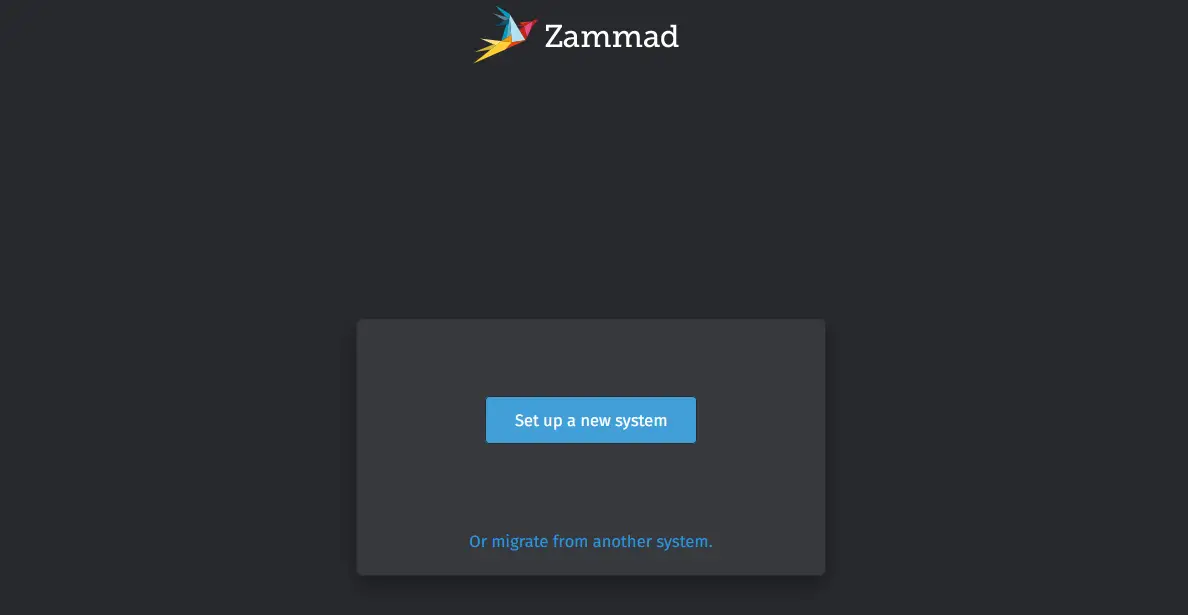
Installing Zammad
Open your web browser and visit zammad installation URL (http://help.hwdomain.io). Click Set up a new system to start the installation.
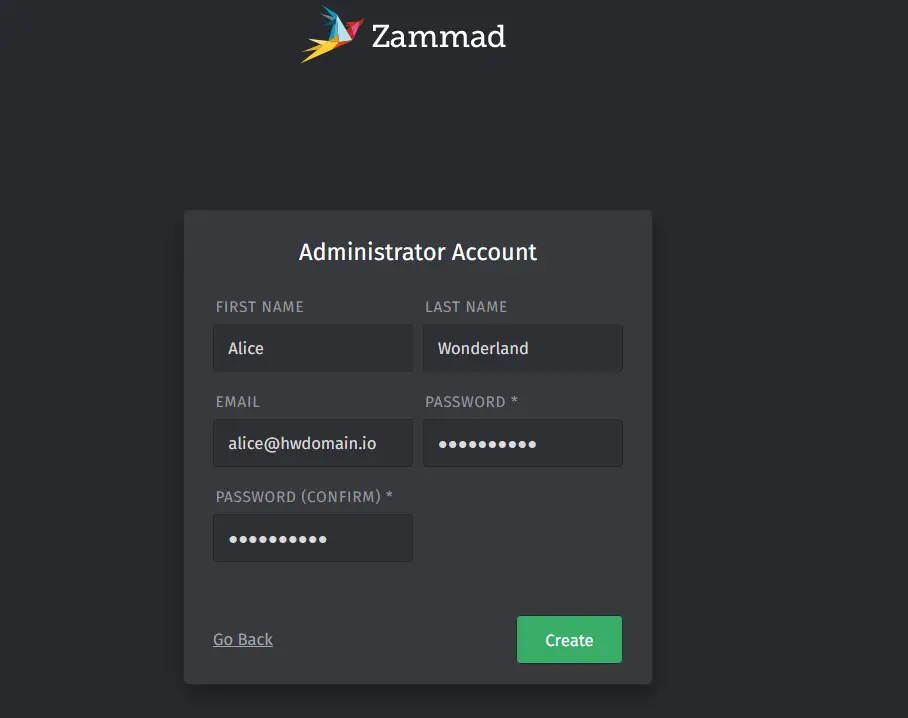
Now input details of your admin user, email, and password. Then click Create to confirm.
Input your organization name and click Next.

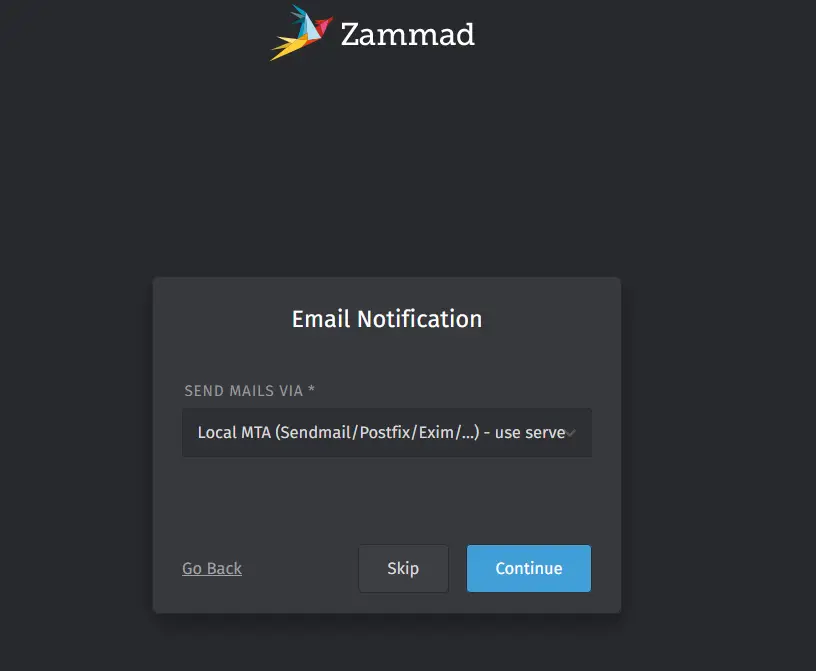
For the email notification, click Skip for now. You can configure this later.
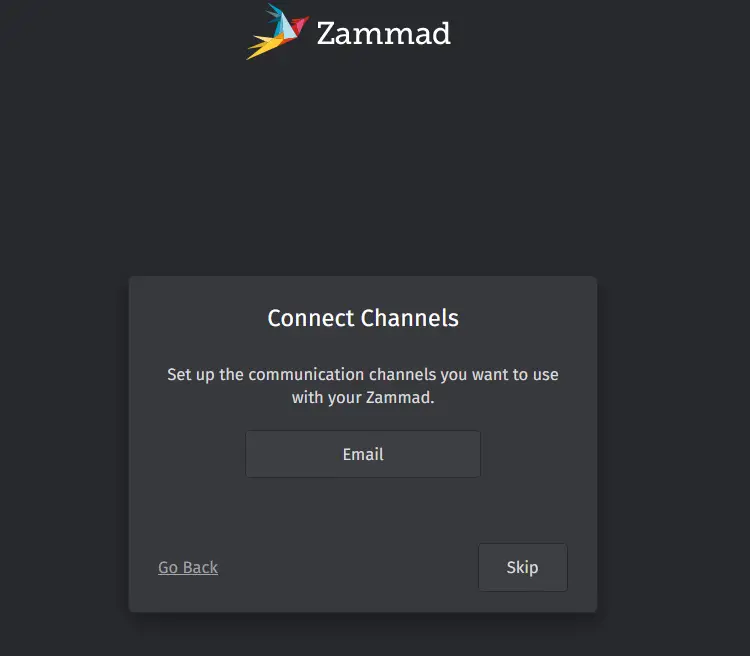
Click Skip for connecting channel configuration. This can also be done later once the configuration is complete.
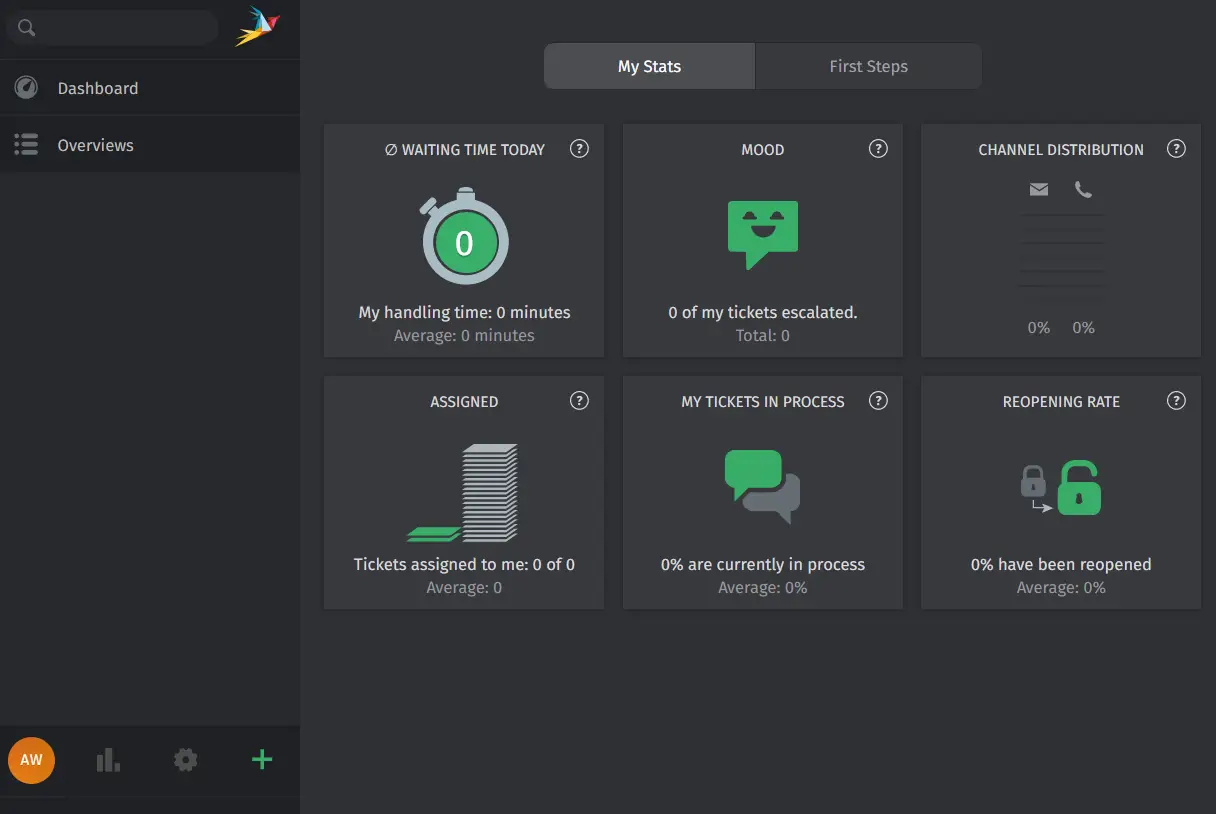
Once the process is finished, you can see the Zammad administration dashboard like the following:
Conclusion
Congratulations! You have now successfully installed the Zammad Customer Support System on Debian 12 server. You've installed zammad with PostgreSQL database backend, Nginx web server, Elasticsearch for the main search engine, and Redis for cache and session management. Moreover, you have also learned how to enable HTTPS for Zammad via Certbot and Letsencrypt.

