How to Install Nagios Monitoring Tool on Debian 12
This tutorial exists for these OS versions
- Debian 12 (Bookworm)
- Debian 9 (Stretch)
- Debian 5 (Lenny)
On this page
Nagios is an open-source monitoring system for tracking IT infrastructure health and performance. It provides real-time alerts and status overviews for servers, networks, and applications, enabling proactive problem resolution.
In this guide, you will learn how to install Nagios on Debian 12 server. You will install Nagios on Debian via the package manager instead of manually compiling it.
Prerequisites
Before you start, ensure you have the following:
- A Debian 12 server.
- A non-root user with sudo privileges.
Installing Nagios on Debian
To install Nagios, you can install it manually by compiling it on your own. Or, you can also install Nagios via a package manager such as APT. In this example, you will install Nagios on Debian 12 via the APT repository, which is faster and easier.
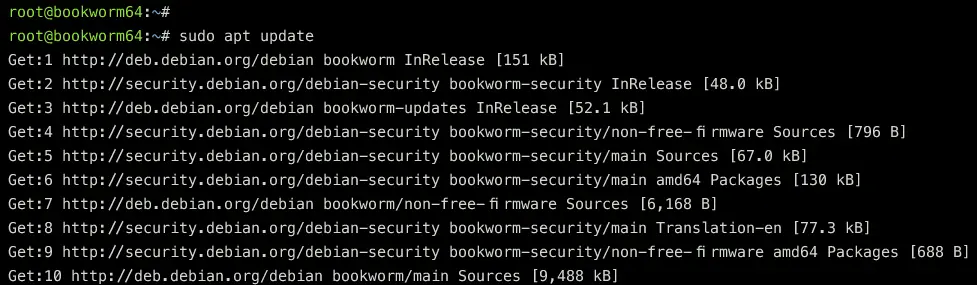
To start, run the command below to refresh and update your Debian package index.
sudo apt update
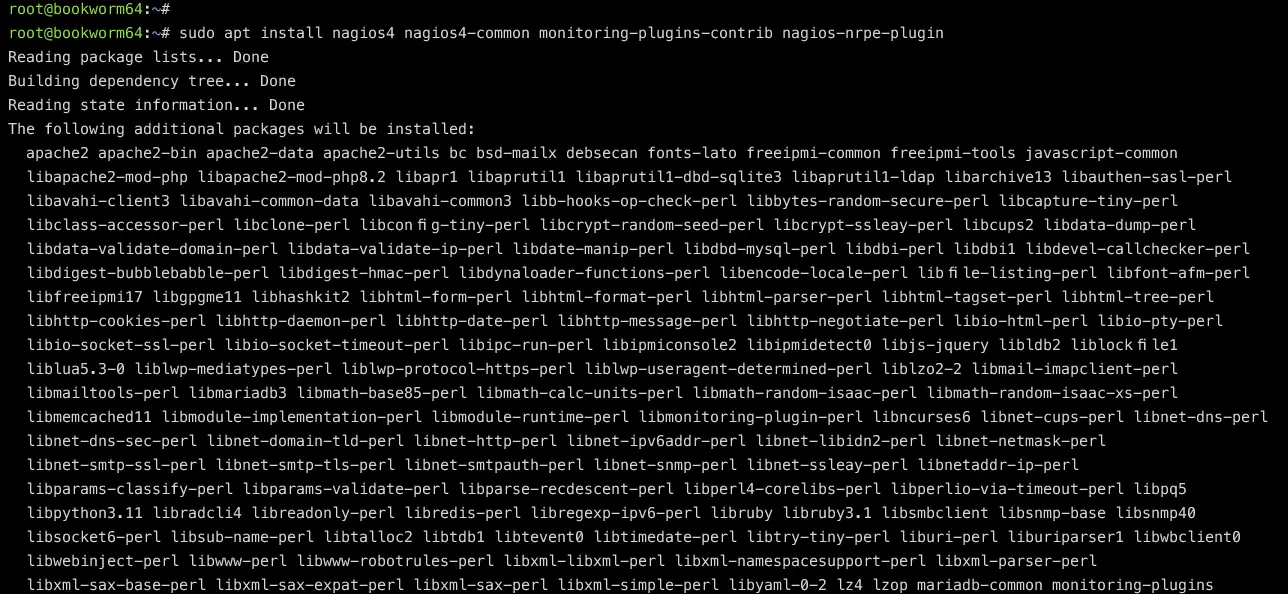
Once the package index is updated, execute the command below to install Nagios, monitoring-plugin, and the Nagios NRPE plugin via the Debian repository.
sudo apt install nagios4 nagios4-common monitoring-plugins-contrib nagios-nrpe-plugin
Type Y to proceed with the installation. With this, you will install dependencies for Nagios, which includes the Apache web server and PHP 8.2 packages.
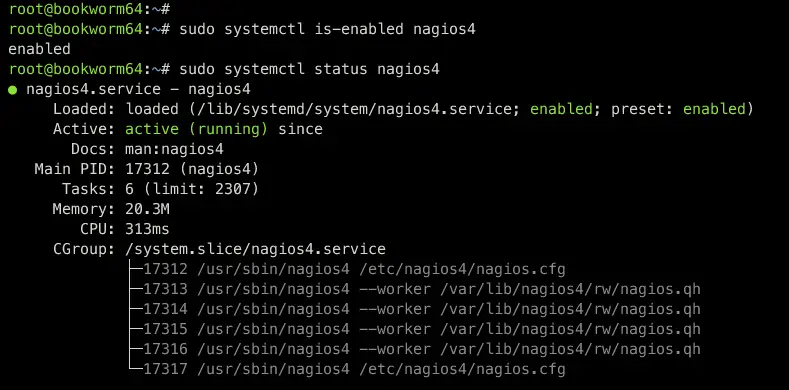
With the Nagios installed, run the systemctl command below to enable the nagios4 service.
sudo systemctl enable nagios4
Then, verify the nagios4 service to ensure that the service is running via the command below. You should see the nagios4 service with the status active (running) and enabled.
sudo systemctl is-enabled nagios4
sudo systemctl status nagios4
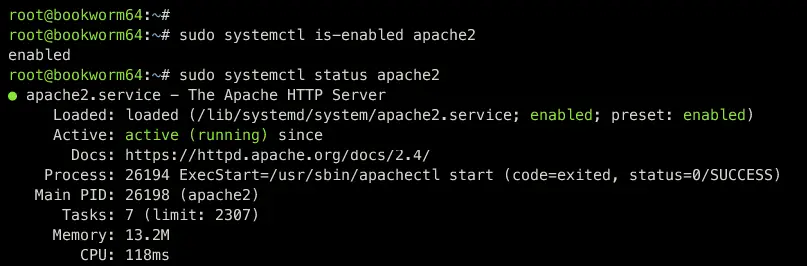
Now you can also verify the Apache web server status to ensure that it's installed and running using the command below.
sudo systemctl is-enabled apache2
sudo systemctl status apache2
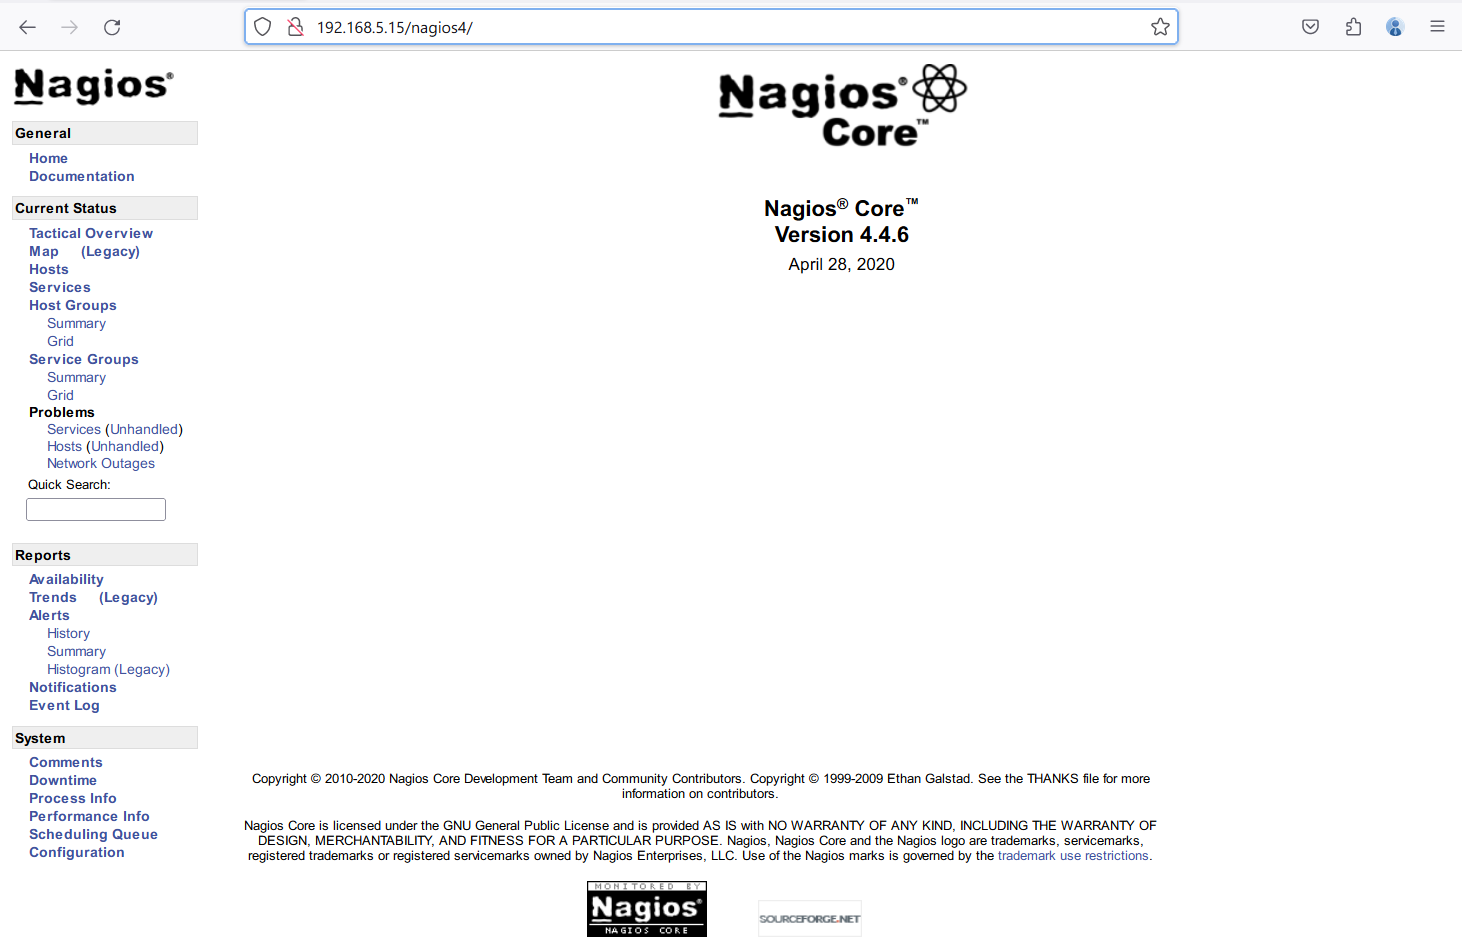
Lastly, open your web browser and visit your Nagios installation http://192.168.5.15/nagios4. You should see the Nagios dashboard like the following:
Nagios Configuration Files and Directories
Because you've installed Nagios via the APT debian repository, it's recommended to understand the directory structure and configuration of your Nagios installation.
Below are configuration files and directory for Nagios that you must know:
- /etc/nagios4: the default configuration for Nagios installation.
- /etc/apache2/conf-available/nagios4-cgi.conf: The Nagios configuration related to Apache web server integration.
- /etc/nagios-plugins: The directory for the Nagios monitoring plugin.
- /usr/lib/nagios/plugins: Location of check commands for Nagios monitoring plugin.
Enable Nagios Authentication
By default, Nagios comes with authentication disabled, but only the local network is allowed to access your installation. In this example, you will enable authentication for Nagios. This way, only users with the correct username and password will be allowed to access the Nagios dashboard.
Open the file /etc/nagios4/cgi.conf using the following nano editor command.
sudo nano /etc/nagios4/cgi.conf
Find the line of use_authentication and change the value to 1 to enable Nagios authentication.
# AUTHENTICATION USAGE
# This option controls whether or not the CGIs will use any
# Authentication when displaying host and service information, as
# well as committing commands to Nagios for processing.
#
# Read the HTML documentation to learn how the authorization works!
#
# NOTE: It is a really *bad* idea to disable authorization, unless
# you plan on removing the command CGI (cmd.cgi)! Failure to do
# so will leave you wide open to kiddies messing with Nagios and
# possibly hitting you with a denial of service attack by filling up
# your drive by continuously writing to your command file!
#
# Setting this value to 0 will cause the CGIs to *not* use
# authentication (bad idea), while any other value will make them
# use the authentication functions (the default).

use_authentication=1
Save and close the file when you're done.
Next, restart the nagios4 service using the following command to take effects.
sudo systemctl restart nagios4
With this, only user 'nagiosadmin' will be allowed to access your Nagios installation. You can still access the Nagios dashboard, but the reporting and monitoring page is denied by this.
Setting up Apache Basic Auth for Nagios
Now that you've enabled Nagios authentication on the Nagios part, the next step is to set up the authentication on the Apache web server via basic_auth.
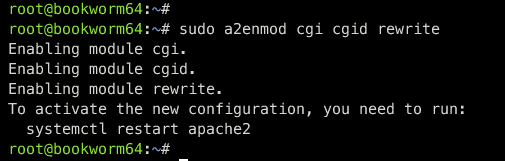
First, run the command below to enable the required modules, cgi, cgid, and rewrite.
sudo a2enmod cgi cgid rewrite
Open the Apache configuration files for the Nagios installation /etc/apache2/conf-available/nagios4-cgi.conf using the following nano editor command.
sudo nano /etc/apache2/conf-available/nagios4-cgi.conf
Find the line of '<DirectoryMatch ... </DirectoryMatch>' and replace the default configuration with the following. In this case, you will enable the Apache basic_auth module Nagios web contents. The database users that will be used in /etc/nagios4/htdigest.users file.
<DirectoryMatch (/usr/share/nagios4/htdocs|/usr/lib/cgi-bin/nagios4|/etc/nagios4/stylesheets)>
 Options FollowSymLinks
 DirectoryIndex index.php index.html
 AllowOverride AuthConfig

 Options None
 AllowOverride None
 Order allow,deny
 Allow from all
 AuthName "Nagios Core"
 AuthType Basic
 AuthUserFile /etc/nagios4/htdigest.users
 Require valid-user
 Require all denied

</DirectoryMatch>
Save the file and exit the editor when you're done.
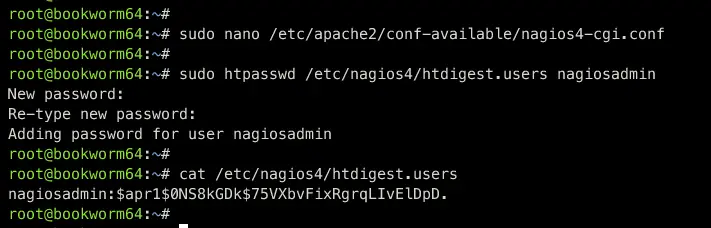
Next, run the command below to create a new user nagiosadmin for Apache basic auth. By default, Nagios only allows user nagiosadmin to show and manage Nagios.
sudo htpasswd /etc/nagios4/htdigest.users nagiosadmin
Input your password and repeat.
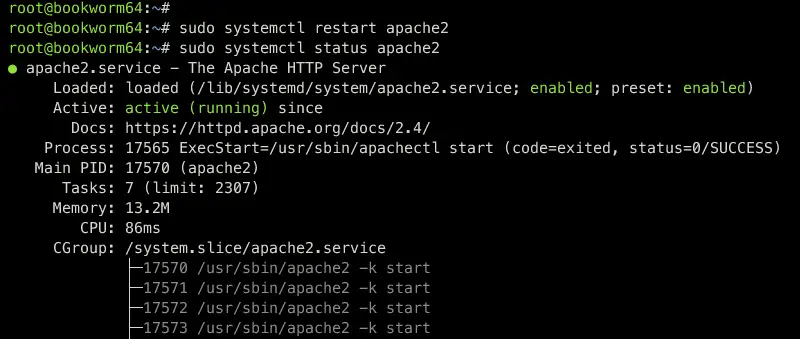
Lastly, run the command below to restart the apache2 service and apply your changes. Then, verify Apache to ensure it is running.
sudo systemctl restart apache2
sudo systemctl status apache2
After completing this step, you will be prompted when accessing your Nagios installation.
Accessing Nagios Installation with Authentication Enabled
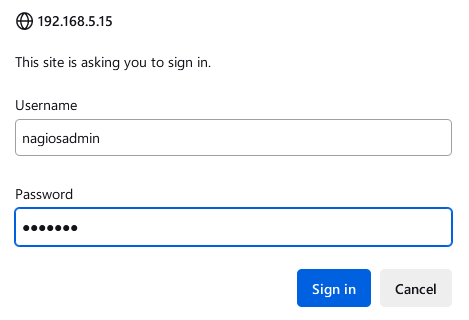
Back to your web browser and reload your Nagios tab. If your configuration is successful, you will be prompted for the Apache basic_auth module.
Input the user nagiosadmin with your password, then click Sign In to proceed.
If your proper password, you will be shown the Nagios dashboard.
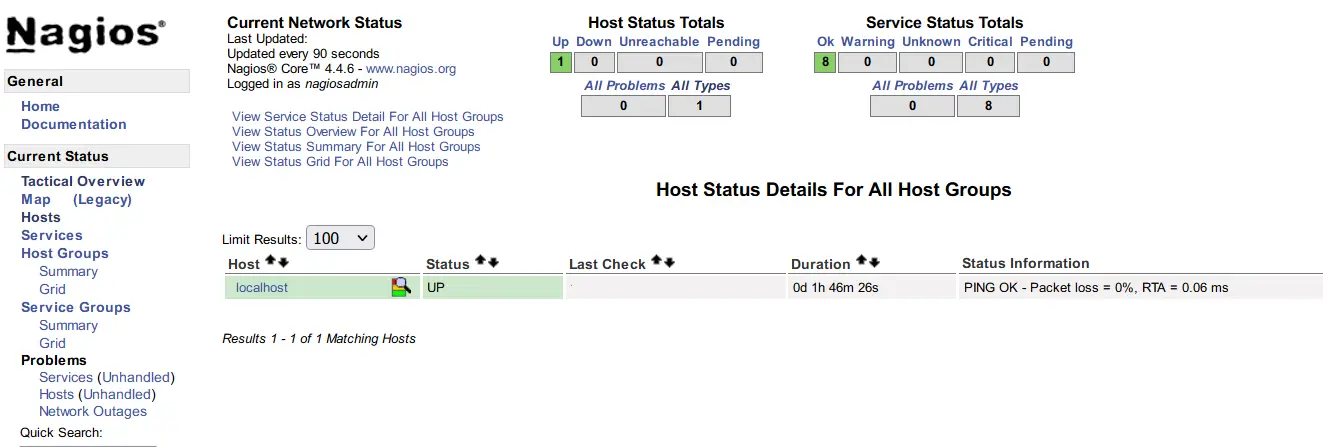
Click on the Hosts menu and you will see the localhost with the status UP.
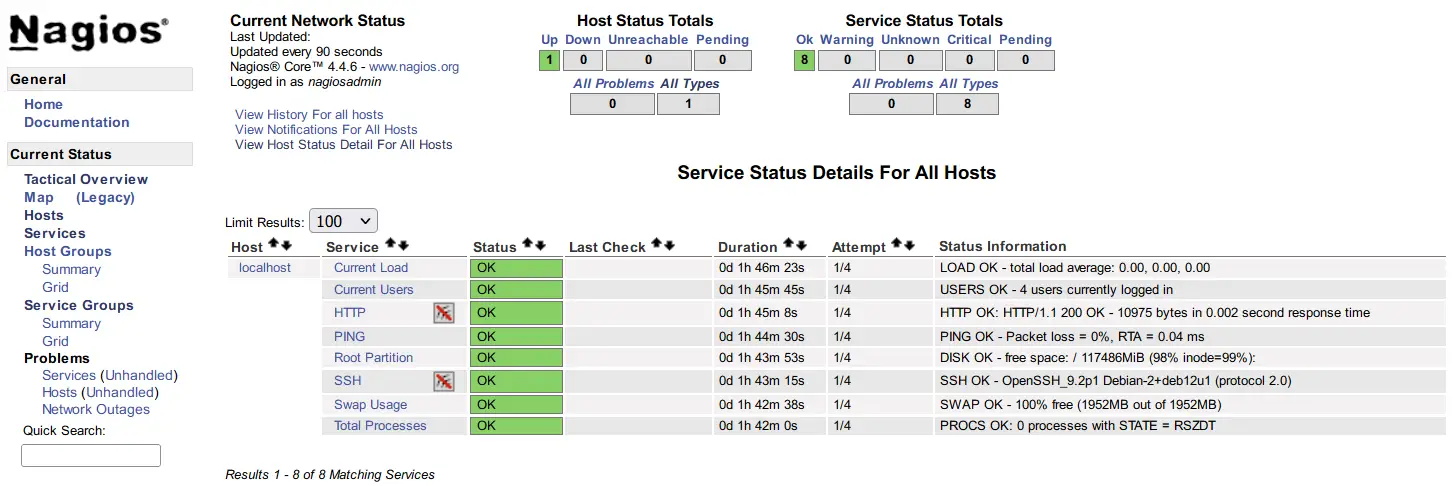
Now click on the Services menu and you will see the default system monitoring on Nagios, which includes system load, logged-in users, HTTP status, ping, disk usage of the root/partition, SSH status, SWAP status, and also total process on the system.
Conclusion
Congratulations and well done! You have finished the installation of the Nagios Monitoring Tool on the Debian 12 server. You've installed Nagios via the Debian APT repository, which provides the easiest way to deploy Nagios. In addition to that, you have also enabled authentication on Nagios and implemented the Apache basic_auth module for securing your Nagios installation.
From now on, you can add and monitor hosts via Nagios, or you can explore the NRPE plugin to monitor remote hosts via Nagios.

