
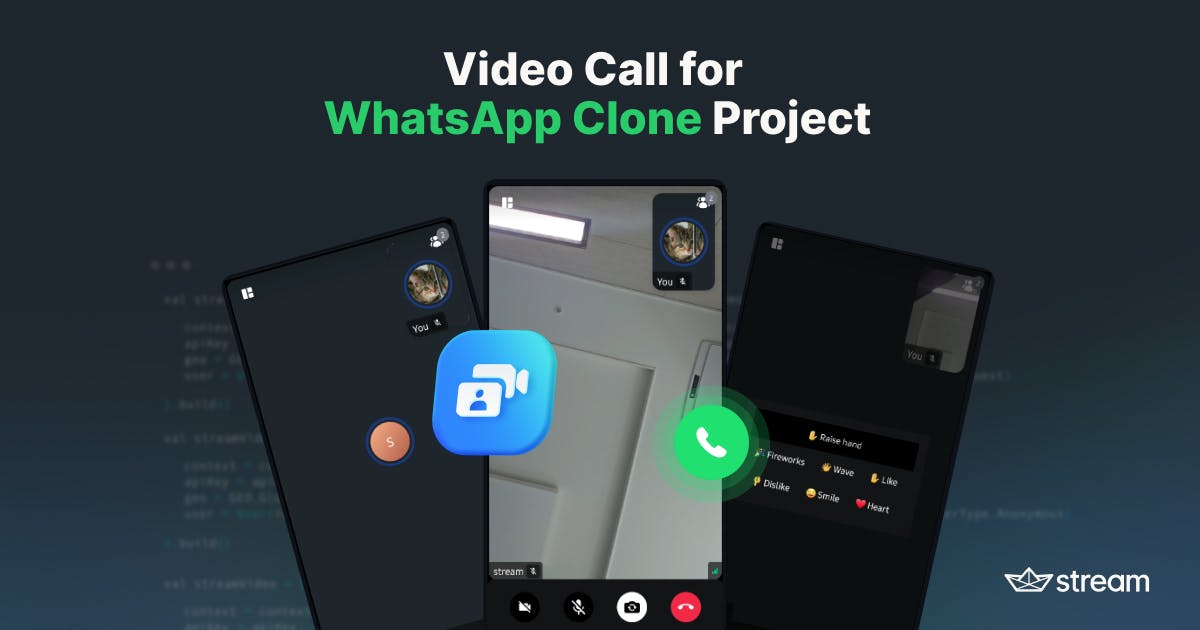
In this article, you’ll learn how to incorporate a real-time video call feature into the WhatsApp Clone Compose project with Jetpack Compose and Stream’s versatile Compose Video SDK.
For a comprehensive understanding of the project's architecture, layer structure, and theming, start with the earlier article, Building a Real-Time Android WhatsApp Clone With Jetpack Compose.
Before you begin, we recommend cloning the WhatsApp Clone Compose repository to your local device using the command below and then opening the project in Android Studio.
git clone https://github.com/GetStream/WhatsApp-clone-compose.gitYou will be working primarily in the features>video module, which can be found in your Android Studio as shown below:

Add Gradle Dependencies
To get started, you need to add the Stream Video Compose SDK and Jetpack Compose dependencies in your app’s build.gradle.kts file found in app/build.gradle.kts.
dependencies {
    // Stream Video Compose SDK
    implementation("io.getstream:stream-video-android-ui-compose:0.5.1")

    // Optionally add Jetpack Compose if Android studio didn't automatically include them
    implementation(platform("androidx.compose:compose-bom:2023.10.01"))
    implementation("androidx.activity:activity-compose:1.7.2")
    implementation("androidx.compose.ui:ui")
    implementation("androidx.compose.ui:ui-tooling")
    implementation("androidx.compose.runtime:runtime")
    implementation("androidx.compose.foundation:foundation")
    implementation("androidx.compose.material:material")
}
In this tutorial, you'll utilize Compose UI components to render video streams with Stream Video, so you need to import the stream-video-android-compose package. However, if you prefer to create your own UI components, you can opt for stream-video-android-core, which provides only the core functionalities for video communication. For more details, check out the Stream Video Android Architecture.
Configure Secret Properties
Before diving in, configure secret properties for this project. You can get the Stream API key following these instructions. Once you get the API key, create a secrets.properties file on the root project directory with the text below using your API key:
STREAM_API_KEY=REPLACE WITH YOUR API KEYNow you’re ready to build the project on your devices. After successfully running the project on your device, you'll see the result below:

Initialize Stream Video SDK
To get started, initialize the Android Video SDK to utilize the Video Call APIs. This project uses App Startup to configure initialization:
class StreamVideoInitializer : Initializer<Unit> {

  override fun create(context: Context) {
    val userId = "stream"
    StreamVideoBuilder(
      context = context,
      apiKey = BuildConfig.STREAM_API_KEY,
      token = devToken(userId),
      user = User(
        id = userId,
        name = "stream",
        image = "http://placekitten.com/200/300",
        role = "admin"
      )
    ).build()
  }

  override fun dependencies(): List<Class<out Initializer<*>>> = emptyList()
}
In the WhatsApp clone project grouped all initializer in the MainInitializer for the sake of clarity. In a real-world scenario, you can follow this initialization approach, initialize in your Application class, or in a dedicated dependency injection (DI) module.
Implement Joining a Call
Next, let’s implement the creation and joining of a call using the Video SDK. The Stream SDK offers APIs that simplify the implementation of complex processes into just a few lines of code, as shown below:
fun joinCall(type: String, id: String) {
  viewModelScope.launch {
    val streamVideo = StreamVideo.instance()
    val call = streamVideo.call(type = type, id = id)
    call.join(create = true)
  }
}
You can obtain the Call instance from the StreamVideo object using the call() method, as demonstrated in the code above. You should specify the call type and call id, which determine different video permissions and channels.
Once you've obtained the appropriate call instance, you can initiate a call using the call.join() method, which handles all the necessary processes. This function is responsible for your application's connection to Stream's socket server, enabling the exchange of audio and video streams. By calling this method, your application establishes communication with the Stream server, allowing the transmission and reception of media streams via WebRTC protocols.
You can provide parameters like ring, notify, and createOptions when joining a call, depending on your specific requirements. For additional details, please refer to the Joining & Creating Calls section for references.
Now, let’s create a ViewModel that includes the joinCall function and manages UI states for a call screen:
@HiltViewModel
class WhatsAppVideoCallViewModel @Inject constructor(
  private val composeNavigator: AppComposeNavigator
) : ViewModel() {

  private val videoMutableUiState =
    MutableStateFlow<WhatsAppVideoUiState>(WhatsAppVideoUiState.Loading)
  val videoUiSate: StateFlow<WhatsAppVideoUiState> = videoMutableUiState

  fun joinCall(type: String, id: String) {
    viewModelScope.launch {
      val streamVideo = StreamVideo.instance()
      val call = streamVideo.call(type = type, id = id)
      val result = call.join(create = true)
result.onSuccess {The call.join() method returns a Result, representing whether the joining request was successful or failed. You can manage UI states based on the result using the onSuccess and onError extensions.
Video Call Screen With Jetpack Compose
It's time to implement the video call screen using Jetpack Compose. The Stream Video SDK for Jetpack Compose provides pre-built and user-friendly UI components, so there's no steep learning curve involved.
One of the most convenient ways to implement a video call screen is by using the CallContent component, a high-level component containing various UI elements.
@Composable
fun WhatsAppVideoCallScreen(call: Call) {
  VideoTheme {
    CallContent(call = call)
  }
}
Once you build the code snippet above, you’ll see the result below:

The CallContent contains various UI elements, such as an app bar, participants grid, and control action buttons. The best part is that you can easily customize these elements according to your preferences. If you're interested in crafting your unique style for a video calling screen, be sure to explore the detailed documentation available in the CallContent documentation.
Note:
CallContentalso takes care of device permissions, including camera and microphone access, so you don't need to manage them separately.
Next, let's tailor the call screen to match the call style, whether audio or video. To set up the audio call screen, you can easily disable the call camera and related features in the control actions, as demonstrated in the example below:
@Composable
private fun WhatsAppVideoCallContent(
  call: Call,
  videoCall: Boolean,
  onBackPressed: () -> Unit
) {
  val isCameraEnabled by call.camera.isEnabled.collectAsStateWithLifecycle()
  val isMicrophoneEnabled by call.microphone.isEnabled.collectAsStateWithLifecycle()

  DisposableEffect(key1 = call.id) {
    if (!videoCall) {
      call.camera.setEnabled(false)
    }

onDispose { call.leave() }As demonstrated in the code above, you can access and control various physical device components, including the camera, microphone, and speakerphone. You have the flexibility to observe their status and manually enable or disable them based on your requirements or simulation.
For more information, check out the Camera & Microphone and Control Actions documentation.
Finally, you can finish setting up the video call screen by joining a call and observing the UI states during the joining process:
@Composable
fun WhatsAppVideoCall(
  id: String,
  videoCall: Boolean,
  viewModel: WhatsAppVideoCallViewModel = hiltViewModel()
) {
  val uiState by viewModel.videoUiSate.collectAsStateWithLifecycle()

  LaunchedEffect(key1 = id) {
    viewModel.joinCall(type = "default", id = id.replace(":", ""))
  }

  when (uiState) {
    is WhatsAppVideoUiState.Success ->
WhatsAppVideoCallContent(Real-Time Emoji Reactions
Sending real-time emoji reactions is one of the essential features in modern applications. The Stream Video SDK supports sending reactions seamlessly in both the core and UI components.
The CallContent component already includes reaction animations, and you can send a reaction using call.sendReaction. You can also implement your own reaction dialog, allowing users to choose which reaction they want to send like the code below:
private data class ReactionItemData(val displayText: String, val emojiCode: String)

private object DefaultReactionsMenuData {
  val mainReaction = ReactionItemData("Raise hand", ":raise-hand:")
  val defaultReactions = listOf(
    ReactionItemData("Fireworks", ":fireworks:"),
    ReactionItemData("Wave", ":hello:"),
    ReactionItemData("Like", ":raise-hand:"),
    ReactionItemData("Dislike", ":hate:"),
    ReactionItemData("Smile", ":smile:"),
    ReactionItemData("Heart", ":heart:")
  )
}

@ComposableOnce you partially compile the ReactionsMenu composable function, you’ll see the preview result below on your Android Studio:

Finally, you can complete the call screen by adding these reaction dialog components inside the WhatsAppVideoCallContent composable function.
@Composable
private fun WhatsAppVideoCallContent(
 ..
) {
  var isShowingReactionDialog by remember { mutableStateOf(false) }

    VideoTheme {
    Box(modifier = Modifier.fillMaxSize()) {
      CallContent(
        call = call,
        controlsContent = {
            ControlActions(
              call = call,
              actions = listOf(
{Once you've built the project, you'll see the final result below:

Test Multiple Participants Joining on Stream Dashboard
Stream offers a convenient method for testing multiple participants joining a video call on your Stream Dashboard. To do this, navigate to your dashboard and select the Video & Audio tab from the left-hand menu. You'll be directed to a screen that looks like the one below:

Next, click the Create Call button, and you'll be directed to the video call screen, where you'll find various details about the call, including the call ID and call type. Take note of the call ID and join the call from your Dashboard.

Lastly, update the call ID you noted from the Dashboard in your Android Studio project and run the project.
val call = streamVideo.call(type =”default”, id = CALL_ID_FROM_DASHBOARD)After successfully joining the call from your app, you'll observe the result below:

Wrapping Up
In this post, we explored how to integrate video calling features into the WhatsApp Clone Compose project using Stream’s versatile Compose Video SDK. Try the Compose Video Tutorial or check out the open-source projects below on GitHub:
- Twitch Clone Compose: Twitch clone project demonstrates modern Android development built with Jetpack Compose and Stream Chat/Video SDK for Compose.
- Dogfooding: Dogfooding is an example app that demonstrates Stream Video SDK for Android with modern Android tech stacks, such as Compose, Hilt, and Coroutines.
- Meeting Room Compose: A real-time meeting room app built with Jetpack Compose to demonstrate video communications.
You can find the author of this article on Twitter @github_skydoves or GitHub if you have any questions or feedback. If you’d like to stay up to date with Stream, follow us on Twitter @getstream_io for more great technical content.
As always, happy coding!
— Jaewoong
