Transform Matrices are Great and You Should Understand Them
by Malte Skarupke
The title of this blog post is obvious for any game programmer, but I notice that people outside of games often write clumsy code because they don’t know how transform matrices work. Especially when people do some simple 2D rendering code, like if you just want to quickly visualize some data in a HTML canvas. People get tripped up on transform math a lot. As an example imagine drawing this simple graph:

It’s just an arbitrary graph with arbitrary numbers, the point is all the layout decisions that happened here: E.g. “Long First Label” extends to the left and pushes everything else over to the right by a bit. If you aren’t organized about how to express your transforms, your code ends up with lots of arbitrary offsets and multipliers. You can’t even calculate where to draw the labels on the y-axis without including an offset for potentially long labels on the x-axis. (and long labels on the y-axis can push over the x-axis, too. Uh-oh) Your first choice for visualization should probably be an existing tool (like I used to generate the graph above) but surprisingly often you’ll want to do something custom, and then you have to worry about transforms.
Game programmers have to do complicated transforms all the time, so they had to get organized about this and the result is the transform matrix. It’s remarkably simple and every programmer should probably know it, just to appreciate its beauty. There are two tricks to transform matrices:
Trick 1: Add an Extra Column for Positions
Matrices are not an obvious choice for positioning of things. It’s easy to see how to scale things with matrices, and rotations are doable by putting the sin() and cos() of the angle in the right places. But how do you do positions? Matrices can only multiply numbers, so how do you add 10 to all x coordinates? You need one more column. For 2D rendering you need a 3×3 transformation matrix. For 3D rendering you need a 4×4 matrix. Then when multiplying your matrix with a position, you use 

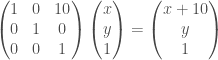
This is how you can add numbers using matrices. Occasionally it’s also useful to multiply with 
Trick 2: Compression through Associativity
Matrix multiplication is associative: 
sizeof(a*b) == sizeof(a). This allows you to collapse multiple transform matrices into one.
For example in a video game you might express animation data as a hierarchy of matrices. (this used to be standard, now there are slightly better techniques, but they use the same “compression through associativity” trick so I’ll just stick with matrices for now) So when you animate a fingertip, your matrix would contain a translation plus a rotation, and maybe a scaling factor. But that matrix only tells you how the tip of the finger should move relative to the middle segment of the finger. And that middle segment only has a matrix that tells it how to move relative to the root of the finger, and so on all the way up the arm and down the spine until you get to the reference matrix that moves the whole body.
When rendering you have to determine the position of every vertex of every triangle on the body, so that’s going to be a lot of matrix multiplications. Instead of walking up that chain of matrices for every vertex, you collapse all the matrices down. If you have 100 matrices for your character’s skeleton, you’ll pre-multiply those 100 matrices in a topological-order loop to end up with one matrix for each bone that contains all of its parent matrices baked in. Meaning the matrix for the fingertip has in it the matrix for the middle joint of the finger, the wrist, elbow, shoulder, all the way to the reference bone. All of those translations and rotations can be collapsed down into a single 4×4 matrix that does all of the work in one step.
These matrices can be extremely complicated but it doesn’t matter because you always end up with 16 numbers in the end that contain all the collapsed information, leaving only transforms that didn’t cancel out. (and you don’t have to figure out what cancels out, it just happens)
My favorite example of this is shadow mapping. The fastest technique for getting accurate shadows is to draw the whole scene twice: Once from the perspective of the camera, and once from the perspective of the light. In both render passes you write the distance from the camera to the rendered surface into a buffer, the so-called z-buffer.
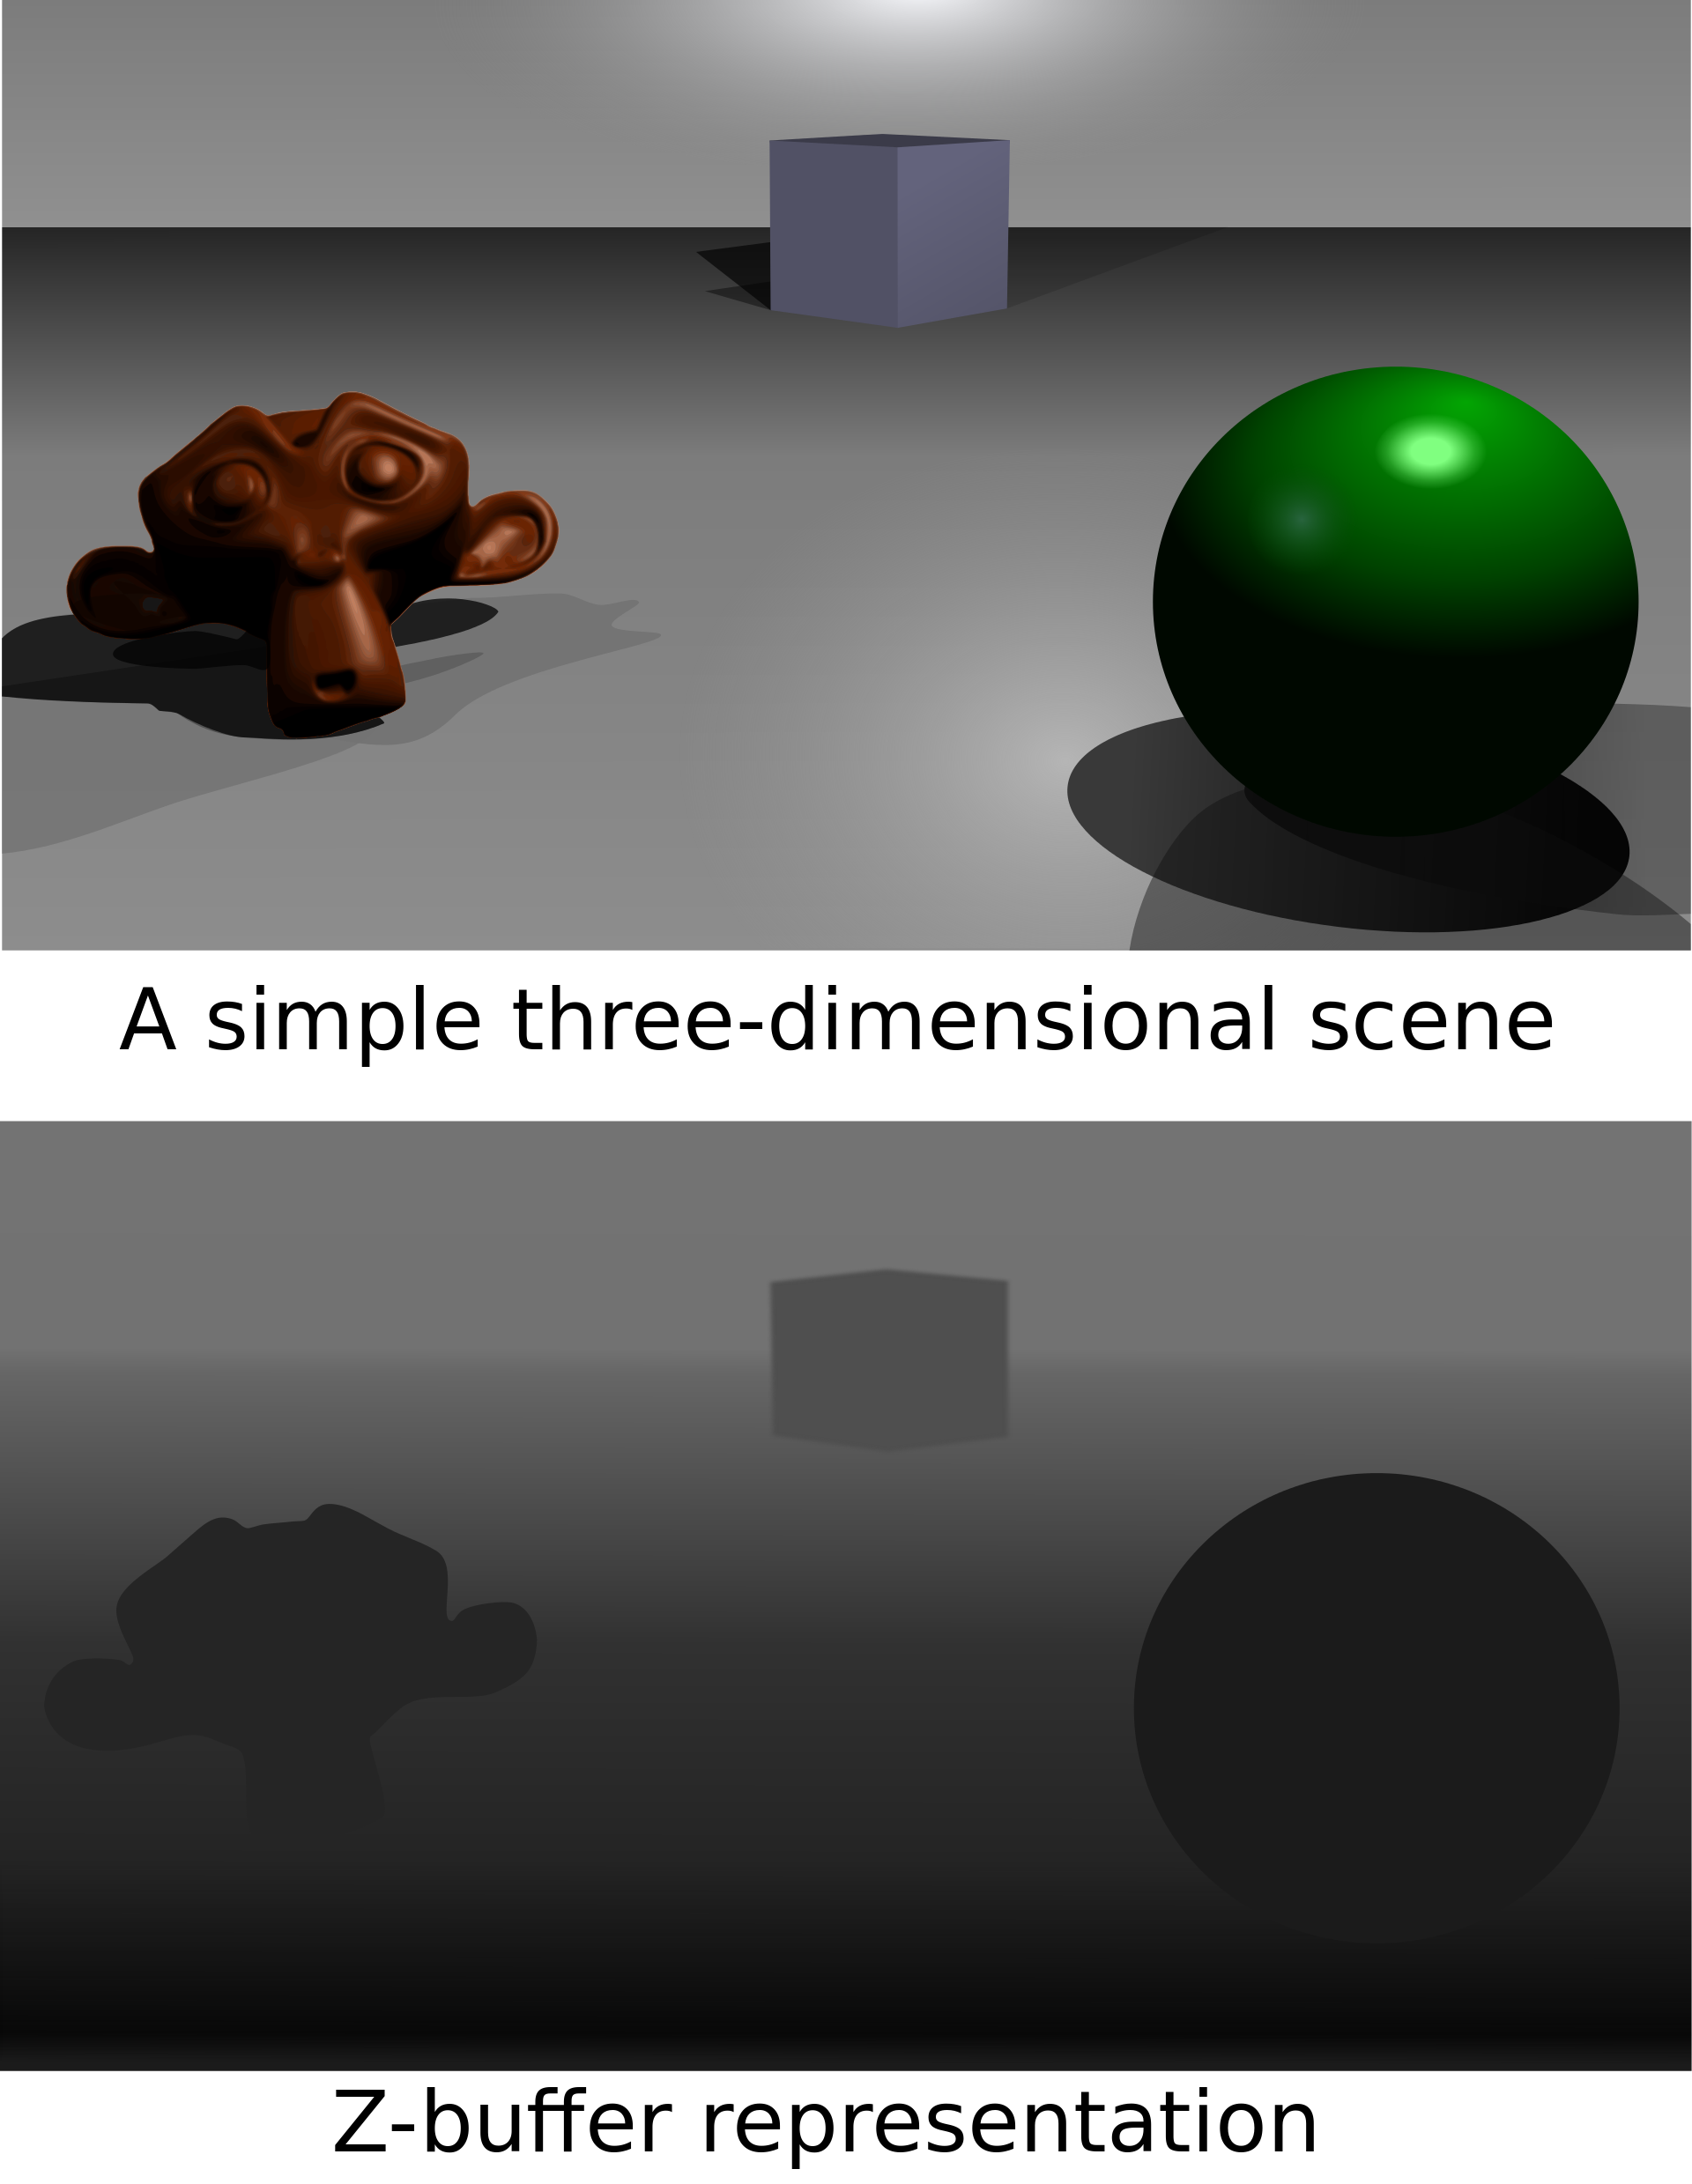
(picture from Wikipedia user -Zeus-, CC BY-SA 3.0)
Once you have a z-buffer for the camera and a z-buffer for the light, you can figure out whether a pixel in the camera-view can see the light or not. Just look in the light’s z-buffer and see if there was a closer surface blocking the light. But how do you figure out which pixel to look at in the other depth buffer? After all it was rendered from a whole different perspective.
Well the camera transform is encoded as a matrix. The perspective settings (field-of-view, aspect ratio, …) are also encoded as a matrix. The light cone is encoded in a matrix. All you have to do is pre-multiply all the relevant matrices for your camera, invert the result, and multiply with the light matrix. The result is a single 4×4 matrix which will transform any point that was rendered from the camera to the corresponding pixel coordinate in the z-buffer that encodes the distance to the light. If the value that you read in the light’s z-buffer is smaller than the z-value after the multiplication, you’re in shadow because there was some other surface that was closer to the light. It’s crazy complicated, but it’s just a 4×4 matrix multiply in the end.
Using this for 2D Rendering
Ok but how do you use this for simple things? The nice things is that transform matrices are really simple at the core and simple operations remain simple. The main convenience is that you can always operate in a local frame and that you don’t have to care about the rest of the world.
E.g. when drawing the lines in the graph at the beginning of this blog post, you shouldn’t have to do any extra math to figure out where each vertex of the line should end up at. A single matrix multiply should be enough. That matrix can contain all the offsets and scaling that you need to account for how big the canvas is, how big the labels are, what the range of your x and y-values were etc.
You still need to do the math to calculate those offsets, but the important part is that all the setup functions take in and return matrices. So here is a potential interface for the labels:
fn label_offsets(transform_so_far: &Matrix3x3, x_labels: &[string], y_labels: &[string]) -> Matrix3x3 {
    // find the longest y_label and calculate the length of the half of the first x_label
    // the longer of those two is the offset to the left. you may also want to add an offset
    // to the right if the last x_label is long.
}
Meaning you pass in the matrix that was calculated so far. So for example if you want to draw small-multiples, you can just pass a different matrix for each and nothing else has to change. Then you do whatever logic that you need to do to figure out what the resulting offsets need to be, and you return back out a new matrix that will be used by the rest of the rendering. You can decide what the format of that matrix should be. I would choose it so that you can calculate the positions for the x-labels by multiplying it with 

Another thing that’s easy with matrices is scrolling, panning and zooming. Imagine implementing google maps, or just something that has scroll bars: You need one matrix to get the area within the page where the map should be rendered, (subtracting out any side bars or top bars) and you need a second matrix that contains the current pan/zoom position. You can then multiply those two matrices together to figure out where to draw each tile.
Oh and a last trick: If it ever bothers you that the y-axis in the HTML canvas goes down, (e.g. because the y-axis always goes up in graphs like the one above) you can flip that by chaining in a translation matrix and a flip on the y-axis so all your own math can assume that the y-axis goes up. And no other code has to care that there are now two more matrices in the chain because they all just see nine floats.
Tricky Parts
There are a few tricky parts with matrices:
- When drawing with the HTML canvas you may be tempted to use its transform matrix API. You probably don’t want to do this because it scales everything, including the width of lines and the size of text. Instead you usually want to multiply the coordinates yourself and draw text at normal sizes.
- Matrices are not commutative.
. Meaning if you translate first and then rotate, that is different from rotating first then translating. This is a feature, not a bug, but it can be tricky and requires thinking about what you actually want to do.
- As a follow up for the above: There are two different ways of doing everything. You either multiply with a row vector on the left, or a column vector on the right. Whichever you choose means that “translate first then rotate” means that the rotation matrix has to be on the right or on the left of the translation matrix. (and the matrices also end up transposed) For some reason the standard way of doing this is backwards so that you have to read right-to-left. If you write your own, you’re free to choose. Oh and to make it more confusing there are two different ways of thinking about it: Are you moving the object, or are you moving the coordinate system? If you’re moving the object then “translate first, then rotate” means the object will orbit around the origin. If you’re moving the reference frame then “translate first, then rotate” means the object will rotate around the given point. (how do you render a planet that should orbit the sun and rotate around its own center? rotate then translate then rotate again) There are long arguments about which one is the sane choice, which I won’t get into here. Just prepare to be confused whenever you switch to a new library/framework because everyone does this differently.
Generalizing
While matrices are probably the right choice to get you started, you can also use different solutions if you learned the right lessons. I’m actually not sure if you want to use matrices for 2D layouts. You may be better off using a custom type that just contains the current bounding-box in integer coordinates plus font size. (though if your matrices are sane, it should be easy to recover the current bounding box: Just multiply the matrix with the coordinates of the four corners) If you do write a custom type, it’s important that you learn the lessons from transformation matrices. Meaning you need the “compression through associativity” trick. You want objects that encapsulate all of the state that you need for layout information, and you want to be able to pass those objects around, and those objects need to always have the same size.
In video games there are many different ways to express transforms. Matrices were the best choice for a long time, but the current hotness is to use geometric algebra or something derived from geometric algebra. (quaternions or dual quaternions) The important parts are still there and they work better for animation: It’s hard to lerp matrices. One nice thing about geometric algebra is that it works in any number of dimensions, so you can also use it in 2D. It’s just much more complicated to explain and matrices are probably the better choice to get started. They will clean up your code a lot.
