How to Install Harbor Docker Image Registry on Ubuntu 22.04
On this page
- Prerequisites
- Installing Docker CE (Community Edition)
- Downloading Harbor Installer
- Configuring Harbor Installation
- Installing Harbor via Installer Script and Docker Compose
- Creating Harbor User
- Adding User to Harbor Project
- Logging in to Harbor via Docker Client
- Pushing Images to Harbor Registry
- Conclusion
Harbor is an open-source Docker image registry for cloud-native environments. As an image registry, the harbor is used to store and distribute container images. For securing artifacts, harbor provides security protection via policies, user role-based access control, a security scanner for images to ensure images are free from vulnerabilities, and image signing that ensures the users pull images from the trusted registry.
Harbor is a CNCF graduate project and an enterprise-grade image registry. Deliver compliance and high performance that help you consistently and securely manage artifacts across cloud-native environments such as Kubernetes and Docker.
In this guide, I will show you how to install Harbor Image Registry using Docker on an Ubuntu 22.04 server. This guide includes the Docker CE installation, basic harbor installation with SSL enabled, and the basic usage and administration of the harbor as an image registry.
Prerequisites
To go over this guide, you will need the following requirements:
- An Ubuntu 22.04 server - This example uses the generic and fresh Ubuntu server with the hostname 'harbor-server'.
- A non-root user with root/administrator privileges.
- A domain name or local domain that will be used by the harbor.
Installing Docker CE (Community Edition)
The harbor image registry provides multiple versions that can be installed on different types of environments. You can deploy harbor to Kubernetes via the Helm chart or install harbor with Docker.
This example you will install harbor via the Docker engine. So you will now install the Docker CE (Community Edition) to your Ubuntu server via the official Docker repository.
Run the apt command below to install some basic dependencies.
sudo apt install \
    ca-certificates \
    curl \
    gnupg \
    lsb-release
Input y when prompted for confirmation. Then press ENTER to proceed.
After dependencies are installed, run the following command to download the GPG key for the Docker repository, and then add the official Docker repository to your system.
sudo mkdir -p /etc/apt/keyrings
curl -fsSL https://download.docker.com/linux/ubuntu/gpg | sudo gpg --dearmor -o /etc/apt/keyrings/docker.gpg

echo \
  "deb [arch=$(dpkg --print-architecture) signed-by=/etc/apt/keyrings/docker.gpg] https://download.docker.com/linux/ubuntu \
  $(lsb_release -cs) stable" | sudo tee /etc/apt/sources.list.d/docker.list > /dev/null
Now refresh and update your package index via the apt command below.
sudo apt update
You will receive the output that the Docker CE repository is added.
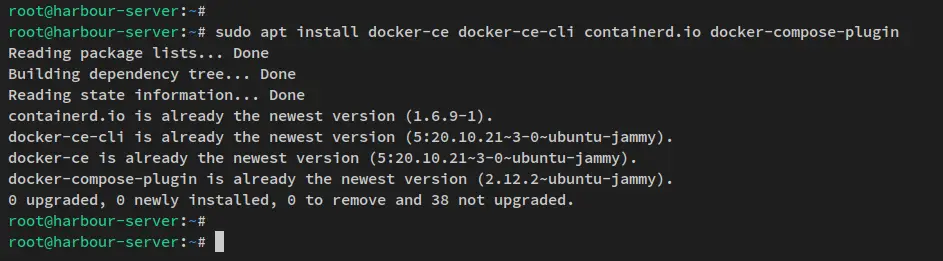
Next, use the following apt command to install Docker CE and Docker Compose to your system.
sudo apt install docker-ce docker-ce-cli containerd.io docker-compose-plugin
Input y to confirm the installation, then press ENTER to proceed.
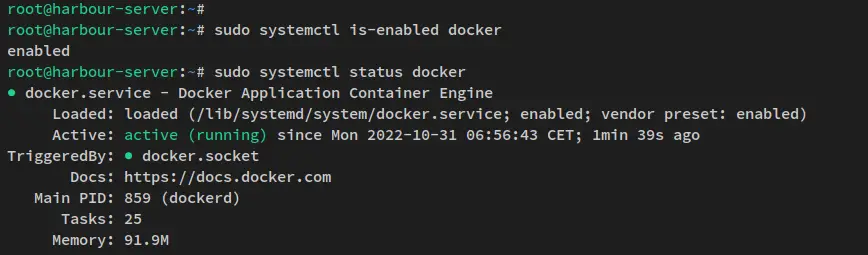
After Docker is installed, run the following systemctl command to verify the current status of the Docker service.
sudo systemctl is-enabled docker
sudo systemctl status docker
You should now receive the output like the following screenshot - the Docker service is running and enabled. The Docker service will be run automatically at system boot.
After the Docker engine is installed, you will next start the harbor installation by downloading the harbor installer package.
Downloading Harbor Installer
You will need to download the harbor installer package for installing the harbor. And there are two types of harbor installers, the offline version, and the online version.
This guide uses the harbor offline installer for installing the harbor. So you will now download the harbor offline installer to your system.
Move the working directory to '/tmp' and download the harbor offline installer via the curl command below.
cd /tmp
curl -s https://api.github.com/repos/goharbor/harbor/releases/latest | grep browser_download_url | cut -d '"' -f 4 | grep '\.tgz$' | wget -i -
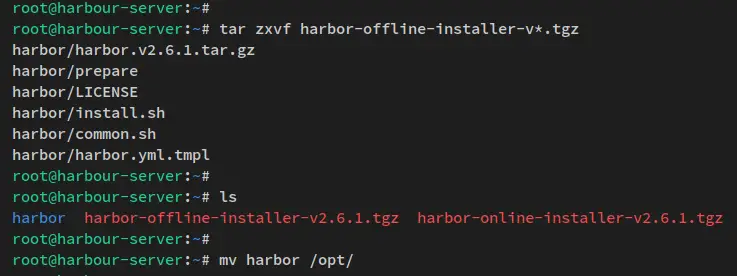
Now extract the harbor offline installer via the tar command below. After the installer is extracted, you should see the new directory 'harbor'.
tar -xzvf harbor-offline-installer-v2.6.1.tgz
Move the 'harbor' directory to '/opt', which means your harbor installation will be '/opt/harbor'.
sudo mv harbor /opt/
Configuring Harbor Installation
After downloaded the harbor offline installer, you will now be setting up the harbor installation via the configuration file 'harbor.yml' that is included in the harbor package.
With the 'harbor.yml' file, you will set up the domain name for the harbor installation, enable secure HTTPS on the harbor, set up an admin password, and lastly set up the database.
Before you start, ensure that you have the domain name pointed to the server IP address and generated SSL certificates that will be used to secure harbor.
Move your working directory to the harbor installation directory '/opt/harbor'.
cd /opt/harbor
Copy the harbor configuration template 'harbor.yml.tmpl' to 'harbor.yml'. Then, use the following nano editor command to edit the harbor config file 'harbor.yml'.
cp harbor.yml.tmpl harbor.yml
sudo nano harbor.yml
Change details configurations as below.
# The IP address or hostname to access admin UI and registry service.
# DO NOT use localhost or 127.0.0.1, because Harbor needs to be accessed by external clients.
hostname: registry.hwdomain.io

....

# https related config
https:
  # https port for harbor, default is 443
  port: 443
  # The path of cert and key files for nginx
  certificate: /etc/letsencrypt/live/registry.hwdomain.io/fullchain.pem
  private_key: /etc/letsencrypt/live/registry.hwdomain.io/privkey.pem

....

# The initial password of Harbor admin
# It only works in first time to install harbor
# Remember Change the admin password from UI after launching Harbor.
harbor_admin_password: Harbor_Docker_Ubuntu

....

# Harbor DB configuration
database:
  # The password for the root user of Harbor DB. Change this before any production use.
  password: db_pass_harbor
Save the file and exit the editor when finished.
Below is the detailed section of the configuration:
- hostname - the domain name that will be used to run the harbor image registry. In this example, the harbor will be installed on 'registry.hwdomain.io'.
- https - uncomment this option will enable and secure your harbor installation. But also you need to ensure that you have generated SSL certificates for your domain and input the full path of the certificate public and private key.
- harbor_admin_password - the initial password that will be used during the harbor installation.
- database - database configuration for the harbor. So ensure to change the password with a new strong password.
Installing Harbor via Installer Script and Docker Compose
Now that the harbor offline installer is downloaded and the base configuration file for 'harbor.yml' is configured, you will now be ready to start the harbor installation via the installer script 'install.sh' that available on the harbor installation directory '/opt/harbor'.
Before starting the harbor installation, ensure that your current working directory is '/opt/harbor'.
Now run the harbor installer script 'install.sh' with sudo privileges.
sudo ./install.sh
The installer script will now check the system requirements before starting the harbor installation. The installer will ensure that the Docker engine and Docker Compose are installed on the system.
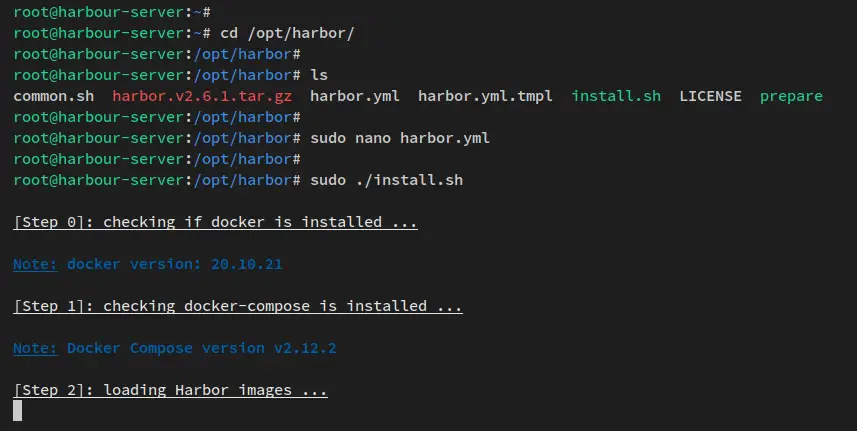
Now the installer will extract images that will be used to deploy harbor.
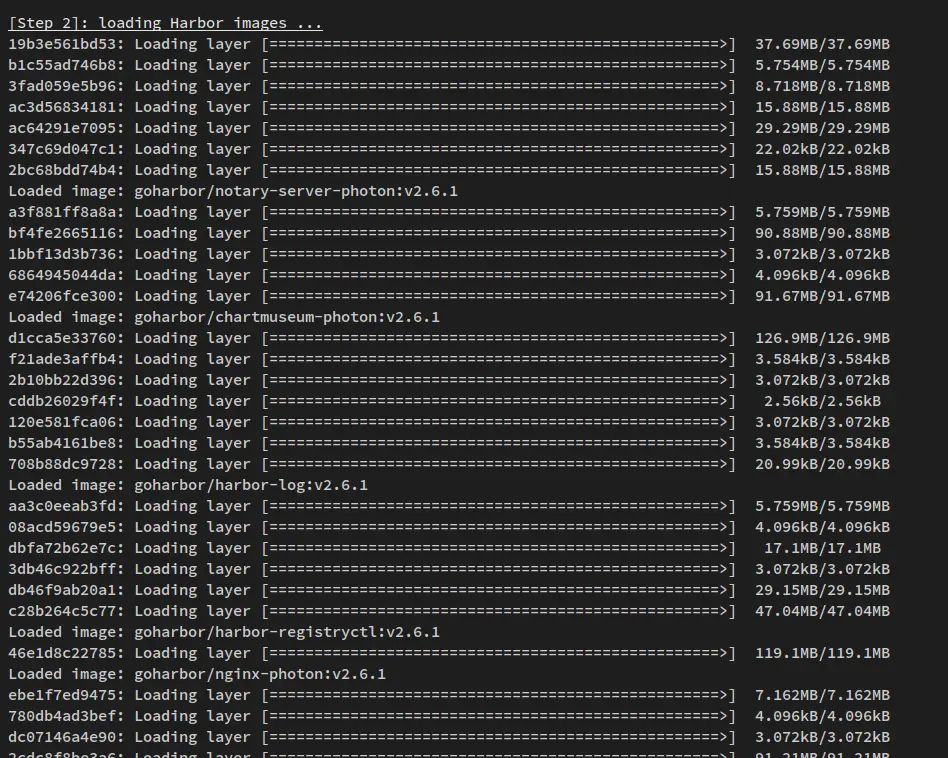
After that, the installer will be preparing the system environment for the harbor deployment and generate the necessary configurations. Then, the installation will begin.

When installation finished, you should see the output of harbor container services is running.

Now that you have installed harbor via the installer script, you will next verify harbor by checking the container services on your system and accessing the harbor image registry via the web browser.
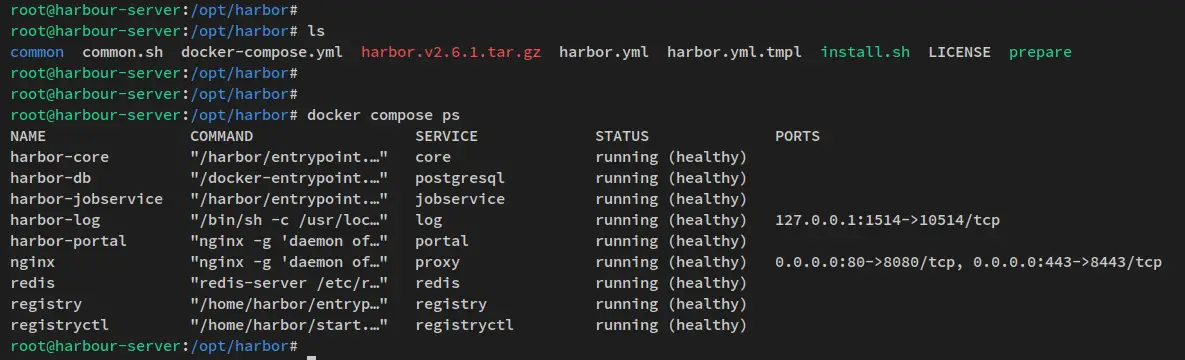
Run the following 'docker compose' command to verify that the harbor container services are running.
ls
docker compose ps
In the below output - the harbor container services are running and healthy.
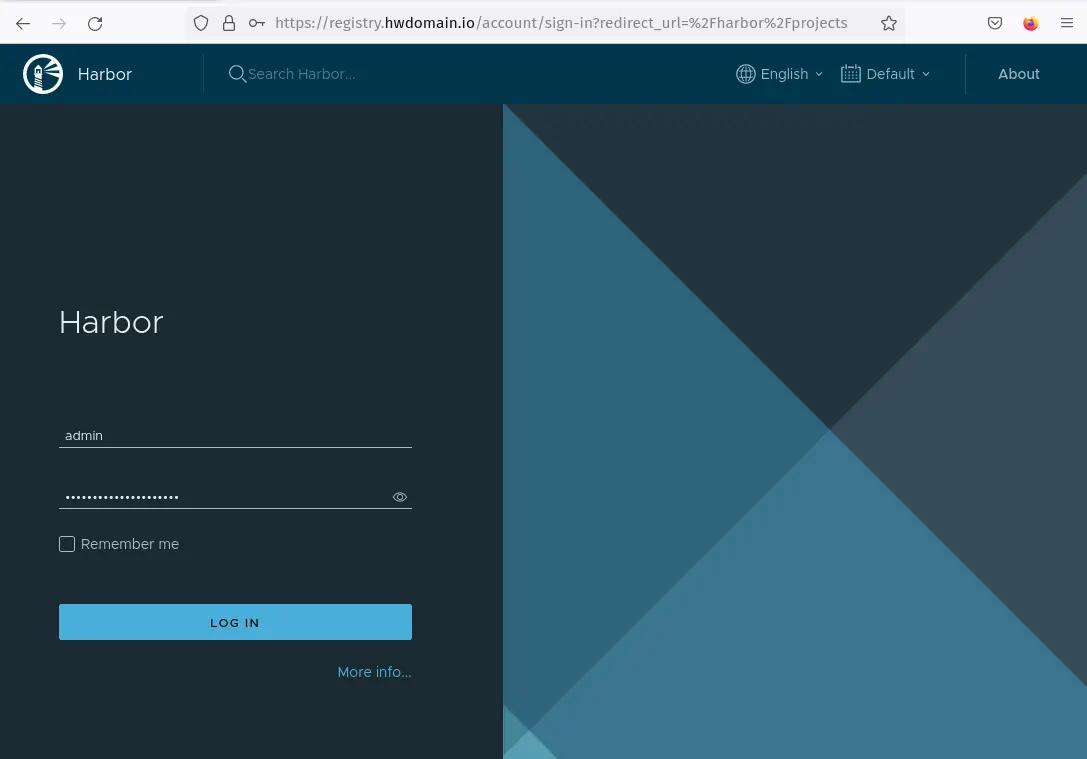
Next, open your web browser and visit the domain name for your harbor installation (i.e: https://registry.hwdomain.io/). And you should now get the login page of your harbor image registry.
Login with the default user admin and the password that you have configured via the configuration file 'harbor.yml'.
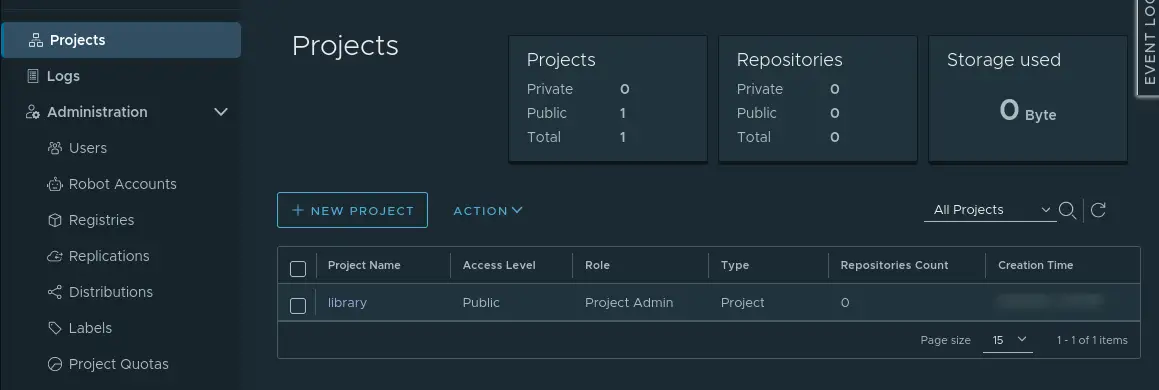
You should now get the harbor dashboard when you have the correct password. Also, you can see on your screen the default project in the harbor with the name 'library'.
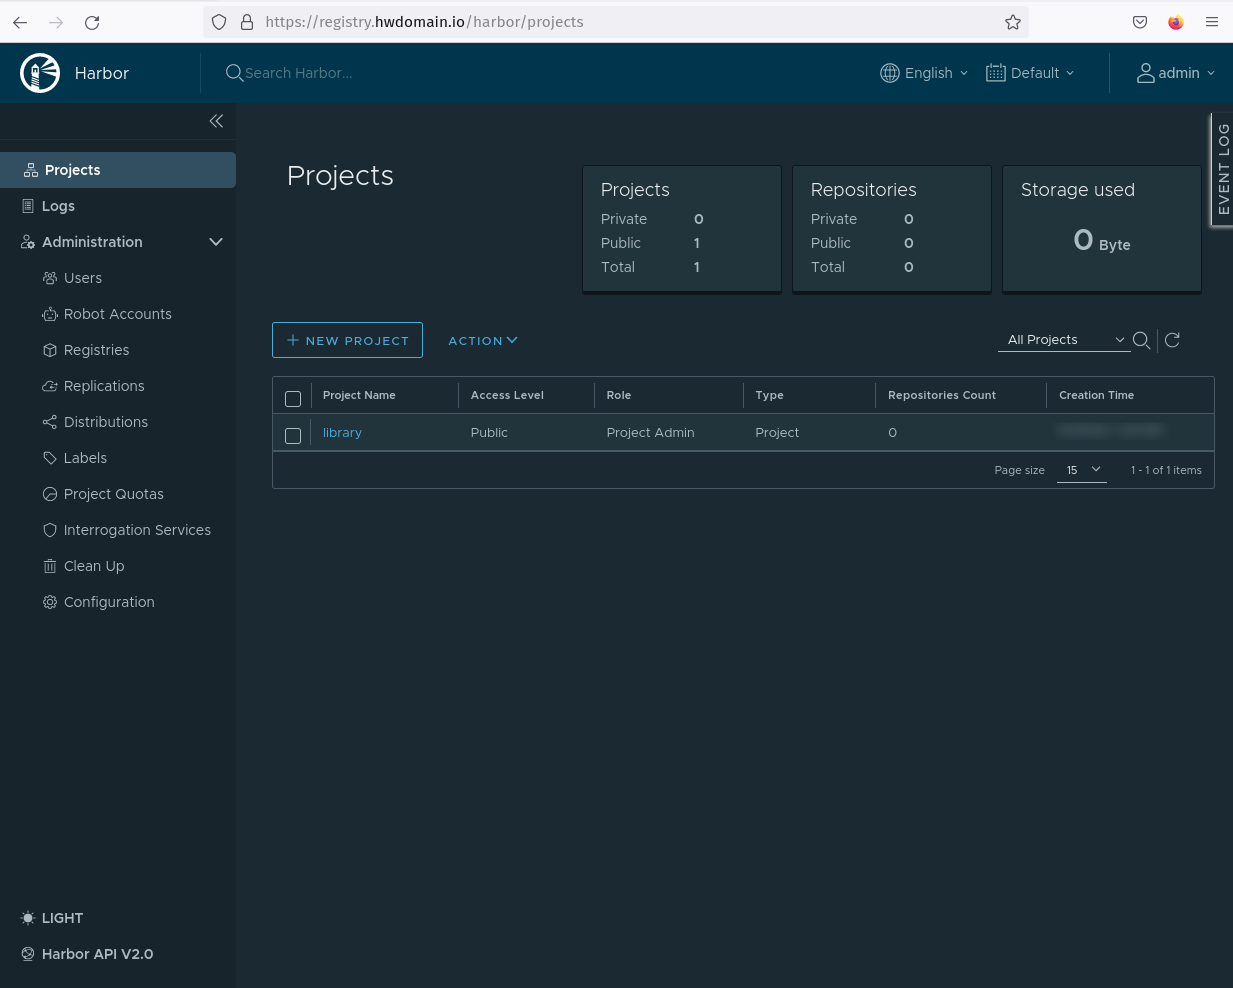
At this point, you have finished the baro deployment and verified that the harbor is running via the container orchestration Docker engine and Docker Compose.
In the next step, you will learn the basic administration of the harbor image registry. You will learn how to add a user, set up the project, log in via the docker CLI, and lastly upload images to the harbor.
Creating Harbor User
After the harbor image registry is running, you should now learn how to set up and create a new user via the harbor administration dashboard.
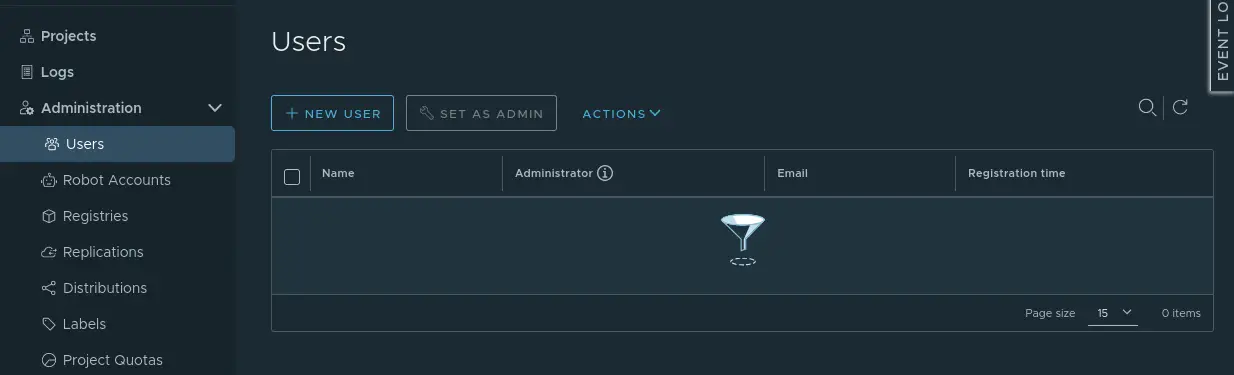
In the 'Administration' section, click the menu 'Users', then click the 'NEW USER' button.
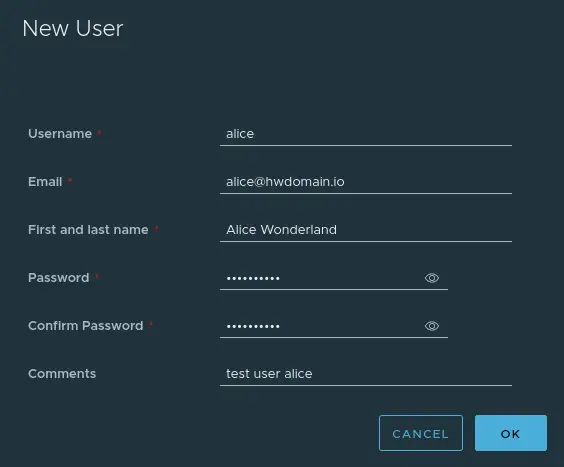
Input details about the new user and confirm by pressing the 'OK' button. In this example, you will create a new harbor user 'alice' that will be used to log in to the harbor via the docker cli.
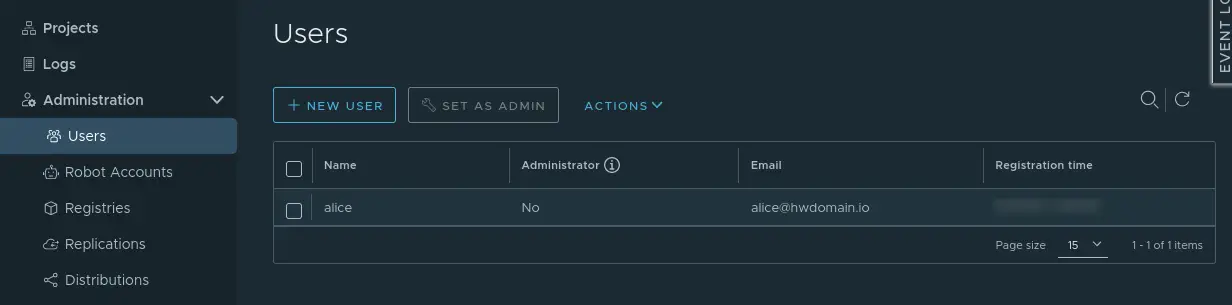
Once the user is created, you should see your user on the 'User's menu list.
Adding User to Harbor Project
In harbor, the user space that the user will be working on is the project. On the default installation, harbor provides the default project name 'library'.
In this step, you will learn how to add the new user 'alice' to the default project 'library' so that the new user will be able to manage the 'library' project. Also, you will need to assign the role for the new user on the target project.
Click on the 'Project; menu and you should see the default project 'library' available on your harbor.
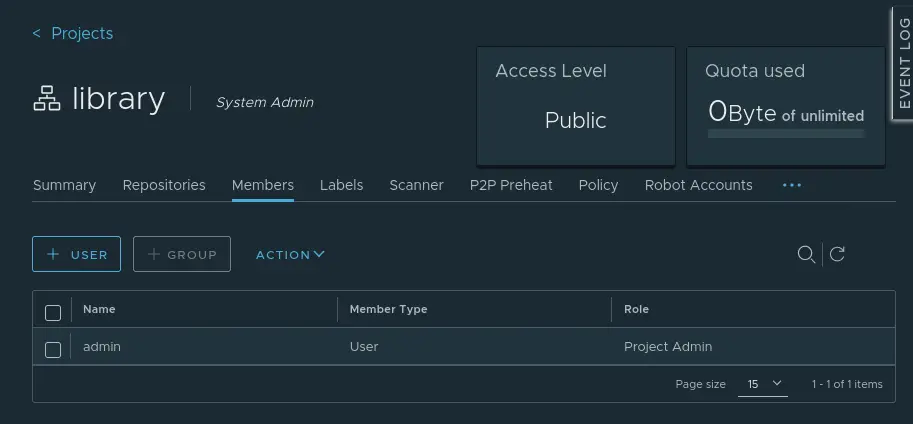
Click the project 'library' to get the details settings of that project.
Click the menu 'Members' and you should see there is only one member admin on that project. Click 'the 'USER' button to add the harbor user to the project 'library'.
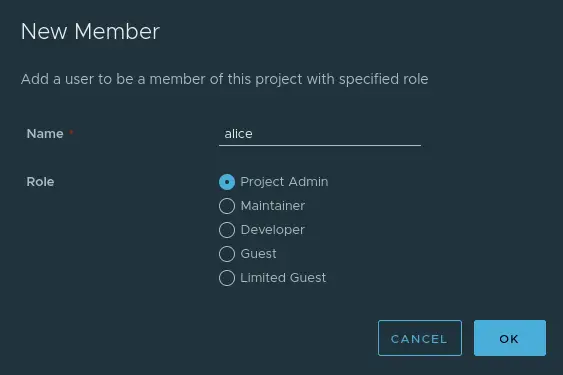
Input the user that you want to add to the project and assign the role to that user. This example will add the user 'alice' to the project 'library' with the role 'Project Admin'.
Click 'OK' to confirm.
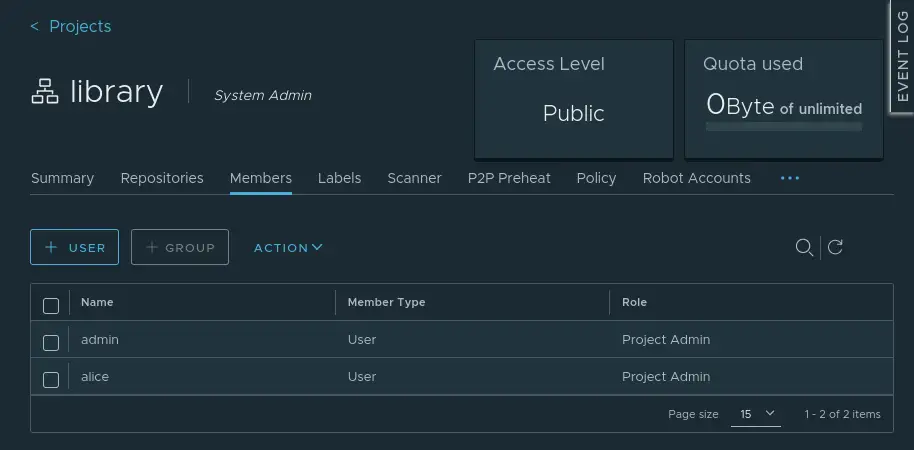
You should now see the user 'alice' is available on the member list of the 'library' project.
Logging in to Harbor via Docker Client
In this step, you will learn how to set up the harbor image registry with the Docker CLI. You will be logging in to the harbor image registry via the Docker CLI with the user that you have created - this example uses the user 'alice'.
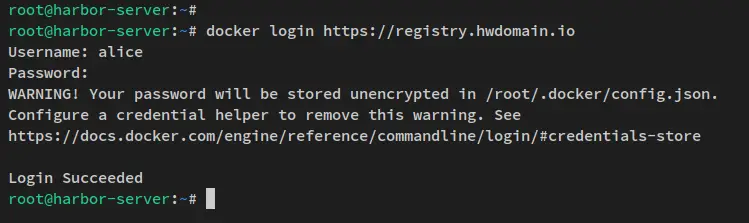
Back to your terminal server and run the following docker command to log in to the harbor image registry.
docker login https://registry.hwdomain.io/
When prompted, input the username and password for your user. This example will be using the user 'alice'.
When login success, you should see a message such as 'Login Succeeded'.
After logging in to harbor via the docker cli, you can now pull and push images to the harbor via the docker cli.
Pushing Images to Harbor Registry
After being authenticated to the harbor image registry, you will now learn how to push/upload an image to your harbor image registry via the Docker CLI.
Before you start, run the following docker command to download the latest version of image 'nginx:alpine'.
docker pull nginx:alpine
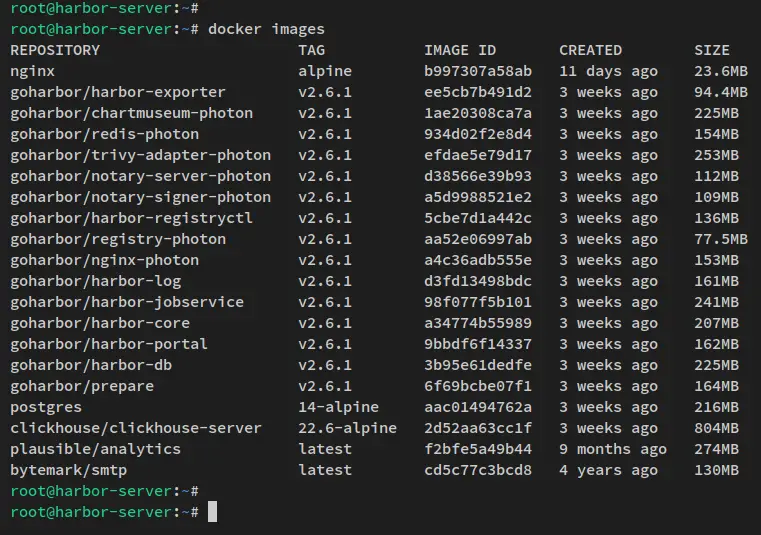
Now verify the list of images via the docker command below. You should see the image 'nginx:alpine' downloaded.
docker images
To push the custom images to the harbor image registry, you can change the tag of the current image with the format such as 'harbor-domain.com/project/image:version'.
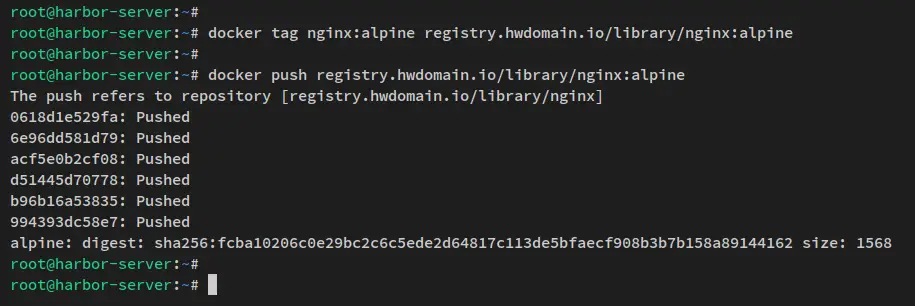
So, run the following command to change the default tag 'nginx:alpine' with the 'registry.hwdomain.io/library/nginx:alpine'.
docker tag nginx:alpine registry.hwdomain.io/library/nginx:alpine
After that, upload and push the image to the harbor image registry with the following command. This command will upload the image to the image registry 'registry.hwdomain.io' with the project name 'library'.
docker push registry.hwdomain.io/library/nginx:alpine
Below is the output during the process of pushing the image to the harbor image registry.
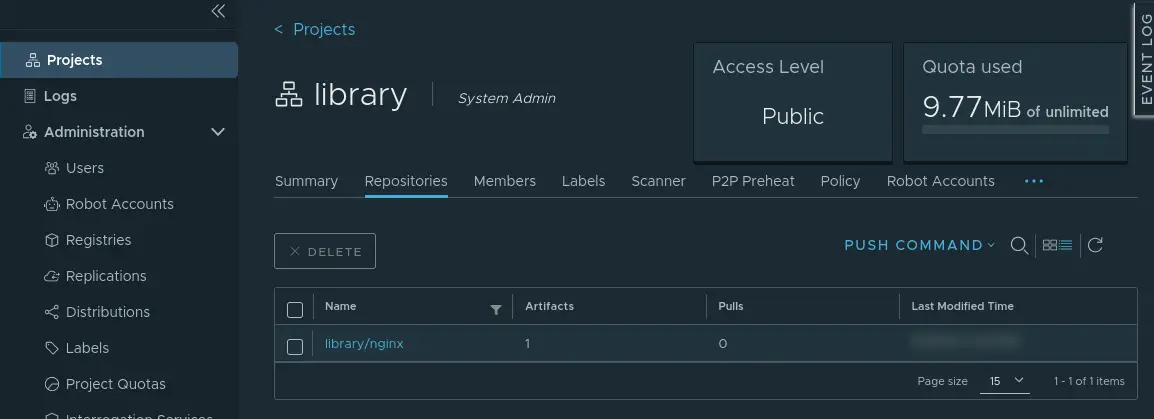
Once the image is uploaded to the harbor, back to the harbor administration dashboard and click the 'Project' menu and click 'Repositories'. You should see the new image is uploaded to the harbor image registry via the docker command line.
Conclusion
You have installed the harbor image registry via Docker on an Ubuntu 22.04 server. You also have secured the harbor deployment with SSL certificates, so you can now access the harbor via an HTTPS secure connection.
For the harbor basic administration, you have learned how to set up users and assign a role in harbor. You also have learned the basic administration for managing projects in the harbor. And lastly, you have successfully added harbor to Docker as an image registry and uploaded an image to the harbor.
From here, you can begin adding a new user and set up a new project that will be used for your development team.

