
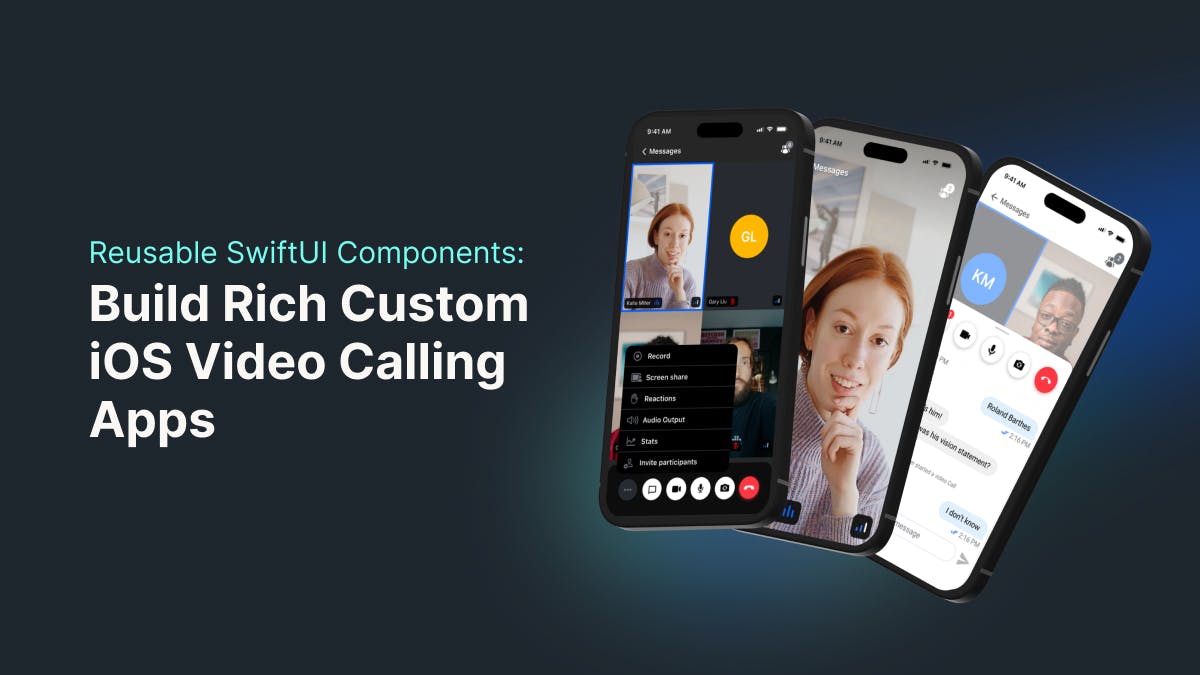
Welcome to part two of SwiftUI Video Calling by Stream: Color, Image, Font, and Sound Theming Guide.
We will clone parts of the WhatsApp, Messenger, and Telegram video call UIs into a single SwiftUI app powered by Stream's Swift Video SDK. The purpose is to showcase how advanced customization support options of the SDK provide developers maximum flexibility in building unique VoIP apps.
You can apply the tips, tricks, and techniques from this tutorial to create personalized iOS live streaming, and audio room apps using our Video SDK.
Before You Start
- Check out part 1 of this tutorial
- Create a free Stream account: Try Stream Video & Audio to build apps using our SDK for free. Note: Your Stream account is optional to complete this tutorial.
- Get an overview of Stream’s Video & Audio SDKs.
- Explore the Stream Video Calling Demo App in your browser.
- Take an interactive tour of the Video Calling API.
Prerequisites
This tutorial focuses on the iOS SDK's customization rather than installation and getting started. Check our previous article or the documentation for guides on installing and setting up the SDK in Xcode. Alternatively, you can follow the tutorial by downloading the advanced customization starter project from GitHub.
UI Customization and View Slots Overview

When building video calling, audio calling, live streaming, and audio room iOS apps with Stream, the video SDK offers ready-made SwiftUI components you can implement directly for VoIP apps. Since all these components are standard SwiftUI views, you can design custom SwiftUI screens and inject them into the SDK's view slots of the default UI components.
The SDK also allows you to perform complete customization by using view swapping. You can accomplish that using our core low-level client SDK, which has no default UIs. Building completely custom UIs with the low-level client is beyond the scope of the article. Swapping views requires a custom view factory to replace the Video SDK's default ViewFcatory protocol. Read more about view slots in our documentation.
Pinning Custom SwiftUI Views Into View Slots
The view slots in the SDK function similarly to ToolbarItem placements in the iOS .toolbar modifier or navigation bar. You define a set of views you want to place in the toolbar using placements, such as .topBarLeading, .topBarTrailing, and .keyboard. In the Video SDK, you create standard SwiftUI views and instruct the SDK to place them into their corresponding view slots. The following are the available slots the Video SDK provides.
- Outgoing Call View: A screen for initiating a call.
- Call Controls View: A view for performing call operations, such as muting, accepting, and rejecting calls.
- Custom Label: A short description of call participants (for example, names)
- Video Layout: For custom video calling UIs, depending on the use case.
- Incoming Call View: A screen that presents a call initiated by another participant.
- Lobby View: A screen for configuring audio and video inputs before joining a meeting.
- Video Fallback: This screen presents a placeholder view when a participant’s video is disabled.
- Permission Request View: An alert view for setting different permissions for meeting participants.
- Audio Volume Indicator View: A visual indicator representing an active speaker.
- Network Quality Indicator: A view that notifies meeting participants about the quality of their networks.
- Speaking While Muted: A view that notifies participants about a disabled microphone while they try to speak.
- Top View: A top bar displaying call-related actions.
- Call View: An active or ongoing call screen.
- Video Participant View: A view that shows a participant’s name and profile image.
- Video Participants View: An adaptive grid view that shows the participants in a call.
You can perform advanced modifications to build custom video calling experiences using the following main steps.
- Create a composition for your custom views with SwiftUI.
- Create a
CustomViewFactoryconforming to the SDK'sViewFactoryprotocol. - Add the custom composition to the
makeYourCustomUImethod. - Instruct the SDK to use the
CustomViewFactoryinstead of the default.
Insert a Custom Outgoing Call View
Using IncomingCallView or OutgoingCallView, you can create standard SwiftUI views for representing incoming and outgoing calls. These screens give information about call participants and options to reject or accept a call. The image below depicts the Video SDK's default outgoing call screen.

In this section, we will swap the outgoing call screen with a custom SwiftUI view, similar to the outgoing call screen of Facebook Messenger, using the following steps.
Note: You can follow and apply the steps in this section for all other UI customization needs.
- Compose Your Custom Outgoing Call UI with Standard Views
Download the starter Xcode project, open it, and add a new Swift file in the Project navigator MessengerOutgoingCallView.swift. You can also use a new SwiftUI project with the iOS Video SDK installed and set up. Replace the content of MessengerOutgoingCallView.swift with the code below.
//
//  MessengerOutgoingCallView.swift

import SwiftUI
import StreamVideo
import StreamVideoSwiftUI

struct MessengerOutgoingCallView: View {
    @ObservedObject var viewModel: CallViewModel
    @State var callCreated: Bool = false

    var body: some View {
        NavigationStack {
            ZStack {
HostedViewController()The code above draws the custom outgoing call screen similar to Messenger's. It contains top navigation, the callee's profile image, video enhancement controls, call controls, and a background video from the iOS device's camera feed. The HostedViewController() view contains the background video. You can find it in the Livecamera folder in the Project navigator. MessengerControlsView(viewModel: viewModel) implements custom call controls like Messenger's. We will create that in the next section.
- Add a Custom ViewFactory
Add another Swift file, https://gist.github.com/amosgyamfi/90372460298265113526996fe121bef2. The function of this file is to provide all the available customization methods used for overriding the various UI components.
import SwiftUI
import StreamVideo
import StreamVideoSwiftUI

class CustomViewFactory: ViewFactory {

    // 1. Custom Outgoing Call
    func makeOutgoingCallView(viewModel: CallViewModel) -> some View {
        // Here you can provide your custom view.
        // In this example, we are re-using the standard one, while also adding an overlay.
        let outgoingView = DefaultViewFactory.shared.makeOutgoingCallView(viewModel: viewModel)
        return outgoingView.overlay(
            MessengerOutgoingCallView(viewModel: viewModel)
        )
    }
}-
Override the SDK’s
OutGoingCallViewwith themakeOutgoingCallViewmethod
In the sample code above, we created aCustomViewFactoryclass that conforms to the SDK'sViewFactoryprotocol. Then, we used themakeOutgoingCallViewmethod to override the default outgoing call view with the content of MessengerOutgoingCallView.swift we created in step 1. -
Register the
CustomViewFactoryclass as a parameter of the SDK’sCallContainer, responsible for rendering fully featured calling UIs
Let's update our app'sSceneconfiguration to use theCustomViewFactoryclass. You can add this implementation to your main app's file. In this example, we add it in theScenesection of BasicAdvancedThemingApp.swift.
The SDK uses theCallContainerobject to render different calling UIs. In the app'sScene, if the call is successful, we tell theCallContainerobject to use theCustomViewFactoryimplementation instead of the one the SDK providesCallContainer(viewFactory: CustomViewFactory(), viewModel: viewModel).
var body: some Scene {
        WindowGroup {
            VStack {
                if viewModel.call != nil {
                    //CallContainer(viewFactory: DefaultViewFactory.shared, viewModel: viewModel)
                    CallContainer(viewFactory: CustomViewFactory(), viewModel: viewModel)
                } else {
                    Text("loading...")
                }
            }.onAppear {
                Task {
                    guard viewModel.call == nil else { return }
                    //viewModel.joinCall(callType: .default, callId: callId)

                    // Notify an outgoing call with a custom ringtone
                    viewModel.startCall(callType: .default, callId: callId, members: [], ring: true)
                }
            }
        }
    }
Request and present the outgoing call screen
To present the outgoing call screen after initiating a call, you should set the boolean parameter ring: true in the startCall method of the view model viewModel.startCall(callType: .default, callId: callId, members: [], ring: true).
When you run the app on an iPhone, you will notice the default outgoing call screen (left) appears as the screen on the right in the image below.

Bravo! You have implemented a custom outgoing call screen using the Stream's iOS Video SDK. You can use this section's steps and techniques to implement a custom incoming call screen in the SDK.
Swap the Call Controls View

The CallControls component allows you to implement different button controls to perform call-related actions, such as rejecting, answering, muting, toggling the camera on and off, adding reactions, and video effects. Implementing custom call controls follows similar steps as adding a personalized outgoing call screen in the previous section. We will add it using only the following two steps. The other remaining steps are the same for all UI components swapping.
The image above illustrates the default call controls. Let's change the call control symbols and background to Messenger's.
- Create a new MessengerControlsView.swift file and substitute its content with the code below.
//
//  MessengerControlsView.swift

import SwiftUI
import StreamVideoSwiftUI

struct MessengerControlsView: View {

    @ObservedObject var viewModel: CallViewModel

    var body: some View {
        HStack(spacing: 32) {
            Button {
                viewModel.toggleCameraEnabled()
} label: {- In CustomUIFactory.swift, use the
makeCallControlsViewmethod to swap the default call controls.
 // 2. Custom Call Controls
    public func makeCallControlsView(viewModel: CallViewModel) -> some View {
        MessengerControlsView(viewModel: viewModel)
    }
When you run the app, the call controls menu will look like the image below. It is similar to that of Facebook Messenger.

Make a Custom Top View

The CallTopView component appears as a top navigation bar when a call has more than one participant. It displays symbols for inviting people to join a call, changing the call layout, and a back button. Let's modify it and add a similar implementation to WhatsApp.
- Add a new file, WhatsAppCallTopView.swift, and use the code below for its content.
//
//  WhatsAppCallTopView.swift

import SwiftUI
import StreamVideoSwiftUI

struct WhatsAppCallTopView: View {

    var body: some View {
        HStack {
            Button {

            } label: {
                Image(systemName: "chevron.backward")
}- Tell our
CustomViewFactoryclass to replace the defaultCallTopViewwith the content of WhatsAppCallTopView.swift using themakeCallTopViewmethod.
    // 3. Custom CallTopView
    public func makeCallTopView(viewModel: CallViewModel) -> some View {
        WhatsAppCallTopView()
    }
Running the app will display a top view similar to the image below.

Use a Custom Active Call Screen
The CallView object presents an active call screen after a connected call. It displays controls for call-related actions and participants' information. Let's use it to show a custom ongoing call screen that mimics Telegram. The image below illustrates the SDK's default active/ongoing call screen.
Note: To display an ongoing call screen, you should run the app on an iPhone and use the companion Stream Video Web app to join the call with the same callId.

- Compose the active call views in TelegramActiveCallView.swift
//
//  TelegramActiveCallView.swift
//  BasicAdvancedTheming
//
//  Created by amos.gyamfi@getstream.io on 12.9.2023.
//

import SwiftUI
import StreamVideoSwiftUI

struct TelegramActiveCallView: View {
    @ObservedObject var viewModel: CallViewModel

    let tv = "📺"
let eightEmoji = "8️⃣"The sample code above creates a custom call header view and changes the layout of the call control menu.
Use the makeCallView method to substitute the default one by adding the implementation in CustomUIFactory.swift.
// 4. Custom Active Call screen
    public func makeCallView(viewModel: CallViewModel) -> some View {
        TelegramActiveCallView(viewModel: viewModel)
    }
When you join a call with two or more people, the active/ongoing call screen will look similar to the image below.

Wrap Up
This article demonstrated advanced theming and customization techniques of the Stream's SwiftUI Video SDK. It allows development teams to effortlessly build bespoke video calling, live streaming, and audio room experiences using the customization techniques outlined here. If you want to create a SwiftUI VoIP app for other use cases, head to the UI Cookbook section of our documentation.
