How to Install Flask with Nginx and Gunicorn on Debian 12
Flask is a microframework written in Python for developing modern web applications and API (Application Programming Interface). It's based on the Werkzeug toolkit and Jinja2 template. Instead of using complex architecture, Flask is a small web framework that easy-to-extent the core and is easy to learn because Flask has less code. Flask doesn't include the ORM but still has cool features like URL routing and a template engine.
Gunicorn or "Green Unicorn" is a WSGI HTTP Server with pre-fork worker mode. It's ported from the Ruby's Unicorn project. Gunicorn can be paired with several web frameworks, it's lightweight on server resources and fast. Gunicorn stands between your application and the web server, so you can pair the Gunicorn with a web server such as Nginx and Apache2.
The following guide will show you how to get started with Flask on Debian 12. You will install Flask, and create the first Flask application, then you will also configure the Flask application to run the Gunicorn, Supervisor, and Nginx web server.
Prerequisites
To proceed with this guide, have ready:
- A Debian 12 machine - Server or Desktop edition.
- A non-root user with sudo administrator privileges.
Installing Dependencies
Before installing Flask, you must ensure dependencies are installed on your system, such as Python 3.11, Pip, and venv module for creating Python virtual environment, Nginx that will be used as a reverse proxy, and Supervisor for managing the Flask application.
Complete the following steps to install dependencies for Flask.
First, run the apt update command below to refresh your Debian package index.
sudo apt update
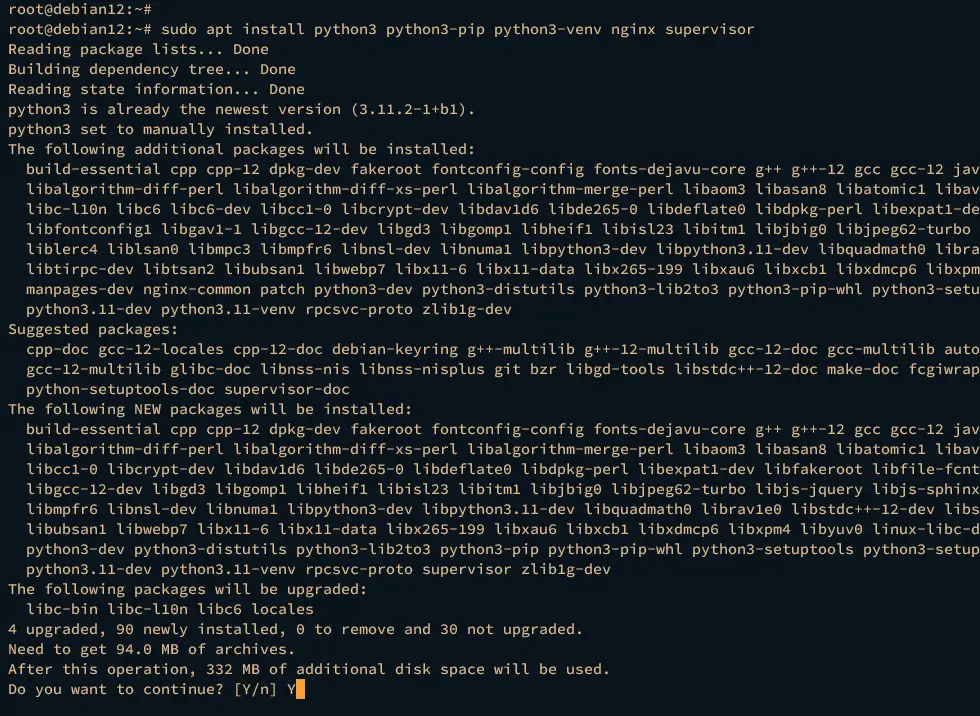
Once the package index is updated, execute the apt install command below to install package dependencies. This includes pip, venv, Nginx, and supervisor.
sudo apt install python3 python3-pip python3-venv nginx supervisor
Type y to confirm the installation and press ENTER to proceed.
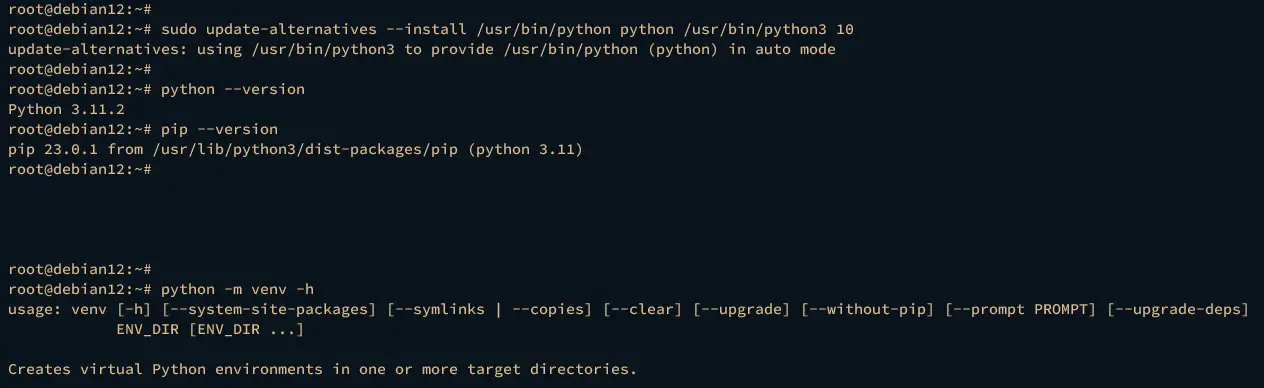
When everything is installed, run the following command to set up the default python command to python3.
sudo update-alternatives --install /usr/bin/python python /usr/bin/python3 10
Then verify the version of python, pip, and venv by executing the following command. This will ensure that required Python dependencies are installed.
python --version
pip --version
python -m venv -v
You should get similar output like this:
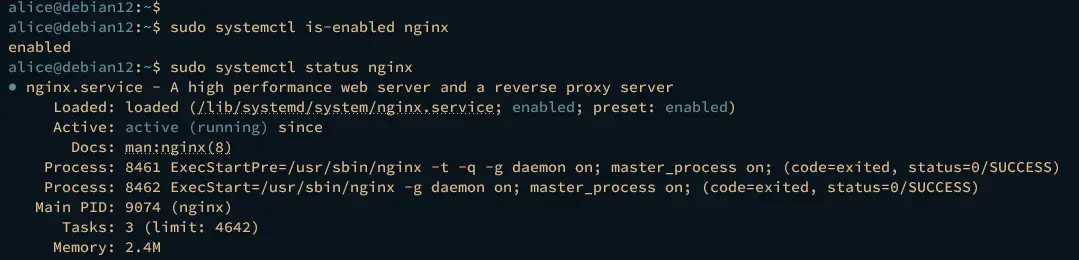
Next, verify the Nginx service using the systemctl command below to ensure that the service is enabled and running.
sudo systemctl is-enabled nginx
sudo systemctl status nginx
An output enabled confirms that Nginx will start automatically at system boot. And the status active (running) indicates that Nginx is running.
Lastly, verify the supervisor service to ensure that the service is enabled and running.
sudo systemctl is-enabled supervisor
sudo systemctl status supervisor
A similar output will be shown like this on your terminal:

Installing Flask and Gunicorn
In the following step, you will install Flask via pip and venv virtual environment. So, you will also learn how to create and manage Python virtual environment with Python module venv.
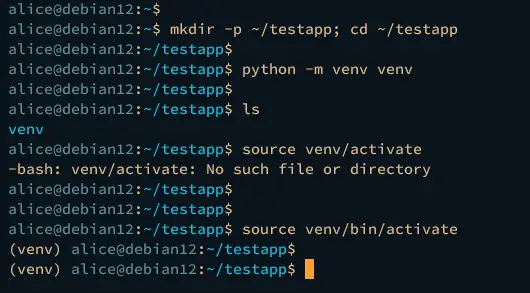
Create a new project directory ~/testapp and move into it via the cd command.
mkdir -p ~/testapp; cd ~/testapp
Create a new virtual environment venv using the command below. The new directory venv will be created after the command is executed.
python -m venv venv
Activate the venv virtual environment using the following command. Once activated, your shell prompt should become like (venv) user@hostname...
source venv/bin/activate
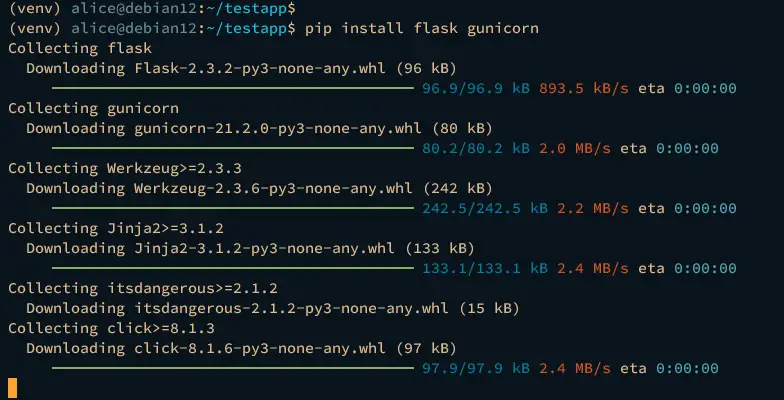
After venv is activated, execute the following pip command to install Flask and Gunicorn.
pip install flask gunicorn
When the installation starts, you should get the following output:
In case you want to deactivate from the venv virtual environment, use the following command.
deactivate
Creating First App with Flask
After Flask is installed on the virtual environment, now you will create the first Flask application that will show you a simple HTML page. You will also learn how to run and manage the Flask application.
Create a new file testapp.py using your preferable editor. The following example uses nano.
nano testapp.py
Insert the following Python script to create the first Flask application. The following code will render the index.html file within the default templates directory.
# testapp.py
from flask import Flask, render_template  # importing the render_template function

app = Flask(__name__)
# route to index page
@app.route("/")
def hello():
    return render_template('index.html')

if __name__ == ' __main__':
    app.run(debug=True)
When finished, save and exit the file.
Now create a new templates directory and create a new file index.html.
mkdir -p templates
nano templates/index.html
Insert the following HTML script into the file.
<html>
    <body>
        <h1><center>Hello Flask - Nginx and Gunicorn Debian 12!</center></h1>
    </body>
</html>
Save the file and exit the editor.
To test your application, run the testapp.py using from your shell like this:
flask --app testapp run
In the following output, you should see that your Flask application is running on localhost with default port 5000.

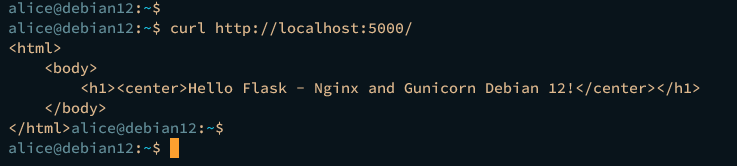
Open another terminal and connect to the server, then run the curl command below o verify your Flask application.
curl http://localhost:5000/
If everything goes well, you should see the source code of the index.html file that you've created.
You can now press Ctrl+c to terminate the process of your Flask application.
Running Flask Application with wsgi and Gunicorn
In this step, you will learn how to set up your Flask application to run with Gunicorn. The Gunicorn is a web server gateway interface HTTP server and supports multiple web frameworks, including Flask.
Create a new file wsgi.py in the same directory as testapp.py using the following editor.
nano wsgi.py
Insert the following Python script to integrate your Flask application with Gunicorn.
# import testapp Flask application
from testapp import app

if __name__ == "__main__":
    app.run(debug=True)
Save and exit the file when finished.
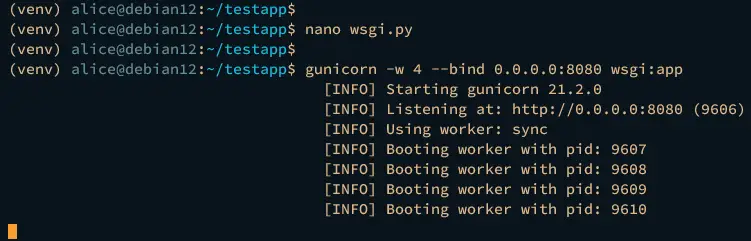
To ensure that your installation is successful, run the gunicorn command below. This will start your Flask application on port 8080 via the wsgi script and gunicorn.
gunicorn -w 4 --bind 0.0.0.0:8080 wsgi:app
If successful, you should see an output like this:
Now launch your web browser and visit the server IP address followed by port 8080, i.e: http://192.168.01.15:8080/. If everything goes well, you should get the index.html page that you've created.

Lastly, press Ctrl+c to terminate the Gunicorn process.
Running Flask Application with Supervisor
After configuring Flask with Guncorn, the next step you will integrate your Flask application with Supervisor. This allows you to manage Flask applications easily via a single command line supervisorctl, which is a command line interface for Supervisor.
Create a new supervisor configuration /etc/supervisor/conf.d/testapp.conf using the following nano editor command.
sudo nano /etc/supervisor/conf.d/testapp.conf
Insert the following configuration and be sure to change the details user, path Flask installation directory, and the app name.
[program:testapp]
command=/bin/bash -c 'source /home/alice/testapp/venv/bin/activate; gunicorn -w 3 --bind unix:/home/alice/testapp/testapp.sock wsgi:app'
directory=/home/alice/testapp
user=alice
group=www-data
autostart=true
autorestart=true
stdout_logfile=/home/alice/testapp/testapp.log
stderr_logfile=/home/alice/testapp/error.log
Save and close the file when finished.
Next, run the following systemctl command to restart the supervisor service and apply the changes. Then, verify the supervisor's service to ensure that the service is running.
sudo systemctl restart supervisor
sudo systemctl status supervisor
The output below indicates the supervisor service is running.

Lastly, execute the supervisorctl command below to verify the list of processes that running under the supervisor.
sudo supervisorctl status
If goes well, you should see the testapp is running under the supervisor, which is running via unix socket /home/alice/testapp/testapp.sock.
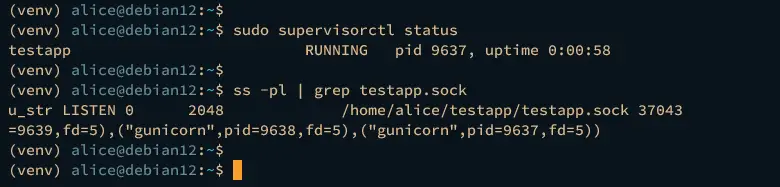
You can also verify the UNIX socket /home/alice/testapp/testapp.sock using the below command.
ss -pl | grep testapp.sock
Setting up Nginx as a Reverse Proxy
At this point, your Flask application is running in the background under the Supervisor. To make your application accessible, you will set up the reverse proxy, which you will be using is Nginx.
Create a new Nginx server block configuration /etc/nginx/sites-available/testapp using the following nano editor command.
sudo nano /etc/nginx/sites-available/testapp
Insert the following configuration and change the server_name with your local domain name.
server {
    listen 80;
    server_name testapp.local;

    location / {
        include proxy_params;
        proxy_pass http://unix:/home/alice/testapp/testapp.sock;
    }
}
Save the file and exit when you're done.
Now run the following command to activate the server block configuration testapp. Then verify the Nginx configuration to ensure that you've proper syntax.
sudo ln -s /etc/nginx/sites-available/testapp /etc/nginx/sites-enabled/
sudo nginx -t
If successful, you should get the output Syntax is OK - Test is successful.

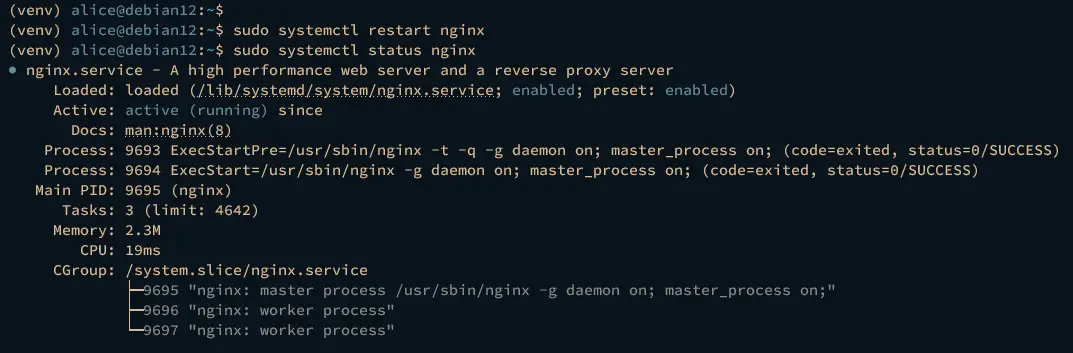
Lastly, run the systemctl command below to restart the Nginx service and apply the changes. Then, verify it to ensure that the service is running.
sudo systemctl restart nginx
sudo systemctl status nginx
The following output indicates that the Nginx service status is running.
Accessing Flask Application
If you're using a Linux client machine, use the following nano editor to edit the /etc/hosts file.
sudo nano /etc/hosts
Insert the domain name of your Flask application and the server IP address like this:
192.168.10.15 testapp.local
Save the file and exit the editor when you're done.
Now launch your web browser and visit the domain name of your Flask application http://testapp.local/. If everything goes well, you should see the HTML page of your Flask application.

Conclusion
As a wrap of this guide, you have finished the installation of Flask with Gunicorn and Nginx on Debian 12. You've also learned how to create and manage Python virtual environment and created the first Flask application that runs in the background under Supervisor and Nginx reverse proxy. Further guide, you may interest to create Flask applications with RDBMS databases such as MySQL/MariaDB and PostgreSQL.

