How to Install PostgreSQL and pgAdmin Tool on Debian 12
PostgreSQL is a free, open-source database management system focusing on extensibility and SQL compliance. PostgreSQL is an advanced and enterprise-class RDBMS (Relational Database Management System) that supports both SQL (relational) and JSON (non-relational) querying.
pgAdmin is a free and open-source graphical administration tool for PostgreSQL that is easy to use. It supports PostgreSQL 9.6 and above, and it can be run on multiple operating systems, including Windows, macOS, and Linux.
Follow this guide to install the PostgreSQL database server and the pgAdmin4 PostgreSQL administration tool to your Debian 12 system. Also, this guide will show you the basic operation for creating a PostgreSQL database and user via PostgreSQL shell (psql) and the pgAdmin4 administration tool.
Prerequisites
Before moving on, ensure you have gathered:
- A Debian 12 server.
- A non-root user with administrator privileges.
Installing PostgreSQL Database Server
PostgreSQL is an open-source and powerful object-relational database server with robust performance and features. PostgreSQL can be installed in almost any operating system, as for this, you will install PostgreSQL to your Debian 12 server via the official PostgreSQL repository.
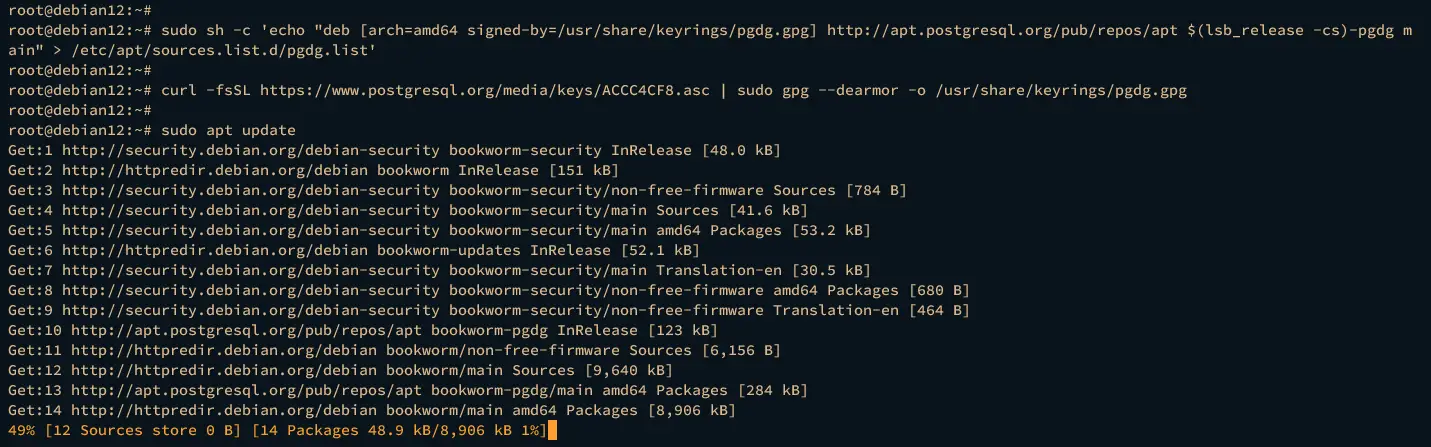
First, execute the following command to add the PostgreSQL repository for your Debian system.
sudo sh -c 'echo "deb [arch=amd64 signed-by=/usr/share/keyrings/pgdg.gpg] http://apt.postgresql.org/pub/repos/apt $(lsb_release -cs)-pgdg main" > /etc/apt/sources.list.d/pgdg.list'
Then add the GPG key of the PostgreSQL repository.
curl -fsSL https://www.postgresql.org/media/keys/ACCC4CF8.asc | sudo gpg --dearmor -o /usr/share/keyrings/pgdg.gpg
Now execute the following update on your available repositories and get the latest package information.
sudo apt update
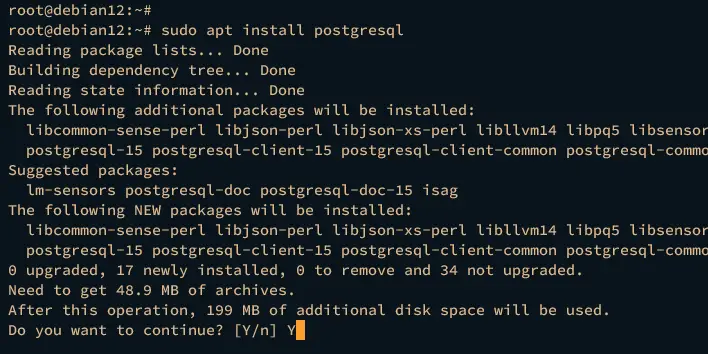
Install the latest version of the PostgreSQL server via the apt install command below. Type y to confirm the installation and proceed.
sudo apt install postgresql
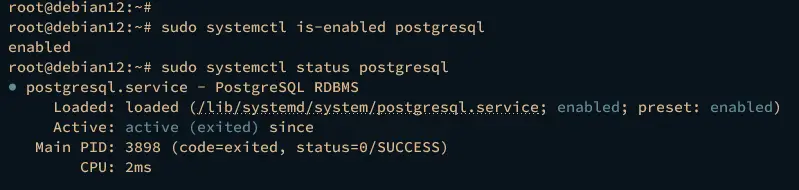
After PostgreSQL is installed, run the following systemctl command to ensure that the postgresql service is running.
sudo systemctl is-enabled postgresql
sudo systemctl status postgresql
The following output indicates that the postgresql service is running and enabled, and it will start automatically at system boot.
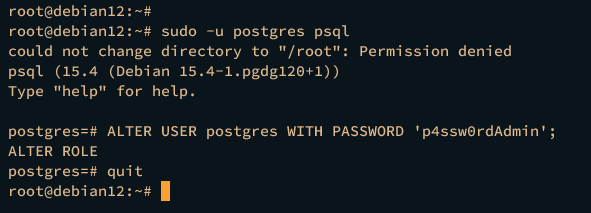
With PostgreSQL running, the first thing you must do is configure the password for the default user postgres, which can be done via the PostgreSQL shell.
Execute the psql following command to access the PostgreSQL shell.
sudo -u postgres psql
Now run the following query to change the password for the PostgreSQL default user postgres. Be sure to change the password in the following query.
ALTER USER postgres WITH PASSWORD 'p4ssw0rdAdmin';
Lastly, type quit to exit from the PostgreSQL shell.
Creating PostgreSQL User and Database via psql
In the following section, you will learn how to create a PostgreSQL user and database via PostgreSQL shell (psql). The psql is a client tool for interacting and managing the PostgreSQL server from the terminal, and it's installed by default during the PostgreSQL server installation.
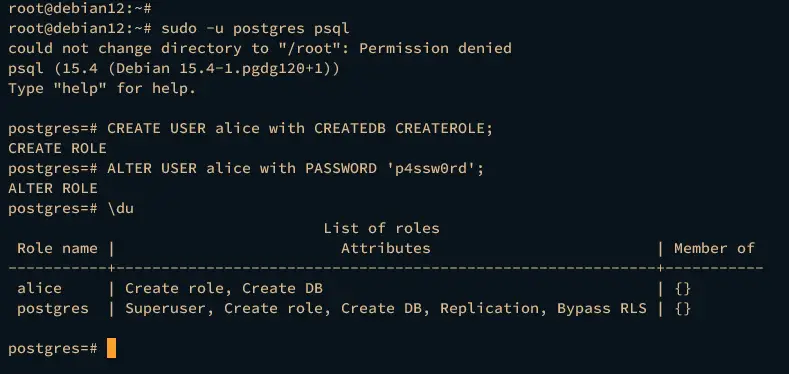
Log in to the PostgreSQL shell using the below psql command.
sudo -u postgres psql
Now execute the following queries to create a new PostgreSQL user and password. In this example, you will create a new user alice with password p4ssw0rd.
CREATE USER alice with CREATEDB CREATEROLE;
ALTER USER alice with PASSWORD 'p4ssw0rd';
Verify the list of available users on PostgreSQL using the following query. If successful, you should see the user alice created.
\du
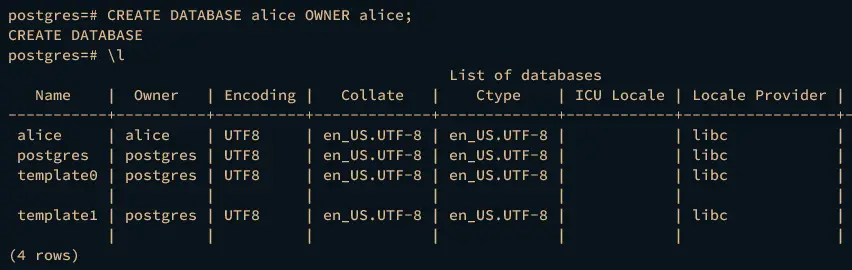
Next, run the following query to create a new database alice with the owner alice. Then, verify the list of available databases on your PostgreSQL server.
CREATE DATABASE alice OWNER alice;
\l
Lastly, type quit to exit from the PostgreSQL shell.
Installing PgAdmin Administration Tool
The pgAdmin is an open-source administration tool and development platform for the PostgreSQL database server. The pgAdmin comes with both Desktop and Server versions. The Desktop version can be installed on your local machine, while the Server version is web-based that will be run under the web server.
Complete the following steps to install and configure the pgAdmin4 alongside the PostgreSQL server on your Debian 12 system.
Add the pgAdmin4 repository to your system via the below command.
sudo echo "deb [arch=amd64 signed-by=/usr/share/keyrings/pgadmin4.gpg] https://ftp.postgresql.org/pub/pgadmin/pgadmin4/apt/$(lsb_release -cs) pgadmin4 main"\
| sudo tee /etc/apt/sources.list.d/pgadmin4.list
Then, run the following command to add the GPG key of the pgAdmin4 repository.
curl -fsSL https://www.pgadmin.org/static/packages_pgadmin_org.pub | sudo gpg --dearmor -o /usr/share/keyrings/pgadmin4.gpg
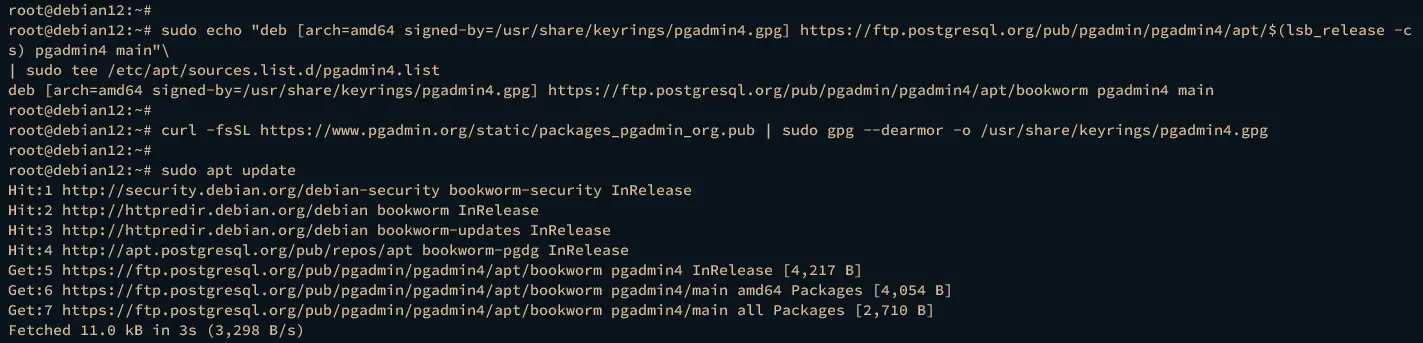
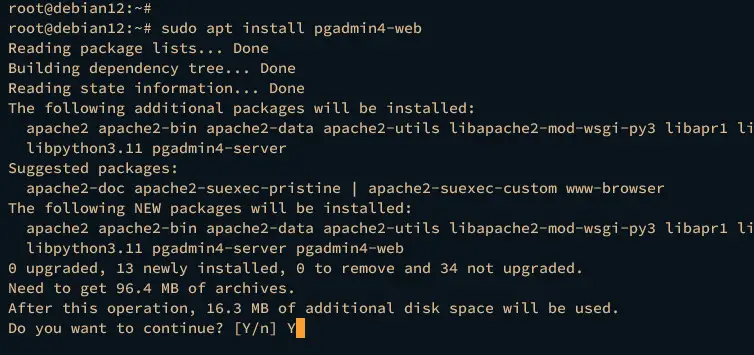
Now update and refresh your Debian package index. Then, install the pgadmin4-web package to your system. The following command will also install the Apache2 web server, which will be used to run pgAdmin4-web.
sudo apt update
sudo apt install pgadmin4-web
Input y to confirm the installation and press ENTER to proceed.
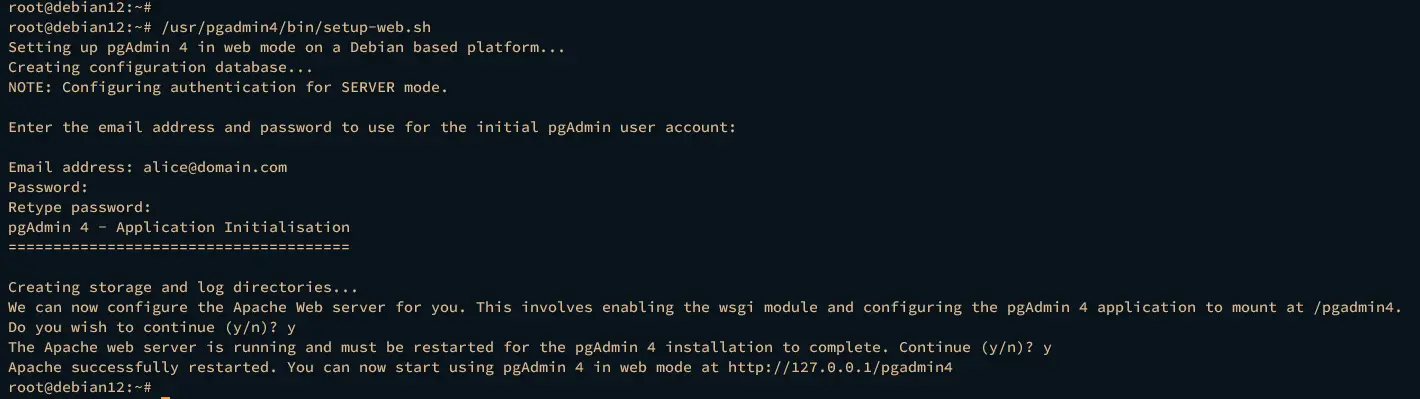
After pgAdmin4 is installed, run the script /usr/pgadmin4/bin/setup-web.sh to configure the admin user and password for your pgAdmin4 installation.
/usr/pgadmin4/bin/setup-web.sh
During the process, you will be asked about the following configurations:
- Input your admin user and password for pgAdmin4.
- Input y to enable the wsgi module and configure pgadmin4 to be accessible via path URL /pgadmin4.
- Input y to restart the Apache2 web server and apply the changes.
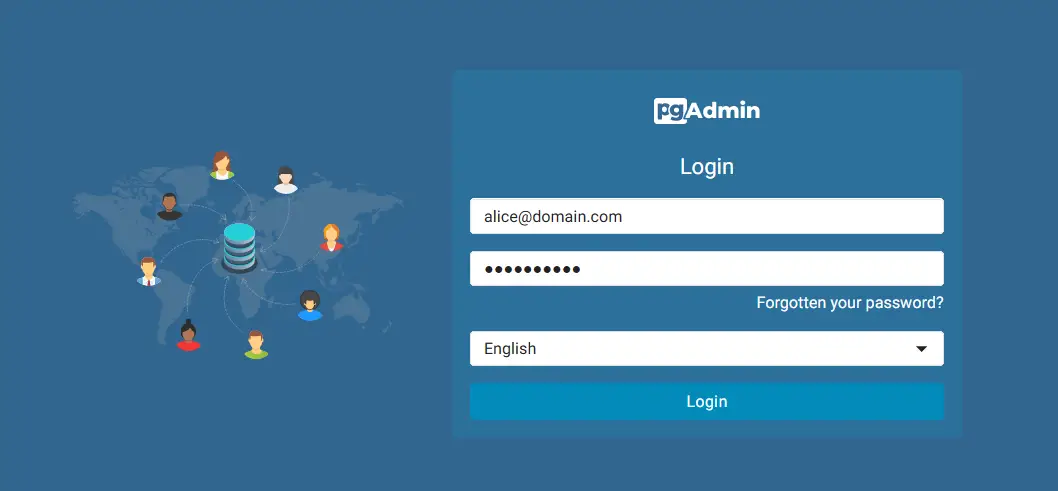
When everything is finished, launch your web browser and visit the pgAdmin4 installation via the server IP address followed by the path /pgadmin4, such as http://192.168.10.15/pgadmin4.
Input the admin email address and password for your pgAdmin4 installation, then click Login.
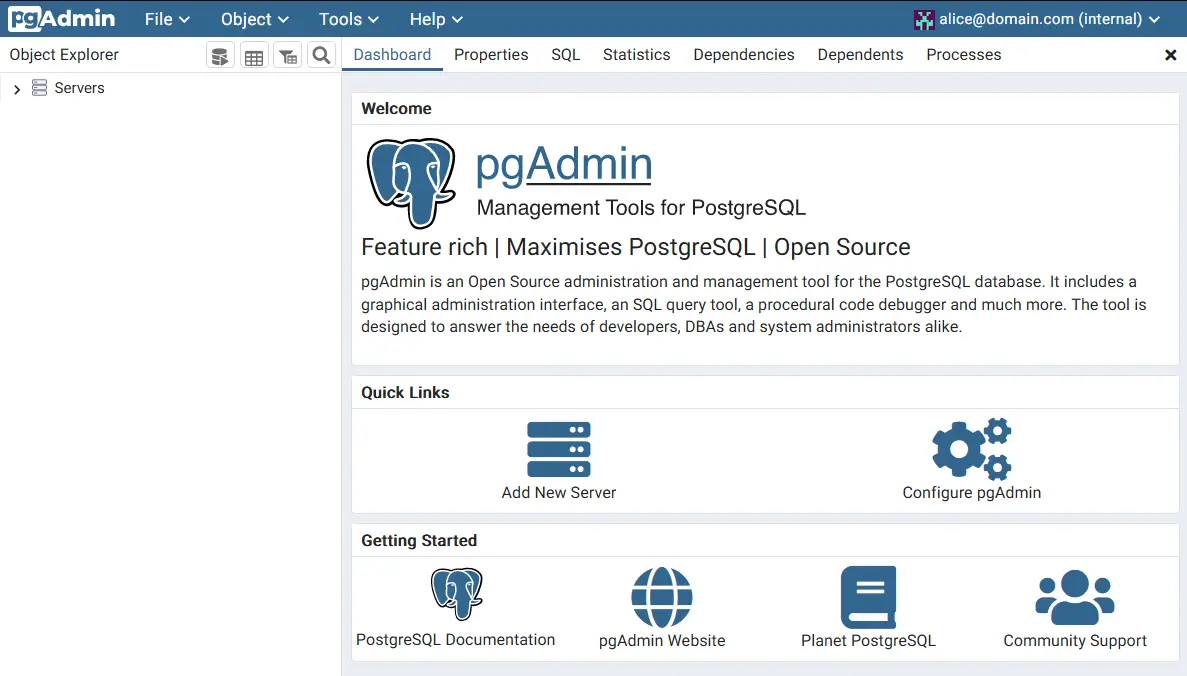
If everything goes well, you should see the pgAdmin4 dashboard like this:
Adding PostgreSQL Server to PgAdmin Administration Tool
After installing the pgAdmin4, you will add your PostgreSQL server to the pgAdmin4. Follow these steps to add your PostgreSQL server to the pgAdmin4, and be sure that you've logged into pgAdmin4 and have detailed credentials for your PostgreSQL server.
Within the pgAdmin dashboard, click the Add New Server menu.

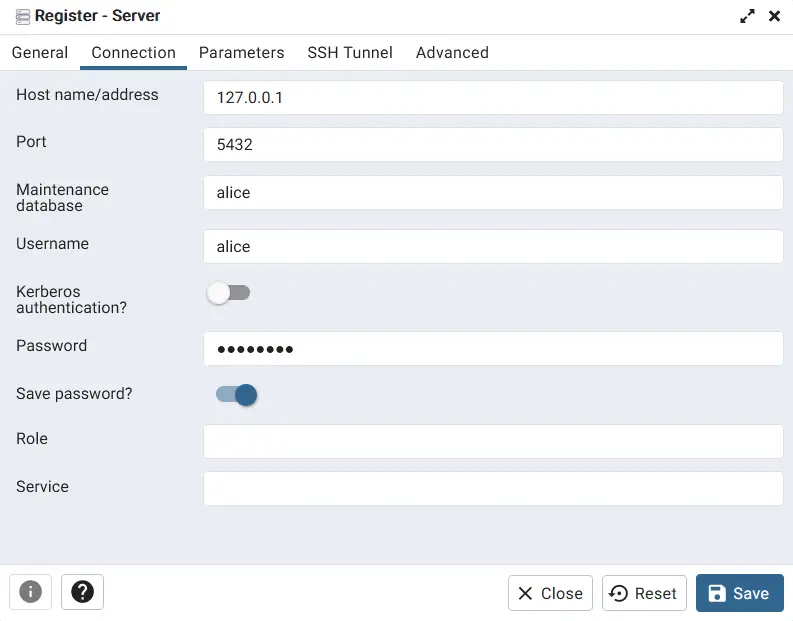
In the General tab, input the PostgreSQL server name and select the default group.
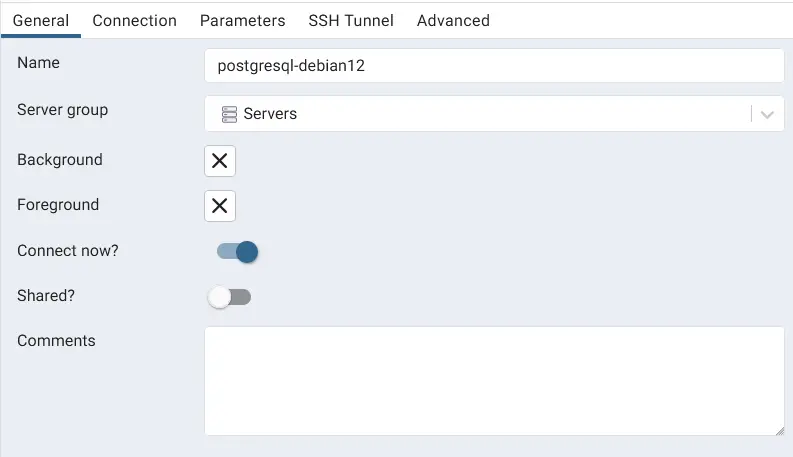
Now click on the Connection tab and configure the following:
- Host: an IP address of PostgreSQL server - In this example is localhost.
- Port: The default PostgreSQL server port is 5432.
- Username: Input the user that you will be using to log in to the PostgreSQL server.
- Password: Input your password.
- Turn on the Save password option.
Click Save to apply the changes.
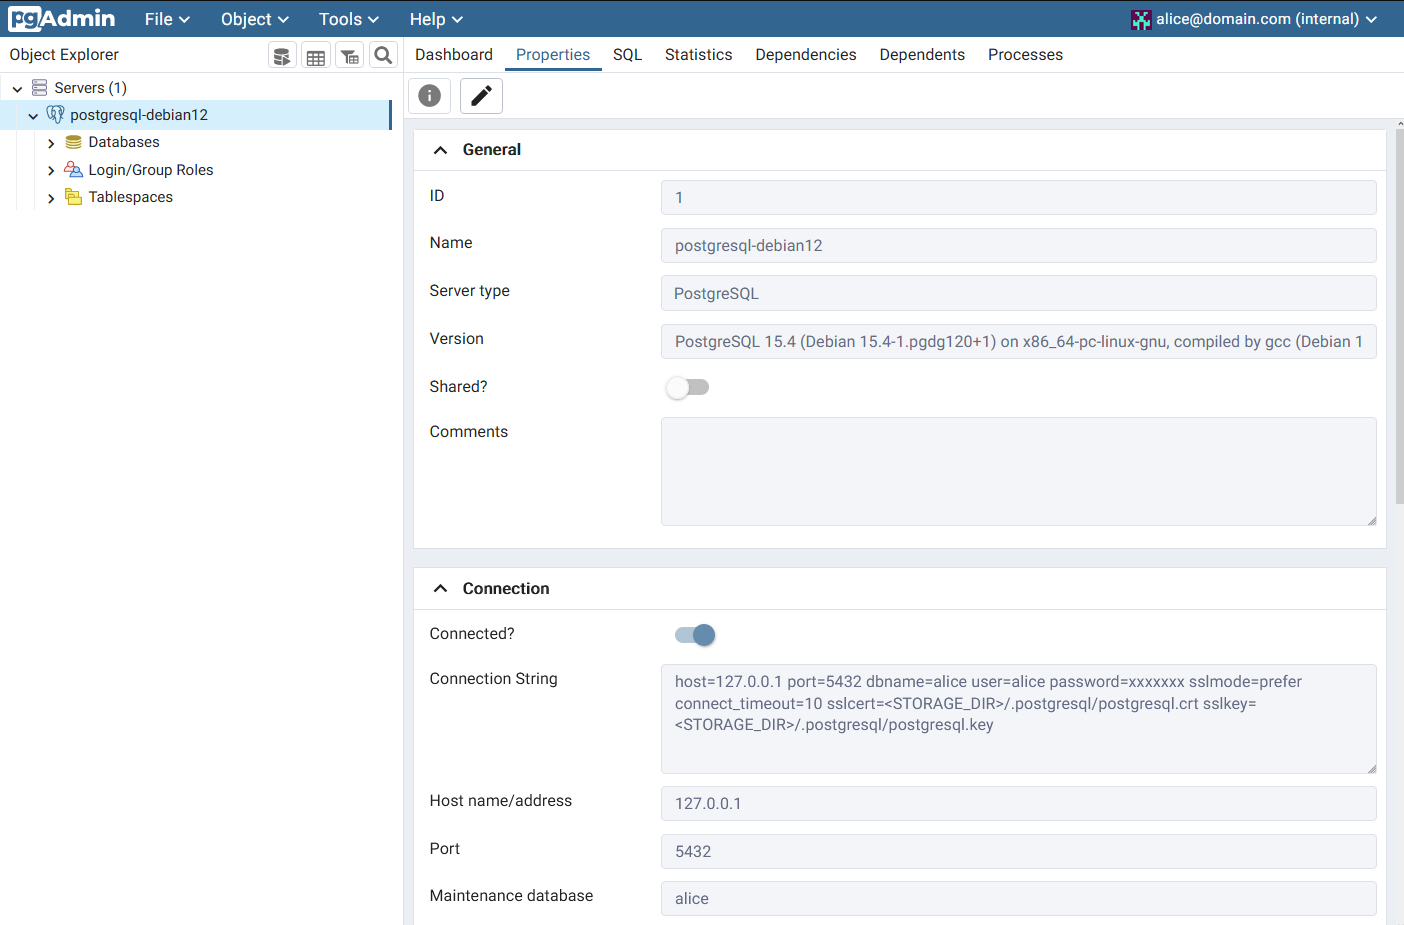
If your configuration was successful, you should see your PostgreSQL server on the left-side menu under the Servers section. Click on the Properties tab to get detail informations about your PostgreSQL server.
Creating Database via PgAdmin4
After adding your PostgreSQL server to pgAdmin4, you can manage PostgreSQL easily via the pgAdmin4 dashboard. In the following step, you will learn how to create a database via the pgAdmin4 dashboard.
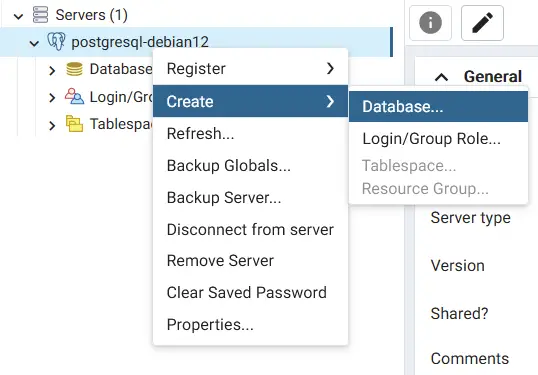
Right-click on the PostgreSQL server, select Create > Database.
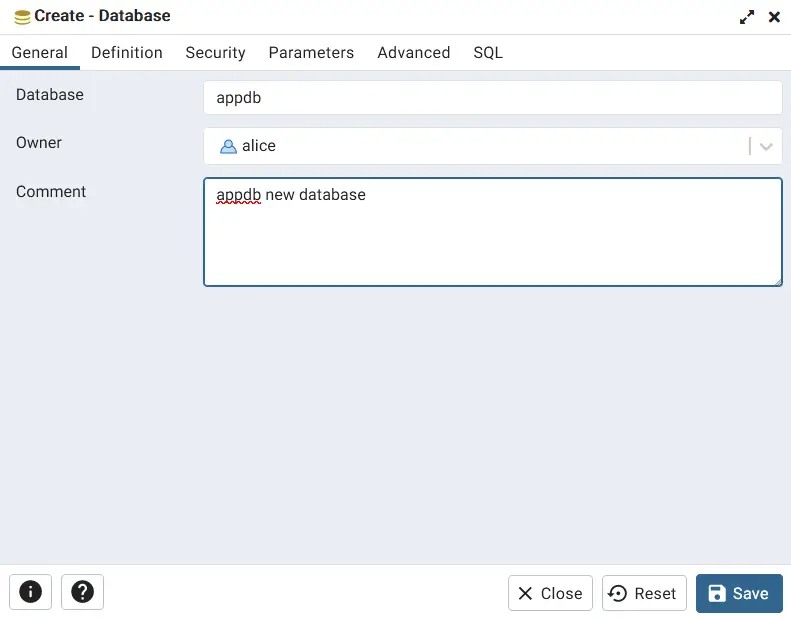
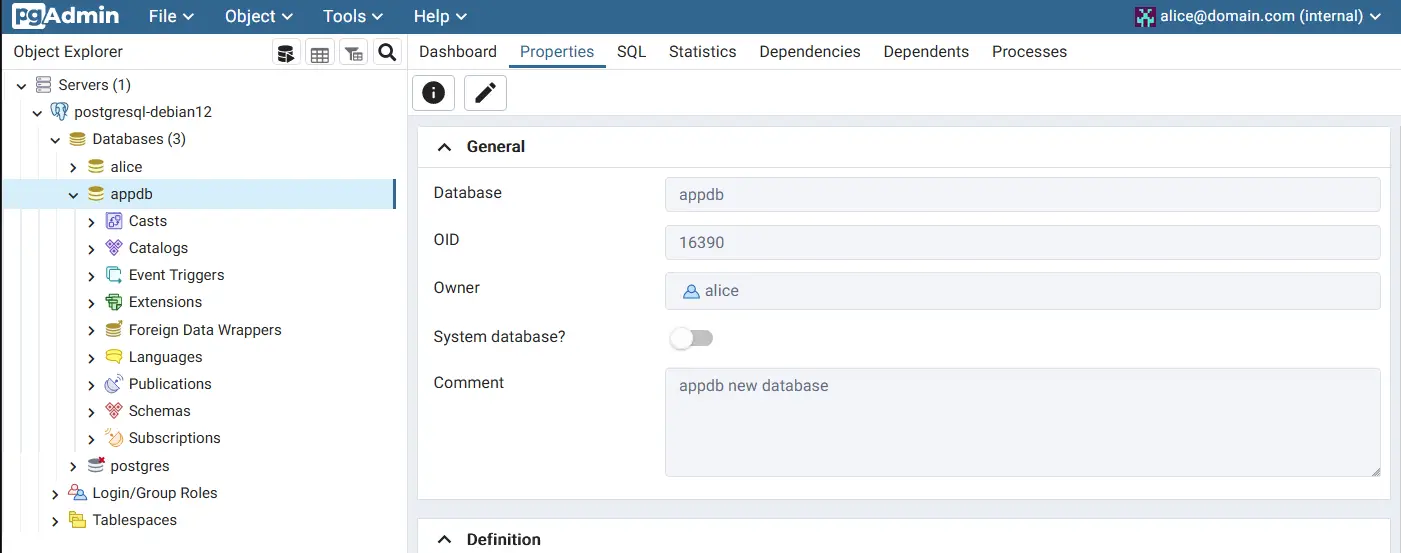
Input the Database name and select the Owner of the database, then click Save. In this example, you will create the database appdb with the owner alice user.
After the database is created, you should see the appdb database on the left-side menu under your PostgreSQL server.
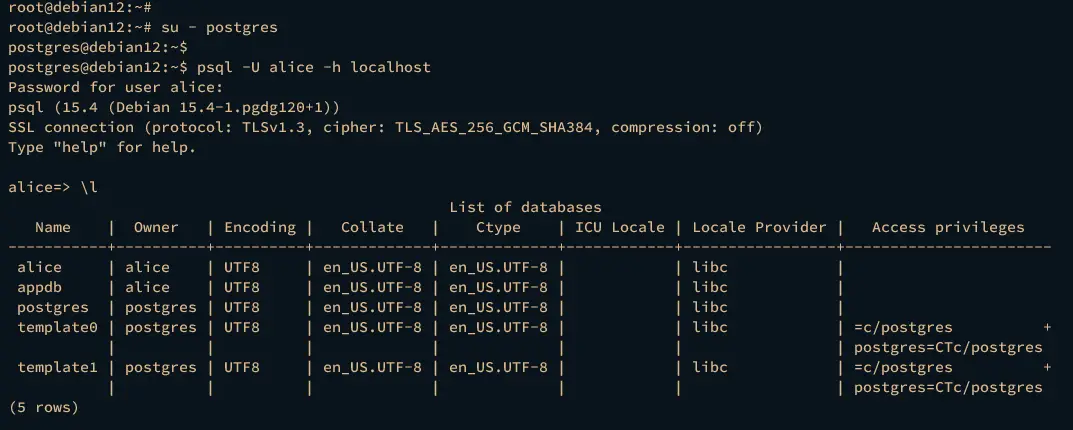
You can also verify it from the PostgreSQL shell. Execute the following command to log in to the PostgreSQL shell.
su - postgres
psql -U alice -h localhost
Input your password when prompted. Once logged in, verify the available databases on your PostgreSQL server via the following query.
\l
You should see the database appdb is created and available on the PostgreSQL server.
Conclsuion
After completing this guide, you've now installed the PostgreSQL database server on Debian 12 and installed the pgAdmin4 PostgreSQL administration tool on top of it. You've also learned how to create a database and user via PostgreSQL shell (psql) and learned how to connect to the PostgreSQL server via pgAdmin4. Furthermore, you've created a database from the pgAdmin4 dashboard.

