
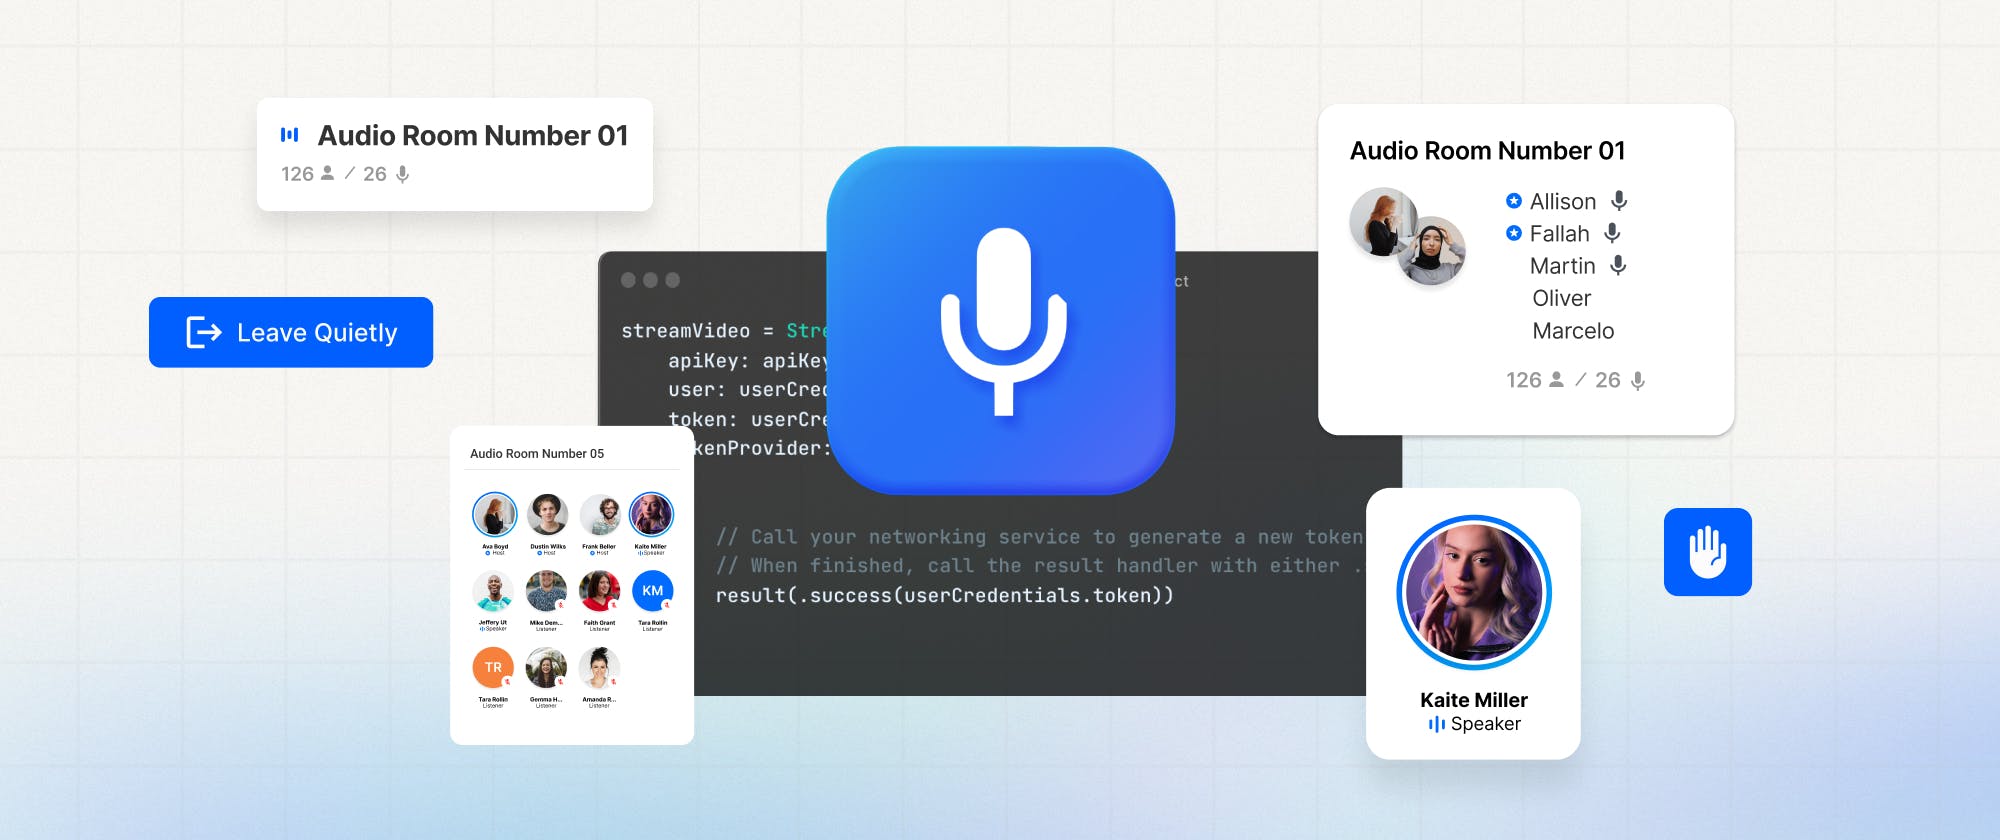
What we will be building
The video above represents the completed SwiftUI project for this tutorial. You can download the demo app from GitHub. The demo app categorizes guests into speakers and listeners when they join a room. When people join a room as listeners, they can request permission from the room's moderators to speak. When a room admin accepts the request, the particular listener becomes a speaker and moves to the speakers' category. Additionally, listeners can leave a room quietly without others noticing it.
Where Do I Start?
If you are new to Stream Video, visit our video SDK's landing page and the iOS documentation to learn more, create an account and get started.
Key Features of the iOS Drop-In Audio Chat Room App
The following summarises the key features of the app.
- Community Roles: You can define custom roles for community moderators ( a host and a co-host). A community or room admin can allow guests to speak upon request.
- Phone and RTMP Broadcasting: You can use your phone to stream ultra-low latency audio rooms from Stream's Global Edge Network.
- Backstage Mode: A host and a co-host can have conversations and configure sound before going live.
- Scale to Millions: Unlimited participants can join a room.
- Leave Quietly: Leave a room with no one notified.
- Leverage the Companion Web App: Multiple listeners can join, ask the room moderator to grant permission to speak, and leave a room from the sample web audio room.
- Speaker Detection: The app automatically recognizes the active speaker and visualizes when someone is talking with audio/sound indicators.
Step 1: Prepare Your Working Environment
Begin by creating a new SwiftUI app in Xcode and set permissions for users’ microphone usage. You should select your main app’s name in Xcode’s Project Navigator and head to the Info tab to all a new privacy description for the microphone.

Next, install the Stream iOS Video SDK in the Xcode project by selecting File -> Add Package Dependencies. Copy and paste https://github.com/GetStream/stream-video-swift.git in the search bar that appears and click Add Package. Uncheck the StreamVideoUIKit option illustrated in the image below since you have a SwiftUI app. Click Add Package to finish the installation process.

Step 2: Setup the SDK: Create and Join a Room
To create and join a room, you should create an authenticated user. Then, use the user's credentials, such as an API key and token, to initialize the Stream client to establish a connection to a room. The steps involved in this section are as follows.
Create a User
- First, create a user object as:
let user = User(
    id: userId,
    name: "Martin"
)
When building a production SwiftUI audio room app, you should sync the user via a server-side integration from your back end. For this demo, we have made the user credentials ready for you. To run the app, you should use the user credential from a companion audio room tutorial in our documentation. It may be similar to the image below.

- Initialize the Stream Client
Use your API key and a user token to initialize the Stream client as:
self.client = StreamVideo(
    apiKey: apiKey,
    user: user,
    token: .init(stringLiteral: token)
)- Create and Join a Room
The code snippet below illustrates how to create and join a room after you create the user and the Stream client.
self.call = client.call(callType: "audio_room", callId: callId)

try await call.join(
    create: true,
    options: .init(
        members: [
            .init(userId: "john_smith"),
            .init(userId: "jane_doe"),
        ],
        custom: [
            "title": .string("SwiftUI heads"),
            "description": .string("Talking about SwiftUI")
        ]
    )
)- Putting It All Together in Your Swift App Conformer File
Put all the above together in your app conformer Swift file (main app file) VoiceDormApp.swift. Check out this GitHub Gist for VoiceDormApp.swift for the details. When you replace the user credential placeholders and run the app, you will see a screen similar to the image below. It displays the audio room's ID and the number of participants who have joined the room.
Note: You can find and replace the user credentials under step 3 of this tutorial in our documentation.

The above screen may not seem to be interesting to you yet. Don't worry, because it aims to show you the room's connection status. The fun part will follow soon. Continue reading to build the UIs for the room.
Step 3: Add UIs For Sections of the App
An audio room in the app has three main sections. These are a description of the room, a container for displaying participants, and a view of controls for the room.
Add a Room’s Description

Control-click anywhere in the Project Navigator and add a new SwiftUI file DescriptionView.swift. Replace the content of the file with the following code.
import SwiftUI
import StreamVideo
struct DescriptionView: View {
    var title: String?
    var description: String?
    var participants: [CallParticipant]
    @State private var animatedValue = 0

    var body: some View {
        NavigationStack {
            VStack {
                VStack {
                    Text("\(title ?? "")")
                        .font(.title)
.frame(maxWidth: .infinity, alignment: .leading)The code above displays a toolbar that shows the number of participants in a room.
Create Participants View
Add another SwiftUI file and name it ParticipantsView.swift. Use the sample code below as a substitute for the file's content.
import SwiftUI
import StreamVideo
struct ParticipantsView: View {
    var participants: [CallParticipant]
    var body: some View {
        LazyVGrid(columns: [GridItem(.adaptive(minimum: 100))], spacing: 20) {
            ForEach(participants) {
                ParticipantView(participant: $0)
            }
        }
    }
}
Here, we display all the guests who have joined the room with SwiftUI’s adaptive grid layout.
Add the Controls View
Finally, add ControlsView.swift and use the code below for its content.
import SwiftUI
import StreamVideo
// Controls view with mic update. pass the microphone ObservedObject from the ControlsView
struct ControlsView: View {
    var call: Call
    @ObservedObject var state: CallState
    var body: some View {
        HStack {
            MicButtonView(microphone: call.microphone)
            LiveButtonView(call: call, state: state)
        }
    }
}
Step 4: Add Backstage Controls
The room's moderators can configure the microphone and set when the room should go live. This area in the app is called Backstage. Let's create these controls.
Add the Mic Button View
Create MicButtonView.swift and add the code below to handle the status of the microphone.
import SwiftUI
import StreamVideo
// You can read & manage the microphone status from the call.microphone published variable
struct MicButtonView: View {
    @ObservedObject var microphone: MicrophoneManager
    var body: some View {
        Button {
           Task {
               try await microphone.toggle()
           }
        } label: {
            Image(systemName: microphone.status == .enabled ? "mic.circle" : "mic.slash.circle")
                .foregroundColor(microphone.status == .enabled ? .red : .primary)
                .font(.title)
        }
    }
}
Add Live Button View

When a room is ready to go live, there must be a button to trigger the “Go Live” action. On the other hand, if the room is already live, a button tap should trigger it to stop. Add LiveButtonView.swift and the code below for its content to handle the scenario described above.
import SwiftUI
import StreamVideo
struct LiveButtonView: View {
    var call: Call
    @ObservedObject var state: CallState
    var body: some View {
        if state.backstage {
            Button {
                Task {
                    try await call.goLive()
                }
            } label: {
                Text("Go Live")
            }
.buttonStyle(.borderedProminent).tint(.green)Step 5: Add Participant’s View

A room participant's view is a simple container that displays the participant's profile image and name. Add ParticipantView.swift and the code below for its content to create this view.
import SwiftUI
import StreamVideo
struct ParticipantView: View {
    var participant: CallParticipant
    var body: some View {
        VStack{
            ZStack {
                Circle()
                    .fill(participant.isSpeaking ? .green : .white)
                    .frame(width: 68, height: 68)
                AsyncImage(
                    url: participant.profileImageURL,
                    content: { image in
                        image.resizable()
.aspectRatio(contentMode: .fit)Step 6: Request Permission to Speak

This view allows listeners to ask a room's moderators for permission to express their opinions in a room conversation. Add PermissionRequestsView.swift and use the following code sample for its content.
import SwiftUI
import StreamVideo
struct PermissionRequestsView: View {
    var call: Call
    @ObservedObject var state: CallState
    var body: some View {
        if let request = state.permissionRequests.first {
            VStack {
                Text("\(request.user.name) requested to \(request.permission)")
                HStack(spacing: 32) {
                    Button {
                       Task {
                           try await call.grant(request: request)
                       }
} label: {Participants Grouping
Based on user roles, our audio room app categorizes a room's participants into speakers and listeners. To do this, you should filter the room's participants and update the information in the app's scene in the app conformer file VoiceDormApp.swift.
ParticipantsView(
     participants: call.state.participants.filter {$0.hasAudio}
)Note: In VoiceDormApp.swift, we create the user object and use the credentials (API key and token) to initialize the Stream video client. We create and join the audio room to establish a successful connection.
The scene section of VoiceDormApp.swift displays the room's description and filters the participants into speakers and listeners.
When you follow the steps above, your audio room app will be similar to the video below.
Step 7: Join a Room From the Web

To achieve a screen similar to the video in the previous section, you should use our companion audio room web app to join as many room participants as you wish. To separate the guests into speakers and listeners, use the request to speak feature of the web app and grant permissions on the iOS app screen when you run the app on an attached iPhone in Xcode.
Conclusion
As you have experienced from this tutorial, it was fun to build a great iOS drop-in audio chat room app that runs on Stream's Global Edge Network. With our Global Edge Network, your development team members do not need to scratch their hairs about achieving ultra-low latency, reliability, and scalability of your streaming apps.
In this tutorial, you discovered how to create and join an audio room, how to display and manage a room's participants, how to configure a room before it goes live, and how guest users can request to speak. Check out the other use cases such as audio/video calling and live streaming tutorials in our documentation.
