How to Install Laravel on Debian 12
Laravel is a web application framework based on PHP for building enterprise web applications. It's a free and open web framework that follows model-view-controller (MVC) architecture and is based on Symfony. it provides elegant syntax that allows you to create applications with clean code and is easy to read and understand.
Laravel is an enterprise-grade web framework for building enterprise and robust full-stack web applications. Laravel applications can be delivered fastly without headaches, from the development process to the production.
Pairing the Laravel web framework with another framework such as React or Vue allows you to create a beautiful and interactive frontend. Also, its supports multiple databases including MySQL, PostgreSQL, SQLite, and SQL Server. Laravel also provides scaffolding for secure authentication.
In this guide, we'll show you how to install Laravel step-by-step on Debian 12, so you can get started with the Laravel project. We'll show you how to install Laravel with Apache2 web server, MariaDB, and PHP 8.2.
Prerequisites
Below is the requirement that you need to follow this guide:
- A Debian 12 server.
- A non-root user with administrator privileges.
Installing LAMP Stack
The first step you need to do is install the LAMP Stack (Apache2, MariaDB, and PHP) to your Debian server. Then, you will also verify both Apache2 and mariaDB services to ensure that the service is running.
Before installing packages, run the apt update command to update and refresh Debian repositories.
sudo apt update
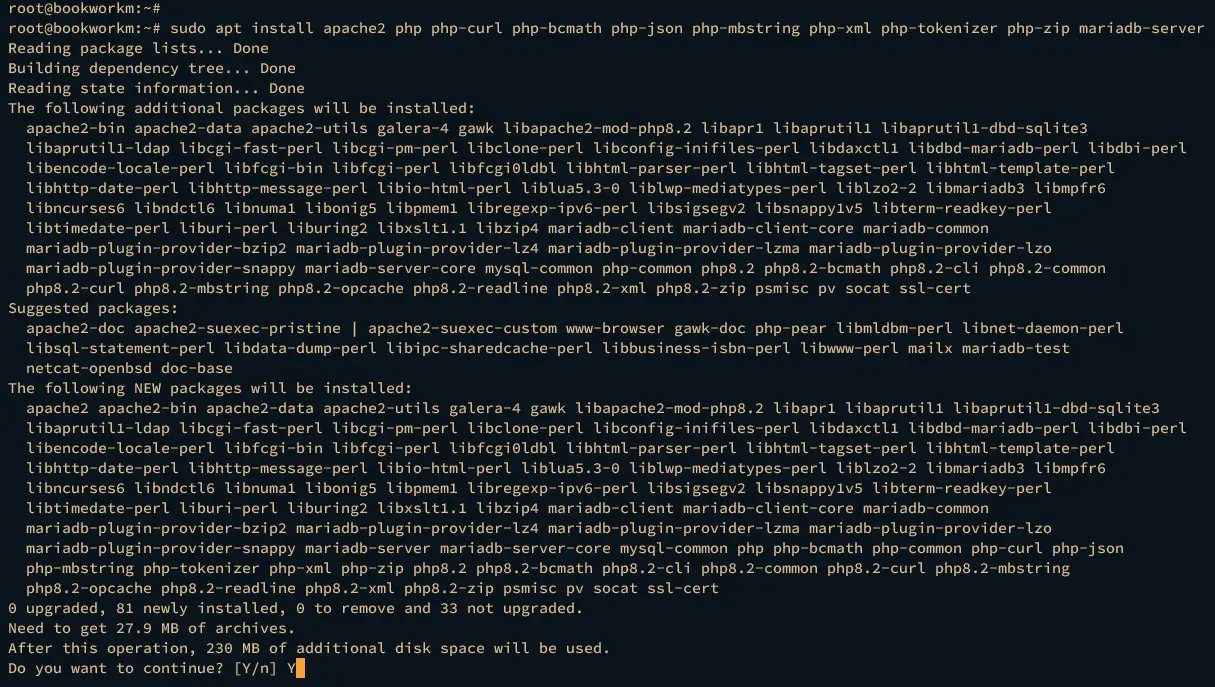
Once the repository is updated, install the LAMP Stack (Apache2, PHP, and MariaDB) packages by executing the apt install command below. The following command also installs some of the PHP extensions that are needed by Laravel.
sudo apt install apache2 php php-curl php-bcmath php-json php-mysql php-mbstring php-xml php-tokenizer php-zip mariadb-server
Enter y to confirm and proceed with the installation.
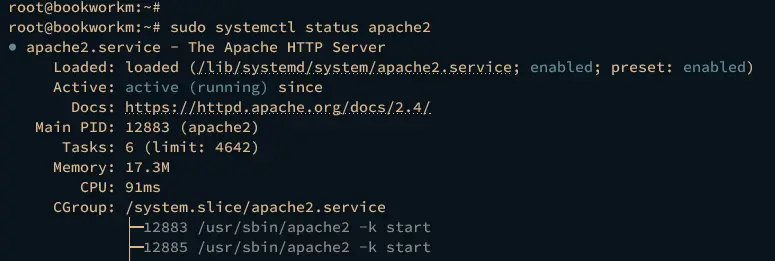
With the LAMP Stack installed, run the below systemctl command to verify the apache2 and mariadb services. If the service running, you should get the output active (running).
sudo systemctl status apache2
sudo systemctl status mariadb
For apache2 service, you should get about put like this:
And below is the mariadb service status.

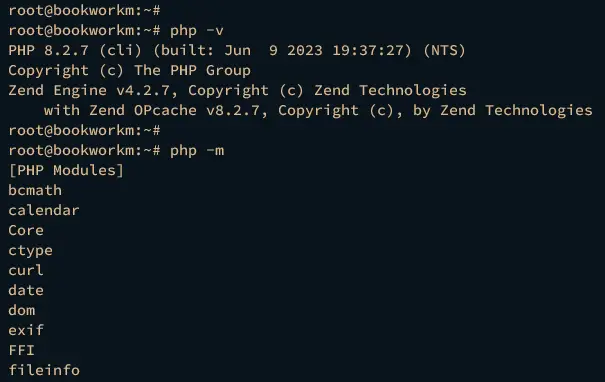
Next, run the php command below to verify the PHP version and enabled modules on PHP. You should see PHP 8.2 installed with some modules enabled, such as curl, date, dom, and exif.
php -v
php -m
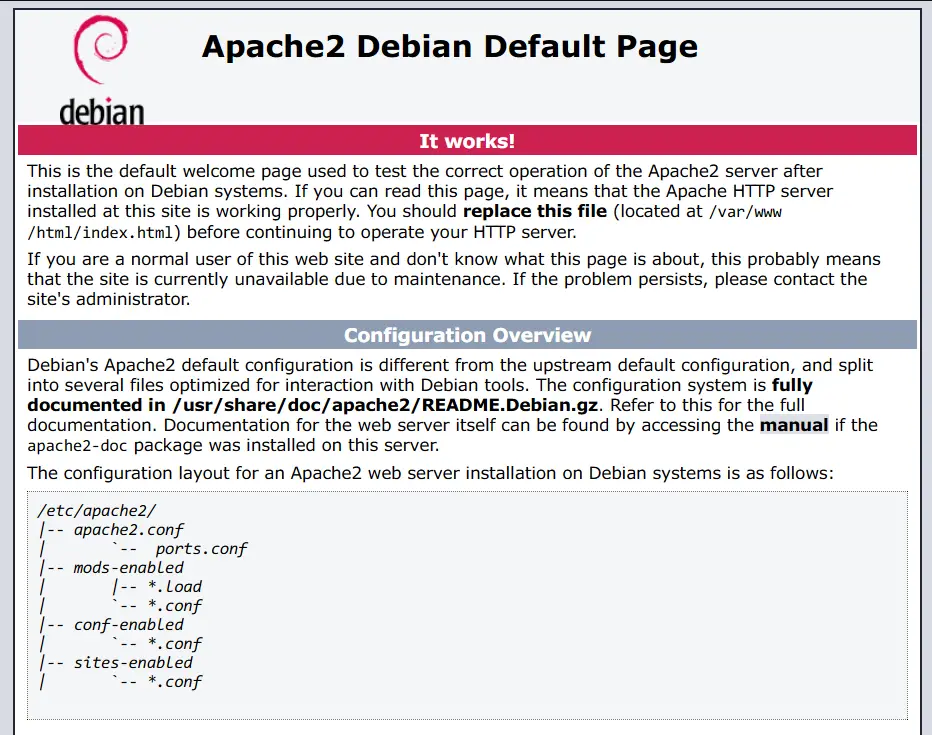
Lastly, launch your web browser and visit your Debian server IP address (i.e: http://192.168.10.15/). If the installation is successful, you should get the index.html page of the Apache web server.
Configuring PHP
To install Laravel, there are some PHP extensions you must enable, such as fileinfo, mbstring, and openssl. You can enable those extensions via the php.ini file.
Use the following nano editor to open the PHP configuration file /etc/php/8.2/apache2/php.ini.
sudo nano /etc/php/8.2/apache2/php.ini
Uncomment the following lines to enable the extension fileinfo, mbstring, and openssl.
extension=fileinfo
extension=mbstring
extension=openssl
When finished, save the file and exit the editor.
Next, run the following systemctl command to restart the apache2 service and apply the changes.
sudo systemctl restart apache2
Then, ensure the PHP extensions fileinfo, mbstring, and openssl are enabled by running the php command below.
sudo php -m
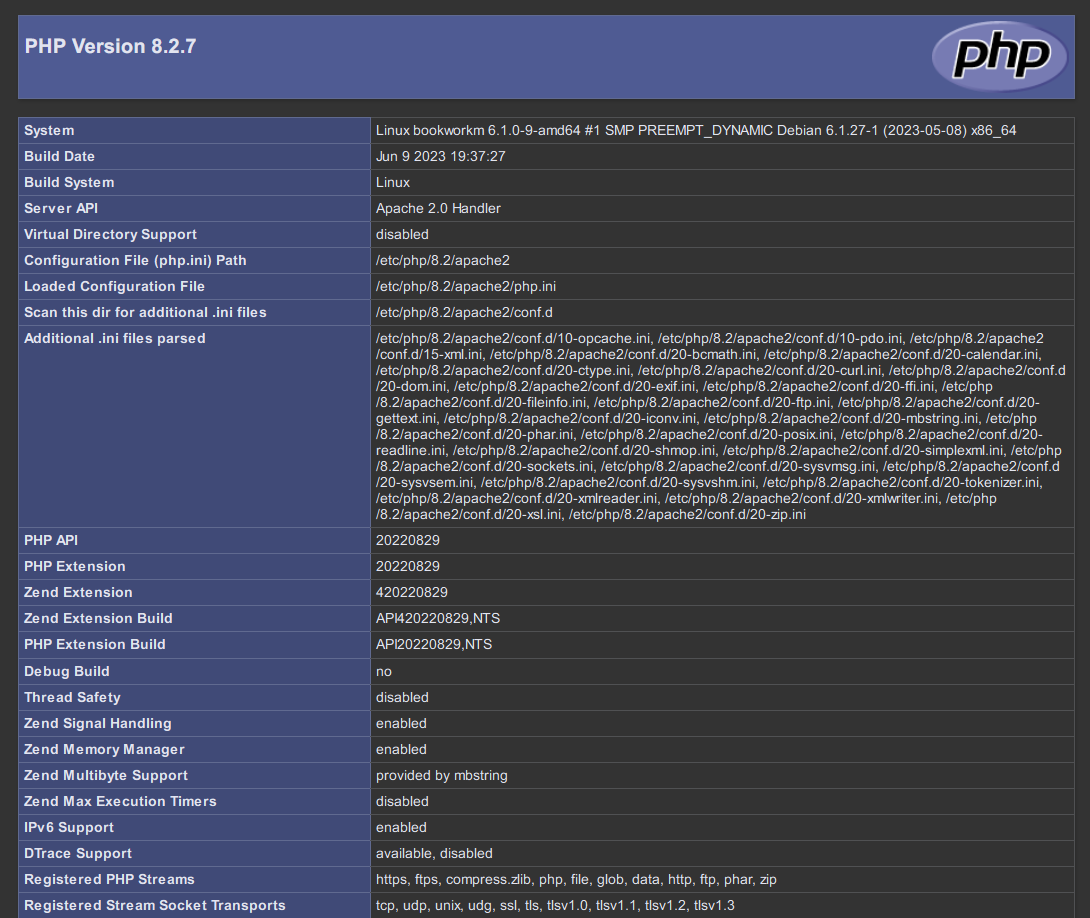
Now create a new phpinfo file /var/www/html/info.php using the below command. If your installation of PHP and Apache2 web server success, this will show you detailed information about your PHP installation.
echo "<?php phpinfo(); ?>" > /var/www/html/info.php
Open up your preferable web browser and visit the server IP address followed by the path file info.php (i.e: http://192.168.10.15/info.php). If successful, you should see an output like this:
Configuring MariaDB Server
After configuring PHP, you will be configuring your MariaDB server, which includes securing the MariaDB server via the mariadb-secure-installation utility, then creating a new database and user for your Laravel project.
First, run the mariadb-secure-installation command below to secure your MariaDB server installation. During the process, you will be asked for some of MariaDB configurations, input Y to confirm the configuration or n for No.
sudo mariadb-secure-installation
Below are some of the MariaDB settings that you will be asked about during the process:
- Press ENTER when asked for the MariaDB root password.
- Input n when asked about the unix_socket authentication method.
- Input Y to set up a new password for the MariaDB root user. Then, input the new password and repeat.
- Input Y to remove the default anonymous user from MariaDB.
- Then, input Y again to disable remote login for the MariaDB root user.
- Input Y to remove the default database test from MariaDB.
- Lastly, input Y again to reload table privileges and apply the changes.
After configuring the MariaDB server, you need to create a new database and user for your Laravel project.
Log in to the MariaDB server via the mariadb command below. Input your MariaDB password when prompted.
sudo mariadb -u root -p
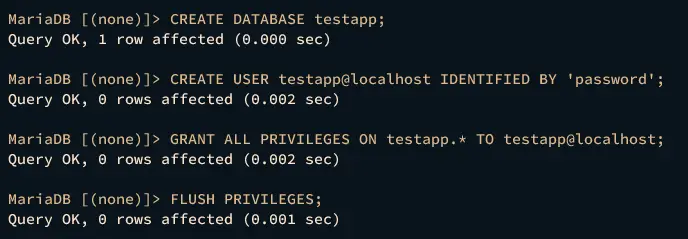
Now run the following queries to create a new database testapp, the user testapp, and the password password. Be sure to change the password in the following query.
CREATE DATABASE testapp;
CREATE USER testapp@localhost IDENTIFIED BY 'password';
GRANT ALL PRIVILEGES ON testapp.* TO testapp@localhost;
FLUSH PRIVILEGES;
Next, run the query below to ensure the user testapp can access the database testapp.
SHOW GRANTS FOR testapp@localhost;
The output below confirms that the user testapp can access the database testapp.
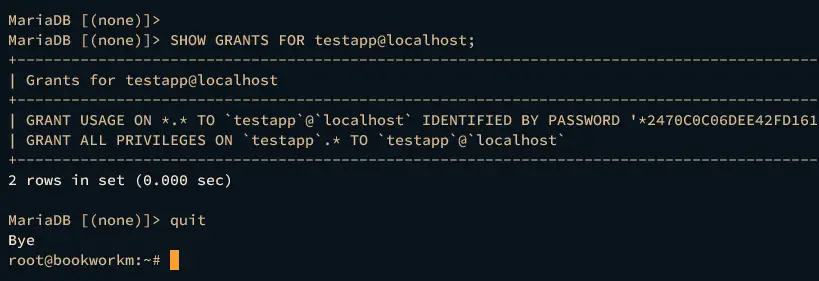
Lastly, type quit to exit from the MariaDB server and complete this step.
Installing Composer
Laravel can be installed in many ways, and the easiest is to install it via Composer, the PHP package manager. Now, you will install the Composer to your Debian server.
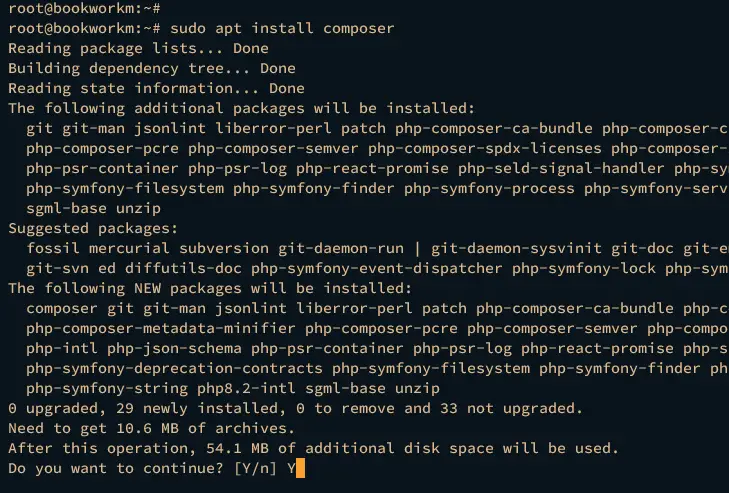
To install the Composer PHP package manager, run the apt install command below. Type y when prompted to proceed with the installation.
sudo apt install composer
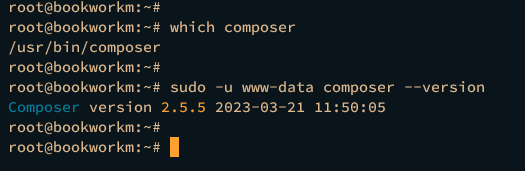
After installation is finished, run the following command to locate the binary file of the composer and verify the composer version.
which composer
sudo -u www-data composer --version
The composer binary file is located at /usr/bin/composer and the composer 2.5.5 is installed.
Creating First Laravel Project
With everything in place, you're ready to install and create the first Laravel project. You will create the first Laravel project with MariaDB as the database.
First, create a new document root directory /var/www/testapp for your project and change the ownership to www-data user via the command below. You'll also create directories /var/www/.cache and /var/www/.config that will be used by Composer.
sudo mkdir -p /var/www/{.cache,.config,testapp}
sudo chown -R www-data:www-data /var/www/{.cache,.config,testapp}
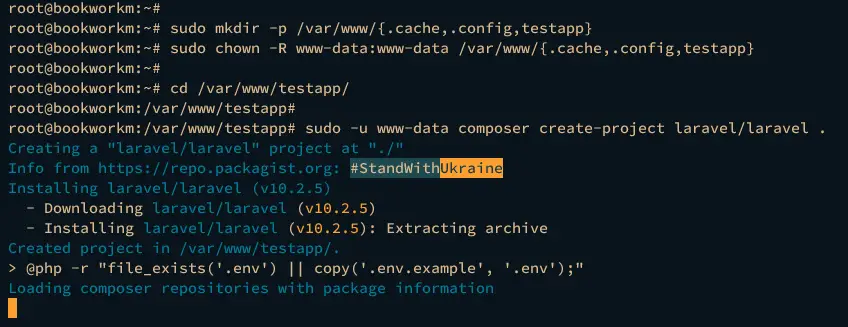
Now move to the /var/www/testapp/ directory and run the composer command below to create the first Laravel project. Your first Laravel project is stored at /var/www/testapp/ directory.
cd /var/www/testapp/
sudo -u www-data composer create-project laravel/laravel .
During the installation, you should get a similar output like this:
With the Laravel project created, next you will set up the database for your project via the .env configuration file. The .env file is used as the base configuration for your Laravel project.
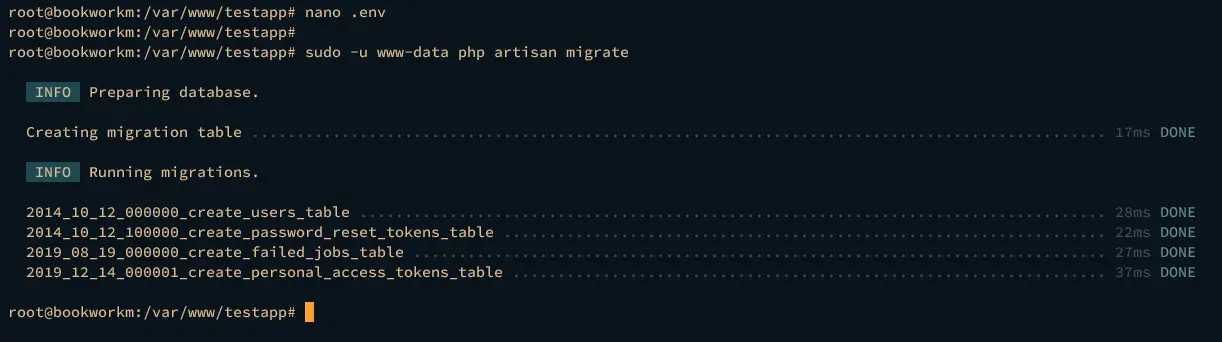
Use the following nano editor command to open the .env file.
nano .env
Change the APP_URL parameter with the local domain name of your Laravel project. This way, you can access your project via a local domain name. In this case, the domain name is testapp.local.
APP_URL=http://testapp.local
Now change the database configuration DB_CONNECTION to mysql and change the details of DB_DATABASE, DB_USERNAME, and DB_PASSWORD with your details MariaDB database and user.
DB_CONNECTION=mysql
DB_HOST=127.0.0.1
DB_PORT=3306
DB_DATABASE=testapp
DB_USERNAME=testapp
DB_PASSWORD=password
When finished, save the file and exit the editor.
Now run the following command to migrate the database. This will create tables for the Laravel project.
sudo -u www-data php artisan migrate
Configuring Apache Virtual Host
In the following step, you will create a new Apache2 virtual host configuration for your Laravel project. After that, you must activate the virtual host and verify Apache2 configurations, then restart the Apache2 web server to take effect.
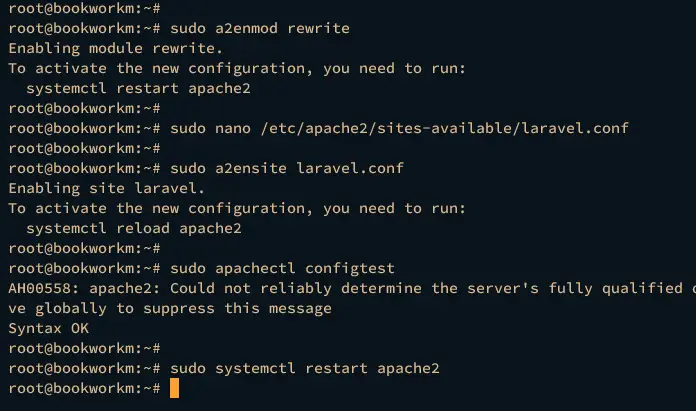
Before creating Apache2 virtual host configuration for Laravel, you must enable the rewrite module on Apache2 via the command below.
sudo a2enmod rewrite
Use the following nano editor command to create the Apache2 virtual host configuration /etc/apache2/sites-available/laravel.conf.
sudo nano /etc/apache2/sites-available/laravel.conf
Insert the following configuration and change the parameter ServerName with your domain name.
<VirtualHost *:80>

    ServerAdmin [email protected]
    ServerName testapp.local
    DocumentRoot /var/www/testapp/public

    <Directory />
            Options FollowSymLinks
            AllowOverride None
    </Directory>
    <Directory /var/www/testapp>
            AllowOverride All
    </Directory>

    ErrorLog ${APACHE_LOG_DIR}/error.log
    CustomLog ${APACHE_LOG_DIR}/access.log combined

</VirtualHost>
When finished, save the file and exit the editor.
Next, run the following command to activate the virtual host configuration laravel.conf and verify Apache2 configurations. If you've proper configurations, you should get the message such as Syntax OK.
sudo a2ensite laravel.conf
sudo apachectl configtest
Lastly, restart the apache2 service by executing the command below and applying the changes that you've made.
sudo systemctl restart apache2
Accessing Laravel
If you're on a Linux client, modify the /etc/hosts file via the nano editor command below.
sudo nano /etc/hosts
If you're on a Windows machine, modify the file C:\Windows\System32\drivers\etc\hosts.
Insert the domain name of your Laravel project and your Debian server IP address like this:
192.168.10.15 testapp.local
Save the file and exit the editor.
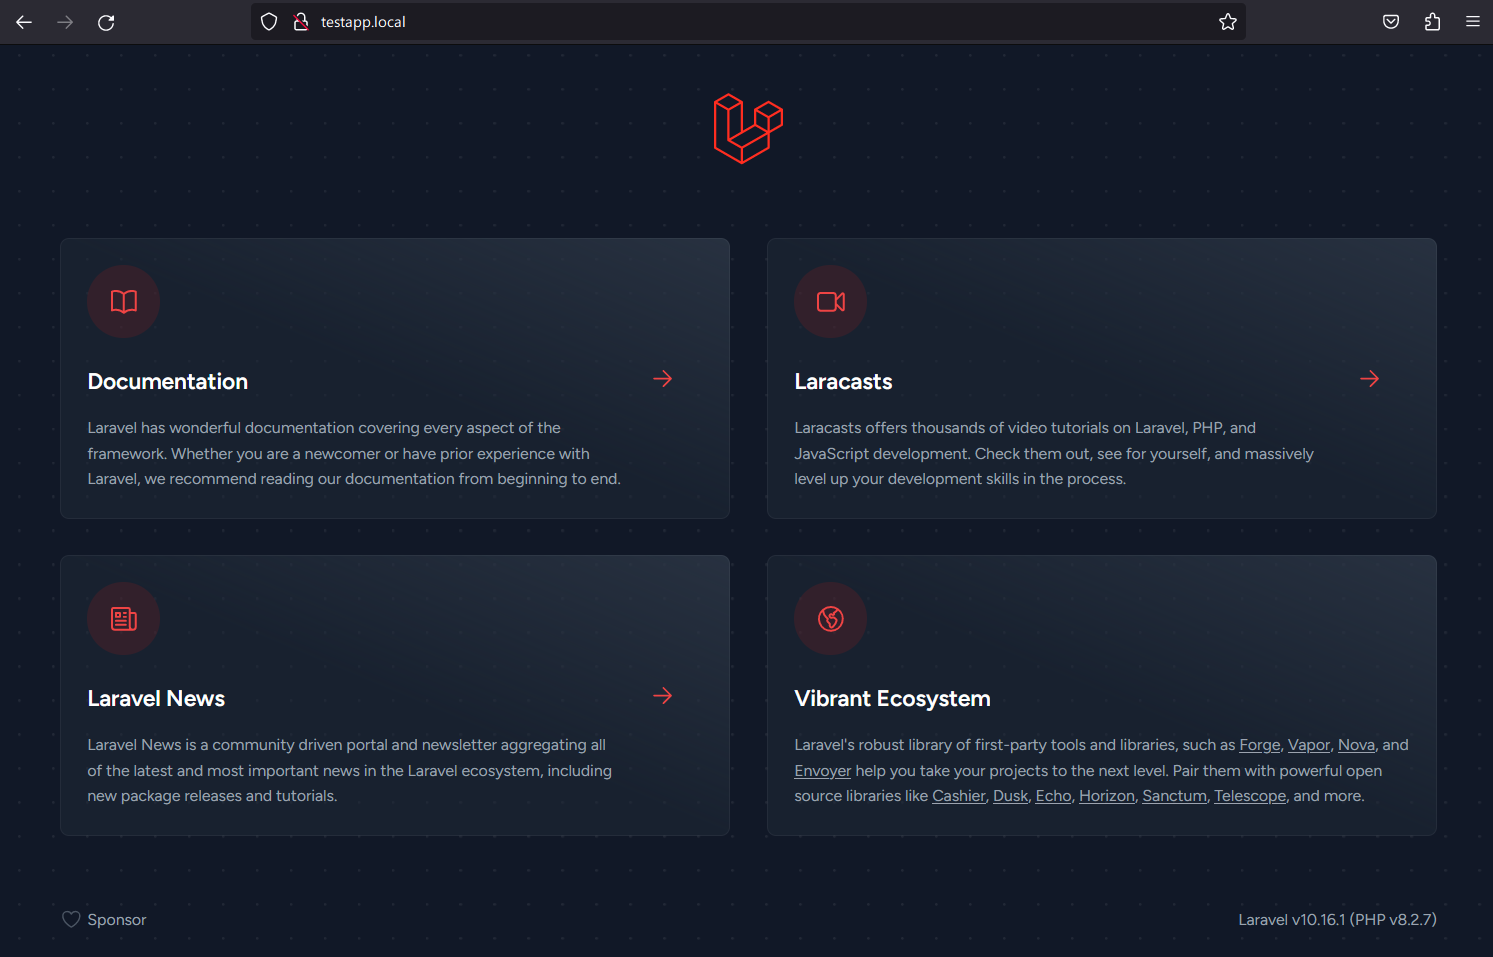
Lastly, launch your web browser and visit the local domain name of your Laravel project (i.e: http://testapp.local). If successful, you should get a similar page of Laravel like this:
Conclusion
In conclusion, you have installed Laravel with LAMP Stack (Apache2, MariaDB, and PHP) on the Debian 12 server. You've also installed Composer, the PHP package manager, and used it as the media installation for Laravel. With this in mind, you can now develop your application using the Laravel web framework and MariaDB as the database for your applications.

