How to Install and Use Docker on Debian 12
Docker is a set of open platforms that provides OS-level virtualization for developing, shipping, and running applications. In Docker, applications are delivered as packages standardized units called containers. Each container is isolated from one another, including libraries and configuration files, but each can communicate through well-defined network channels.
As for now, Docker has become a standard for software development and DevOps. Millions of developers use it to build, share, and run applications daily at work. It's used in the application development lifecycle, from the development itself, to testing and production. With Docker, the application becomes more flexible and portable. Applications can be run anywhere in different operating systems easily, but the application itself remains the same from libraries to configuration files.
In this guide, I'll show you how to install Docker Engine on the latest Debian 12. You will also go over the management of Docker service via systemctl, and learn the basic usage of Docker for managing images, containers, and volumes.
Prerequisites
Ensure you have the following requirements before going with this guide:
A Debian 12 machine - You can use whether Debian desktop or server.
A non-root user with sudo administrator privileges.
Installing Docker Engine
To get the latest version of Docker Engine, you must install it via the official Docker repository. You must add the Docker repository and GPG key first, then install Docker Engine.
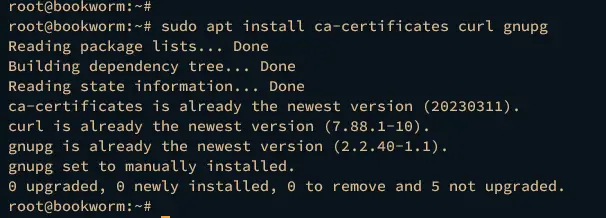
First, update and refresh the Debian repository to get the latest package information. Then, install the basic package ca-certificates, curl, and gnupg to your Debian system. When prompted, input y and press ENTER to confirm.
sudo apt update
sudo apt install ca-certificates curl gnupg
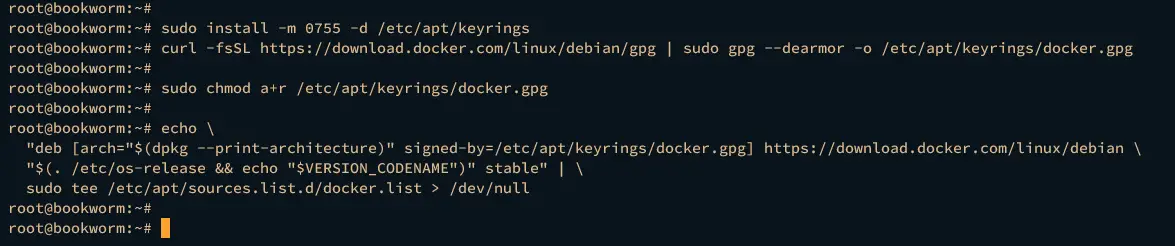
Now run the following commands to set up the GPG key for the Docker repository, which will be stored at /etc/apt/keyrings/ directory.
sudo install -m 0755 -d /etc/apt/keyrings
curl -fsSL https://download.docker.com/linux/debian/gpg | sudo gpg --dearmor -o /etc/apt/keyrings/docker.gpg
sudo chmod a+r /etc/apt/keyrings/docker.gpg
After that, execute the command below to add the Docker repository for the Debian system. At the time of this writing, Docker provides repositories for both Debian 11 and 12.
echo \
  "deb [arch="$(dpkg --print-architecture)" signed-by=/etc/apt/keyrings/docker.gpg] https://download.docker.com/linux/debian \
  "$(. /etc/os-release && echo "$VERSION_CODENAME")" stable" | \
  sudo tee /etc/apt/sources.list.d/docker.list > /dev/null
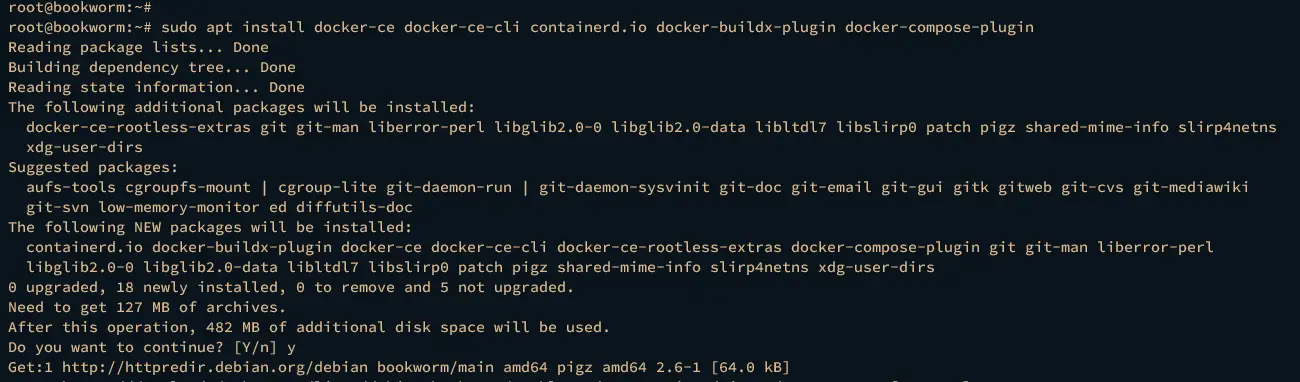
Next, refresh the Debian repository again and install Docker Engine via the apt command below. This command will also install the containerd, which is the default container engine, the Docker buildx plugin as the default build a plugin with BuildKit capabilities, and the Docker compose as a plugin.
sudo apt update
sudo apt install docker-ce docker-ce-cli containerd.io docker-buildx-plugin docker-compose-plugin
Input y when prompted and press ENTER.
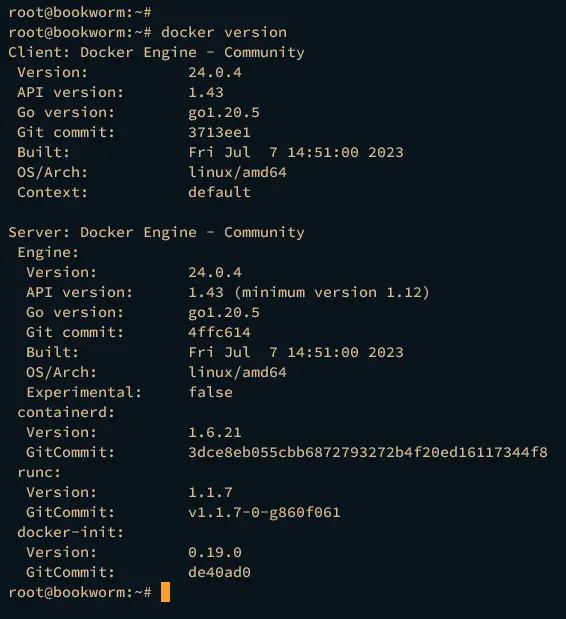
After installing Docker, run the following command to check the version. During this writing, Docker v24.0.4 is installed on Debian 12.
docker version
Managing Docker Service
The Docker Engine required the containerd, which is used as the default container engine. Both containerd and docker should be running on your Docker host. Now, you will learn how to manage Docker and containerd services via the systemd utility systemctl.
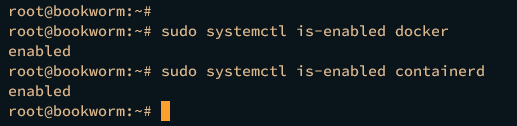
On Debian, the docker and containerd services are automatically enabled. Execute the following command to verify both docker and containerd services.
sudo systemctl is-enabled docker
sudo systemctl is-enabled containerd
If enabled, you should get the output enabled on your terminal.
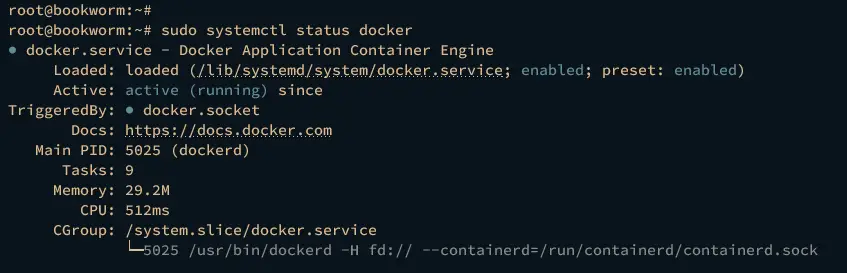
Now execute the command below to check the service status of docker and containerd.
sudo systemctl status docker
sudo systemctl status containerd
If the service is running, the message active (running) will be displayed on your terminal.
Next, you can run the below command to start the docker and containerd services.
sudo systemctl start docker
sudo systemctl start containerd
If required to stop Docker, execute the following commands to stop Docker and containerd services.
sudo systemctl stop docker
sudo systemctl stop containerd
Lastly, restart using the following command if making changes to the Docker configuration.
sudo systemctl restart docker
sudo systemctl restart containerd
Configuring Docker for Non-root Users
By default, only the root can run the container with Docker Engine. To allow non-root users, you must add the user to the docker group. To add your user to the docker group, complete these sections, then run the hello-world container.
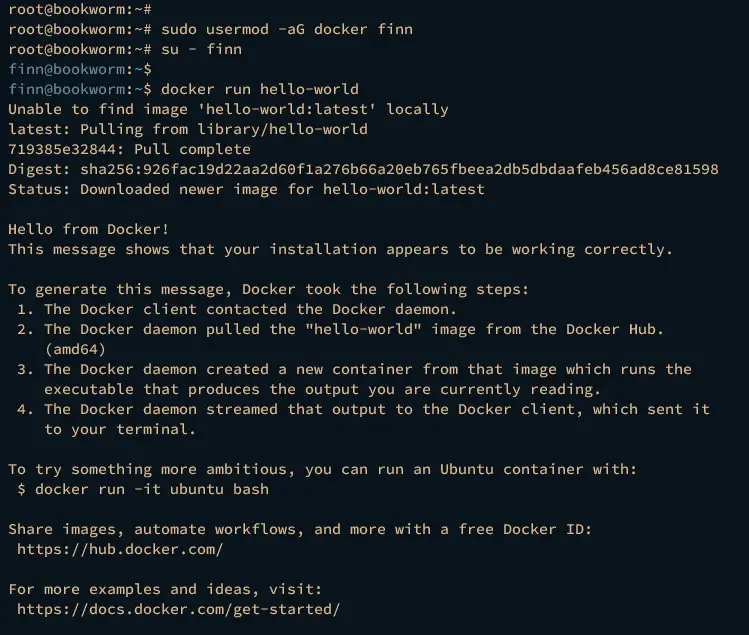
Execute the usermod command below to add your user to the docker group and log in as your user via su.
sudo usermod -aG docker username
su - username
Now enter the following command to run the hello-world container via your user.
docker run hello-world
If everything goes well, you should be presented with Hello World message from the Docker container like this:
Lastly, executing the docker command below can verify the list containers.
docker ps -a
You should see one container with the status Exited. The name of the container hello-world is random by default, in this case, the name is optmistic_edison.

Running and Managing Container with Docker
At this point, the Docker Engine is running and you can start creating containers via the docker command line. In the following section, you will learn the basic usage of Docker for:
- Managing Docker images
- Creating and managing containers
- Checking container logs
- Creating and managing Docker volume
Managing Docker Images
A docker image is the whole of your application packaged in a single image and easily distributed via the Image registry. The default image registry for Docker is https://hub.docker.com/.
In the following section, you will learn how to download Docker images, check downloaded images, and delete images.
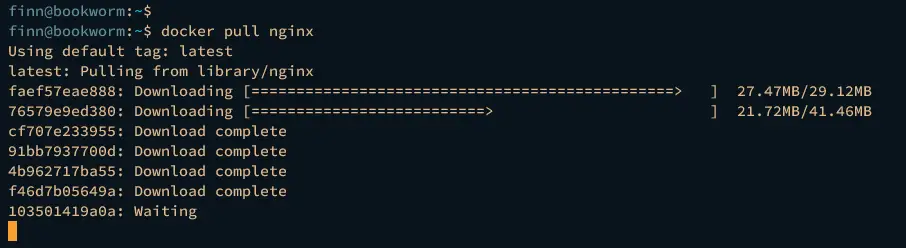
To download the Docker image from Docker Registry, run the docker pull command below. The following command will download the nginx image with the default tag latest.
docker pull nginx
To specify the image version, add the imager version after the target image like the following.
docker pull nginx:alpine
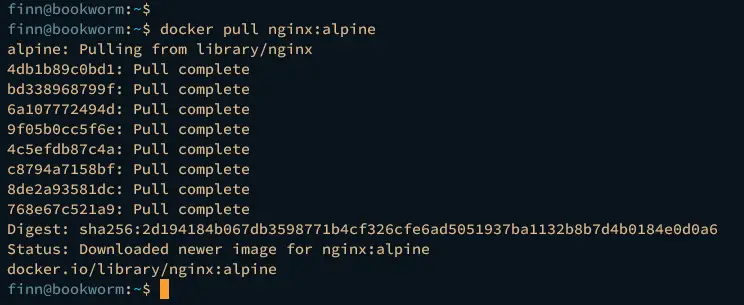
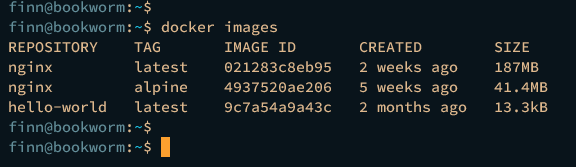
Now verify the available images on your Docker host via the command below.
docker images
The download Docker images should be available with detailed information such as the image tag and size.
Lastly, use the rmi parameter to remove the Docker image from your machine.
docker rmi imagename
Managing Containers
A container is where your application is running, and it's based on your Docker image. A container can mount a specific directory or volume for persistent data and expose a specific port in the Docker host for the application.
In this section, you will learn how to create and run the container, check the container, and start and stop the container via the docker command line.
To run the container, use the run parameter within the docker command like this.
docker run -it -d -p 8080:80 --name web nginx:alpine
The following command will run a container web using the image nginx:alpine. Also, the container web will expose port 80 within the container and port 8080 within the Docker host machine. Furthermore, the parameter -it will detach you from the container, and the -d parameter will run the container web in the background.

Now run the docker ps command below to verify the list of containers on your Docker machine.
docker ps
docker ps -a
If everything goes well, you should see the container web running and exposed port 8080 on the host machine.

While the docker run command will create and start the container, you can also start and stop the container via the docker command.
Run the docker stop command below to stop the container web.
docker container stop web
docker ps -a

To start the container web again, use the following docker start command.
docker container start web
docker ps

Lastly, run the docker rm command below to delete the container. The -f parameter is used to force deleting the container, even when the target container is running.
docker container rm optimistic_edison
docker container rm optimistic_edison -f

Checking Container Logs
Checking logs in Docker is important because you will always need this to debug your containerized application. Now, you will learn how to check container logs in Docker.
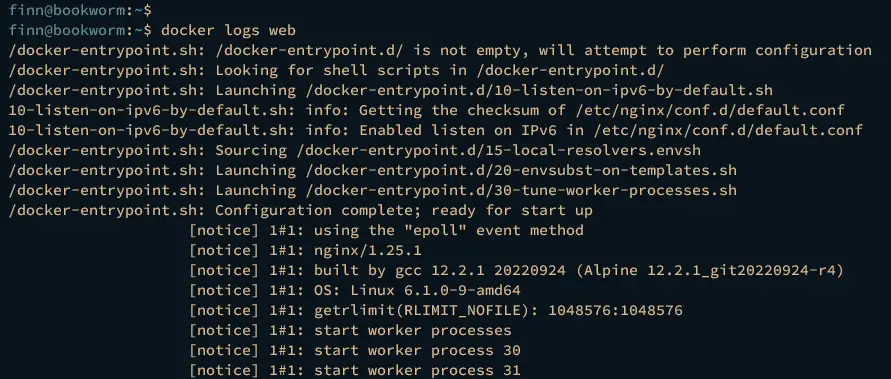
To check the logs of the container, use the logs parameter in the docker command like this. This will display logs since the container is created.
docker logs web
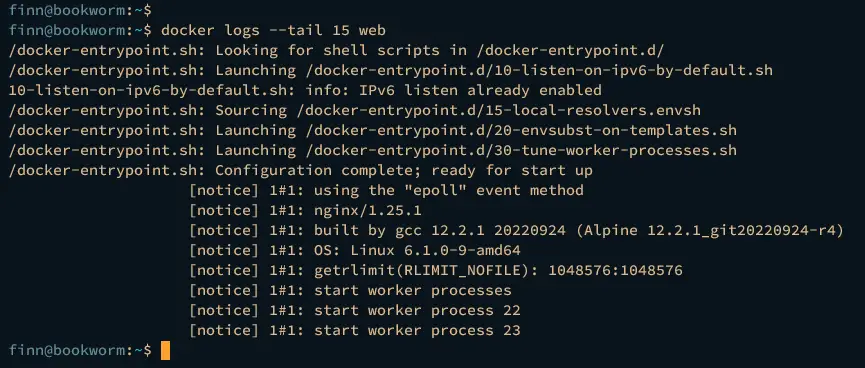
Now you can also add the --tail N option to get only the latest logs like this. In this case, the option --tail 15 will display only the last 15 lines of logs.
docker logs --tail 15 web
Managing Docker Volume
Docker volume is where your application can use persistent storage. You can change your containers and yet still use the same volume or data for your application. The following section shows you the basic usage of Docker volume, from creating volume to checking and using volume within the container.
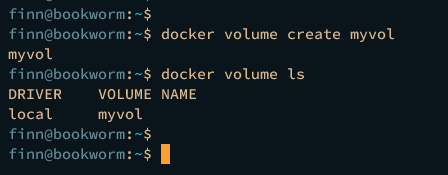
To create a new volume, run the docker volume command below. In this demo, you will create a new Docker volume myvol.
docker volume create myvol
Verify the available volumes on your Docker host using the ls option like this. You should see the volume myvol is created.
docker volume ls
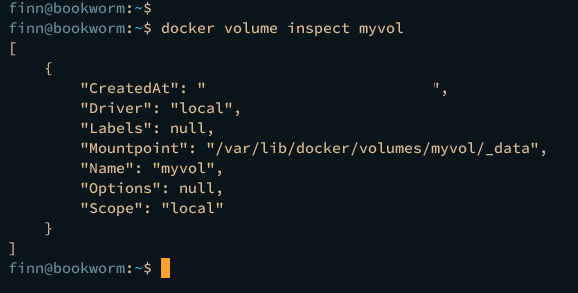
By default, Docker will create volume with the local driver, which is using the local directory as a data store. And the default data store directory is located at /var/lib/docker/volume directory. Run the inspect option like this to check the details of myvol volume.
docker volume inspect myvol
You should see the volume myvol with the default driver local and the data store is located at /var/lib/docker/volumes/myvol/_data directory. The Mountpoint section is the local data store directory.
Next, you can use Docker volume on your container via the -v option, which combines all the options in one field, and the --mount option which is more explicit, verbose, and separated syntax.
Run the following docker run command to create a new container web2 with the volume myvol via the --mount option. Then, inspect the container web via the docker inspect command.
docker run -d \
  -p 8081:80 \
  --name web2 \
  --mount source=myvol,target=/app \
  nginx:alpine
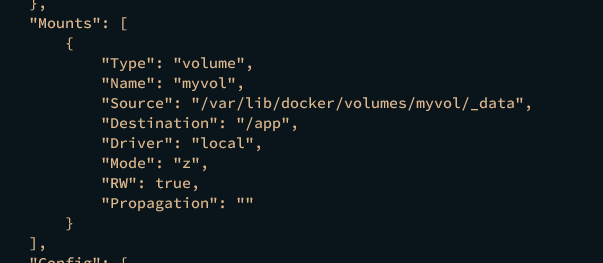
docker inspect web
within the Mounts section, you should see the container web is using volume myvol to the destination directory /app inside the container.
To use the -v option, the docker run command should like this. The -v option uses a single field to mount the volume myvol2 to the target directory /app.
docker run -d \
  -p 8082:80 \
  --name web3 \
  -v myvol2:/app \
  nginx:alpine
Lastly, run the docker volume command below with the parameter rm to remove the Docker volume
docker rm web2 -f
docker volume rm myvol
Conclusion
Awesome work! You've completed the installation of Docker Engine on your Debian 12 server. You've also learned how to manage Docker service via the systemctl command utility and learned how to manage Docker images, containers, and Docker volumes via the docker client.
Further exploration, you can start building a Docker image for your application via Dockerfile.

