Install TYPO3 CMS with Nginx on AlmaLinux 9
TYPO3 is a free and open-source Enterprise-grade content management system. It provides multiple enterprise-level features such as scalable CMS with multisite support, multilingual installations, strong security implementation, blazingly fast, and can be run anywhere.
Using TYPO3 CMS allows you to build flexible and reliable websites. The TYPO3 CMS is backend a vibrant professional community. And by design, the TYPO3 CMS is a pluggable content management system with adaptable and decoupled architecture.
In this guide, I'll show you how to install TYPO3 CMS on an AlmaLinux 9 step-by-step. We will install TYPO3 CMS with the Nginx web server, MariaDB database server, and PHP-FPM.
Prerequisites
Before proceeding, make sure you have the following:
- An AlmaLinux 9 server - This example uses a server with the hostname almalinux9.
- A non-root user with sudo root privileges.
- A domain name pointed to the server IP address.
Installing Dependencies
In the following steps, you will install package dependencies for TYPO3 CMS including:
- Nginx: As the web server.
- MariaDB: As the database server.
- PHP-FPM: This example will be using PHP 8.1 for TYPO3 CMS.
- Composer: A dependency management for PHP application.
Now let's get started.
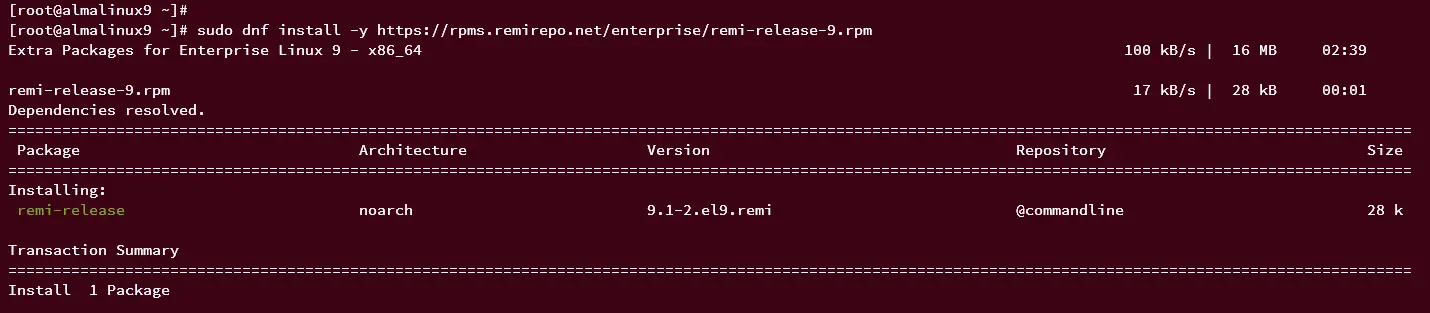
First, run the following command to add the EPEL and Remi repositories to your system. The Remi repository provides multiple versions of PHP packages and some additional PHP extensions that are not available on the default appstream repository.
sudo dnf epel-release
sudo dnf install -y https://rpms.remirepo.net/enterprise/remi-release-9.rpm
Input y to confirm the installation and press ENTER.
Adding EPEL repository.
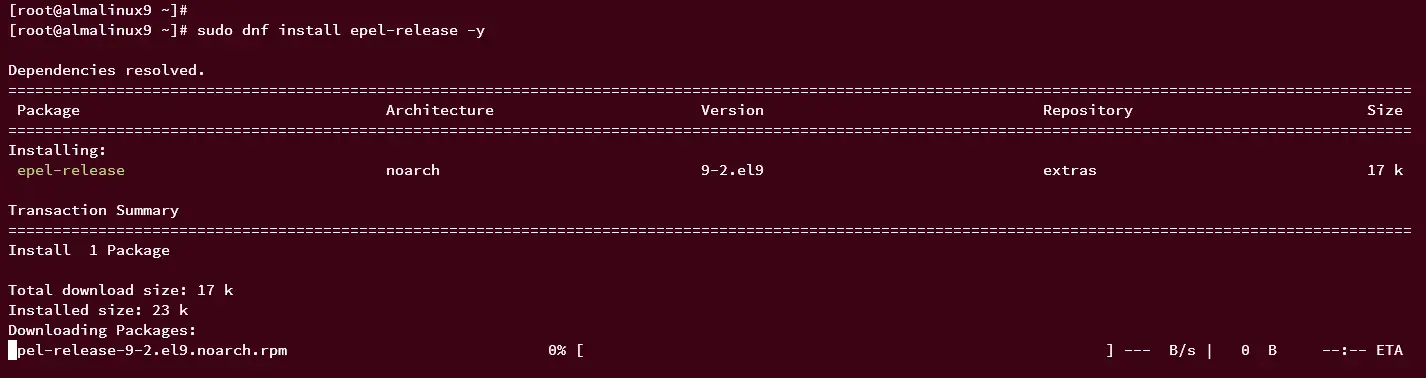
Adding PHP Remi repository for RHEL 9.
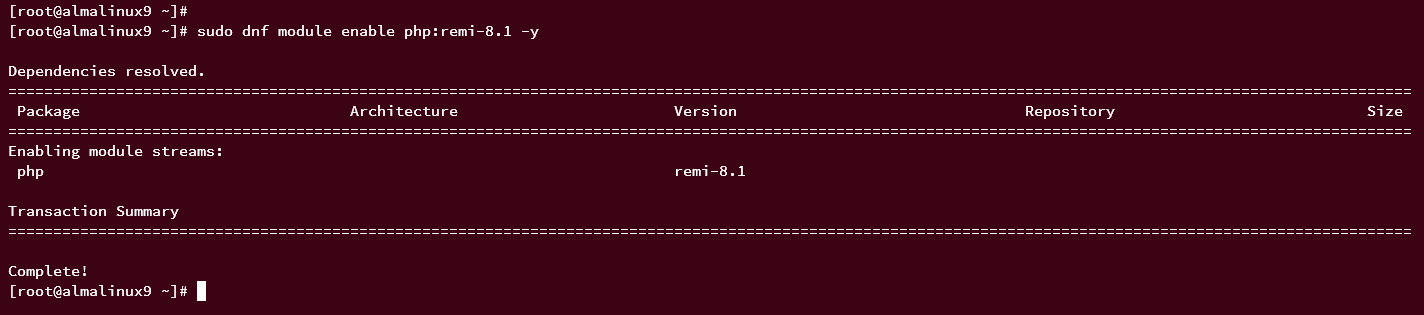
Now, run the following command to reset the default PHP repository module and enable PHP 8.1 module from the Remi repository.
sudo dnf module reset php -y
sudo dnf module enable php:remi-8.1 -y
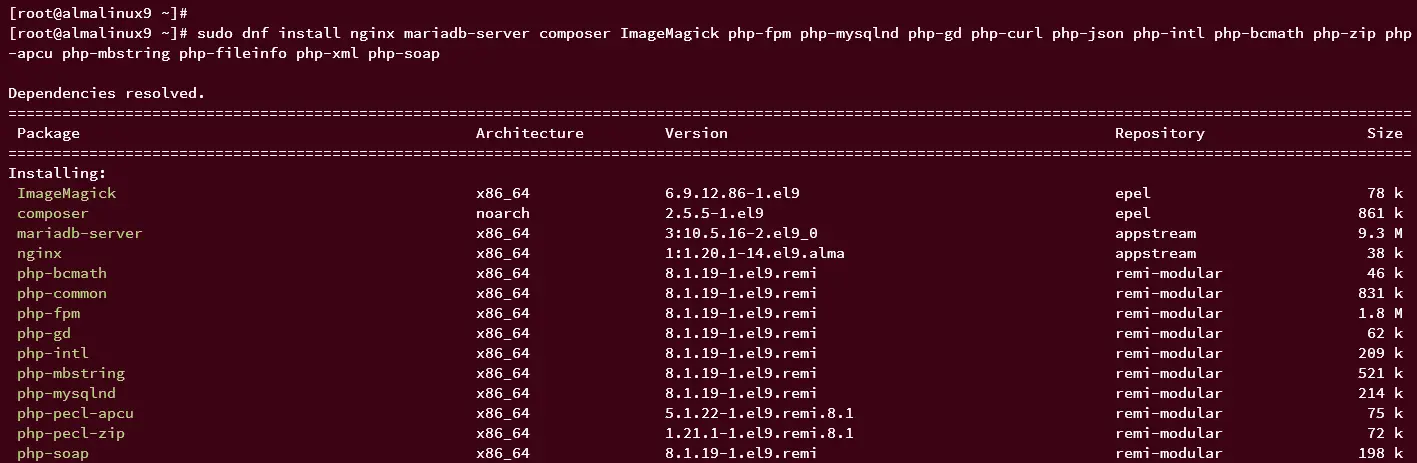
Next, run the dnf command below to install package dependencies for TYPO3 CMS. When prompted, input y to confirm, then press ENTER.
sudo dnf install nginx mariadb-server composer ImageMagick php-fpm php-mysqlnd php-gd php-curl php-json php-intl php-bcmath php-zip php-apcu php-mbstring php-fileinfo php-xml php-soap
After dependencies are installed, run the systemctl command below to start and enable main services such as Nginx, MariaDB, and PHP-FPM.
sudo systemctl enable --now nginx mariadb php-fpm

Then verify services using the following command to ensure that all of those services are running.
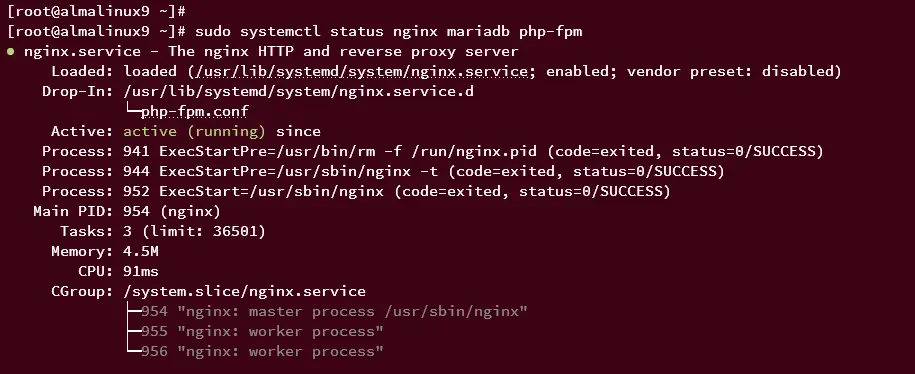
sudo systemctl status nginx mariadb php-fpm
If the service is running, you should see the output active (running). An example below shows that the Nginx service is running.
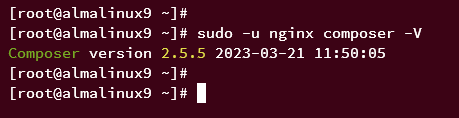
Lastly, run the following command to ensure that Composer is installed and check its version of it.
sudo -u nginx composer -V
At the time of this writing, Composer v2.5.5 is installed via the EPEL repository.
Setting Up Firewalld
After installing package dependencies, the next step is to set up firewalld and open both HTTP and HTTPS protocols on top of it.
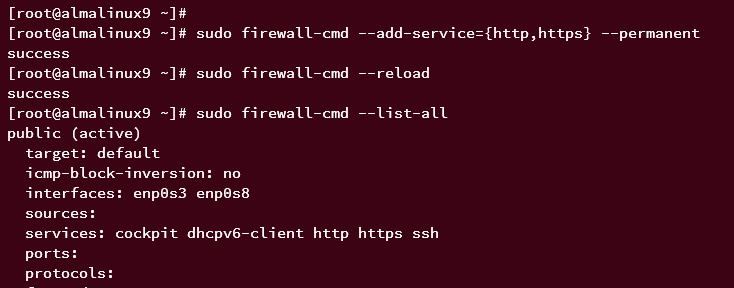
Run the firewall-cmd command below to open both HTTP and HTTPS services. Then, reload the firewalld to apply the changes.
sudo firewall-cmd --add-service={http,https} --permanent
sudo firewall-cmd --reload
Now verify the list of open ports and services on firewalld using the following command.
sudo firewall-cmd --list-all
In the services section, you should see both HTTP and HTTPS are enabled.
Setting Up MariaDB Server
In the following section, you will secure the MariaDB server and create a new database and user that will be used by TYPO3 CMS installation.
First, run the mariadb-secure-installation command to secure your MariaDB installation.
sudo mariadb-secure-installation
Throughout the process, you will be prompted with MariaDB server configurations. Input Y to confirm the step.
- Switch the MariaDB root authentication to unix_socket? Input n.
- Set up MariaDB root password? Input y, then type the new password and repeat.
- Disable remote login for the root user? Inpu y.
- Remove default database test? Input y again.
- Remove default anonymous user? Input y to confirm.
- Reload table privileges to apply the changes? Input y.
Once the MariaDB is secured, log in to the MariaDB using the mariadb command below. When prompted for the password, input your MariaDB root password.
sudo mariadb -u root -p
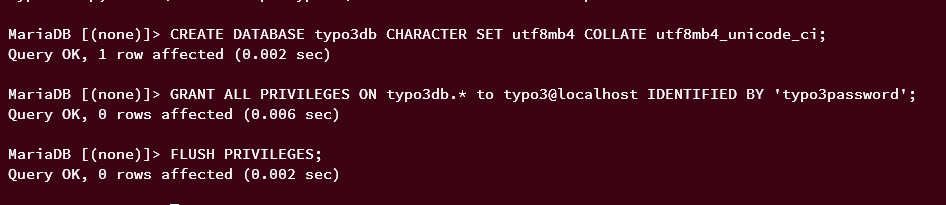
After logging in to MariaDB, run the following queries to create a new database typo3db, a user typo3, and the password typo3password.
CREATE DATABASE typo3db CHARACTER SET utf8mb4 COLLATE utf8mb4_unicode_ci;
GRANT ALL PRIVILEGES ON typo3db.* to typo3@localhost IDENTIFIED BY 'typo3password';
FLUSH PRIVILEGES;
Next, run the following query to verify the privilege for the MariaDB user typo3 and ensure that the user can access the database typo3db.
SHOW GRANTS FOR typo3@localhost;
In the output, you should that the MariaDB user typo3 can access the database typo3db.
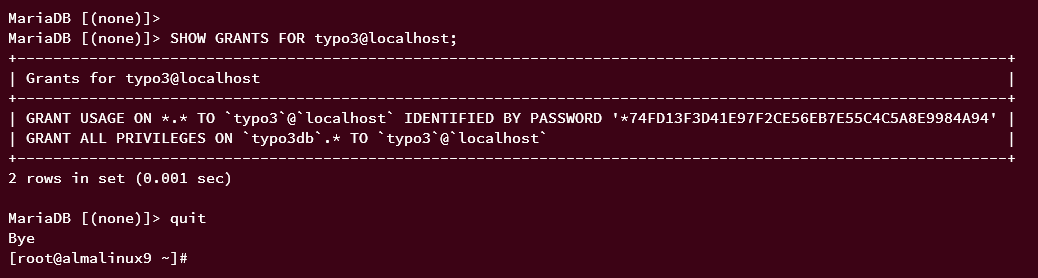
Type quit to exit from the MariaDB server and complete the step.
Setting Up PHP-FPM
With the MariaDB server configured, the next step is to set up the PHP-FPM installation. You will integrate the PHP-FPM installation with the Nginx web server.
First, run the following command to set up the default timezone for your system.
sudo timedatectl set-timezone Europe/Stockholm
Now open the PHP configuration /etc/php.ini using the vim editor command.
sudo vim /etc/php.ini
Uncomment the date.timezone parameter and change the value with the proper timezone.
date.timezone = Europe/Stockholm
Increase and enable some of the PHP parameters like this. For the memory_limit parameter, adjust it with the current memory you have.
memory_limit = 512M
max_execution_time = 300
max_input_vars = 2000
Now increase the post_max_size and upload_max_filesize parameters to 30MB.
post_max_size = 30M
upload_max_filesize = 30M
Save the file and exit the editor when finished.
Next, open the PHP-FPM pool configuration /etc/php-fpm.d/www.conf using the vim editor.
sudo vim /etc/php-fpm.d/www.conf
Change the default value of the user and group parameter to nginx like this:
user = nginx
group = nginx
Save the file and exit the editor.
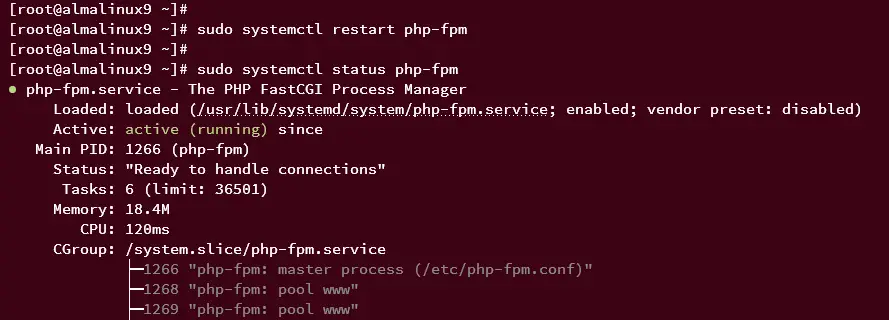
Now run the following command to restart the PHP-FPM service and apply the changes. Then, verify the PHP-FPM to ensure that it's running.
sudo systemctl restart php-fpm
sudo systemctl status php-fpm
If running, you should get an output like this:
Furthermore, you can also verify PHP-FPM by checking the default socket file for PHP-FPM, which is /run/php-fpm/www.sock. Run the ss command below to get the list of available sockets on your system and filter the output to show only www.sock.
ss -pl | grep www.sock
If PHP-FPM is running, you should see the default PHP-FPM socket file /run/php-fpm/www.sock is available like this:

Downloading TYPO3 CMS
TYPO3 CMS can be installed in many ways, and for this demo, you will install TYPO3 CMS via the Composer package manager.
Run the following command to create a new directory /var/www/typo3. This will be used as the target directory for the TYPO3 CMS installation
mkdir -p /var/www/typo3
Next, run the command below to change the ownership of the directory /var/www/typo3 to the user nginx and ensure the read and write access for the owner of that directory.
sudo chown -R nginx:nginx /var/www/typo3
sudo chmod u+rw /var/www/typo3
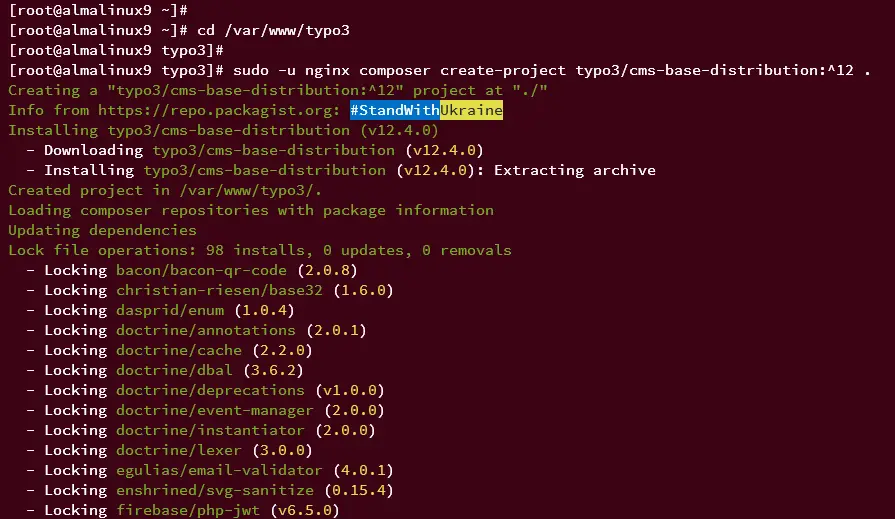
Now, move to the /var/www/typo3 directory and run the Composer command below to download the TYPO3 CMS source code.
cd /var/www/typo3
sudo -u nginx composer create-project typo3/cms-base-distribution:^12 .
When the installation is running, you should see the process like this:
After TYPO3 is downloaded, run the following command to verify the list of files and directories on the /var/www/typo3.
ls -lah /var/www/typo3
You should see similar files and directories like this:

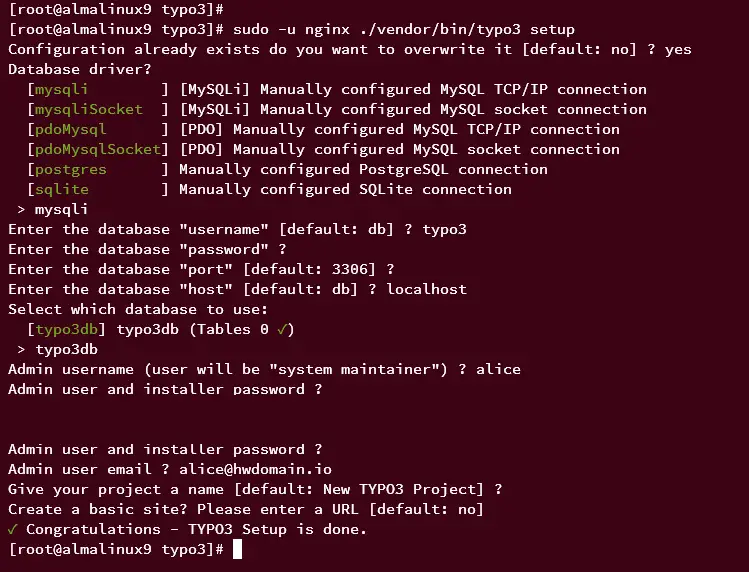
Lastly, run the TYPO3 CMS binary file to start the configuration, and you will be prompted for some configurations.
sudo -u nginx ./vendor/bin/typo3 setup
You will be asked with some of TYPO3 CMS configuration.
- Input the database driver to mysqli.
- Input the database user, password, port, and the host.
- Now type the database name that will be used for TYPO3 CMS. In this example the database name is typo3db.
- Input the new admin user, email, and password for TYPO3 CMS.
- For the project name and basic site URL, press ENTER to leave it as default.
Once the TYPO3 CMS configuration is finished, you should see the message "Congratulations - TYPO3 Setup is done".
Configuring Nginx Server Block for TYPO3 CMS
After installing and configuring TYPO3 CMS, you will set up the Nginx server block for TYPO3 CMS. Before you start, ensure that you have the domain name pointed to your server IP address.
Create a new Nginx server block configuration/etc/nginx/conf.d/typo3.conf using vim.
sudo vim /etc/nginx/conf.d/typo3.conf
Insert the following configuration and be sure to change the target domain name on the server_name parameter.
server {
    listen       80;
    server_name  typo3.hwdomain.io;

    root         /var/www/typo3/public;
    index index.php;

    # Load configuration typo3.conf.
    include /etc/nginx/default.d/typo3-nginx.conf;
}
Save and exit the file when finished.
Next, create another configuration /etc/nginx/default.d/typo3-nginx.conf using the vim command below.
sudo vim /etc/nginx/default.d/typo3-nginx.conf
Insert the following configuration into the file. This is the main Nginx configuration for TYPO3 CMS.
# Compressing resource files will save bandwidth and so improve loading speed, especially for users
# with slower internet connections. TYPO3 can compress the .js and .css files for you.
# *) Set $GLOBALS['TYPO3_CONF_VARS']['BE']['compressionLevel'] = 9 for the Backend
# *) Set $GLOBALS['TYPO3_CONF_VARS']['FE']['compressionLevel'] = 9 together with the TypoScript properties
#    config.compressJs and config.compressCss for GZIP compression of Frontend JS and CSS files.
location ~ \.js\.gzip$ {
    add_header Content-Encoding gzip;
    gzip off;
    types { text/javascript gzip; }
}
location ~ \.css\.gzip$ {
    add_header Content-Encoding gzip;
    gzip off;
    types { text/css gzip; }
}

# TYPO3 - Rule for versioned static files, configured through:
# - $GLOBALS['TYPO3_CONF_VARS']['BE']['versionNumberInFilename']
# - $GLOBALS['TYPO3_CONF_VARS']['FE']['versionNumberInFilename']
if (!-e $request_filename) {
    rewrite ^/(.+)\.(\d+)\.(php|js|css|png|jpg|gif|gzip)$ /$1.$3 last;
}

# TYPO3 - Block access to composer files
location ~* composer\.(?:json|lock) {
    deny all;
}

# TYPO3 - Block access to flexform files
location ~* flexform[^.]*\.xml {
    deny all;
}

# TYPO3 - Block access to language files
location ~* locallang[^.]*\.(?:xml|xlf)$ {
    deny all;
}

# TYPO3 - Block access to static typoscript files
location ~* ext_conf_template\.txt|ext_typoscript_constants\.txt|ext_typoscript_setup\.txt {
    deny all;
}

# TYPO3 - Block access to miscellaneous protected files
location ~* /.*\.(?:bak|co?nf|cfg|ya?ml|ts|typoscript|tsconfig|dist|fla|in[ci]|log|sh|sql|sqlite)$ {
    deny all;
}

# TYPO3 - Block access to recycler and temporary directories
location ~ _(?:recycler|temp)_/ {
    deny all;
}

# TYPO3 - Block access to configuration files stored in fileadmin
location ~ fileadmin/(?:templates)/.*\.(?:txt|ts|typoscript)$ {
    deny all;
}

# TYPO3 - Block access to libraries, source and temporary compiled data
location ~ ^(?:vendor|typo3_src|typo3temp/var) {
    deny all;
}

# TYPO3 - Block access to protected extension directories
location ~ (?:typo3conf/ext|typo3/sysext|typo3/ext)/[^/]+/(?:Configuration|Resources/Private|Tests?|Documentation|docs?)/ {
    deny all;
}

location / {
    try_files $uri $uri/ /index.php$is_args$args;
}

location = /typo3 {
    rewrite ^ /typo3/;
}

location /typo3/ {
    absolute_redirect off;
    try_files $uri /typo3/index.php$is_args$args;
}

location ~ [^/]\.php(/|$) {
    fastcgi_split_path_info ^(.+?\.php)(/.*)$;
    if (!-f $document_root$fastcgi_script_name) {
        return 404;
    }
    fastcgi_buffer_size 32k;
    fastcgi_buffers 8 16k;
    fastcgi_connect_timeout 240s;
    fastcgi_read_timeout 240s;
    fastcgi_send_timeout 240s;

    # this is the PHP-FPM upstream - see also: https://www.nginx.com/resources/wiki/start/topics/examples/phpfcgi/#connecting-nginx-to-php-fpm
    fastcgi_pass         unix:/run/php-fpm/www.sock;
    fastcgi_index        index.php;
    include              fastcgi.conf;
}
Save and close the file when you're finished.
Now run the following command to ensure that you have the proper Nginx configuration. Then restart the Nginx service to apply the changes.
sudo nginx -t
sudo systemctl restart nginx
After the command is executed, you should get an output "syntax ok - test is successful" and your TYPOC3 CMS installation should be accessible.
Securing TYPO3 CMS with SSL/TLS
In the following section, you will secure your TYPO3 CMS installation with SSL/TLS certificates which will be generated from Letsencrypt. To achieve that, you must install Certbot on your system.
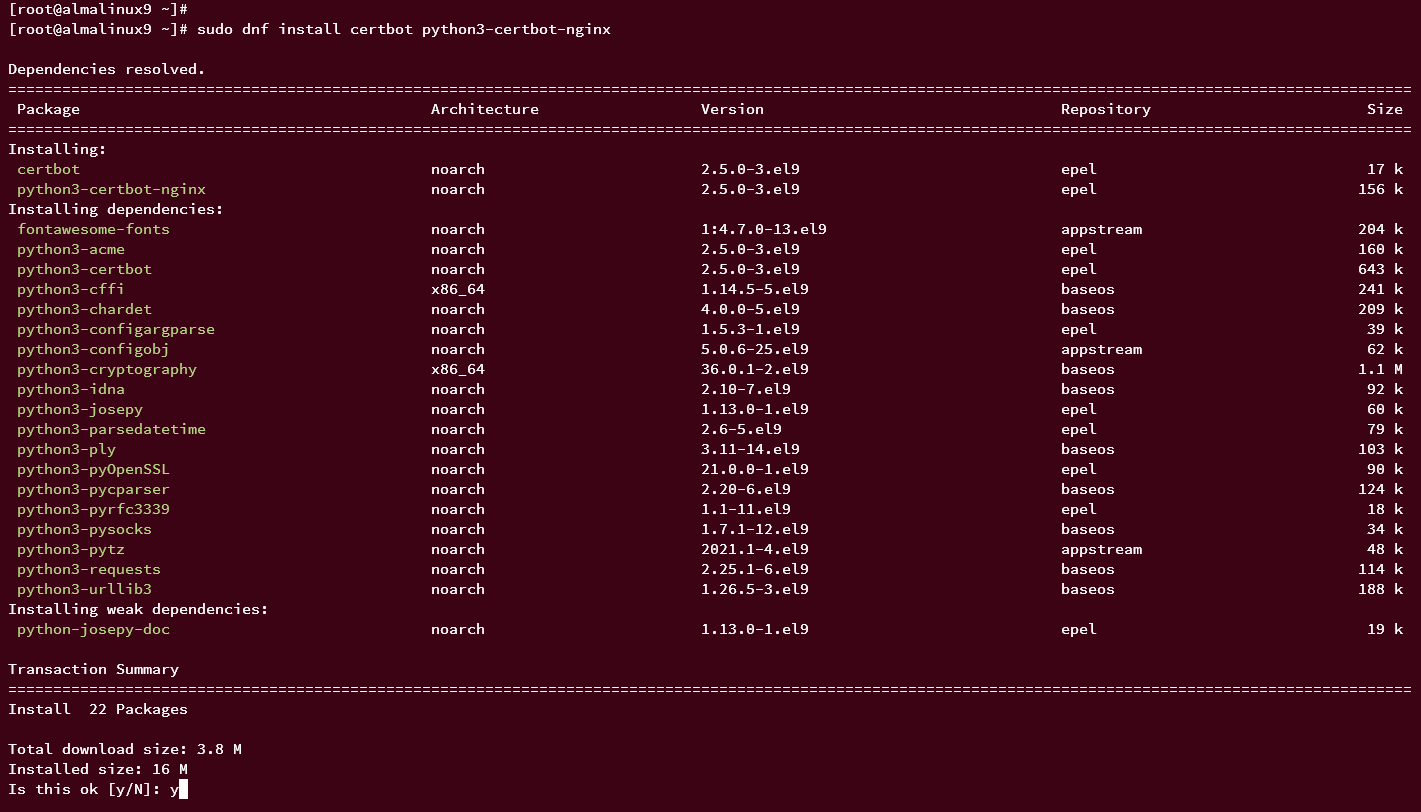
Run the dnf command below to install Certbot and the Certbot plugin for Nginx. Input y to confirm the installation, then press ENTER.
sudo dnf install certbot python3-certbot-nginx
Now run the following command to generate new SSL certificates from Letsencrypt for the TYPO3 CMS. Be sure to change the domain name and the email address.
sudo certbot --nginx --agree-tos --no-eff-email --redirect --hsts --staple-ocsp --email [email protected] -d typo3.hwdomain.io
If the process is running smoothly, the new SSL certificates will be generated at /etc/letsencrypt/live/typo3.hwdomain.io directory. Also, the server block configuration for TYPO3 CMS will automatically be configured with SSL enabled via certbot.
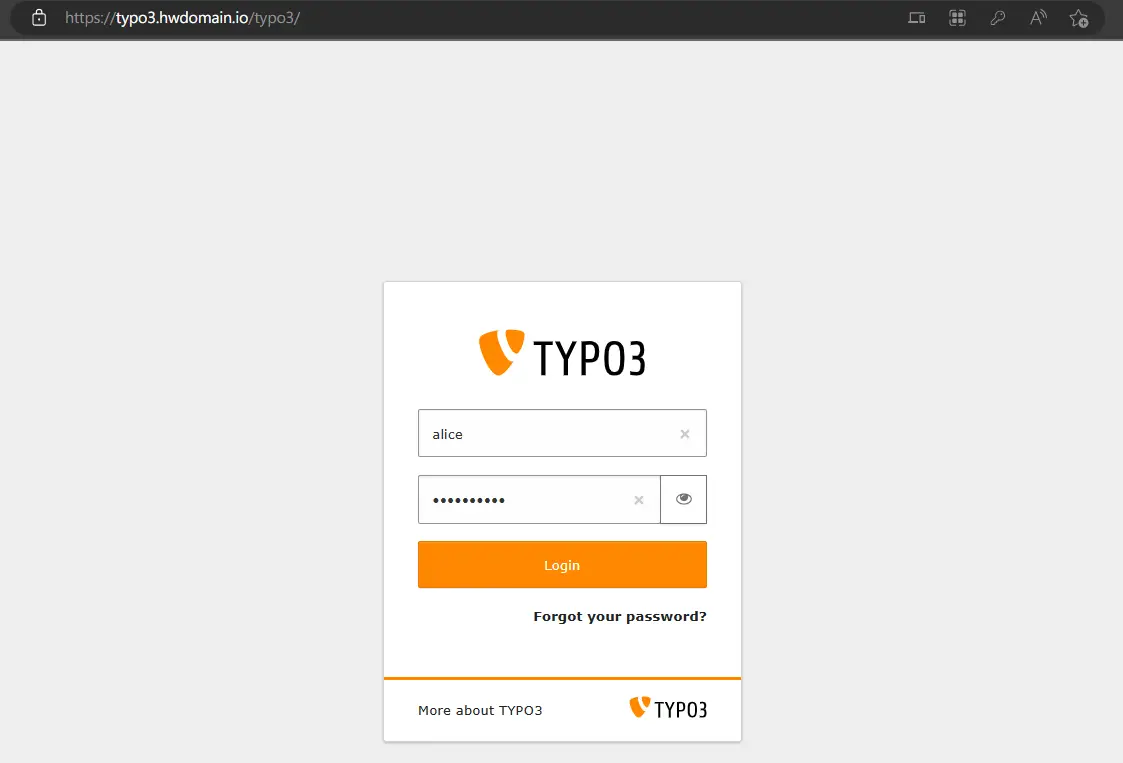
Launch your web browser and visit the TYPO3 CMS installation address (i.e: https://typo3.hwdomain.io/). You should get the login screen of TYPO3 CMS.
Input the administrator user and password that you have created, then click Login.
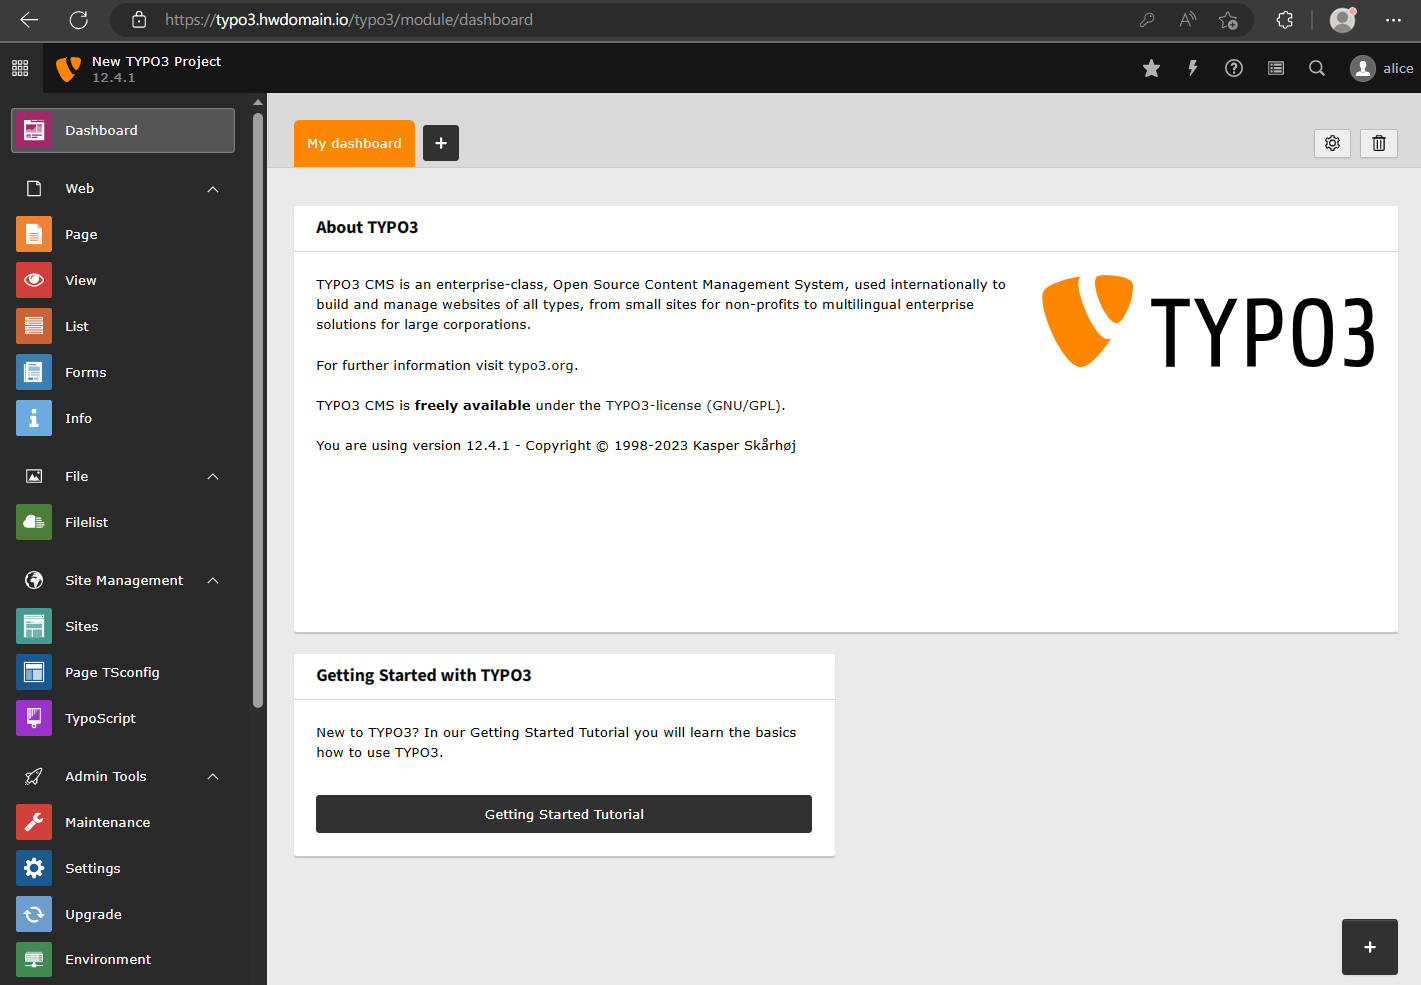
If you have the correct admin user and password, you should be shown the TYPO3 CMS administrator dashboard like this:
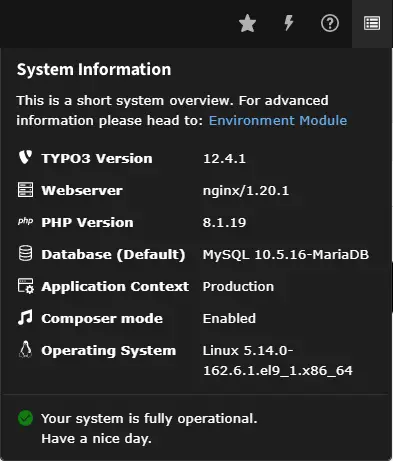
On the top right menu, click the info icon and you should get the details of the software stacks that you're currently using for TYPO3 CMS installation. In this demo, the installed version of TYPO3 CMS is v12 with Nginx web server, MariaDB database server, and PHP-FPM 8.1.
Conclusion
You're all set! You've completed the installation of TYPO3 CMS on your AlmaLinux 9 server with MariaDB database server, PHP-FPM, and Nginx web server. You've also secured your deployment via SSL/TLS certificates from Letsencrypt. With this in mind, you can now create a new site via TYPO3 CMS.

