How to Install LibreNMS Monitoring Tool on AlmaLinux 9
On this page
- Prerequisites
- Installing Dependencies
- Creating System User
- Configuring PHP-FPM
- Configuring MariaDB Server
- Create MariaDB Database and User for LibreNMS
- Downloading and Installing LibreNMS
- Configuring SELinux
- Configuring Firewalld
- Configure SNMP Service
- Additional LibreNMS Settings
- Configuring Nginx
- Installing LibreNMS via Web Browser
- Conclusion
LibreNMS is a monitoring tool that supports auto-discovery with multiple protocols, including SNMP, ARP, OSPF, and BGP. To monitor operating systems, you can use the SNMP protocol, which is available on most OS, including Linux, Windows, and BSDs.
There are three versions of SNMP Protocol, v1 and v2 which are secured with only a community password, and protocol v3 which supports passwords for authentication and encryption. For the production environment, it's recommended to use the SNMP protocol v3, which is more secure than v2 and v1.
In this guide, I will show you how to install LibreNMS Monitoring Tool on your AlmaLinux 9 server. I will run LibreNMS with PHP-FPM, Nginx web server, and the MariaDB database.
Prerequisites
To complete this guide, you must have the following:
- An AlmaLinux 9 server - This demo uses a server with the hostname almalinux9.
- A non-root user with sudo/root privileges.
Installing Dependencies
First, you will be adding the EPEL and Remi repositories to your system. Then, install package dependencies for LibreNMS.
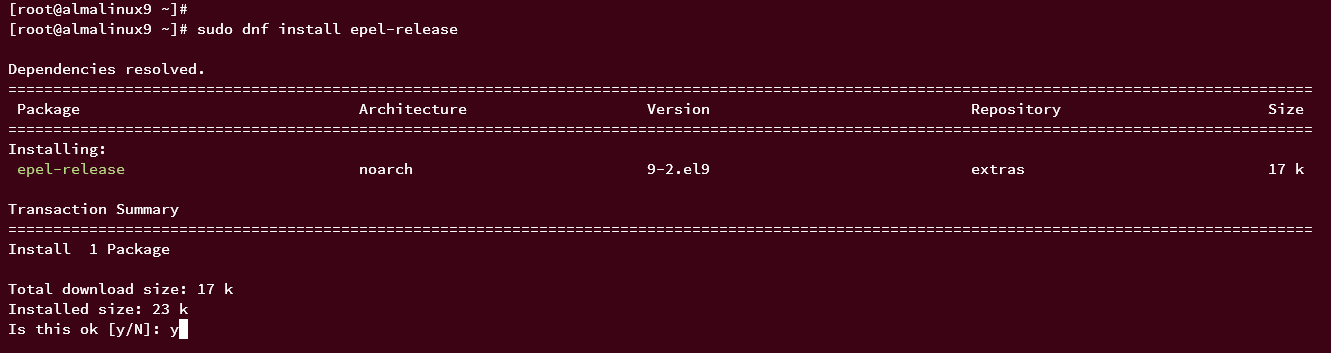
Run the following dnf command to add the EPEL repository and PHP Remi repository to your system.
sudo dnf install -y epel-release
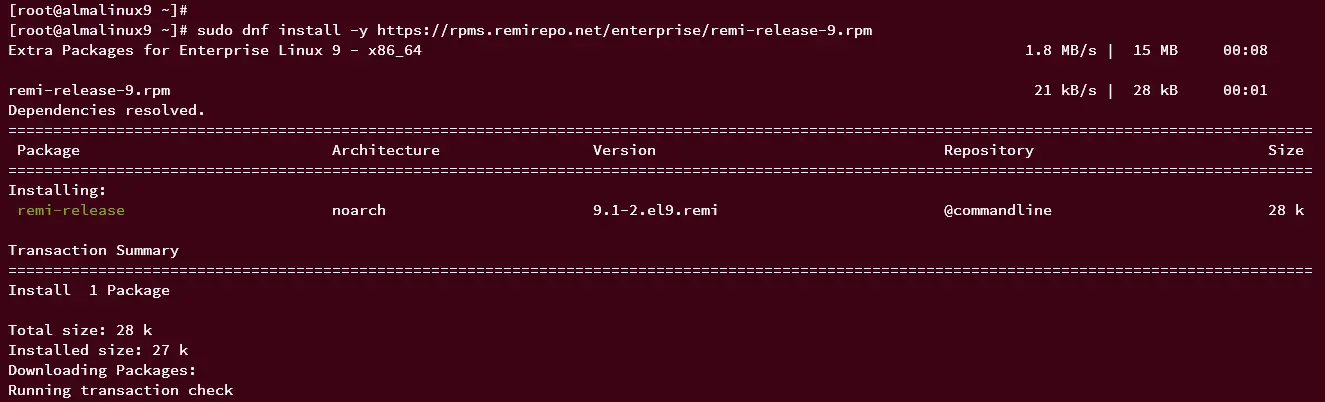
sudo dnf install -y https://rpms.remirepo.net/enterprise/remi-release-9.rpm
Some of the dependencies are available on the EPEL repository, so you must add EPEL to your system.
The PHP Remi repository will be used for installing PHP-FPM packages.
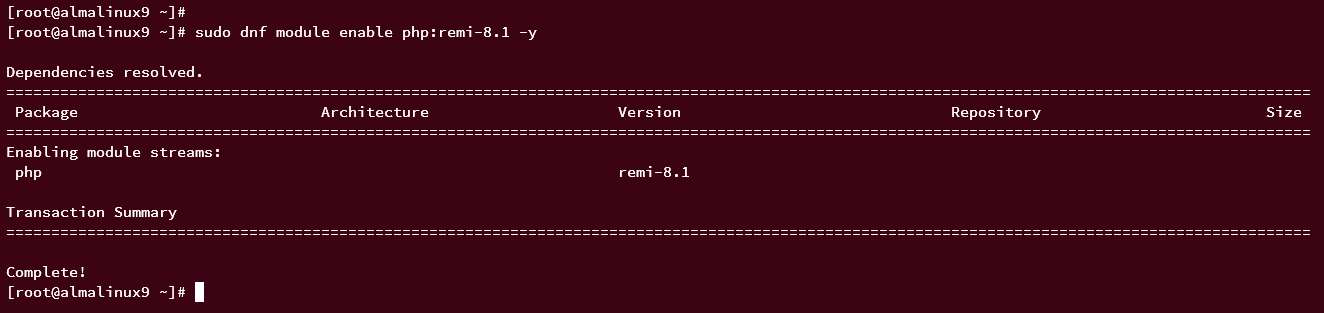
Now, run the following command to reset the default repository module for PHP. Then, enable the PHP Remi repository for PHP version 8.1, which is required by LibreNMS.
sudo dnf module reset php
sudo dnf module enable php:remi-8.1
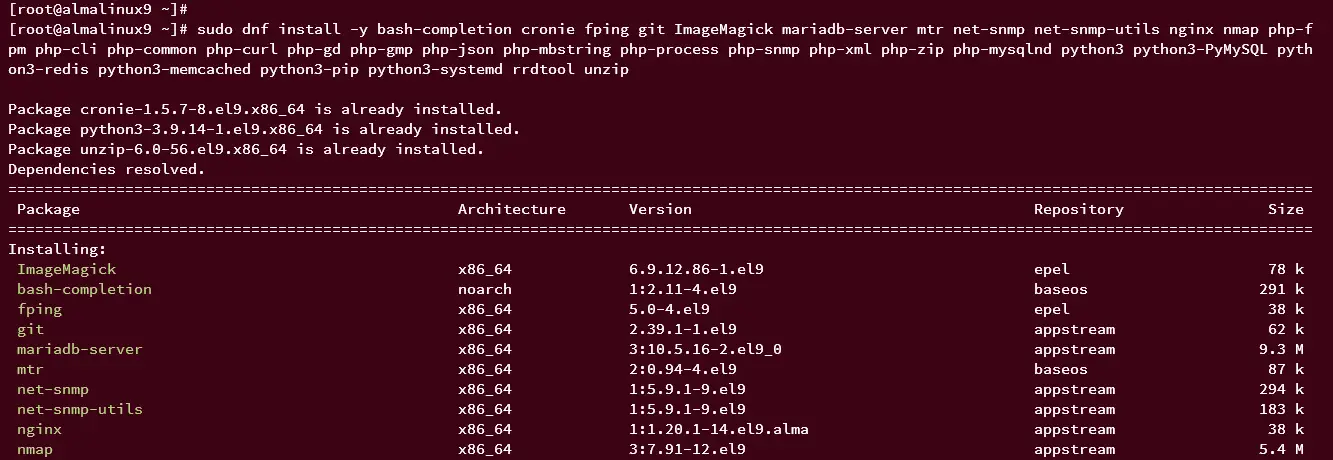
Next, run the dnf command below to install package dependencies for LibreNMS. This includes PHP-FPM, Nginx web server, MariaDB server, some Python3 packages, and system utilities such as rrdtool, unzip, ImageMagick, git, and fping.
sudo dnf install -y bash-completion cronie fping git ImageMagick mariadb-server mtr net-snmp net-snmp-utils nginx nmap php-fpm php-cli php-common php-curl php-gd php-gmp php-json php-mbstring php-process php-snmp php-xml php-zip php-mysqlnd python3 python3-PyMySQL python3-redis python3-memcached python3-pip python3-systemd rrdtool unzip
Once installation is finished, move on to the next step.
Creating System User
In this section, you will create a new system user called librenms that will be used to run LibreNMS.
Run the following command to create a new user librenms.
sudo useradd librenms -d /opt/librenms -M -r -s "$(which bash)"
Detailed options:
- -d /opt/librenms: Specify the home directory for the new user to /opt/librenms.
- -M: No create a home directory for the new user.
- -r: Define the new user as a system user.
- -s "$(which bash)": Specify the shell for the new user to bash.
Configuring PHP-FPM
In this following section, you will be setting up PHP-FPM for LibreNMS. You will set up the proper timezone on your system, then add a specific PHP-FPM pool that will be used by LibreNMS.
First, run the following command to configure the timezone on your server.
sudo timedatectl set-timezone Europe/Stockholm
sudo ln -s /usr/share/zoneinfo/Europe/Stockholm /etc/localtime
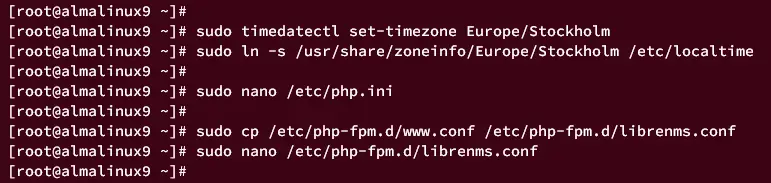
Then, open the file /etc/php.ini using the following nano editor.
sudo nano /etc/php.ini
Uncomment the date.timezone parameter and change the value with the proper timezone like this:
date.timezone=Europe/Stockholm
Save and exit the file when finished.
Now, run the following command to copy the default PHP-FPM pool configuration to /etc/php-fpm.d/librenms.conf and open it using the nano editor.
sudo cp /etc/php-fpm.d/www.conf /etc/php-fpm.d/librenms.conf
sudo nano /etc/php-fpm.d/librenms.conf
Change the PHP-FPM pool name from www to librenms.
[librenms]
Change the default user and group to librenms.
user = librenms
group = librenms
Change the default sock file for the new PHP-FPM pool to /run/php-fpm/librenms.sock.
listen = /run/php-fpm/librenms.sock
Save the file and exit the editor when finished.
Now, run the following command to start and enable the PHP-FPM service.
sudo systemctl start php-fpm
sudo systemctl enable php-fpm
Then verify the PHP-FPM service using the following command to ensure that the service is running.
sudo systemctl status php-fpm
If running, the following output will be displayed on your terminal:

Furthermore, you can also verify the PHP-FPM sock file for LibreNMS using the following command.
ss -pl | grep php-fpm
If your configuration is successful, you should receive the PHP-FPM sock file /run/php-fpm/librenms.sock available.

Configuring MariaDB Server
After configuring PHP-FPM, you will be configuring the MariaDB server. You will add additional configuration to the MariaDB server and secure MariaDB via the mariadb-secure-installation utility.
Open the default MariaDB server configuration /etc/my.cnf.d/mariadb-server.cnf using the following nano editor.
sudo nano /etc/my.cnf.d/mariadb-server.cnf
Insert the following configurations under the '[mysqld]' section.
innodb_file_per_table=1
lower_case_table_names=0
Save the file and exit the editor when you're finished.
Now run the following command to start and enable the MariaDB service.
sudo systemctl start mariadb
sudo systemctl enable mariadb
Next, run the following command to secure your MariaDB server installation.
sudo mariadb-secure-installation
You will be asked about some configurations below:
- Change the authentication method for the MariaDB root user to unix_socket. Input n for No.
- Setting up the MariaDB root password. Input y to confirm and type the new MariaDB root password and repeat.
- Disable remote login for MariaDB root user. Input y to confirm.
- Remove the Default database test from MariaDB. Input y to confirm.
- Remove anonymous user from the MariaDB. Input y to confirm.
- Lastly, input y again to reload table privileges to apply the changes.
Create MariaDB Database and User for LibreNMS
With the MariaDB server configured, next you will create a new database and user that will be used by LibreNMS.
Log in to the MariaDB server using the following command.
sudo mariadb -u root -p
Run the following queries to create a new database and user for LibreNMS. In this demo, you will create a new database and user librenms with the password librenmspassword. Also, you must ensure the default character for the LibreNMS database is utf8mb4.
CREATE DATABASE librenms CHARACTER SET utf8mb4 COLLATE utf8mb4_unicode_ci;
CREATE USER 'librenms'@'localhost' IDENTIFIED BY 'librenmspassword';
GRANT ALL PRIVILEGES ON librenms.* TO 'librenms'@'localhost';
FLUSH PRIVILEGES;

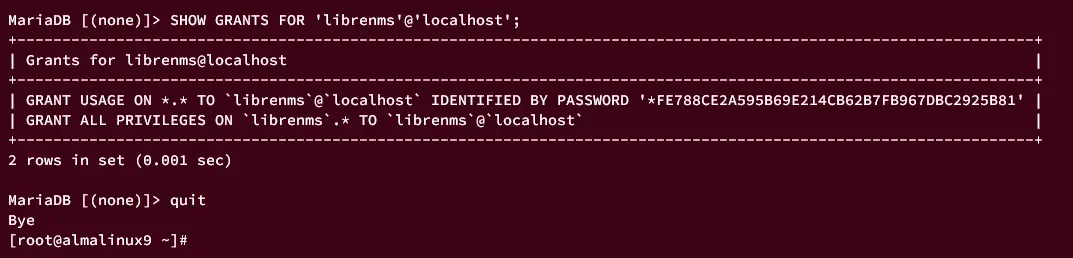
Now, run the query below to verify the privileges for the new user librenms, then type exit to quit from MariaDB.
SHOW GRANTS FOR 'librenms'@'localhost';
exit
The displayed output below shows you that the user librenms can access the database librenms.
Downloading and Installing LibreNMS
In this section, you will download the LibreNMS source code, set up the proper ownership and permission, then you will be installing PHP dependencies via the composer_wrapper script that is included in the source code.
Run the git command below to download the LibreNMS source code to the /opt/librenms directory.
git clone https://github.com/librenms/librenms.git /opt/librenms
Now change the ownership of the /opt/librenms directory to the user librenms and change permission to 771.
sudo chown -R librenms:librenms /opt/librenms
sudo chmod 771 /opt/librenms
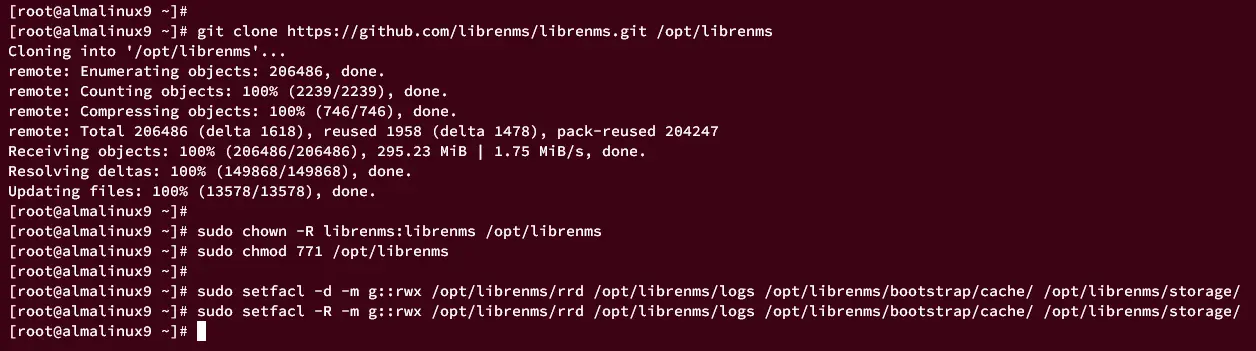
After that, run the following command to set up access control lists and ensure the read, write, and execute permission for some LibreNMS directories.
sudo setfacl -d -m g::rwx /opt/librenms/rrd /opt/librenms/logs /opt/librenms/bootstrap/cache/ /opt/librenms/storage/
sudo setfacl -R -m g::rwx /opt/librenms/rrd /opt/librenms/logs /opt/librenms/bootstrap/cache/ /opt/librenms/storage/
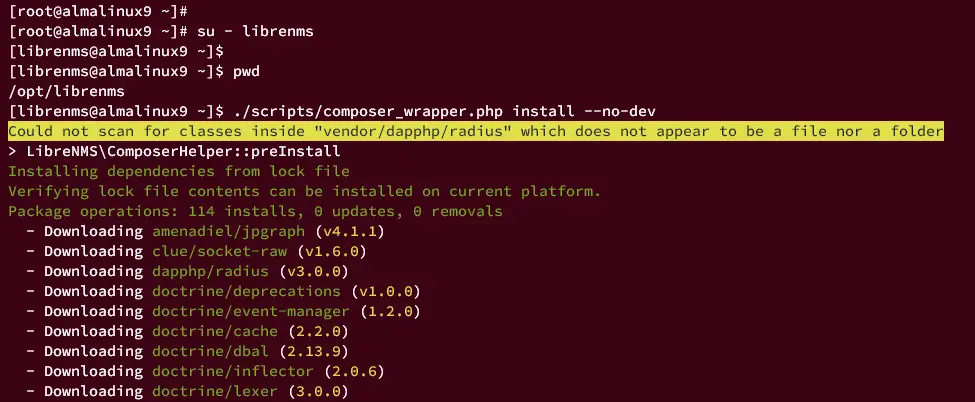
Next, log in as the user librenms using the following command. You should be on the directory /opt/librenms.
su - librenms
pwd
Run the following command to install PHP dependencies for LibreNMS. When the installation is finished, type exit to log out from user librenms.
./scripts/composer_wrapper.php install --no-dev
exit
Configuring SELinux
If you have SELinux enabled with enforcing mode on your AlmaLinux 9 server, then you must configure it for LibreNMS. In this section, you will be installing the policycoreutils-python-utils package set up SELinux for LibreNMS.
Run the following command to install the policycoreutils-python-utils package.
sudo dnf install -y policycoreutils-python-utils
Next, run the following command to set up labeling for LibreNMS source code, allow the webserver to send an email, and execute programs that require memory addresses.
semanage fcontext -a -t httpd_sys_content_t '/opt/librenms/html(/.*)?'
semanage fcontext -a -t httpd_sys_rw_content_t '/opt/librenms/(rrd|storage)(/.*)?'
semanage fcontext -a -t httpd_log_t "/opt/librenms/logs(/.*)?"
semanage fcontext -a -t bin_t '/opt/librenms/librenms-service.py'
restorecon -RFvv /opt/librenms
setsebool -P httpd_can_sendmail=1
setsebool -P httpd_execmem 1
chcon -t httpd_sys_rw_content_t /opt/librenms/.env
Now create a new file http_fping.tt using the following nano editor command.
sudo nano http_fping.tt
Insert the following configuration into the file. This will allow the fping command via SELinux.
module http_fping 1.0;

require {
type httpd_t;
class capability net_raw;
class rawip_socket { getopt create setopt write read };
}

#============= httpd_t ==============
allow httpd_t self:capability net_raw;
allow httpd_t self:rawip_socket { getopt create setopt write read };
Save the file and exit the editor when you're finished.
Lastly, run the following command to compile the file http_fping.tt and add it to SELinux.
checkmodule -M -m -o http_fping.mod http_fping.tt
semodule_package -o http_fping.pp -m http_fping.mod
semodule -i http_fping.pp
Configuring Firewalld
After setting up SELinux, you will set up firewalld to open both HTTP and HTTPS protocols.
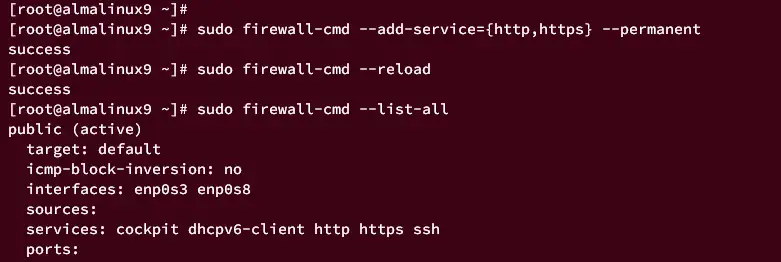
Run the firewall-cmd commands below to open HTTP and HTTPS ports, then reload the firewalld to apply the changes.
sudo firewall-cmd --add-service={http,https} --permanent
sudo firewall-cmd --reload
Now verify the list of firewalld rules using the following command. If successful, you should see both HTTP and HTTPS protocols in the rule list.
sudo firewall-cmd --list-all
Configure SNMP Service
SNMP or Simple Network Management Protocol is a protocol most widely used by network devices such as modems, switches, and reuters. In this section, you will be setting up snmpd service on your LibreNMS installation that will be used for monitoring networking devices.
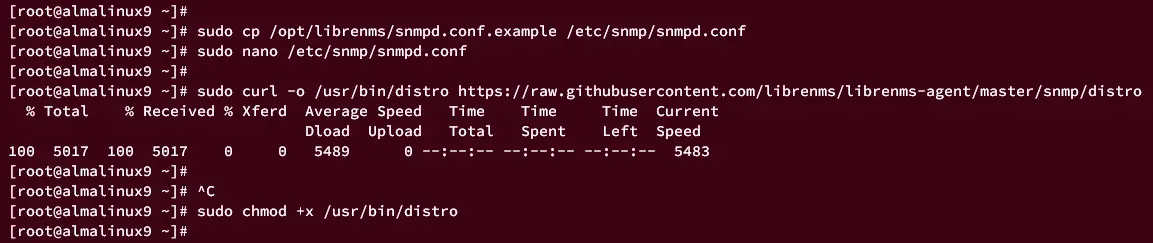
Copy the default SNMP configuration to /etc/snmp/snmpd.conf and open it using the nano editor command below.
sudo cp /opt/librenms/snmpd.conf.example /etc/snmp/snmpd.conf
sudo nano /etc/snmp/snmpd.conf
Change the default SNMP password RANDOMSTRINGGOESHERE with the new password.
# Change RANDOMSTRINGGOESHERE to your preferred SNMP community string
com2sec readonly  default        RANDOMSTRINGGOESHERE
Save the file and close the editor when finished.
Next, download the binary file of the LibreNMS agent tool for detecting Linux and UNIX OSs and make it executable.
sudo curl -o /usr/bin/distro https://raw.githubusercontent.com/librenms/librenms-agent/master/snmp/distro
sudo chmod +x /usr/bin/distro
Now start and enable the snmpd service using the following command.
sudo systemctl start snmpd
sudo systemctl enable snmpd
Lastly, verify the snmpd service using the systemctl command below.
sudo systemctl status snmpd
If the snmpd service is running, you should get an output such as 'active (running)'.

Additional LibreNMS Settings
The following section is some additional configurations for LibreNMS. You will be setting up the following configuration:
- Set up the binary command of LibreNMS 'lnms' and its bash_completion.
- Set up cron for LibreNMS polling.
- Set up LibreNMS scheduler via systemd timer.
- Set up logrotate for LibreNMS logs.
First, create a symlink for the LibreNMS commandline lnms to /usr/bin/lnms. Then, copy the bash completion for the lnms command to the /etc/bash_completion.d/ directory.
sudo ln -s /opt/librenms/lnms /usr/bin/lnms
sudo cp /opt/librenms/misc/lnms-completion.bash /etc/bash_completion.d/
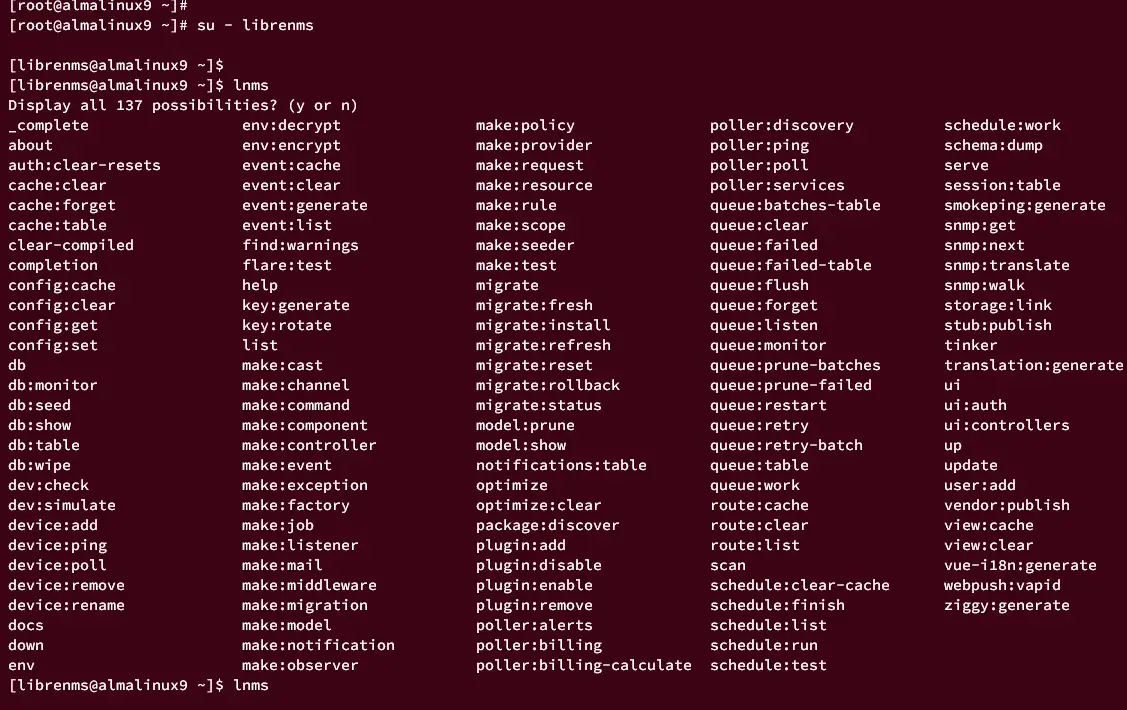
Now, log in as user librenms and run the lnms command, then press TAB to get the list of available parameters of the lnms command.
su - librenms
lnms TAB
A similar output like this will be shown in your terminal.
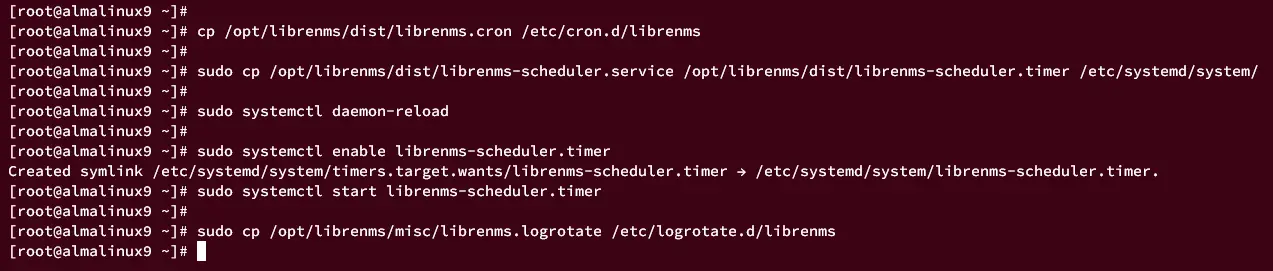
Next, run the following command to copy the LibreNMS cron configuration to /etc/cron.d/librenms.
cp /opt/librenms/dist/librenms.cron /etc/cron.d/librenms
Then, copy the logrotate configuration for LibreNMS using the command below.
sudo cp /opt/librenms/misc/librenms.logrotate /etc/logrotate.d/librenms
After that, copy the LibreNMS scheduler service and timer to the /etc/systemd/system/ directory and reload the systemd manager to apply the changes.
sudo cp /opt/librenms/dist/librenms-scheduler.service /opt/librenms/dist/librenms-scheduler.timer /etc/systemd/system/
sudo systemctl daemon-reload
Lastly, start and enable the LibreNMS scheduler service.
sudo systemctl enable librenms-scheduler.timer
sudo systemctl start librenms-scheduler.timer
Configuring Nginx
With all configurations finished, now you will set up the Nginx server block for LibreNMS.
Create a new Nginx server block configuration /etc/nginx/conf.d/librenms.conf using the following nano editor command.
sudo nano /etc/nginx/conf.d/librenms.conf
Insert the following configuration and be sure to change the domain name in the server_name option.
server {
    listen      80;
    server_name librenms.hwdomain.io;
    root        /opt/librenms/html;
    index       index.php;

    charset utf-8;
    gzip on;
    gzip_types text/css application/javascript text/javascript application/x-javascript image/svg+xml text/plain text/xsd text/xsl text/xml image/x-icon;

    location / {
        try_files $uri $uri/ /index.php?$query_string;
    }

    location ~ [^/]\.php(/|$) {
        fastcgi_pass unix:/run/php-fpm/librenms.sock;
        fastcgi_split_path_info ^(.+\.php)(/.+)$;
        include fastcgi.conf;
    }

    location ~ /\.(?!well-known).* {
        deny all;
    }
}
Save the file and exit the editor when you're finished.
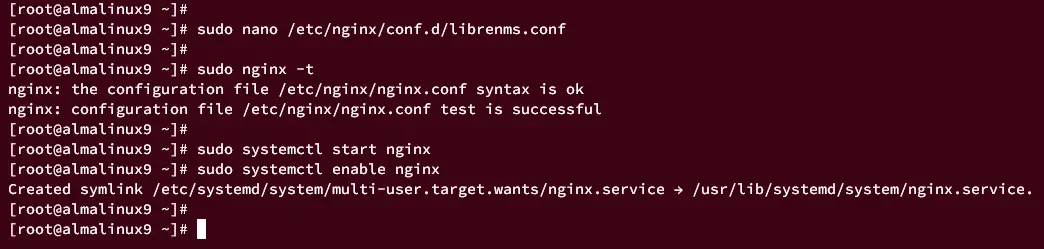
Now run the command below to verify the Nginx configuration. If successful, you should see an output such as 'test is successful - syntax is ok'.
sudo nginx -t
Next, start and enable the Nginx service using the following command.
sudo systemctl start nginx
sudo systemctl enable nginx
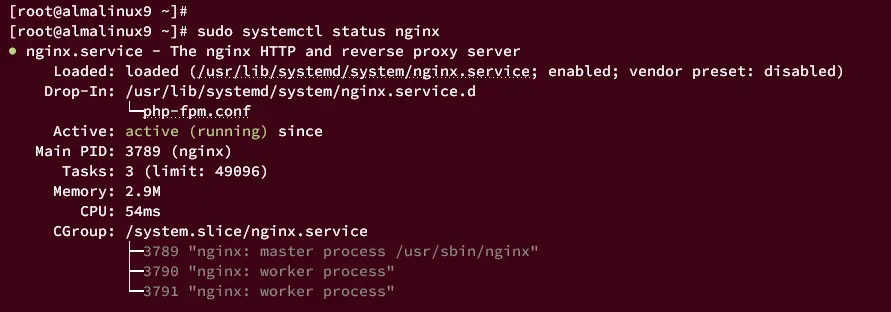
Then, enter the command below to verify the Nginx service status and ensure that the service is running.
sudo systemctl status nginx
If successful, you should get the following output:
Installing LibreNMS via Web Browser
After creating the Nginx server block configuration, you're ready to start the LibreNMS installation from the web browser.
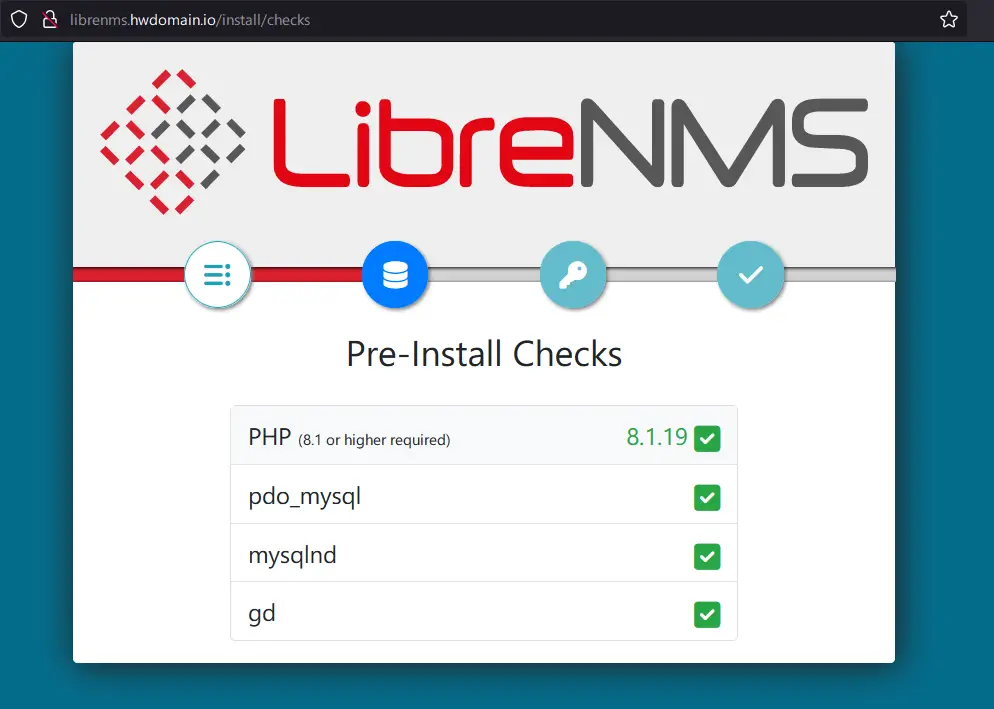
Launch your web browser and visit the domain name of your LibreNMS installation i.e: http://librenms.hwdomain.io.
On the first page, LibreNMS will check and verify your current environment. Be sure you pass the prerequisite check, then click the database icon to continue.
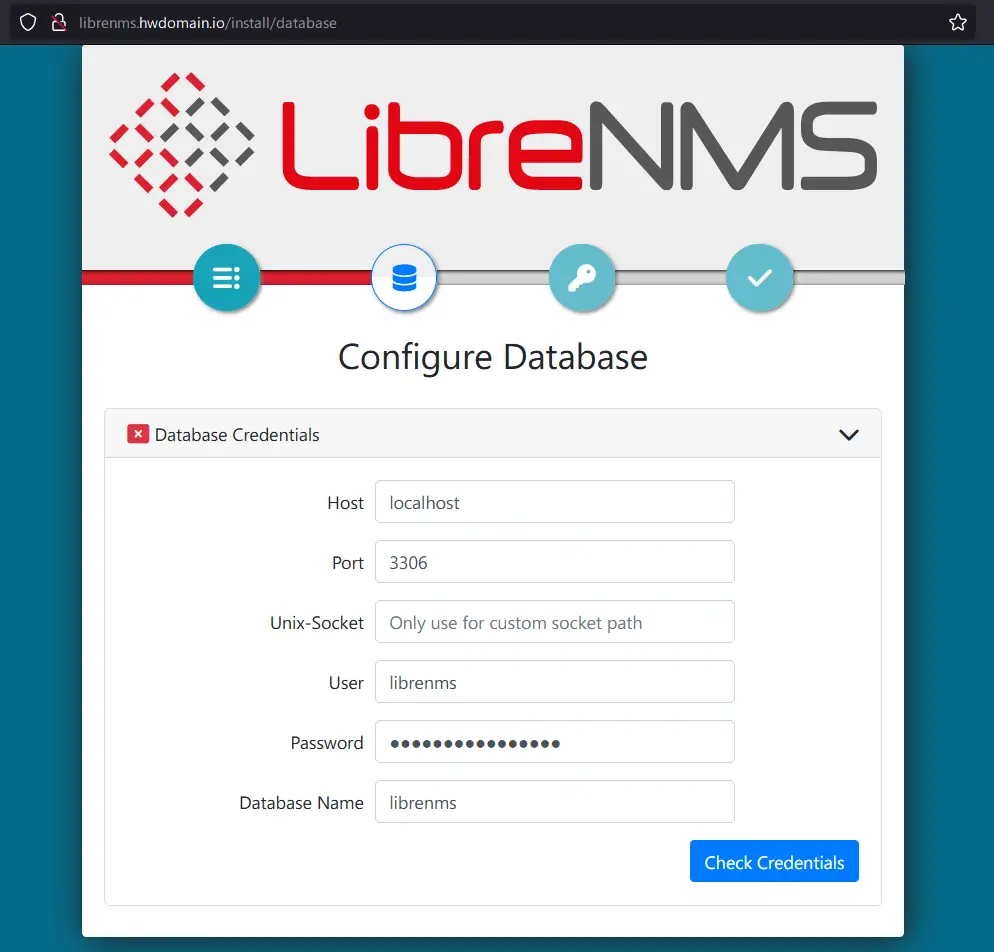
Now input the database details that you have created and click Check Credentials.
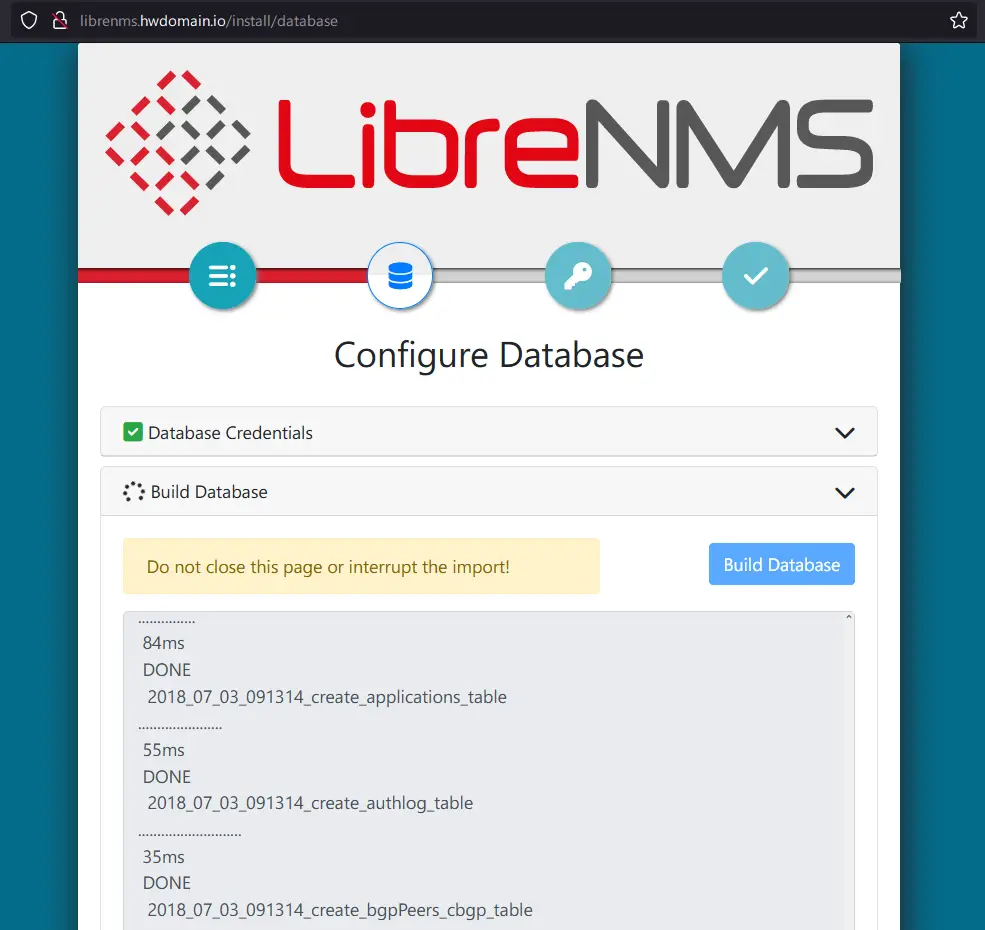
Then, click the Build Database to migrate the LibreNMS database.
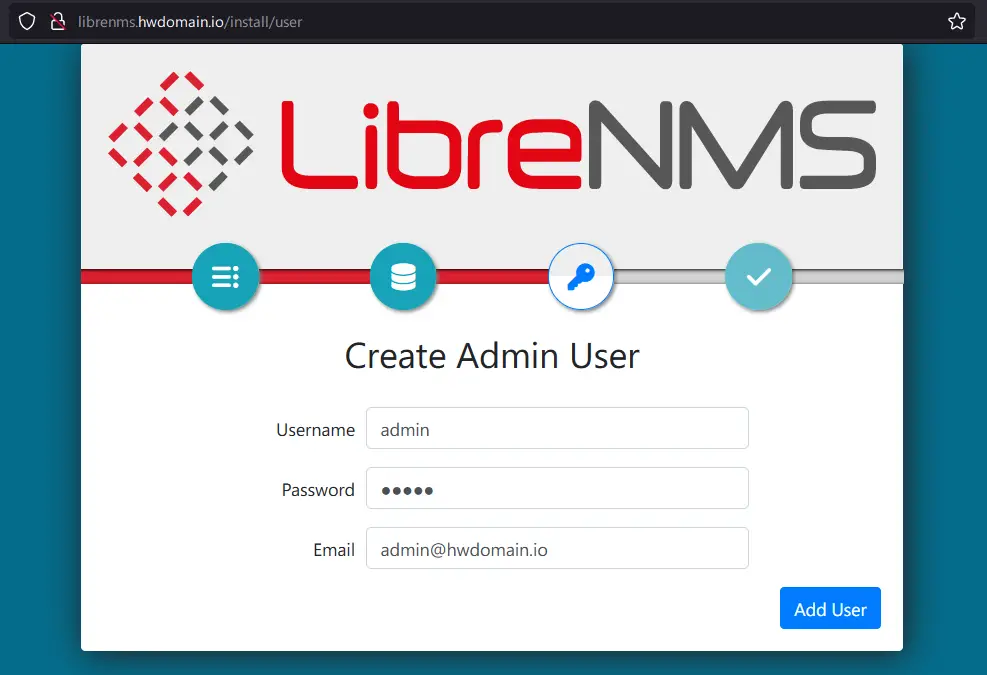
Next, click on the key icon to set up the admin user and password LibreNMS. Input details of the admin user, password, and email, then click Add User.
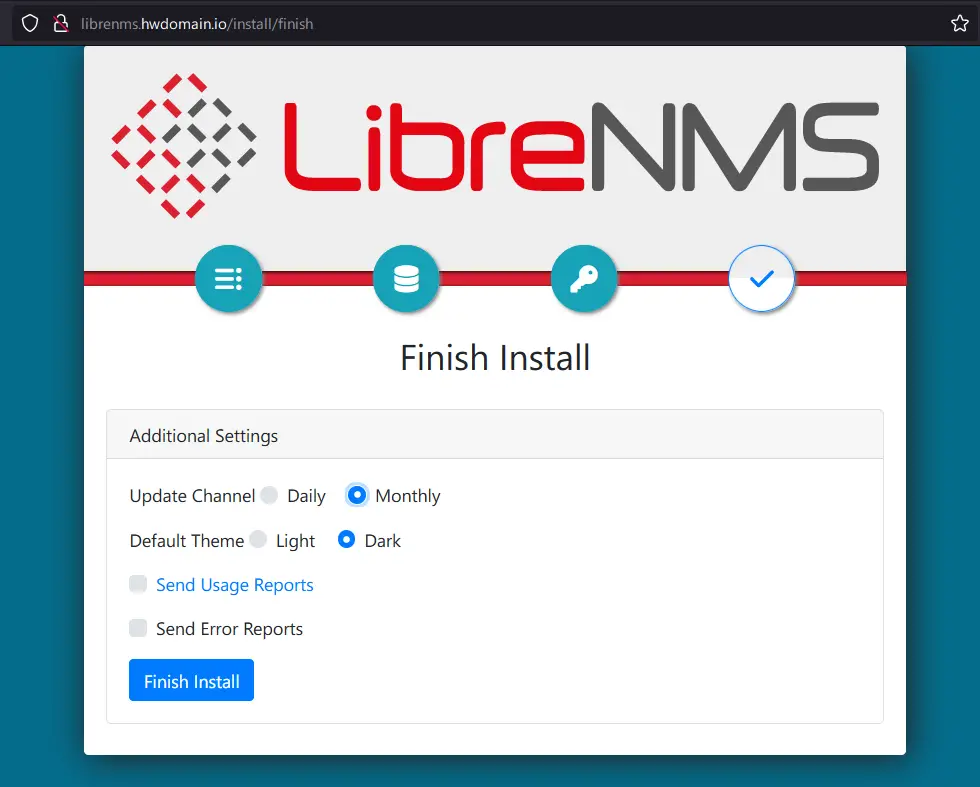
Now click Finish Install to complete the LibreNMS installation.
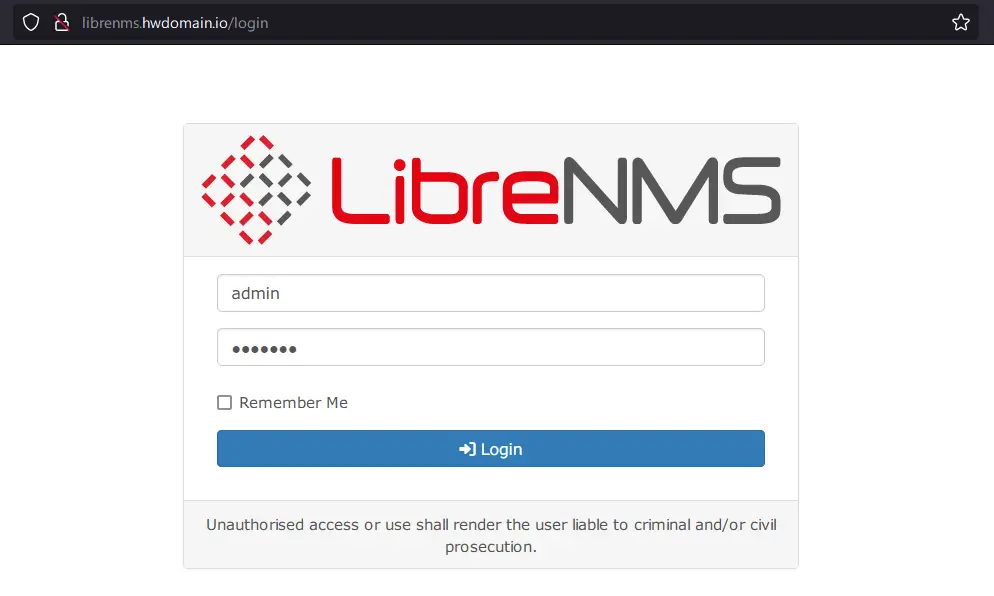
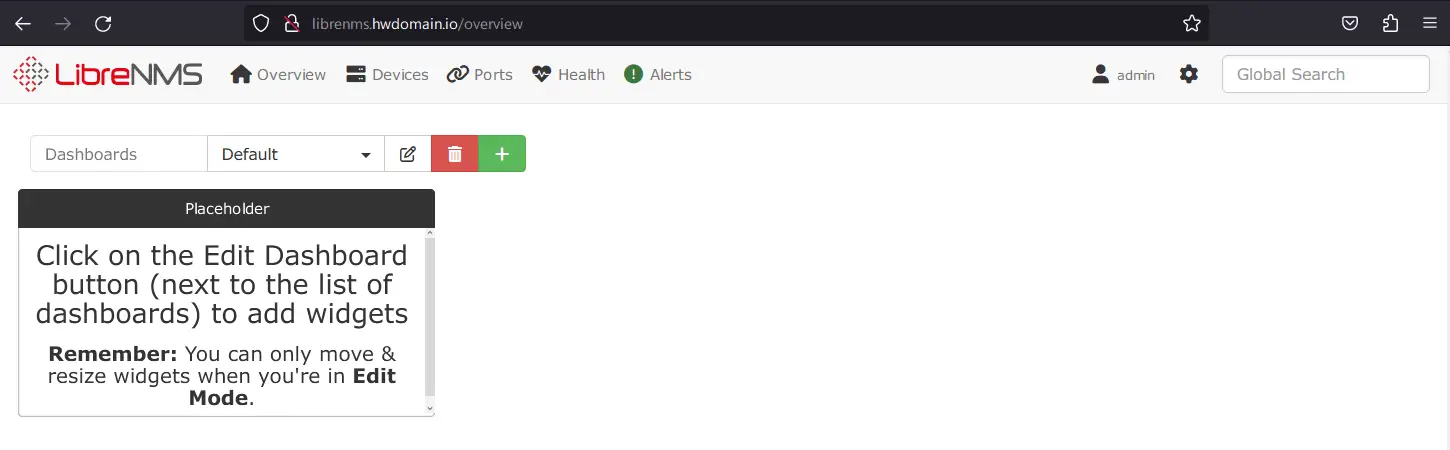
Once the LibreNMS installation is finished, you will be redirected to the LibreNMS login page. Input your admin user and password, then click Login.
If successful, you should see the LibreNMS dashboard like this. You can create and arrange the LibreNMS dashboard as you need.
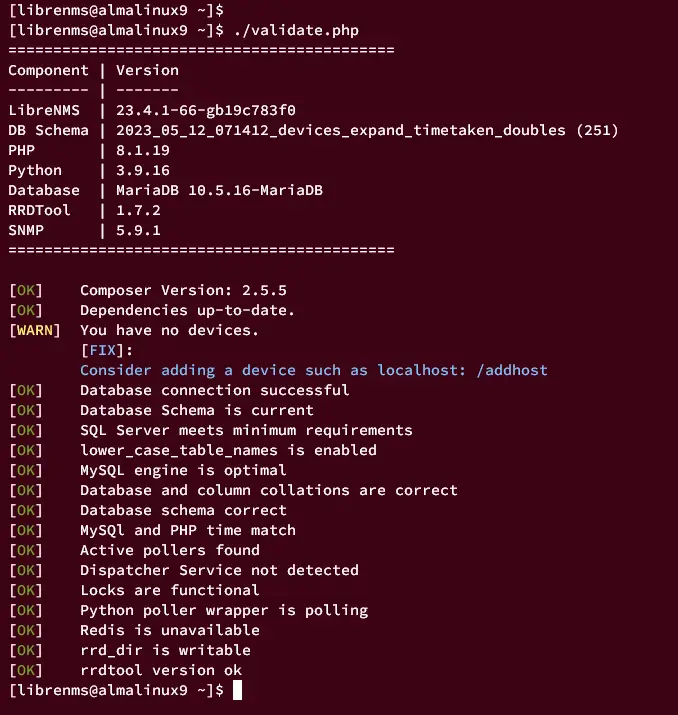
Lastly, you can use the script validate.php to ensure that you have proper LibreNMS configuration. Run the following command to log in as user librenms and execute the validate.php script.
su - librenms
./validate.php
If you have proper LibreNMS configuration, everything should have the OK status like the following:
Conclusion
Congratulations, you have now successfully installed LibreNMS Monitoring Tool on AlmaLinux 9. You have installed and configured LibreNMS with the MariaDB database server and Nginx web server. And also configured SELinux and firewalld for LibreNMS.
Furthermore, visit the LibreNMS documentation to add new hosts or devices to monitor.

