How to install OTRS (OpenSource Trouble Ticket System) on Debian 11
OTRS is an open-source Ticket Request System that helps organizations process customer tickets and requests. It is one of the most popular service management software used for helpdesk and customer support. It offers a flexible web-based panel to track general IT-related issues from the central point. It is written in Perl and uses PostgreSQL, and MySQL as a database backend. If you are looking for helpdesks, call centers, and IT service management systems then OTRS is the best option for you.
This post will explain how to install OTRS on Debian 11 server.
Prerequisites
- A server running Debian 11.
- A root password is configured on all servers.
Install Perl Dependency
OTRS is written in Perl, so you must install all Perl dependencies to your server.
First, update and upgrade all the system packages using the following command.
apt update -y
apt upgrade -y
Next, install all required Perl modules on your server by running the following command:
apt install perl libapache2-mod-perl2 libdbd-mysql-perl libtimedate-perl libnet-dns-perl libnet-ldap-perl libio-socket-ssl-perl libpdf-api2-perl libdbd-mysql-perl libsoap-lite-perl libtext-csv-xs-perl libjson-xs-perl libapache-dbi-perl libxml-libxml-perl libxml-libxslt-perl libyaml-perl libarchive-zip-perl libcrypt-eksblowfish-perl libencode-hanextra-perl libmail-imapclient-perl libtemplate-perl libmoo-perl libauthen-ntlm-perl libjavascript-minifier-xs-perl libdbd-odbc-perl libcss-minifier-xs-perl libdbd-pg-perl libdatetime-perl -y
After installing all the required dependencies, you can proceed to the next step.
Install Apache and MariaDB Server
Next, you will need to install the Apache and MariaDB server on your system. You can install both packages by running the following command:
apt install apache2 mariadb-server mariadb-client -y
After installing both packages, start the Apache and MariaDB services and enable them to start after the system reboot:
systemctl start apache2 mariadb
systemctl enable apache2 mariadb
Configure MariaDB Server
First, you will need to secure the MariaDB installation. You can secure it by running the following script:
mysql_secure_installation
Answer all the questions as shown below:
    Enter current password for root (enter for none):
    Set root password? [Y/n]: N
    Remove anonymous users? [Y/n]: Y
    Disallow root login remotely? [Y/n]: Y
    Remove test database and access to it? [Y/n]:  Y
    Reload privilege tables now? [Y/n]:  Y
Next, edit the MariaDB configuration file and tweak some settings:
nano /etc/mysql/mariadb.conf.d/50-server.cnf
Add the following lines inside [mysqld] section:
max_allowed_packet=256M
character-set-server=utf8
collation-server=utf8_general_ci
innodb_buffer_pool_size=4G
innodb_log_file_size=1G
Save and close the file then restart the MariaDB service to apply the changes:
systemctl restart mariadb
Install OTRS on Debian 11
First, create a dedicated user to run OTRS using the following command.
useradd -r -m -d /opt/otrs -c "OTRS User" otrs
Next, add the OTRS user to the www-data group with the following command:
usermod -aG www-data otrs
Next, download the latest OTRS version from their official website using the following command:
wget https://otrscommunityedition.com/download/otrs-community-edition-6.0.38.tar.gz
After the successfull download, extract the downloaded file to the OTRS directory:
tar xvfz otrs-community-edition-6.0.38.tar.gz -C /opt/otrs --strip-components=1
Next, change the ownership of the OTRS directory:
chown -R otrs:otrs /opt/otrs
Next, check all required Perl modules using the following command:
perl /opt/otrs/bin/otrs.CheckModules.pl
If everything is fine, you should get the following output:
  o Apache::DBI......................ok (v1.12)
  o Apache2::Reload..................ok (v0.13)
  o Archive::Tar.....................ok (v2.36)
  o Archive::Zip.....................ok (v1.68)
  o Crypt::Eksblowfish::Bcrypt.......ok (v0.009)
  o CSS::Minifier::XS................ok (v0.11)
  o Date::Format.....................ok (v2.24)
  o DateTime.........................ok (v1.54)
    o DateTime::TimeZone.............ok (v2.47)
  o DBI..............................ok (v1.643)
  o DBD::mysql.......................ok (v4.050)
  o DBD::ODBC........................ok (v1.61)
  o DBD::Oracle......................Not installed! (optional - Required to connect to a Oracle database.)
  o DBD::Pg..........................ok (v3.14.2)
  o Digest::SHA......................ok (v6.02)
  o Encode::HanExtra.................ok (v0.23)
  o IO::Socket::SSL..................ok (v2.069)
  o JSON::XS.........................ok (v4.03)
  o JavaScript::Minifier::XS.........ok (v0.13)
  o List::Util::XS...................ok (v1.55)
  o LWP::UserAgent...................ok (v6.64)
  o Mail::IMAPClient.................ok (v3.42)
    o IO::Socket::SSL................ok (v2.069)
    o Authen::SASL...................ok (v2.16)
    o Authen::NTLM...................ok (v1.09)
  o ModPerl::Util....................ok (v2.000011)
  o Moo..............................ok (v2.004004)
  o Net::DNS.........................ok (v1.29)
  o Net::LDAP........................ok (v0.68)
  o Net::SMTP........................ok (v3.11)
  o Template.........................ok (v2.27)
  o Template::Stash::XS..............ok (undef)
  o Text::CSV_XS.....................ok (v1.45)
  o Time::HiRes......................ok (v1.9764)
  o Unicode::Collate.................ok (v1.27)
  o XML::LibXML......................ok (v2.0134)
  o XML::LibXSLT.....................ok (v1.99)
  o XML::Parser......................ok (v2.46)
  o YAML::XS.........................ok (v0.82)
Next, rename the OTRS configuration file with the following command:
cp /opt/otrs/Kernel/Config.pm{.dist,}
Next, install the required dependencies by running the following script:
perl -cw /opt/otrs/bin/cgi-bin/index.pl
perl -cw /opt/otrs/bin/cgi-bin/customer.pl
perl -cw /opt/otrs/bin/otrs.Console.pl
perl /opt/otrs/bin/otrs.SetPermissions.pl
Configure Apache for OTRS
Next, you will need to link OTRS Apache configuration file to the Apache web root directory to serve OTRS via Apache. You can do it with the following command:
ln -s /opt/otrs/scripts/apache2-httpd.include.conf /etc/apache2/sites-enabled/
Next, disable the default Apache site with the following command:
a2dissite 000-default.conf
Next, enable the required Apache modules with the following command:
a2enmod perl version deflate filter headers
Next, fix the Apache permission with the following command:
/opt/otrs/bin/otrs.SetPermissions.pl --web-group=www-data
Finally, restart the Apache service to apply the configuration:
systemctl restart apache2
You can now check the status of the Apache service with the following command:
systemctl status apache2
You will get the Apache status in the following output:
? apache2.service - The Apache HTTP Server
     Loaded: loaded (/lib/systemd/system/apache2.service; enabled; vendor preset: enabled)
     Active: active (running) since Wed 2023-02-22 12:58:37 UTC; 6s ago
       Docs: https://httpd.apache.org/docs/2.4/
    Process: 11481 ExecStart=/usr/sbin/apachectl start (code=exited, status=0/SUCCESS)
   Main PID: 11488 (/usr/sbin/apach)
      Tasks: 55 (limit: 4675)
     Memory: 95.5M
        CPU: 1.507s
     CGroup: /system.slice/apache2.service
             ??11488 /usr/sbin/apache2 -k start
             ??11491 /usr/sbin/apache2 -k start
             ??11492 /usr/sbin/apache2 -k start

Feb 22 12:58:36 debian11 systemd[1]: Starting The Apache HTTP Server...
Complete OTRS Web Installation
At this point, OTRS is installed and configured. Now, open your web browser and access the OTRS web installation wizard using the URL http://your-server-ip/otrs/installer.pl. You should see the OTRS welcome page on the following screen:

Click on the Next button. You should see the OTRS Licence screen:
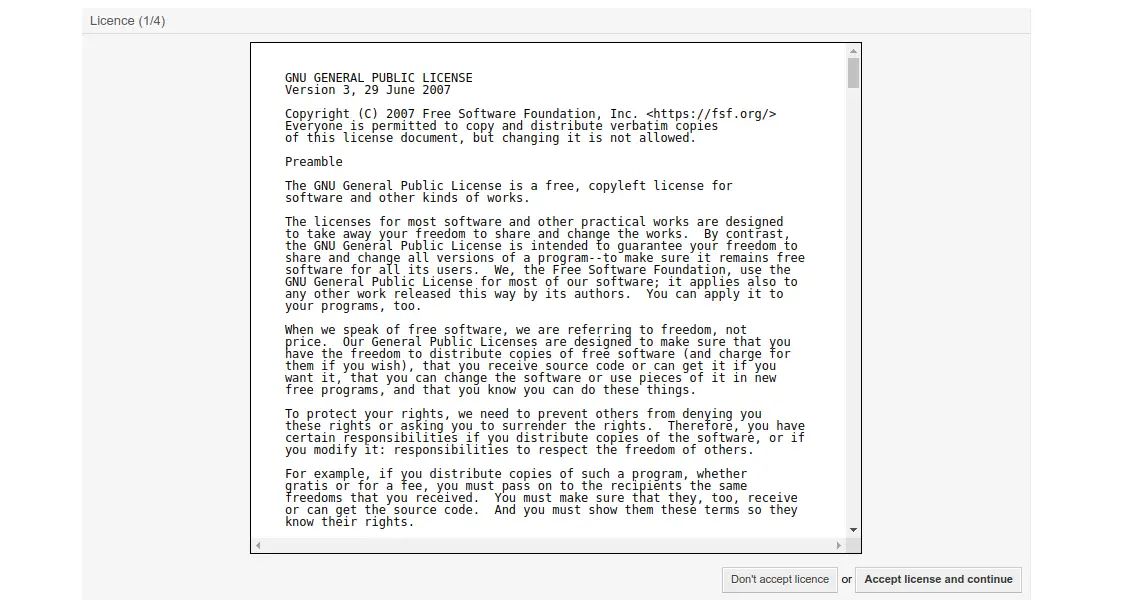
Read the license and click on the Accept license and continue button. You should see the database selection screen:
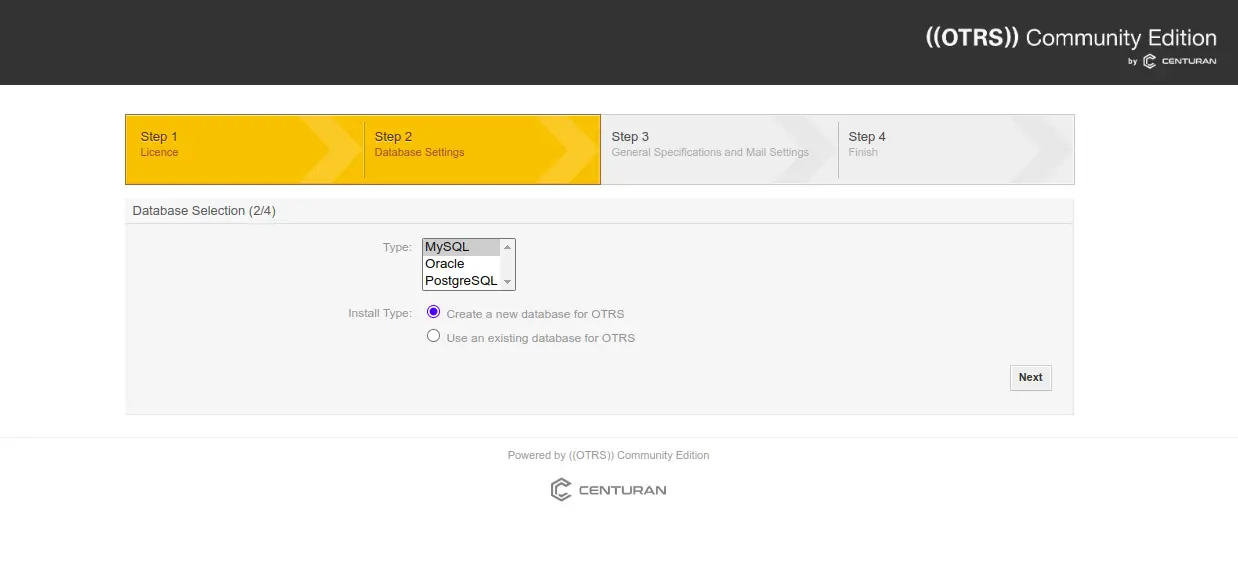
Select your database and click on the Next button. You should see the MySQL configuration screen:
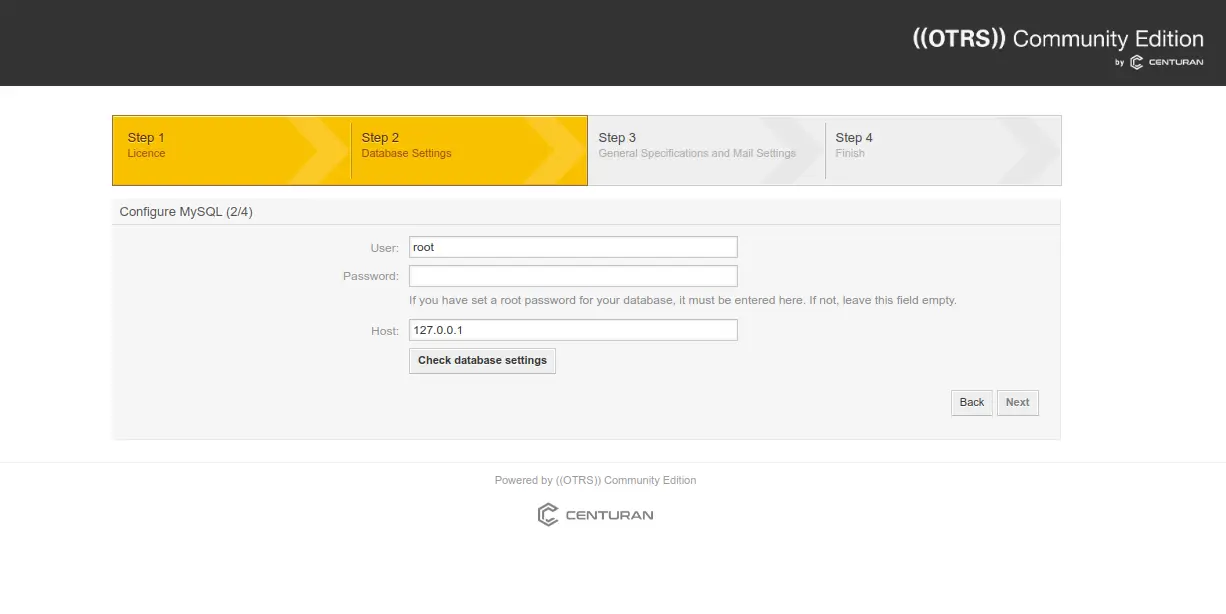
Provide your MySQL root password and click on the Check database settings. You should see the following screen:
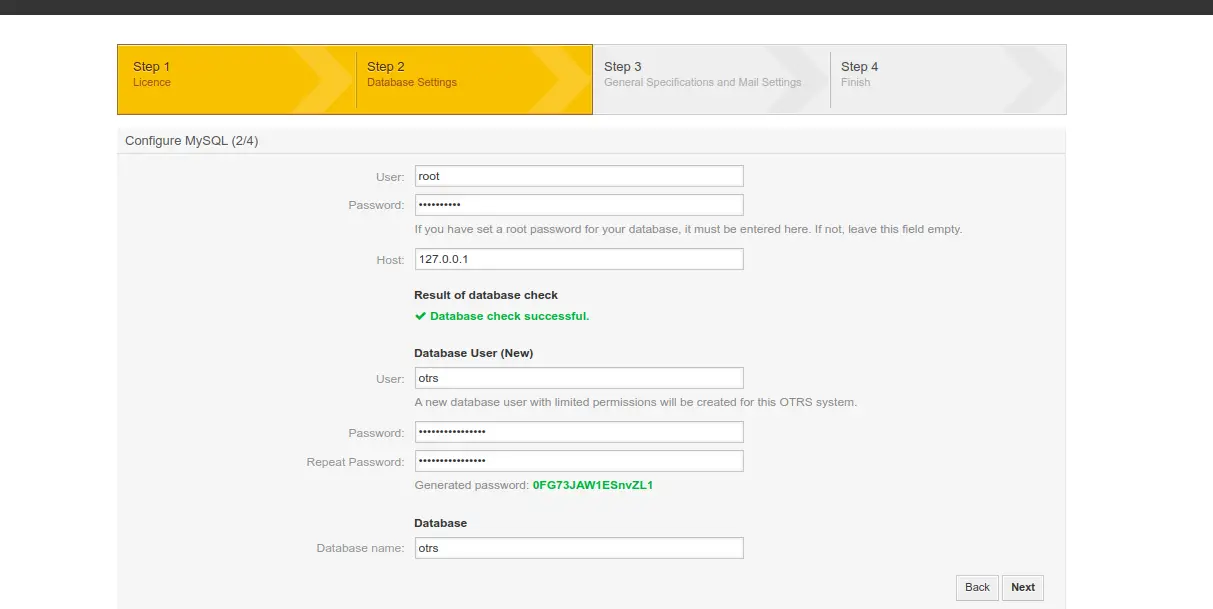
Provide your new database user, password then click on the Next button. You should see the following screen:
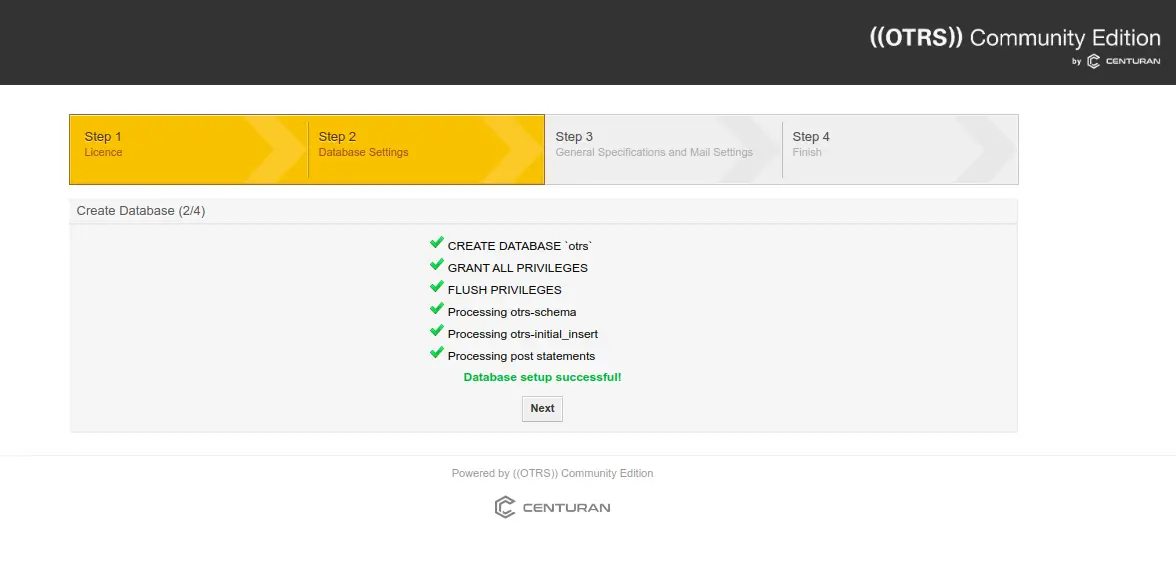
Click on the Next button. You should see the system settings screen:
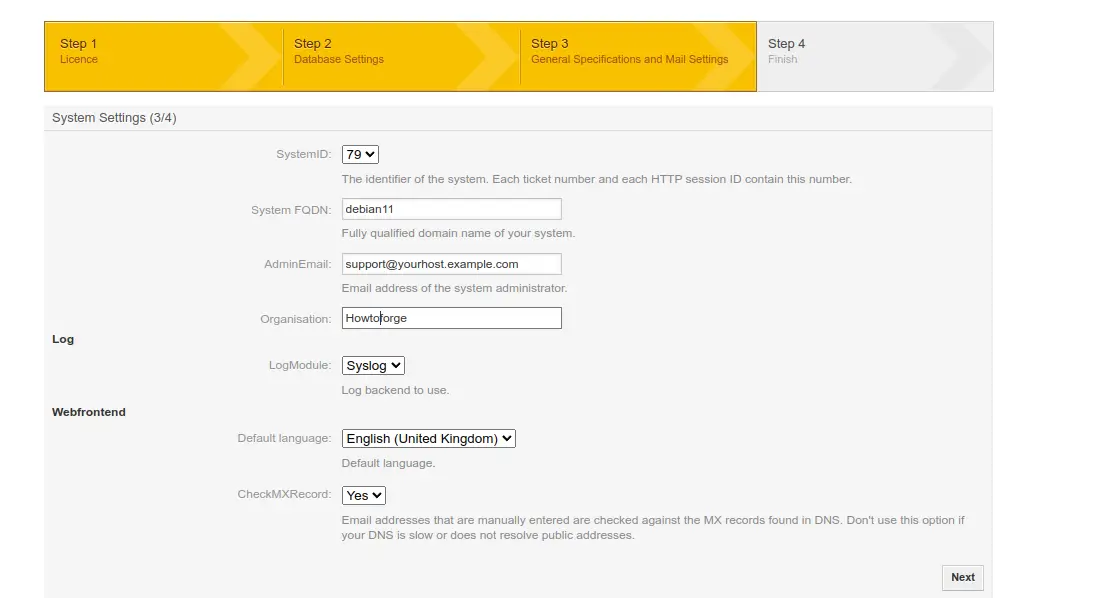
Define your required settings and click on the Next button. You should see the Email configuration screen:
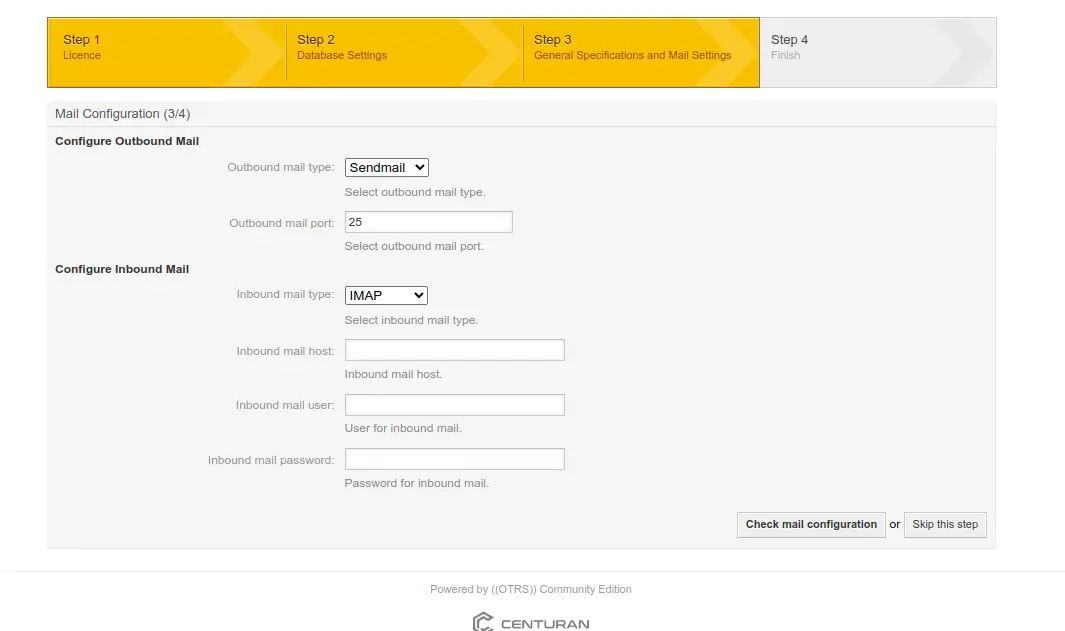
Define your SMTP server or leave it blank and click on the Skip this step button. Once the installation has been completed. You should see the server URL with login username and password in the following screen:
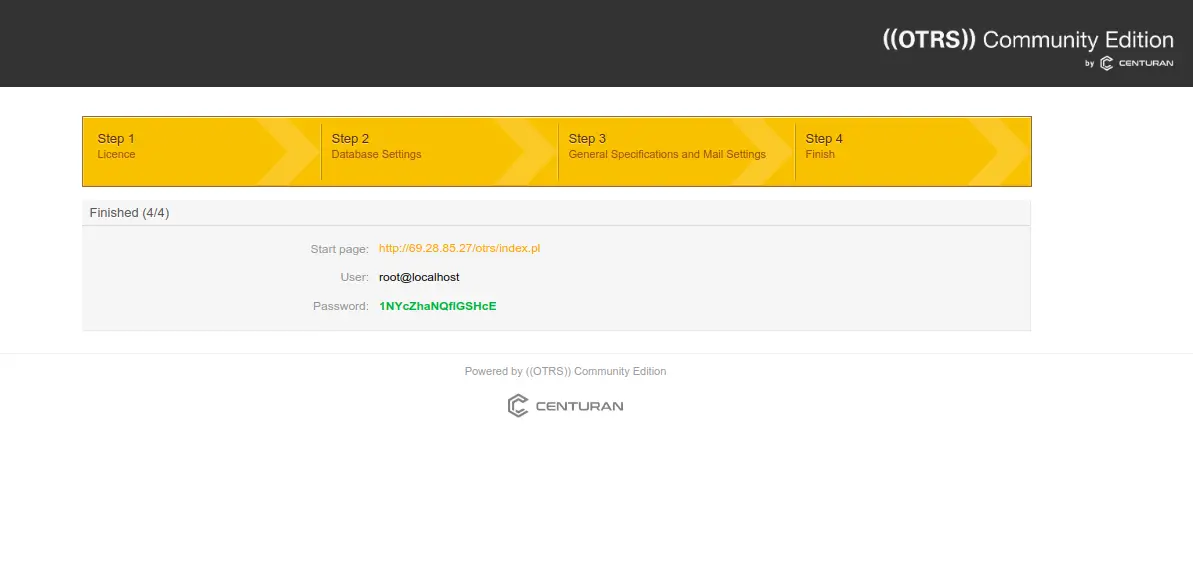
Click on the provided URL. You will be redirected to the OTRS login screen:

Provide your admin credential and click on the Login button. You should see the OTRS dashboard on the following screen:
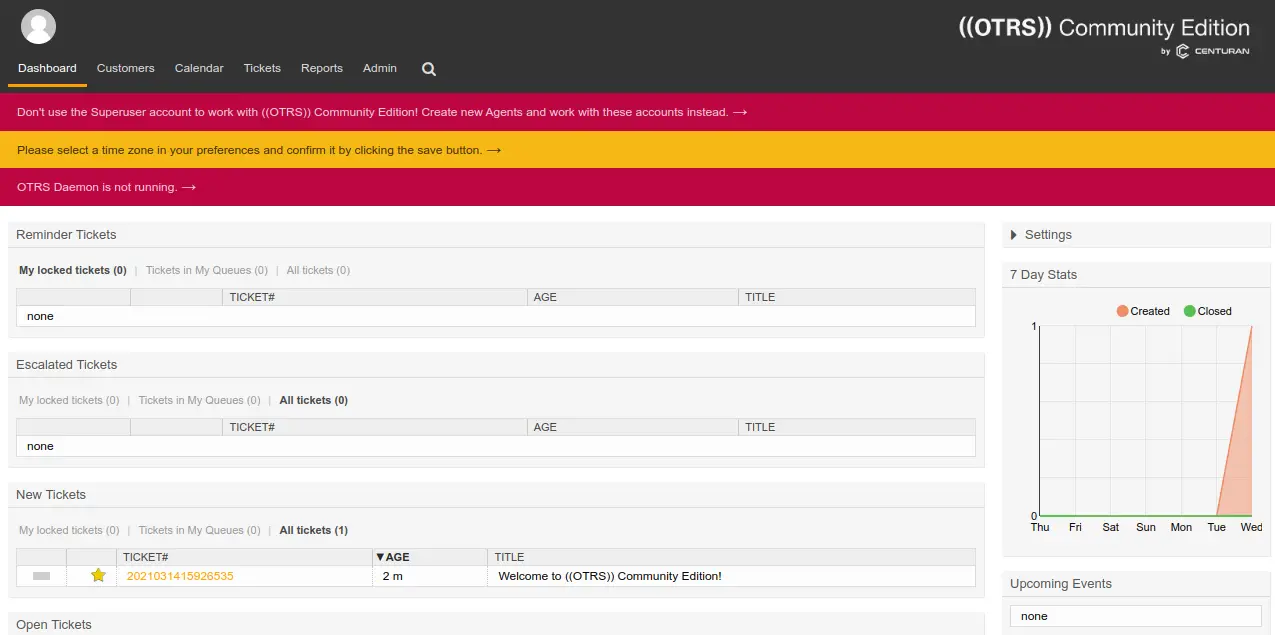
You can see the "OTRS Daemon not runnig error" on the above screen.
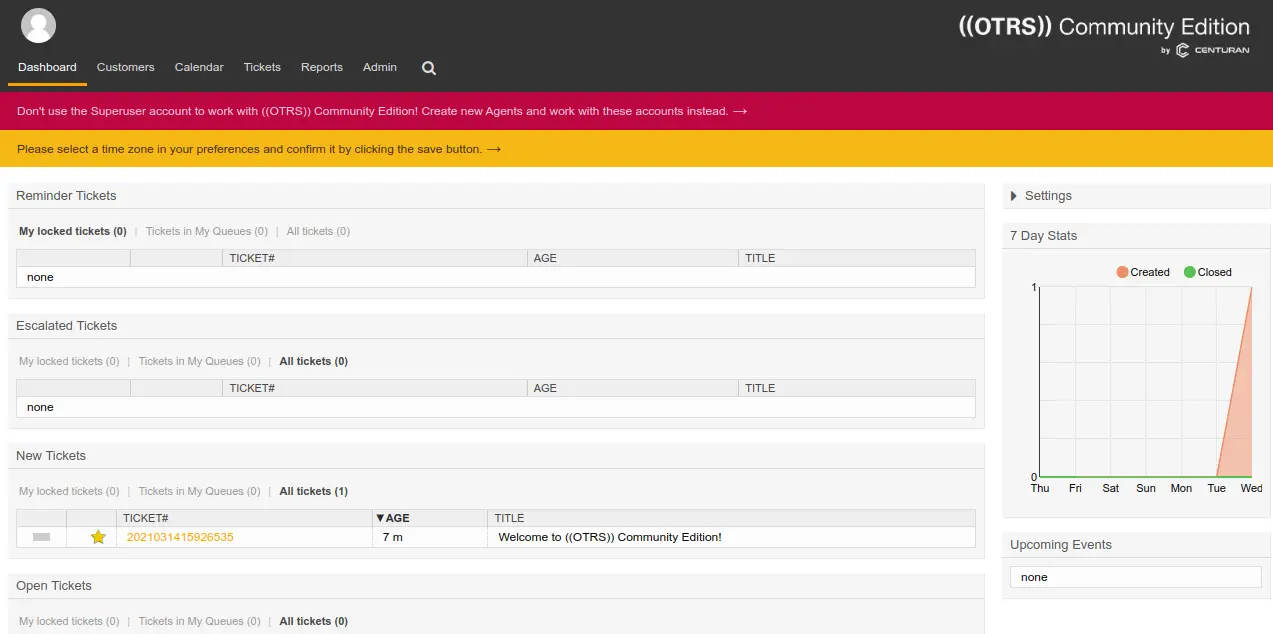
To resolve this error, run the following command on your server interface:
sudo -Hiu otrs /opt/otrs/bin/otrs.Daemon.pl start
cp /opt/otrs/var/cron/otrs_daemon{.dist,}
sudo -Hiu otrs /opt/otrs/bin/Cron.sh start
Now, refresh the OTRS screen. You should see that the error is now gone.
Conclusion
Congratulations! you have successfully installed OTRS on Debian 11 server. You can now implement OTRS in your companies to increase service management quality. Feel free to ask me if you have any questions.

