How to Install ProcessWire CMS on Debian 11
ProcessWire is a PHP-based Open-Source CMS used to deploy content on the web. It is a powerful content management system that helps you to save time and make development fun at any scale. ProcessWire has an intuitive web interface where you can easily create and publish content on the internet. It offers useful features such as multi-language, powerful template system, hooks, headless, command line ready, fully modular plugin architecture, drag-and-drop file and image uploads, and more.
This tutorial will show you how to install the ProcessWire content management system on Debian 11.
Prerequisites
- A server running Debian 11.
- A valid domain name is pointed to your server IP.
- A root password is configured on the server.
Getting Started
Before starting, updating and upgrading all system packages to the latest version is always recommended. You can upgrade all of them with the following command.
apt update -y
apt upgrade -y
Once all the packages are updated, you can install the LAMP server.
Install Apache, PHP, and MariaDB Server
Next, we will install Apache, MariaDB, PHP, and other required dependencies to host ProcessWire CMS on the web. You can install all of them by running the following command:
apt install apache2 mariadb-server php libapache2-mod-php php-common php-mysql php-xml php-xmlrpc php-curl php-gd php-imagick php-cli php-dev php-imap php-mbstring php-opcache php-soap php-zip php-intl unzip wget curl -y
After installing all the packages, start the Apache and MariaDB service with the following command:
systemctl start apache2
systemctl start mariadb
Once you are done, you can proceed to create the database and user in the next step.
Create a Database for Processwire
By default, the MariaDB is not secured, and the root password is not set. You will need to do it first. You can do it using the mysql_secure_installation script:
mysql_secure_installation
Answer all the questions as shown below:
Enter current password for root (enter for none): Press ENTER
Set root password? [Y/n]: Y
New password: Set-your-new-password
Re-enter new password: Set-your-new-password
Remove anonymous users? [Y/n] Y
Disallow root login remotely? [Y/n] Y
Remove test database and access to it? [Y/n] Y
Reload privilege tables now? [Y/n] Y
Once the MariaDB is secured, open the command line terminal interface and log into the MariaDB shell using the following command:
mysql -u root -p
Once you are logged in, create a database and user with the following command:
MariaDB [(none)]> CREATE USER 'processuser'@'localhost' IDENTIFIED BY 'password';
MariaDB [(none)]> CREATE DATABASE processdb;
Next, grant all the privileges to the ProcessWire database with the following command:
MariaDB [(none)]> GRANT ALL PRIVILEGES ON processdb.* TO 'processuser'@'localhost';
Next, flush the privileges and exit from the MariaDB shell with the following command:
MariaDB [(none)]> FLUSH PRIVILEGES;
MariaDB [(none)]> Exit;
Once the MariaDB is configured, you can proceed to download and configure ProcessWite in the next step.
Download ProcessWire CMS
Next, you must download the latest version of ProcessWire CMS from their website or Git repository. You can use the wget command to download the latest version of ProcessWire from the Git repository using the following command:
wget https://github.com/processwire/processwire/archive/master.zip
Once the download is completed, unzip the downloaded file with the following command:
unzip master.zip
Next, move the extracted directory to the Apache web root directory using the following command.
mv processwire-master/ /var/www/html/processwire
Next, change the ownership and permission of the ProcessWire directory:
chown www-data:www-data -R /var/www/html/processwire/
chmod -R 755 /var/www/html/processwire/
Once you are finished, you can proceed to configure the Apache for ProcessWire CMS in the next step.
Create Apache Virtual Host for ProcessWire
Next, you will need to create an Apache virtual host configuration file for ProcessWire. You can create it with the following command:
nano /etc/apache2/sites-available/processwire.conf
Add the following configuration:
<VirtualHost *:80>

ServerAdmin [email protected]

DocumentRoot /var/www/html/processwire
ServerName processwire.example.com

<Directory /var/www/html/processwire/>

Options FollowSymLinks
AllowOverride All
Require all granted

</Directory>

ErrorLog ${APACHE_LOG_DIR}/error.log
CustomLog ${APACHE_LOG_DIR}/access.log combined

</VirtualHost>
Save and close the file when you are done. Then, activate the Apache virtual host and rewrite module using the following command:
a2ensite processwire.conf
a2enmod rewrite
Finally, restart the Apache service to apply the changes:
systemctl restart apache2
You can also verify the status of the Apache with the following command:
systemctl status apache2
You will get the following output:
? apache2.service - The Apache HTTP Server
     Loaded: loaded (/lib/systemd/system/apache2.service; enabled; vendor preset: enabled)
     Active: active (running) since Wed 2023-02-22 13:19:19 UTC; 7s ago
       Docs: https://httpd.apache.org/docs/2.4/
    Process: 25697 ExecStart=/usr/sbin/apachectl start (code=exited, status=0/SUCCESS)
   Main PID: 25703 (apache2)
      Tasks: 6 (limit: 4675)
     Memory: 16.3M
        CPU: 120ms
     CGroup: /system.slice/apache2.service
             ??25703 /usr/sbin/apache2 -k start
             ??25704 /usr/sbin/apache2 -k start
             ??25705 /usr/sbin/apache2 -k start
             ??25706 /usr/sbin/apache2 -k start
             ??25707 /usr/sbin/apache2 -k start
             ??25708 /usr/sbin/apache2 -k start

Feb 22 13:19:19 debian11 systemd[1]: Starting The Apache HTTP Server...
At this point, ProcessWire CMS is installed and configured. You can now proceed to the next step.
Perform ProcessWire Web Installation
Now, open your web browser and type the URL http://processwire.example.com to access the ProcessWire web installation wizard. You will be redirected to the ProcessWire Welcome page:
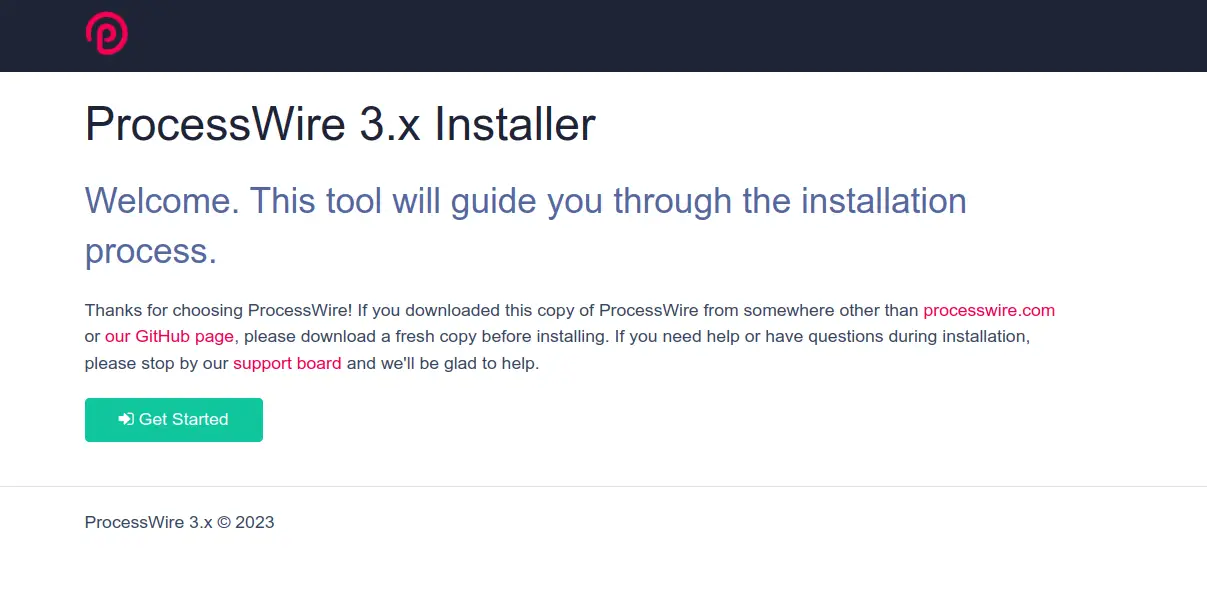
Now, click on the Get Started button. You should see the profile selection page:
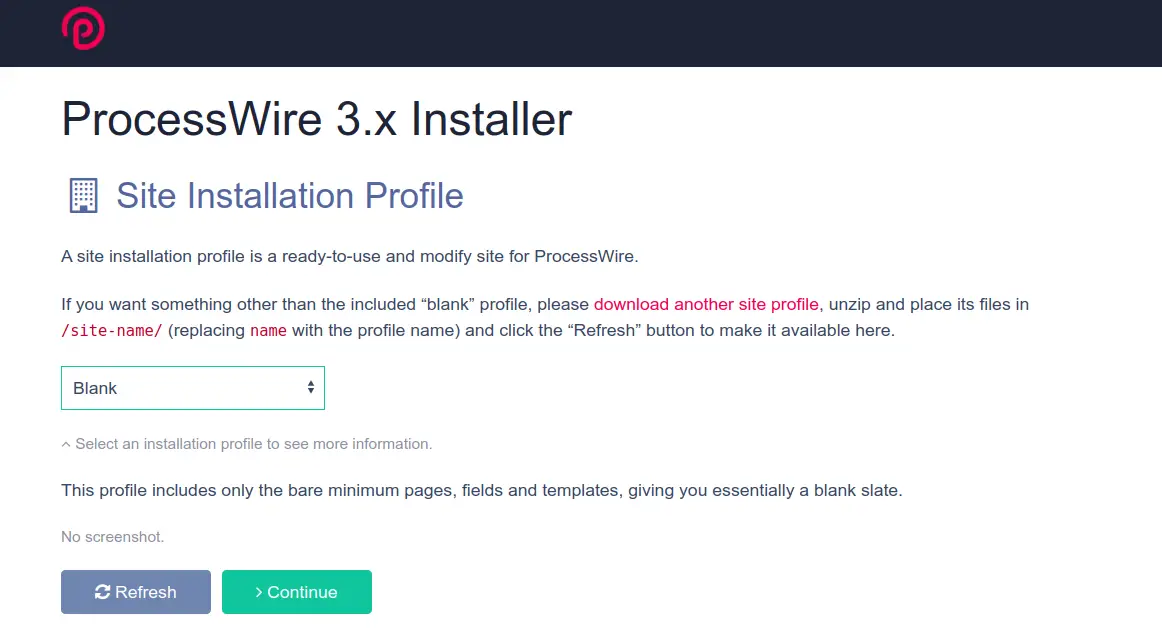
Select Blank profile and then click on the Continue button. You should see the package validation screen.
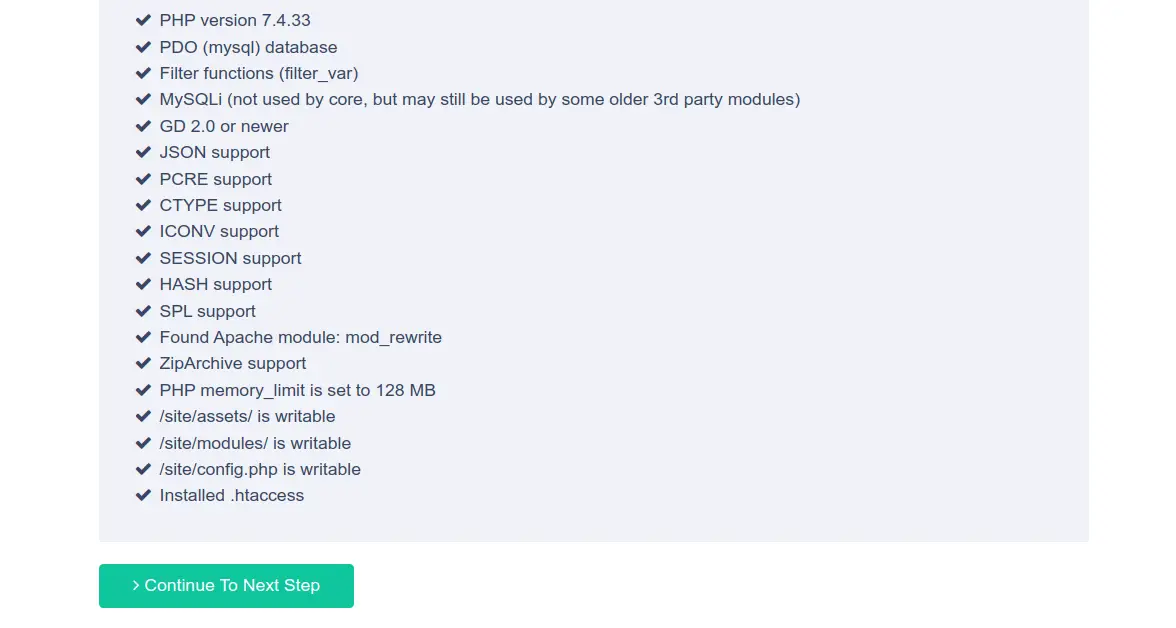
After validating all the requirements, click on the Continue To Next Step button. You should see the database configuration page:
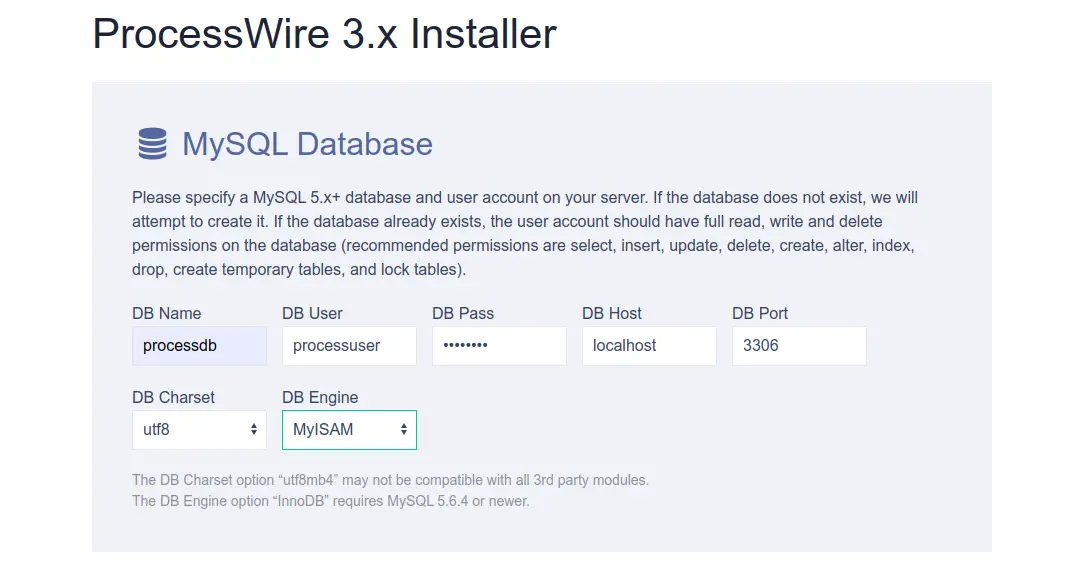
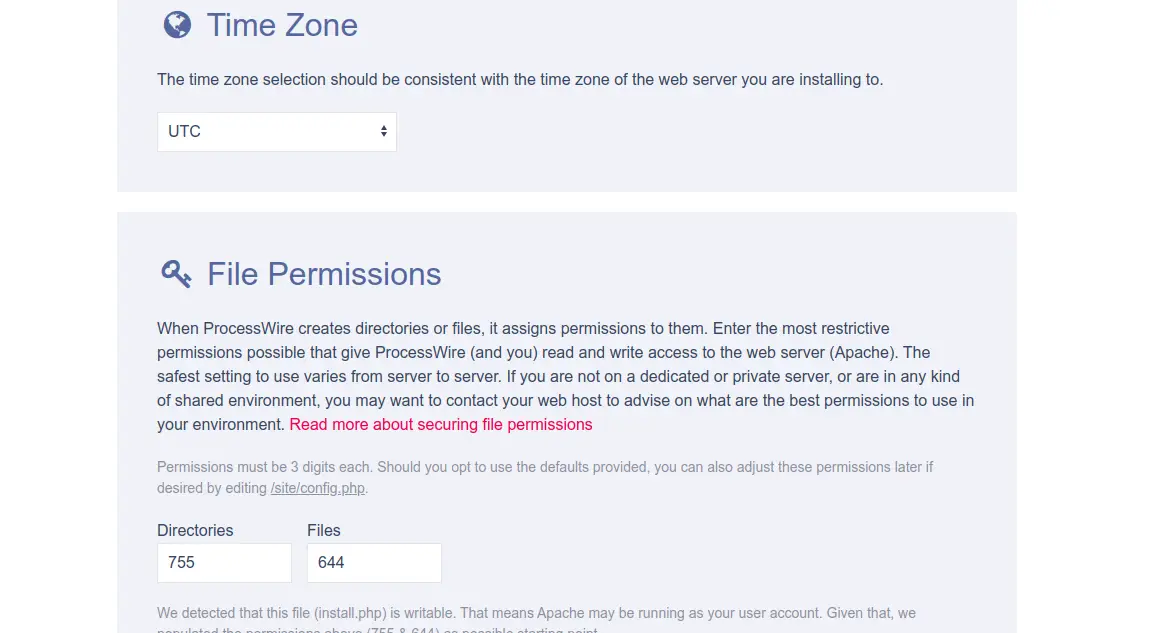
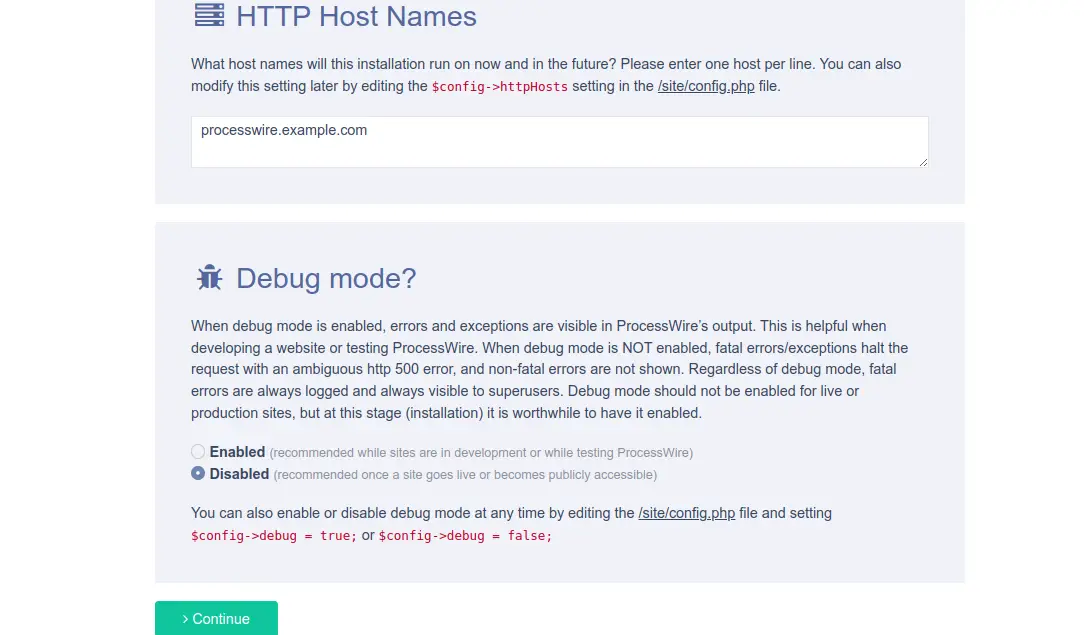
Provide your database details like hostname, database name, database username and password, and Timezone. Then, click on the Continue button. You should see the following page:
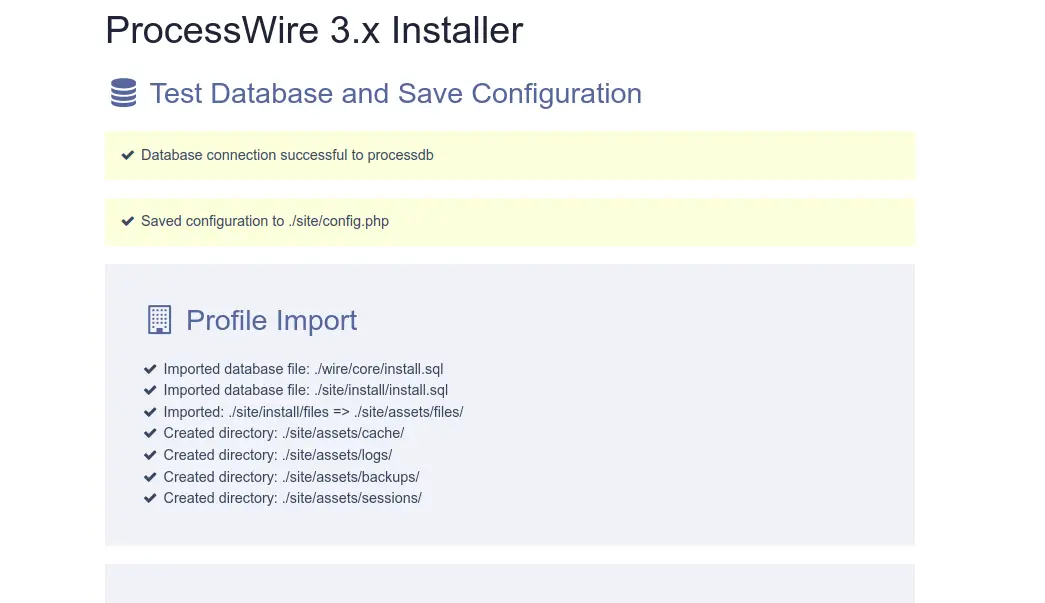

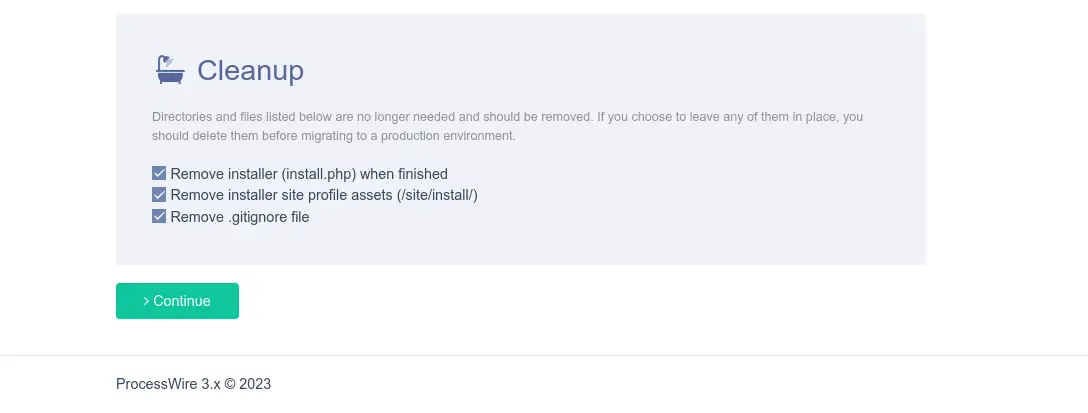
Define your admin username, password, and other settings then click on the Continue button. Once the installation is finished, you should see the following screen.
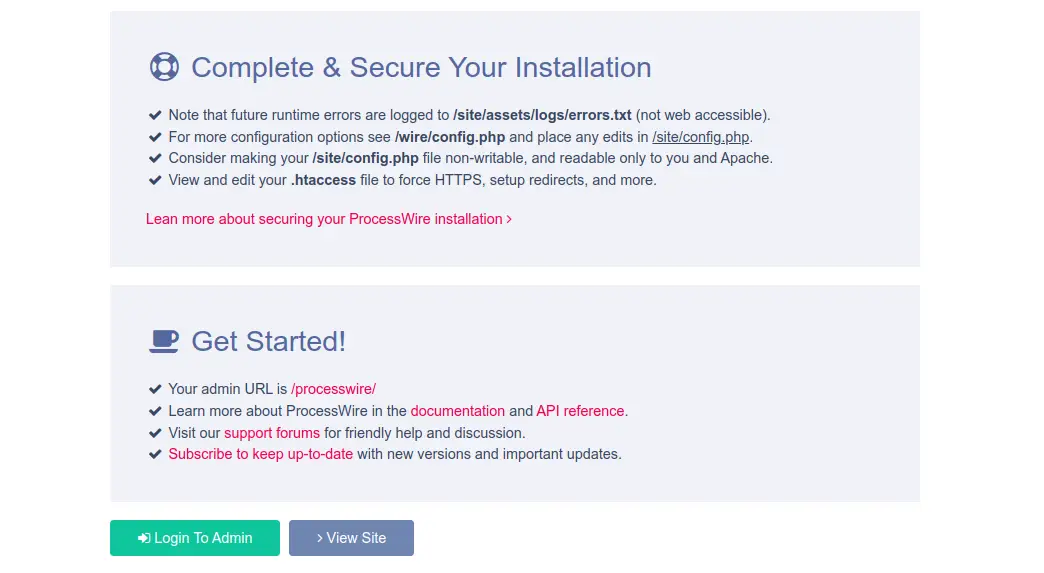
Now, click on the Login To Admin button. You should see the following page:
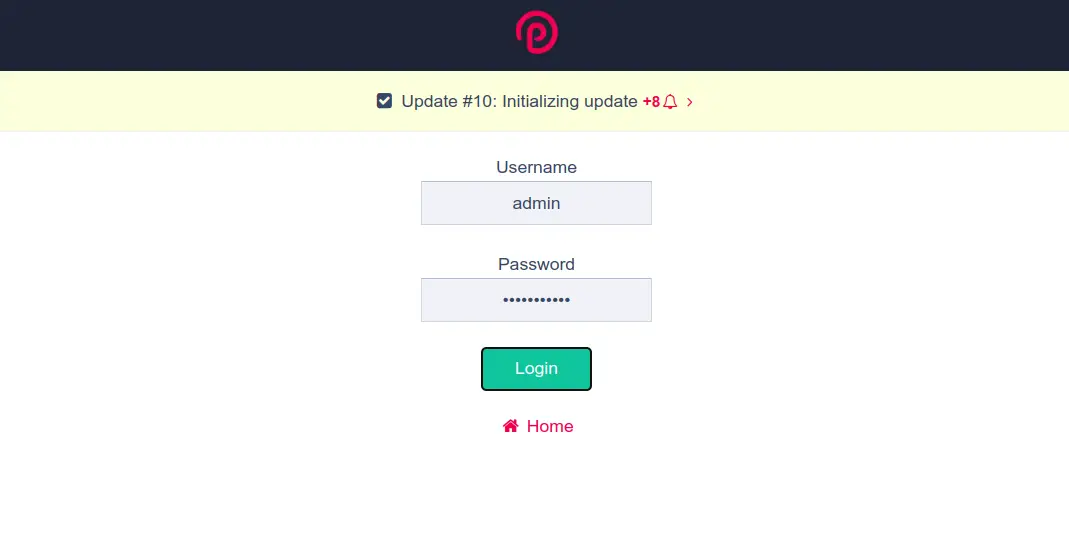
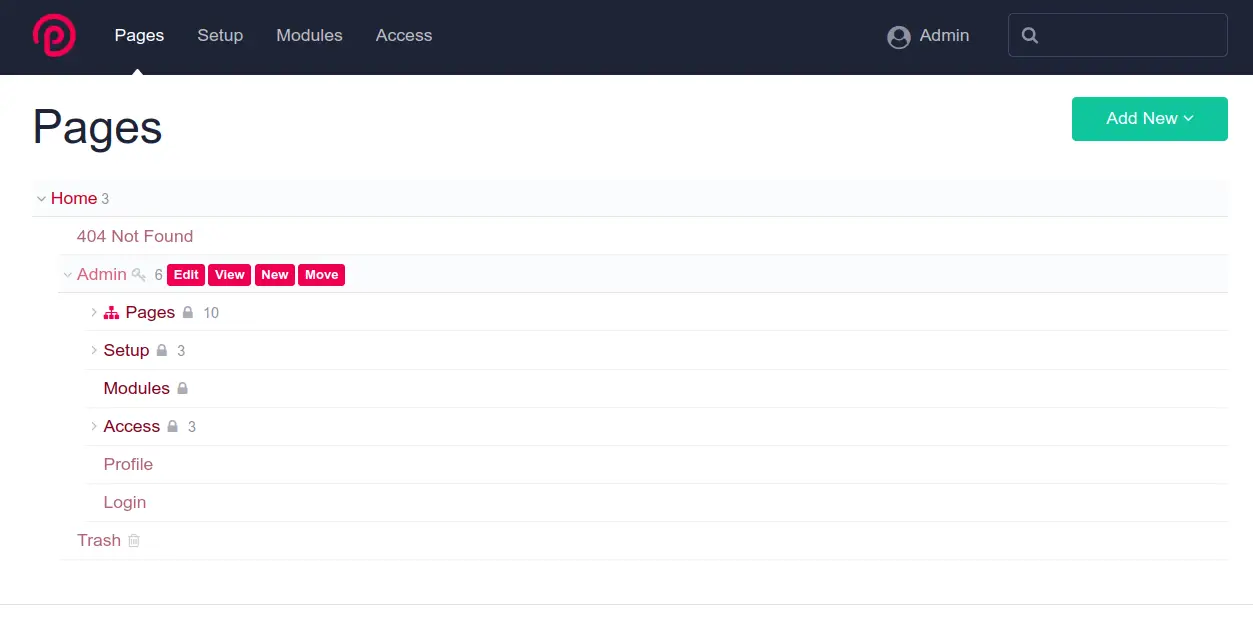
Provide your admin username and password. Then, click on the Login button. You should see the ProcessWire default dashboard on the following page:
Conclusion
This guide taught you how to install ProcessWire CMS with Apache on a Debian 11 server. You can now use ProcessWire to publish the content on the web. You can visit the ProcessWire documentation page. For more information. Feel free to ask me if you have any questions.

