So, as you have seen in my previous post, you can get Clustercontrol up and running extremely fast in order to deploy new instances and bring existing environments closer and take control of them all, in one foul swoop.
You’re highly unlikely to have installed Clustercontrol and now want to start letting your MySQL, PostgreSQL, Mongo, Redis, etc. go forth and multiply. I wage a bet it’s the other way around: You have lots of various environments out there, wild & untamed. Here’s Clustercontrol to take charge of them, manage them, monitor them and back them up too and even let you go beyond and create replicas, clusters and so forth.
So, let’s see an example of how to use Clustercontrol and make a wild MySQL instance tame.
[
FYI: All I did here was use my vagrant box with Clustercontrol installed, download MySQL 8.0.32 Community rpm bundles, manually install, open it and change the password and make it look like an pre-existing environment.
In future posts I’ll look at doing an automatic deployment (the “Deploy” button) so you don’t have to do this anymore.
]
As before, we’ve logged onto the console (reminder: https://<the-IP-of-your-server>/clustercontrol) and got the following in front of us:

With this empty console, we want to “import” an environment into Clustercontrol and thus take control of it.
You might see the following which allows you to directly go to “Import”:
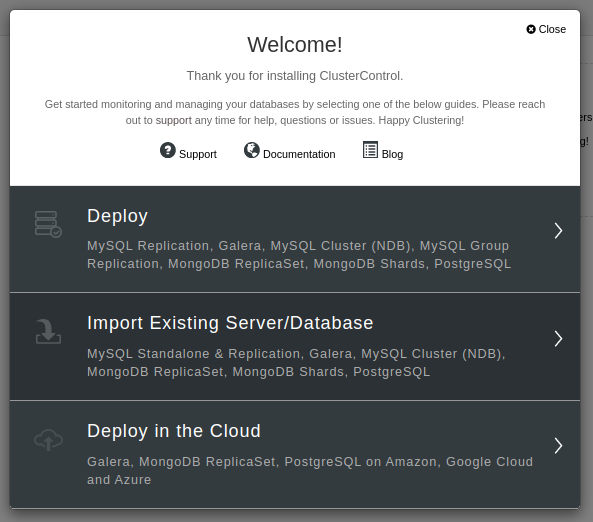
If not, go over to the top right and hit “Import“.
You’ll see a screen like the following:

As we want to “manage” the environment we have to use a secure shell connection, using the Clustercontrol server certificate and user so this is a must.
As you can see I’m using vagrant boxes, ccdemo is my Clustercontrol box and ol7ic1 is an Oracle Linux 7 box:

Note: I’ve used a specific user, ic, that has access both from remote as well as from localhost as I don’t want root to be that user nor open up that security risk. Please choose wisely here. My “ic” user has “with grant option” as we’ll need this for more things I’ll highlight later on.
When you add the node name it needs you to hit enter as it checks the ssh permissions and makes sure it is reachable before going any further. A wise check:

Once that’s confirmed … :

.. we then hit the yellow “import” button at the bottom, and the job is submitted:

Top right we can see the job.
Under the Activity tab, you’ll find the Alarms, Jobs, CMON Log & Audit Log sections. We want the job detail now to see how it’s progressing.
The following screenshots show the detail we get and all the different tasks that have been automated.

More:


So I’m human; cut me and I’ll bleed.
I used the “ic” user and initially I forgot to create it for both remote and localhost access, hence the error. I did this afterwards, manually, and then added the “GRANT PROXY .. WITH GRANT OPTION” privilege too.
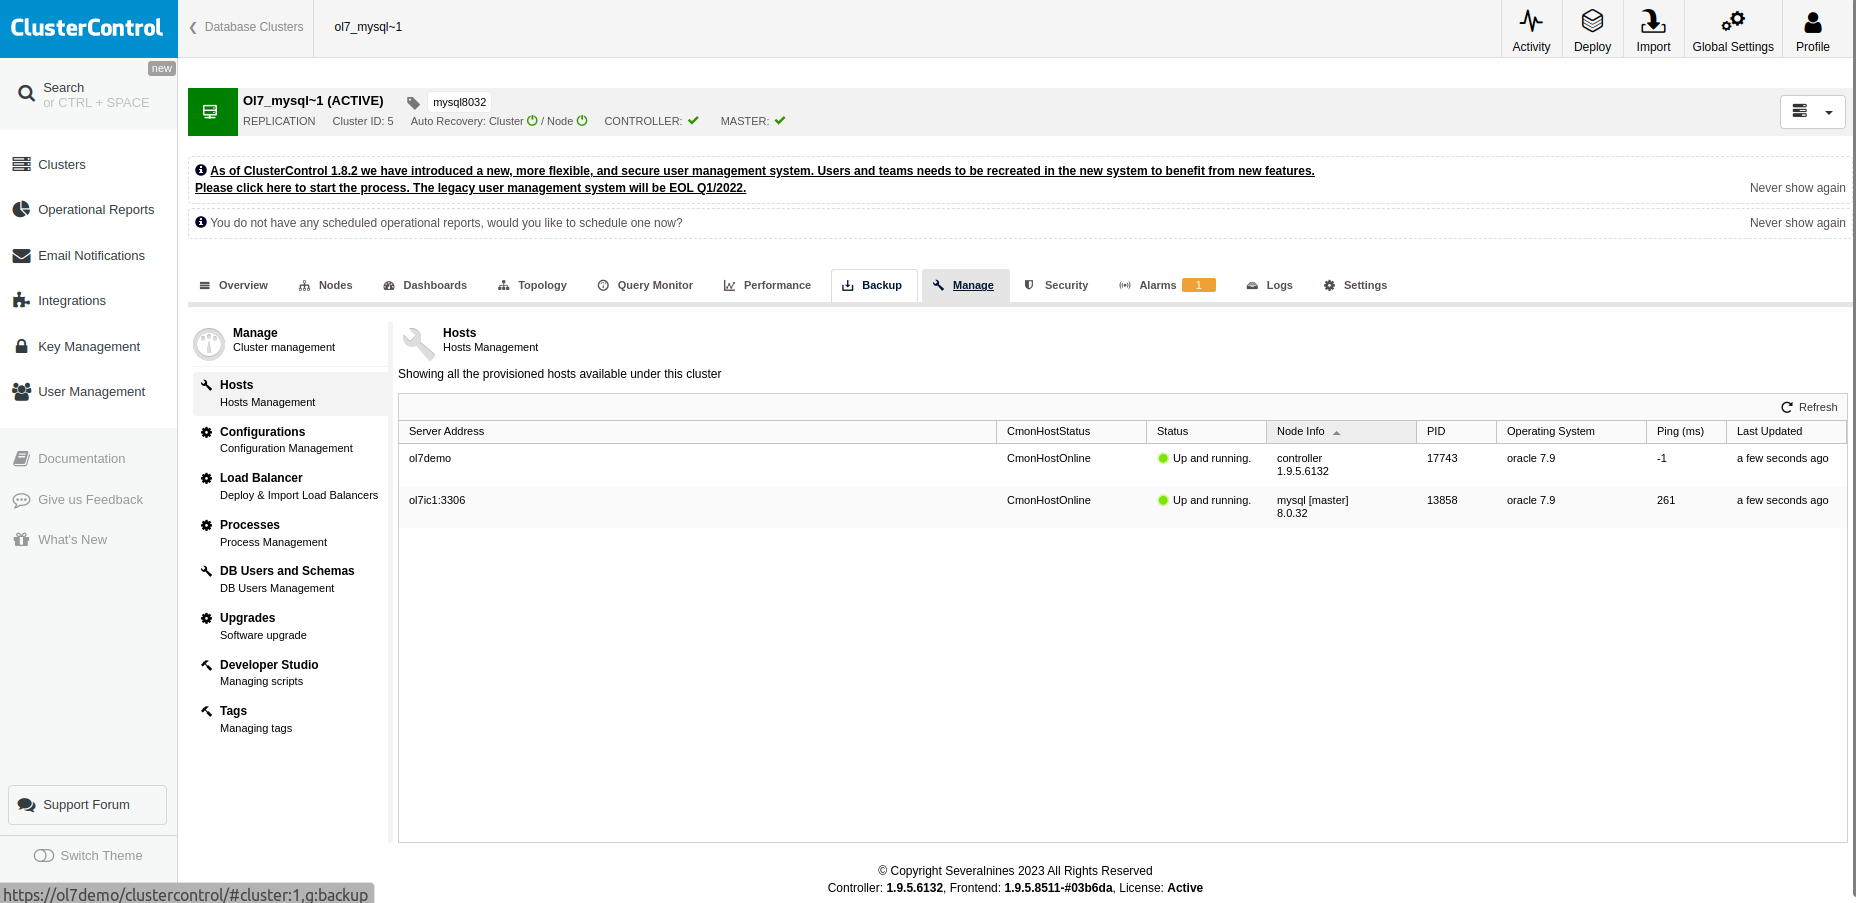
Once the job has finished we should see something similar to:

We can then click on the Clusters option on the left, and there we have it!
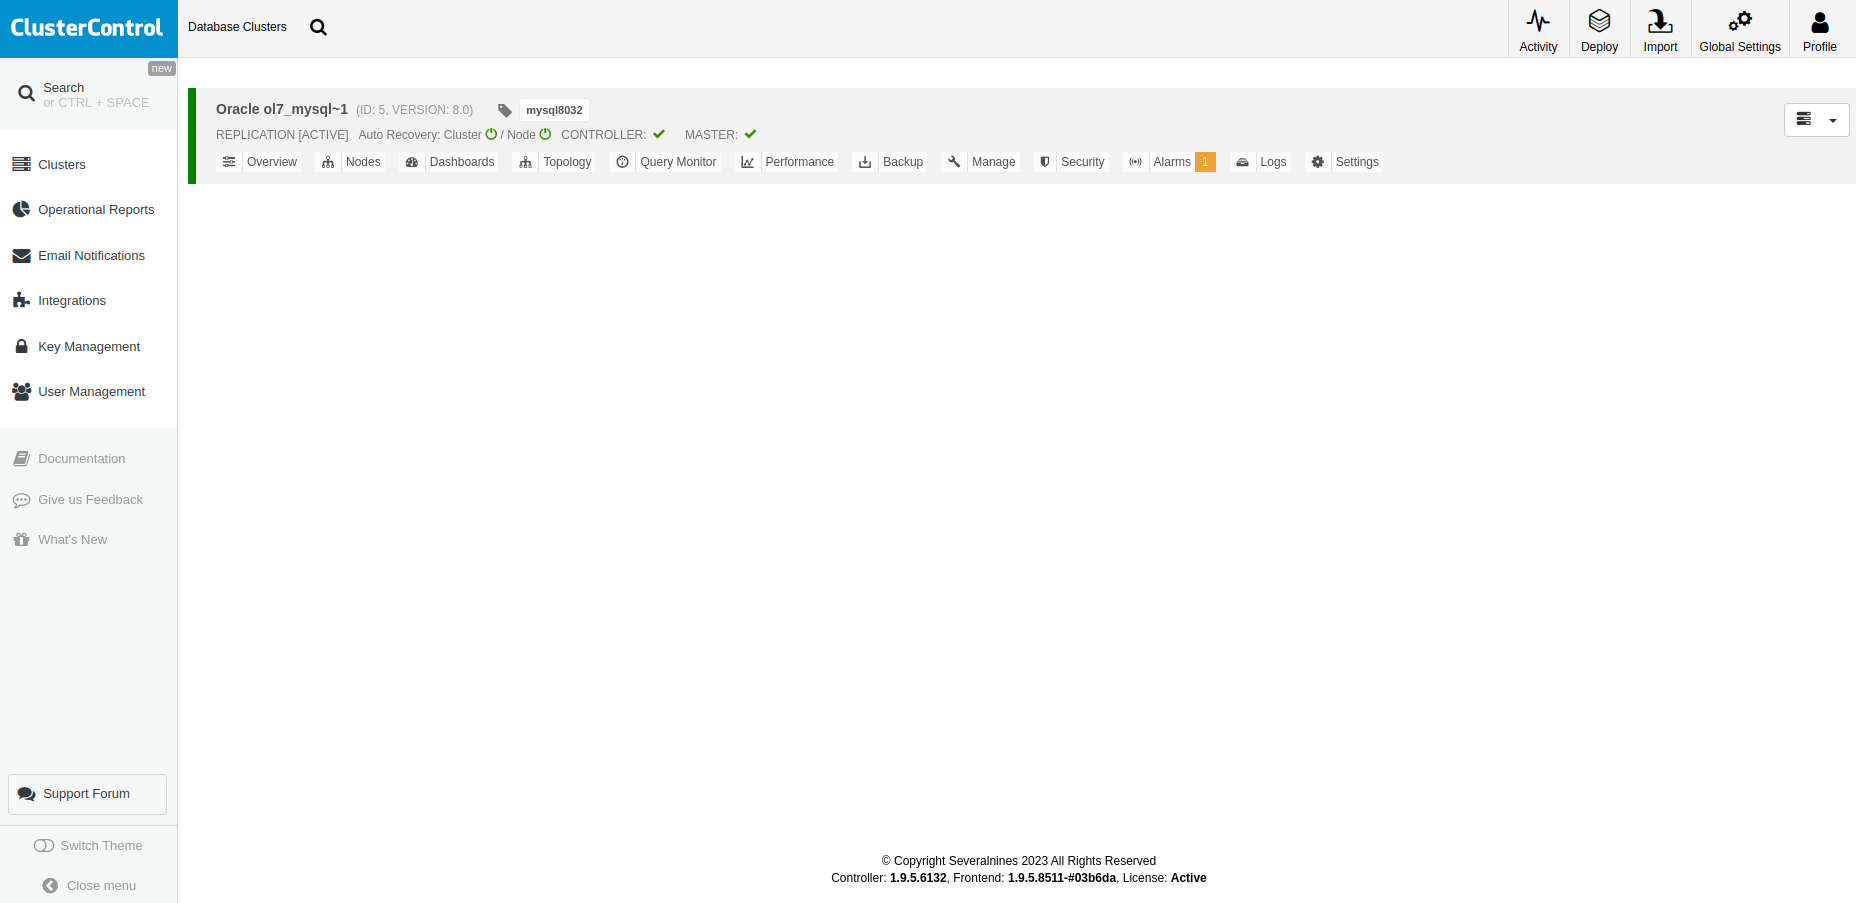
Click on the cluster and we’ll see:

And now it’s time for you to move around and play.
I’ll leave you some screen shots here so you can see what each of the tabs within this newly detected instance looks like, as I’m sure some of them will make you want to have this for more than just MySQL… but that’s another story / post.
Enjoy: