How to Install Rust Programming Language on Ubuntu 22.04
This tutorial exists for these OS versions
- Ubuntu 22.04 (Jammy Jellyfish)
- Ubuntu 20.04 (Focal Fossa)
On this page
The Rust programming language has been adopted by hundreds of big companies in production environments. From applications like Dropbox, Firefox, and Cloudflare, to embedded devices and scalable web services, Rust can be used on all those applications and deployments.
rustup is a tool part of the Rust project that allows you to install Rust programming language to your system. Using rustup allows developers easily to manage and maintain Rust. Also, it enables you to switch between stable, beta, and nightly compilers and makes the cross-compiling process easier.
This tutorial will guide you through installing Rust Programming Language on a Ubuntu 22.04 machine. You'll explore two different methods for installing Rust on the Ubuntu system, each method has advantages over the other, so you can decide what you need and what method you'll be using for your machine.
Prerequisites
To complete this guide, you will need an Ubuntu 22.04 machine - which can work on Ubuntu Server and Desktop - with a non-root user with sudo/root privileges.
Now let's get started and install Rust!
Installing Rust via APT
The default Ubuntu repository provides the Rust compiler package. At the time of this writing, the Ubuntu repository provides the Rust compiler v1.61. Installing Rust via APT is good if you have such one project Rust application and don't need the complex environment for your project.
To start, run the below apt command to update and refresh your Ubuntu repositories.
sudo apt update
After the repositories updated, run the below apt command to install Rust on your system.
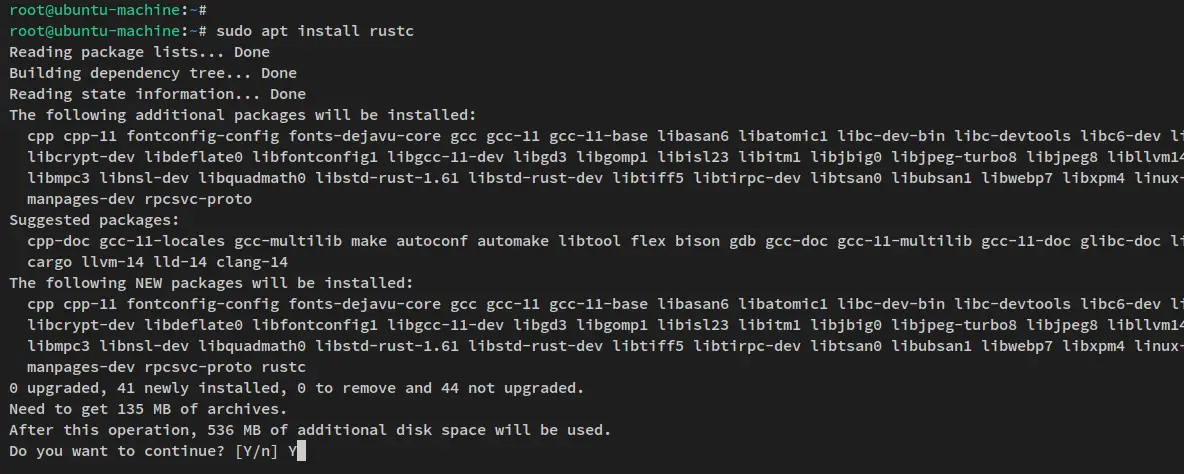
sudo apt install rustc
When prompted, input y to confirm and press ENTER to proceed.
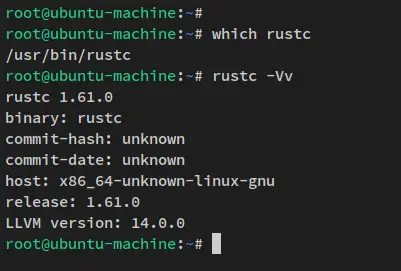
After Rust is installed, run the below command to locate the Rust binary file and verify the current version of Rust that is installed on your system.
which rustc
rustc -Vv
You'll receive an output similar to this screenshot - The Rust binary file is available at '/usr/bin/rustc', and the current Rust version installed on the system is v1.61.0.
With Rust installed, you'll next learn to create the first 'Hello World' program with Rust.
Create a new file 'hello-world.rs' using your text editor. For Desktop users, you can use fancy code editors such as vscodium or sublime-text. For CLI users, you can use vim or nano.
sudo nano hello-world.rs
Add the following code to the file.
fn main() {
    println!("Hello World, welcome to Rust.");
}
Save the file and exit the editor when finished.
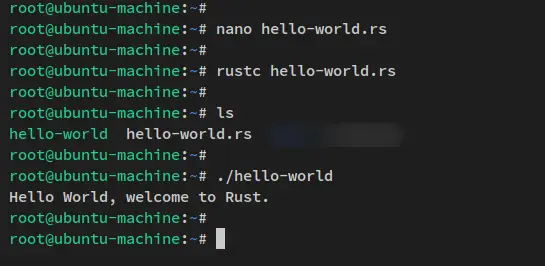
Next, compile the rust file 'hello-world.rs' using the below 'rustc' command. This will generate an executable file 'hello-world' on your current working directory.
rustc hello-world
After the code is compiled, execute your terminal's binary file 'hello-world'.
./hello-world
You should receive an output such as 'Hello World, welcome to Rust.'. This confirms that the 'hello-world' application is compiled and executed successfully.
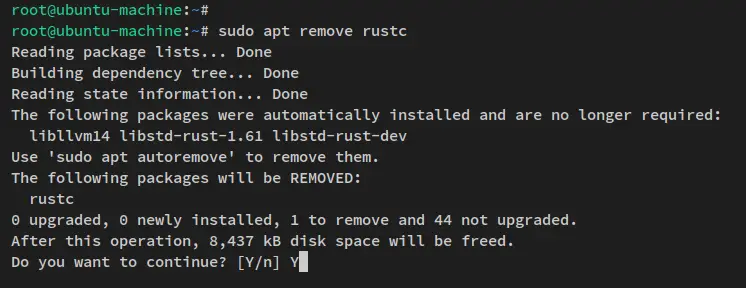
Now, if you want to remove Rust from your machine, you can just remove it via the below apt command.
sudo apt remove rustc
sudo apt autoremove -y
Installing Rust via rustup
If you want o to be Rust developer, you must learn about the rustup tool. This is a toolchain multiplexer for your Rust development environment. For the functionality, rust up is similar to rbenv for Ruby, nvm for Node.js, or Pyenv for Python.
With rustup, you can have an isolated Rust development environment on your system. You can install multiple versions of Rust, install multiple versions of Development tools depending on your project, which can be cross-compiler for multiple operating systems.
In this step, you'll install Rust and rustup on your system. You'll be using a non-root user for this, so the installation will only affect your user, not system-wide.
So before you get started, log in to your user via the below command. This example uses the non-root named 'alice'.
su - alice
Now run the below apt command to install package dependencies on your Ubuntu system.
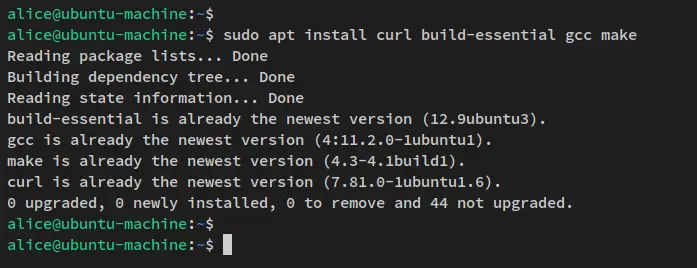
sudo apt install curl build-essential gcc make
Input y when prompted and press ENTER to proceed.
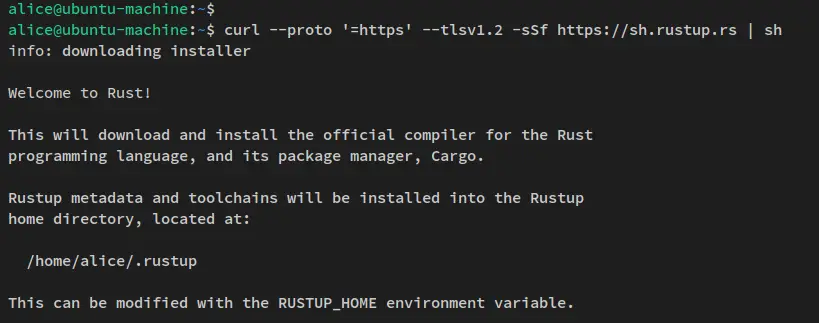
After the dependencies are installed, run the below command to install rustup and Rust on your current user environment. This command will download the rustup installer and execute it on your system.
curl --proto '=https' --tlsv1.2 -sSf https://sh.rustup.rs | sh
In the first output, you should see the welcome message such as 'Welcome to Rust!' and informs that the installer script will install Rust and Cargo package manager for Rust. Also, the rustup will be installed in the '/home/username/.rustup' directory.
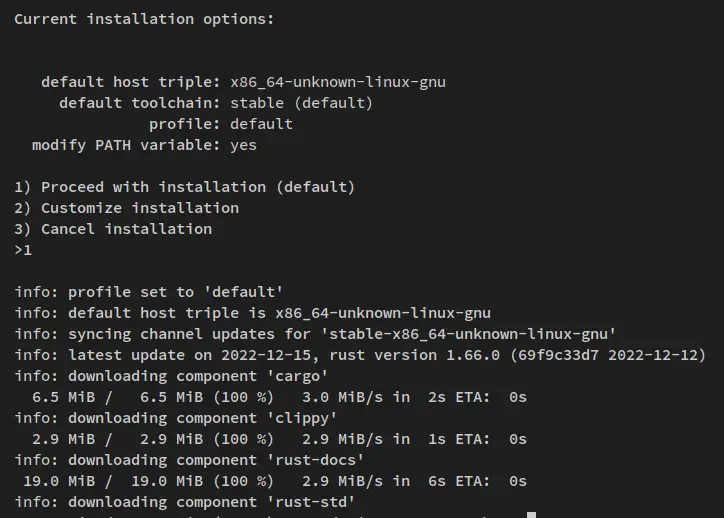
Next, you'll be asked to set up the Rust installation on your system. This includes the default Rust toolchain (Stable, Beta, or Nightly version), and installation profiles (includes minimal, default, or complete).
As for the starter, you can leave with the default installation. Input 1 and press ENTER to confirm. And the installation of rustup, Rust, and Cargo will begin.
After the installation is finished, you'll receive an output such as 'Rust is installed now. Great!'. Also, you'll get an instruction to reload your current shell to apply new changes on PATH environment variables. But also reload it manually from your current session.
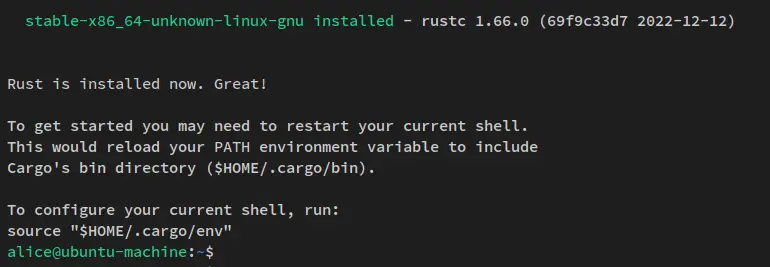
The below command loads the new rustup environment variables to the current sessions.
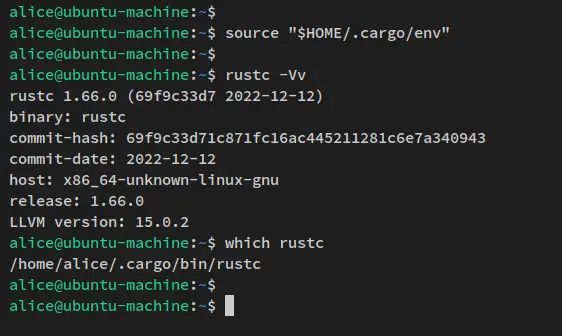
source "$HOME/.cargo/env"
After that, run the below command to verify the Rust version that is installed on your current environment, and verify the binary path of Rust.
rustc -Vv
which rustc
You should receive an output similar to this - You've installed Rust v1.66 via rustup and the binary file of Rust compiler is available at '/home/username/.cargo/bin/rustc'.
Also, Rust 1.66 is only available for your current user, not system-wide.
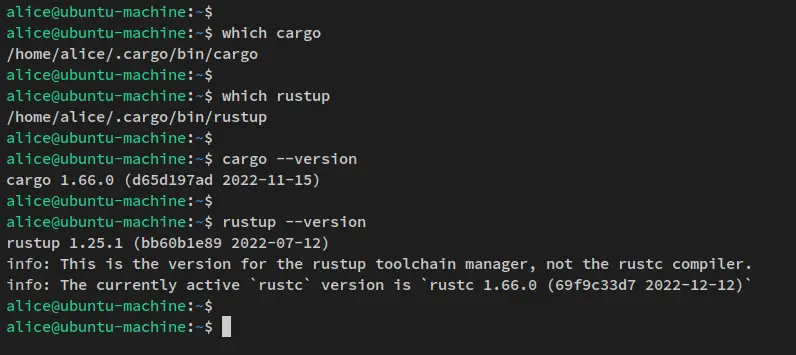
Next, locate the binary file for the Cargo package manager and rustup software via the below command.
which cargo
which rustup
You should see both cargo and rustup binary files available in the '/home/username/.cargo/bin' directory.
Lastly, verify the Cargo package manager version and the rustup version via the below command.
cargo --version
rustup --version
You'll receive an output similar to this screenshot - The Cargo package manager v1.66 and rustup 1.25 is installed on your system
With this, you have now installed Rust included with Rust Development tools such as Cargo package manager, rustc, Clippy, rustfmt, and rust-docs. In the next step, you'll learn how to manage your Rust installation via the rustup command line.
Managing Rust Environment with rustup
rustup is a toolchain multiplexer that allows you to install Rust Programming Language on your environment, this includes Rust Development Tools such as Cargo package manager, rustc, etc. You can install multiple versions of Rust Programming Language and Development Tools via rustup. With this, you can easily manage multiple projects using different versions of the Rust Programming Language.
In these steps, you'll learn how to manage your Rust environment via the rustup command. You'll install multiple Rust and Development Tools versions, set up and switch to different profiles, and update your Rust environment via rustup.
Setting up rustup Command Autocomplete
Before you start, you will set up a command autocomplete for the rustup command. With the autocomplete enabled, you can run the rustup command, then press the TAB button to get the list of available parameters. You'll now generate the rustup autocomplete script, load the generated script to your shell, then verify the autocomplete.
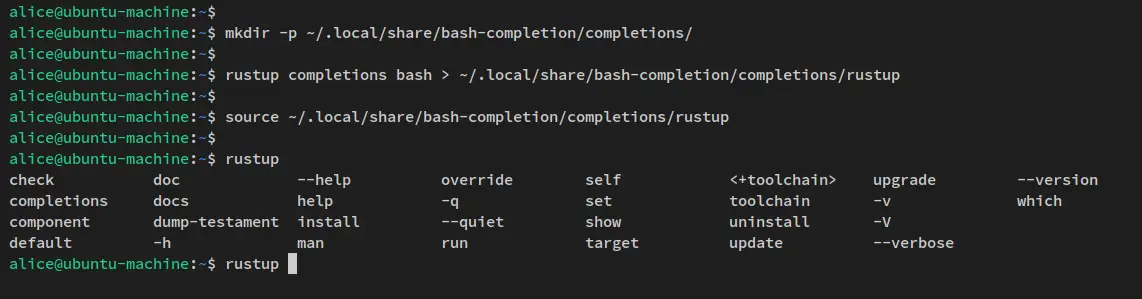
Create a new directory '~/.local/share/bash-completion/completions/' via the mkdir command below.
mkdir -p ~/.local/share/bash-completion/completions/
Run the below command to generate the rustup command autocomplete to ' ~/.local/share/bash-completion/completions/rustup'.
rustup completions bash > ~/.local/share/bash-completion/completions/rustup
Load the autocomplete to the current session via the below command.
source ~/.local/share/bash-completion/completions/rustup
Lastly, type the command 'rustup' and press TAB to get autocompletes of the rustup command.
rustup TAB
You'll now receive the list of available options for the rustup command like this screenshot.
Installing Multiple Versions of Rust and Development Tools
In the rustup environment, there are multiple versions of toolchains including stable, beta, and nightly. A toolchain is a group of a package of Rust programming language and Development Tools. So, when you install multiple versions of toolchains via rustup, it means that you've also installed multiple versions of Rust Programming Language and multiple versions of Rust Development Tools.
With multiple toolchains installed on your environment, allows you to manage multiple projects with different versions of Rust Programming Language.
To start, run the below rustup command to verify the list of toolchain or rust versions on your system. You should receive an output that the Rust 'stable' version is installed on your system.
rustup toolchain list
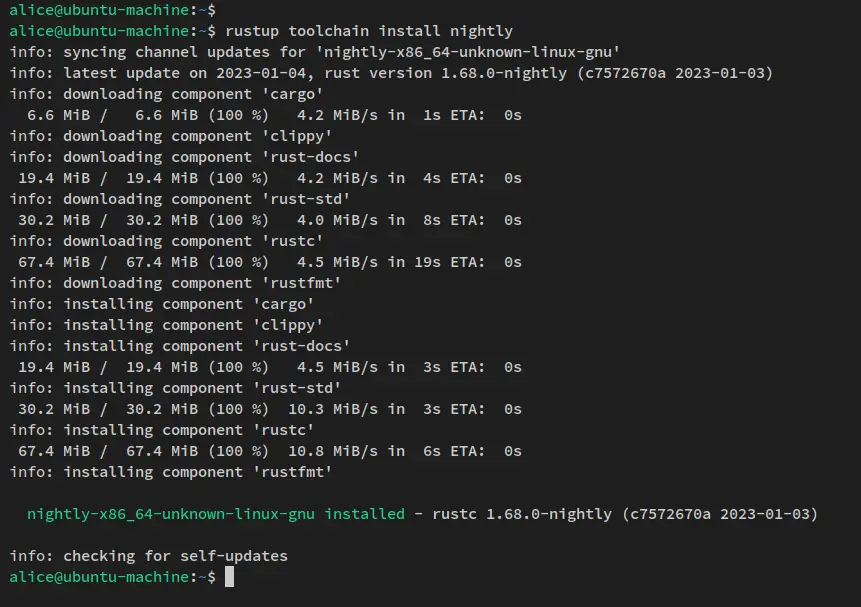
Next, run the below command to install another version/toolchain of Rust. In this example, you will install the Nightly version of Rust.
rustup toolchain install nightly
You'll now receive the output like this screenshot - The installation of Rust nightly versions including development tools such as cargo package manager that are available on the 'default' rustup profile.
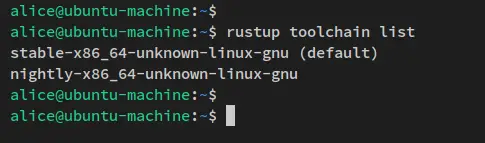
After the new nightly version of the toolchain is installed, run the below command to display the list of installed toolchains on your system.
rustup toolchain list
You should receive an output like this - There are two versions of the toolchain installed on your system, the default stable version and the newly installed version nightly.
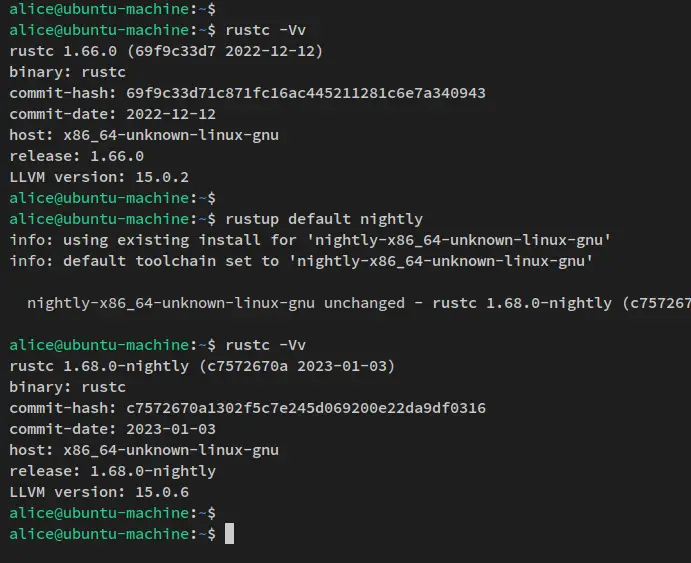
Next, run the below command to switch the default toolchain to the nightly version. This means that you'll also switch development tools to a new nightly version.
rustup default nightly
Then, verify the Rust version via the below command. You should get the Nightly version of Rust v1.6x is installed and it's configured as the default Rust in your current environment.
rustc -Vv
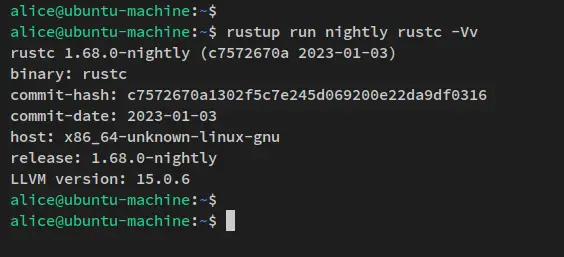
Additionally, you can also run the specific version of Rust manually via the rustup command. Run the below command to run the specific Rust nightly via the rustup command.
rustup run nightly rustc -Vv
You should receive the Rust nightly version 1.68. This means that you've executed a specific Rust version via the rustup command. You can also execute other components such as the Cargo package manager.
Now that you've learned about the toolchain in rustup, you next explore rustup profiles on your environment.
Setup Profiles in rustup
Another concept in rustup that you'll learn is 'profile', which is a group of components of your Rust environment. There are three different profiles in rustup, here is the list:
- minimal - includes only a few components such as rustc compiler, cargo package manager, and rust-std.
- default - this profile includes components on the minimal profile, but also adds some other tools such as rust-docs, rustfmt, and Clippy. This is the default profile when you installed Rust via rustup.
- complete - this profile includes all components of Rust via rustup installation. And you should not use this profile unless you know what you're doing. You can always add components via rustup manually via the rustup command.
In this section, you'll learn how to switch to different profiles via the rustup command.
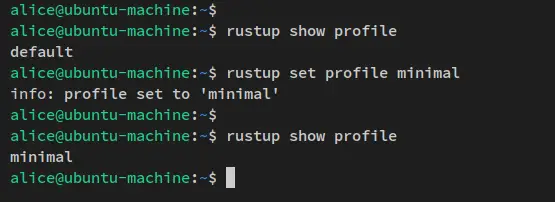
Run the below command to check the current profile applied to your environment. You should see the profile 'default' is enabled.
rustup show profile
Next, run the below command to switch to the profile 'minimal'. Then, verify again your current profile.
rustup set profile minimal
rustup show profile
You should receive an output like this - The current profile is changed to 'minimal'.
Lastly, you can now revert the changes to go back to the 'default' profile via the below command.
rustup set profile default
Updating Rust via rustup
The huge advantage of using rustup as your main tool for managing the Rust environment is that you can easily update your Rust programming Language and each component of Development Tools to the latest versions.
To update your rust installation, run the below rustup command. This will update all available toolchains on your Rust environment including components of Development tools on the toolchain such as Cargo package manager and rustc compiler, and Clippy.
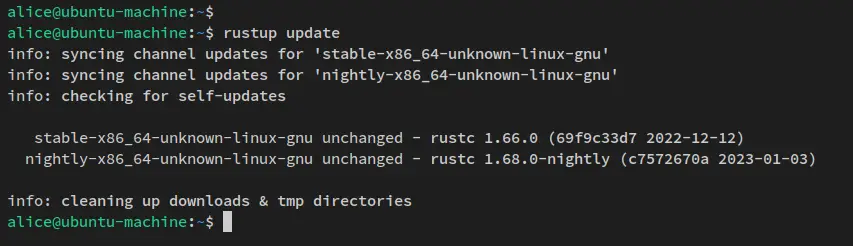
rustup update
You should now receive an output like this - The rustup command will synch the current toolchain version that is installed to the latest version available on Rust official site. Whenever a new update is available, the update will be applied.
Create and Manage Rust project with Cargo
Now that you've learned how to use rustup to manage your Rust development environment. In this step, you'll learn how to use the Cargo package manager for creating a Rust project, testing, compiling, and running your Rust application.
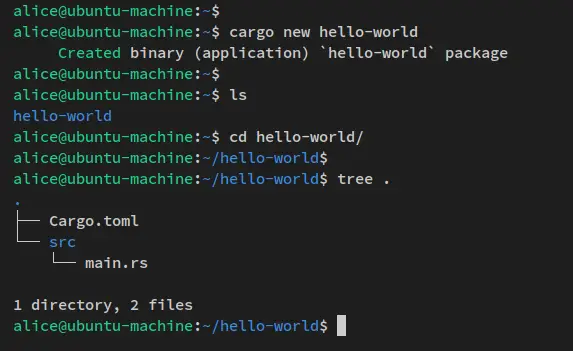
Create a new project 'hello-world' via the 'cargo new' command below. This will create a new project directory 'hello-world' on your current working directory.
cargo new hello-world
Change the working directory 'hello-world' and check the list files in it via the tree command below. You should see the file 'Cargo.toml' which is the main configuration of the Cargo package manager and the directory 'src' that will be used to store your Rust source code.
cd hello-world/
tree .
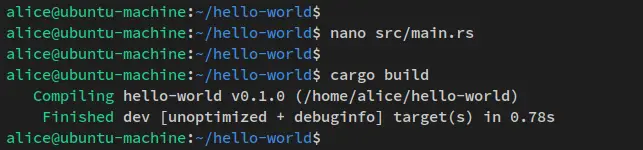
Open the file 'src/main.rs' using your text editor.
nano src/main.rs
Change the default source code with the following lines.
fn main() {
    println!("Hello World, Rust with rustup and cargo.");
}
Save the file and exit the editor when finished.
Next, run the below command to build and compile the 'hello-world' project. This command will automatically compile your 'hello-world' project to the new directory 'target'.
cargo build
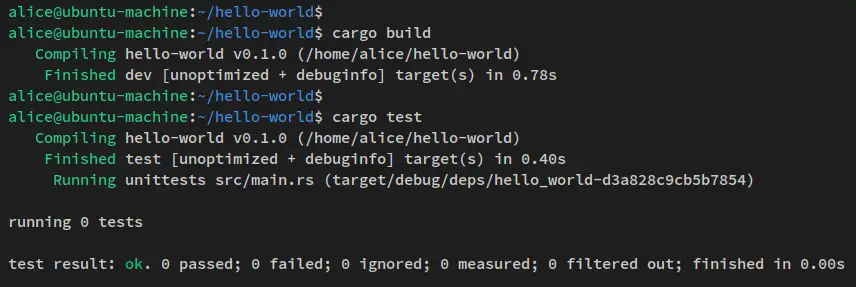
Now run the below 'cargo test' command to verify your Rust project.
cargo test
You should receive an output like this - If the test is successful, you should receive a message such as 'test result: ok'.
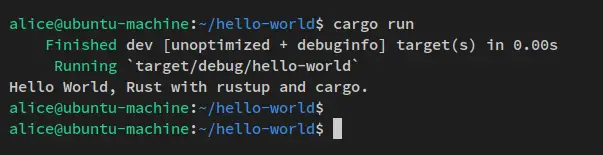
Lastly, run the below command to execute the 'hello-world' project.
cargo run
You should receive an output like this - The 'hello-world' project is successfully executed.
Uninstalling Rust and rustup
The rustup installation only affects your current user development environment, not system-wide. This will make your system clean and the uninstall process simpler. You can uninstall rustup with all toolchains and development tools simply by removing the rustup installation directory '/home/username/.rustup' and Rust toolchain directory '/home/username.cargo'.
Run the below command to uninstall Rust and rustup from your current development environment.
rm -rf ~/.cargo ~/.rustup
Next, remove the command autocomplete that you have generated via the below command.
rm -f ~/.local/share/bash-completion/completions/rustup
With this, you've now uninstalled and removed Rust and rustup from your system.
Conclusion
In this guide, you've learned how to install Rust Programming Language with two methods on a Ubuntu 22.04 machine. You've installed Rust via APT from the Ubuntu repository that suitable if you only need to compile Rust applications. And secondly, you've installed Rust via rustup, which is suitable and recommended if you want to become a Rust developer.
In addition to that, you've also learned how to install multiple Rust versions via rustup, switch multiple toolchains via rustup, and learned the basic usage of Cargo for creating Rust projects, compiling, testing, and executing Rust applications.

