How to Install Helpy Customer Helpdesk on Ubuntu 22.04
This tutorial exists for these OS versions
- Ubuntu 22.04 (Jammy Jellyfish)
- Ubuntu 20.04 (Focal Fossa)
On this page
Helpy is a free and open-source customer support platform written in the Ruby on Rails language. It is fully open-source and customizable so you change it under the MIT license. It is used for building an automated ticketing system and can be integrated with third-party applications. It offers a rich set of features, some of them are listed below:
- Supports multichannel ticketing.
- It has a large community support. Integrated with inbound email via Sendgrid, Mandrill, Mailgun, etc.
- It is fully multi-lingual and can provide support in multiple languages.
- Customizable and GDPR compliant.
- Mobile friendly and works on all devices out of the box.
This post will show you how to install the Helpy Helpdesk Customer Support System on Ubuntu 22.04.
Requirements
- A server running Ubuntu 22.04.
- A root password is configured on your server.
Update the System
First, you will need to update and upgrade all the system packages to the latest version. You can update all of them by running the following command.
apt update -y
apt upgrade -y
Once all the packages are updated, you will also need to install some additional dependencies to your server. You can install all of them by running the following command.
apt install apt-transport-https ca-certificates curl software-properties-common git -y
Once all the packages are installed, you can proceed to the next step.
Install Docker and Docker Compose
In this post, we will install Helpy using Docker and Docker compose. So both packages must be installed on your server.
First, add the Docker GPG key and repository using the following command.
curl -fsSL https://download.docker.com/linux/ubuntu/gpg | apt-key add -
add-apt-repository "deb [arch=amd64] https://download.docker.com/linux/ubuntu $(lsb_release -cs) stable"
Next, update the repository cache with the following command.
apt update -y
Next, you can install both Docker and Docker compose using the following command.
apt install docker-ce docker-compose -y
Once both packages are installed successfully, start and enable the Docker service with the following command.
systemctl start docker
systemctl enable docker
Now, verify the Docker version using the following command.
docker -v
You will get the following output.
Docker version 20.10.22, build 3a2c30b
You can also see the Docker Compose version with the following command.
docker-compose version
You should see the following output.
docker-compose version 1.29.2, build unknown
docker-py version: 5.0.3
CPython version: 3.10.4
OpenSSL version: OpenSSL 3.0.2 15 Mar 2022
Install Helpy on Ubuntu 22.04
First, download the latest version of Helpy from the GitHub repository using the following command.
git clone https://github.com/helpyio/helpy.git
Once the download is completed, navigate to the helpy directory with the following command.
cd helpy
Next, rename the Helpy environment file using the following command.
cp docker/.env.sample docker/.env
Next, build the Docker image for Helpy using the following command.
docker-compose build
You should see the following output.
Building helpy
Sending build context to Docker daemon  134.4MB
Step 1/20 : FROM ruby:2.5
2.5: Pulling from library/ruby
0bc3020d05f1: Pull complete
a110e5871660: Pull complete
83d3c0fa203a: Pull complete
a8fd09c11b02: Pull complete
14feb89c4a52: Pull complete
958d2475f181: Pull complete
ba6c4f28fec1: Pull complete
757d13b54b5e: Pull complete
Digest: sha256:ecc3e4f5da13d881a415c9692bb52d2b85b090f38f4ad99ae94f932b3598444b
Status: Downloaded newer image for ruby:2.5
 ---> 27d049ce98db
Step 2/20 : ENV RAILS_ENV=production     HELPY_HOME=/helpy     HELPY_USER=helpyuser     HELPY_SLACK_INTEGRATION_ENABLED=true     BUNDLE_PATH=/opt/helpy-bundle
You can verify all the Docker images with the following command.
docker images
You should get the following output.
REPOSITORY    TAG       IMAGE ID       CREATED          SIZE
helpy_helpy   latest    9d59c3019f8f   32 seconds ago   1.91GB
ruby          2.5       27d049ce98db   18 months ago    843MB
Next, start the Helpy and Nginx container with the following command.
docker-compose up -d
You should see the following output.
Creating network "helpy_front" with driver "bridge"
Creating network "helpy_back" with driver "bridge"
Creating volume "helpy_rails-assets" with local driver
Pulling frontend (nginx:1.15)...
1.15: Pulling from library/nginx
743f2d6c1f65: Pull complete
6bfc4ec4420a: Pull complete
688a776db95f: Pull complete
Digest: sha256:23b4dcdf0d34d4a129755fc6f52e1c6e23bb34ea011b315d87e193033bcd1b68
Status: Downloaded newer image for nginx:1.15
Pulling postgres (postgres:9.4)...
9.4: Pulling from library/postgres
619014d83c02: Pull complete
7ec0fe6664f6: Pull complete
9ca7ba8f7764: Pull complete
9e1155d037e2: Pull complete
febcfb7f8870: Pull complete
8c78c79412b5: Pull complete
5a35744405c5: Pull complete
27717922e067: Pull complete
36f0c5255550: Pull complete
dbf0a396f422: Pull complete
ec4c06ea33e5: Pull complete
e8dd33eba6d1: Pull complete
51c81b3b2c20: Pull complete
2a03dd76f5d7: Pull complete
Digest: sha256:42a7a6a647a602efa9592edd1f56359800d079b93fa52c5d92244c58ac4a2ab9
Status: Downloaded newer image for postgres:9.4
Creating nginx            ... done
Creating helpy_postgres_1 ... done
Creating helpy_helpy_1    ... done
Next, verify the status of all running containers with the following command.
docker-compose ps
You should see all running containers in the following output.
      Name                    Command               State                                   Ports
----------------------------------------------------------------------------------------------------------------------------------
helpy_helpy_1      /bin/bash /helpy/docker/run.sh   Up      0.0.0.0:3000->3000/tcp,:::3000->3000/tcp
helpy_postgres_1   docker-entrypoint.sh postgres    Up      5432/tcp
nginx              nginx -g daemon off;             Up      0.0.0.0:443->443/tcp,:::443->443/tcp, 0.0.0.0:80->80/tcp,:::80->80/tcp
Wait for some time to start all containers.
At this point, the Helpy is installed and running on your system. You can now proceed to the next step.
Access Helpy Web Interface
Now, open your web browser and access the Helpy web interface using the URL http://your-server-ip. You should see the Helpy welcome page.
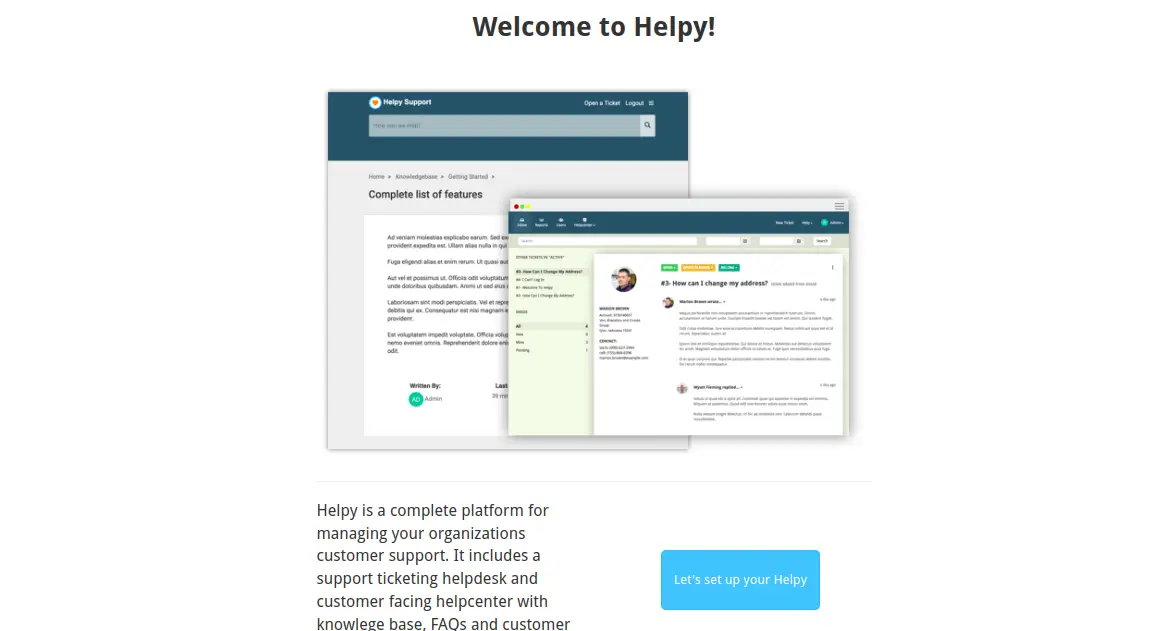
Click on the Let's set up your Helpy. You should see the set up an administrator account page.
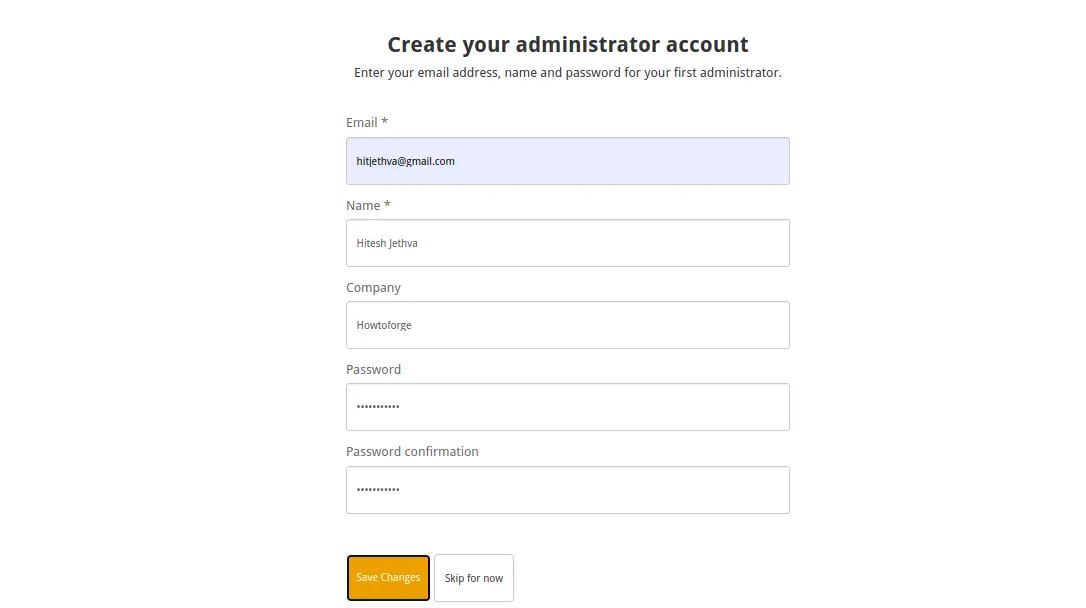
Define your email, full name, company, and password then click on the Save Changes button. You should see the Helpy customization page.
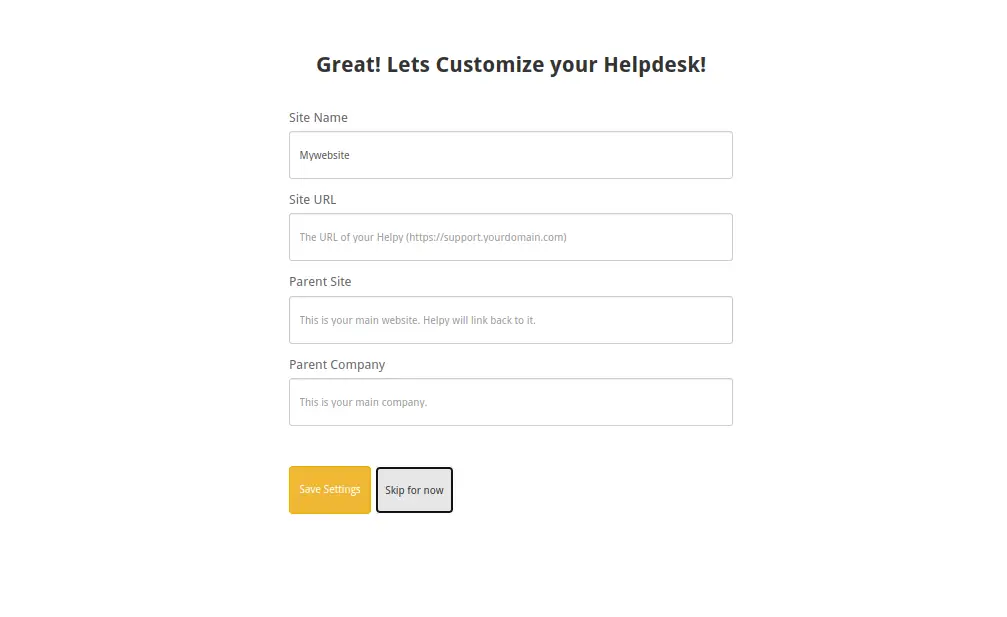
Click on the Skip for now button. You should see the SMTP configuration page.
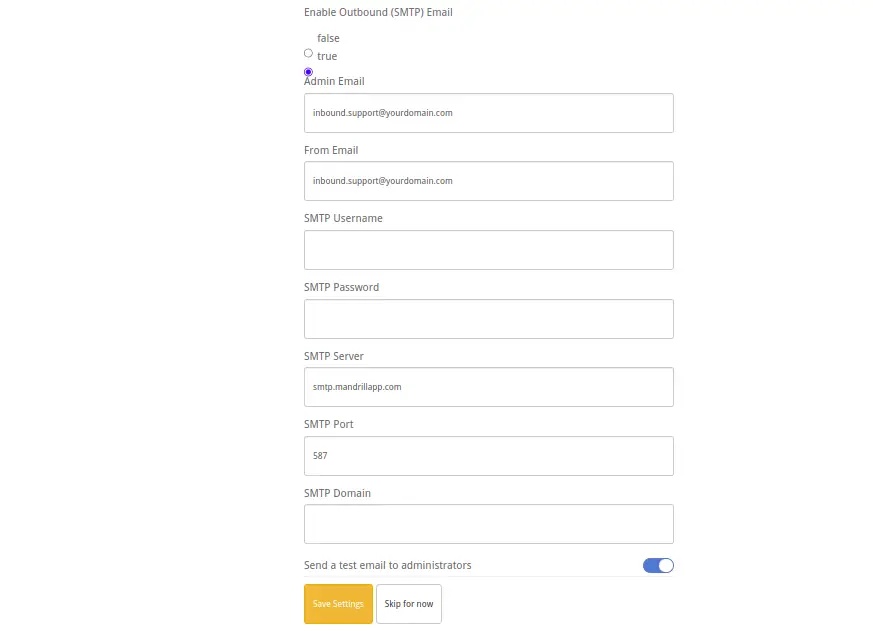
Click on the Skip for now button. You should see the following page.

Now, click on Get Started! button. You should see the Helpy dashboard on the following page.

Click on the Users button. You should see the following page.
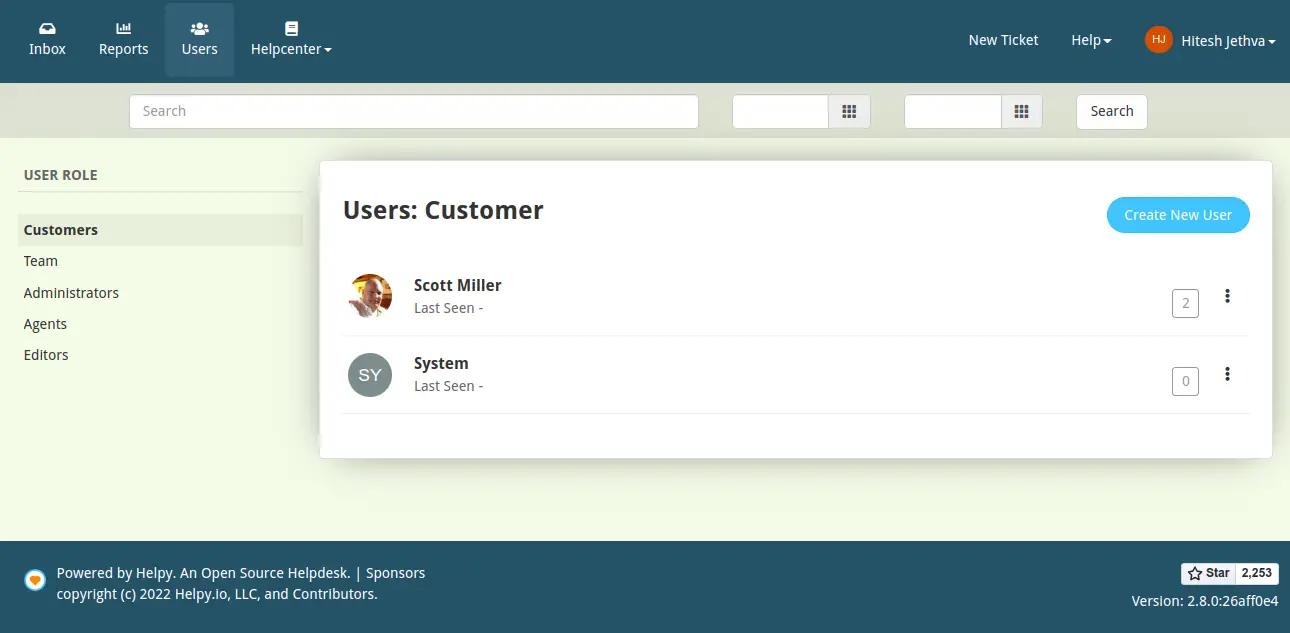
Click on the Create New User button. You should see the following page.
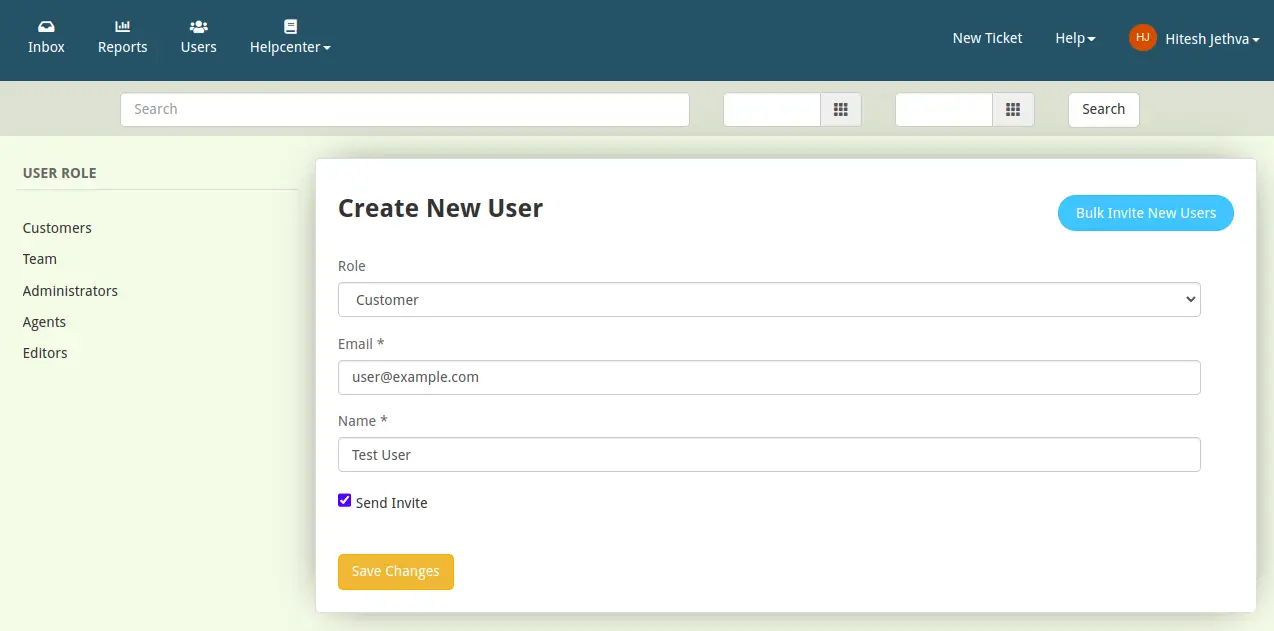
Provide your user information and click the Save Changes button to create a new user.
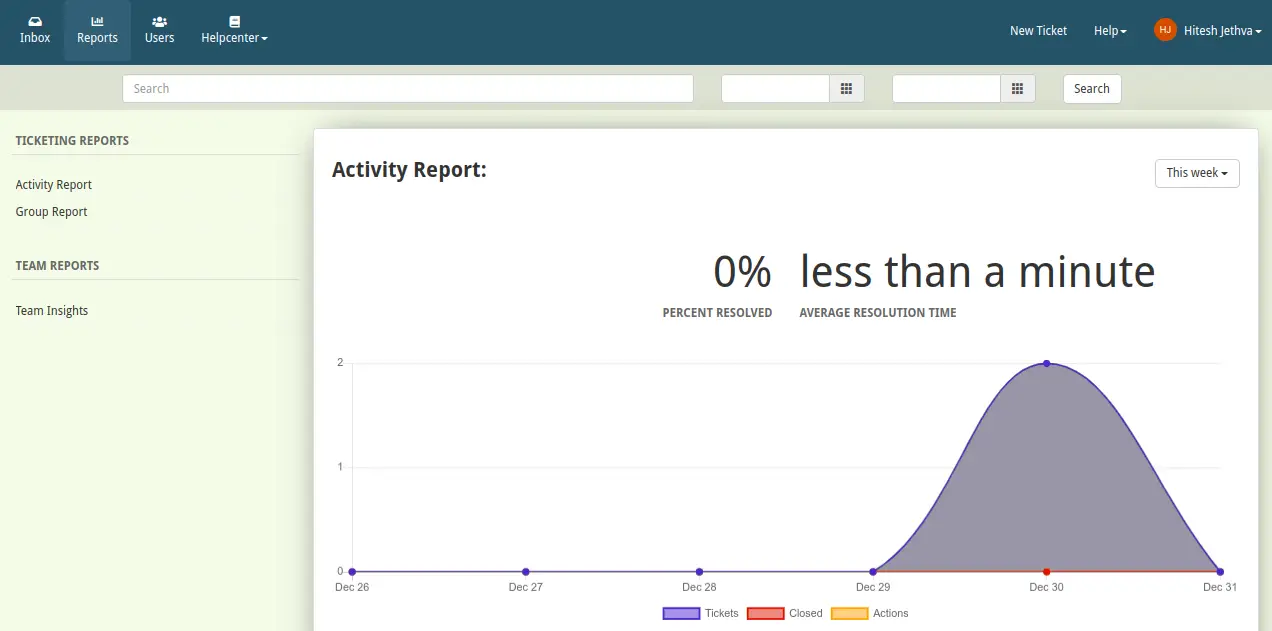
You can also click on the Reports button to see your ticket reports on the following page.
Conclusion
Congratulations! you have successfully installed Helpy Customer Helpdesk on Ubuntu 22.04. You can now use Helpy in your organization to answer customers' questions from the central location. Feel free to ask me if you have any questions.

