How to Install Mastodon Social Network on Debian 11
This tutorial exists for these OS versions
- Debian 12 (Bookworm)
- Debian 11 (Bullseye)
- Debian 10 (Buster)
On this page
Mastodon is a free, decentralized, and open-source social network similar to Twitter. In Mastodon, users can follow each other, and post messages, images, and videos. But unlike Twitter, there is no central store or authority for the content.
With the decentralized architecture, Mastodon operates across thousands of different servers each run by various members of the community. You can create your Mastodon server under your domain. You can also follow other users with different domains on the other servers.
In this tutorial, you'll install Mastodon, a decentralized microblogging platform on a Debian 11 server. With this guide, you'll set up Mastodon with PostgreSQL as the database server and Nginx as a reverse proxy. Also, you'll secure the Mastodon installation via free SSL certificates from Letsencrypt.
Prerequisites
This guide assumes that you have the following requirements in place:
- A Debian 11 server - this example uses the latest Debian 11 server with hostname 'mastodon-server' and the IP address '192.168.5.40'.
- A non-root user with sudo/root administrator privileges.
- A domain name pointed and resolved to your public Debian server - this example uses the sub-domain 'mastodon.hwdomain.io'.
When you have got those prerequisites in place, you're ready to go to the Mastodon installation.
Setting Up Repositories and Installing Dependencies
Mastodon is free and open-source software for running self-hosted social networking services that similar to Twitter service. It's mainly written in Ruby, especially with the Ruby on Rails web framework and JavaScript with Reac.js and Redux framework.
In this first step, you'll set up additional repositories to your system and install package dependencies for the Mastodon installation. This includes the package such as build-essentials for compiling Ruby, PostgreSQL for the database server, Nginx as the web server and reverse proxy, certbot tool for acquiring SSL certificates via Letsencrypt, and the Redis server that will be used for key-value store and session management for the Mastodon.
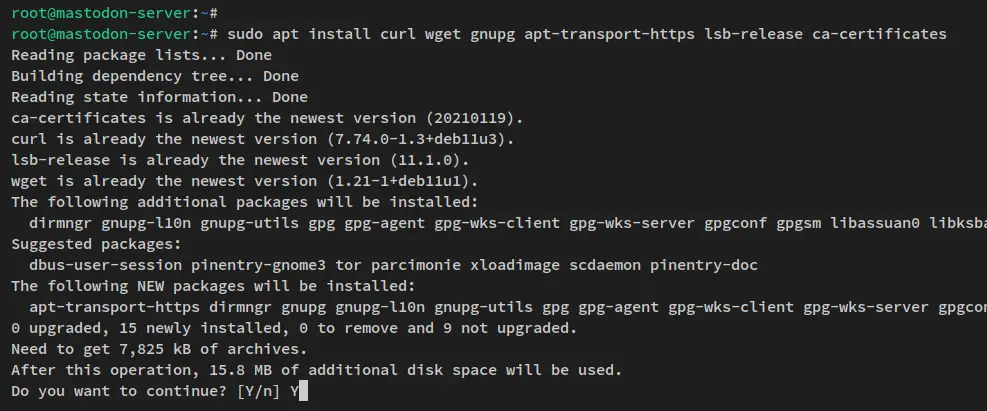
Before you get started, run the below apt command to install some basic dependencies that will be used for managing repositories and packages.
sudo apt install curl wget gnupg apt-transport-https lsb-release ca-certificates
When prompted, input y to confirm and press ENTER to proceed.
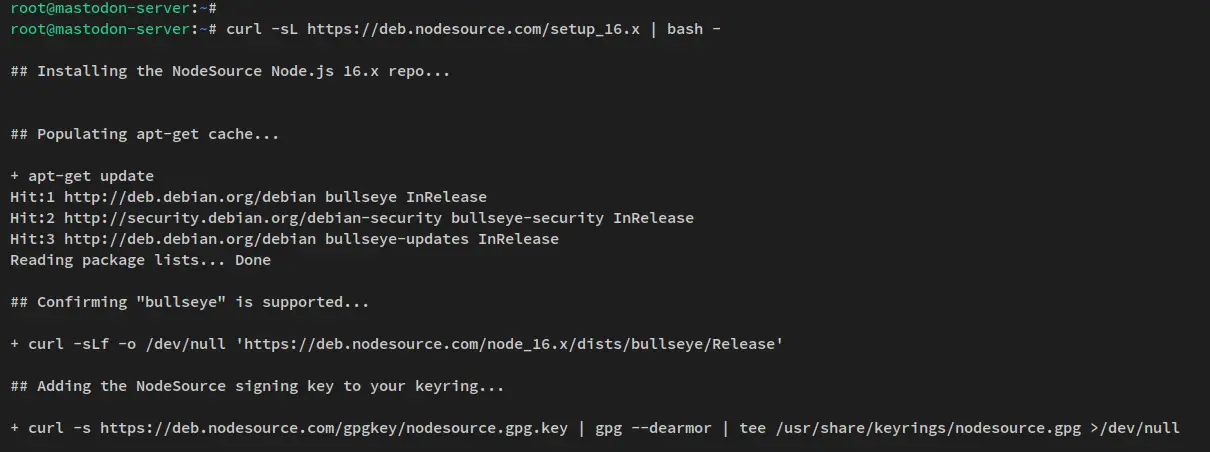
Next, run the below command to add the Node.js Nodesource repository. The Node.js package here will be used for compiling static assets of the Mastodon. And at the time of this writing, the latest Mastodon required at least Node.js v16.
curl -sL https://deb.nodesource.com/setup_16.x | bash -
You'll then receive the output like the following.
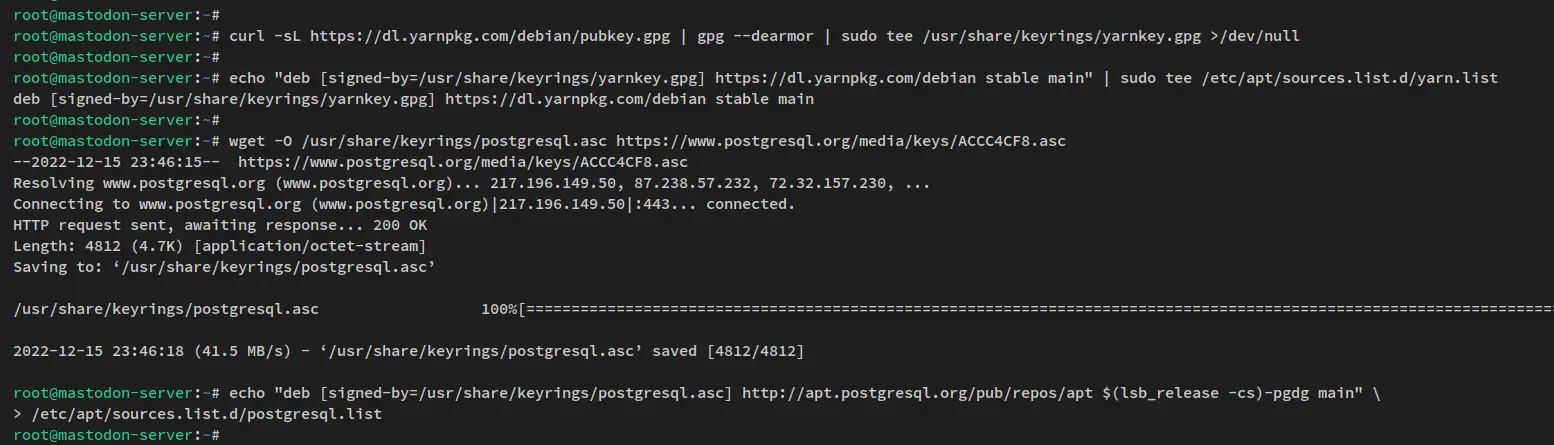
After the Node.js repository is added, you'll then set up the repository for the Yarn package manager. This repository provides the Yarn package that will be used to install JavaScript dependencies.
Run the below command to add the GPG key and the repository of the Yarn package manager.
curl -sL https://dl.yarnpkg.com/debian/pubkey.gpg | gpg --dearmor | sudo tee /usr/share/keyrings/yarnkey.gpg >/dev/null
echo "deb [signed-by=/usr/share/keyrings/yarnkey.gpg] https://dl.yarnpkg.com/debian stable main" | sudo tee /etc/apt/sources.list.d/yarn.list
The third repository that you'll add is the PostgreSQL repository. Run the below command to add the PostgreSQL repository to your Debian server.
wget -O /usr/share/keyrings/postgresql.asc https://www.postgresql.org/media/keys/ACCC4CF8.asc
echo "deb [signed-by=/usr/share/keyrings/postgresql.asc] http://apt.postgresql.org/pub/repos/apt $(lsb_release -cs)-pgdg main" \
> /etc/apt/sources.list.d/postgresql.list
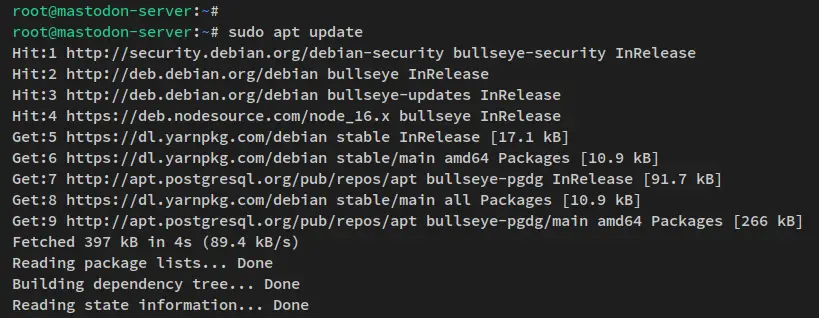
With the Node.js, Yarn, and PostgreSQL repositories added, run the below apt command to refresh your package index.
sudo apt update
You'll receive the output like this.
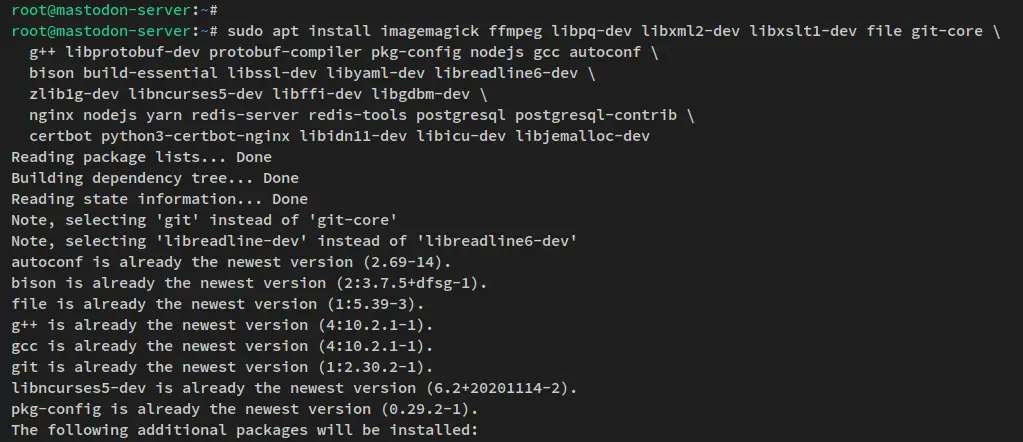
Lastly, run the below apt command to install package dependencies that will be used to install Mastodon.
sudo apt install imagemagick ffmpeg libpq-dev libxml2-dev libxslt1-dev file git-core \
  g++ libprotobuf-dev protobuf-compiler pkg-config nodejs gcc autoconf \
  bison build-essential libssl-dev libyaml-dev libreadline6-dev \
  zlib1g-dev libncurses5-dev libffi-dev libgdbm-dev \
  nginx nodejs yarn redis-server redis-tools postgresql postgresql-contrib \
  certbot python3-certbot-nginx libidn11-dev libicu-dev libjemalloc-dev
Input y when prompted for the confirmation and press ENTER to proceed.
With this, you've installed basic dependencies for the Mastodon and added some third-party repositories to your Debian system.
In the next steps, you'll install Ruby via the rbenv - The Ruby version manager.
Installing rbenv and Ruby
rbenv is a version manager tool for the Ruby programming language on Unix-like systems. It is useful for switching between multiple Ruby versions on the same machine and for ensuring that each project you are working on always runs on the correct Ruby version.
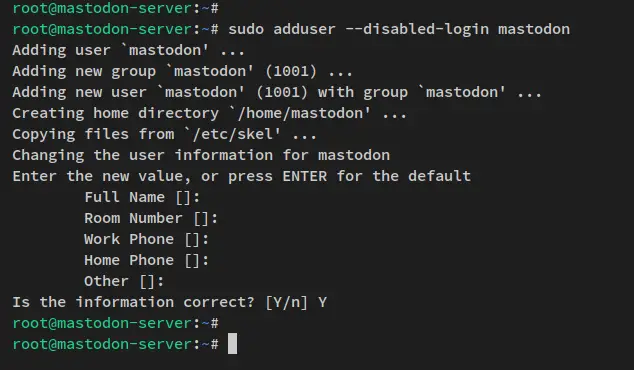
To begin, run the below command to create a new user 'mastodon' on your system. This new user will be used to run services related to Mastodon, and the Mastodon source code will be stored in this user's home directory.
sudo adduser --disabled-login mastodon
During the process, you'll be asked for user details configuration. Input your user information and the input y to confirm and press ENTER.
After the 'mastodon' user is created, run the below command to log in.
su - mastodon
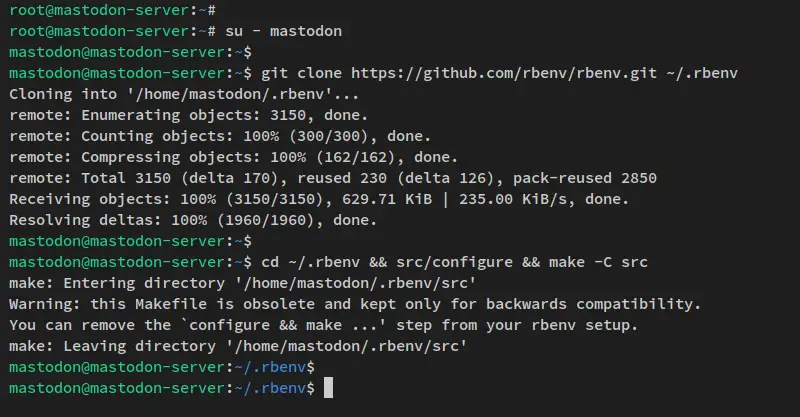
Next, download the rbenv source code via the git command below.
git clone https://github.com/rbenv/rbenv.git ~/.rbenv
Then run the below command to install rbenv on your system.
cd ~/.rbenv && src/configure && make -C src
You'll receive the output like this after the rbenv is installed.
Next, run the below command to add the rbenv 'bin' directory to the system PATH and load rbenv every time the user logs in to the new session.
echo 'export PATH="$HOME/.rbenv/bin:$PATH"' >> ~/.bashrc
echo 'eval "$(rbenv init -)"' >> ~/.bashrc
Now reload your current shell by reloading the bashrc config file. Then input the 'rbenv' command on your shell and press TAB.
source ~/.bashrc
rbenv TAB
In the following screenshot, the rbenv is installed and you can now execute the rbenv command for installing Ruby.

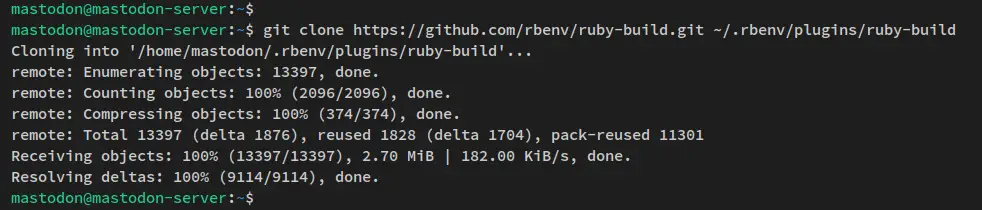
Before installing Ruby, you need to install the rbenv plugin called 'ruby-build'. This plugin provides command-line tools that simplified Ruby installation from source, especially for UNIX-like operating systems.
Download the 'ruby-build' plugin via the git command.
git clone https://github.com/rbenv/ruby-build.git ~/.rbenv/plugins/ruby-build
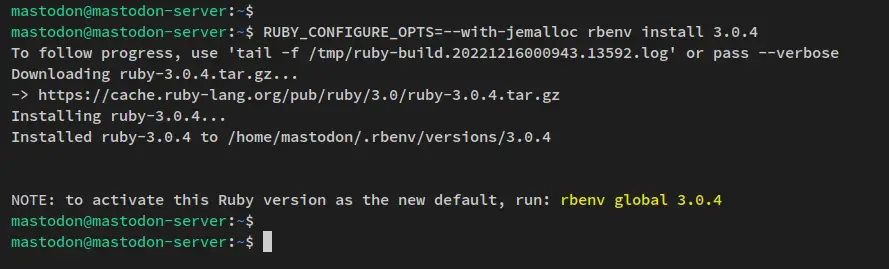
After the 'ruby-build' plugin is added, run the below command to install Ruby v3.0.4, which is required for the current Mastodon version.
RUBY_CONFIGURE_OPTS=--with-jemalloc rbenv install 3.0.4
After installation is finished, you'll receive an output similar to this.
Now run the below command to set up the default Ruby version to 3.0.4. Then verify using the ruby command as below. You'll see that Ruby v3.0.4 is installed on your Debian system.
rbenv global 3.0.4
ruby --version
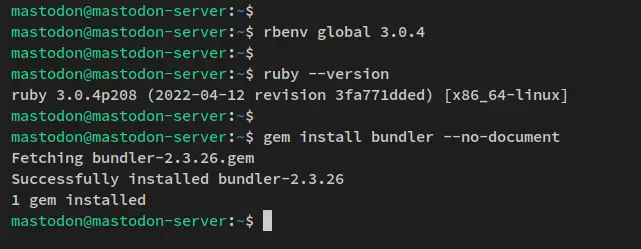
Lastly, you must install a bundler as your Ruby package management. Run the gem command below to install 'bundler'.
gem install bundler --no-document
At this point, you've finished the installation of Mastodon package dependencies on your system. You've installed Ruby 3.0.4 via the rbenv Ruby version manager and installed bundler, the ruby package management tool.
In the next steps, you'll set up the PostgreSQL user that will be used for the Mastodon installation.
Setting up PostgreSQL Database Server
In this step, you'll verify the PostgreSQL service to ensure that the service is enabled and running. Then, you'll create a new PostgreSQL user/role 'mastodon' via the PostgreSQL shell.
Be sure to these commands below with root user/privileges.
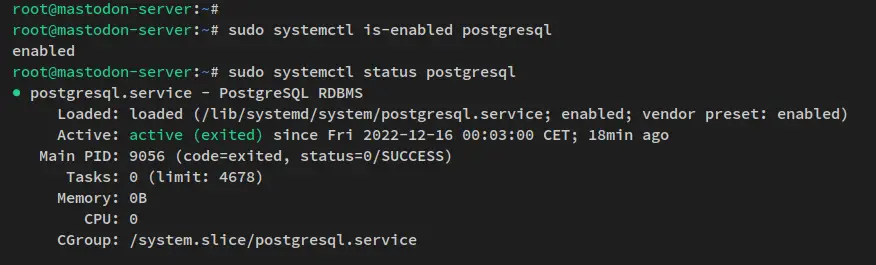
Before you start, run the below systemctl command utility to ensure that the PostgreSQL service is running and enabled.
sudo systemctl is-enabled postgresql
sudo systemctl status postgresql
You should receive an output similar to this.
With the PostgreSQL is running, run the below command to log in to the PostgreSQL shell.
cd /etc/postgresql
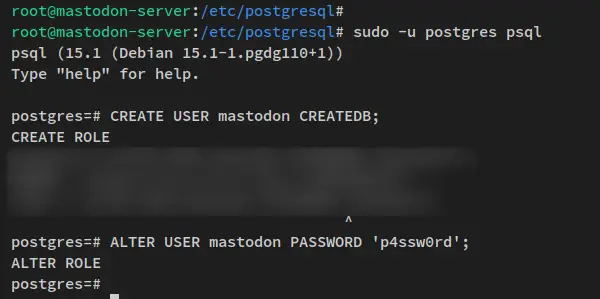
sudo -u postgres psql
After logging in to the PostgreSQL shell, run the below PostgreSQL query to create a new role/user 'mastodon'. Also, be sure to change the default password with a new strong password.
CREATE USER mastodon CREATEDB;
ALTER USER mastodon PASSWORD 'p4ssw0rd';
Next, run the below query to ensure that the new PostgreSQL user/role is created. Then input '\q' to exit from the PostgreSQL shell.
\du
\q
The below output shows you that the new PostgreSQL user/role 'mastodon' is created.
With the PostgreSQL user/role is created, you'll then ready to install Mastodon on your Debian system.
Installing Mastodon
You'll install and configure Mastodon to your Debian server in this step. You'll also install Ruby dependencies and JavaScript dependencies for Mastodon. And lastly, you'll then start configuring Mastodon for your deployment, this includes the domain configuration, database and redis configuration, SMTP configuration, and also the Mastodon admin user configuration.
Before you start, log in to the 'mastodon' user via the command below.
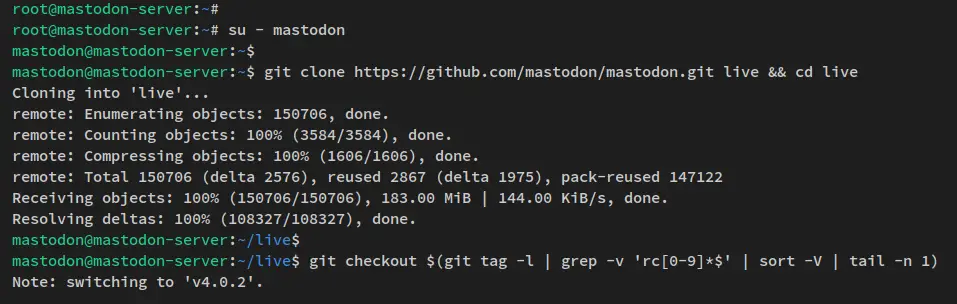
su - mastodon
Now download the Mastodon source code via the git command and change the branch to the latest stable version of Mastodon. At the time of this writing, the stable version of Mastodon is v4.0.2.
git clone https://github.com/mastodon/mastodon.git live && cd live
git checkout $(git tag -l | grep -v 'rc[0-9]*$' | sort -V | tail -n 1)
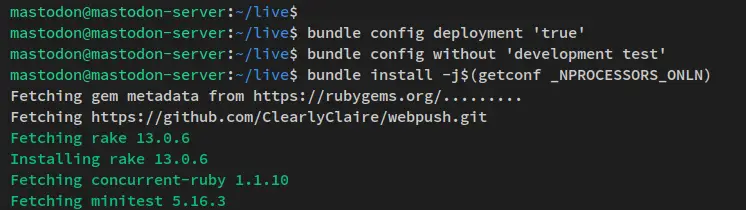
Next, run the below command to set up the deployment of Mastodon and install Ruby dependencies.
bundle config deployment 'true'
bundle config without 'development test'
bundle install -j$(getconf _NPROCESSORS_ONLN)
The installation of Mastodon Ruby dependencies will takes time. Below is the similar output you'll receive on your terminal.
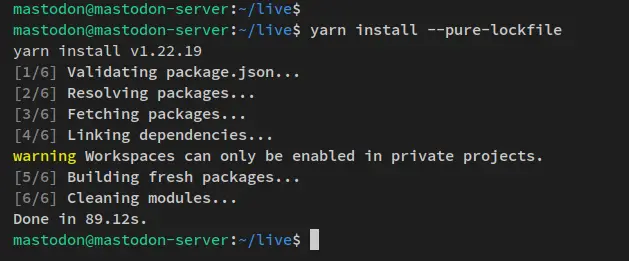
After you've installed Mastodon Ruby dependencies, run the below yarn command to install JavaScript dependencies for Mastodon.
yarn install --pure-lockfile
You'll then receive an output similar to this.
With Ruby dependencies and JavaScript dependencies installed, you'll then set up your Mastodon installation.
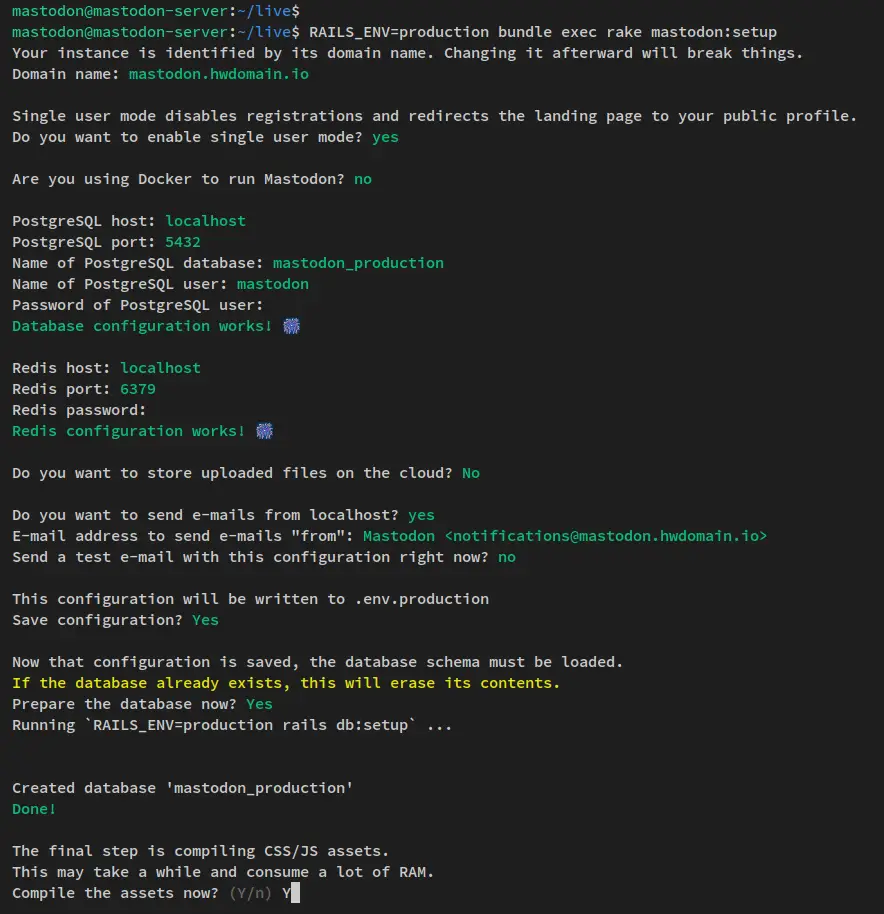
Run the below command to set up Mastodon for the production environment.
RAILS_ENV=production bundle exec rake mastodon:setup
You'll be asked about some configurations of Mastodon.
- The Mastodon domain name? This example uses the domain 'mastodon.hwdomain.io'.
- Enable single-user mode? Input y.
- Using Docker to run Mastodon? Input n for no.
- Input the PostgreSQL user and password and ensure that you get the message 'Database configuration works!'.
- Redis configuration? leave it as default by pressing ENTER.
- Enable upload files to the cloud? Input n for no.
- Allow sending emails from localhost? Input y for yes to confirm or n for no. This depends on your environment, you can also use a third-party SMTP server.
- Save the configuration? Input y for yes.
- For the database creation. Input y to create the Mastodon database.
- Input y to compile assets and static files for the Mastodon.
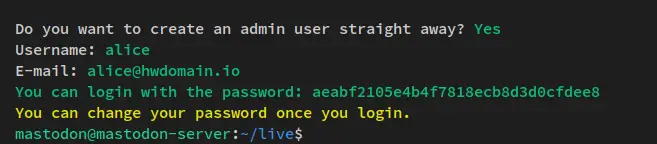
- Setup admin user? Input the new admin user and email for your Mastodon installation. And you'll then get the password generated automatically to your screen.
Mastodon configuration for domain name, PostgreSQL, Redis server, and SMTP Mail server.
Mastodon generates assets and static files.
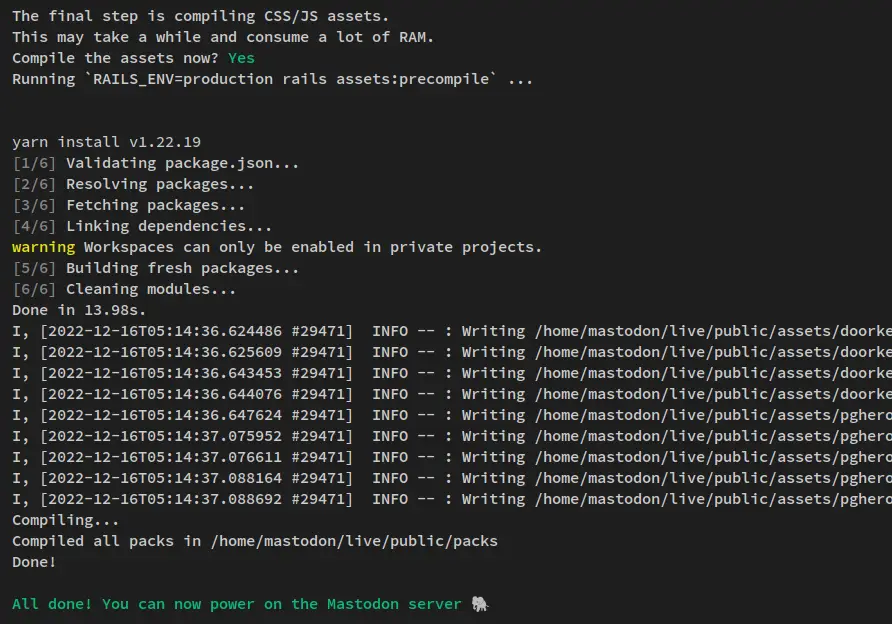
The mastodon admin user is created and the password is also generated to the terminal screen.
At this point, you've finished the installation and configuration of Mastodon on Debian 11. In the next steps, you'll set up Mastodon as a systemd service.
Running Mastodon as Systemd Service
By default, the Mastodon provides a sample of systemd service files that are available on the '/home/mastodon/live/dist/' directory.
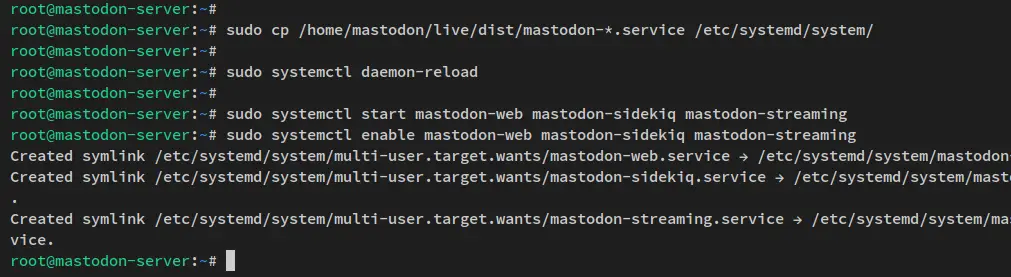
Run the below command to copy Mastodon service files to the '/etc/systemd/system' directory.
sudo cp /home/mastodon/live/dist/mastodon-*.service /etc/systemd/system/
Now reload the systemd manager to apply the changes on the systemd.
sudo systemctl daemon-reload
After that, start and enable Mastodon services via the systemctl command utility below.
sudo systemctl start mastodon-web mastodon-sidekiq mastodon-streaming
sudo systemctl enable mastodon-web mastodon-sidekiq mastodon-streaming
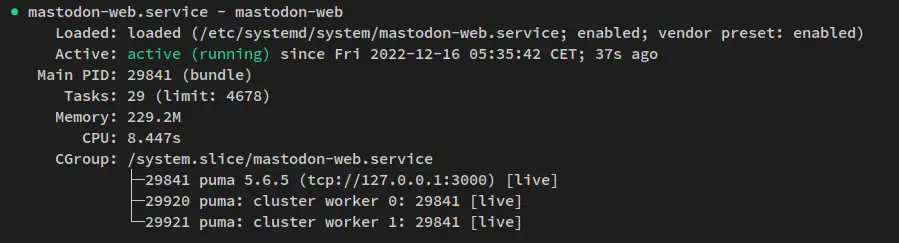
Mastodon services should now be up and running and also enabled. Verify using the below systemctl command.
sudo systemctl status mastodon-web mastodon-sidekiq mastodon-streaming
You'll receive an output similar to the following screenshots.
The mastodon-web service is running and enabled.
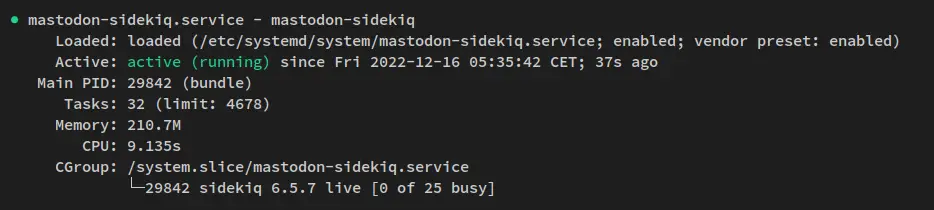
The mastodon-sidekiq also running and enabled.
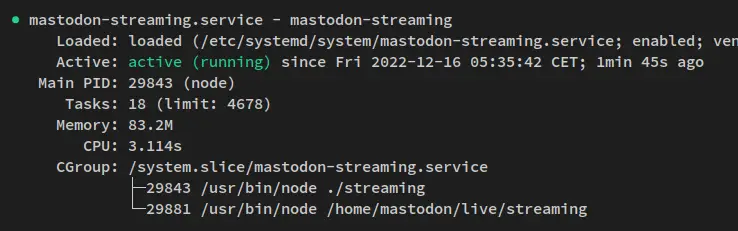
The mastodon-streaming service also running and enabled.
With all Mastodon services running and enabled, you'll next set up Nginx as a reverse proxy for Mastodon and generates SSL Letsencrypt.
Setting up Nginx as a Reverse Proxy
In this step, you'll set up the Nginx web server as the reverse proxy for the Mastodon. You'll also generate SSL Letsencrypt via the certbot command and secured the Mastodon via HTTPS secure connection.
Copy Mastodon's default Nginx server block configuration to '/etc/nginx/sites-available/mastodon'. Then activate the new server block configuration '/etc/nginx/sites-available/mastodon'.
sudo cp /home/mastodon/live/dist/nginx.conf /etc/nginx/sites-available/mastodon
sudo ln -s /etc/nginx/sites-available/mastodon /etc/nginx/sites-enabled/mastodon
Next, open the Mastodon server block config file '/etc/nginx/sites-available/mastodon' using the below nano editor command.
sudo nano /etc/nginx/sites-available/mastodon
Change the default domain name with your Mastodon domain. In this example, the domain for Mastodon is 'mastodon.hwdomain.io'.
```ini

change domain

```
Save the file and exit the editor when you're finished.
Next, run the below command to generate SSL certificates from Letsencrypt. Be sure to change the domain name with your domain.
sudo certbot --nginx -d mastodon.hwdomain.io

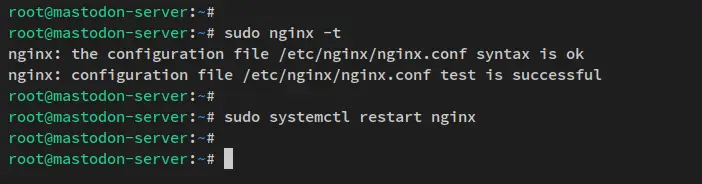
After SSL certificates are generated, run the below command to verify the Nginx configuration. If you get the output message such as 'test successful - syntax ok', that means you have the proper configuration. Then, restart the Nginx service to apply new changes.
sudo nginx -t
sudo systemctl restart nginx
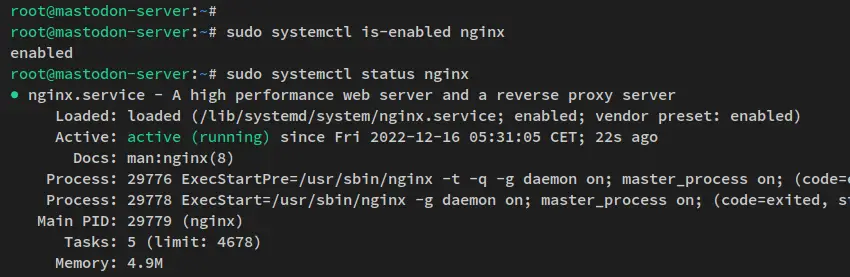
Lastly, run the below systemctl command utility to verify the Nginx service and ensure that the service is running and enabled.
sudo systemctl is-enabled nginx
sudo systemctl status nginx
You'll receive the output similar to this - The Nginx service is currently running and enabled. The Nginx service will automatically run upon the bootup.
With all configuration is completed, your Mastodon is now accessible via the web browser.
Accessing Mastodon Installation
Open up your web browser and visit the domain name of your Mastodon installation (i.e: https://mastodon.hwdomain.io/). You'll now see the default homepage of Mastodon.
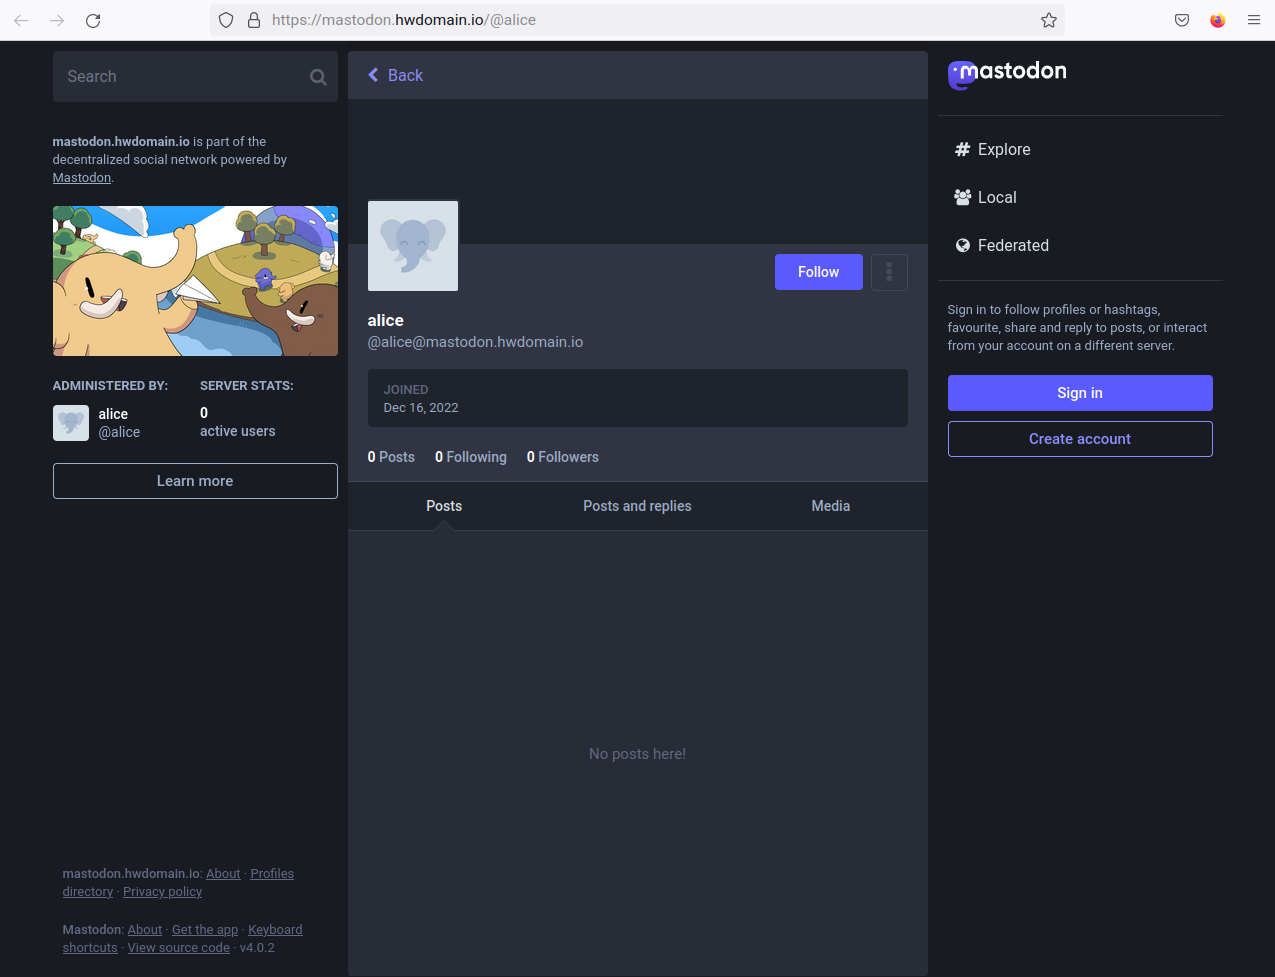
Click the 'Sign In' button to verify your user.
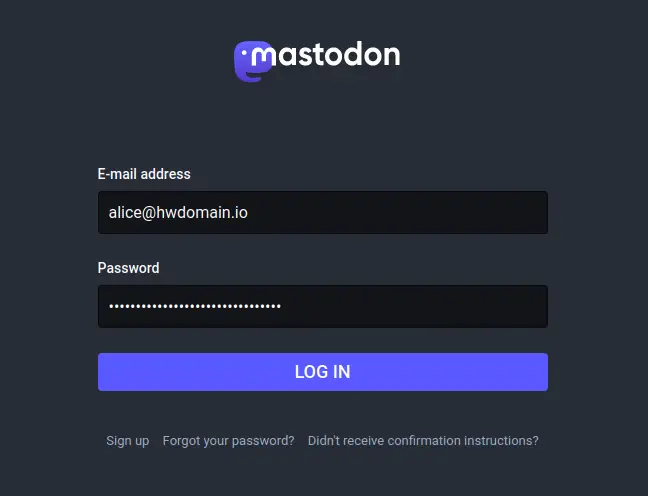
Now input your admin user and generated password for Mastodon. Then click Sign In.
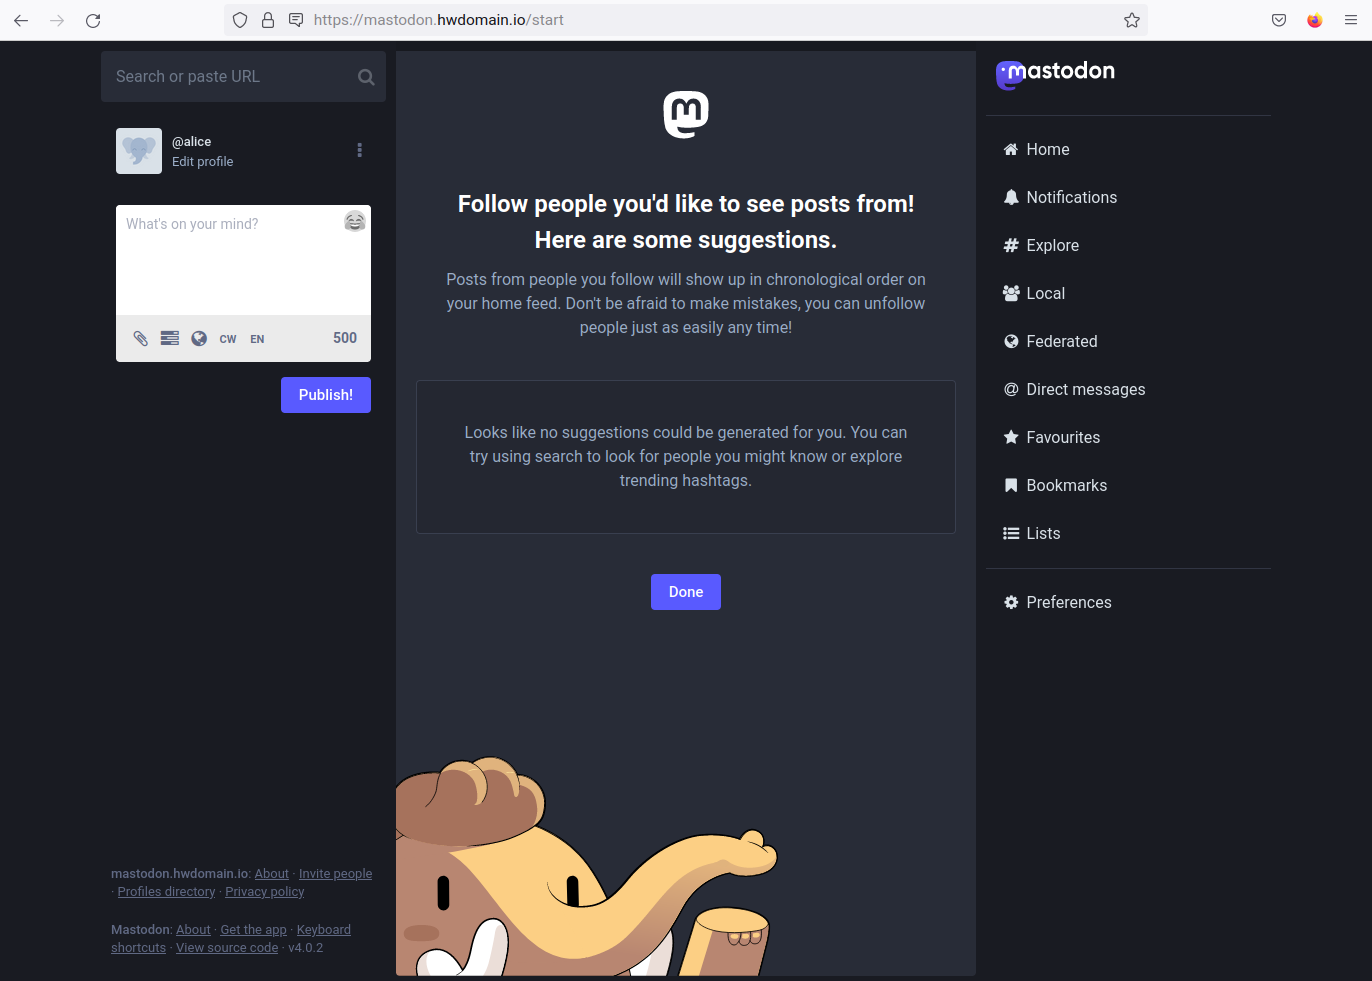
You'll then see the user home page of the Mastodon.
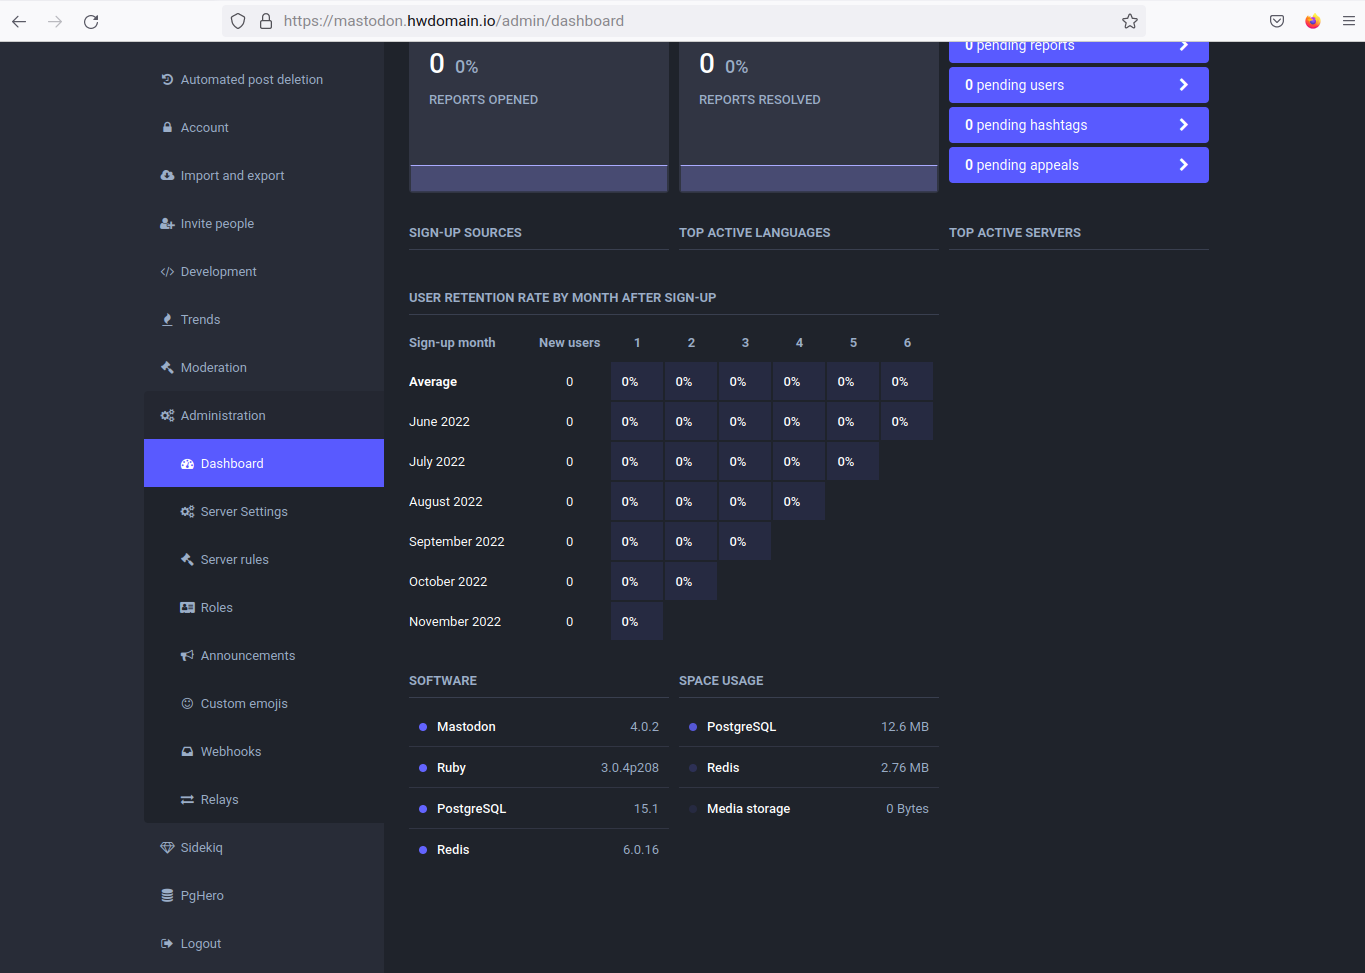
Next, click on the Preferences menu to get the user preferences page. Then, click on the Administration menu on the left side. And you should get the Mastodon administration page below.
You can see the details software stack that you're currently using on your Mastodon installation.
Conclusion
Congratulations! You've now finished the installation of the Mastodon microblogging platform on a Debian 11 server. You've installed Mastodon with PostgreSQL as the database server and Nginx as the reverse proxy. You've also secured the Mastodon deployment via secure HTTPS connections.
After all installation, you can now set up the Mastodon rule for the federation supports. You can also add an additional security layer to your Mastodon installation.

