How to Install Drupal CMS with Nginx on Rocky Linux 8
On this page
- Prerequisites
- Setting up Repositories
- Installing Package Dependencies
- Setting up Firewalld
- Setting up MariaDB Server
- Installing PECL Extension: uploadprogress
- Configuring PHP-FPM
- Downloading Drupal Source Code
- Setting up SELinux
- Setting up Nginx Web Server
- Starting Drupal Installation
- Finishing up Drupal Installation
- Conclusion
Drupal is a free and open-source web content management system written in PHP and distributed under GNU General Public License. Drupal provides a robust content management tool with sophisticated APIs for multichannel publishing.
Drupal is one of the most used CMS on the internet, used by at least 14% of the top 10,000 websites on the internet, and it's used for global enterprise industries, governments, education, and institutions sites. Drupal provides a high-scalable system, integrated with digital applications, and can be used to create multisite for different organizations with multilingual support.
In this tutorial, you will learn how to configure the Drupal CMS (Content Management System) with the LEMP Stack on the Rocky Linux server. You will also learn how to get Drupal up and running on Rocky Linux with SELinux enforcing mode and the Firewalld enabled.
Prerequisites
To begin with this guide, you will need some following requirements:
- A Rocky Linux server - This example uses the Rocky Linux 8.x with the hostname 'drupal-server'.
- A non-root user with sudo/root administrator privileges.
- A domain name pointed to the Rocky Linux server IP address - especially when you are in the production environment.
Setting up Repositories
The LEMP Stack (Nginx, MariaDB/MySQL, and PHP-FPM) is a group of open-source software for hosting web applications. On Rocky Linux. most of the LEMP Stack packages are available on third-party repositories.
In the first step, you will add and enable two repositories on your system. You will add the EPEL repository that provides additional packages for RHEL-based operating systems, and the REMI repository that provides multiple versions of PHP packages.
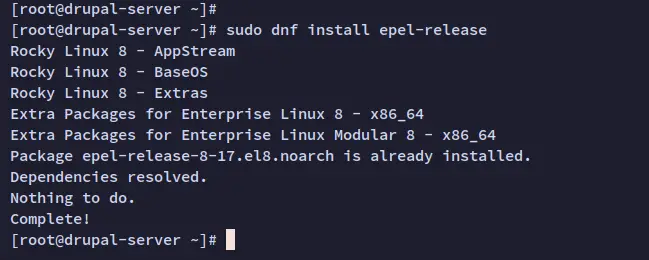
Run the following command to add the EPEL repository to your Rocky Linux system. When prompted for confirmation, input y and press ENTER.
sudo dnf install epel-release
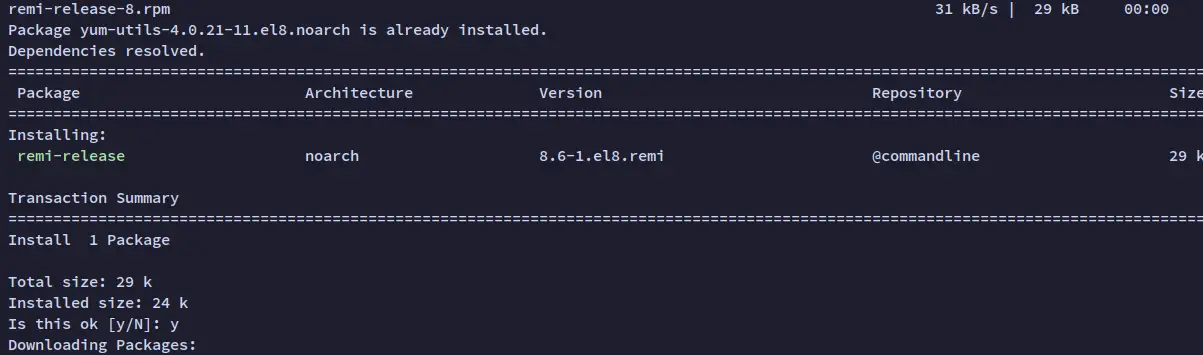
Now run the dnf command below to add the REMI repository for the Rocky Linux 8.4.
sudo dnf install dnf-utils http://rpms.remirepo.net/enterprise/remi-release-8.rpm
Input y and press ENTER to proceed and add the Remi repository.
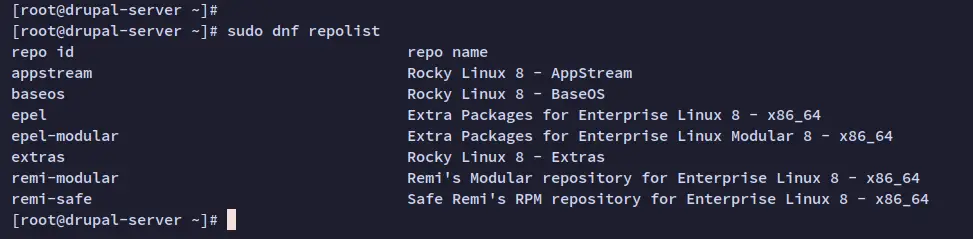
Lastly, run the dnf command below to verify the list of available repositories on your system. You should see two additional repositories EPEL and REMI is added to the Rocky Linux system.
sudo dnf repolist
Installing Package Dependencies
Drupal is a flexible and powerful CMS that can be installed with any web server such as Apache2/httpd, Nginx, or IIS Microsoft. Also, Drupal supports multiple RDBMS including MariaDB/MySQL, PostgreSQL, and SQLite. For other databases such as Microsoft SQL Server and MongoDB, you can use both via community modules.
Now you will install the LEMP Stack packages dependencies for Drupal. You will install Nginx via the EPEL repository, install MariaDB from the appstream, and PHP 8.1 packages from the REMI repository.
First, reset and enable the PHP module from the REMI repository via the dnf command below. In this example, you will enable a module for PHP 8.1, which is supported by the latest version of Drupal.
sudo dnf module reset php
sudo dnf module enable php:remi-8.1
When prompted, input y to confirm and enable the PHP 8.1 REMI repository and press ENTER to proceed.

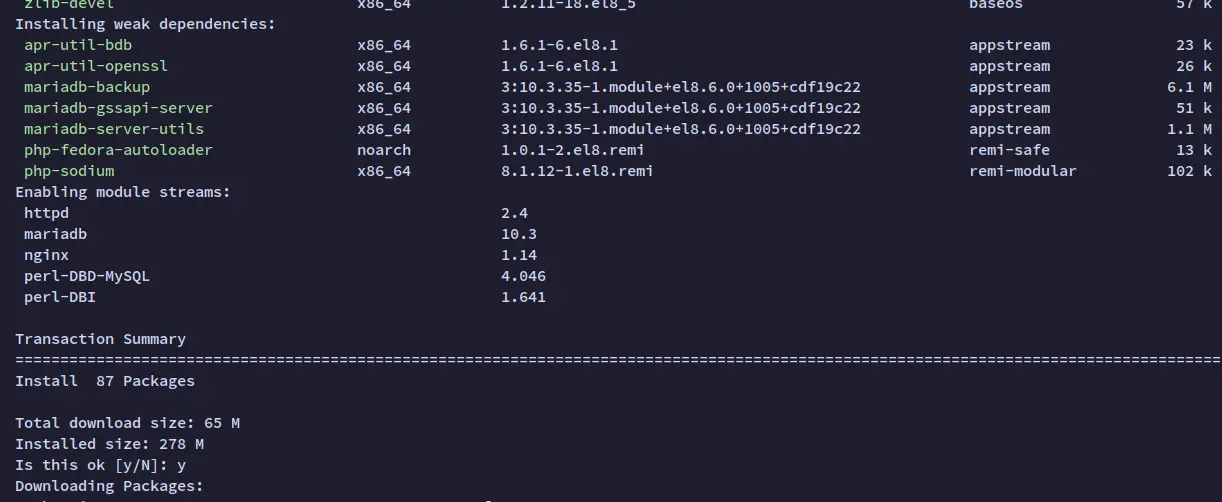
Next, use the dnf command below to install the basic LEMP stack packages.
sudo dnf install nginx mariadb-server php php-fpm php-cli php-devel php-mbstring php-gd php-xml php-curl php-mysqlnd php-pdo php-json php-opcache php-pear php-pecl-apcu php-pecl-crypto
Input y and press ENTER when prompted for confirmation.
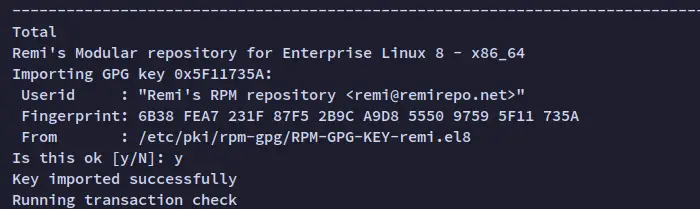
Also, input y when prompted for the confirmation to add the GPG key for some repositories.
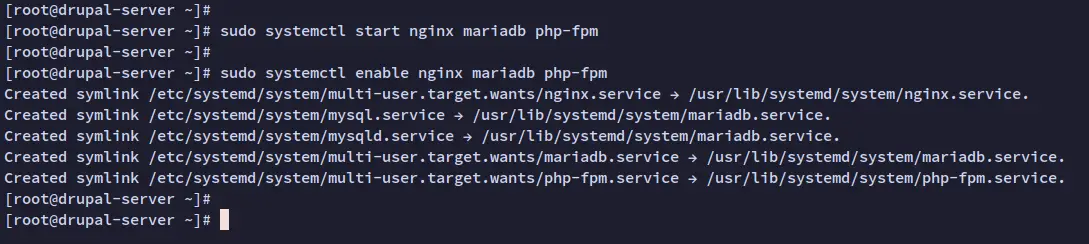
Once LEMP Stack packages are installed, you can use the following systemctl command to start Nginx, MariaDB, and PHP-FPM services. Also, you will enable all those services to be running automatically at boot.
sudo systemctl start nginx mariadb php-fpm
sudo systemctl enable nginx mariadb php-fpm
You will now see the output like the following - the LEMP Stack should now be running on your Rocky Linux system and all services for the LEMP Stack are enabled.
Setting up Firewalld
Firewalld is the default firewall on RHEL-based operating systems, including Rocky Linux. Running Drupal or any web applications with a firewall enabled is recommended, especially in the production-level environment.
Now you will add both ports HTTP and HTTPS to the firewalld to allow clients for accessing your Drupal installation.
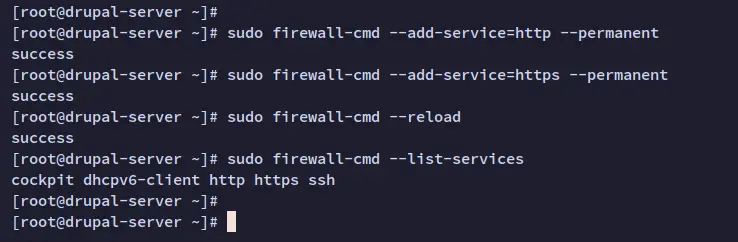
Run the following firewall-cmd command below to add HTTP and HTTPS services to the firewalld.
sudo firewall-cmd --add-service=http --permanent
sudo firewall-cmd --add-service=https --permanent
Now reload the firewalld to apply new changes. Then, verify the list of enabled services on the firewalld.
sudo firewall-cmd --reload
sudo firewall-cmd --list-services
You should get the HTTP and HTTPS services added to the firewalld.
Setting up MariaDB Server
In this step, you will start configuring the MariaDB database that will be used for Drupal. You will start by securing the MariaDB deployment, then create a new database and user for the Drupal installation.
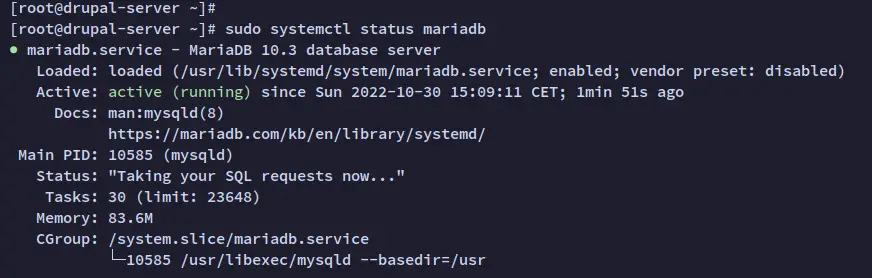
Before you start, run the following command to verify the MariaDB service and make sure that the service is running.
sudo systemctl status mariadb
Below is the output when the MariaDB service is running.
Next, run the following command for securing the MariaDB server deployment. This command line 'mysql_secure_installation' is provided by MariaDB packages that help you secure the installation.
sudo mysql_secure_installation
You should now be asked some questions related to MariaDB server configurations:
- The default MariaDB installation comes without a password, press ENTER when prompted for the password.
- Now input Y to set up the MariaDB root password. Then, type the new password for MariaDB and repeat the password.
- Input Y to remove the anonymous user from your MariaDB installation.
- Input Y again when prompted to disable the remote login for the MariaDB root user.
- Input Y to remove the default database test from your MariaDB.
- Lastly, input Y to reload table privileges and apply new changes.
After securing the MariaDB deployment, you will next set up a new database and user for Drupal.
Log in to the MySQL/MariaDB shell via the user root with the mysql command below.
sudo mysql -u root -p
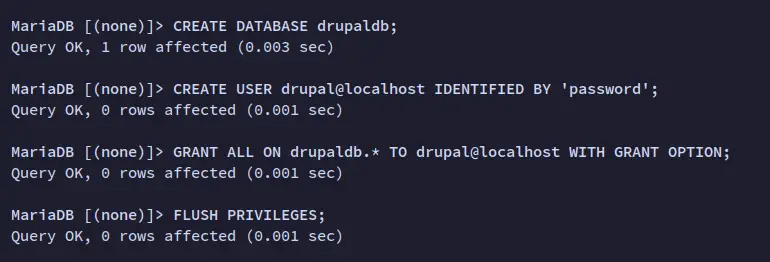
Run the following queries to create a new database and user for Drupal. In this example, you will create the database drupaldb with the user drupal@localhost. Also, be sure to change the default database password.
CREATE DATABASE drupaldb;
CREATE USER drupal@localhost IDENTIFIED BY 'password';
GRANT ALL ON drupaldb.* TO drupal@localhost WITH GRANT OPTION;
FLUSH PRIVILEGES;
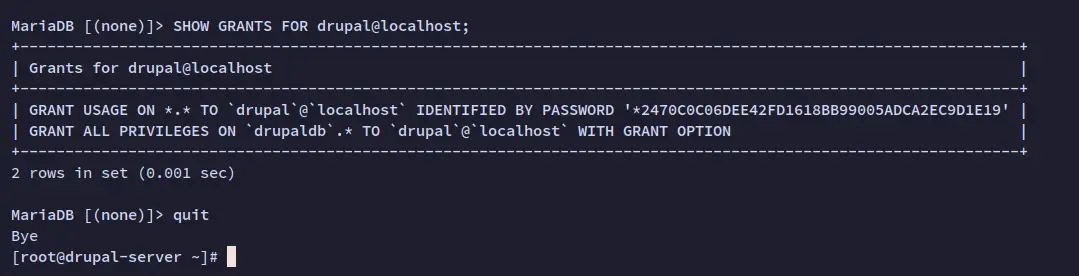
Next, run the following queries to verify the privileges for the MariaDB user drupal@localhost. You will see the MariaDB user drupal@localhost has access and privileges to the database drupaldb.
SHOW GRANTS FOR drupal@localhost;
Now run the query 'exit' or 'quit' to log out from the MariaDB shell.
Installing PECL Extension: uploadprogress
The uploadprogress is an extension that will be used by Drupal for showing a progress bar. The uploadprogress can be installed via the PECL (PHP Extension Community Library) repository.
You will now install the uploadprogress extension from the PECL repository and enable it on your PHP installation.
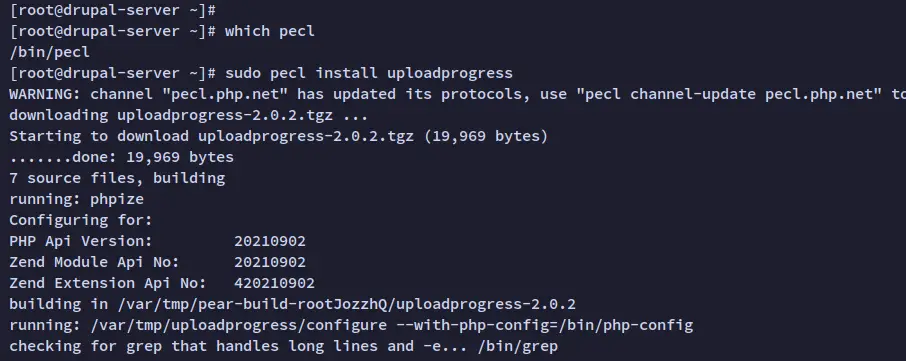
To start, run the following command to ensure that the command 'pecl' is available on your system. The 'pecl' is available, you should see the full path of the 'pecl' binary file.
which pecl
Now run the 'pecl' command below to install the uploadprogress extension.
sudo pecl install uploadprogress
When the installation begins, you should see the output like the following:
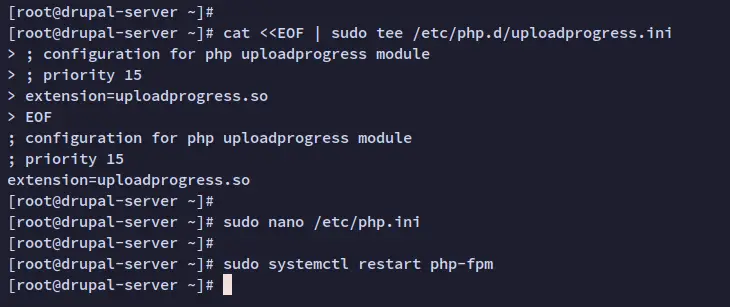
Next, run the following command to create a new configuration file '/etc/php.d/uploadprogress.ini', and enable the uploadprogress extension.
cat <<EOF | sudo tee /etc/php.d/uploadprogress.ini
; configuration for php uploadprogress module
; priority 15
extension=uploadprogress.so
EOF
Lastly, restart the PHP-FPM service to apply new changes. The PHP-FPM is now running with additional extension uploadprogress enabled.
sudo systemctl restart php-fpm
Configuring PHP-FPM
Now you will set up the basic configuration of PHP-FPM via the '/etc/php.ini' file and set up a specific PHP-FPM pool for Drupal.
Modify the '/etc/php.ini' file using the following nano editor.
sudo nano /etc/php.ini
Change the default configuration as below. Also, be sure to change the date.timezone option with your environment.
memory_limit = 512M
upload_max_filesize = 60M
max_execution_time = 300
date.timezone = Europe/Stockholm
Save the file and exit the editor when you are done.
Next, copy the default PHP-FPM pool configuration '/etc/php-fpm.d/www.conf' to the '/etc/php-fpm.d/drupal.conf'. Then, modify the new pool configuration '/etc/php-fpm.d/drupal.conf' using the nano editor.
sudo cp /etc/php-fpm.d/www.conf /etc/php-fpm.d/drupal.conf
sudo nano /etc/php-fpm.d/drupal.conf
Change the default name to '[drupal]' and the default user and group to 'nginx'. Also, be sure to change the listing sock file for the 'drupal' PHP-FPM pool to '/run/php-fpm/drupal.sock'.
[drupal]
user = nginx
group = nginx
listen.owner = nginx
listen.group = nginx
listen = /run/php-fpm/drupal.sock
Save the file and exit the editor when you are done.
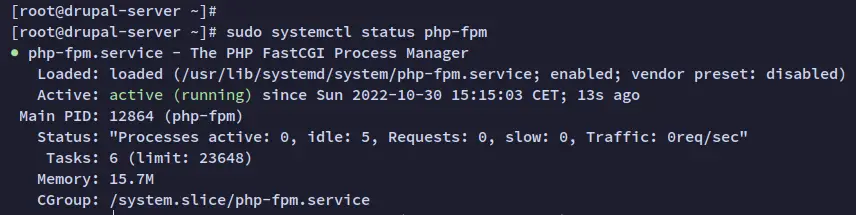
Now restart the PHP-FPM service via the systemctl command below. Then, verify the PHP-FPM service status.
sudo systemctl restart php-fpm
sudo systemctl status php-fpm
You should receive the output like the following - The PHP-FPM service is running.
Next, run the following command to create a new PHPINFO file '/usr/share/nginx/html/info.php'.
cat <<EOF | sudo tee /usr/share/nginx/html/info.php
<?php
phpinfo();
?>
EOF
Lastly, open the web browser and visit the server IP address followed by the path '/info.php' (i.e: http://192.168.5.100/info.php). You should get detailed information about PHP

Downloading Drupal Source Code
At this point, you have finished the configuration of the MariaDB database server and PHP-FPM for the Drupal installation. Next, you will download the latest version of Drupal to your server.
First, move the current working directory to '/tmp' and download the latest version of Drupal via the wget command as below. You should see the file 'drupal.tar.gz' after the download process is finished.
cd /tmp
wget https://www.drupal.org/download-latest/tar.gz -O drupal.tar.gz
Next, extract the file 'drupal.tar.gz' using the tar command and move the extracted directory to '/var/www/drupal', which will be used as the installation for Drupal.
tar -xvf drupal.tar.gz
mv drupal-* /var/www/drupal
Lastly, run the following command to change the ownership and the permission of the Drupal installation directory '/var/www/drupal'. The ownership should be the user and group 'nginx', so the Nginx web server can read and access Drupal source code. And for the permission, it should be '755'.
sudo chown -R nginx:nginx /var/www/drupal/
sudo chmod -R 755 /var/www/drupal/
Setting up SELinux
After downloaded the Drupal source code, you will next set up the SELinux for Drupal. You will download the SELinux management tool to your server and set up the labeling for Drupal source code and additional rules for Nginx.
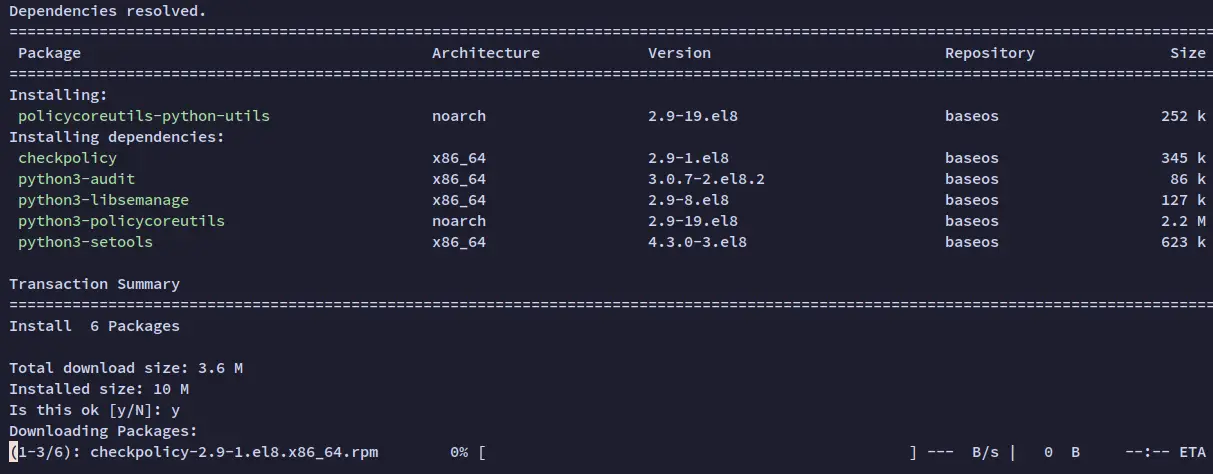
Run the dnf command below to install the package 'policycoreutils-python-utils' for managing SELinux on your system.
sudo dnf install policycoreutils-python-utils
When prompted, input y to confirm the installation and press ENTER to proceed.
Next, run the following command to set up the labeling for the Drupal source code.
sudo semanage fcontext -a -t httpd_sys_rw_content_t "/var/www/drupal(/.*)?"
sudo semanage fcontext -a -t httpd_sys_rw_content_t '/var/www/drupal/sites/default/settings.php'
sudo semanage fcontext -a -t httpd_sys_rw_content_t '/var/www/drupal/sites/default/files'

sudo restorecon -Rv /var/www/drupal
Run the following command to allow the Nginx web server to access certain services. For Drupal installation, you should allow Nginx to access the networking and mail services.
sudo setsebool -P httpd_can_sendmail on
sudo setsebool -P httpd_can_network_connect on
Now that you have downloaded the Drupal source code and configured the correct ownership to user and group 'nginx', configured the correct permission to 755, and configured the SELinux for Drupal.
Setting up Nginx Web Server
Now that you have finished some configurations of the MariaDB database server and PHP-FPM. Also, you have downloaded the Drupal source code and configured the SELinux. In the next step, you will set up Nginx server blocks for your domain.
Before you get started, ensure that you have the domain name pointed to your server IP address. Also, ensure that you have generated SSL Letsencrypt.
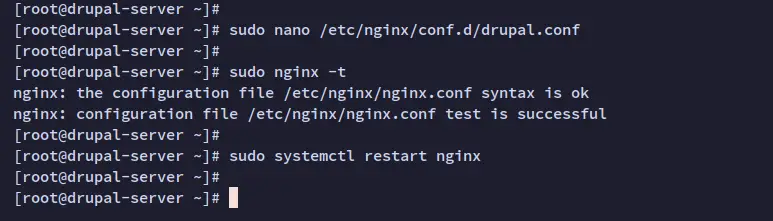
Create a new Nginx server blocks configuration '/etc/nginx/conf.d/drupal.conf' using the following nano editor.
sudo nano /etc/nginx/conf.d/drupal.conf
Add the following configuration to the file. And be sure to change the domain name and the path of SSL certificates. This example uses the domain http://drupal.hwdomain.io as the main domain for Drupal installation.
server {
    listen 80;
    server_name drupal.hwdomain.io;
    return 301 https://$host$request_uri;
}

server {
    listen 443 http2 ssl;
    server_name drupal.hwdomain.io;

    root /var/www/drupal;

    ssl_certificate      /etc/letsencrypt/live/drupal.hwdomain.io/fullchain.pem;
    ssl_certificate_key  /etc/letsencrypt/live/drupal.hwdomain.io/privkey.pem;

    access_log /var/log/nginx/drupal.hwdomain.io.access.log;
    error_log /var/log/nginx/drupal.hwdomain.io.error.log;

    location = /favicon.ico {
        log_not_found off;
        access_log off;
    }

    location = /robots.txt {
        allow all;
        log_not_found off;
        access_log off;
    }

    location ~ \..*/.*\.php$ {
        return 403;
    }

    location ~ ^/sites/.*/private/ {
        return 403;
    }

    # Block access to scripts in the site files directory
    location ~ ^/sites/[^/]+/files/.*\.php$ {
        deny all;
    }
    location ~ (^|/)\. {
        return 403;
    }

    location / {
        try_files $uri /index.php?$query_string;
    }

    location @rewrite {
        rewrite ^/(.*)$ /index.php?q=$1;
    }
    location ~ /vendor/.*\.php$ {
        deny all;
        return 404;
    }


    location ~ '\.php$|^/update.php' {
        fastcgi_split_path_info ^(.+?\.php)(|/.*)$;
        include fastcgi_params;
        # Block httpoxy attacks. See https://httpoxy.org/.
        fastcgi_param HTTP_PROXY "";
        fastcgi_param SCRIPT_FILENAME $document_root$fastcgi_script_name;
        fastcgi_param PATH_INFO $fastcgi_path_info;
        fastcgi_param QUERY_STRING $query_string;
        fastcgi_intercept_errors on;
        fastcgi_pass unix:/run/php-fpm/drupal.sock;
    }
    location ~ ^/sites/.*/files/styles/ { # For Drupal >= 7
        try_files $uri @rewrite;
    }

    # Handle private files through Drupal. Private file's path can come
    # with a language prefix.
    location ~ ^(/[a-z\-]+)?/system/files/ { # For Drupal >= 7
        try_files $uri /index.php?$query_string;
    }

    location ~* \.(js|css|png|jpg|jpeg|gif|ico|svg)$ {
        try_files $uri @rewrite;
        expires max;
        log_not_found off;
    }
}
Save the file and exit the editor when you are finished.
Now, run the following command to verify the Nginx configuration. You should get the output message such as 'test successful - syntax ok', which means you have correct Nginx configurations and no error.
sudo nginx -t
Next, run the following systemctl command to restart the Nginx service and apply the new server block configuration.
sudo systemctl restart nginx
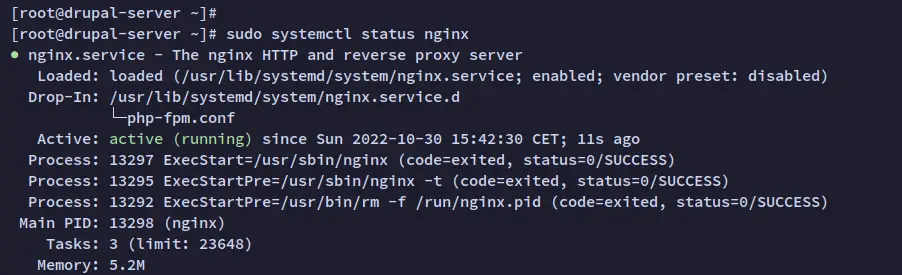
The Nginx service should now run with the new server block configuration '/etc/nginx/conf.d/drupal.conf'. Run the following command to verify the Nginx service and make sure that the service is running.
sudo systemctl status nginx
You should get the output like the following - The Nginx service is running.
You should now be able to access your Drupal installation via your domain.
Starting Drupal Installation
At this point, you have finished the configuration of package dependencies for Drupal. Now you can access your Drupal via your domain.
In this step, you will start the installation of Drupal, also you will be setting up details about your Drupal and setting up the admin user for Drupal.
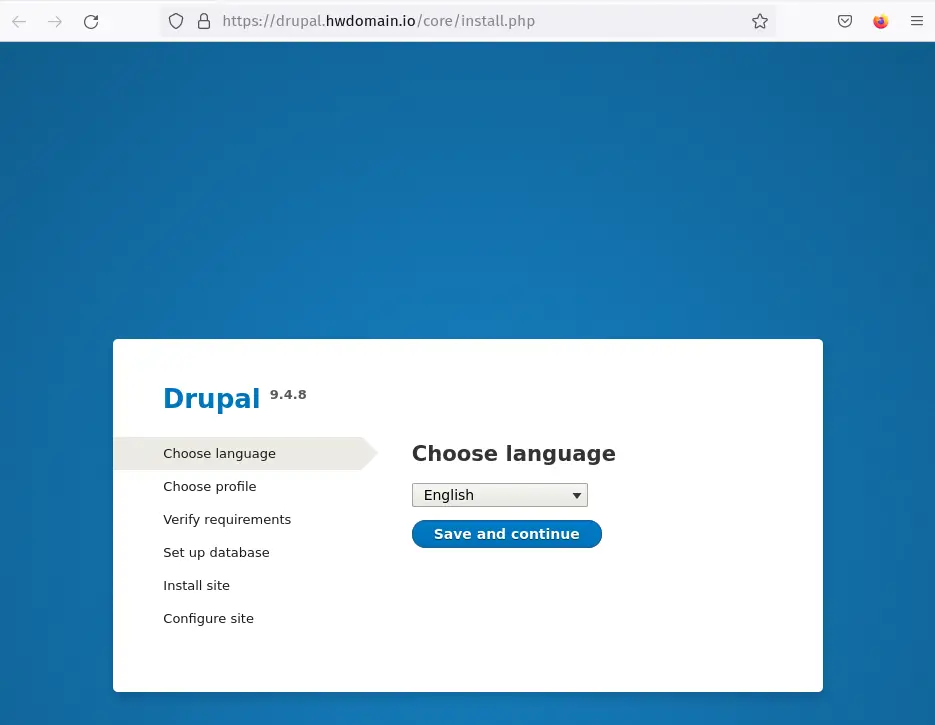
Open your web browser and visit the domain name of your Drupal installation (i.e: https://drupal.hwdomain.io/). You should get the installation page of Drupal.
Select the language for your Drupal installation or you can use the default 'English' and click the button 'Save and continue'.
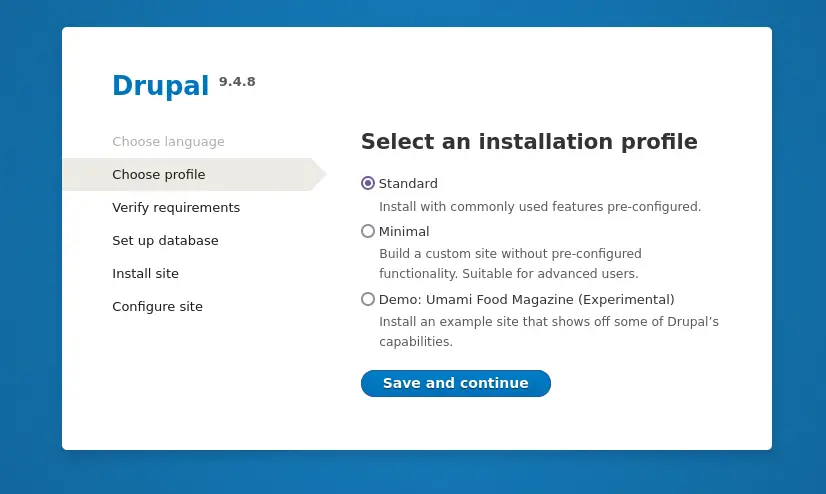
Select the installation profile for your installation and click 'Save and continue'. This example uses the 'Standard' profile.
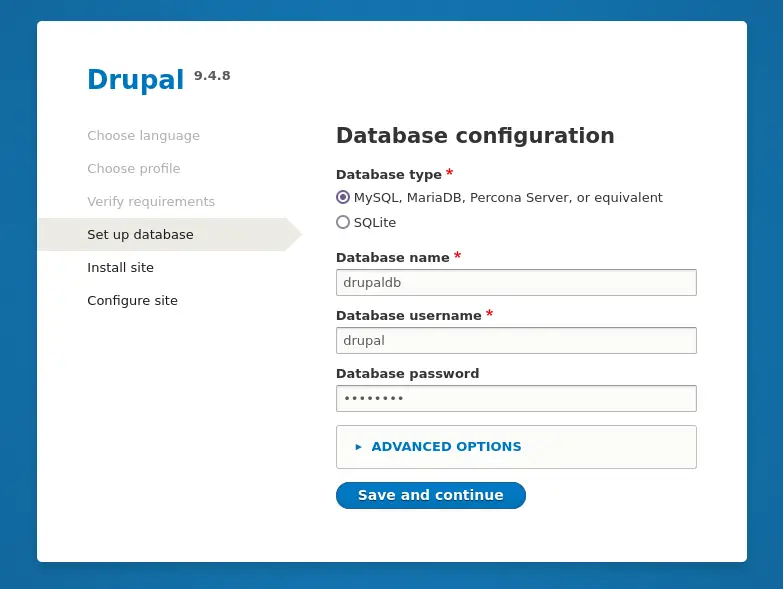
Now set up the database for your Drupal installation. Input the details MariaDB database and user that you already own and created on the top.
Click Save and continue again.
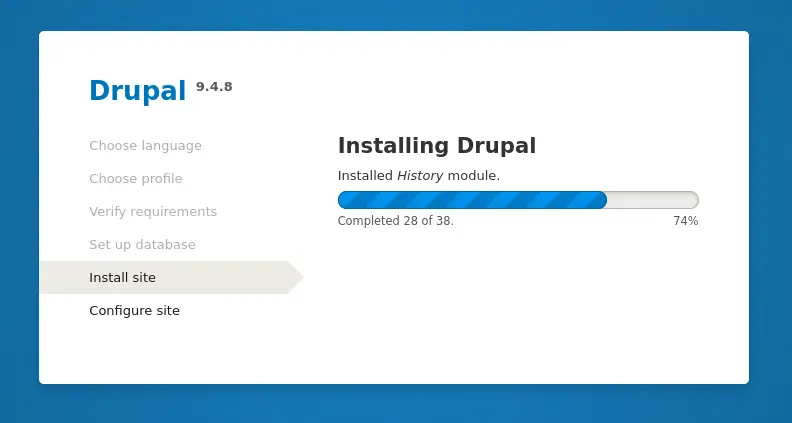
And now the Drupal installation will begin.
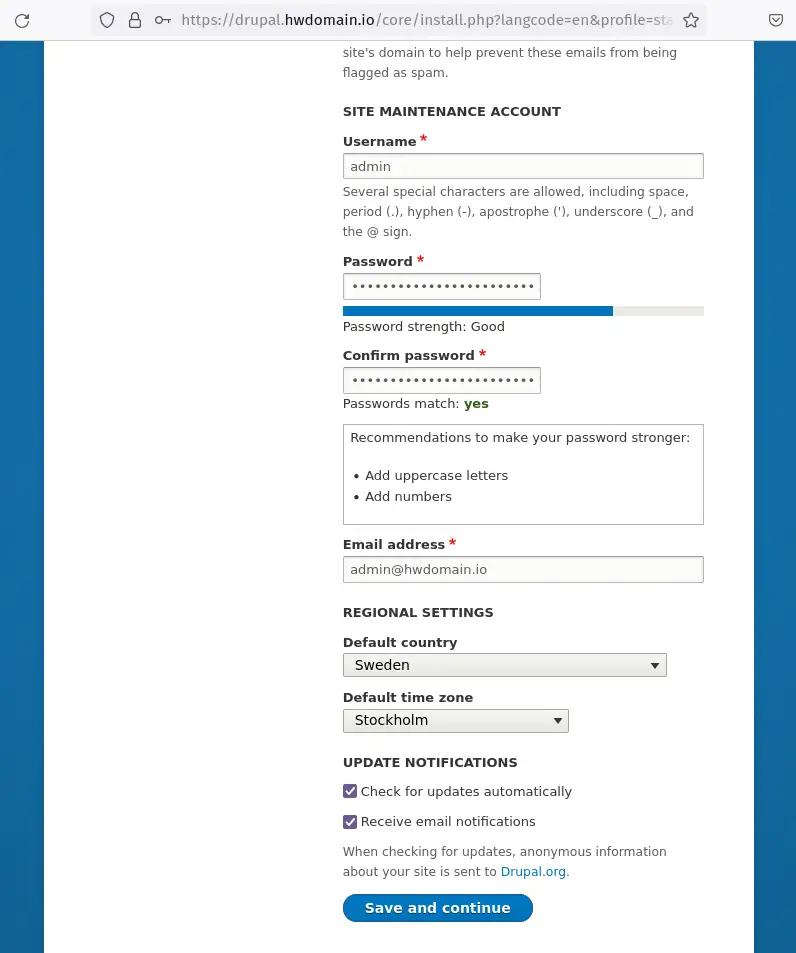
Input detailed information about your Drupal installation. Also, be sure to use your username for the admin Drupal and use a strong password.
Click Save and continue.
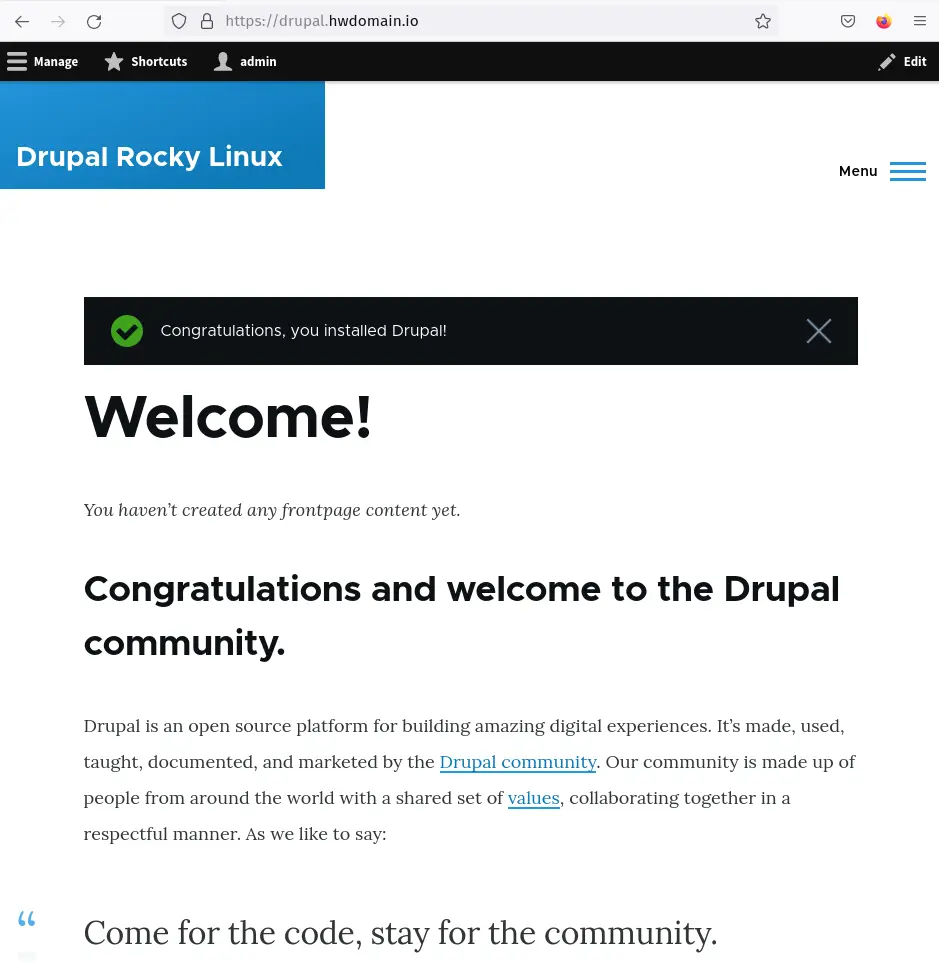
When the Drupal installation is finished, you will see the following page. You can see messages such as 'Congratulations, you installed Drupal!'.
Finishing up Drupal Installation
Run the following command to set up the labeling for the Drupal configuration file and directory.
sudo restorecon -v /var/www/drupal/sites/default/settings.php
sudo restorecon -Rv /var/www/drupal/sites/default/files
Next, run the following command to change the permission of the file '/var/www/drupal/sites/default/settings.php' and make it writable. Then, edit the file using the nano editor.
sudo chmod 644 /var/www/drupal/sites/default/settings.php
sudo nano /var/www/drupal/sites/default/settings.php
Uncomment the script line 'trusted_host_patterns' and add your domain name. This will enable the trusted_host on your Drupal installation.
$settings['trusted_host_patterns'] = [
  '^hwdomain\.io$',
  '^drupal.hwdomain\.io$',
];
Save the file and exit the editor when you are finished.
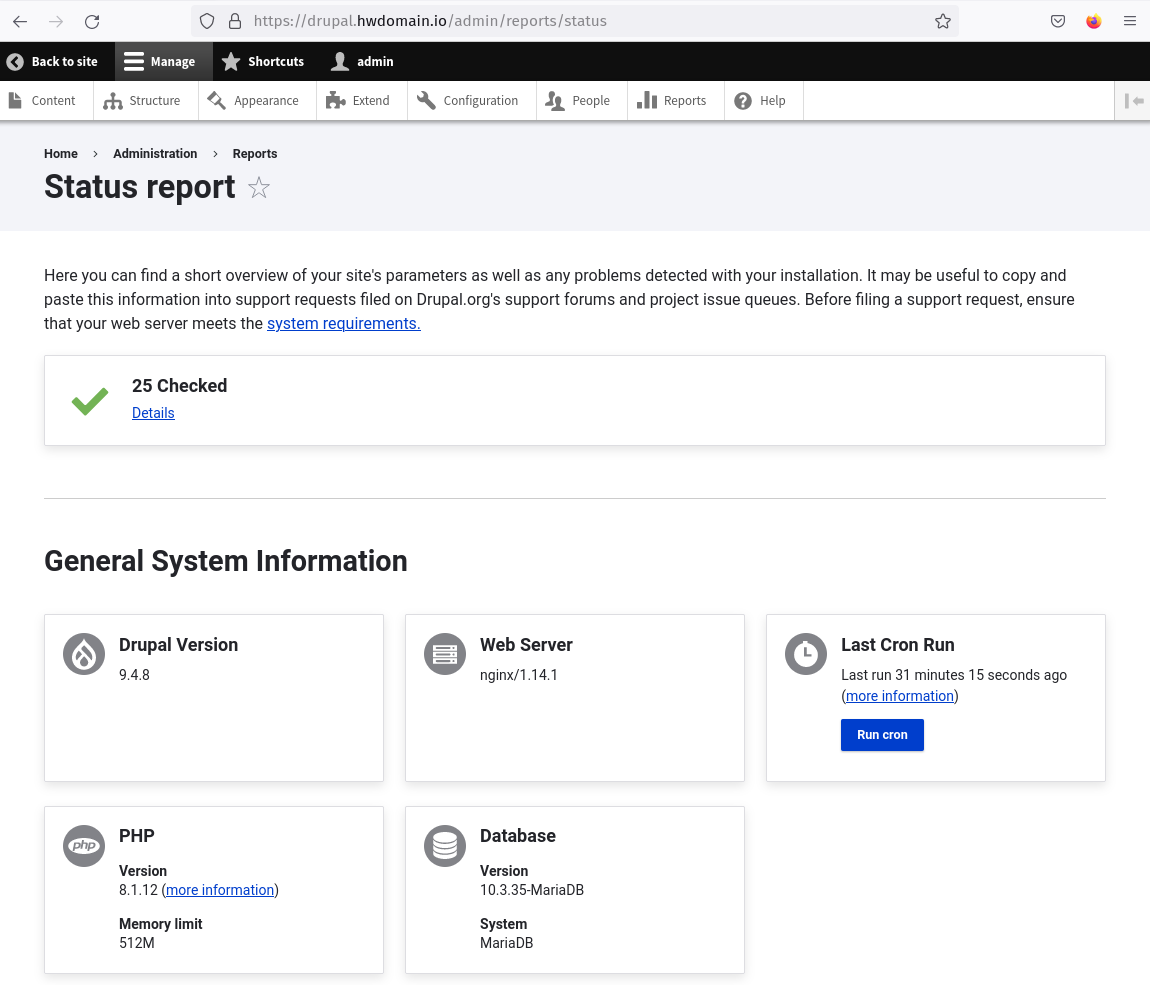
Lastly, back to your web browser on your Drupal site and visit the report status in the following URL. Replace the main domain name with your domain - or you can access it via the menu Administration > Reports.
https://drupal.hwdomain.io/admin/reports/status
In the following report - you can see 25 system requirements for Drupal installation are checked. This means your Drupal installation is correct and has no errors.
Conclusion
In this guide, you learned how to install the latest version of Drupal v9 on a Rocky Linux server. You also learned the installation of LAMP Stack (Linux, Apache2/httpd, MySQL/MariaDB, and PHP) and the basic configuration for hosting Drupal. Additionally, you have learned how to install PHP extensions from the PECL (PHP Extension Community Library) repository.
With Drupal running and secured with SSL certificates and enabled the 'trusted_hosts' configuration, you can now extend the Drupal deployment by installing new themes or adding some plugins for your Drupal installation.

