How to Install GlassFish Java Application Server on Rocky Linux
GlassFish is a free and open-source implementation of the Java EE Platform developed by Eclipse. It's the world's leading implementation of the Java EE platform. It provides a lightweight application server and allows you to deploy multiple Java-based applications. GlassFish supports multiple types of Java-application technologies such as Enterprise JavaBeans, JPA, JavaServer Faces, JMS, and many more.
GlassFish is one of the best choices for developers to develop and deploy Java-based applications. It allows developers to develop enterprise applications in a convenient way and also scalable architecture. The GlasshFish project was originally started by Sun Microsystem. It comes with two different free Licenses - The Common Development and Distribution License and the GNU General Public License.
In this tutorial, we will install the GlassFish Java Application Server with Nginx reverse proxy on Rocky Linux. We will install Java OpenJDK, install GlassFish via the binary package, and install and configure Nginx as a reverse proxy.
Prerequisites
To begin with, you must ensure that you have the following requirements:
- A Rocky Linux server - You can use the Rocky Linux 8 or 9.
- A non-root user with sudo root/administrator privileges.
- A local domain name for the local development server.
Now let's jump to the installation.
Installing Java OpenJDK
GlassFish is a Java Application Server. To install it, you must install Java OpenJDK on your server.
At the time of this writing, the latest version of GlassFish 6.2.5 required at least Java OpenJDK 11. And now, you will start the installation by installing Java OpenJDK 11 on the Rocky Linux system.
The default Java OpenJDK is available on the Rocky Linux appstream repository. Install it via the following dnf command.
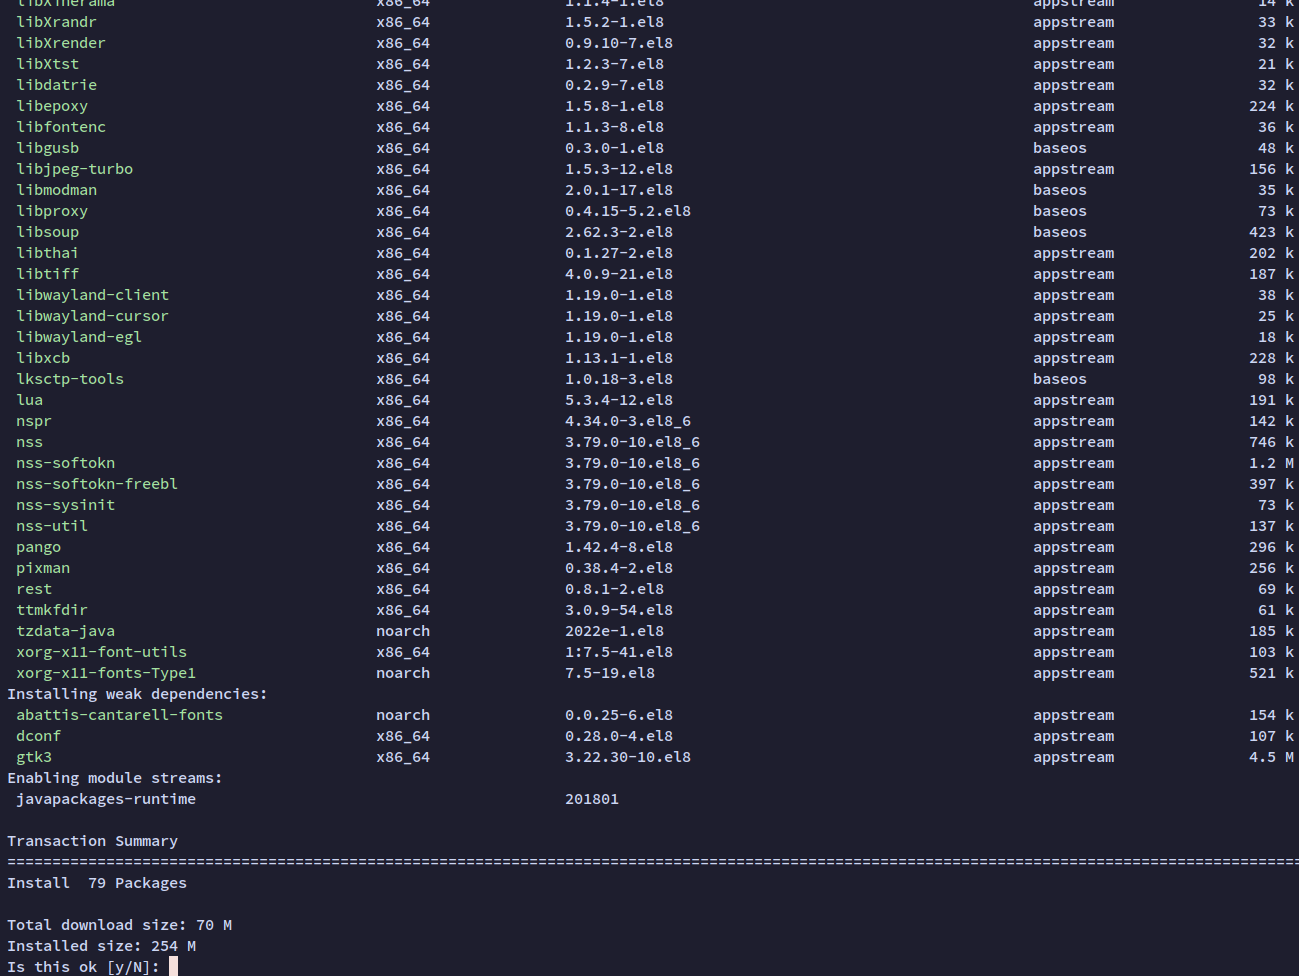
sudo dnf install java-11-openjdk
When prompted, input y to confirm and press ENTER to proceed, and the Java OpenJDK installation will begin.
Next, run the following java command to verify your installation. You should receive the output of Java OpenJDK 11 installed on the Rocky Linux.
java -version

Once Java OpenJDK is installed, the next step will be downloading GlassFish and installing it manually from the binary package.
Downloading GlassFish Application
GlassFish is a Java EE compatible implementation developed by Eclipse. You can install it manually by building from the source code or install it via the binary distribution package provided by Eclipse.
In this step, you will install GlassFish via the binary distribution package that can be downloaded from the Eclipse website.
Before starting the GlassFish installation, run the following dnf command to install the unzip package. This will be used to extract the GlassFish distribution package.
sudo dnf install unzip
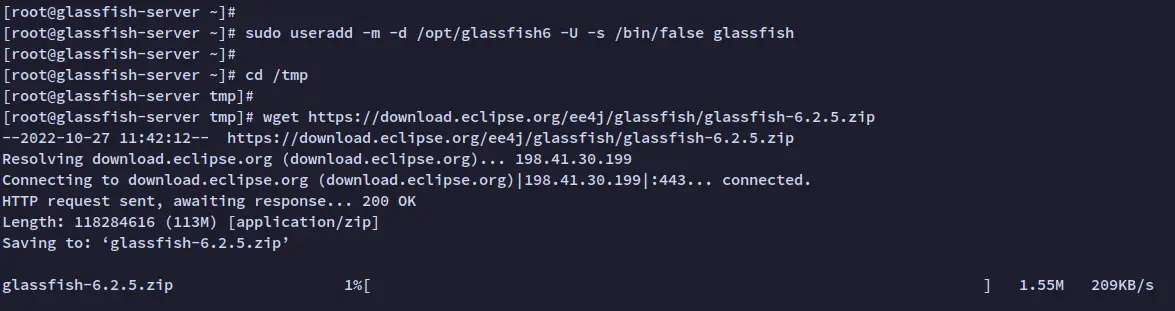
Next, run the following command to create a new dedicated user for GlassFish. In this example, you will run the GLassFish application server via the non-root user 'glassfish'.
sudo useradd -m -d /opt/glassfish6 -U -s /bin/false glassfish
After the 'glassfish' user is created, navigate to the '/tmp' directory and download the GlassFish binary distribution package via the wget command below.
cd /tmp
wget https://download.eclipse.org/ee4j/glassfish/glassfish-6.2.5.zip
And you should get the new file 'glassfish-6.2.5.zip'.
Run the following unzip command to extract the GlassFish package 'glassfish-6.2.5.zip' to the '/opt' directory.
unzip /tmp/glassfish-6.2.5.zip -d /opt
Now that the GlassFish package is extracted to the '/opt/glassfish6' directory.
Lastly, run the following command to change the ownership of the GlassFish installation directory '/opt/glassfish6' to the user and group 'glassfish'.
sudo chown -R glassfish:glassfish /opt/glassfish6
Now you have downloaded the GlassFish package, you can now start the GlassFish application manually via the binary file '/opt/glassfish6/bin/asadmin'. But to make it easier, you will be setting up and running the GlassFish as a systemd service.
Running GlassFish as Systemd Service
In this guide, you will be running the GlassFish Java Application Server via the systemd service. This allows you to manage the GlassFish application server easily via the systemctl command.
To begin with, create a new systemd service file '/lib/systemd/system/glassfish.service' using the following nano editor.
sudo nano /lib/systemd/system/glassfish.service
Add the following configuration to the file.
[Unit]
Description = GlassFish Server v6
After = syslog.target network.target

[Service]
User=glassfish
ExecStart=/opt/glassfish6/bin/asadmin start-domain
ExecReload=/opt/glassfish6/bin/asadmin restart-domain
ExecStop=/opt/glassfish6/bin/asadmin stop-domain
Type = forking

[Install]
WantedBy = multi-user.target
Save the file and exit the editor when you are done.
Next, run the following systemctl command to reload the systemd manager and apply the new service file 'glassfish.service'.
sudo systemctl daemon-reload
Now that you have reloaded the systemd manager, you can now start and enable the 'glassfish' service via the following systemctl command.
sudo systemctl start glassfish
sudo systemctl enable glassfish

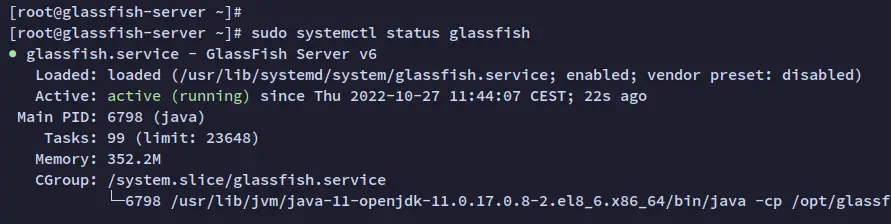
Once the 'glassfish' service is started, run the following systemctl command to verify the 'glassfish' service and make sure that the service is running.
sudo systemctl status glassfish
You should receive the output of the 'glassfish' service running as the following screenshot.
Now that the 'glassfish' Java Application is running, the next step will start configuring the GlassFish administration.
Configuring GlassFish Administration
The default GlassFish installation comes without an admin password. So now, you will be configuring the administration user and password for GlassFish and securing the GlassFish installation via the command line '/opt/glassfish6/bin/asadmin'.
Run the following command to start configuring the admin user and password for your GlassFish installation.
sudo -u glassfish /opt/glassfish6/bin/asadmin --port 4848 change-admin-password
You will now be prompted with some of GlassFish's administration.
- Input the user for GlassFish - the default user is 'admin'.
- The default GlassFish installation comes without a password, so press ENTER.
- Now input the new password for your GlassFish installation and repeat.
You should now have an output message such as 'Command change-admin-password executed successfully'.

After configured the GlassFish administration user, you will next start securing your GlassFish installation.
Run the following command to start securing the GlassFish.
sudo -u glassfish /opt/glassfish6/bin/asadmin --port 4848 enable-secure-admin
When prompted for the GlassFish admin user and password, input the details as you have configured before. When all is finished, you will see the output such as 'Command enable-secure-admin executed successfully'.

Next, run the following command to restart the 'glassfish' service and apply new changes.
sudo systemctl restart glassfish
At this point, the GlassFish is now running with a new administration user and password and is also secured. The default GlassFish Java Application Server is running on port '8080', and the GlassFish administration is running on port 4848.
Before accessing your GlassFish installation, run the following firewall-cmd command to open ports 8080 and 4848.
sudo firewall-cmd --add-port=8080/tcp --zone=public
sudo firewall-cmd --add-port=4848/tcp --zone=public
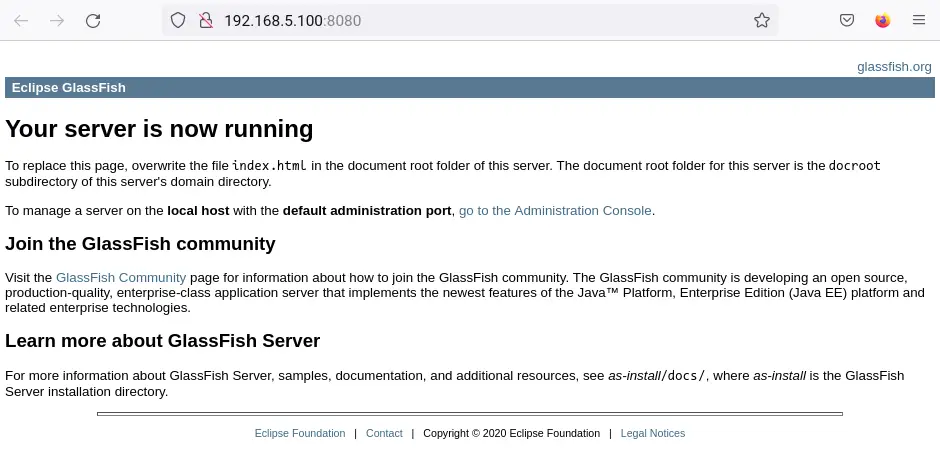
Lastly, open your web browser and visit the IP address followed by port 8080 (i.e: http://192.168.5.100:8080). You should now see the default index.html page of your GlassFish Java Application Server.
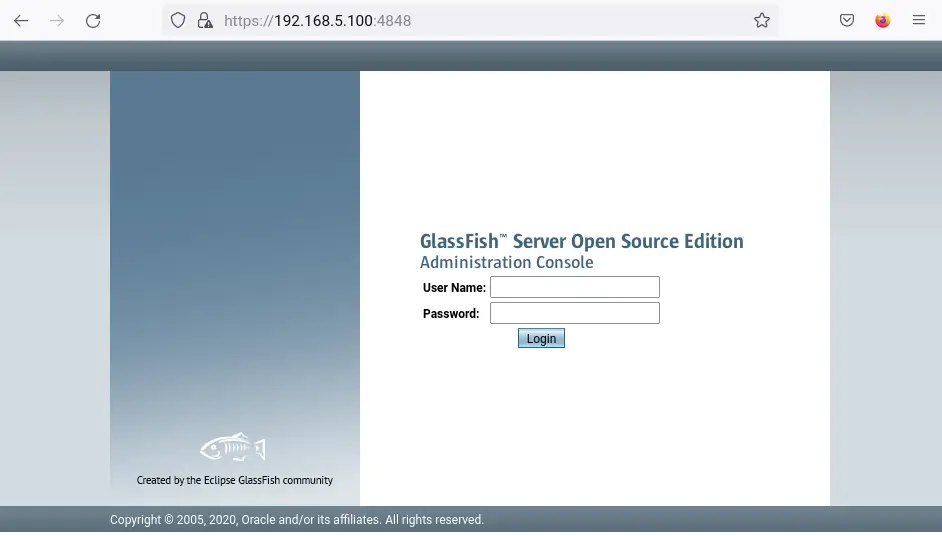
For the GlashFish administration, visit the server IP address with port 4848 (i.e: http://192.168.5.100:4848/). And you should see the GlassFish administration login page.
Setting up Nginx as Reverse Proxy
At this point, the GlassFish Java Application is running with administration enabled and secured. Now you will be installing Nginx and setting up it as a reverse proxy for GlassFish.
Using Nginx reverse proxy, you will run the GlassFish on the standard port HTTP or HTTPS (if enabled).
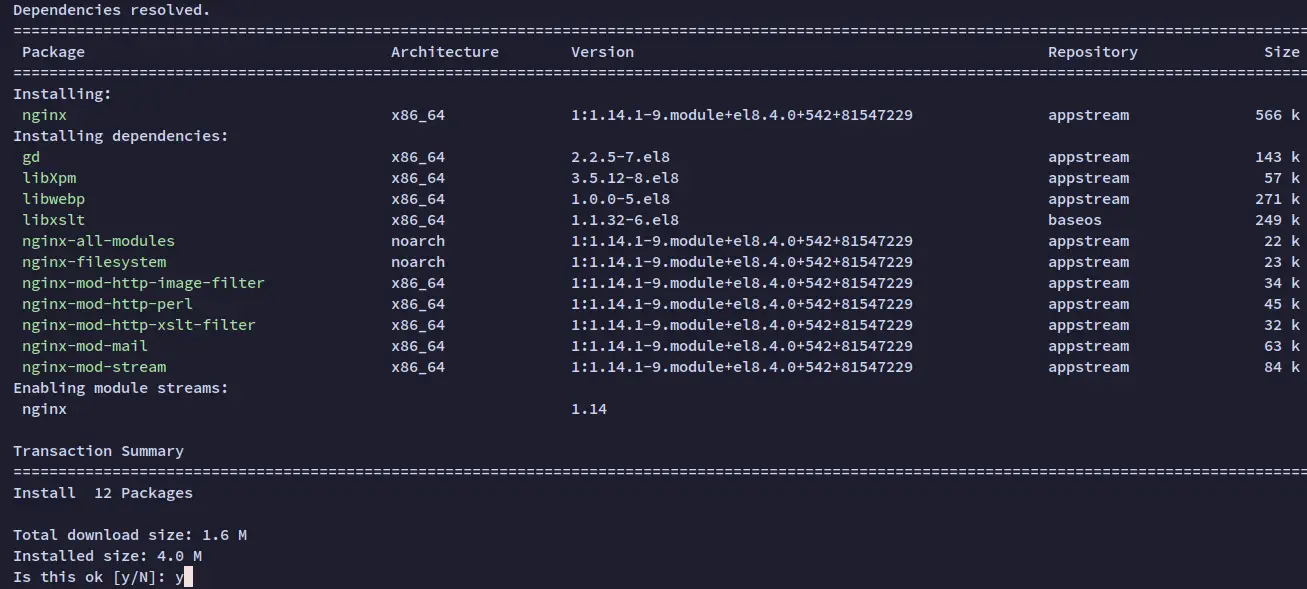
Run the following dnf command to install the Nginx web server. When prompted for the configuration, input Y and press ENTER to proceed.
sudo dnf install nginx
Next, create a new Nginx server blocks configuration '/etc/nginx/conf.d/glassfish.conf' using the following nano editor. This configuration will make Nginx to run as a reverse proxy for GlassFish.
sudo nano /etc/nginx/conf.d/glassfish.conf
Add the following configuration to the file and make sure to change the local domain name 'glassfish.hwdomain.io' with your domain.
upstream glassfish6 {
  server 127.0.0.1:8080 weight=100 max_fails=5 fail_timeout=5;
}

server {
  listen          80;
  server_name     glassfish.hwdomain.io;

  location / {
        proxy_set_header X-Forwarded-Host $host;
        proxy_set_header X-Forwarded-Server $host;
        proxy_set_header X-Forwarded-For $proxy_add_x_forwarded_for;
        proxy_pass http://glassfish6/;
  }
}
Save the file and close the editor when you are done.
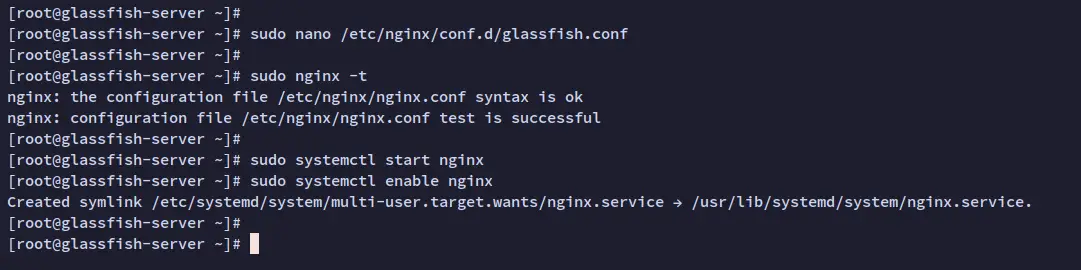
Next, run the following command to verify Nginx configurations. If you have the correct configuration, you should see the output message such as 'Syntax is OK - test is successful'.
sudo nginx -t
Now that you have created the Nginx server block for GlassFish, you will next run the following command to start and enable the Nginx service.
sudo systemctl start nginx
sudo systemctl enable nginx
The Nginx service should now be running and it's enabled and will be run automatically at system boot.
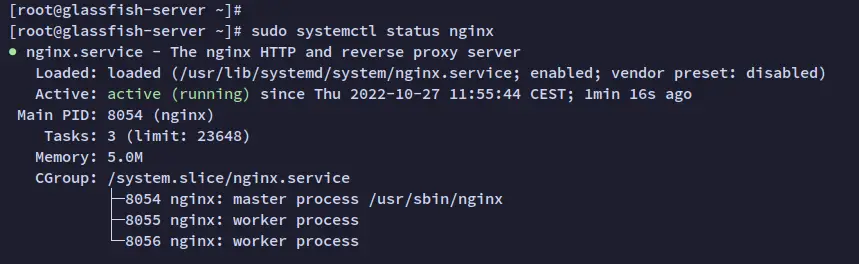
Lastly, verify the Nginx service using the following to make sure that the service is running.
sudo systemctl status nginx
You will see the output like the following - You can see the Nginx service is running.
Setting up Firewalld
The default firewalld on the Rocky Linux is running. To make the GlassFish accessible, you will need to open the HTTP port and the GlassFish administration port 4848.
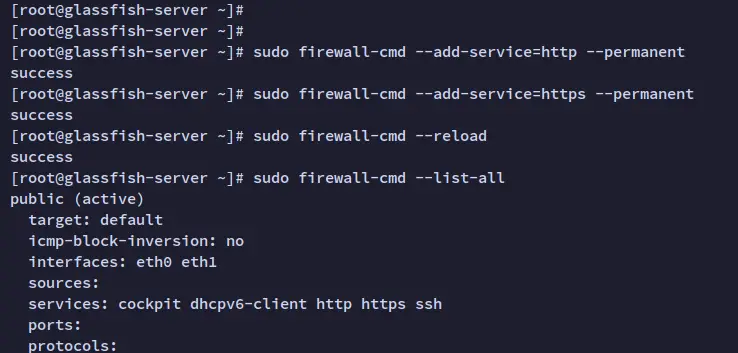
Run the following firewall-cmd command below to add the HTTP and HTTPS services and the default port 4848 for the GlassFish administration.
sudo firewall-cmd --add-service=http --permanent
sudo firewall-cmd --add-service=https --permanent
sudo firewall-cmd --add-port=4848/tcp --permanent
Now reload the firewalld rules and verify the list of enabled rules via the following command.
sudo firewall-cmd --reload
sudo firewall-cmd --list-all
You should receive the following output - The HTTP and HTTPS services are added to the firewalld and the GlassFish administration port 4848/tcp is also added.
Accessing GlassFish
On your local computer, edit the file '/etc/hosts' using the following nano editor.
sudo nano /etc/hosts
Add the following configuration to the file and make sure to change the server IP address and the local domain name for your GlassFIsh installation.
192.168.5.100 glassfish.hwdomain.io
Save the file and exit the editor when you are done.
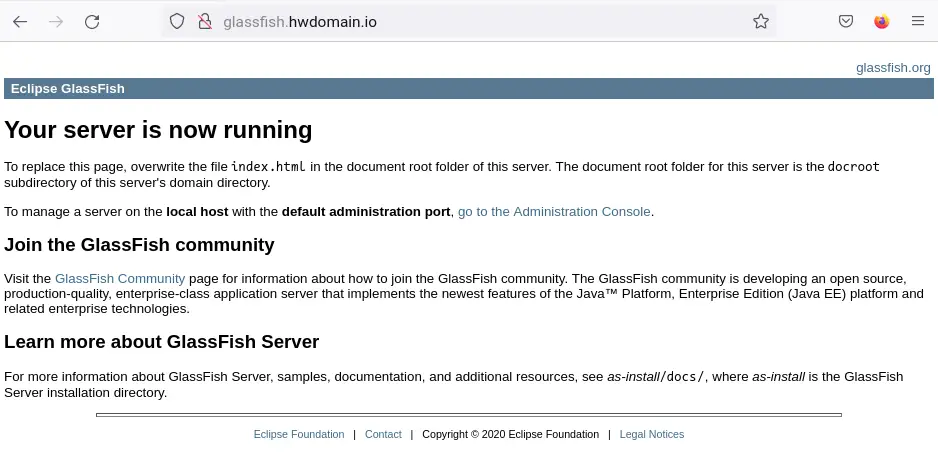
Next, open your web browser and visit the domain name of your GlassFish installation (i.e: http://glassfish.hwdomain.io/). You should now get the default index.html page of the GlassFish.
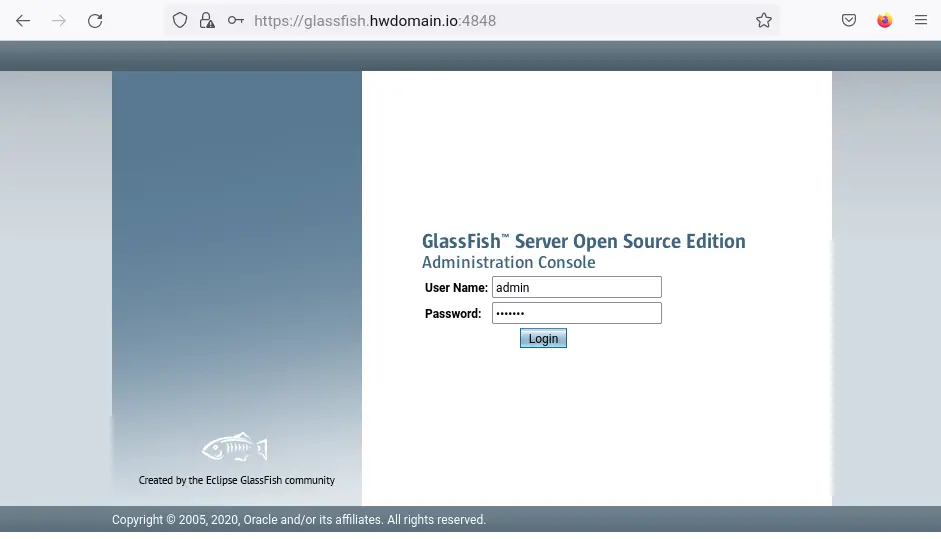
Now open a new tab and visit your domain name followed by the administration port 4848 (i.e: https://glassfish.hwdomain.io:4848/). You should now get the administration login page of your GlassFish.
Input the admin user and password that you have configured and click Login.
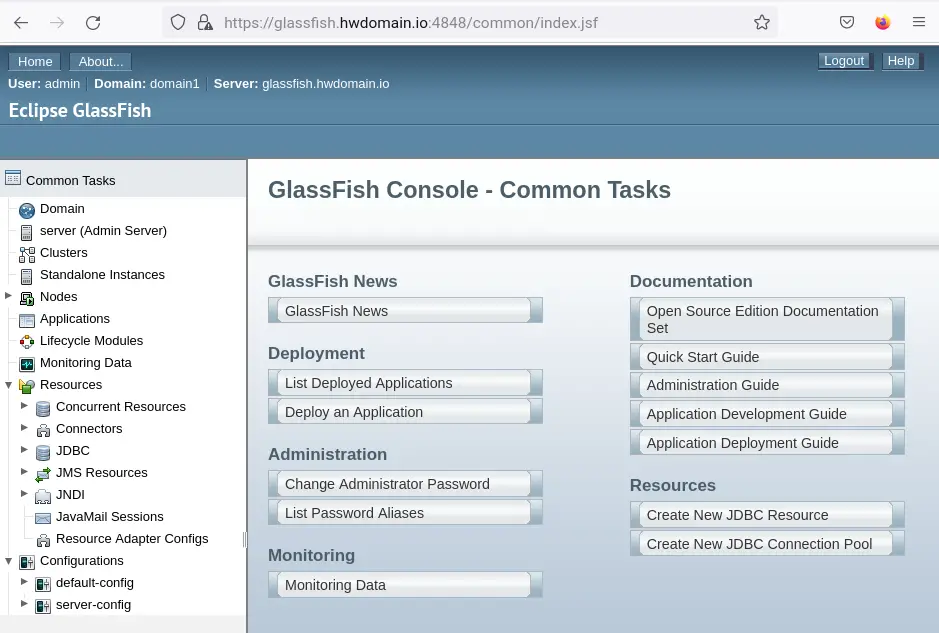
If the admin user and password is correct, you should see the GlassFish administration dashboard as the following.
Conclusion
In this guide, you have installed GlassFish Java Application Server on a Rocky Linux server. You also have installed Java OpenJDK 11 and added a new service file to the Linux system. Lastly, you have also learned the installation and configuration of the Nginx web server as a reverse proxy for the GlassFish Java Application Server.
For the next step, you can now start deploying other applications or start configuring the High Availability of GLassFish.

