

Introduction
In this article, we are going to learn how to perform two-factor authentication in an ASP.NET Core application using the Google Authenticator app.
To use it, you need to configure the Google Authenticator app on your smartphone using the QR code generated in the web app. When you login to the web application, you have to enter a six-digit pin that will be generated in the app to finish the two-factor authentication. The key generated in the app will be unique to your userID, and is a time-based one-time password (TOTP) — that is, it will expire after a certain time.
Prerequisites
- Install .NET Core 2.0.0 or above SDK from here.
- Install the latest version of Visual Studio 2017 Community Edition from here.
Source Code
Before proceeding, I would recommend that you get the source code from GitHub
Create the MVC Web Application
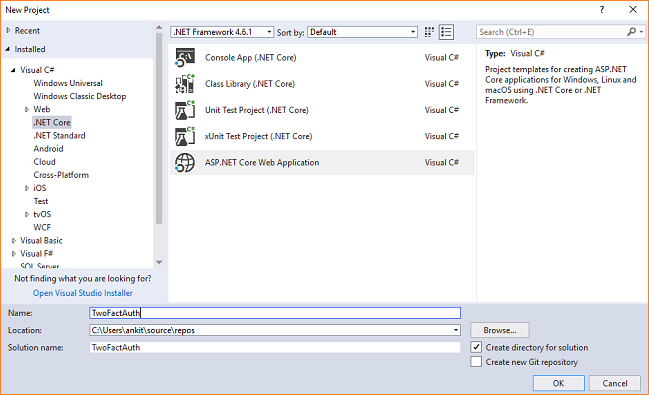
Open Visual Studio and select File >> New >> Project. After selecting the project, a “New Project” dialog will open. Select .NET Core inside the Visual C# menu from the left panel. Then, select “ASP.NET Core Web Application” from the available project types. Name the project “TwoFactAuth” and press OK.
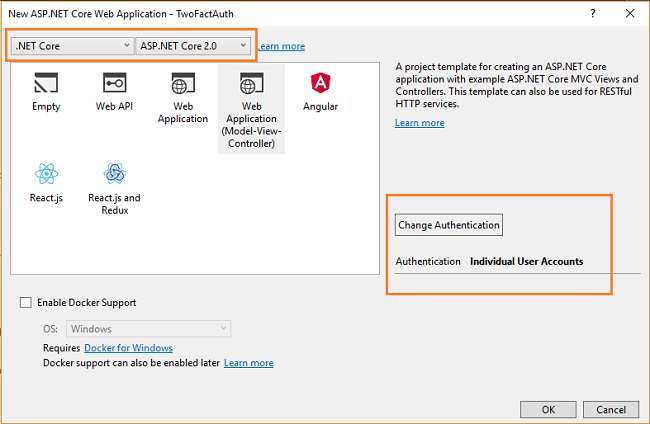
After clicking OK, a new dialog will open asking you to select the project template. You can see two drop-down menus at the top left of the template window. Select “.NET Core” and “ASP.NET Core 2.0” from these drop-downs. Then, select the “Web application (Model-View-Controller)” template. Click on “Change Authentication” button. A “Change Authentication” dialog box will open. Select “Individual User Account” and click OK. Now, click OK again to create your web app.
Adding QR Codes to configure two-factor authentication
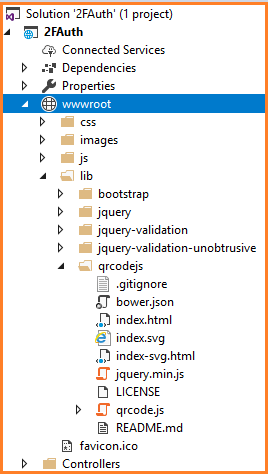
We will be using a QR code to configure and sync the Google authenticator app with our web app. Download the qrcode.js JavaScript library from https://davidshimjs.github.io/qrcodejs/ and put it into the “wwwroot\lib” folder in your application. Now, your “wwwroot” folder will have the following structure.
Open the “Views\Manage\EnableAuthenticator.cshtml” file. You will find @section Scripts at the end of the file. Put the following code in it.
@section Scripts { @await Html.PartialAsync("_ValidationScriptsPartial") <script src="~/lib/qrcodejs/qrcode.js"></script> <script type="text/javascript"> new QRCode(document.getElementById("qrCode"), { text: "@Html.Raw(Model.AuthenticatorUri)", width: 200, height: 200 }); </script> }This “EnableAuthenticator.cshtml” file already has a div with the id “qrCode” (see the code snippet below). We are generating a QR code inside that div using the qrcode.js library. We are also defining the dimensions of the QR code in terms of width and height.
So finally, your “EnableAuthenticator.cshtml” file will look like this.
@model EnableAuthenticatorViewModel @{ ViewData["Title"] = "Enable authenticator"; ViewData.AddActivePage(ManageNavPages.TwoFactorAuthentication); } <h4>@ViewData["Title"]</h4> <div> <p>To use an authenticator app go through the following steps:</p> <ol class="list"> <li> <p> Download a two-factor authenticator app like Microsoft Authenticator for <a href="https://go.microsoft.com/fwlink/?Linkid=825071">Windows Phone</a>, <a href="https://go.microsoft.com/fwlink/?Linkid=825072">Android</a> and <a href="https://go.microsoft.com/fwlink/?Linkid=825073">iOS</a> or Google Authenticator for <a href="https://play.google.com/store/apps/details?id=com.google.android.apps.authenticator2&hl=en">Android</a> and <a href="https://itunes.apple.com/us/app/google-authenticator/id388497605?mt=8">iOS</a>. </p> </li> <li> <p>Scan the QR Code or enter this key <kbd>@Model.SharedKey</kbd> into your two factor authenticator app. Spaces and casing do not matter.</p> <div class="alert alert-info">To enable QR code generation please read our <a href="https://go.microsoft.com/fwlink/?Linkid=852423">documentation</a>.</div> <div id="qrCode"></div> <div id="qrCodeData" data-url="@Model.AuthenticatorUri"></div> </li> <li> <p> Once you have scanned the QR code or input the key above, your two factor authentication app will provide you with a unique code. Enter the code in the confirmation box below. </p> <div class="row"> <div class="col-md-6"> <form method="post"> <div class="form-group"> <label asp-for="Code" class="control-label">Verification Code</label> <input asp-for="Code" class="form-control" autocomplete="off" /> <span asp-validation-for="Code" class="text-danger"></span> </div> <button type="submit" class="btn btn-default">Verify</button> <div asp-validation-summary="ModelOnly" class="text-danger"></div> </form> </div> </div> </li> </ol> </div> @section Scripts { @await Html.PartialAsync("_ValidationScriptsPartial") <script src="~/lib/qrcodejs/qrcode.js"></script> <script type="text/javascript"> new QRCode(document.getElementById("qrCode"), { text: "@Html.Raw(Model.AuthenticatorUri)", width: 200, height: 200 }); </script> }When we execute the program, a QR code will be generated in this View. Then you can set up two factor authentication using the Google authenticator with the help of this QR code.
Configure two-factor authentication
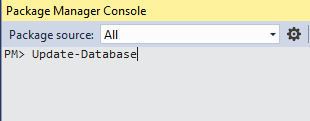
Before running the application, we need to apply migrations to our app. Navigate to Tools >> NuGet Package Manager >> Package Manager Console. It will open the Package Manager Console. Put in the “Update-Database” command and hit Enter. This will update the database using Entity Framework Code First Migrations.
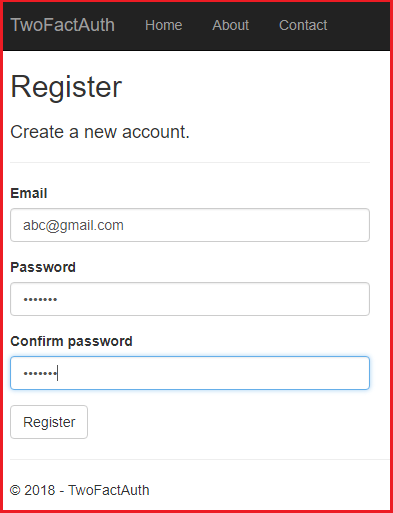
Press F5 to launch the application and click on “Register” in the top right corner of the homepage. You can see a user registration page. Fill in the details and click on the “Register” button as shown in the image below.
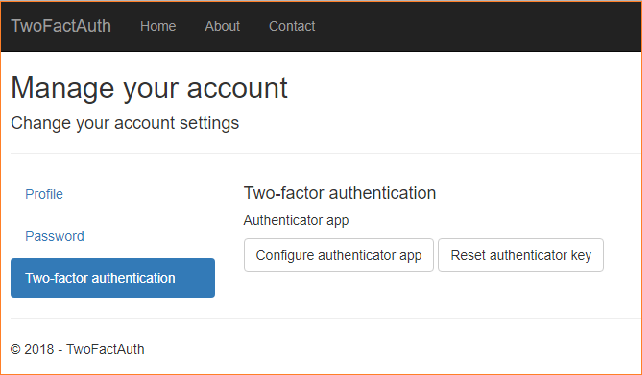
Upon successful registration, you will be logged into the application and navigated to the home page. Here, you can see your registered Email id at the top right corner of the page. Click on it to navigate to the “Manage your account” page. Select “TwoFactorAuthentication” from the left menu. You will see a page similar to that shown below.
Click on the “Configure authenticator app” button. You can see a QR code generated on your screen — it is asking for a “Verification Code”, also as shown in the image below.
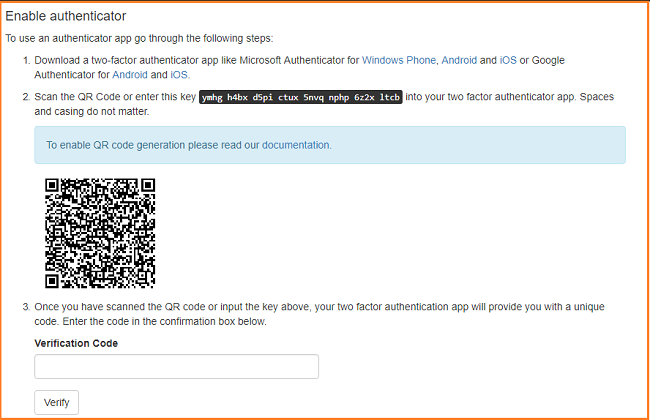
You need to install the Google Authenticator app on your smartphone. It will allow you to scan this QR code in order to generate a Verification Code and complete two-factor authentication setup.
Download and install Google authenticator from the Play Store for Android and from the App Store for iOS. We are using an Android device for this demo.
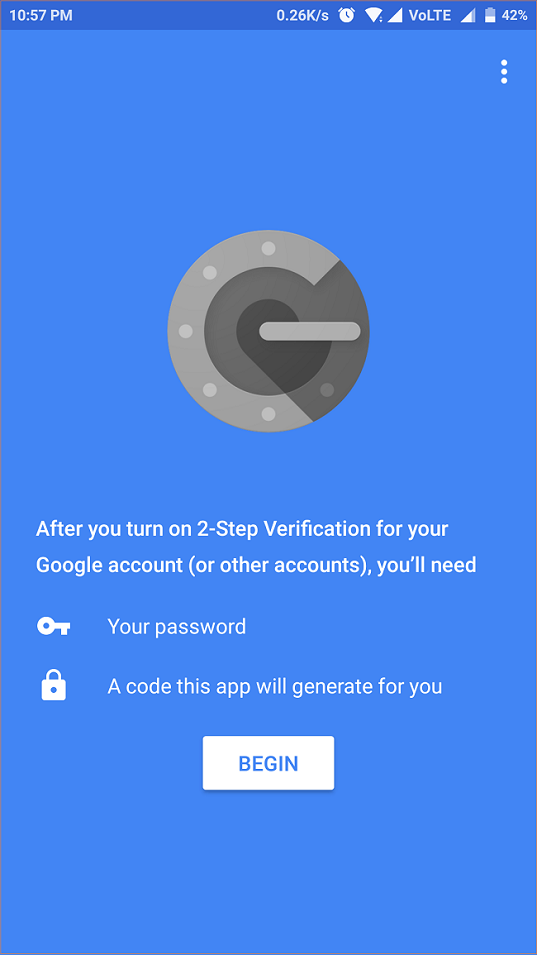
Launch the app on your smartphone. You can see the welcome screen as shown in the image below.
Click on “Begin”. It will ask you to add an account by providing two options:
- Scan a barcode
- Enter a provided key

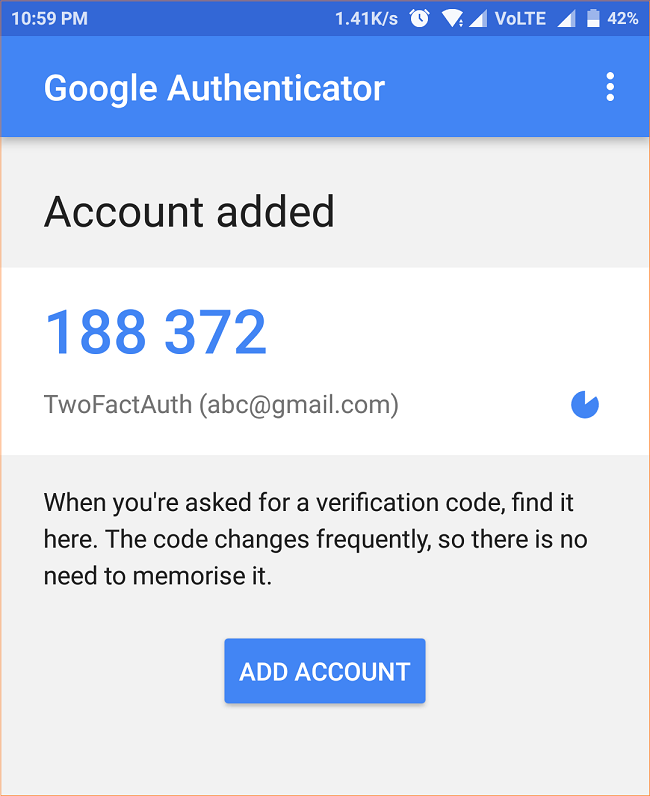
Click on “Scan a barcode” and scan the QR code generated by the web app. This will add a new account to Google authenticator and generate a six-digit pin on your mobile screen. This is our two-factor authentication code. This is a TOTP ( time-based one-time password). You can observe that it keeps on changing frequently (life span of 30 seconds).
Now you can see the application name as well as your registered email id in the app, as shown below.
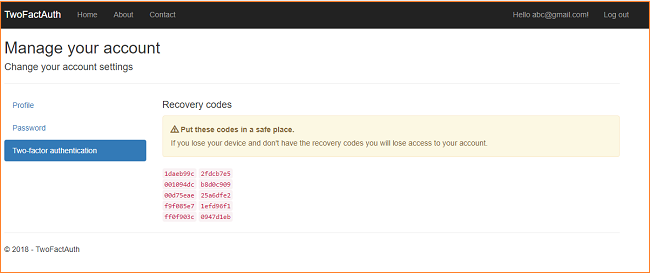
Put this pin in the Verification Code textbox and click on verify. Upon successful verification, you will see a screen similar to the one shown below. This will give you the recovery codes for your account that will help to recover your account in case you are locked out. Take a note of these codes and keep them somewhere safe.
And thus, the two-factor authentication setup is complete. Let’s check if our two-factor authentication is working correctly or not.
Execution Demo
Logout of the application and click on login again. Enter your registered email id and password and click on login.
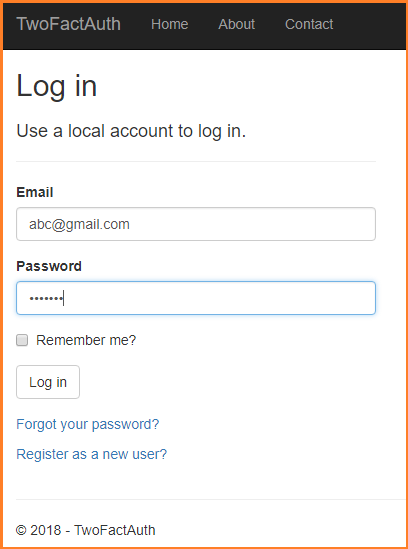
Now you can see a the two-factor authentication screen asking for the Authenticator code. Put in the code that is generated in your Google Authenticator app and click on Login. You will be successfully logged into the application and navigated to the home page.

If you check the “Remember this machine” option, then it will not ask for the Authenticator code on the same machine again. You can skip the two-factor authentication in this case.
Conclusion
We have successfully generated a QR code using the qrcode.js JavaScript library and used it to configure the Google Authenticator app. This app will generate a six-digit TOTP which you need to enter when logging in to the web application. This implements two-factor authentication in a ASP.NET Core application.
You can also find this article at C# Corner.
You can check out my other articles on ASP .NET Core here.
See Also
- Cookie Authentication With ASP.NET Core 2.0
- Authentication Using Facebook In ASP.NET Core 2.0
- Authentication Using Google In ASP.NET Core 2.0
- Authentication Using Twitter In ASP.NET Core 2.0
- Authentication Using LinkedIn In ASP.NET Core 2.0
Originally published at https://ankitsharmablogs.com/