How to Install LEMP Stack (Linux, Nginx, PHP and MariaDB) on Ubuntu 24.04
This tutorial exists for these OS versions
- Ubuntu 24.04 (Noble Numbat)
- Ubuntu 22.04 (Jammy Jellyfish)
- Ubuntu 20.04 (Focal Fossa)
- Ubuntu 20.04 (Focal Fossa)
- Ubuntu 18.04 (Bionic Beaver)
- Ubuntu 16.04 (Xenial Xerus)
On this page
The LEMP Stack (Linux, Nginx, MySQL/MariaDB, and PHP) is a group of free and open-source software applications for hosting and developing PHP web applications. The LEMP Stack can be used to deploy both static and dynamic web applications.
This guide will show you how to install LEMP Stack (Linux, Nginx, MySQL/MariaDB, and PHP) on Ubuntu 24.04 "Noble Numbat". We'll also show how to secure the MariaDB server and create an Nginx server block configuration to host websites or domain names.
Prerequisites
Before you begin, ensure you have the Ubuntu 24.04 "Noble Numbat" with the root user or non-root as sudo/administrator privileges. Also, ensure the UFW (Uncomplicated Firewall) is running and enabled.
Installing Nginx web server
Nginx or engine-x is the most popular web server on the internet. it became popular because Nginx can handle high traffic simultaneously with minimum system resources. In this first step, you will be installing the Nginx web server on the Ubuntu server.
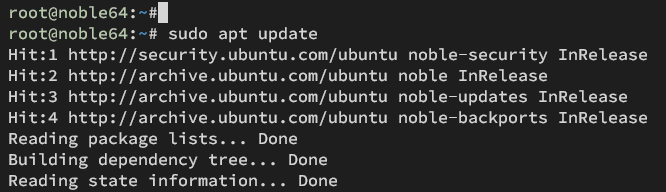
Before installing packages, update and refresh your Ubuntu package list with the following command.
sudo apt update
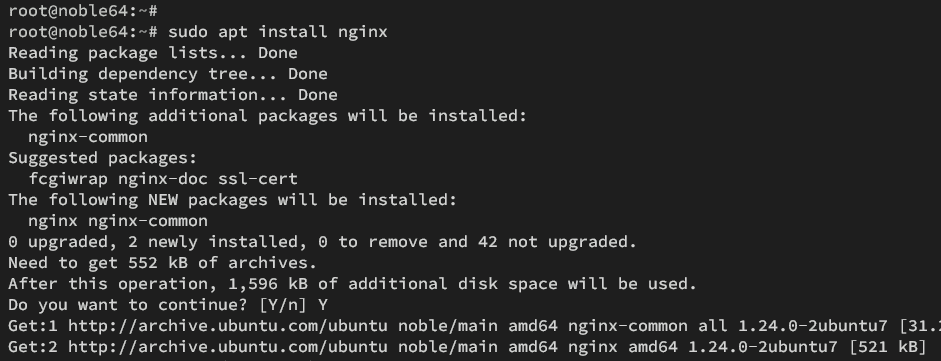
Install the Nginx web server to your Ubuntu machine with the command below. Input Y to confirm the installation when prompted.
sudo apt install nginx
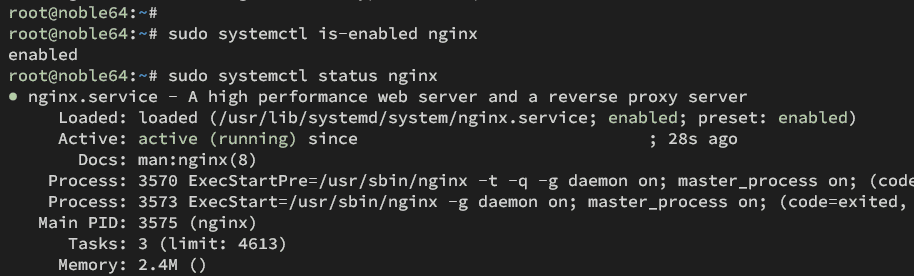
Once the installation is complete, the Nginx service should be running and enabled on your system. Verify the Nginx service with the command below.
sudo systemctl is-enabled nginx
sudo systemctl status nginx
You should see the Nginx service is 'enabled' and the current status is 'active (running)'.
Before accessing Nginx, you need to open both HTTP and HTTPS ports on your Ubuntu server via UFW (Uncomplicated Firewall).
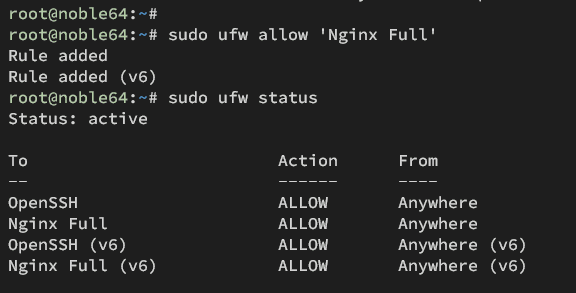
Execute the following 'ufw' command to enable the 'Nginx Full' profile, which will allow HTTP and HTTPS access to your Ubuntu server.
sudo ufw allow 'Nginx Full'
Now verify UFW rules with the following command. Make sure the 'Nginx Full' profile is enabled with the status 'ALLOW'.
sudo ufw status
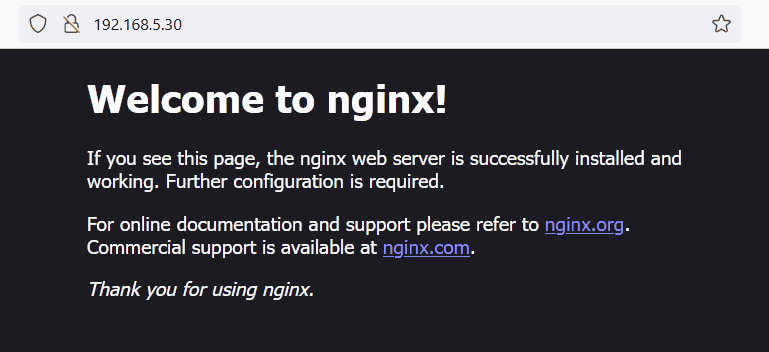
Lastly, visit http://192.168.5.30/ from your preferred web browser to access your Nginx installation. If successful, you should get the default 'index.html' page like the following:
Installing the MariaDB server
After installing Nginx, you will install the MariaDB server on Ubuntu. In this example, you will install MariaDB via the Ubuntu repository, then secure the MariaDB installation via the 'mariadb-secure-installation' utility.
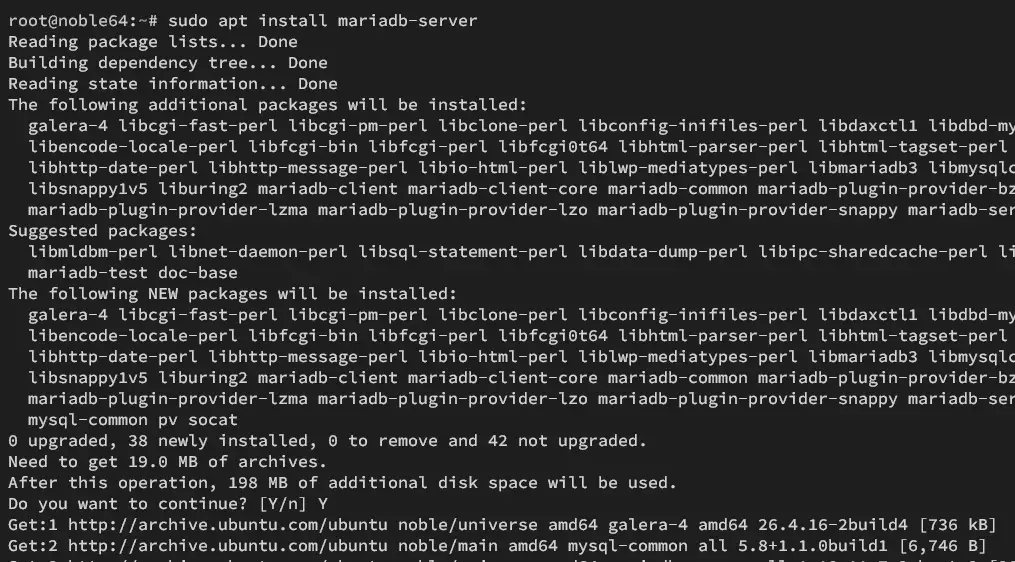
To install the MariaDB server on Ubuntu, execute the following 'apt install' command. Input Y and press ENTER to proceed with the process.
sudo apt install mariadb-server
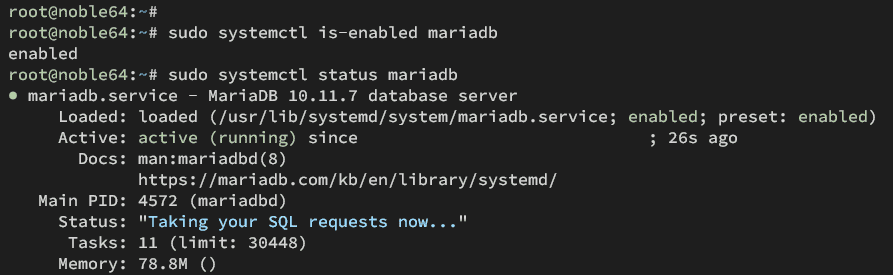
Once the installation is finished, verify the MariaDB service with the command below. This will show you the status of the MariaDB service.
sudo systemctl is-enabled mariadb
sudo systemctl status mariadb
The MariaDB service is 'enabled' with the current status 'active (running)'.
Once you've installed the MariaDB server, you must secure it via 'mariadb-secure-installation'. This allows you to set up the MariaDB root password, disable remote authentication for the root user, and also remove unnecessary databases and privileges from your MariaDB server installation.
Run the 'mariadb-secure-installation' command below to secure the MariaDB server.
sudo mariadb-secure-installation
Now you will be asked about the following MariaDB server configurations:
Press ENTER when prompted for the MariaDB root password.
Enter current password for root (enter for none):
OK, successfully used password, moving on...
Type 'n' when asked to switch to the unix_socket authentication.
Switch to unix_socket authentication [Y/n] n
 ... skipping.
Type Y to configure the MariaDB root password. Then, input your new password and repeat.
Change the root password? [Y/n] Y
New password:
Re-enter new password:
Password updated successfully!
Reloading privilege tables..
 ... Success!
Type Y to remove the default anonymous user from your MariaDB server installation.
Remove anonymous users? [Y/n] Y
 ... Success!
Type Y to disable remote login for the MariaDB root user. The root user should always connect from localhost.
Disallow root login remotely? [Y/n] Y
 ... Success!
Now type Y again to remove the default database test and its privileges from your MariaDB server.
Remove test database and access to it? [Y/n] Y
 - Dropping test database...
 ... Success!
 - Removing privileges on test database...
 ... Success!
Type Y to reload the privilege tables and apply all changes that you have made so far.
Reload privilege tables now? [Y/n] Y
 ... Success!
When complete, you will see the following message:
All done! If you've completed all of the above steps, your MariaDB
installation should now be secure.

Thanks for using MariaDB!
Installing PHP-FPM
PHP-FPM (FastCGI Process Manager) is an alternative to FastCGI implementation for PHP. It is mostly used for high-traffic sites with Nginx as the web server. In this section, you'll be installing PHP-FPM with some additional extensions, such as mysqli for MySQL/MariaDB driver, opcache, and APCu for caching.
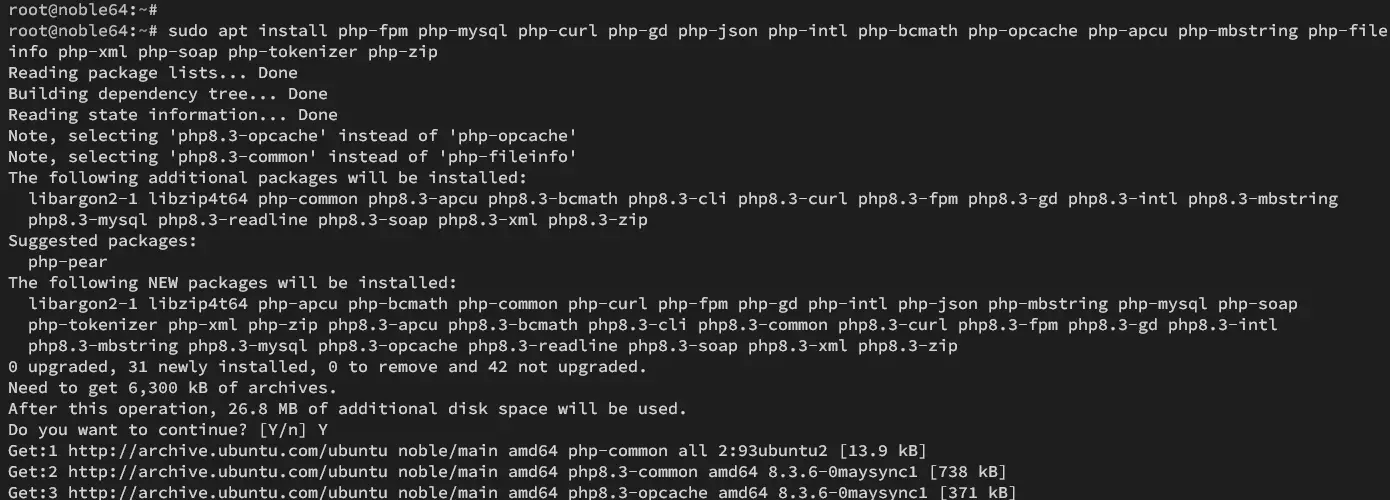
Install PHP-FPM to your Ubuntu server with the following command. When prompted, input Y and press ENTER to proceed.
sudo apt install php-fpm php-mysql php-curl php-gd php-json php-intl php-bcmath php-opcache php-apcu php-mbstring php-fileinfo php-xml php-soap php-tokenizer php-zip
After the installation is finished, the PHP-FPM service should be up and running. Check the PHP-FPM service status with the following command.
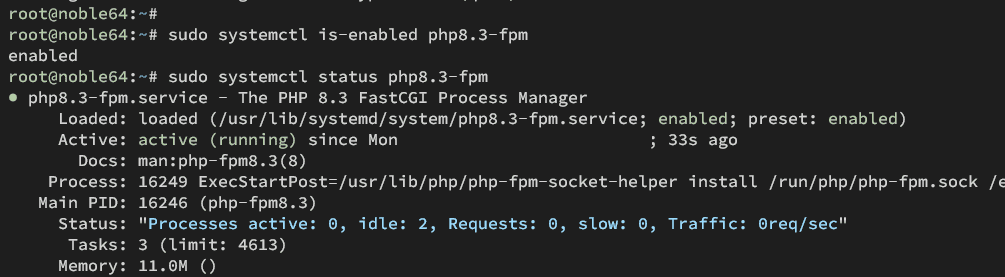
sudo systemctl is-enabled php8.3-fpm
sudo systemctl status php8.3-fpm
As you can see below, the PHP-FPM is 'active (running)' and 'enabled' at system boot:
On Ubuntu, the default PHP-FPM is running under the sock file. Knowing the path of the PHP-FPM sock file is important, which will be used for integration with the Nginx web server.
Check the location path of the PHP-FPM sock file with the following command.
ss -pl | grep php
In the following output, you can see the PHP-FPM sock file is located at '/run/php/php8.3-fpm.sock'.

Integrating Nginx with PHP-FPM
So you've installed PHP-FPM, it's time to integrate it with the Nginx web server. To do so, you must know exactly the path of the PHP-FPM sock file, and then modify the default Nginx server block file.
Open the server block configuration '/etc/nginx/sites-available/default' using the following nano editor command.
sudo nano /etc/nginx/sites-available/default
Uncomment the following lines and make sure to change the path of the PHP-FPM sock file with the new location.
 # pass PHP scripts to FastCGI server
 #
 location ~ \.php$ {
     include snippets/fastcgi-php.conf;

     # # With php-fpm (or other unix sockets):
     fastcgi_pass unix:/run/php/php8.3-fpm.sock;

     # # With php-cgi (or other tcp sockets):
     # fastcgi_pass 127.0.0.1:9000;
 }
Save the file and exit the editor.
Now run the 'nginx' command below to verify your Nginx syntax. You must run this command after making changes to the Nginx configuration.
sudo nginx -t
If you have proper Nginx syntax, you should get a confirmation like the following:
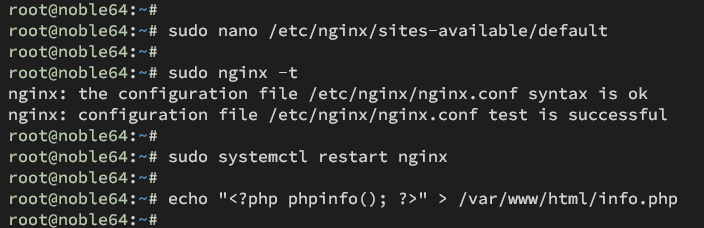
Next, run the command below to restart the Nginx service and apply your integration between Nginx and PHP-FPM.
sudo systemctl restart nginx
With the Nginx restarted, you can verify your integration via the PHPINFO file. Run the command below to create the PHPINFO file 'info.php' to the default web-root directory '/var/www/html/'.
echo "<?php phpinfo(); ?>" > /var/www/html/info.php
Lastly, back to your web browser and visit http://192.168.5.30/info.php. If your integration of Nginx and PHP-FPM is successful, you should get the following:
You can see below that PHP 8.3 is running with the server API PHP-FPM under the Nginx web server.

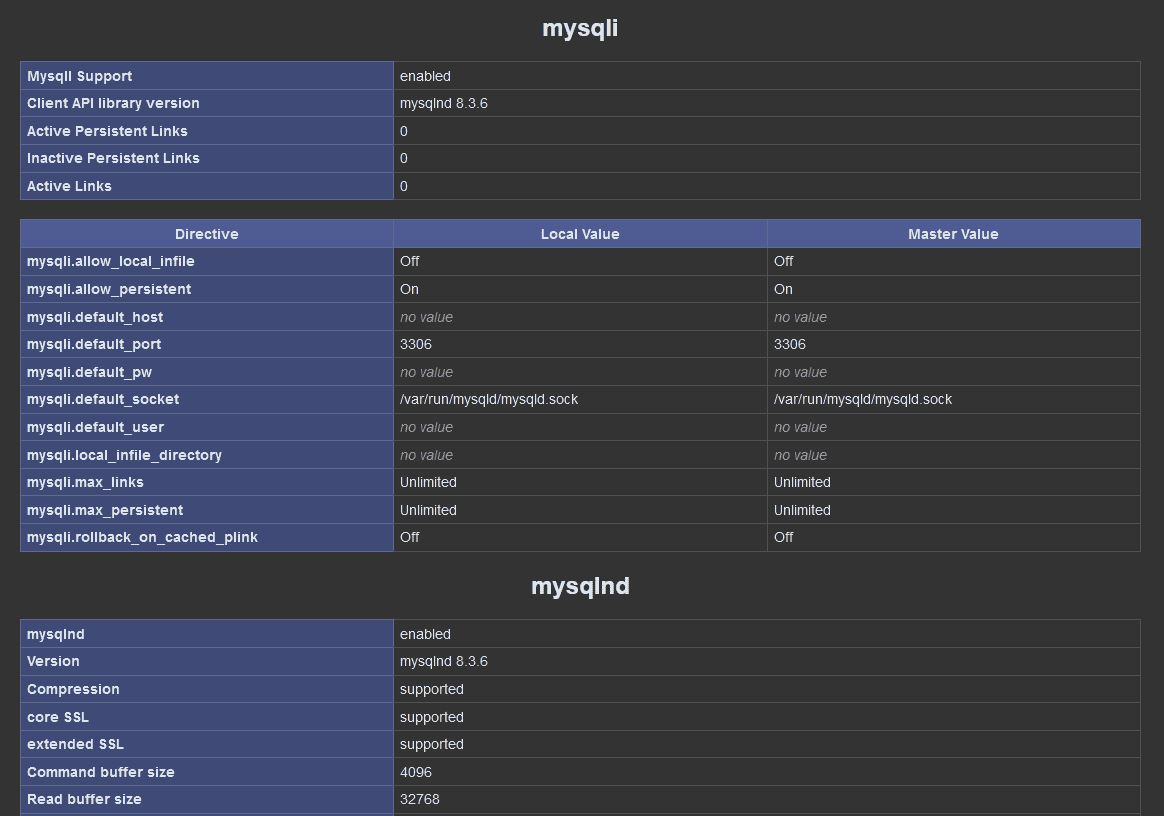
Scroll down to the page and you will see the PHP mysqli/mysqlnd extension also installed.
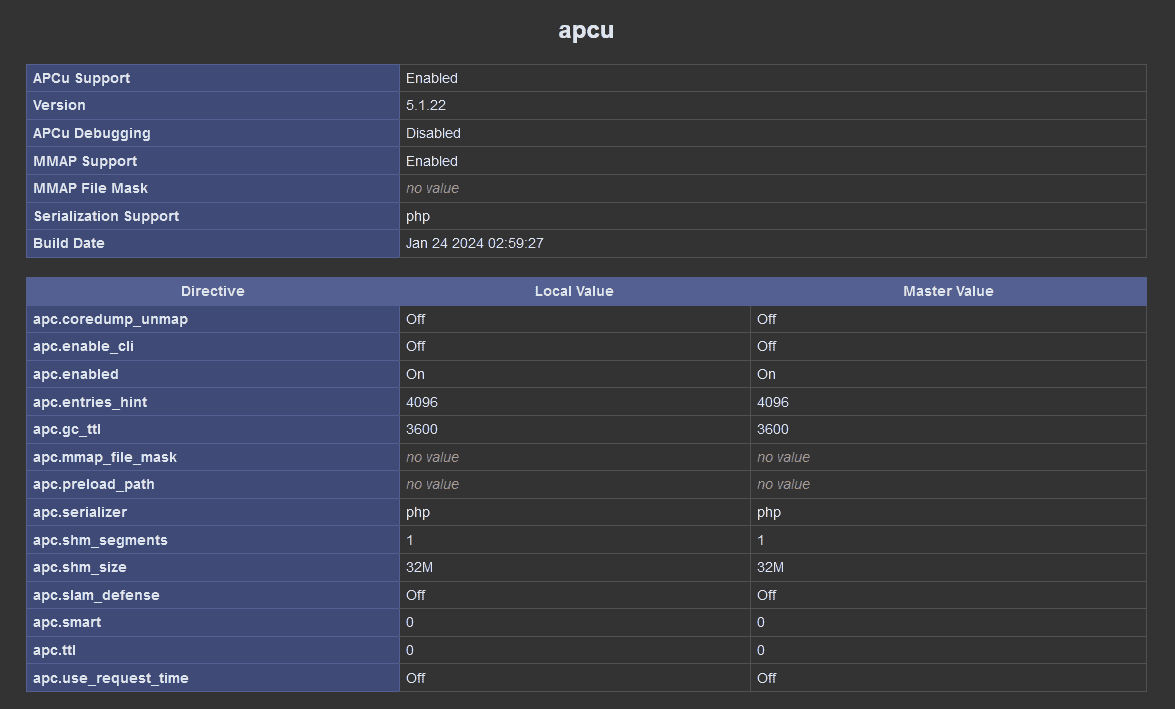
Lastly, you will also see the caching via APC enabled on your PHP installation.
Creating Nginx server block (virtual host)
A server block is just another name for a 'virtual host' for a Nginx web server. It is used to host multiple websites or domain names on a single server. In this section, you'll learn how to create a Nginx server block.
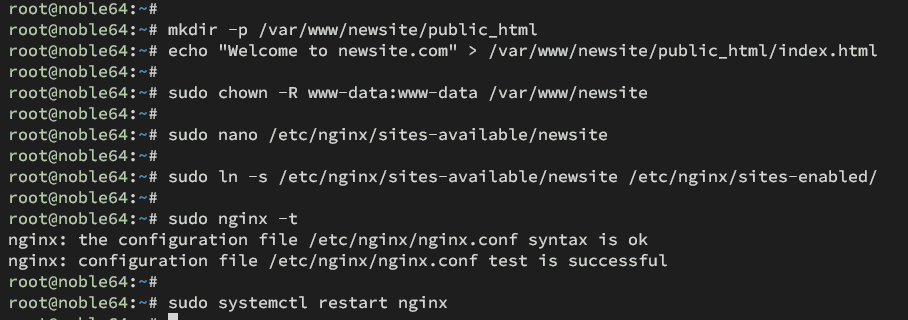
Before creating the server block configuration, run the command below to create a new web-root directory '/var/www/newsite/public_html' and a custom 'index.html' page.
mkdir -p /var/www/newsite/public_html
echo "Welcome to newsite.com" > /var/www/newsite/public_html/index.html
Now run the command below to change the ownership of the '/var/www/newsite' directory to user 'www-data'. On the Ubuntu system, the Nginx web server is running as a 'www-data' user.
sudo chown -R www-data:www-data /var/www/newsite
Next, run the following nano editor command to create a new server block configuration '/etc/nginx/sites-available/newsite'.
sudo nano /etc/nginx/sites-available/newsite
Insert the configuration below, make sure to change the server_name option with your domain name, and the web-root directory to the new path such as '/var/www/newsite/public_html'.
server {
   listen 80;
   server_name newsite.com;

   root /var/www/newsite/public_html;
   index index.html;

   location ~ \.php$ {
     include snippets/fastcgi-php.conf;
     fastcgi_pass unix:/run/php/php8.3-fpm.sock;
   }

   location / {
     try_files $uri $uri/ =404;
   }
}
When finished, save and exit the file.
Now run the command below to activate the server block configuration 'newsite'. With this command, you'll create a new symbolic link of the '/etc/nginx/sites-available/newsite' file to the '/etc/nginx/sites-enabled/' directory.
sudo ln -s /etc/nginx/sites-available/newsite /etc/nginx/sites-enabled/
After the server block is activated, run the 'nginx' command below to check your Nginx syntax.
sudo nginx -t
If no error, you should get the output '... syntax is ok / ... test is successful'.
Lastly, run the command below to restart the Nginx web server and apply your new server block configuration. With this, your server block configuration should be accessible from your local machine.
sudo systemctl restart nginx
Testing your server block configuration
To ensure your Nginx server block configuration is successful, you will access the domain name of your server block configuration from your local computer. If you're using the public domain name, visit the domain name directly. But for the local domain users, edit the 'hosts' file on your local computer.
- For Linux and MacOS users, edit the '/etc/hosts' file as root/administrative privileges.
- For Windows users, edit the file 'C:\Windows\System32\drivers\etc\hosts' as administrator.
Add your server IP address and domain name like the following:
192.168.5.30 newsite.com
Save the file and exit.
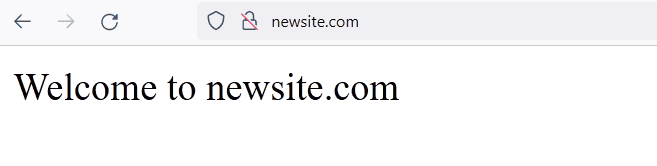
Now open your web browser and visit http://newsite.com/. if your Nginx server block configuration is successful, you should get the custom 'index.html' page that you have created like the following:
Conclusion
Congratulations! You have now installed LEMP Stack (Linux, Nginx, MySQL/MariaDB, and PHP) on Ubuntu 24.04 "Noble Numbat". You also secured the MariaDB server installation and created a Nginx server block to host multiple websites.

