How to Install KVM Libvirt Virtualization on OpenSUSE
KVM or Kernel-based Virtual Machine is an open-source virtualization technology that turns your Linux server into a hypervisor. In a hypervisor, you can create an isolated virtual environment and build multiple virtual machines. All machines running under the KVM are called Guest machines. The KVM is part of Linux, it's been implemented in the Linux kernel since kernel v2.6.
KVM is one of the most updated virtualization solutions with a strong reputation among administrators. it provides high performance with high efficiency to run multiple machines on the single server hypervisor. Also, KVM can be running on any Linux distribution.
In this tutorial, you'll learn how to install and configure KVM Virtualization on the OpenSUSE Tumbleweed. You will also learn how to create a Virtual Machine using the virt-manager GUI application.
Prerequisites
- An OpenSUSE system. In this example we are using the rolling releas OpenSUSE Tumbleweed.
- A non-root user with sudo privileges.
- A Computer or Bare-metal with virtualization supports.
Checking Virtualization Supports
Before start installing KVM Virtualization, you need to check that your machine is supported for the Virtualization.
On Intel CPU, the virtualization is named VT-x, and on AMD CPU is named AMD-V.
Run the below command to check the virtualization support on your machine. Be sure to run as a root user or use the sudo at the beginning.
sudo lscpu
On the Vitualizatualization features, you will see the output "Virtualization: VT-x". This means the Intel CPU is supported for the Virtualization.

Installing Yast2-vm Package
On the openSUSE, you can easily be setting up KVM Virtualization using the yast2 module named "yast2-vm".
The yast2-vm module allows you to install all necessary tools for creating virtual machines. Supports different types of virtualizations, KVM and Xen.
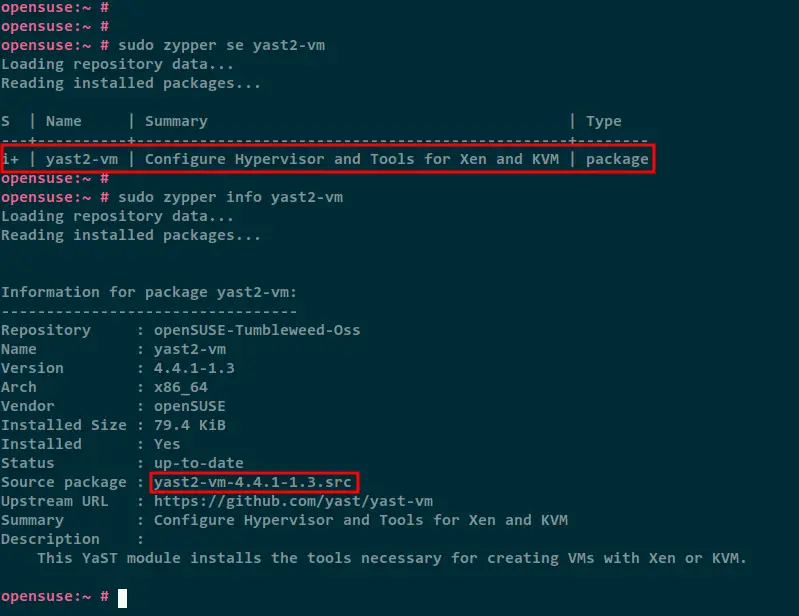
Run the zypper command below to check the yast2-vm package.
sudo zypper se yast2-vm
sudo zypper info yast2-vm
Below you can see the yast2-vm package is available on the OpenSUSE-Tumbleweed-Oss repository.
Now install the yast2-vm module using the zypper command below.
sudo zypper in yast2-vm
Input y to confirm the installation and wait until all installation is completed.
Setting Up KVM Virtualization with Yast2-vm
After you have installed the yast2-vm module, you will now start installing and configuring the KVM virtualization on the openSUSE.
Run the yast2 command below to start the yast2 tool in terminal mode.
sudo yast2
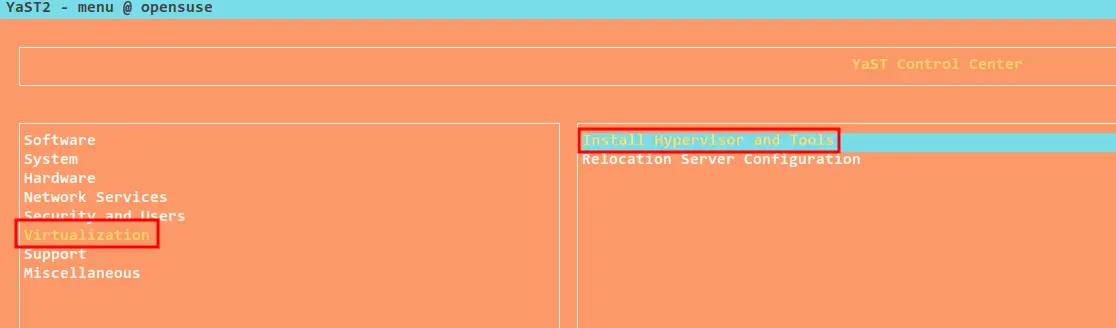
Select the menu Virtualization, then select Install Hypervisor and Tools.
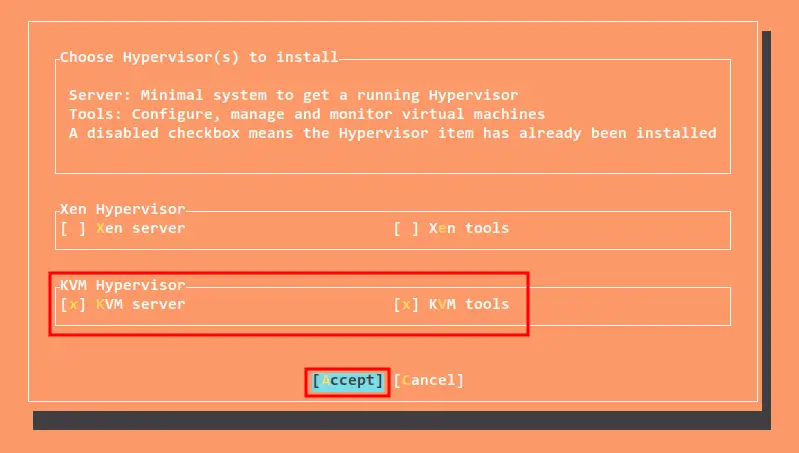
Choose the Hypervisor you want to install. In this tutorial you will be installing the KVM virtualization, so select the KVM server and KVM tools, then select Accept to start the installation.
If you get prompted to run in the text mode, select Yes.

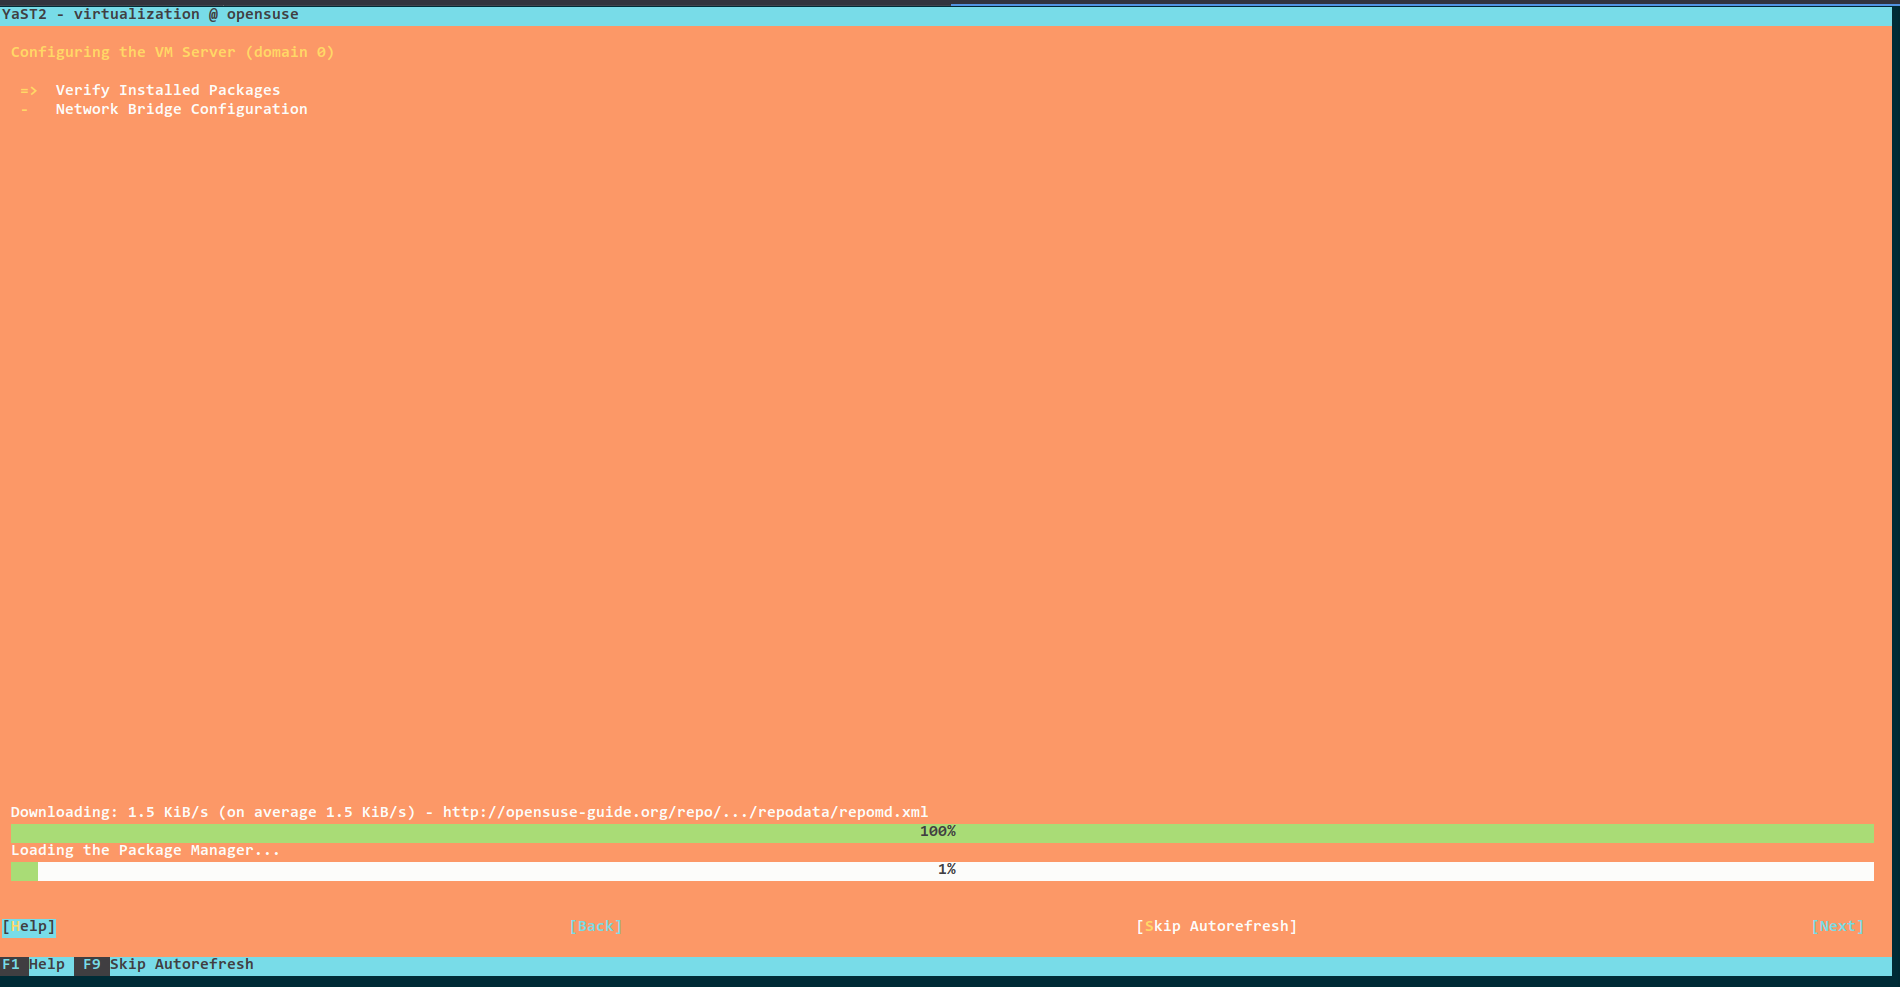
Below you can see the process of the installation of KVM Virtualization and Tools.
If you have NetworkManager running on your machine, you will be prompted the following screen. Select OK to set up the Network for later.

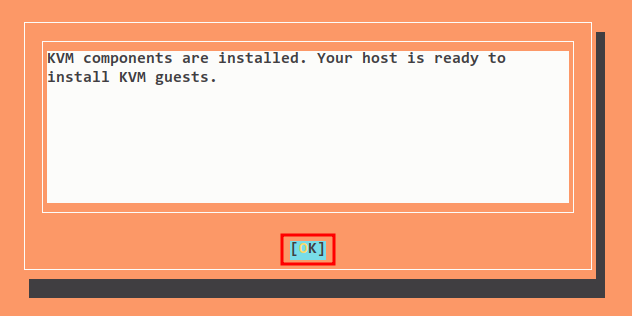
When all installation is completed, you will see the following output message. Select OK to finish the installation.
Verifying KVM Connection and Start Networking
Before creating virtual machines on your OpenSUSE system, you will now be verifying the connection to your KVM virtualization and start the default interface on the KVM virtualization.
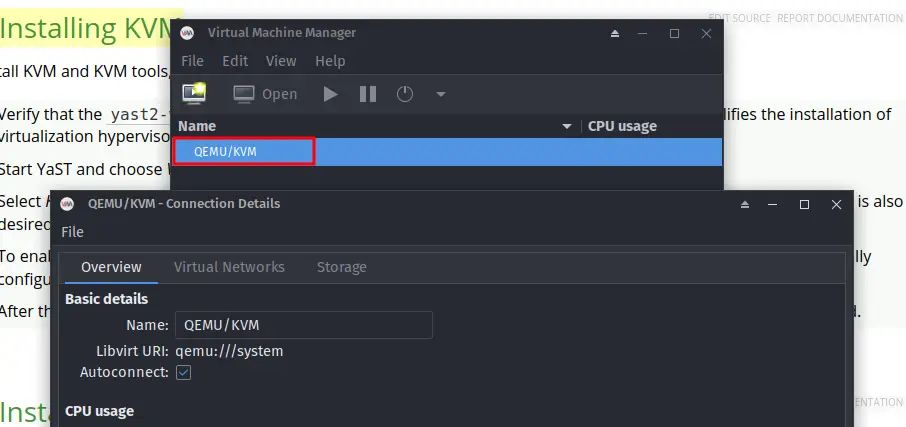
Open the virt-manager application on your machine.
Right-click on the QEMU/KVM section and click details. And you will see a new window that details connections to your KVM virtualization.
On the connection details window, click the tab Virtual Networks and you will see the interface named default.
Click the start button to enable the interface and you will see the state of the interface is Active.
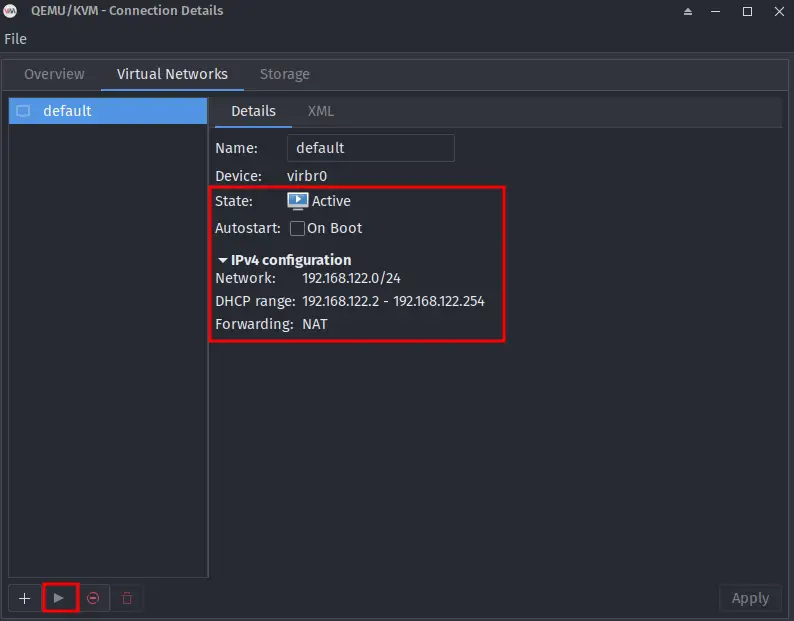
The interface default for the KVM virtualization is now activated, and you are now ready to create virtual machines.
Downloading ISO Files
On KVM virtualization, the default ISO and images for your operating system will be stored at the /var/lib/libvirt/images.
Change your working directory to /var/lib/libvirt/images.
cd /var/lib/libvirt/images
Download ISO files for your operating system into it.
wget https://ISO-URL/file.iso
Creating First KVM Virtual Machines
You can create virtual machines on KVM virtualization using two different ways, using the command-line mode virsh and using the GUI application virt-manager.
Now you will learn how to create a new virtual machine using the GUI application virt-manager.
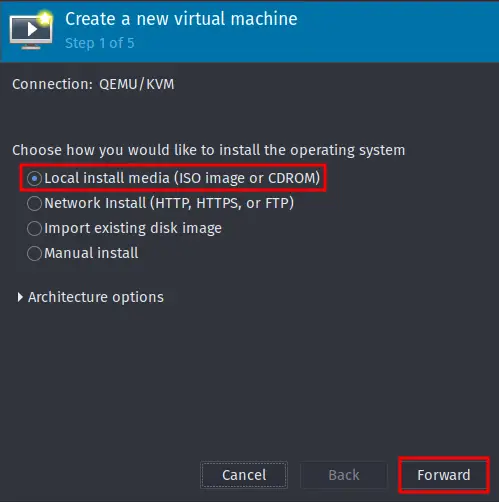
On your virt-manager application, click the create new VM button as below.

Select the media installation for your ISO. For local ISO, select the option "Local install media (ISO image or CDROM)" and click Forward.
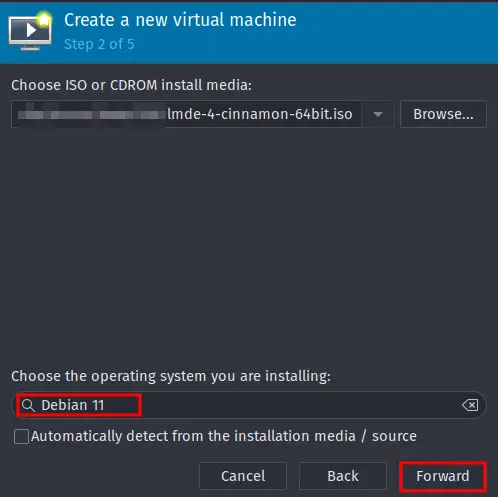
Click Browse and select the ISO file of your operating system. In this example, we are using the Linux Mint LMDE, which is based on the Debian system.
Choose the type of your operating system and click Forward.
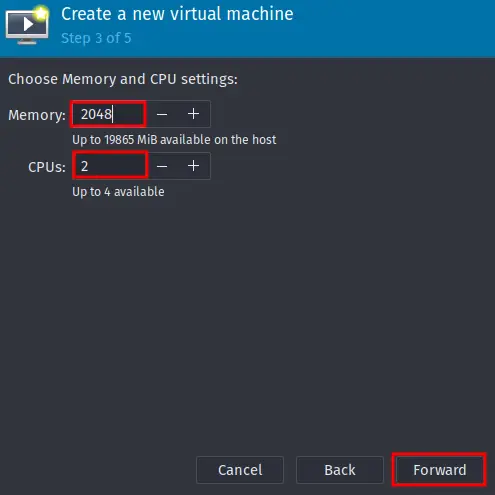
Determine the size of memory and CPUs for the new virtual machine and click Forward. In this example, we will be creating a new virtual machine with 2GB of memory and 2 CPUs.
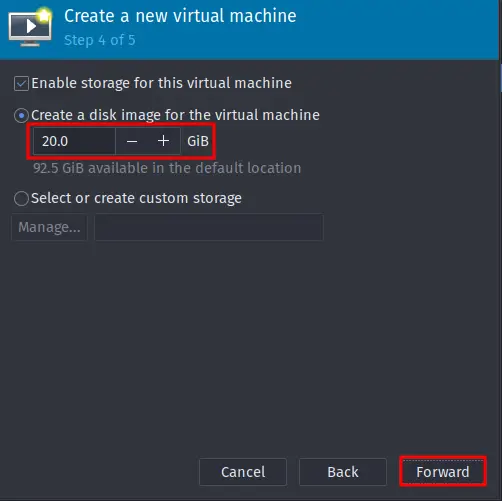
Determine the size of the disk for the virtual machine. This demo will be creating a virtual machine with a 20GB disk size.
Input the name of the new virtual machine. For the Network configuration, leave it as default with NAT. You can configure it manually depending on your network configuration.
Click Finish.
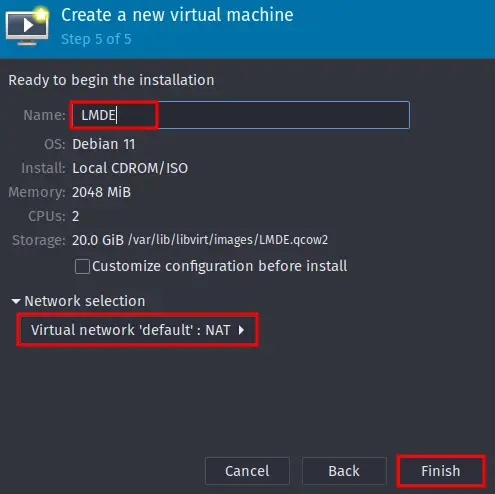
Now the new virtual machine will be created and booted with the ISO file.
Conclusion
Congratulation! You have now successfully installed and configured the KVM virtualization on the OpenSUSE Tumbleweed using the yast2-vm module. also, you have learned how to create virtual machines on the KVM virtualization using the GUI application virt-manager.

