How to Install Flarum Forum on Debian 11
Flarum is free and open-source forum software written in PHP, JavaScript, and TypeScript. Originally, Flarum is a merge of two different projects, the FluxBB, and esoTalk. Flarum is next-generation forum software designed to be minimal with high extensibility through extensions.
Flarum is a modern solution for Forum software, it's fast, simple, and easy to use and install.
This tutorial will teach you how to install Flarum on the Debian 11 Bullseye. This tutorial also covers some basic configurations of LAMP Stack and the installation of PHP Composer for the Flarum web application.
Prerequisites
- A Linux server Debian 11 Bullseye.
- A root user or non-root user with root privileges.
- A domain name pointed to the server.
Installing Apache2
The first step will be installing the Apache2 web server on your Debian system.
Check to update your repository package index using the following command.
sudo apt update
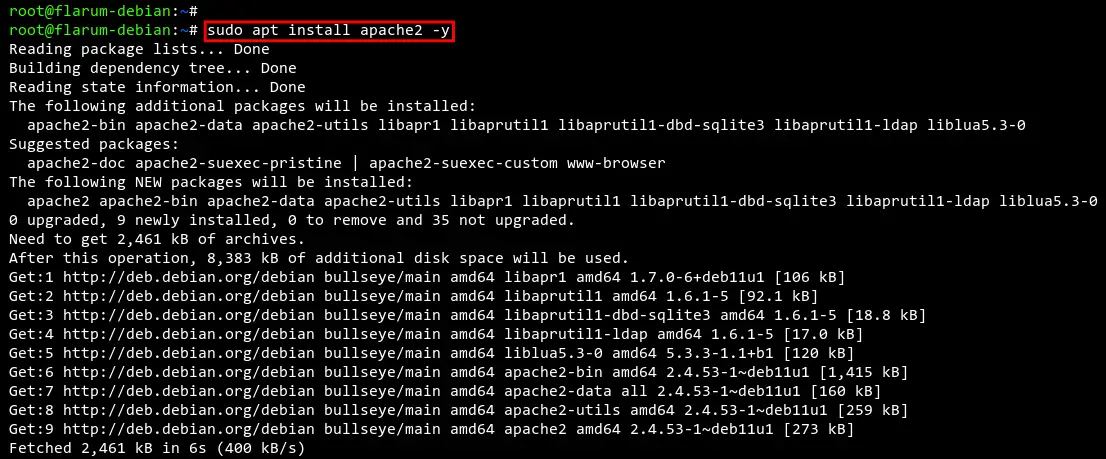
Install the Apache2 package using the below command.
sudo apt install apache2 -y
You will get the output:
After installing Apache2 packages, you can start the apache2 server and enable it.
sudo systemcttl start apache2
sudo systemctl enable apache2
The apache2 service is now running.
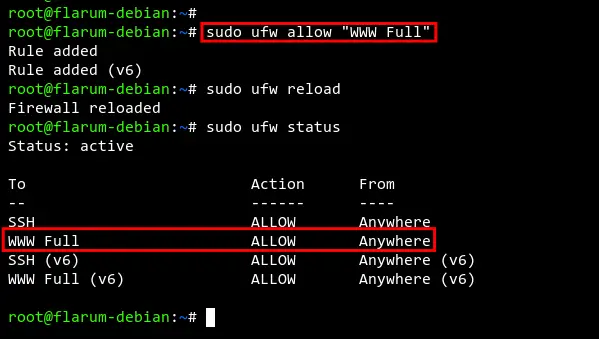
Now run the following command to open the HTTP and HTTPS ports on the firewall. In this example, the Debian server is running with the UFW firewall.
sudo ufw allow "WWW Full"
sudo ufw reload
Check and verify the UFW firewall rules.
sudo ufw status
You will get the following output.
Installing MariaDB Server
In the next step, you will be installing and configuring the MariaDB database on the Debian server.
Install MariaDB packages using the apt command below.
sudo apt install mariadb-server -y
You will get the following output:

After the MariaDB installation is completed, start and enable the MariaDB service using the below command.
sudo systemctl start mariadb
sudo systemctl enable mariadb
You will get the output below:

The MariaDB service is running, now you will be setting up the MariaDB root password.
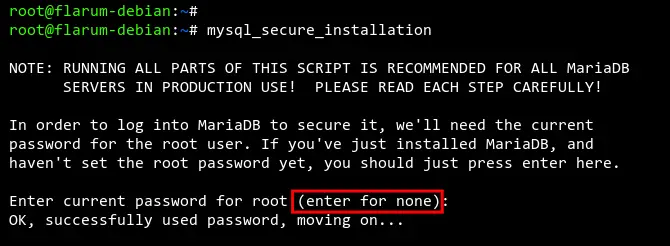
Run the mysql_secure_installation command below to start configuring the MariaDB server installation.
sudo mysql_secure_installation
Press ENTER to continue setting up the MariaDB server.
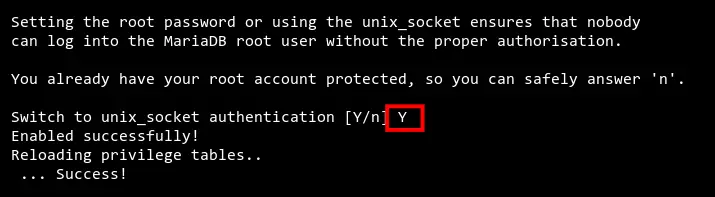
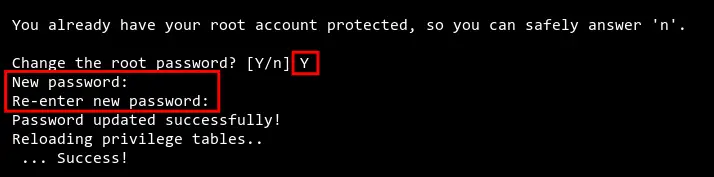
When asked to change the authentication method to unix_socket, type Y to confirm.
Now input Y to confirm and set up the root password for MariaDB. Then input the new password for your MariaDB root user and repeat the password.
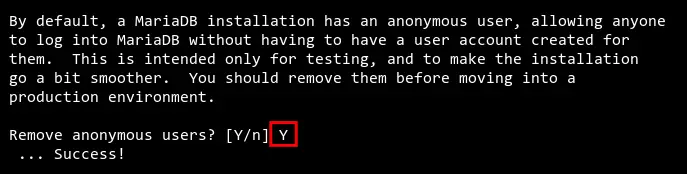
Input Y to remove the default anonymous user from the MariaDB server.
Input Y again to disable remote login for the MariaDB root user.

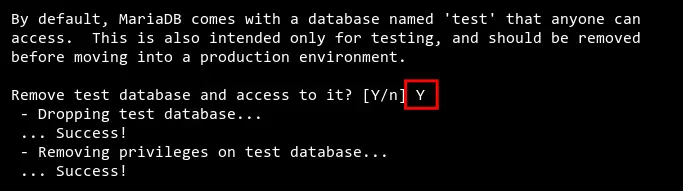
Input Y to remove the default database test from your MariaDB installation.
Lastly, input Y again to reload all tables privileges on the MariaDB server to apply new configurations.

Installing PHP Packages
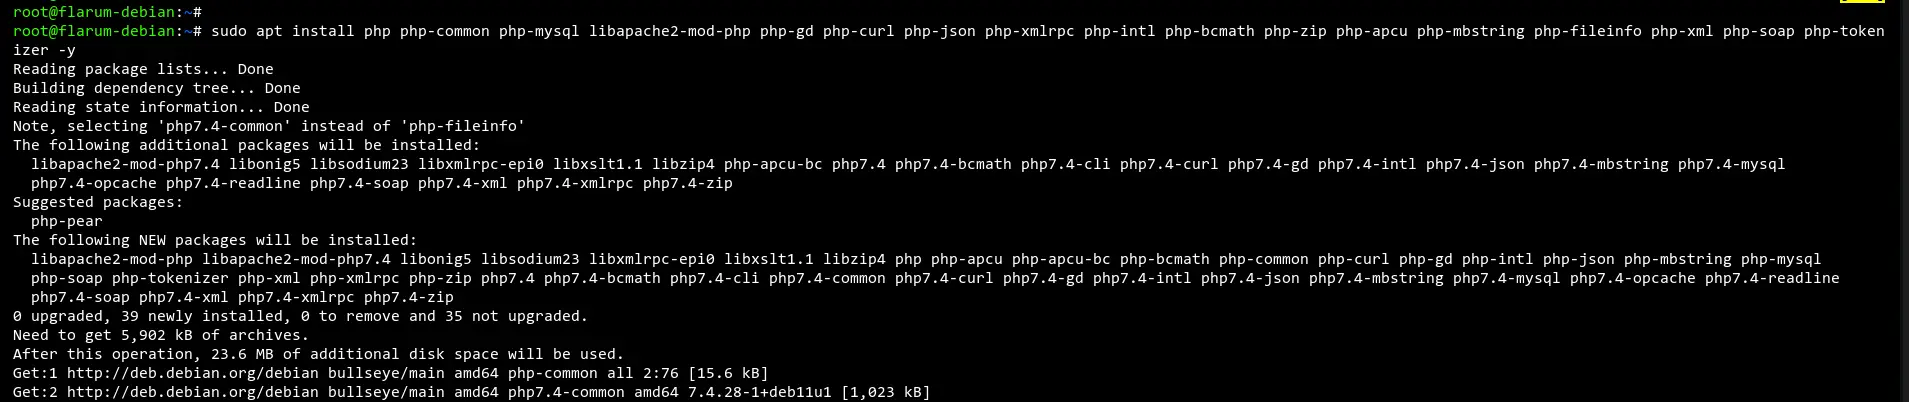
Flarum is a web application written in PHP. So you will now be installing the PHP packages to your Debian server.
Install PHP packages with additional extensions for Flarum using the following command.
sudo apt install php php-common php-mysql libapache2-mod-php php-gd php-curl php-json php-xmlrpc php-intl php-bcmath php-zip php-apcu php-mbstring php-fileinfo php-xml php-soap php-tokenizer -y
You will get the output:
After PHP installation is completed, edit the php.ini config file using nano editor.
sudo nano /etc/php/7.4/apache2/php.ini
Change the default php.ini configuration according to follow configurations.
memory_limit = 512M
upload_max_file_size = 150M
max_execution_time = 600
date.timezone = Europe/Paris
Save the file by pressing CTRL+X and confirm save by typing Y.
Now, to apply new changes to the php.ini configuration file, restart the Apache2 service using the below command.
sudo systemctl restart apache2
Installing Composer
To install Flarum, you will need the Composer installed on your Debian server. Composer is a dependency manager for PHP that allows you to manage libraries on your PHP application.
For nowadays, Composer is used on almost modern PHP frameworks such as Symfony and Laravel.
Download and verify the Composer installer.
php -r "copy('https://getcomposer.org/installer', 'composer-setup.php');"
php -r "if (hash_file('sha384', 'composer-setup.php') === '906a84df04cea2aa72f40b5f787e49f22d4c2f19492ac310e8cba5b96ac8b64115ac402c8cd292b8a03482574915d1a8') { echo 'Installer verified'; } else { echo 'Installer corrupt'; unlink('composer-setup.php'); } echo PHP_EOL;"
If you see the output message "Installer verified", then the Composer installer is valid.
Now run the installer script to install Composer. When the installation is completed, remove the installer script.
php composer-setup.php
php -r "unlink('composer-setup.php');"
The binary file of Composer is now available on your working directory with the name composer.phar. Move the file to /usr/local/bin/composer so all users on the server will be able to execute the composer command.
sudo mv composer.phar /usr/local/bin/composer

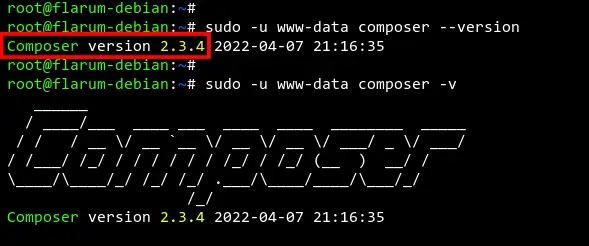
Next, verify the version of Composer that you just installed on your system using the following command.
sudo -u www-data composer --version
sudo -u www-data composer -v
You will get the following output.
Create New Database and User for Flarum
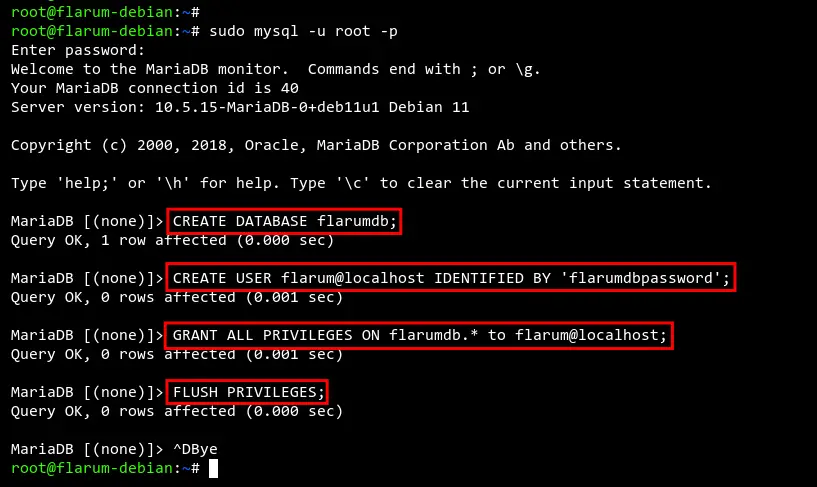
Before you start jumping and installing Flarum, now you will need to create a new MariaDB database and user for the Flarum.
Login to the MariaDB shell as the root user using the below command.
sudo mysql -u root -p
Now create a new database flarumdb and user flarum with the password flarumdbpassword for the Flarum installation.
CREATE DATABASE flarumdb;
CREATE USER flarum@localhost IDENTIFIED BY 'flarumdbpassword';
GRANT ALL PRIVILEGES ON flarumdb.* to flarum@localhost;
FLUSH PRIVILEGES;
After that, type exit to log out from the MariaDB shell or you can press CTRL+D.
Setup Project Directory Flarum
In this step, you will be downloading and installing the Flarum source using the PHP Composer.
First, create a new project directory /var/www/flarum and /var/www/.cache using the below command.
mkdir -p /var/www/{.cache,flarum}
The main Flarum project directory will be /var/www/flarum. And the directory /var/www/.cache will be used to store caches for the PHP Composer.
Next, change the ownership of both flarum and .cache directories to the www-data user. Also, you will need to give read and write permission to the www-data user.
sudo chown -R www-data:www-data /var/www/{.cache,flarum}
sudo chmod u+rw /var/www/{.cache,flarum}
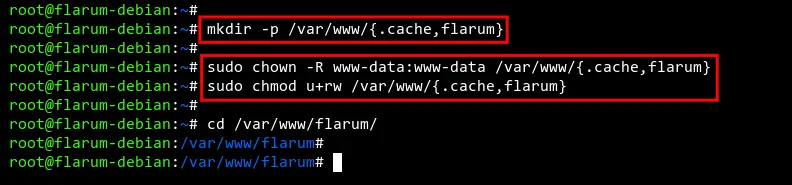
Now change your working directory to /var/www/flarum and install Flarum using the Composer command below.
cd /var/www/flarum
sudo -u www-data composer create-project flarum/flarum .
You will get the following output:
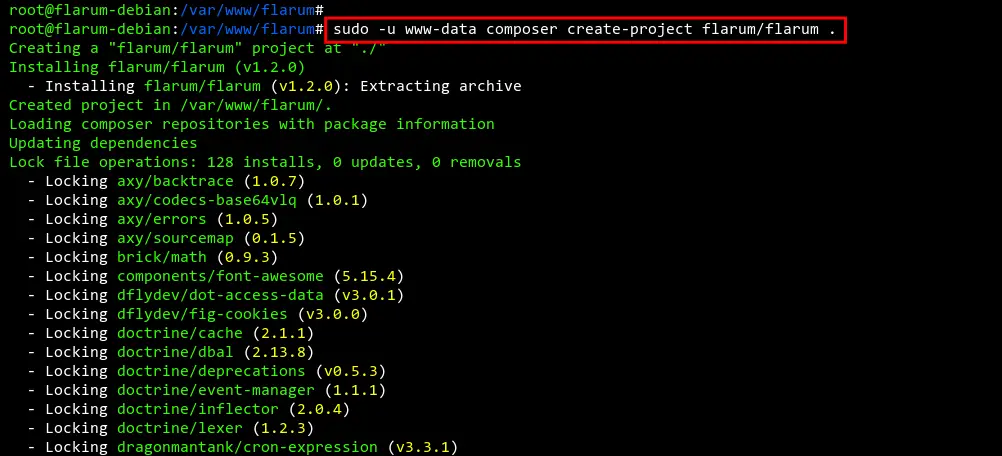
The Composer will install Flarum and all additional PHP dependencies needed for Flarum.
Once all Flarum is installed, you will see Flarum source code available at the /var/www/flarum directory. And the DocumentRoot directory for Flarum is available at the /var/www/flarum/public directory.
Setup Apache Virtual host
Before start accessing the Flarum installation, you will need to create a new Apache2 virtual host configuration for the Flarum.
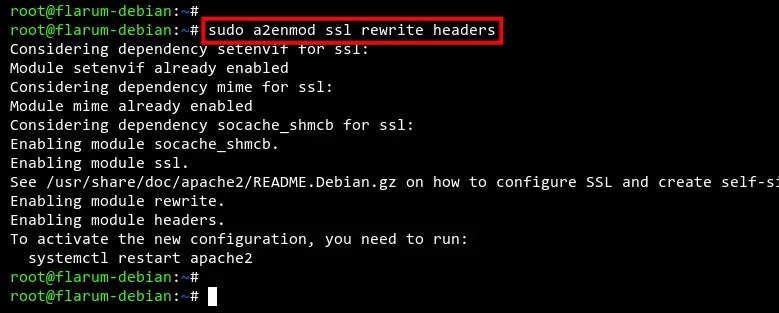
Let's start by enabling some Apache modules using the following command.
sudo a2enmod ssl rewrite headers
You will get the following output.
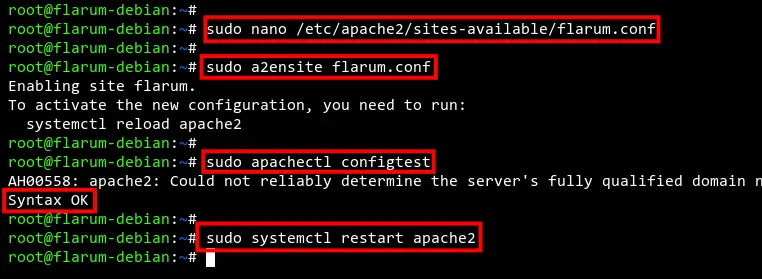
Next, create a new virtual host configuration file /etc/apache2/sites-available/flarum.conf using nano editor.
sudo nano /etc/apache2/sites-available/flarum.conf
Paste the following virtual host configuration. You will need to change some options below such as the Domain name and the path of SSL certificates.
<VirtualHost *:80>
    ServerName example.io
    Redirect permanent / https://example.io/
</VirtualHost>

<VirtualHost *:443>
    ServerAdmin [email protected]
    DocumentRoot /var/www/flarum/public
    ServerName example.io

    Protocols h2 http/1.1

    SSLEngine On
    SSLCertificateFile /etc/letsencrypt/live/example.io/fullchain.pem
    SSLCertificateKeyFile /etc/letsencrypt/live/example.io/privkey.pem

     <Directory /var/www/flarum/public/>
          Options FollowSymlinks
          AllowOverride All
          Require all granted
     </Directory>

     ErrorLog ${APACHE_LOG_DIR}/error.log
     CustomLog ${APACHE_LOG_DIR}/access.log combined

     <Directory /var/www/flarum/public/>
            RewriteEngine on
            RewriteBase /
            RewriteCond %{REQUEST_FILENAME} !-f
            RewriteRule ^(.*) index.php [PT,L]
    </Directory>
</VirtualHost>
Save the file by pressing the CTRL+X button and entering Y to confirm.
Now, let's activate the virtual host configuration flarum.conf using the below command. Then verify all Apache2 configurations.
sudo a2ensite flarum.conf
sudo apachectl configtest
If you see the output message Syntax OK, then all of your Apache2 configurations are valid.
Lastly, restart the Apache2 service using the below command to apply new changes on your Apache2 web server.
sudo systemctl restart apache2
Start Flarum Installation
To start the Flarum installation and configuration, you need to access your Flarum via the URL https://yourdomain.com/, and you should get the following page.
Input the details of your Flarum installation such as site title and database details. Then input the admin user and password for Flarum.
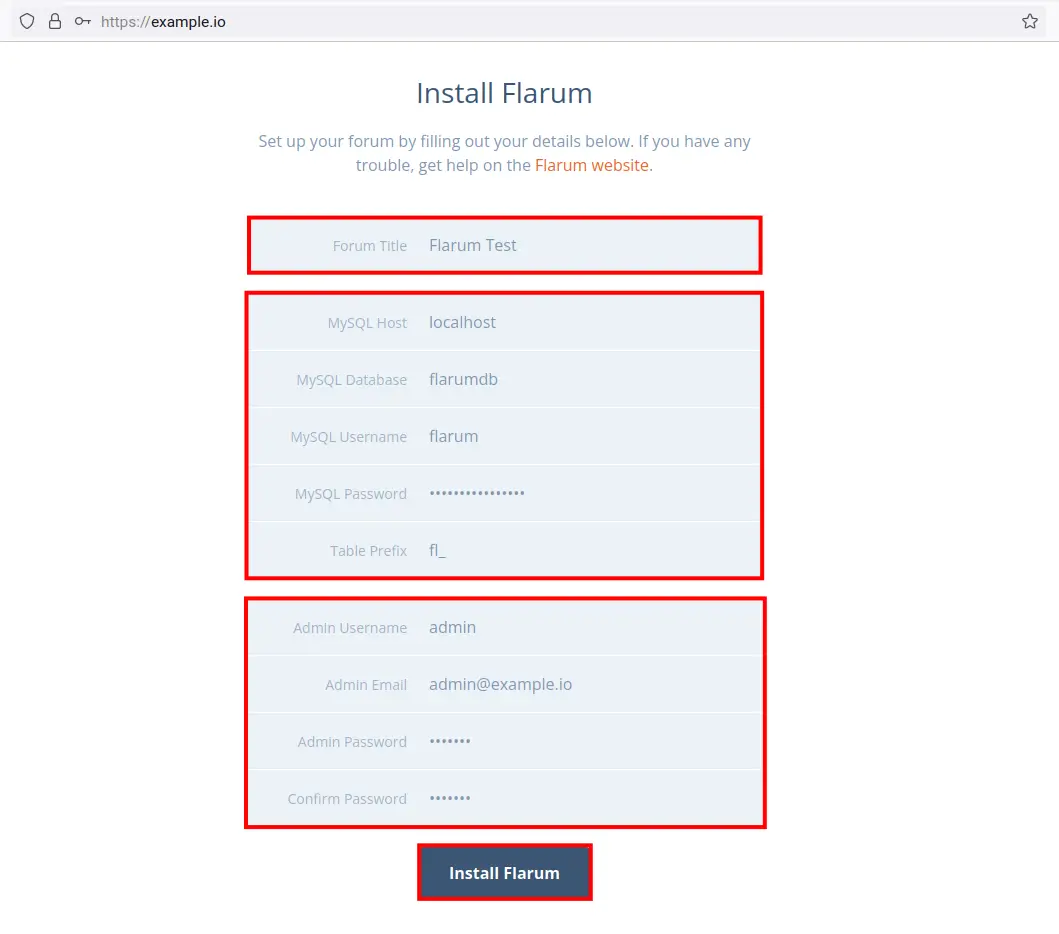
Click Install Flarum to start and confirm the Flarum installation.
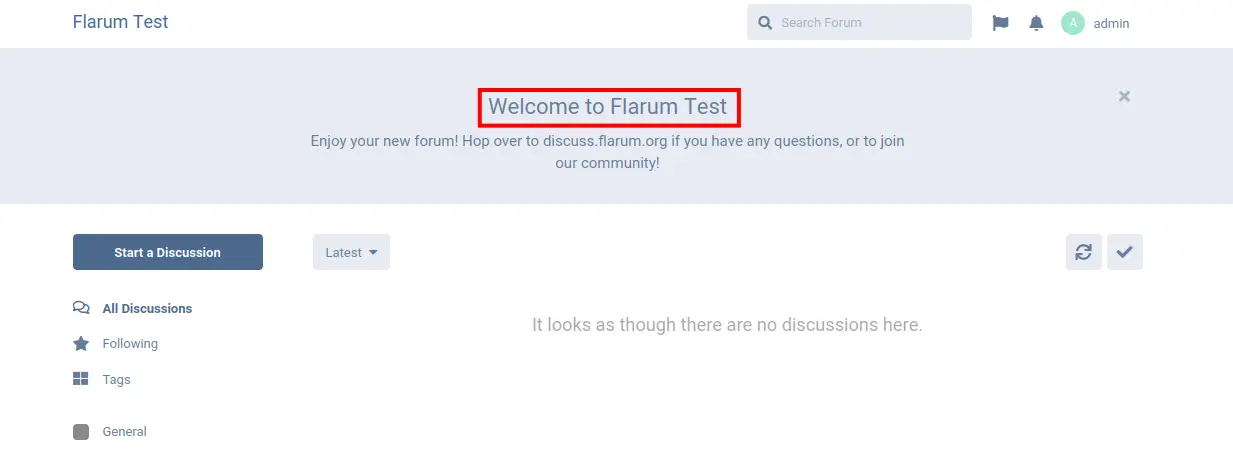
When the installation is completed, you will get the Welcome message from the Flarum as below.
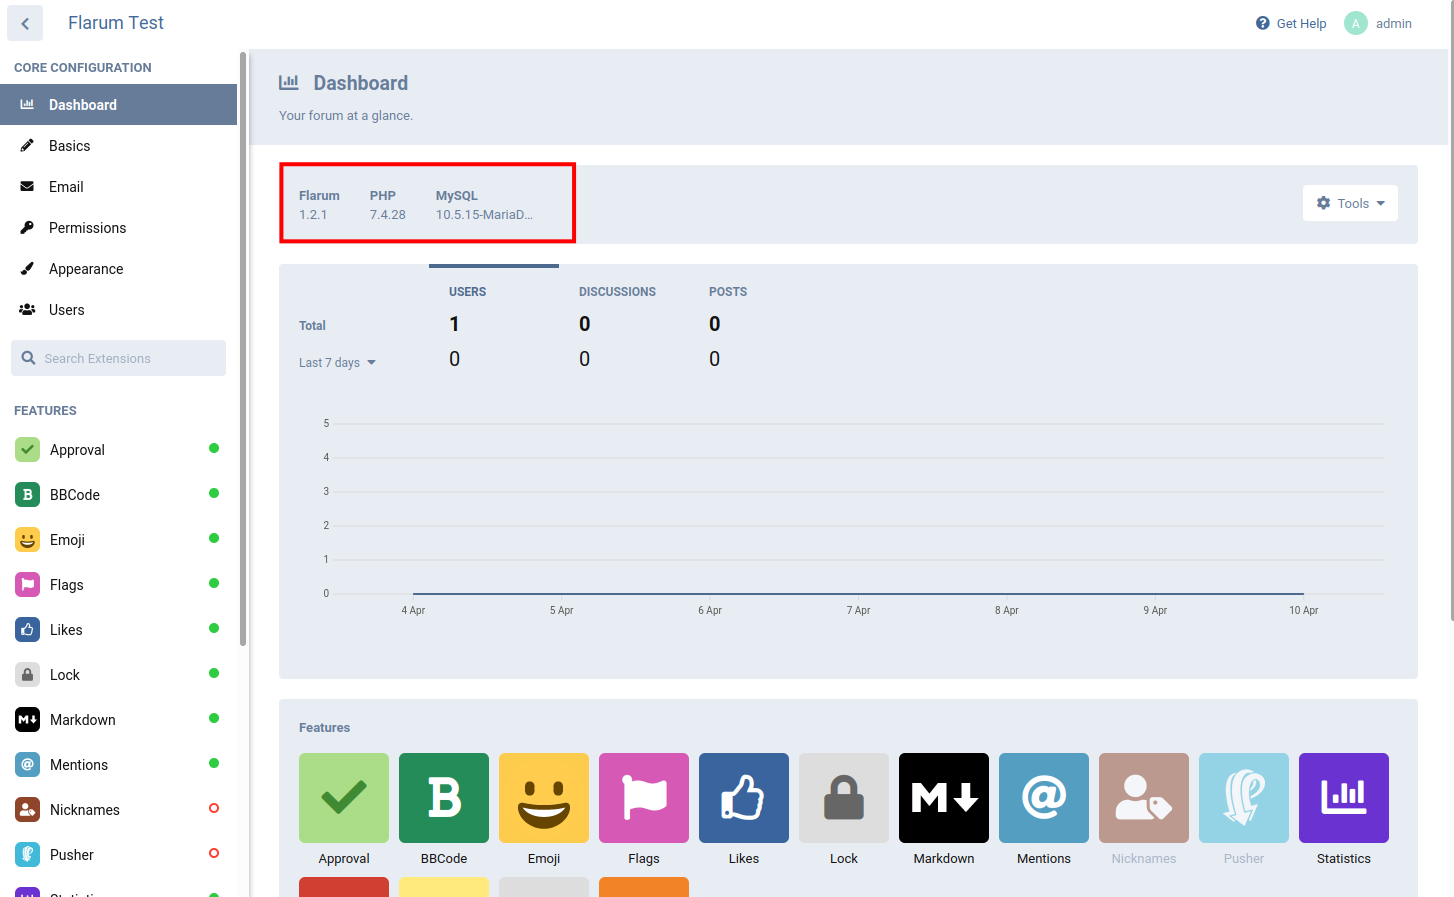
If you go to the Flarum administration settings, you will see the information below.
Flarum v1.2.1 is installed on the Debian 11 server with PHP 7.4 and the MariaDB 10.5.
Conclusion
Congratulation! You have now successfully installed the Flarum web application on the latest Debian 11 Bullseye with the LAMP Stack. You can now start adding some extensions to extend your Flarum web application.

