How to Install OpenLDAP on Debian 11
This tutorial exists for these OS versions
- Debian 12 (Bookworm)
- Debian 11 (Bullseye)
- Debian 10 (Buster)
On this page
OpenLDAP is a free and open-source software suite implementation of LDAP (Lightweight Directory Access Protocol). It's a platform-independent protocol that can be used for centralized authentication and directory access services such as email and other applications.
OpenLDAP is a stand-alone LDAP daemon that provides its libraries and utilities. Also, it provides support for TLS certificate authentication and SASL authentication.
In this article, we will show you how to install and configure OpenLDAP on the Debian 11 Bullseye.
Prerequisites
- A Debian 11 server.
- A non-root user with sudo/root privileges.
Installing OpenLDAP on Debian 11
At first, you will be installing OpenLDAP packages to the Debian 11 server. The default Debian repository provides the stable version OpenLDAP v2.4.
Before you start installing OpenLDAP packages, run the 'apt' command below to refresh Debian's repository.
sudo apt update
Now install the OpenLDAP packages 'slapd' and 'ldap-utils'. The package 'slapd' is the main package of OpenLDAP, and the 'ldap-utils' provides command-line utilities for managing the OpenLDAP server.
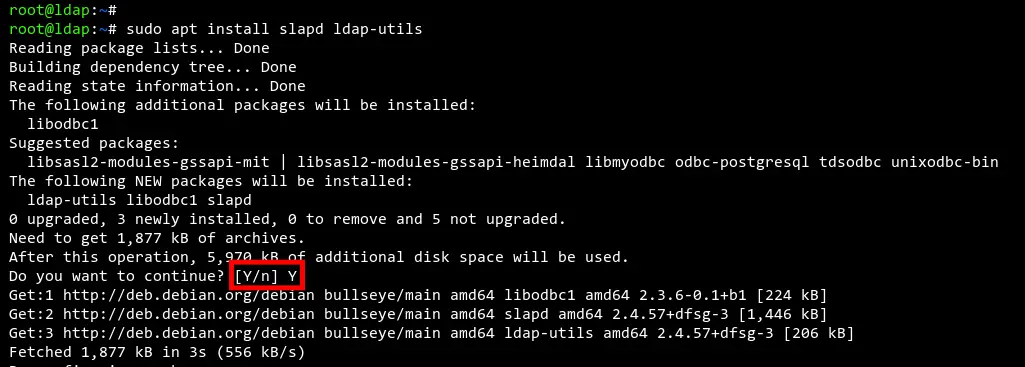
sudo apt install slapd ldap-utils
Type 'Y' and press 'ENTER' to confirm the installation.
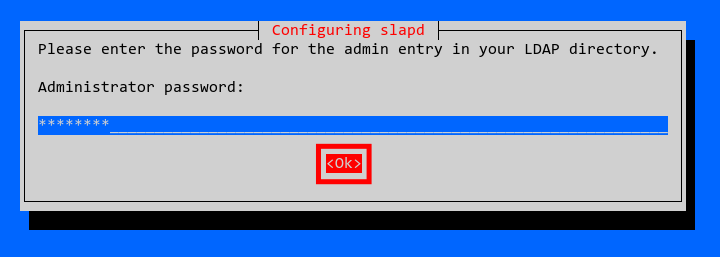
Now you will be asked to set up the password for the OpenLDAP admin user.
Input your password and select 'OK', then press 'ENTER'.
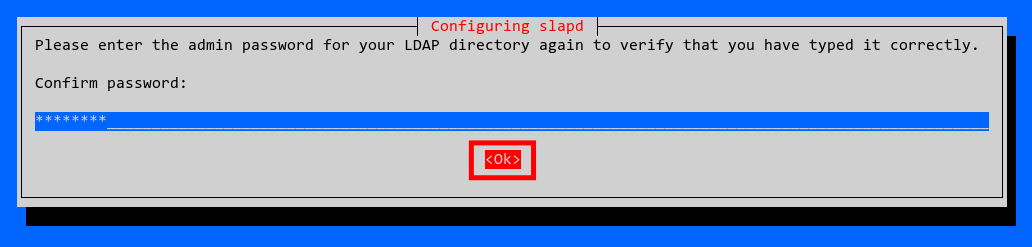
Repeat your password and select 'OK', and press 'ENTER' again. And the OpenLDAP installation is completed.
Configuring OpenLDAP Server
After you've installed the OpenLDAP packages, you will now be setting up the OpenLDAP on the Debian server.
Before going any further, let's set up the FQDN (Fully Qualified Domain Name) of the server using the following command.
sudo hostnamectl set-hostname ldap.mydomain.local
Now edit the '/etc/hosts' file using nano editor.
sudo nano /etc/hosts
Copy and paste the following configuration, and make sure to change the IP address with your server IP address, and the FQDN with your hostname and local domain name.
192.168.10.50 ldap.mydomain.local ldap
Save and close the file.
Now log out from your current SSH session and login again to your server.
Next, run the command below to reconfigure the OpenLDAP package 'slapd'.
sudo dpkg-reconfigure slapd
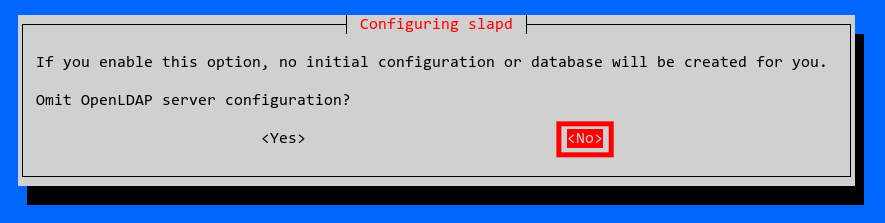
Select No when asked to delete/omit old OpenLDAP configuration. This will keep the old configuration available.
Now input the DNS local domain name for your OpenLDAP server and select OK.

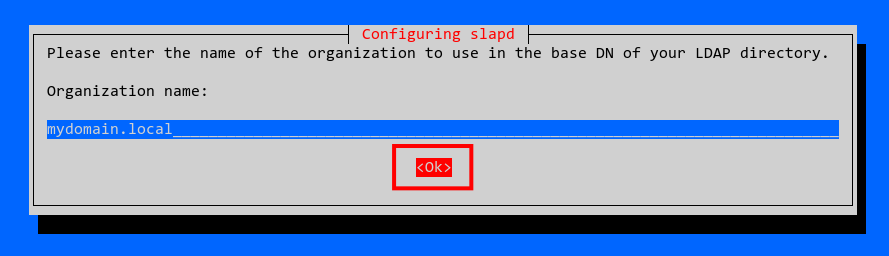
Input the organization name and select OK. Optionally, you can leave it as default with the same name as the domain name.
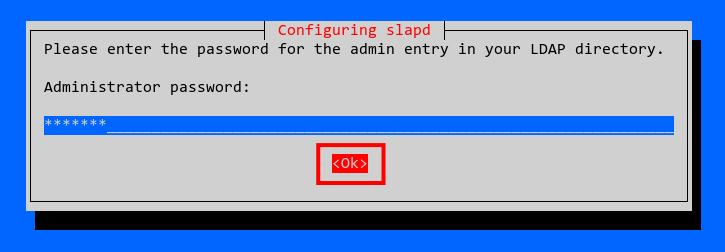
Now input the OpenLDAP administrator password and select OK to continue.
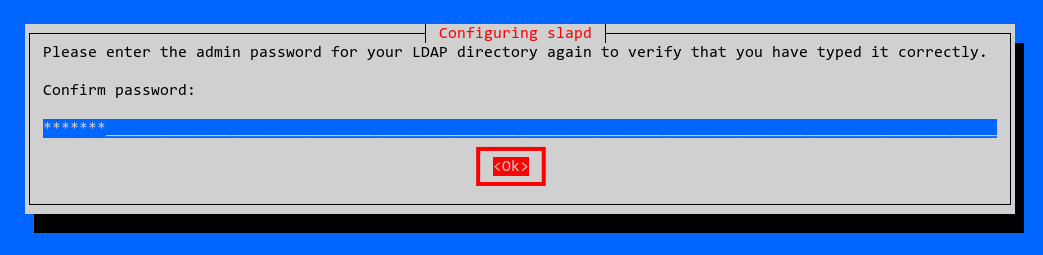
Confirm the OpenLDAP admin password and select OK again.
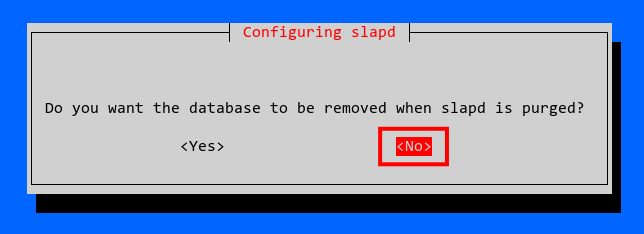
Select NO when asked to delete the old slapd database.
Now select Yes to move the old slapd database.

And the configuration of the OpenLDAP packages is now completed.
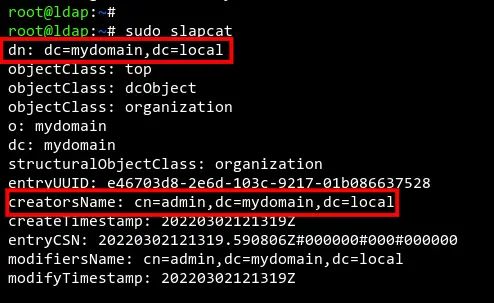
To verify the OpenLDAP configuration, run the 'slapcat' command below.
sudo slapcat
Now you should get the output similar to the screenshot below. The domain name and organization name for OpenLDAP is correctly using the 'mydomain.local'
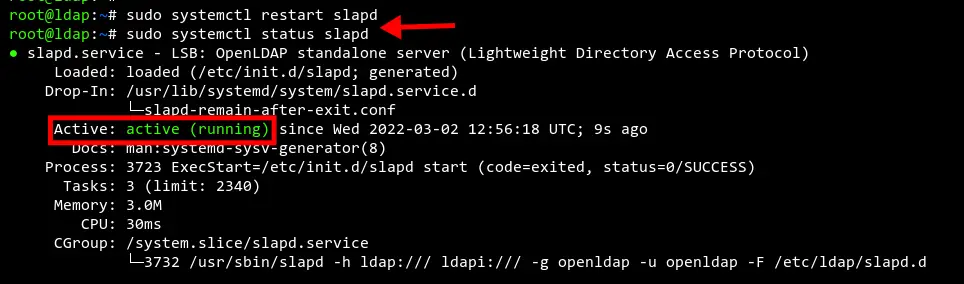
Finally, restart the 'slapd' service to apply new changes. Then verify the 'slapd' service.
sudo systemctl restart slapd
sudo systemctl status slapd
Now you should get the 'slapd' service status as 'active (running)'.
Setting Up UFW Firewall
If you're running the Debian server with UFW firewall enabled, you will need to add the LDAP and LDAPS service to the UFW firewall.
Using the firewall in your local environment is recommended, it will strengthen your server security.
Now run the ufw command below to add the LDAP and LDAPS service to the ufw firewall.
sudo ufw allow LDAP
sudo ufw allow LDAPS
Next, reload the UFW firewall rule using the following command.
sudo ufw reload
Lastly, verify the list of enabled services on your UFW firewall with the following command.
sudo ufw status
You should get the output like the screenshot below. The LDAP and LDAPS services are added to the UFW firewall.

Now you're ready to set up group and user of the OpenLDAP server.
Setting Up User Group
The OpenLDAP server is often used for authentication on a group of computers or servers. And in this step, you will be setting up the group on the OpenLDAP server using the LDIF (LDAP Data Interchange Format) file.
The LDIF is a formatting file of the LDAP entries and can be used to manage users and groups on the OpenLDAP server.
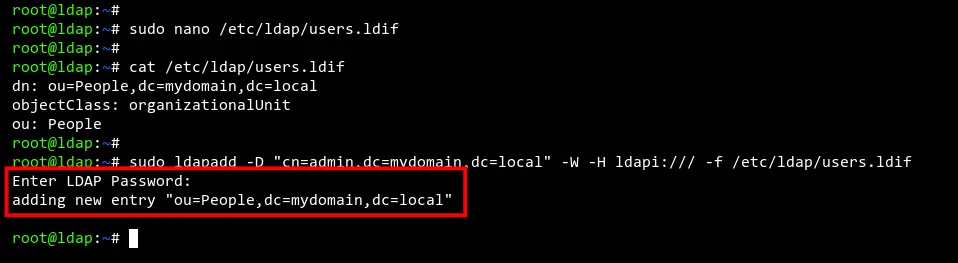
Create a new file '/etc/ldap/users.ldif' using nano editor.
sudo nano /etc/ldap/users.ldif
Copy and paste the following configuration. This configuration will create a new group named 'People' on the domain name 'mydomain.local.
dn: ou=People,dc=mydomain,dc=local
objectClass: organizationalUnit
ou: People
Save and close the file.
Next, run the 'ldapadd' command below to add the group defined on the 'users.ldif' file.
sudo ldapadd -D "cn=admin,dc=mydomain,dc=local" -W -H ldapi:/// -f /etc/ldap/users.ldif
You will be asked to input the 'admin' password of the OpenLDAP server. And when the process is successful, you should see a message such as 'adding new entry "ou=People,dc=mydomain,dc=local"'.
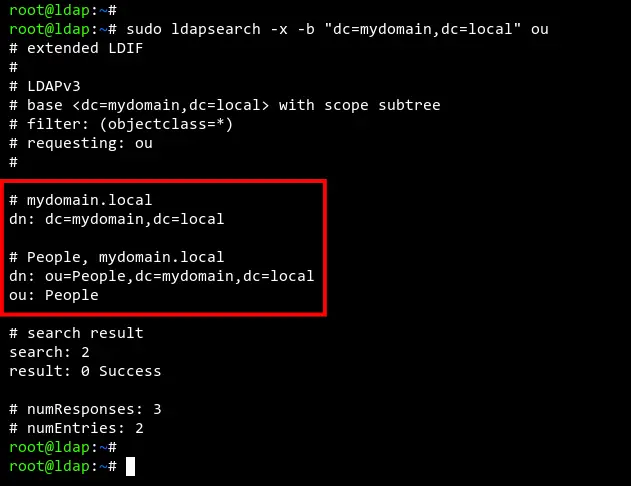
To verify the group 'People', run the 'ldapsearch' command below. This command will show available groups on the OpenLDAP server.
sudo ldapsearch -x -b "dc=mydomain,dc=local" ou
Now you should see the group 'People' is available on the OpenLDAP server.
Setting Up New User
After setting up the group on the OpenLDAP, you can now add a new user to the OpenLDAP server. And also, this can be done by using the LDIF file and the 'ldapadd' command-line tool.
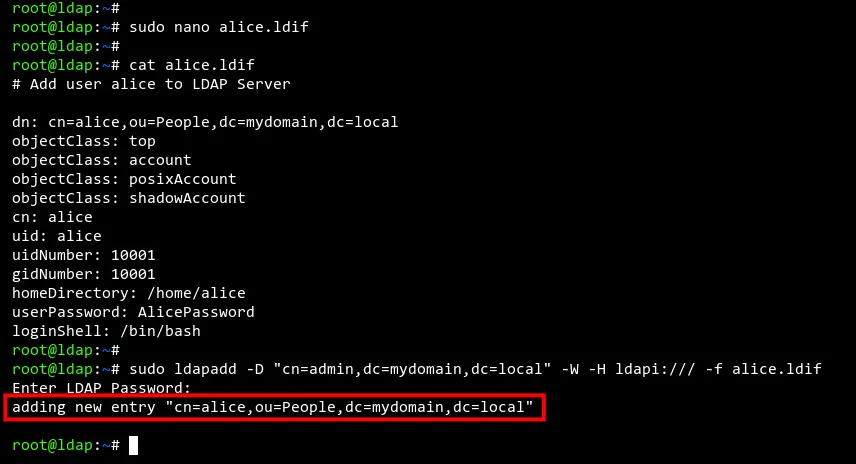
Now create a new file 'alice.ldif' using nano editor.
sudo nano alice.ldif
Copy and paste the following configuration and make sure to change the password 'AlicePassword' with the strong password.
In this example, you will be creating a new user named 'alice' with the home directory '/home/alice' and the default shell '/bin/bash'. Also, the user 'alice' is part of the group 'People'.
# Add user alice to LDAP Server
dn: cn=alice,ou=People,dc=mydomain,dc=local
objectClass: top
objectClass: account
objectClass: posixAccount
objectClass: shadowAccount
cn: alice
uid: alice
uidNumber: 10001
gidNumber: 10001
homeDirectory: /home/alice
userPassword: AlicePassword
loginShell: /bin/bash
Save and close the file.
Next, run the 'ldapadd' command below to add a new user based on the 'alice.ldif' file.
sudo ldapadd -D "cn=admin,dc=mydomain,dc=local" -W -H ldapi:/// -f alice.ldif
Input the OpenLDAP admin password and you should get the output such as 'adding new entry "cn=alice,ou=People,dc=mydomain,dc=local"', which means the new user 'alice' has been added to the OpenLDAP server.
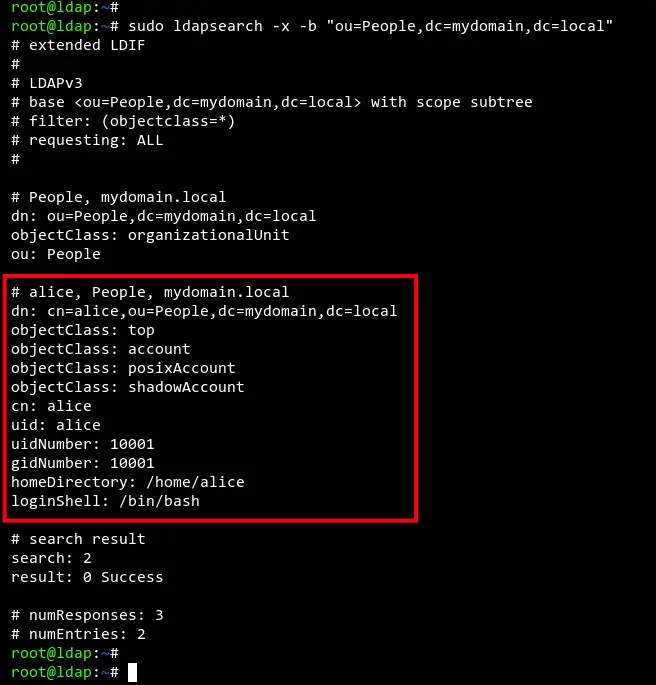
Run the 'ldapsearch' command below to get the list of users on the OpenLDAP server.
sudo ldapsearch -x -b "ou=People,dc=mydomain,dc=local"
You should get the output like the screenshot below. The new user 'alice' is now available on the OpenLDAP server.
Conclusion
Congratulation! You've now successfully installed the OpenLDAP server on the Debian 11 server. Also, you've learned how to add groups and users using the LDIF (LDAP Data Interchange Format) files and the 'ldapadd' command-line tool.
In the next step, you may be interested to learn more about how to add Linux machines such as Ubuntu and CentOS to the OpenLDAP server.

