How to Install MinIO Object Storage Server on Debian 11
Minio is a popular open-source, self-hosted, Amazon S3 compatible object storage server written in Go. It is a very useful alternative to AWS S3 if you need more control over your object storage server. It allows us to store photos, videos, log files, backups, and container/VM images. It provides a command-line client, a browser interface and also supports AMQP. You can use Minio in large-scale deployment for continuous data replication.
In this article, I will show you how to install the Minio server on Debian 11.
Prerequisites
- A server running Debian 11.
- A root password is configured on the server.
Install Minio Server
First, download the latest version of Minio binary using the following command:
wget https://dl.min.io/server/minio/release/linux-amd64/minio
Next, give the execution permission and move the Minio binary to the system path:
chmod +x minio
mv minio /usr/local/bin/
Next, create a dedicated user for Minio with the following command:
useradd -r minio -s /sbin/nologin
Next, change the ownership of the Minio binary to minio user:
chown minio:minio /usr/local/bin/minio
Next, verify the installed version of Minio with the following command:
minio --version
You will get the following output:
minio version RELEASE.2022-02-26T02-54-46Z
Create a Partition for Minio Storage
Next, you will need to create a GPT partition on a separate disk. First, list all connected hard drives using the following command:
fdisk -l
You should see all connected hard drives in the following output:
Disk /dev/sda: 50 GiB, 53687091200 bytes, 104857600 sectors
Disk model: QEMU HARDDISK
Units: sectors of 1 * 512 = 512 bytes
Sector size (logical/physical): 512 bytes / 512 bytes
I/O size (minimum/optimal): 512 bytes / 512 bytes
Disklabel type: dos
Disk identifier: 0x7d36ef95

Device     Boot Start       End   Sectors Size Id Type
/dev/sda1        2048 104855552 104853505  50G 83 Linux


Disk /dev/sdb: 50 GiB, 53687091200 bytes, 104857600 sectors
Disk model: Volume
Units: sectors of 1 * 512 = 512 bytes
Sector size (logical/physical): 512 bytes / 512 bytes
I/O size (minimum/optimal): 512 bytes / 512 bytes
Next, create a GPT partition on disk /dev/sdb with the following command:
parted -s -a optimal -- /dev/sdb mklabel gpt
parted -s -a optimal -- /dev/sdb mkpart primary 0% 100%
parted -s -- /dev/sdb align-check optimal 1
Next, format the partition using the following command:
mkfs.ext4 /dev/sdb1
You will get the following output:
mke2fs 1.46.2 (28-Feb-2021)
Discarding device blocks: done
Creating filesystem with 13106688 4k blocks and 3276800 inodes
Filesystem UUID: bd18a11d-a9d9-44a2-a381-f30ba0798661
Superblock backups stored on blocks:
	32768, 98304, 163840, 229376, 294912, 819200, 884736, 1605632, 2654208,
	4096000, 7962624, 11239424

Allocating group tables: done
Writing inode tables: done
Creating journal (65536 blocks): done
Writing superblocks and filesystem accounting information: done
Next, create a mount point for the Minio disk.
mkdir /mnt/minio
Next, add the entry in the /etc/fstab file to mount the partition on the mount point:
nano /etc/fstab
Add the following line:
/dev/sdb1 /mnt/minio ext4 rw 0 0
Save and close the file then mount the partition using the following command:
mount -a
Next, verify the mounted disk using the following command:
df -h
You should see the following output:
Filesystem      Size  Used Avail Use% Mounted on
udev            976M     0  976M   0% /dev
tmpfs           199M  388K  198M   1% /run
/dev/sda1        50G  1.6G   46G   4% /
tmpfs           992M     0  992M   0% /dev/shm
tmpfs           5.0M     0  5.0M   0% /run/lock
tmpfs           199M     0  199M   0% /run/user/0
/dev/sdb1        49G   24K   47G   1% /mnt/minio
Next, change the ownership of the Minio mount to minio:
chown minio:minio /mnt/minio
Configure Minio
Next, create a Minio configuration directory using the following command:
mkdir /etc/minio
Next, change the ownership of Minio configuration directory:
chown minio:minio /etc/minio
Next, create a Minio configuration file:
nano /etc/default/minio
Add the following lines:
MINIO_ACCESS_KEY="minioaccesskey"
MINIO_VOLUMES="/mnt/minio"
MINIO_OPTS="-C /etc/minio --address 0.0.0.0:9000"
MINIO_SECRET_KEY="miniosecretkey"
Save and close the fiel then download the Minio service file with the following command:
wget https://raw.githubusercontent.com/minio/minio-service/master/linux-systemd/minio.service
Next, edit the Minio service file with the following command:
nano minio.service
Change the file as shown below:
[Unit]
Description=MinIO
Documentation=https://docs.min.io
Wants=network-online.target
After=network-online.target
AssertFileIsExecutable=/usr/local/bin/minio

[Service]
WorkingDirectory=/usr/local/

User=minio
Group=minio
ProtectProc=invisible

EnvironmentFile=/etc/default/minio
ExecStartPre=/bin/bash -c "if [ -z \"${MINIO_VOLUMES}\" ]; then echo \"Variable MINIO_VOLUMES not set in /etc/default/minio\"; exit 1; fi"
ExecStart=/usr/local/bin/minio server $MINIO_OPTS $MINIO_VOLUMES

# Let systemd restart this service always
Restart=always

# Specifies the maximum file descriptor number that can be opened by this process
LimitNOFILE=1048576

# Specifies the maximum number of threads this process can create
TasksMax=infinity

# Disable timeout logic and wait until process is stopped
TimeoutStopSec=infinity
SendSIGKILL=no

[Install]
WantedBy=multi-user.target
Save and close the file then copy the Minio service file to /etc/systemd/system/.
mv minio.service /etc/systemd/system/
Next, reload the systemd daemon to apply the changes:
systemctl daemon-reload
Next, start and enable the Minio service with the following command:
systemctl start minio
systemctl enable minio
Next, check the Minio service with the following command:
systemctl status minio
You should see the following output:
? minio.service - MinIO
     Loaded: loaded (/etc/systemd/system/minio.service; disabled; vendor preset: enabled)
     Active: active (running) since Mon 2022-02-28 02:18:31 UTC; 4s ago
       Docs: https://docs.min.io
    Process: 861 ExecStartPre=/bin/bash -c if [ -z "${MINIO_VOLUMES}" ]; then echo "Variable MINIO_VOLUMES not set in /etc/default/minio"; ex>
   Main PID: 862 (minio)
      Tasks: 7
     Memory: 55.2M
        CPU: 759ms
     CGroup: /system.slice/minio.service
             ??862 /usr/local/bin/minio server -C /etc/minio --address 0.0.0.0:9000 /mnt/minio

Feb 28 02:18:31 debian11 systemd[1]: Starting MinIO...
Feb 28 02:18:31 debian11 systemd[1]: Started MinIO.
Feb 28 02:18:32 debian11 minio[862]: WARNING: MINIO_ACCESS_KEY and MINIO_SECRET_KEY are deprecated.
Feb 28 02:18:32 debian11 minio[862]:          Please use MINIO_ROOT_USER and MINIO_ROOT_PASSWORD
Feb 28 02:18:32 debian11 minio[862]: API: http://0.0.0.0:9000
Feb 28 02:18:32 debian11 minio[862]: Console: http://209.208.97.78:42459 http://127.0.0.1:42459
Feb 28 02:18:32 debian11 minio[862]: Documentation: https://docs.min.io
Feb 28 02:18:32 debian11 minio[862]: WARNING: Console endpoint is listening on a dynamic port (42459), please use --console-address ":PORT" t>
Access Minio Dashboard
Now, open your web browser and access the Minio web interface using the URL http://your-server-ip:9000. You will be redirected to the Minio login page:

Next, use the access key and private key from the configuration file as the username and password then click on the Login button. You should see the Minio dashboard on the following page:
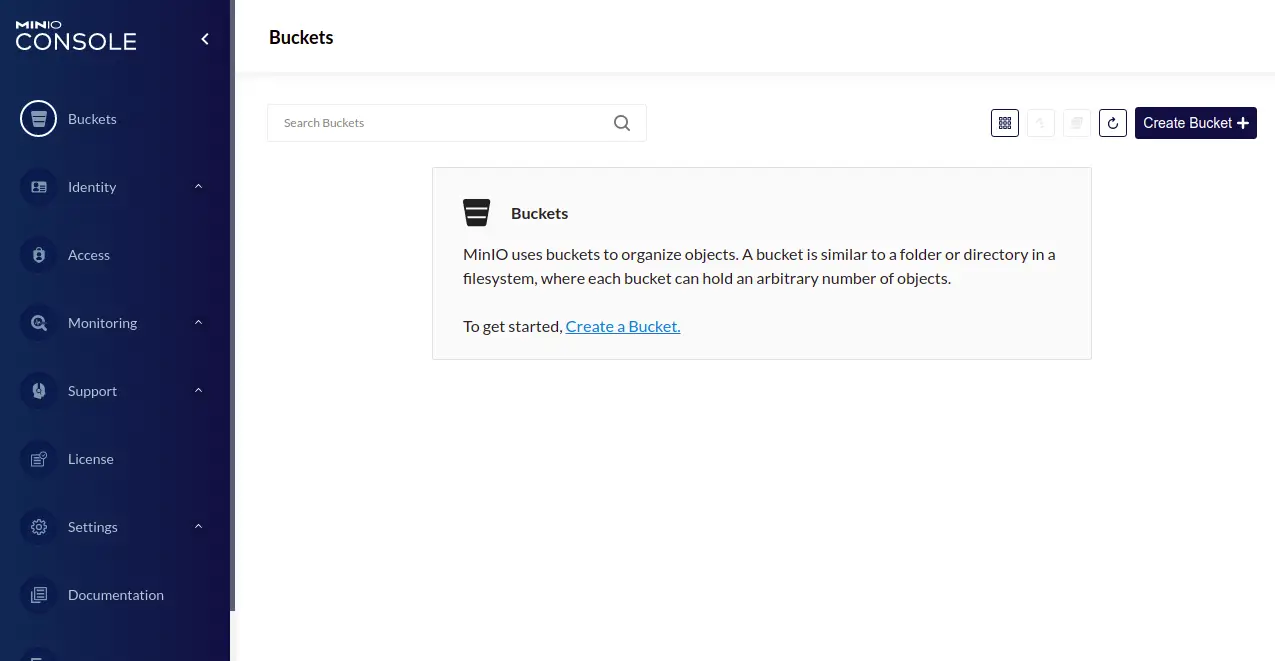
Click on the Create Bucket button. You should see the following page:
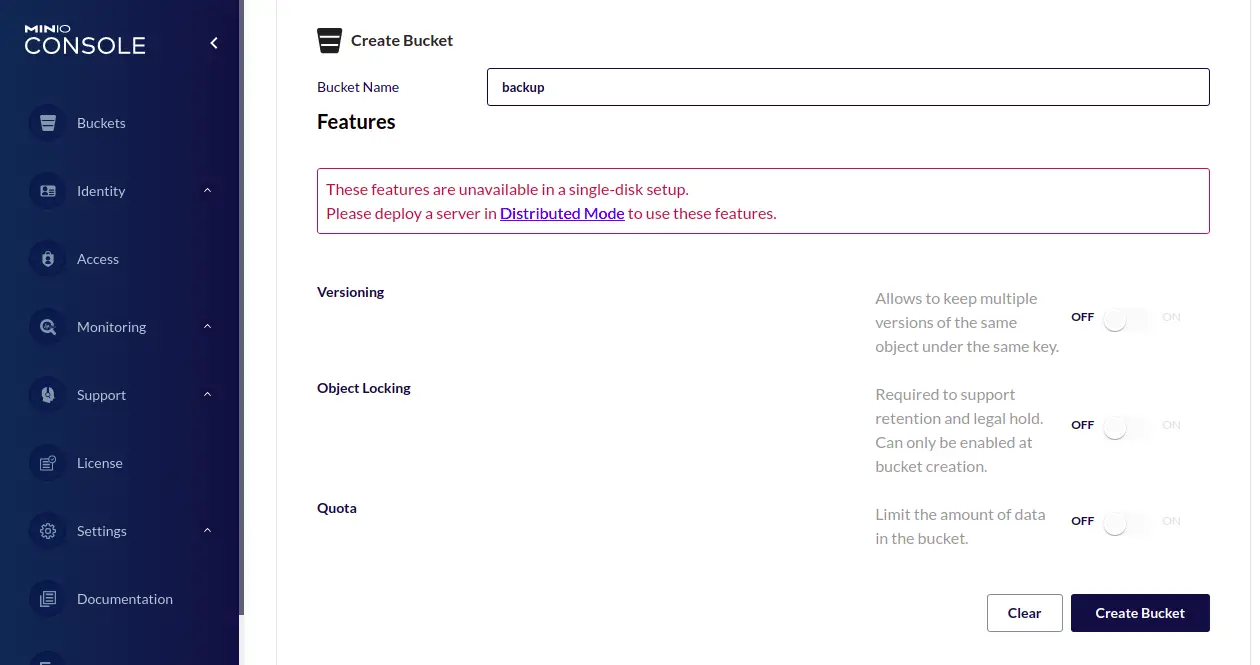
Provide your bucket name, and click on the Create Bucket button. You should see the following page:
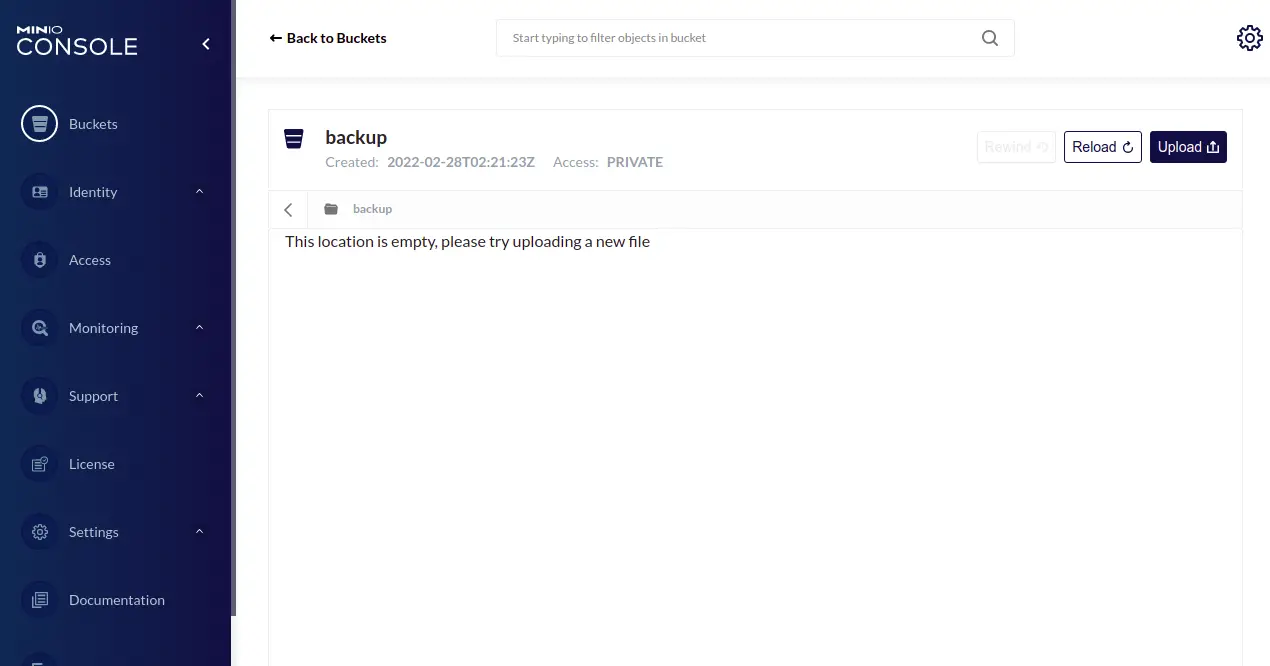
From here, you can upload and download your files from the web browser.
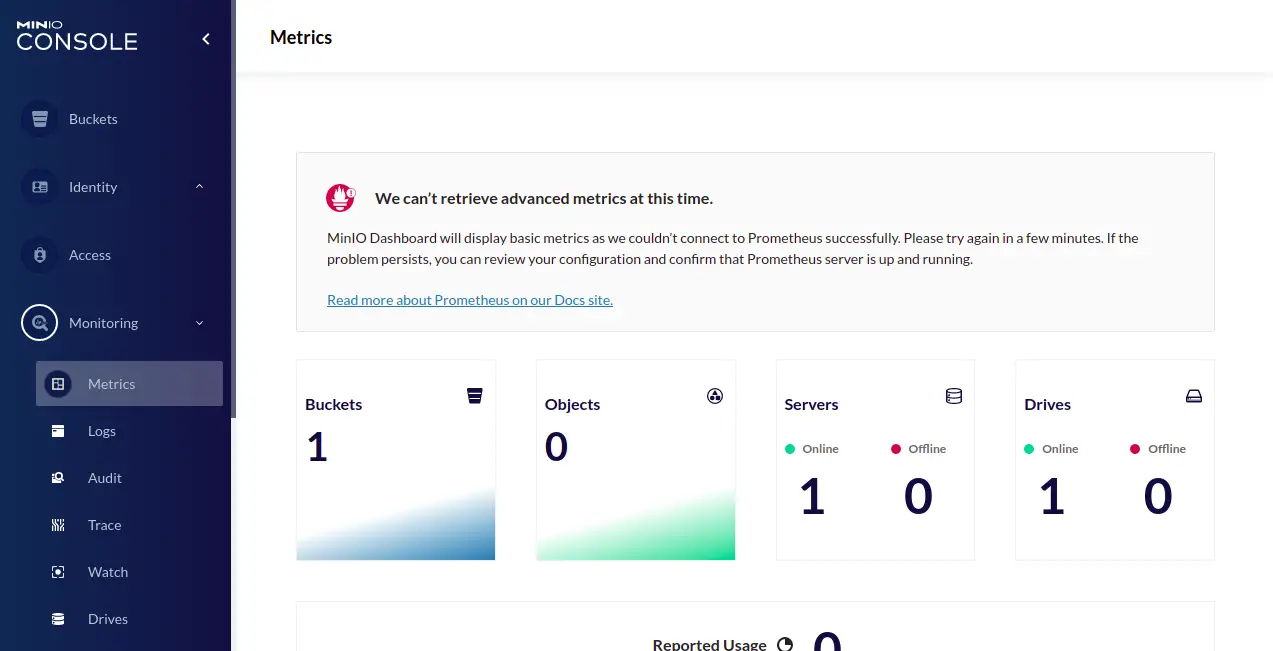
Click on the Monitoring => Metrics button. You should see your bucket metrics on the following page:
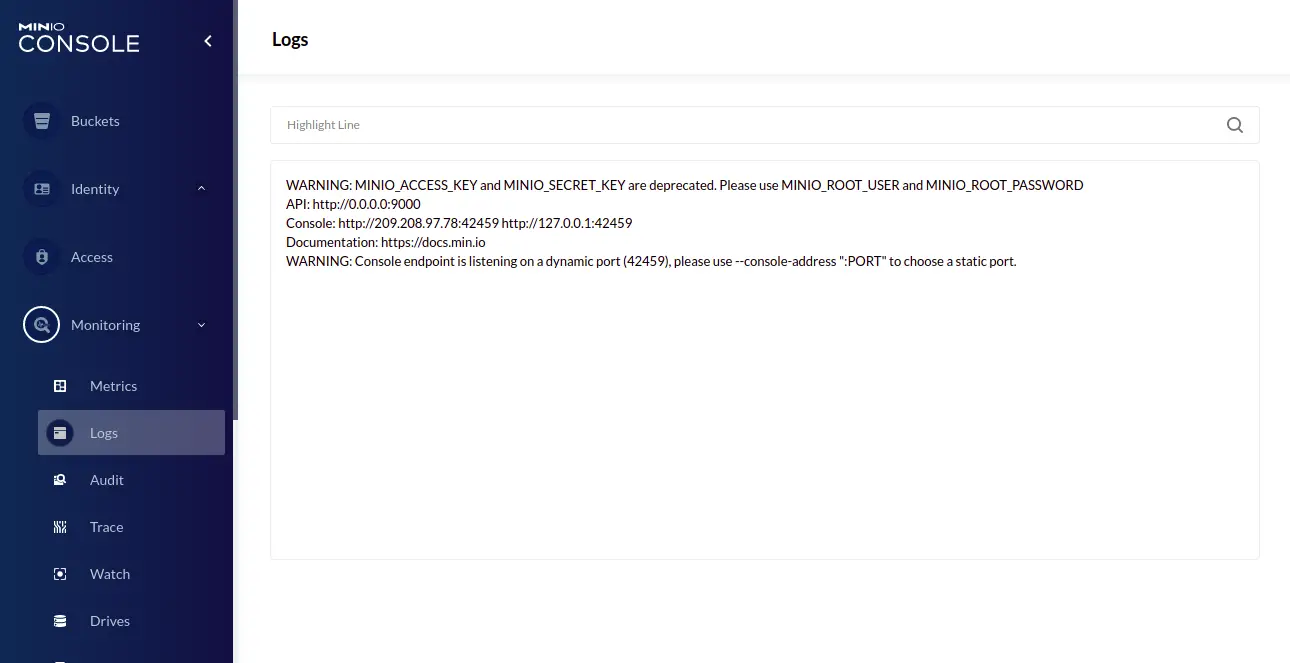
Click on the Logs button. You should see the Minio server logs on the following page:
Conclusion
Congratulations! you have successfully installed the Minio storage server on Debian 11. Now, you don't need to rely on AWS S3 storage. You can create your own S3 compatible storage server for your organization. Feel free to ask me if you have any questions.

