I have been working on Flutter projects for quite a while which was a whole new experience for me. It was my first time with declarative programming, Dart. I’m not going to talk about it here, because I don’t like the idea of hybrid apps and Flutter itself. But there I found the declarative syntax an easier option for trivial UI, i.e. login and signup forms.
Here I will explain how to add a SwiftUI view to your UIKit view controller and interact with it with a very basic example. You could download it from the git repo at GitHub.
I’m not going to write about SwiftUI code but I will explain should you properly interact with it from outside and update the UI. When I first wanted to do it I took the same approach one might take with a UIKit custom view: Create a function there and call it from outside, simple; wrong. It didn’t work. To do this a strong reference to an ObservaleObject is needed. Please read this for more information if you like.
class SharedViewControllerState: ObservableObject {
    @Published var isLoading: Bool = false
}
An instance of this class will be injected from the parent to the child, so parent can keep track of its value and change it.
Normally if your UI does not need to be updated from outside you can use @State wrapper for your variables and use them to update the UI.
Let’s create our SwiftUI view:
/// SwiftUIView.swift
Import SwiftUI
struct SwiftUIView: View {
var delegate: SwiftUIViewDelegate?
@ObservedObject private var state: SharedViewControllerState
init(state: SharedViewControllerState) {
self.state = state
}
var body: some View {
VStack {
Form {
Section {
Button("Action Button") {
state.isLoading = true
delegate?.buttonClicked()
}
Text("The button will be enabled after a few seconts")
.font(.system(.footnote))
}.disabled(state.isLoading)
Section {
Button("Enable from SwiftUI View") {
setIsActionCalled(value: false)
}
Text("Click here to enabled the above button")
.font(.system(.footnote))
}
}
}
}
func setIsActionCalled(value: Bool) {
state.isLoading = value
}
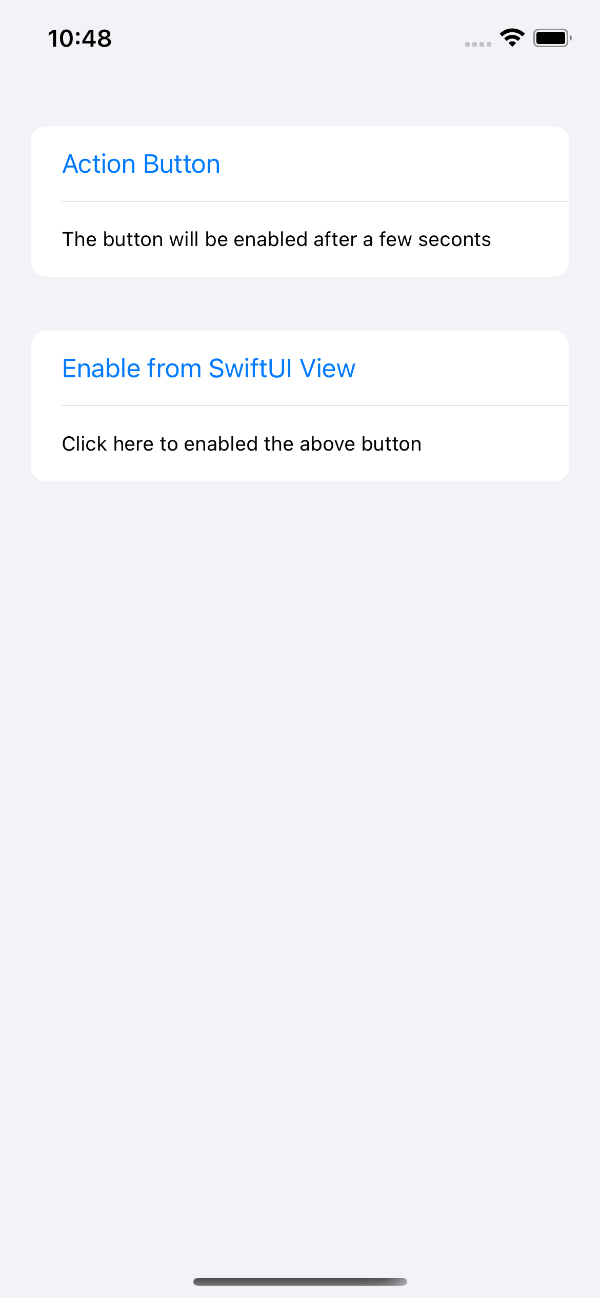
}It’s a very simple UI with two buttons and two labels. When user clicks the first button the button will be disabled until the parent enable it again or user force enable it from the SwiftUI view.
I already created a class for talking to the SwiftUI code from UIKit. To trigger an action in the UIKit view from the SwiftUI view we can use delegates. In this case a simple delegate with a function call does the work:
protocol SwiftUIViewDelegate {
    func buttonClicked()
}
No to hook up the this SwiftUI view to the UIKit view controller we have to use UIHostingController. First we create an instance of this class and inject the SwiftUI view as its rootView then add this view as a child to the view controller.
/// ViewController.swift

class ViewController: UIViewController {

    var swiftUIView: SwiftUIView?
    var state = SharedViewControllerState()

    override func viewDidLoad() {
        super.viewDidLoad()
        swiftUIView = SwiftUIView(state: self.state)
        swiftUIView?.delegate = self

        let hostingController = UIHostingController(rootView: swiftUIView)
        addChild(hostingController)
        view.addSubview(hostingController.view)
        hostingController.view.translatesAutoresizingMaskIntoConstraints = false
        NSLayoutConstraint.activate([
            hostingController.view.leadingAnchor.constraint(equalTo: self.view.leadingAnchor),
            hostingController.view.topAnchor.constraint(equalTo: self.view.topAnchor),
            hostingController.view.trailingAnchor.constraint(equalTo: self.view.trailingAnchor),
            hostingController.view.bottomAnchor.constraint(equalTo: self.view.bottomAnchor)
        ])
        hostingController.didMove(toParent: self)
    }

}

// MARK: - SwiftUIView Delegate
extension ViewController: SwiftUIViewDelegate {
    func buttonClicked() {
        DispatchQueue.main.asyncAfter(deadline: .now() + 3) {
            self.swiftUIView?.setIsActionCalled(value: false)
        }
    }
}
There are two things I would like to mention but you might not need them. First, when you add a SwiftUI view to view it comes wrapped in a UINavigationController so you might see two navigation bars or one unwanted one. To remove it you can either call navigationController?.setNavigationBarHidden(true, animated: false) on viewDidAppear or subclass UIHostingController and apply it there, which is my preferable solution. Your subclass might look like:
class CustomUIHostingViewController<Content: View>:UIHostingController<Content> {
  override func viewWillAppear(_ animated: Bool) {
    navigationController?.setNavigationBarHidden(true, animated: false)
  }
}
The other thing is, if you want to dismiss your view controller properly you need to remove this newly added view from your view controller’s hierarchy first. An extension to UIViewController to remove all children of the view controller could do the trick too. Just call it before calling dismiss on the view controller.
extension UIViewController {
    func removeTopChildViewController(){
        if self.children.count > 0 {
            let viewControllers:[UIViewController] = self.children
            viewControllers.last?.willMove(toParent: nil)
            viewControllers.last?.removeFromParent()
            viewControllers.last?.view.removeFromSuperview()
        }
    }
}