
Apple Macs are excellent devices for productivity. The company's MacBook Pro lineup strikes the perfect balance between power and portability and doesn't compromise battery life. Whether you are a writer, programmer or creator and type text a lot, you may have run into several built-in fonts to switch between.
macOS comes with the default Font Book app to download and manage built-in fonts. The desktop OS supports third-party fonts, too. You can find, download and install your favorite fonts in supported apps. Whether you're on macOS Sonoma or an earlier version, follow the steps below to take advantage of this feature.
Install and use fonts on Mac
As mentioned, there are a couple of ways to install fonts on Mac. Before you find your preferred fonts on the web, explore the default Font Book app.
How to install fonts using Font Book
- Open Launchpad and find Font Book.
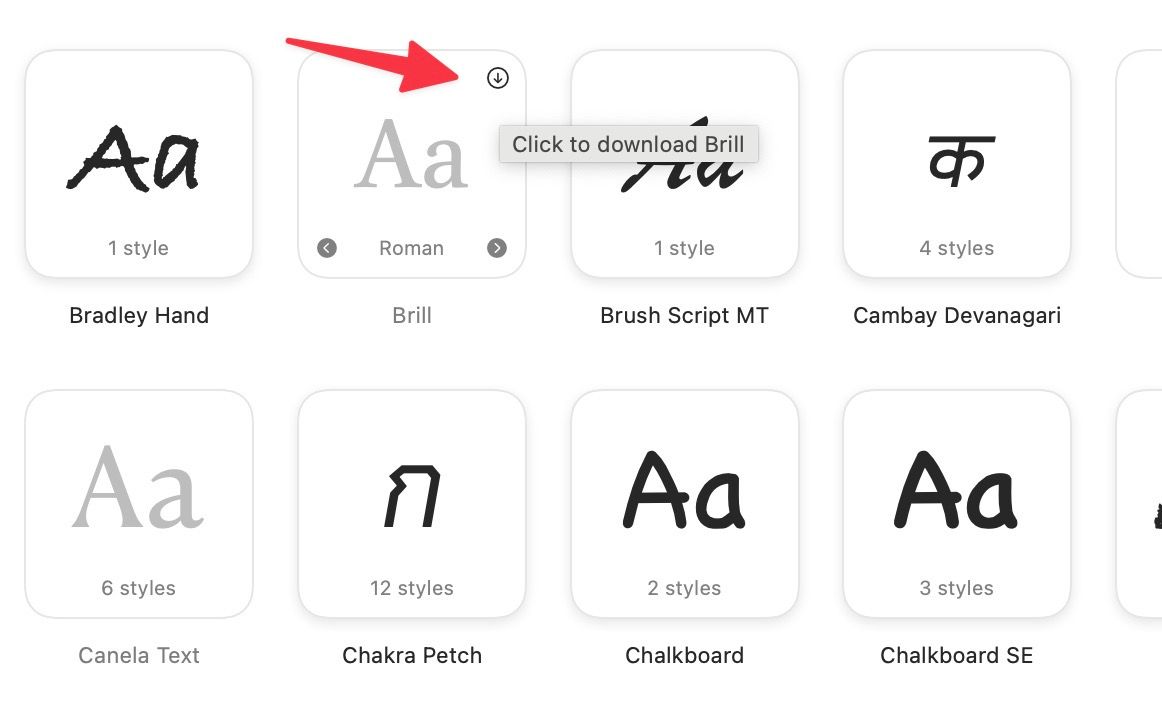
- Select All Fonts from the sidebar. Click one of the greyed-out fonts.
-
Click a small down-arrow icon above a font to download it. You can double-click on a font type to check the preview.

How to install new fonts from the web
You can also buy third-party fonts from the web or glance over free fonts available on the public domain. Follow the steps below to make changes.
- Search for font files online using your favorite search engine. You will find some free ones for non-commercial use and other paid ones. DaFont and Fontspace are two of the popular sources to find unique fonts for your Mac.
- Buy the font you like, or download a free one.
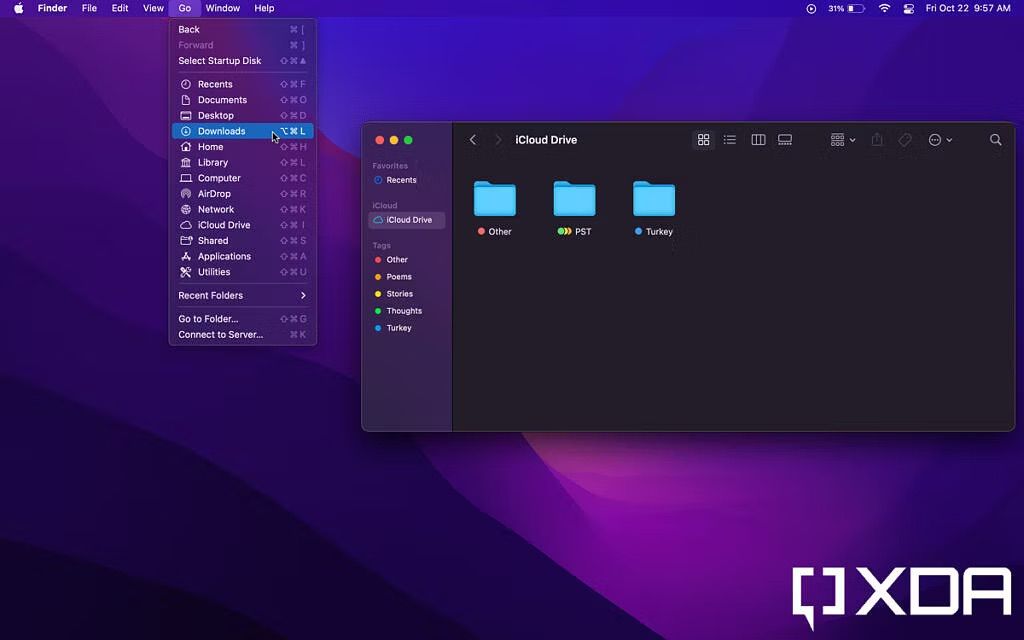
- Launch the Finder app from your Dock, Launcher, or Spotlight Search.
-
Navigate to the Downloads folder through the sidebar or from the menu bar Go > Downloads.
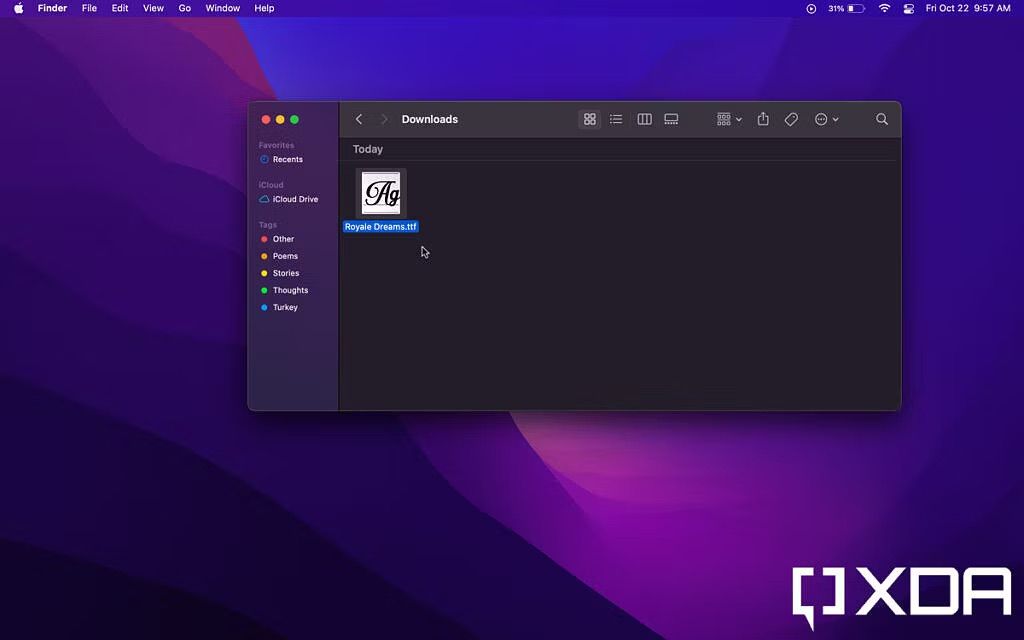
- Fonts come in several extensions, but the most common ones are .OTF, .TTF, and .FNT. Locate the downloaded font file in the Downloads folder and double-click it.
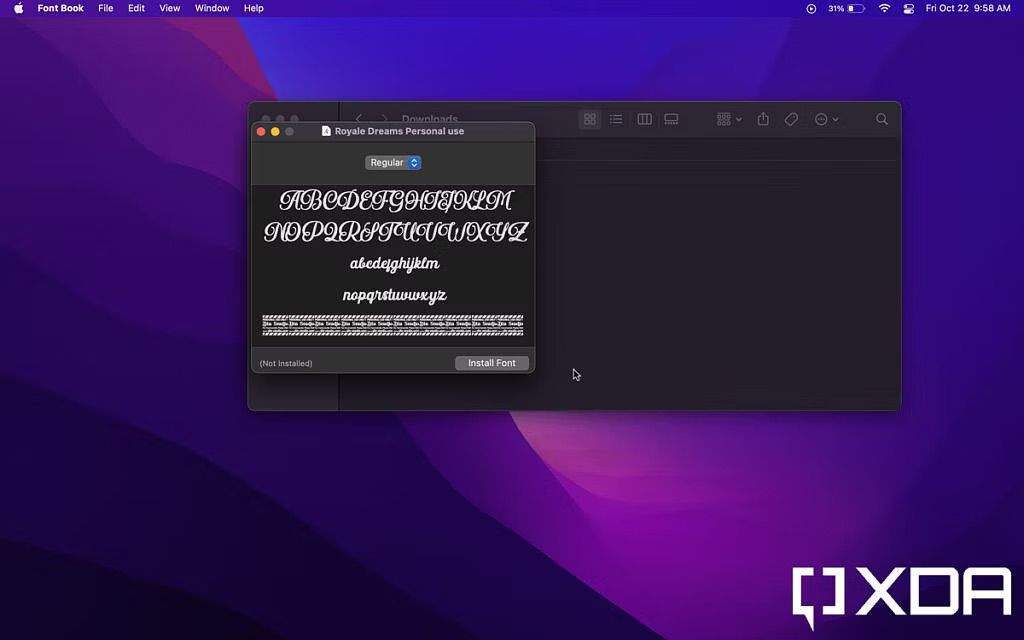
- You will get a preview of the font. Confirm that you indeed like the font and want to install it.
-
If you want to add it to your Mac, hit on the Install Font button.
-
A progress bar will appear, and it shouldn't take more than a few seconds.
-
Once installed, the Font Book app will launch, and you will be navigated to the newly installed font.
-
Voila! You can now use it across apps that support fonts, such as Pages.


How to remove fonts on Mac
If you no longer need specific fonts on Mac, use the steps below to remove it.
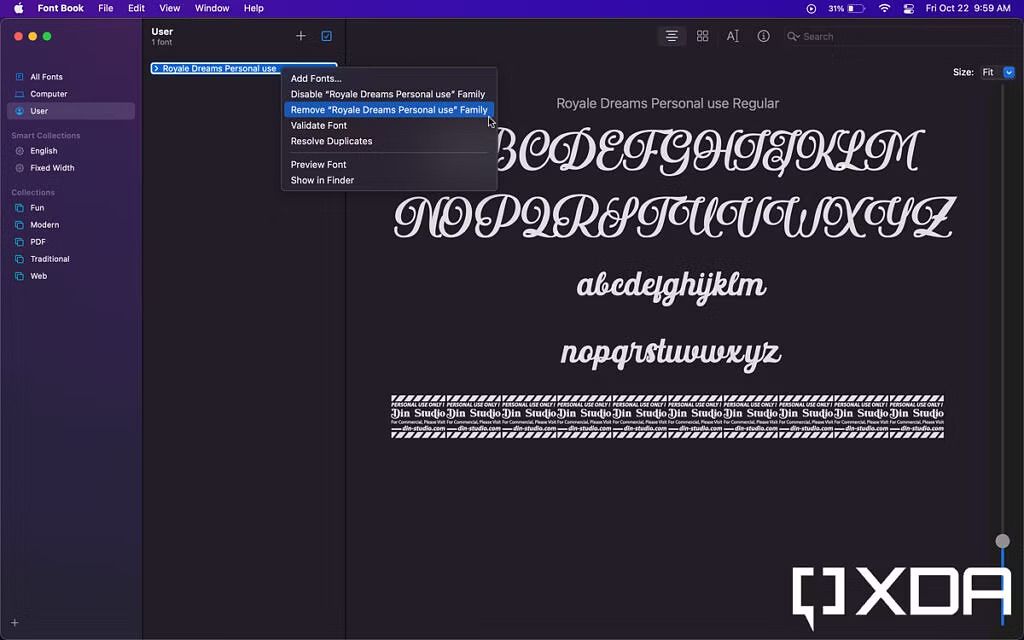
- Just head to the Font Book app and right-click on the font.
-
Tap Remove "Font" Family.
-
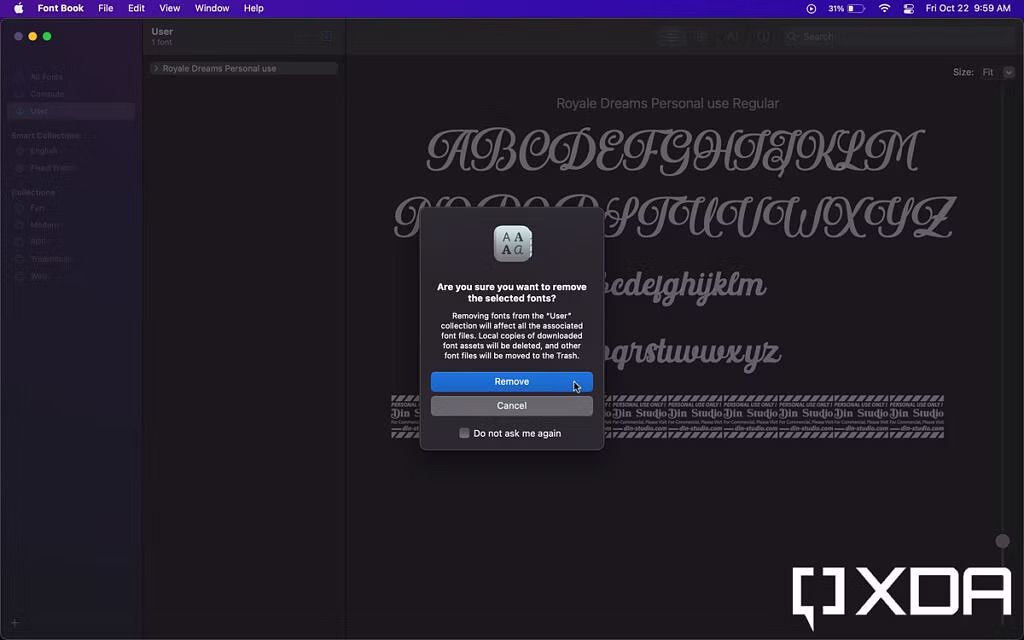
Confirm you want to remove it.


Manage your Mac fonts
Now, you can use third-party fonts when working on documents in your favorite apps. Just make sure that you download fonts from reliable sources to avoid malicious files. If you receive a warning from macOS when attempting to download or install a font, abort the process, delete the file, and avoid the source in the future. Apart from different font styles, macOS also comes with built-in support to insert special characters in any app.