How to create a MySQL Database Server and Database in Azure Cloud
Azure SQL Database is a fully managed platform as a service (PaaS). Azure handles database management functions such as upgrading, patching, backups, and monitoring and we do not need to worry about these operations. Azure SQL Database provides 99.99% availability. We can create a highly available and high-performance data storage using the SQL database service of Azure.
SQL Database automatically performs full, differential, and transaction log backups of databases. It supports recovery to any point in time, can have up to four readable secondary databases.
There are no upfront fees on SQL Databases, we only need to pay for what we use. To know more about its pricing, click here.
In this article, we will see how to create an SQL database, connect to it, create a table in it and delete it at the end.
Pre-requisites
- Azure Account (Create if you don’t have one).
What will we do?
- Login to Azure.
- Create an SQL Database.
- Connect to the Database.
- Delete the Database.
Login to Azure
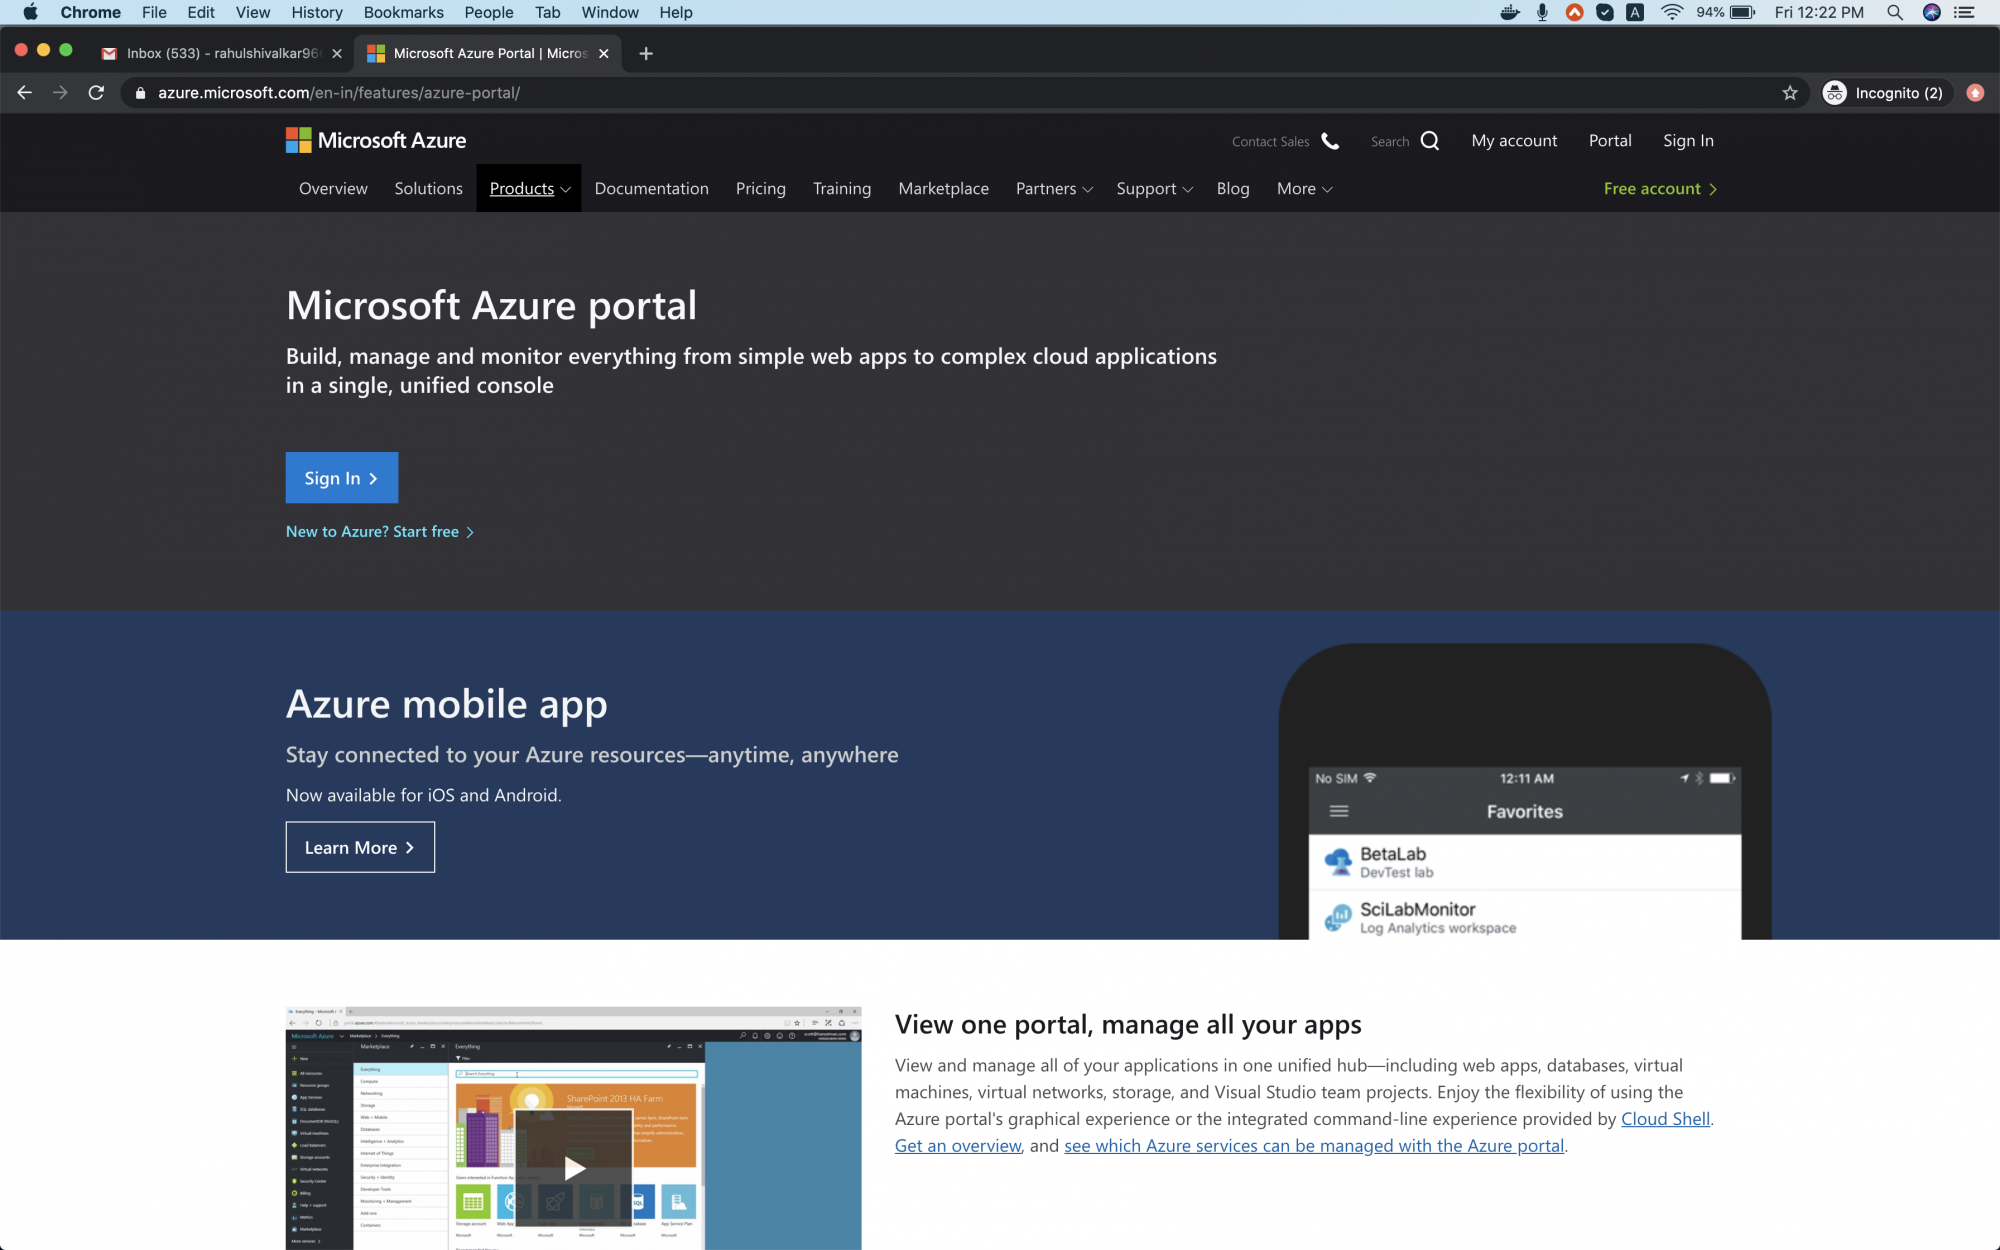
Click here to go Azure portal and click on Sign in.
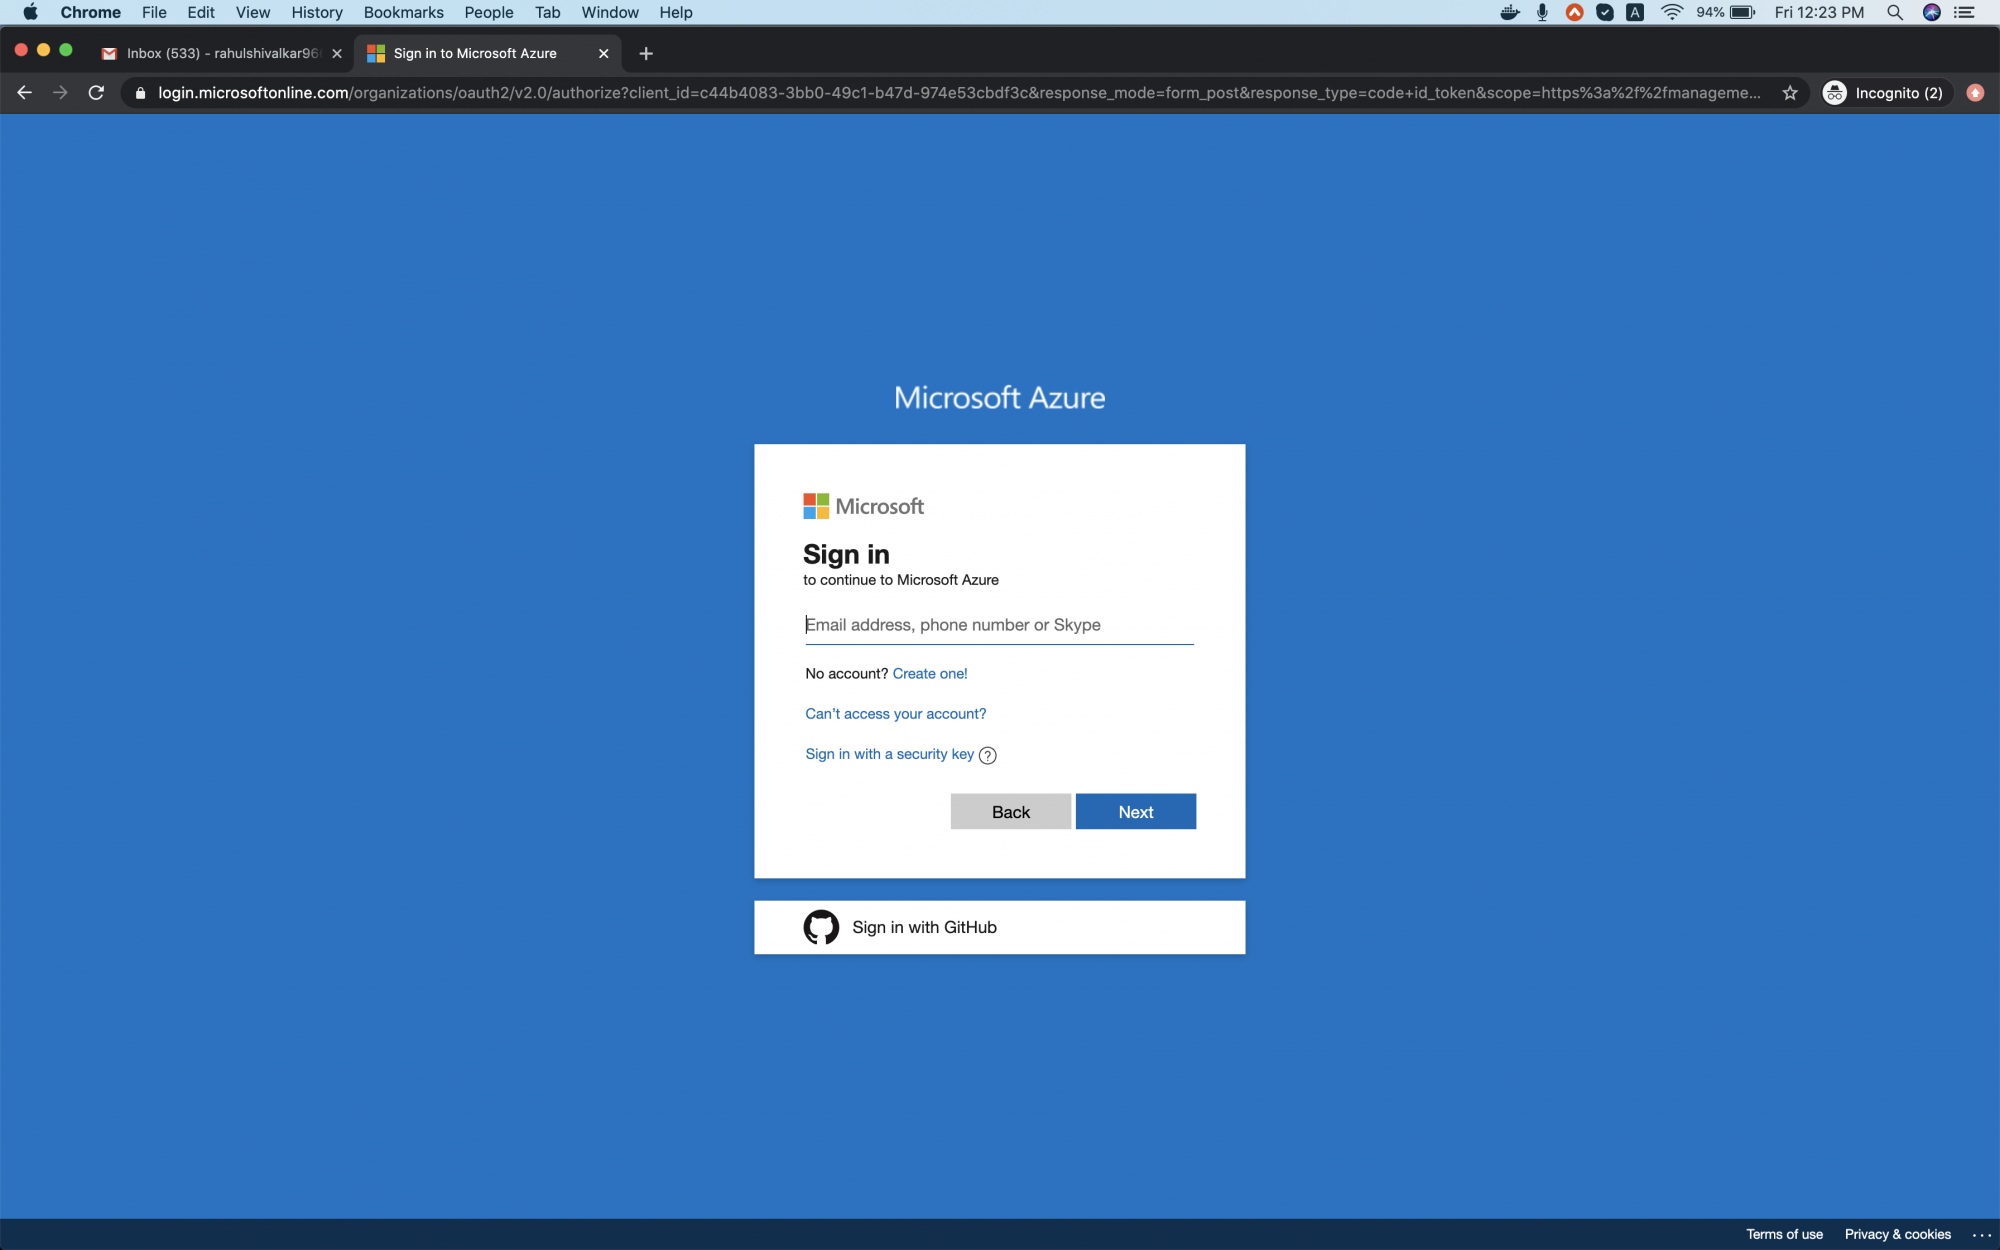
Use your credentials to log in to the account.
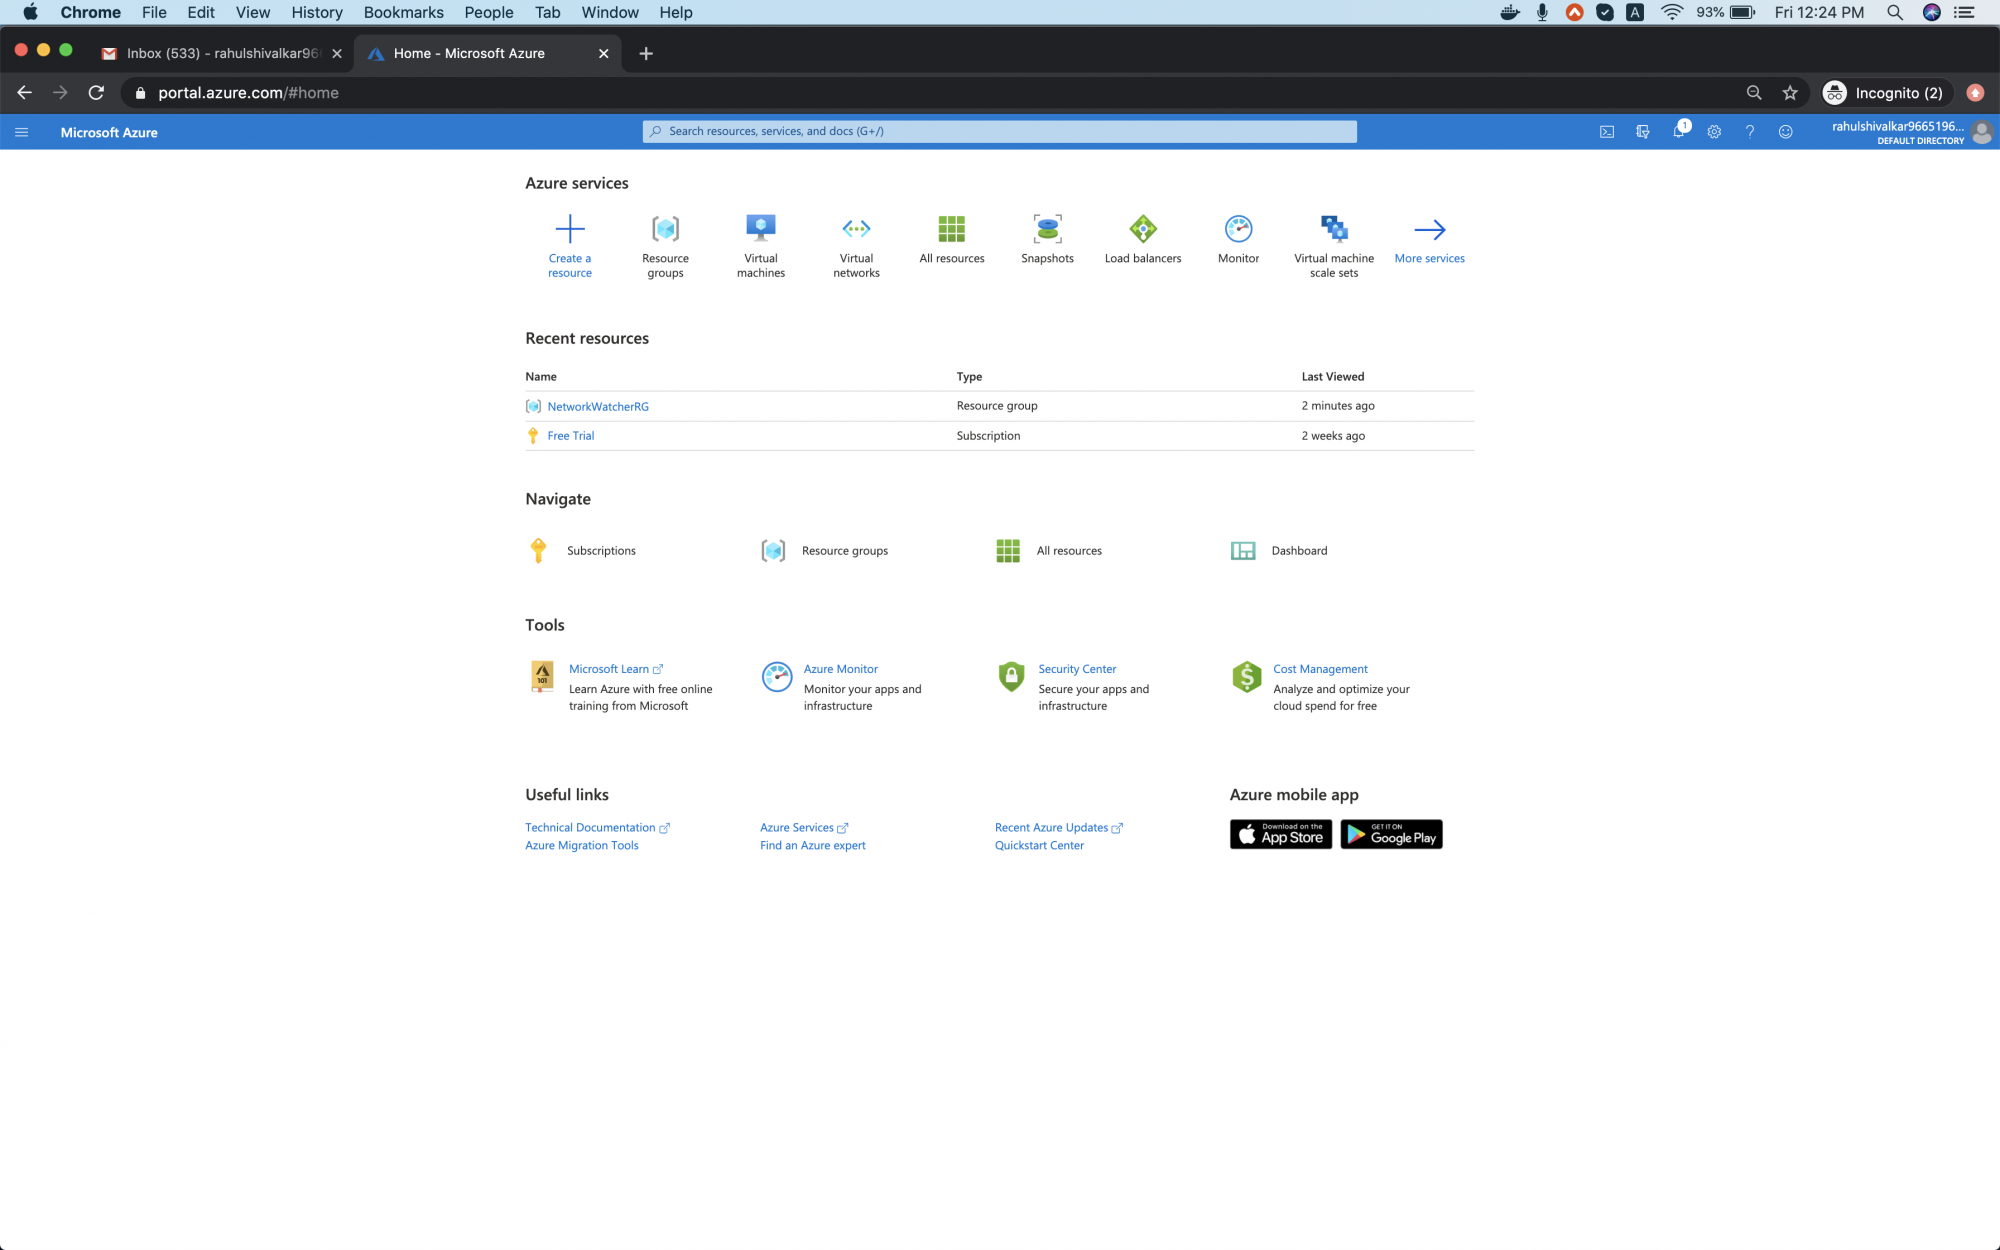
You will see the main page as follows once you successfully login to your account. Click on 3 lines near "Microsoft Azure" in the upper left-hand corner of the Azure portal to show the portal menu.
Create a MySQL Database in Azure Cloud
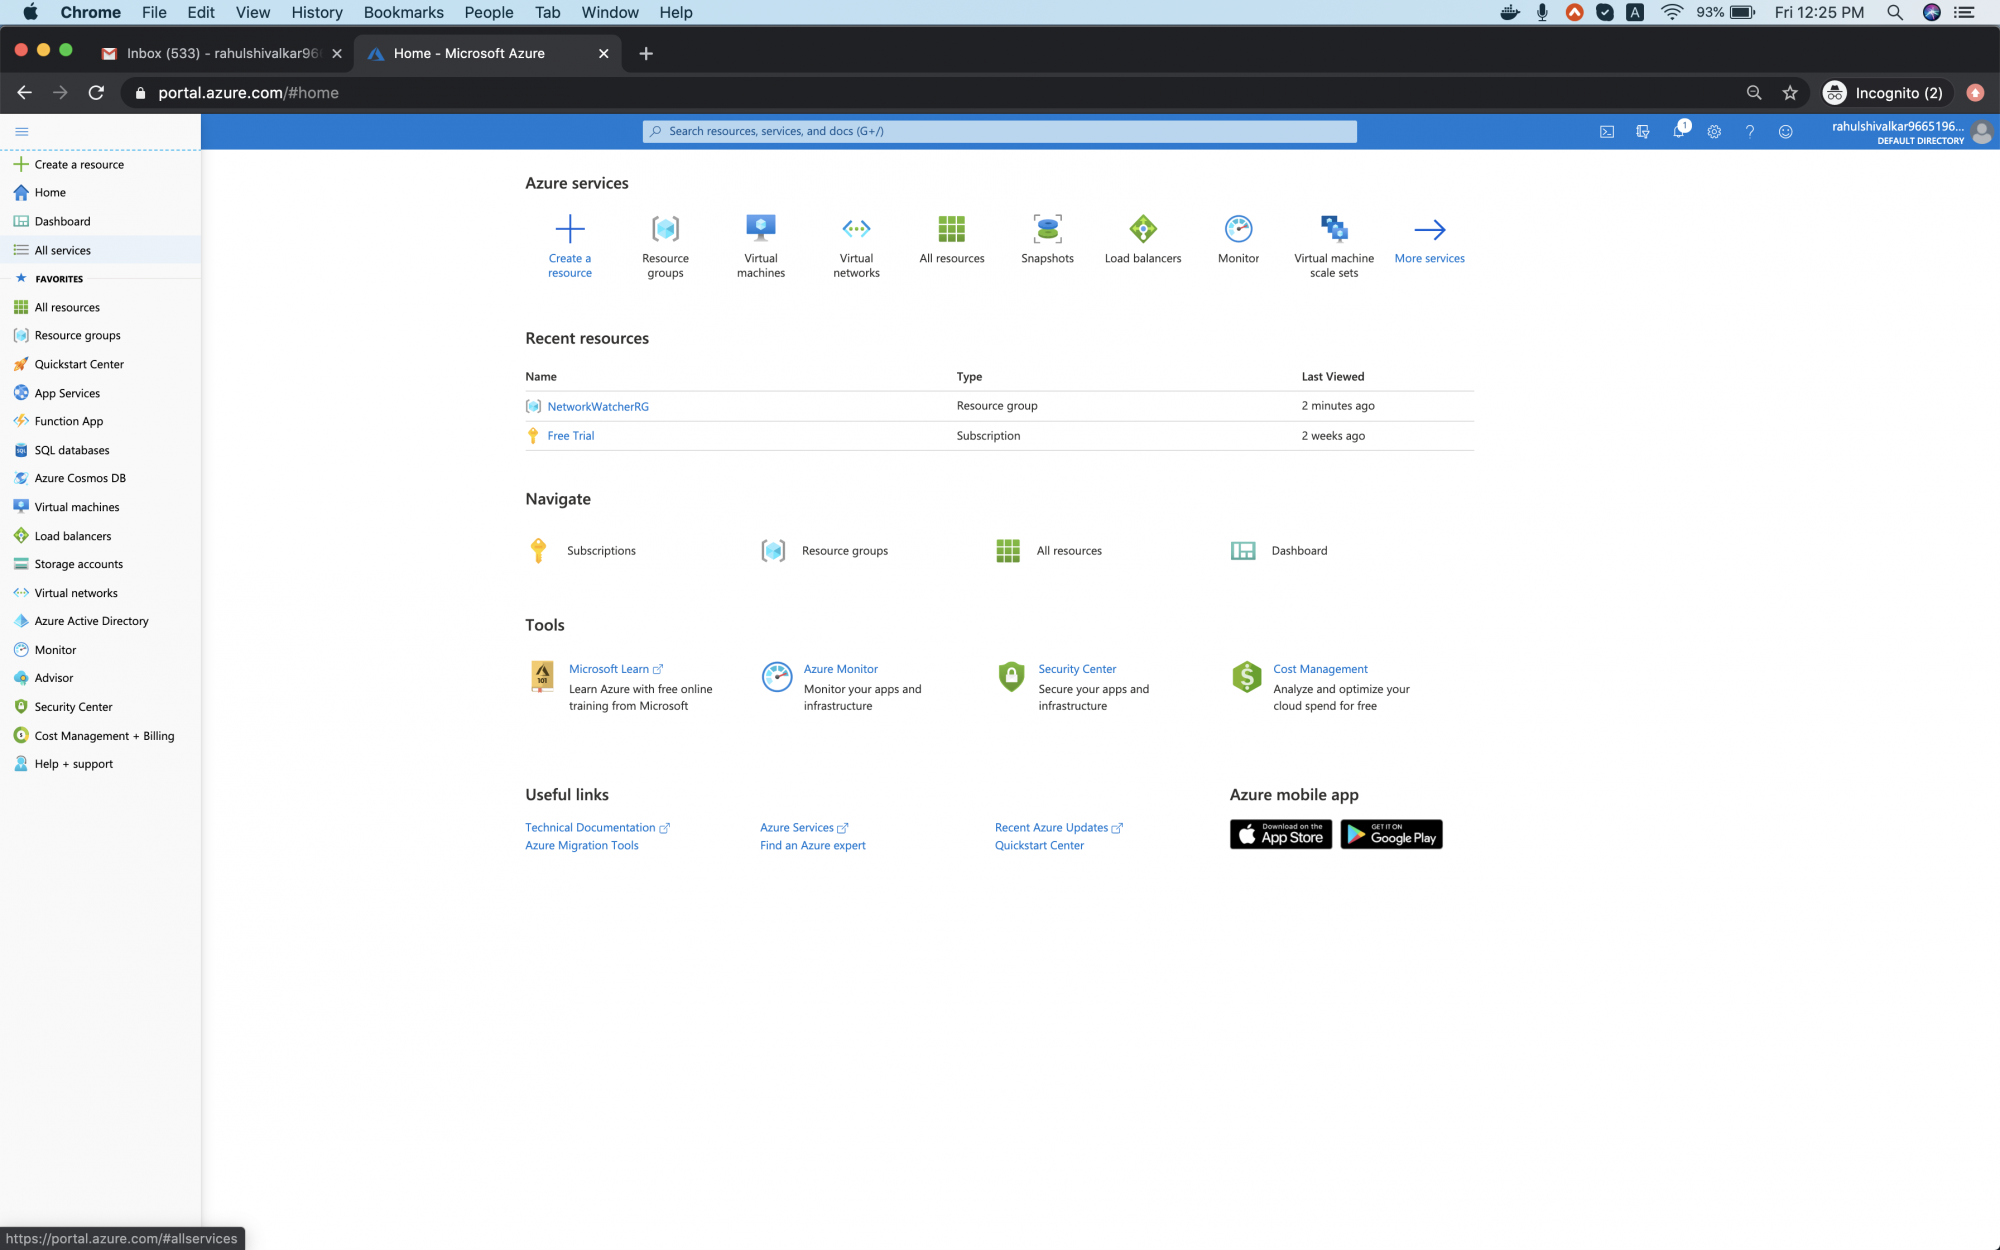
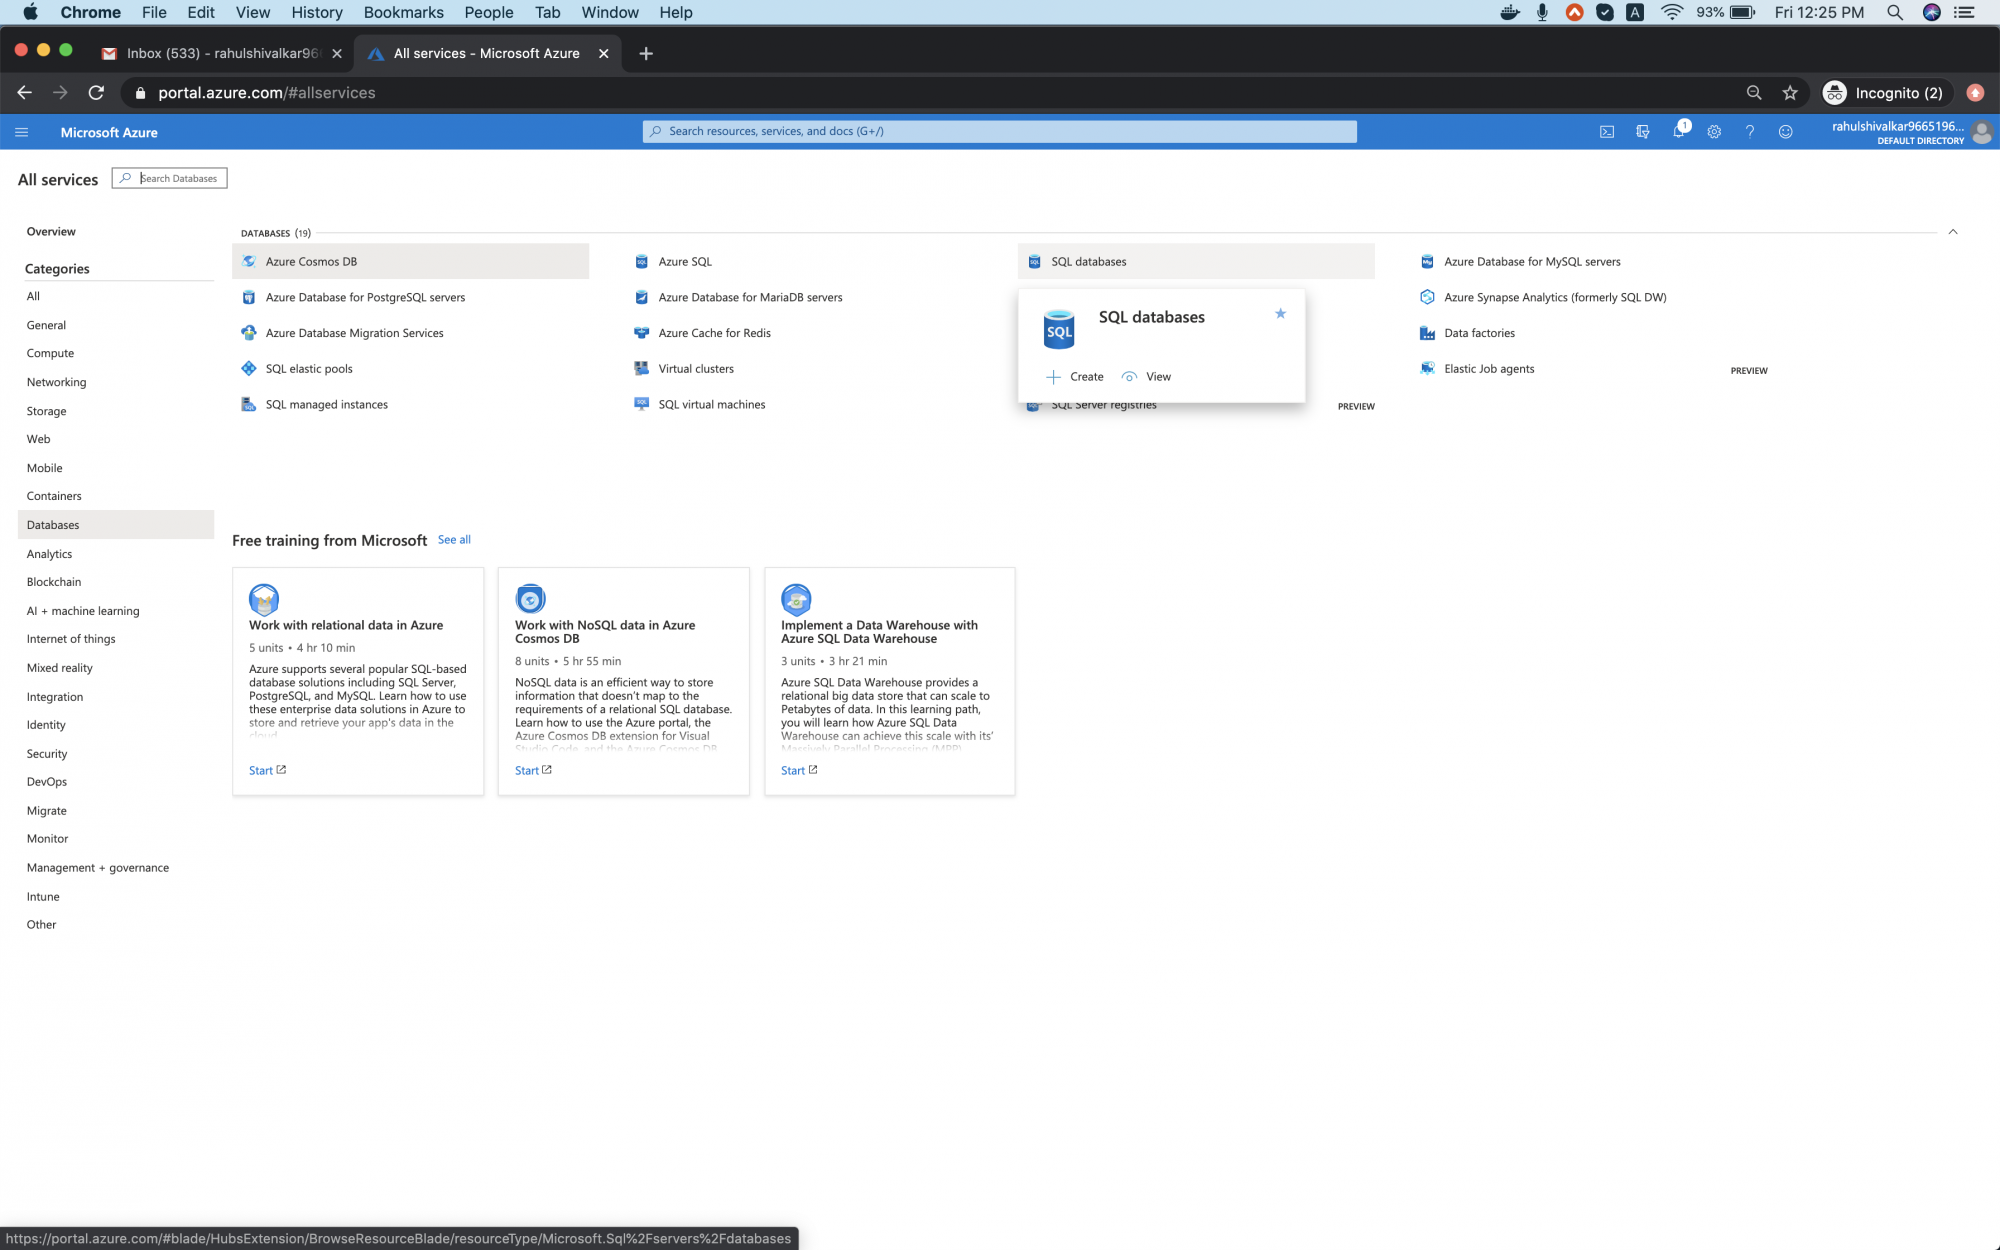
Click on "All services" in the left panel.
You will see a screen with all the services, click on Databases - > SQS databases.
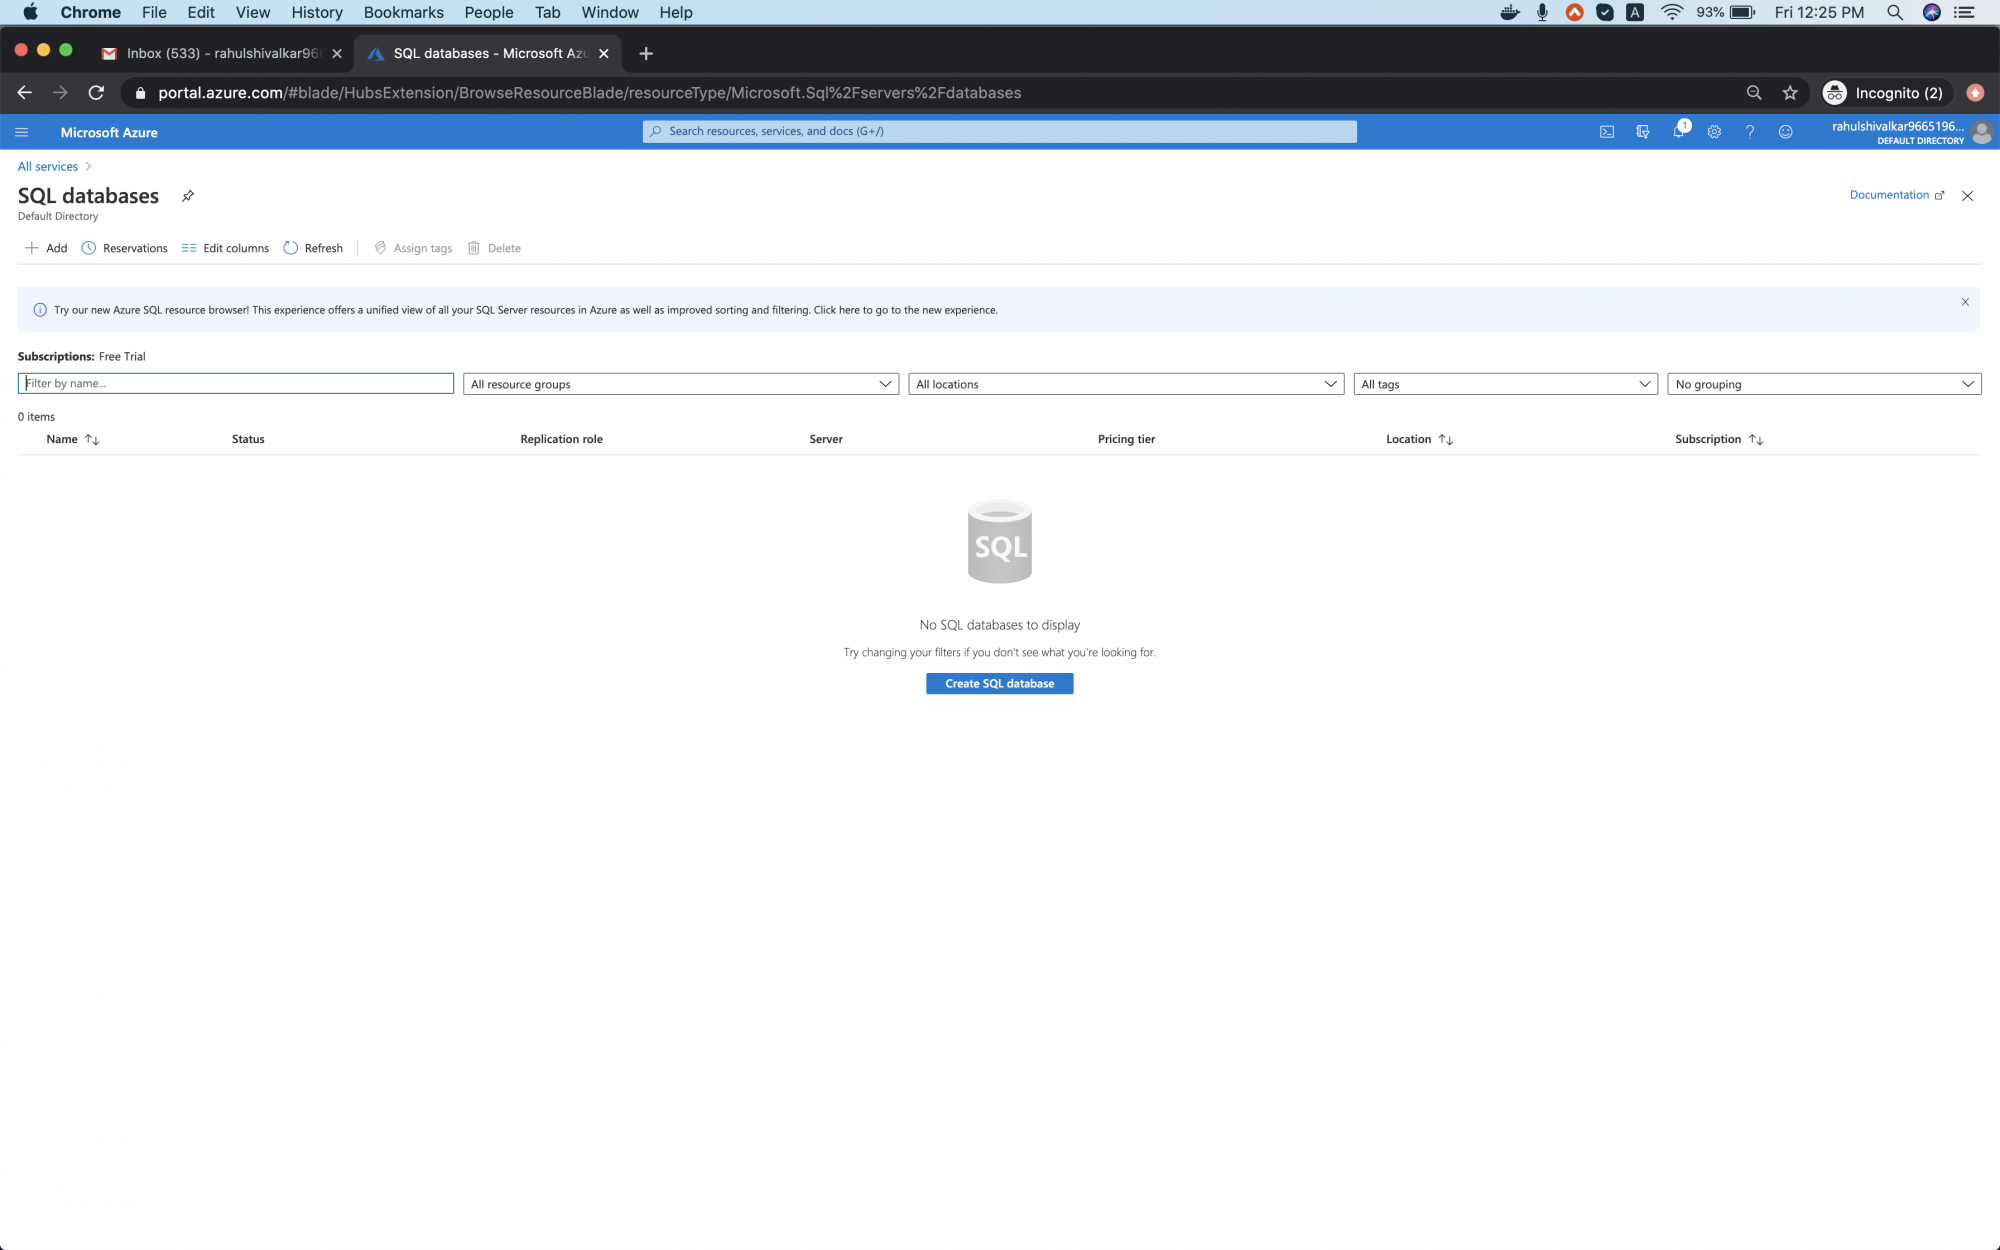
You will see the main dashboard as follows. Click on "Add" to create your first SQL database.
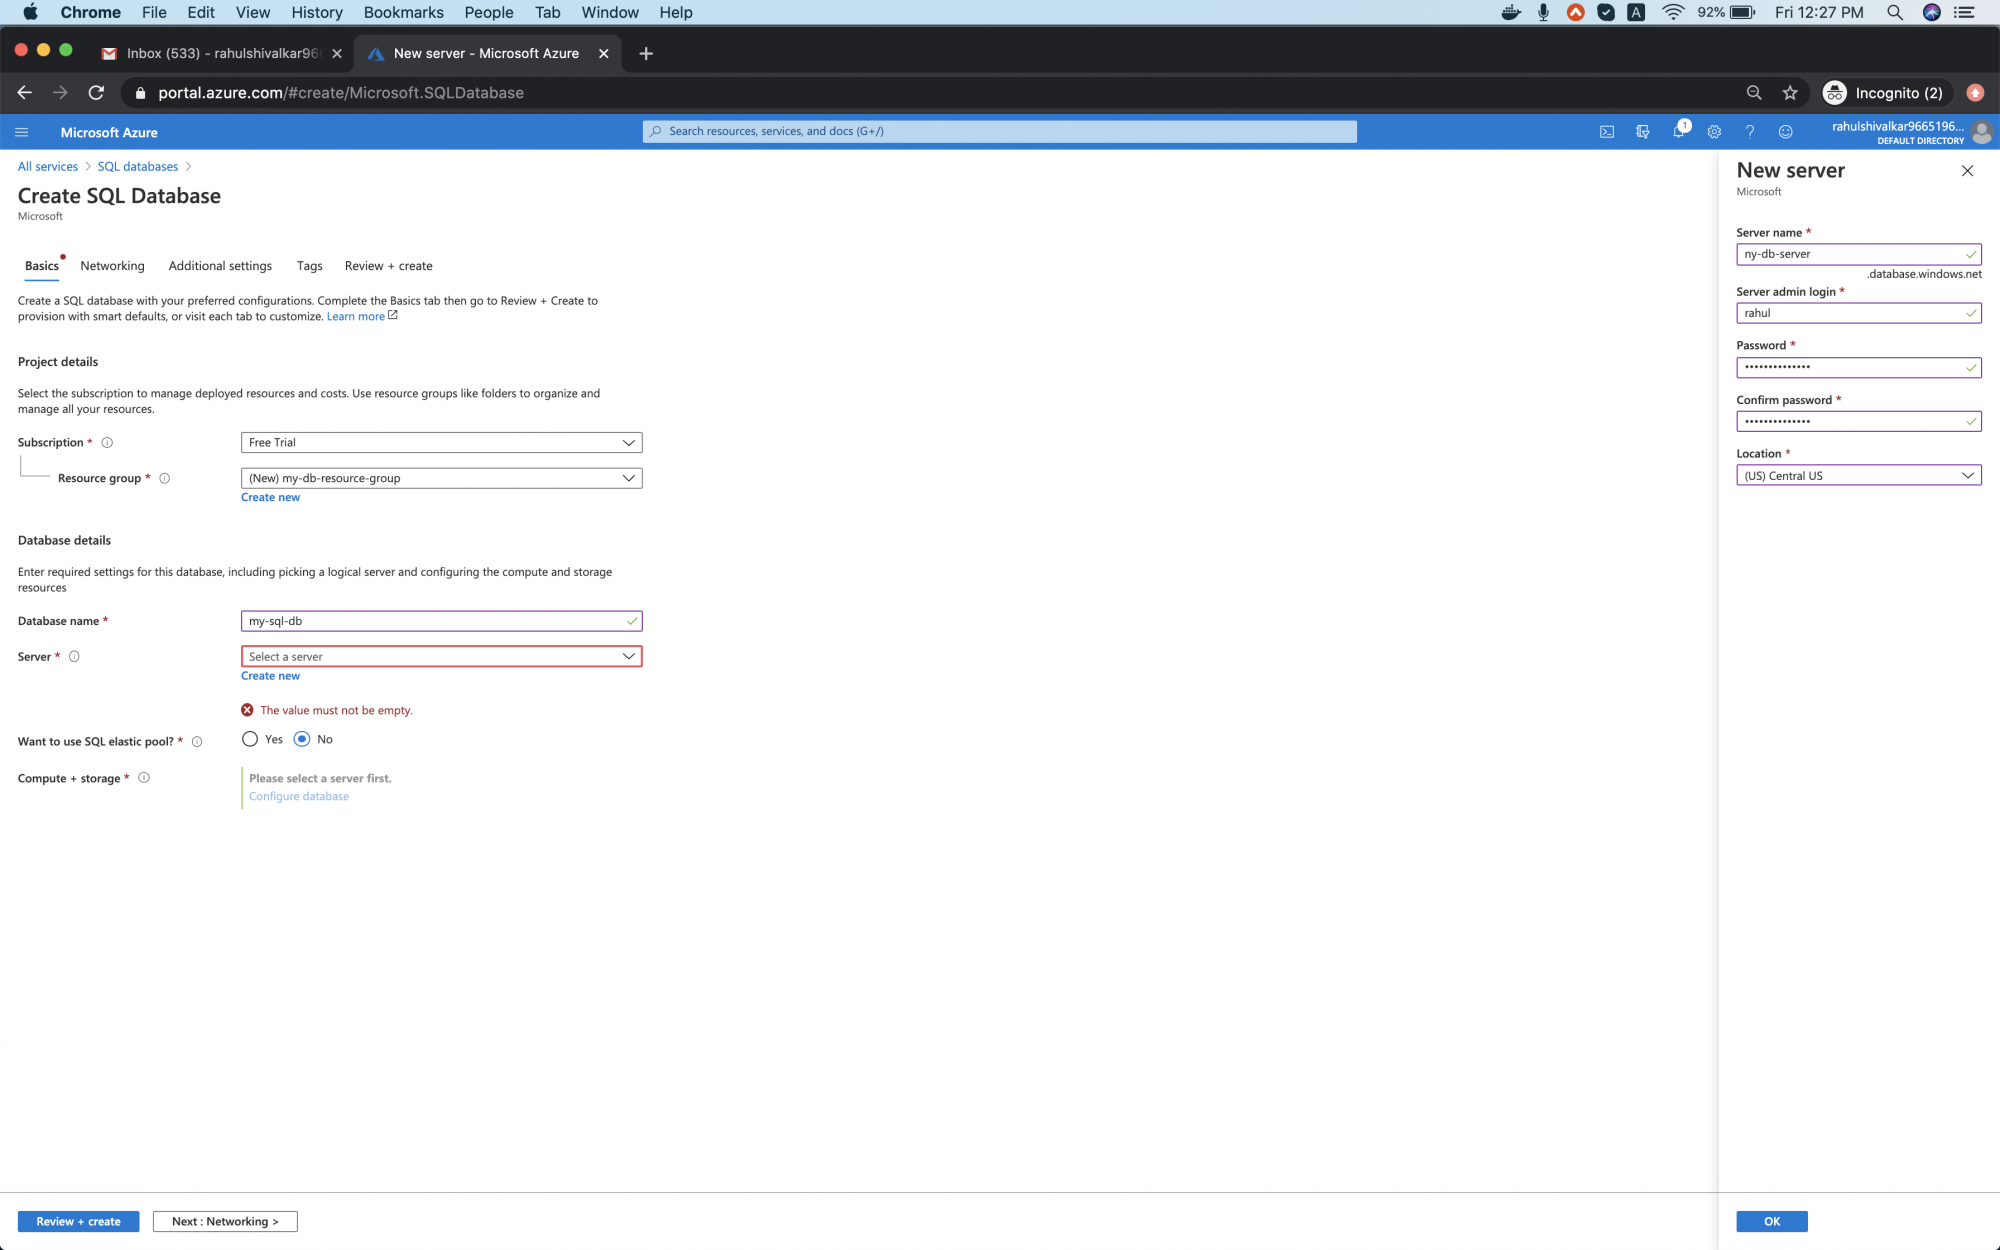
Here, for Resource Group click on create new, enter my-db-resource-group name and then select OK, Add Database name as my-sql-db and click on "create new" to create a new database server. Add Server Name, Server admin login name, password, and location. These details will be used to login to the database server.
Note: The server name must be globally unique.
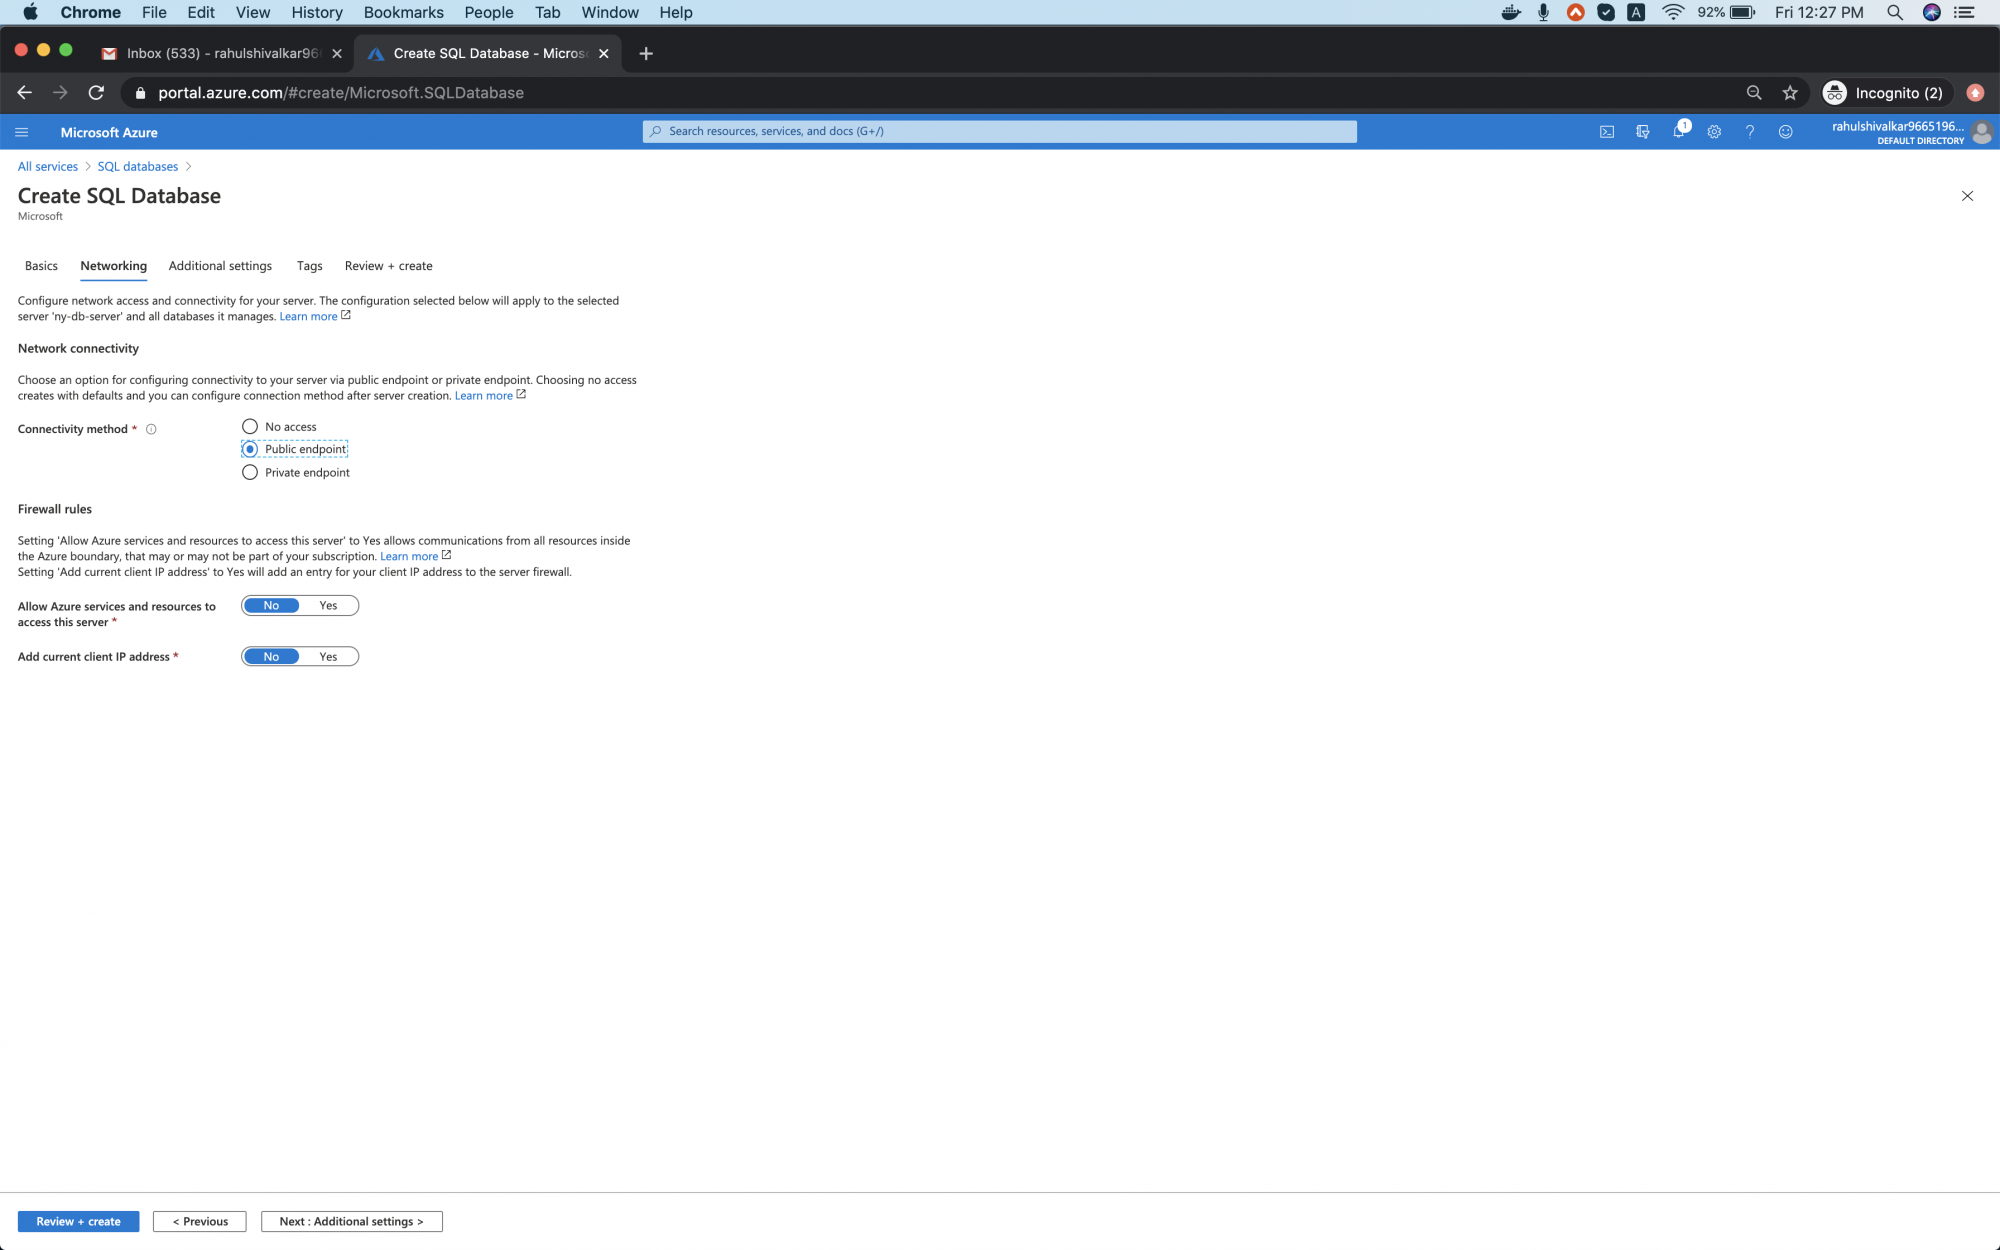
Click on "Next: Networking" to proceed.
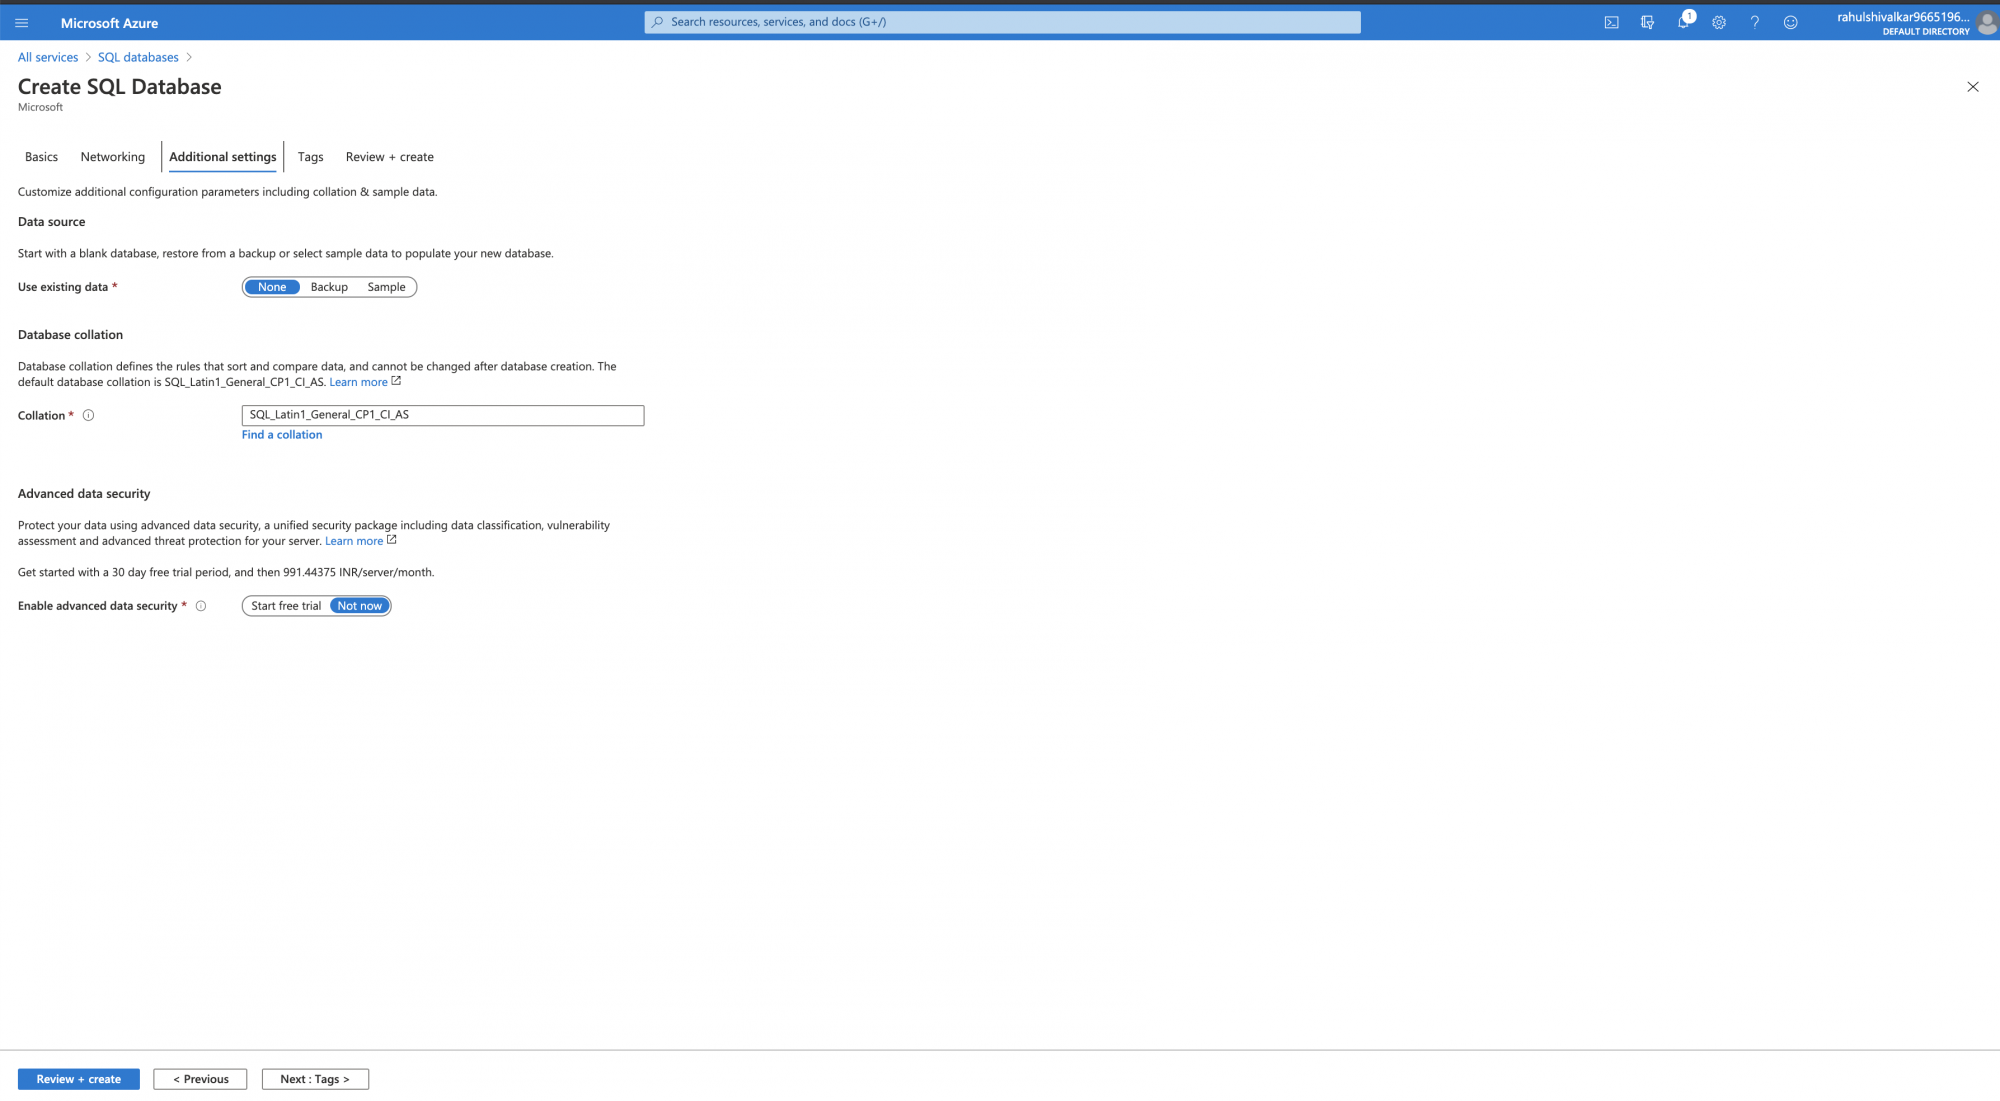
Add the "" as "Public endpoint", keep the rest as is and click on "Next: Additional settings".
Click on "Next: Tags" to proceed with the default configuration here.
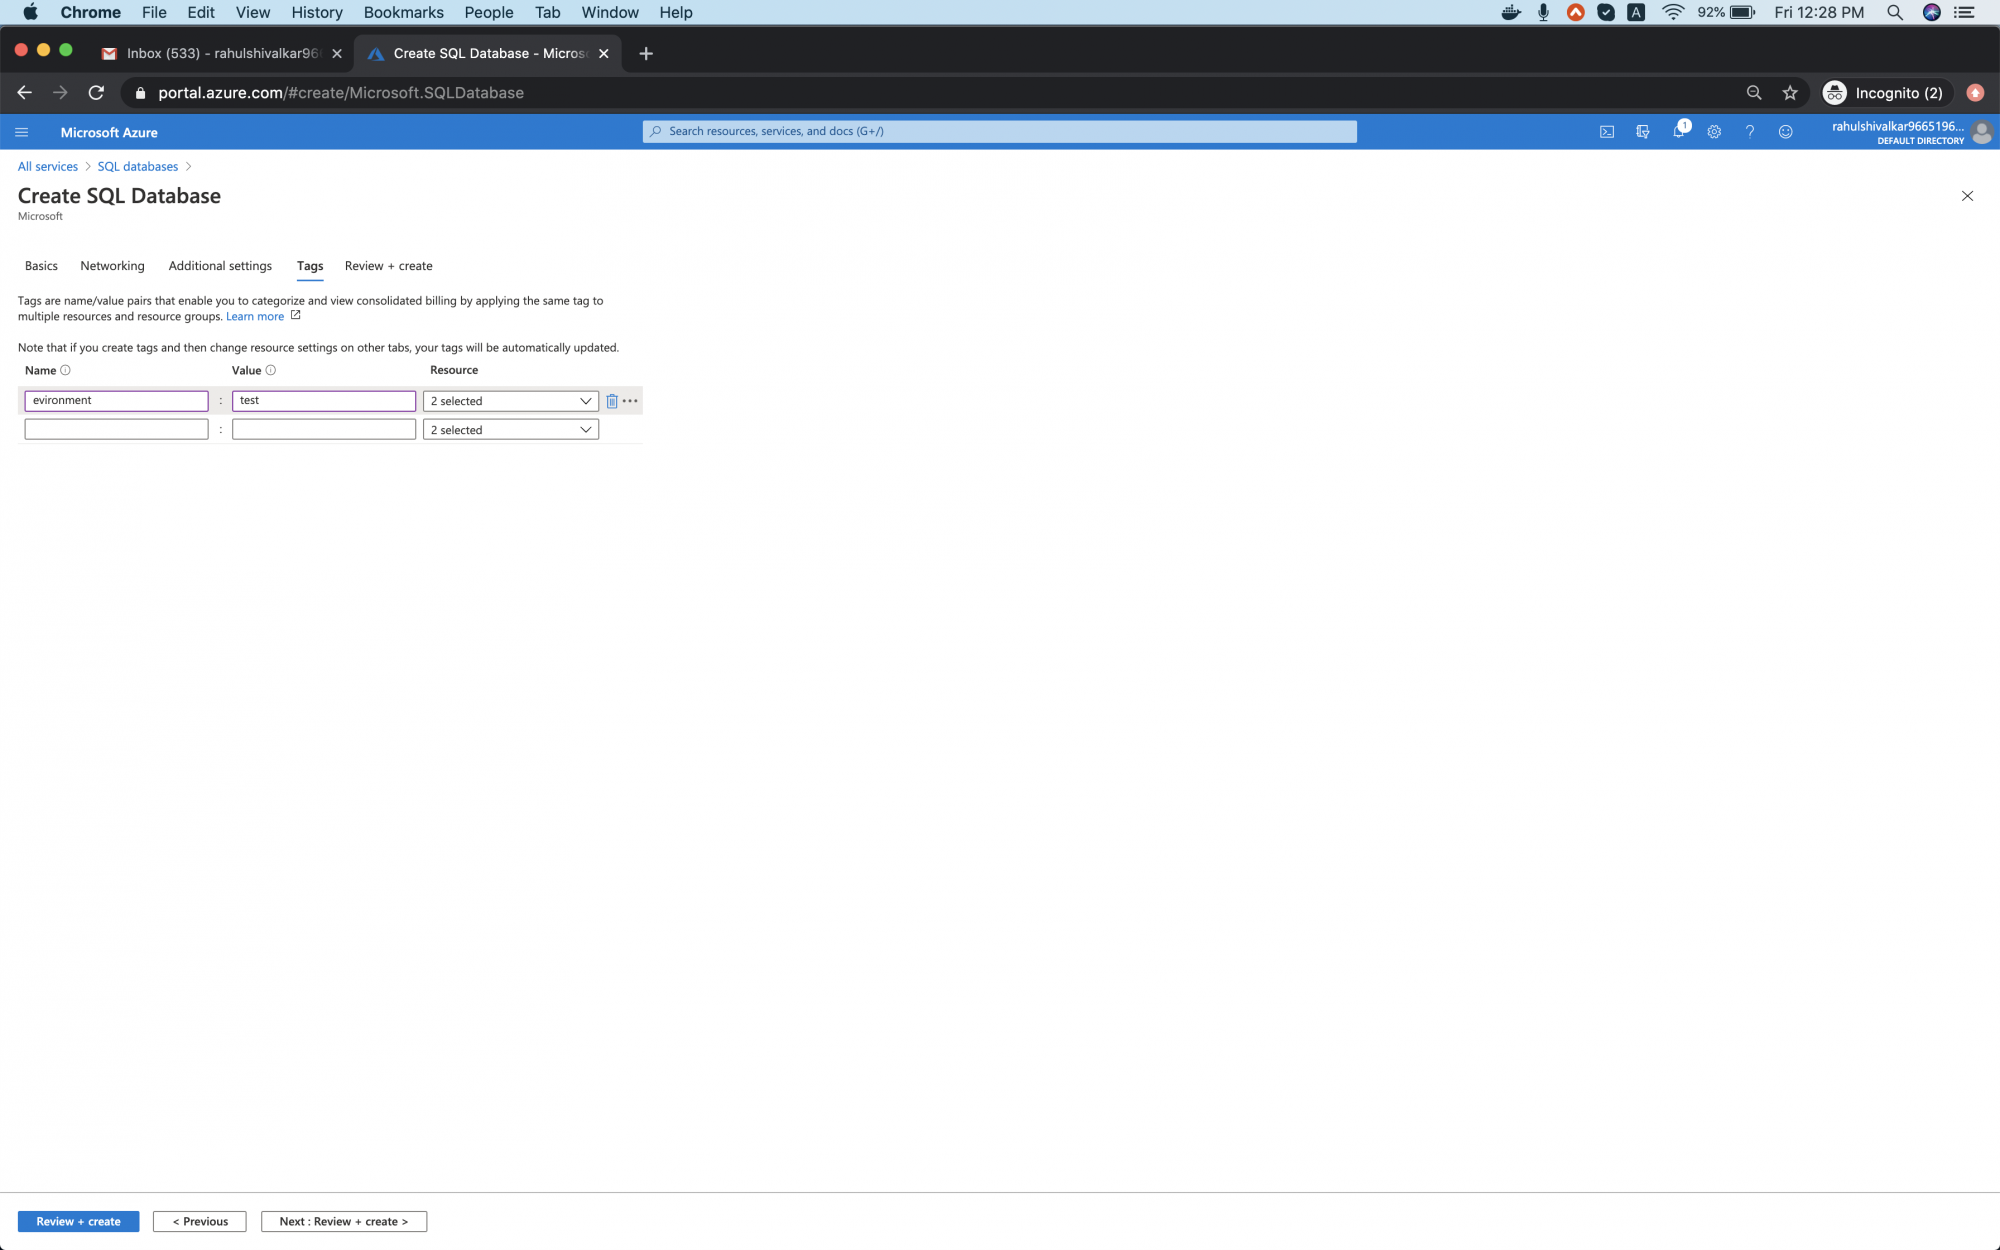
Add a tag as "environment: test". You can add more tags of your choice. Click on "Next: Review + create" to proceed and create an SQL database.
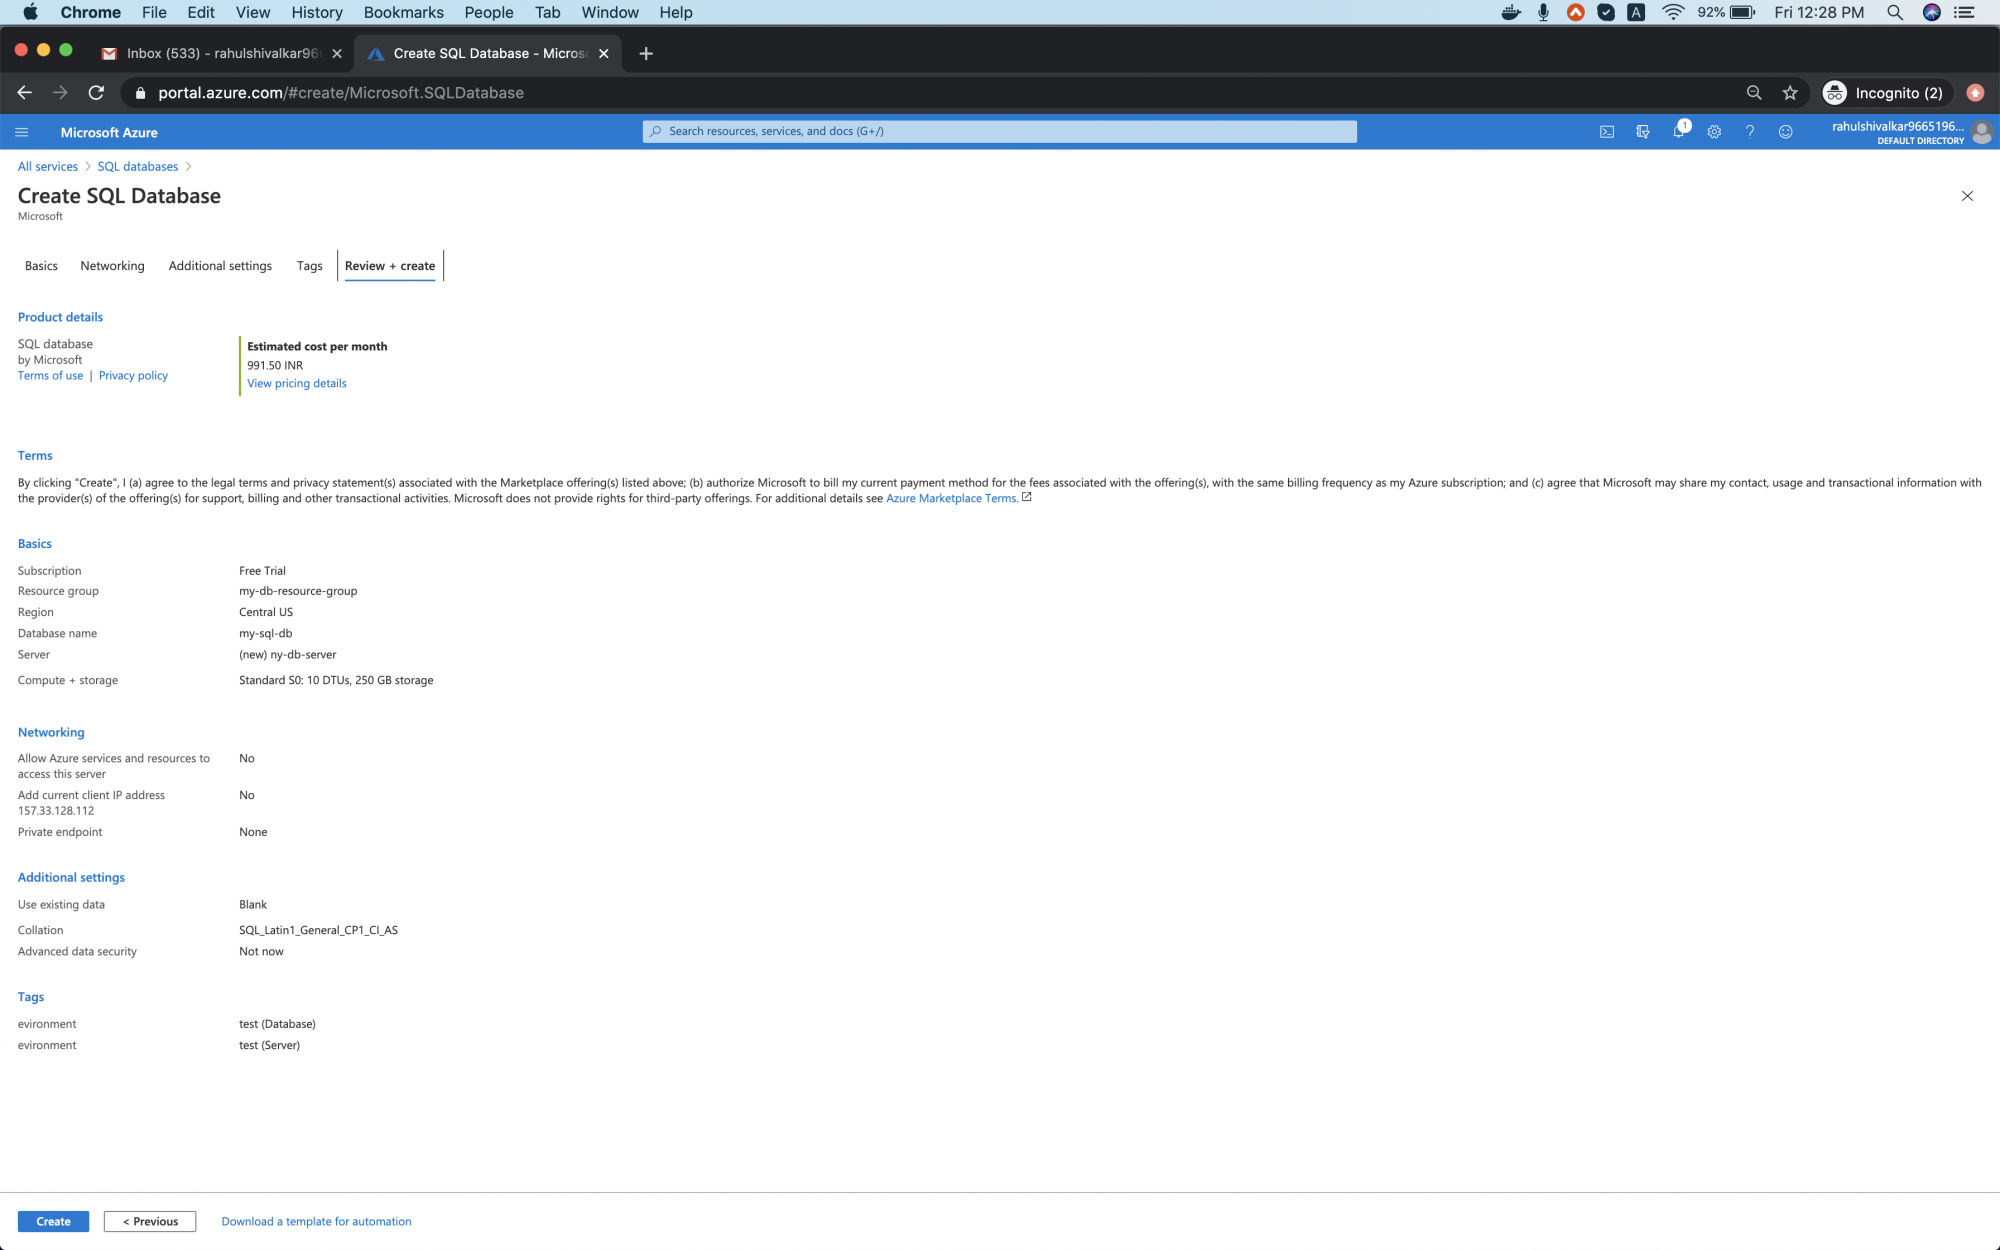
Verify the configurations we did and click on "Create".
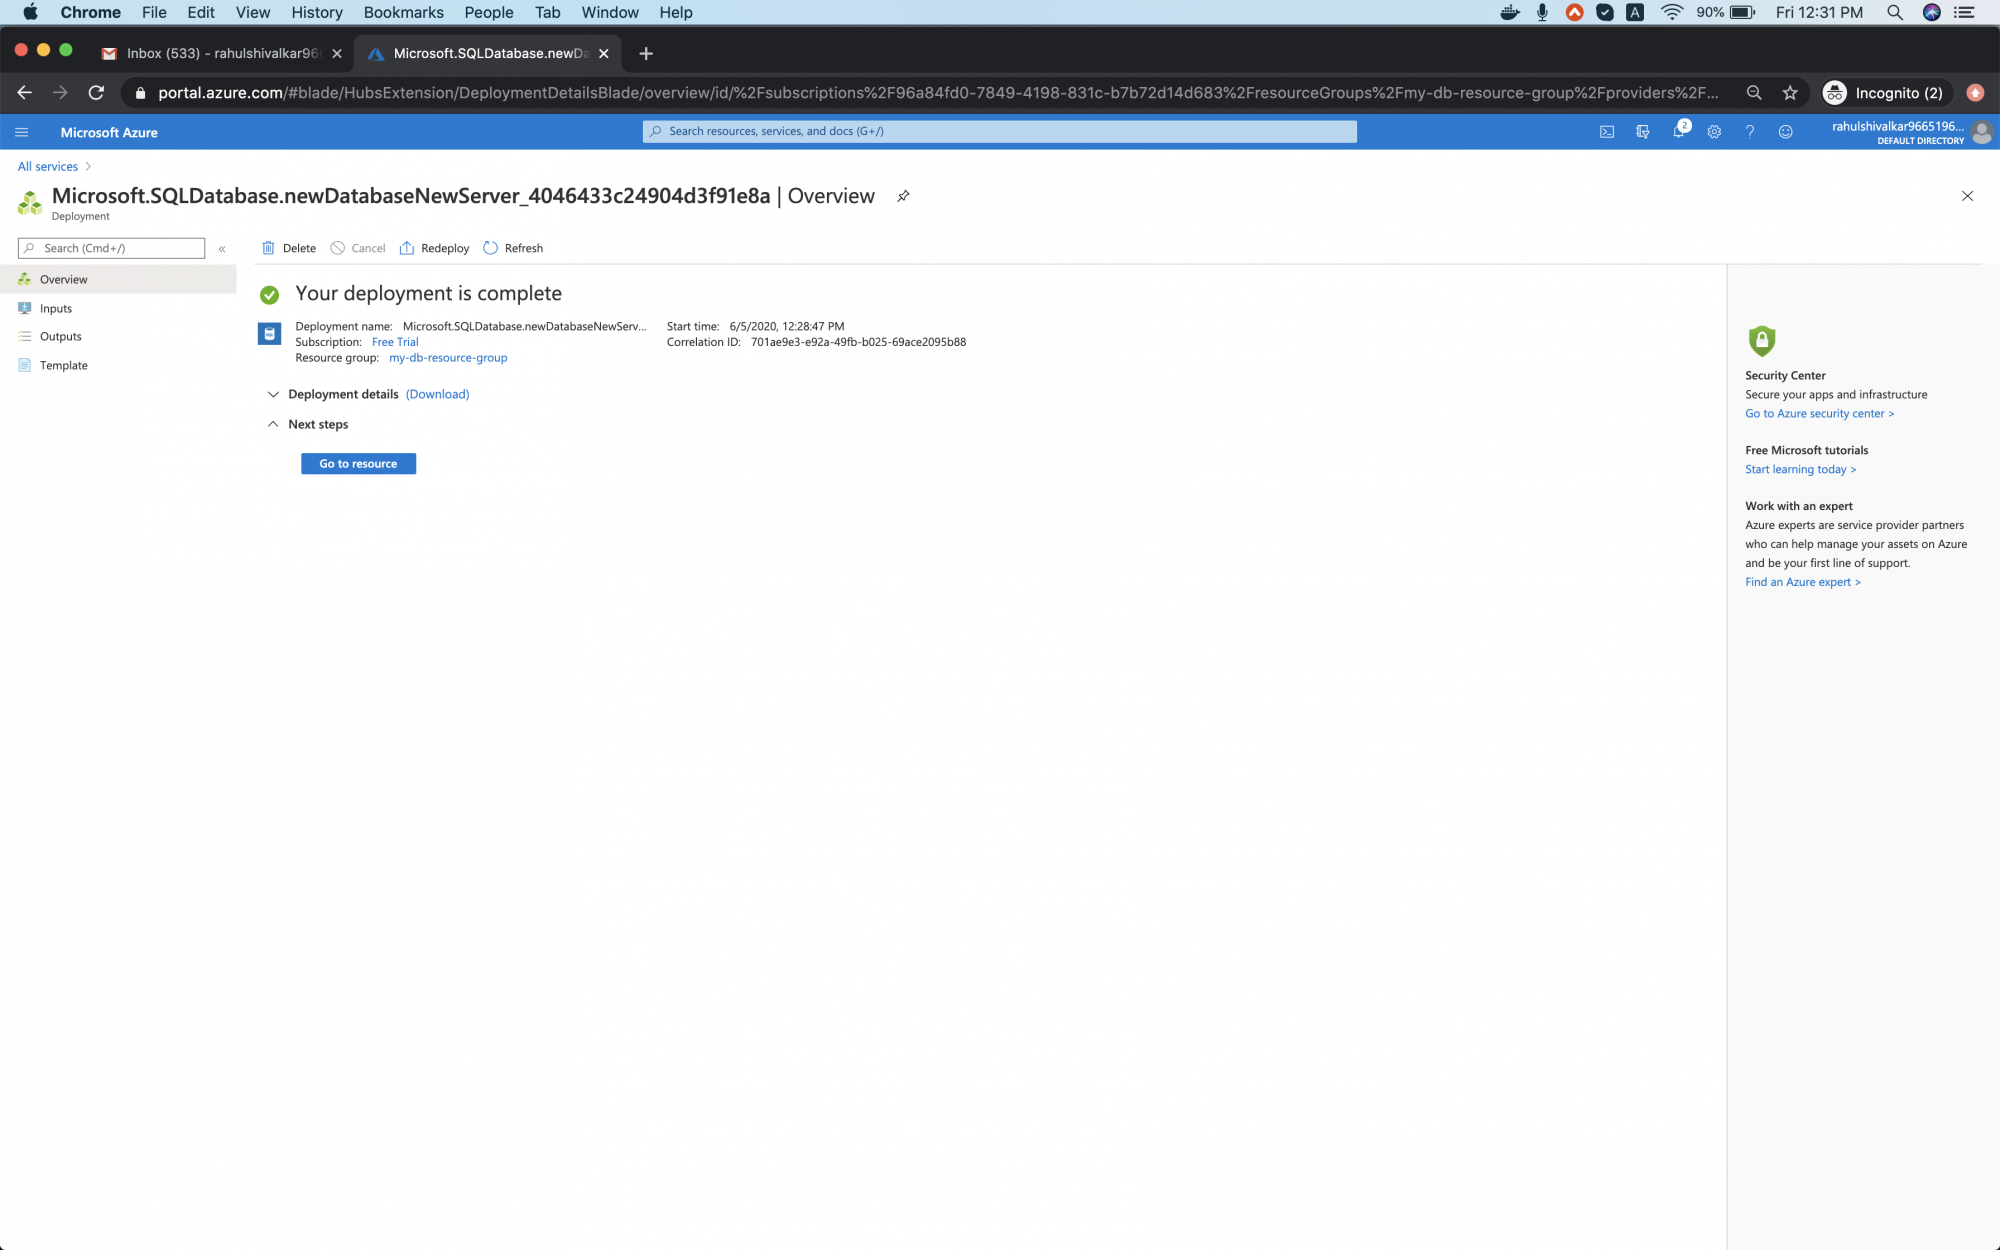
Once the database is ready, you will see a message as "Your deployment is complete". Click on "Go to resources" to check the database that has just been created.
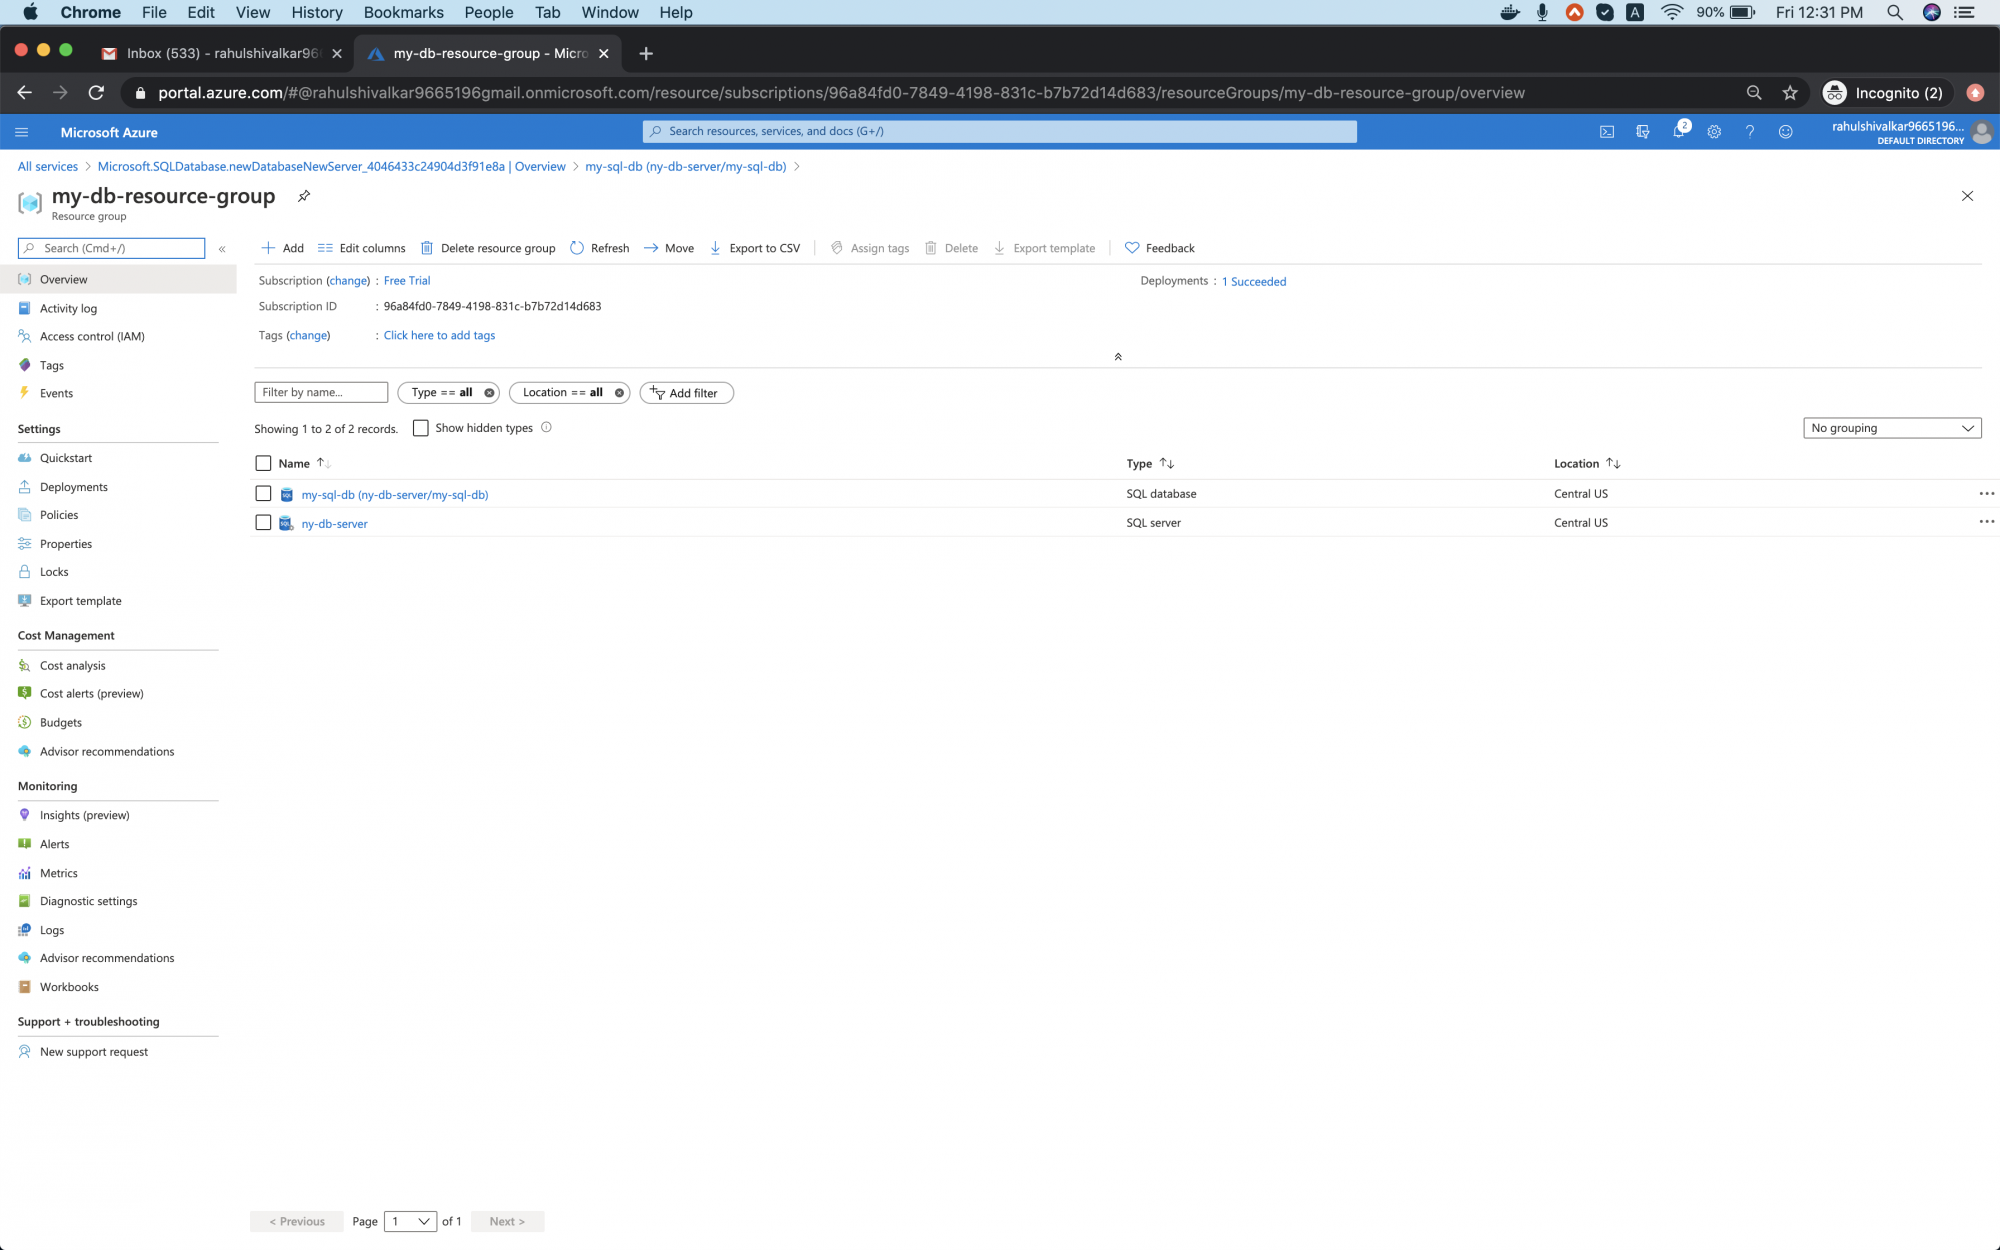
You can see that the database has been created. Click on Resource Group "my-db-resource-group" to check what all resources have been created upon creating the database.
You can see that an SQL Server and SQL database has been created.
Connect to the MySQL Database
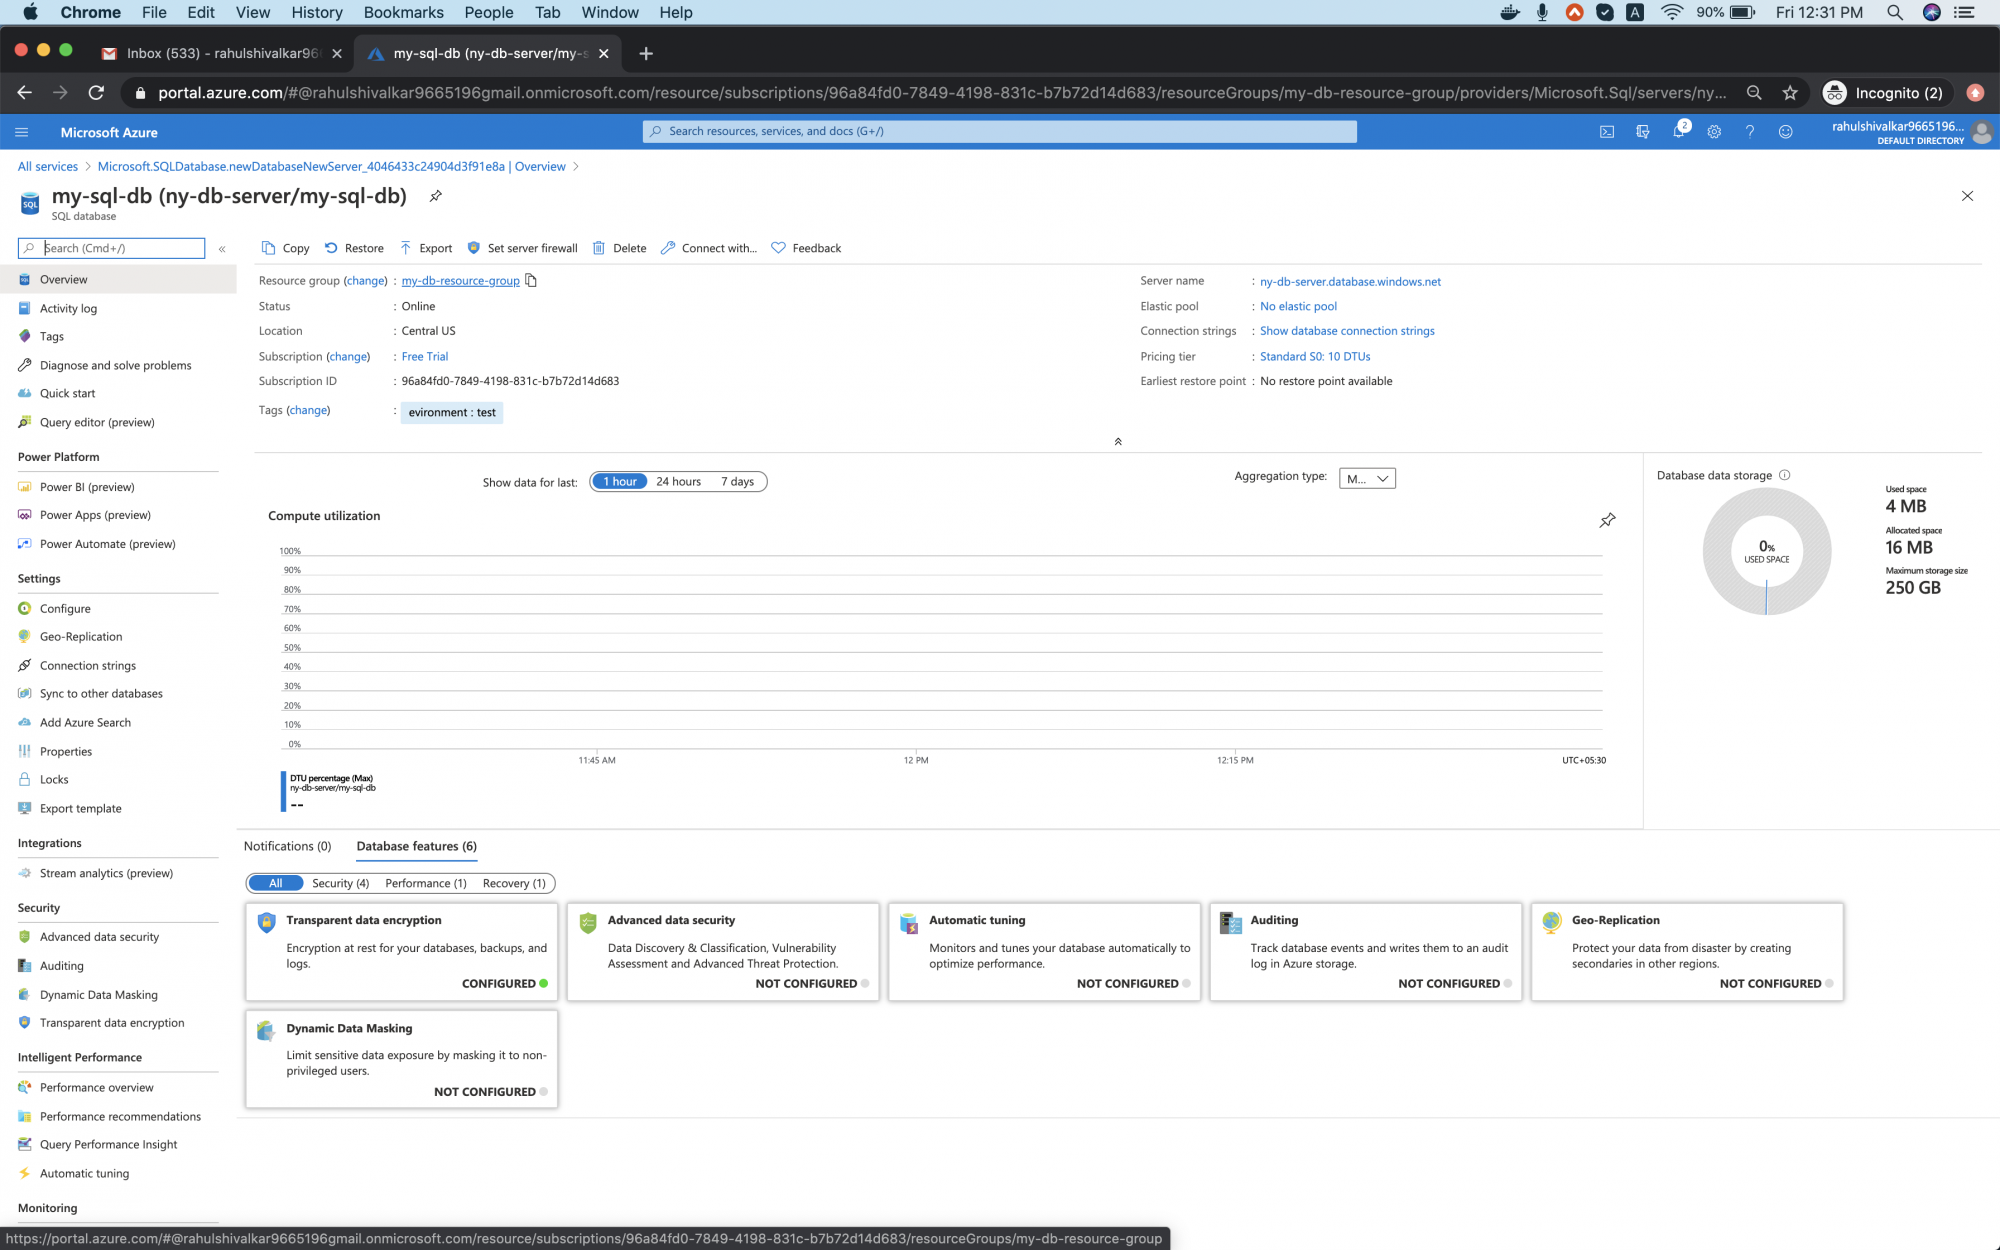
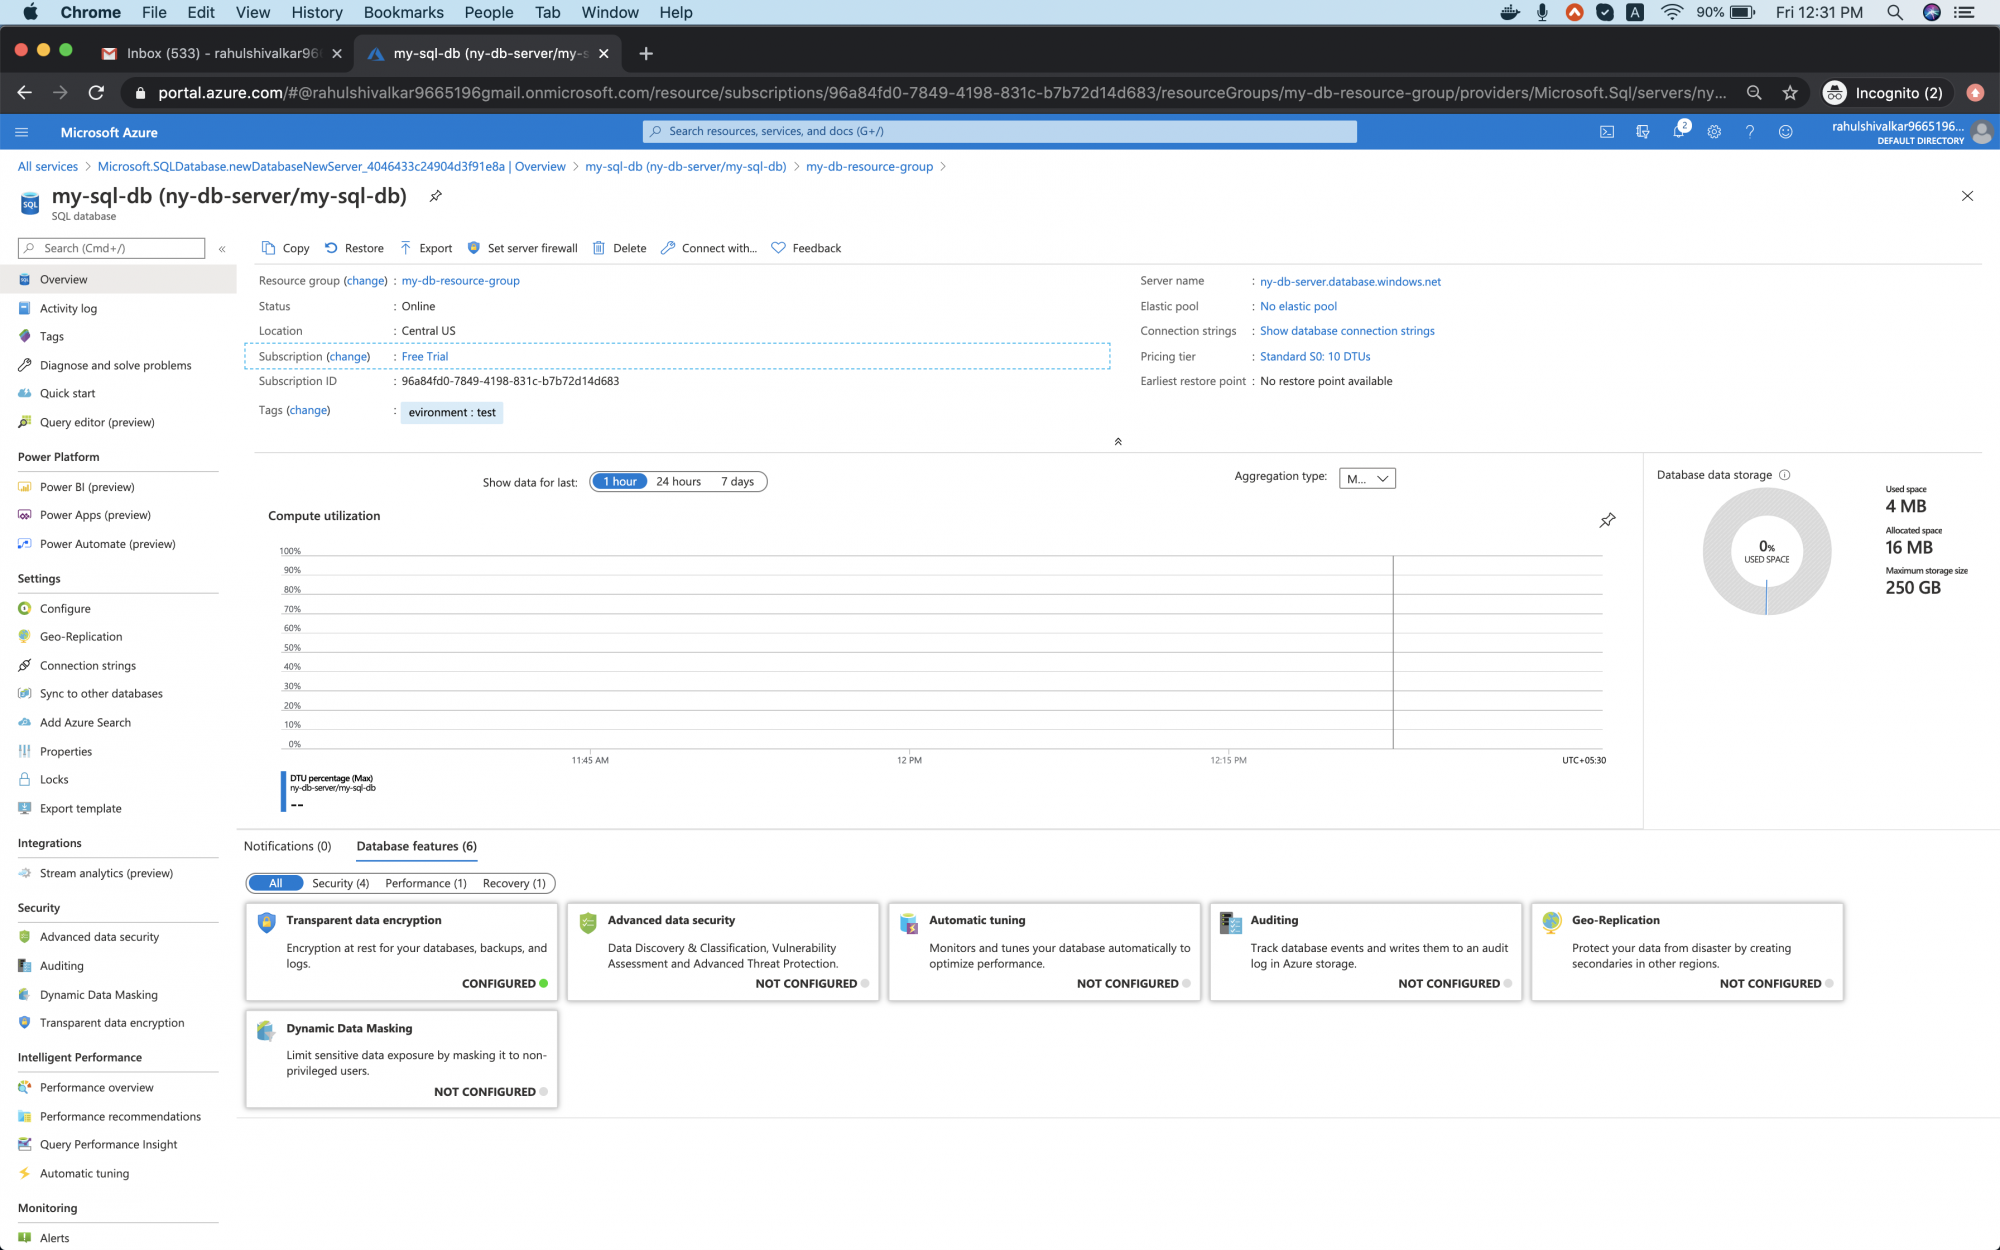
Click on the SQL database to see the connection details to it.
Once you open the SQL database, you will see a screen as follows.
Click on "Query editor (preview)" to connect to the database.
Enter your SQL Server credentials here.
You will encounter an error as "Cannot open server 'XXXXXX' requested by the login. A client with IP address 'XXX.XXX.XXX.XXX' is not allowed to access the server. To enable access, use the Windows Azure Management Portal or run sp_set_firewall_rule on the master database to create a firewall rule for this IP address or address range. It may take up to five minutes for this change to take effect."
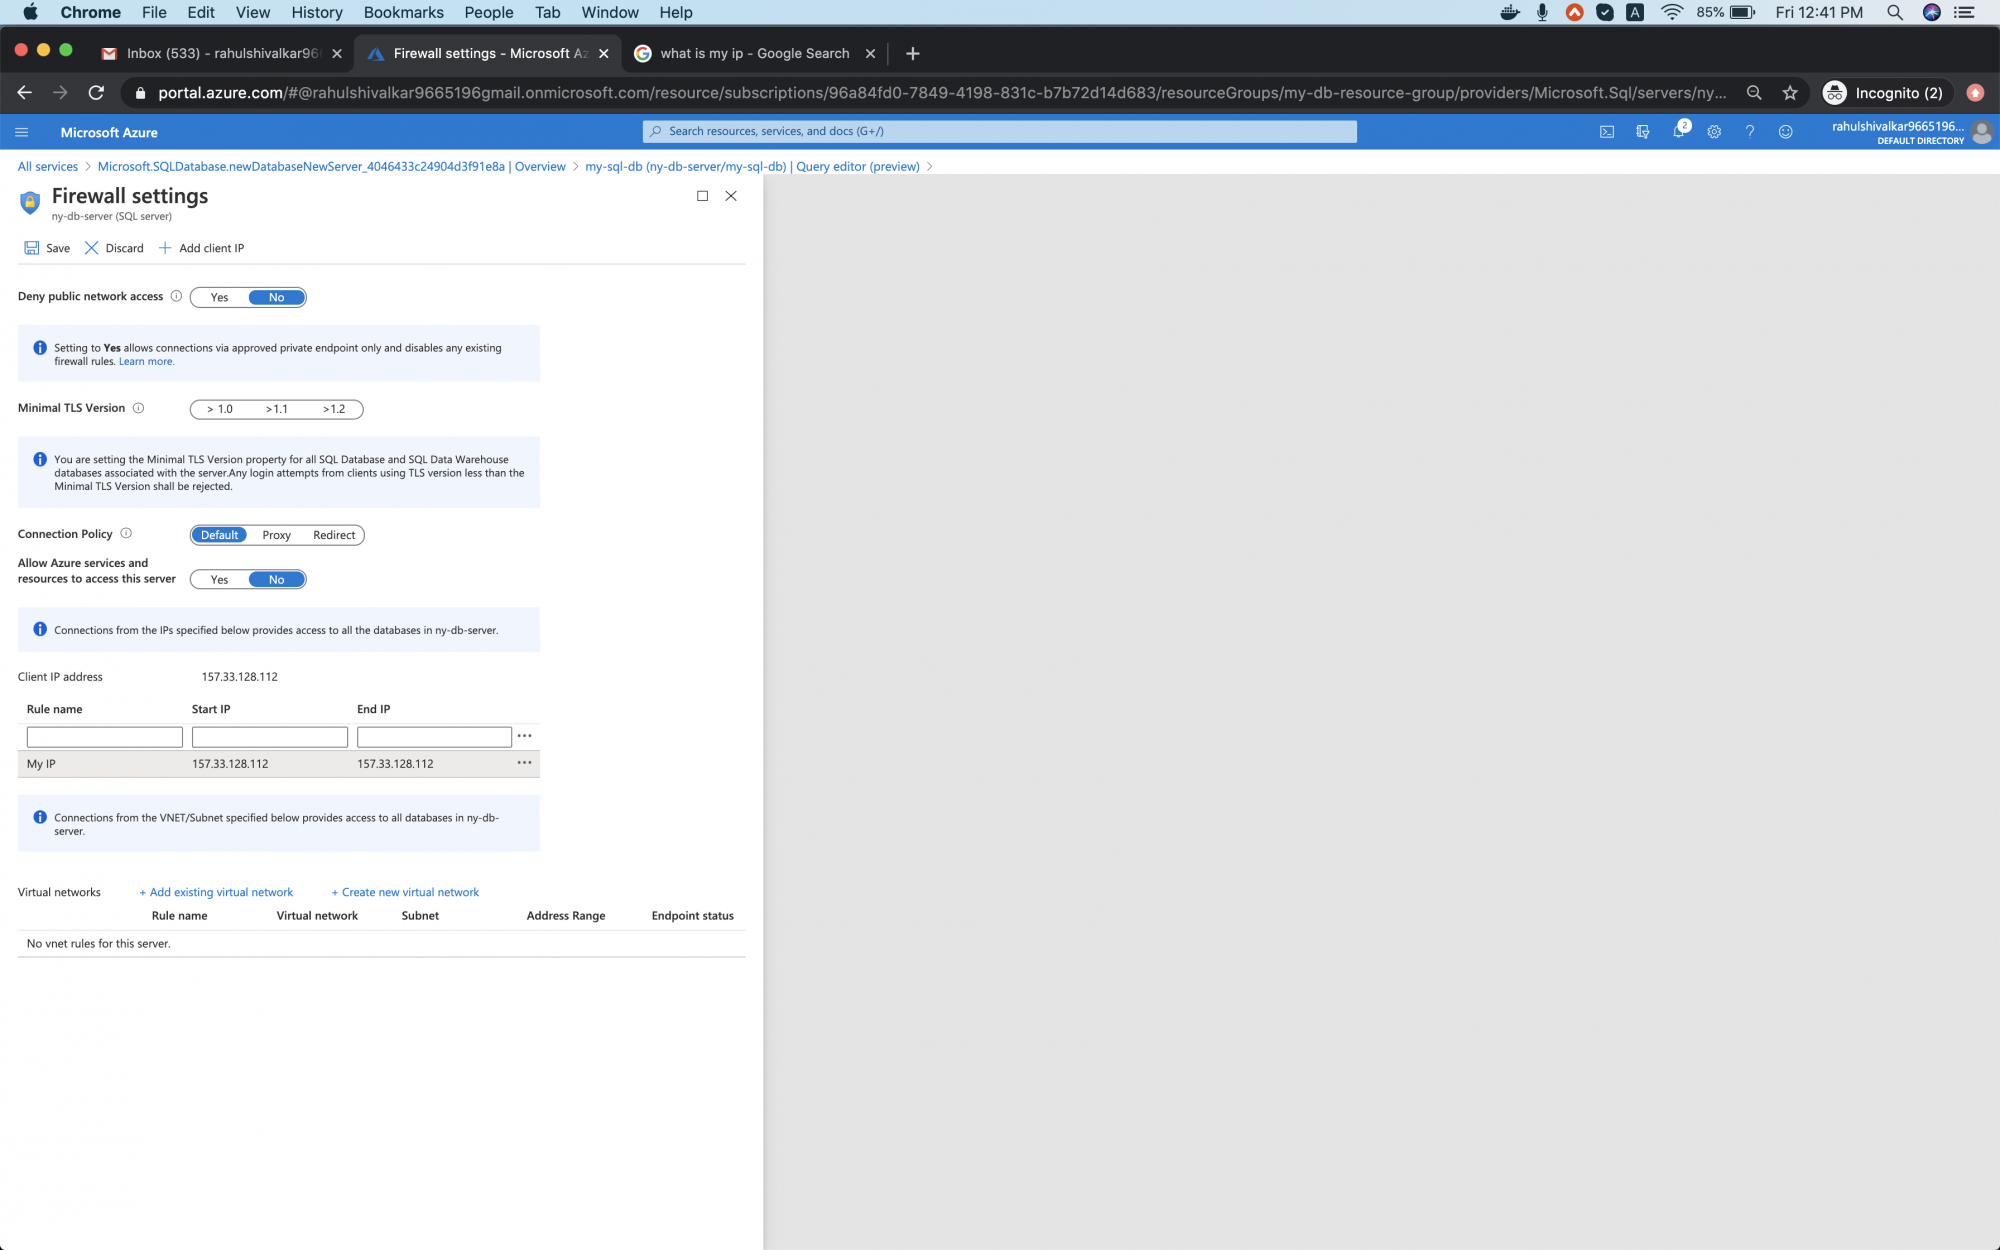
To get rid of this error, click on the "Set server firewall (XXX)".

On the "Firewall settings" page, add your IP in the text box under Start IP and End IP, give a rule name as "My-IP" and click on the Save button. This firewall rule will allow connections from your IP to the database server.
Now go back to "SQL dababase" - > "Query editor (preview)" and enter your login credentials.
Upon successful login, you will see the Query Editor screen as follows.
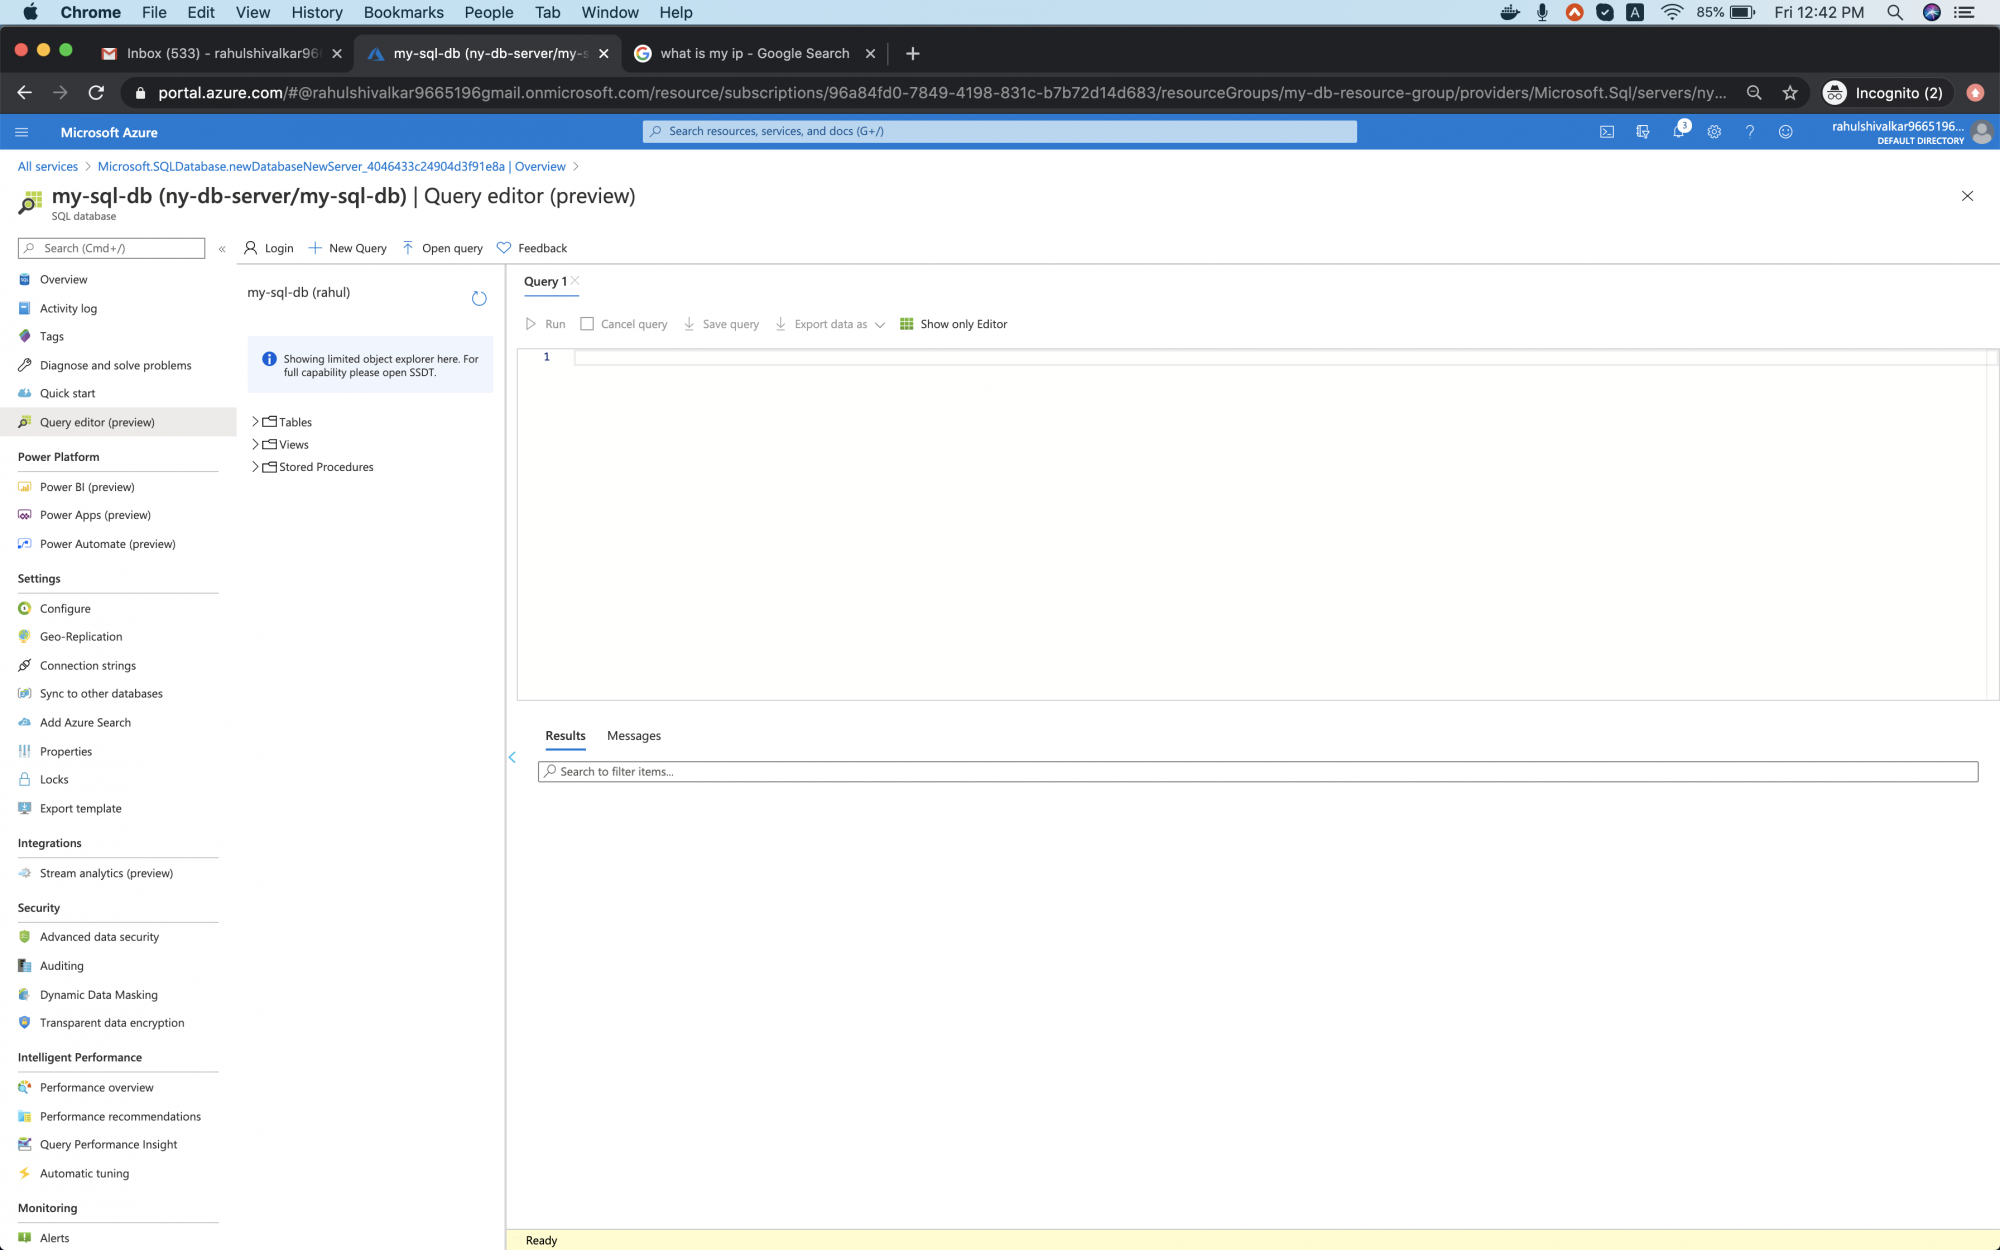
You can now create tables in the database.
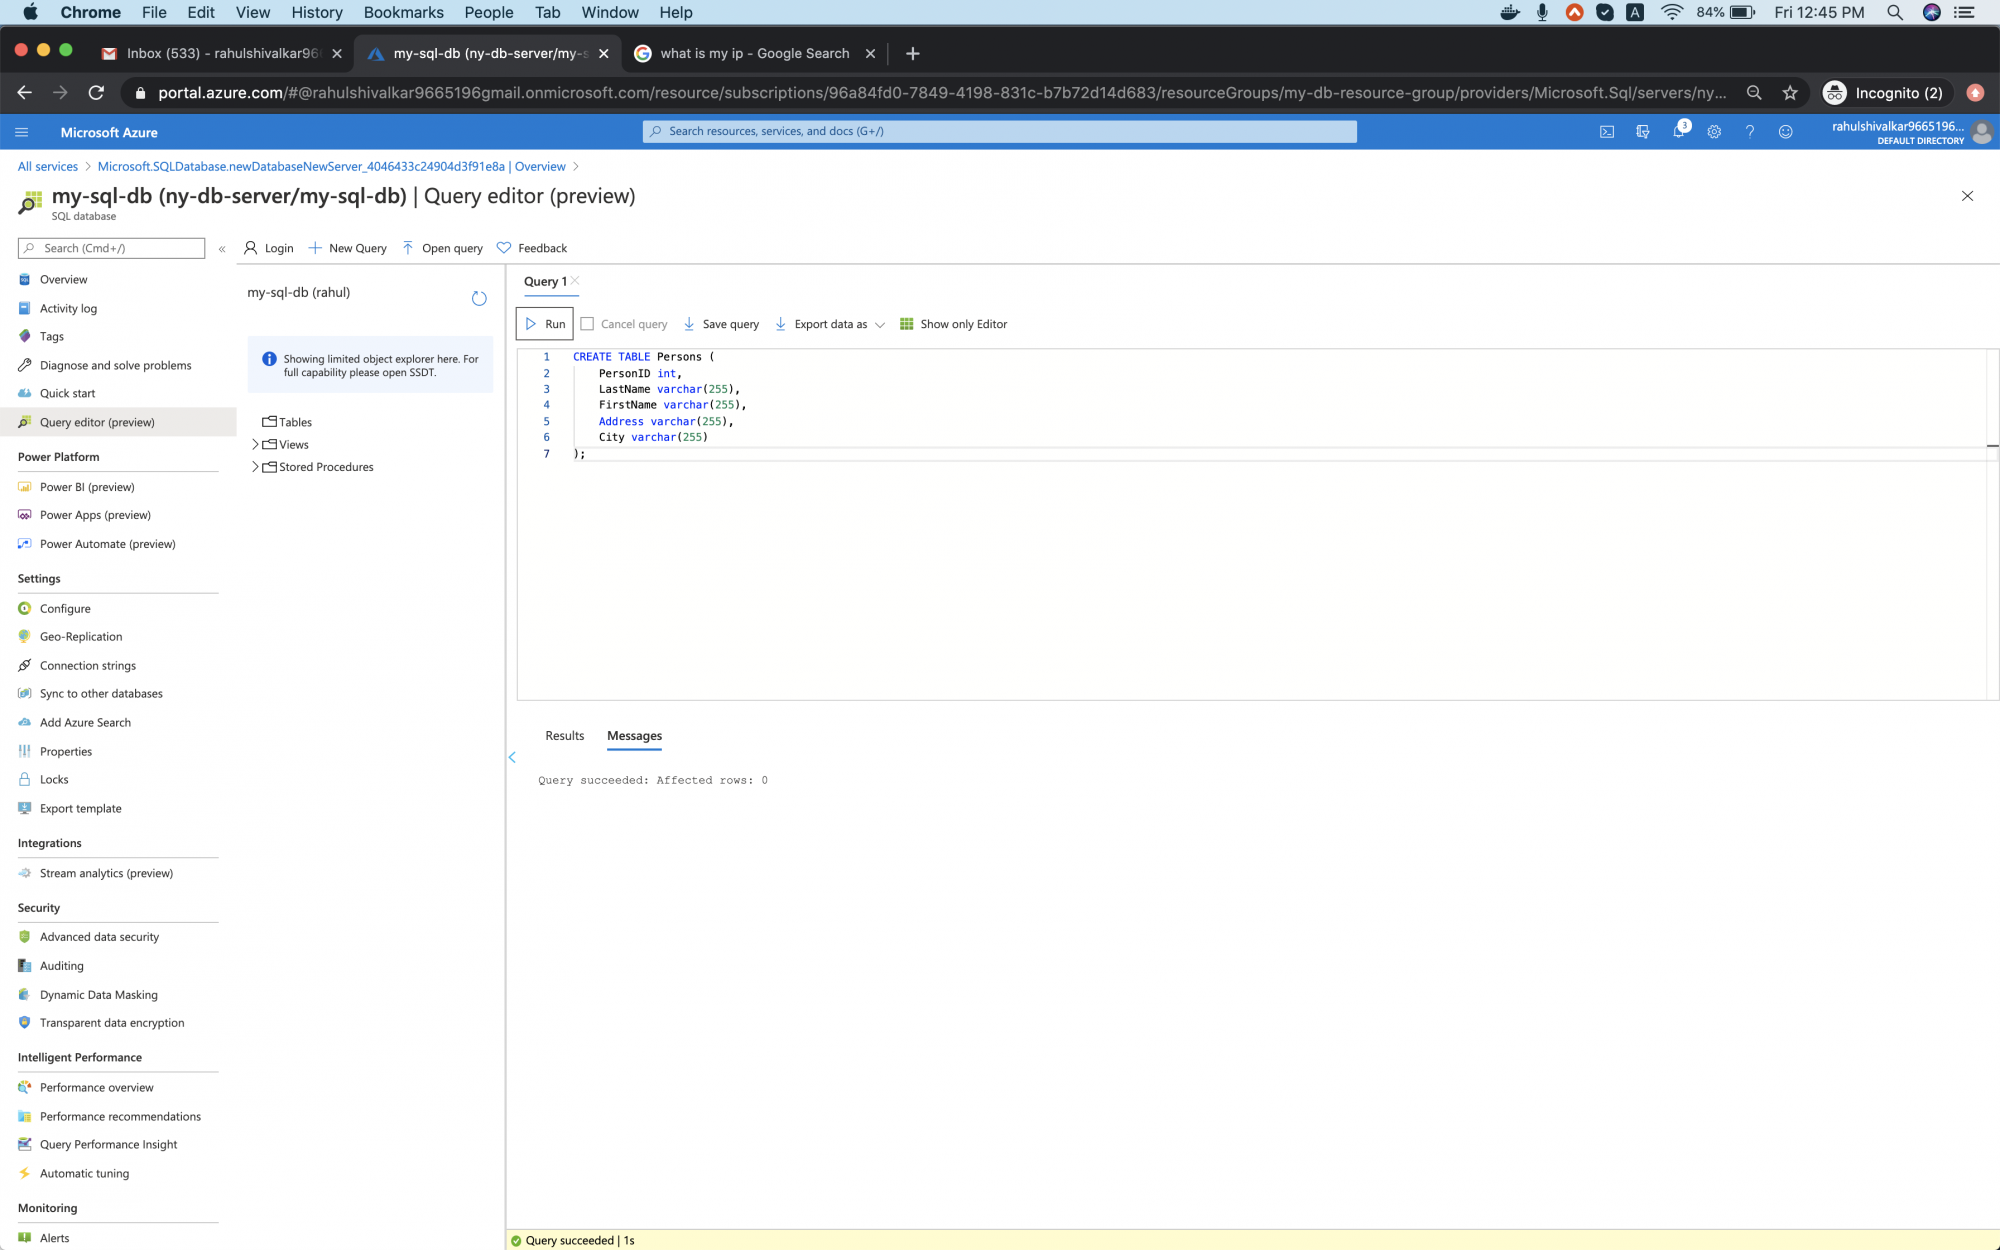
To create a sample table, you can use the following query.
CREATE TABLE Persons ( PersonID int, LastName varchar(255), FirstName varchar(255), Address varchar(255), City varchar(255) );
Click on "Run" to execute the query.
Delete the Database
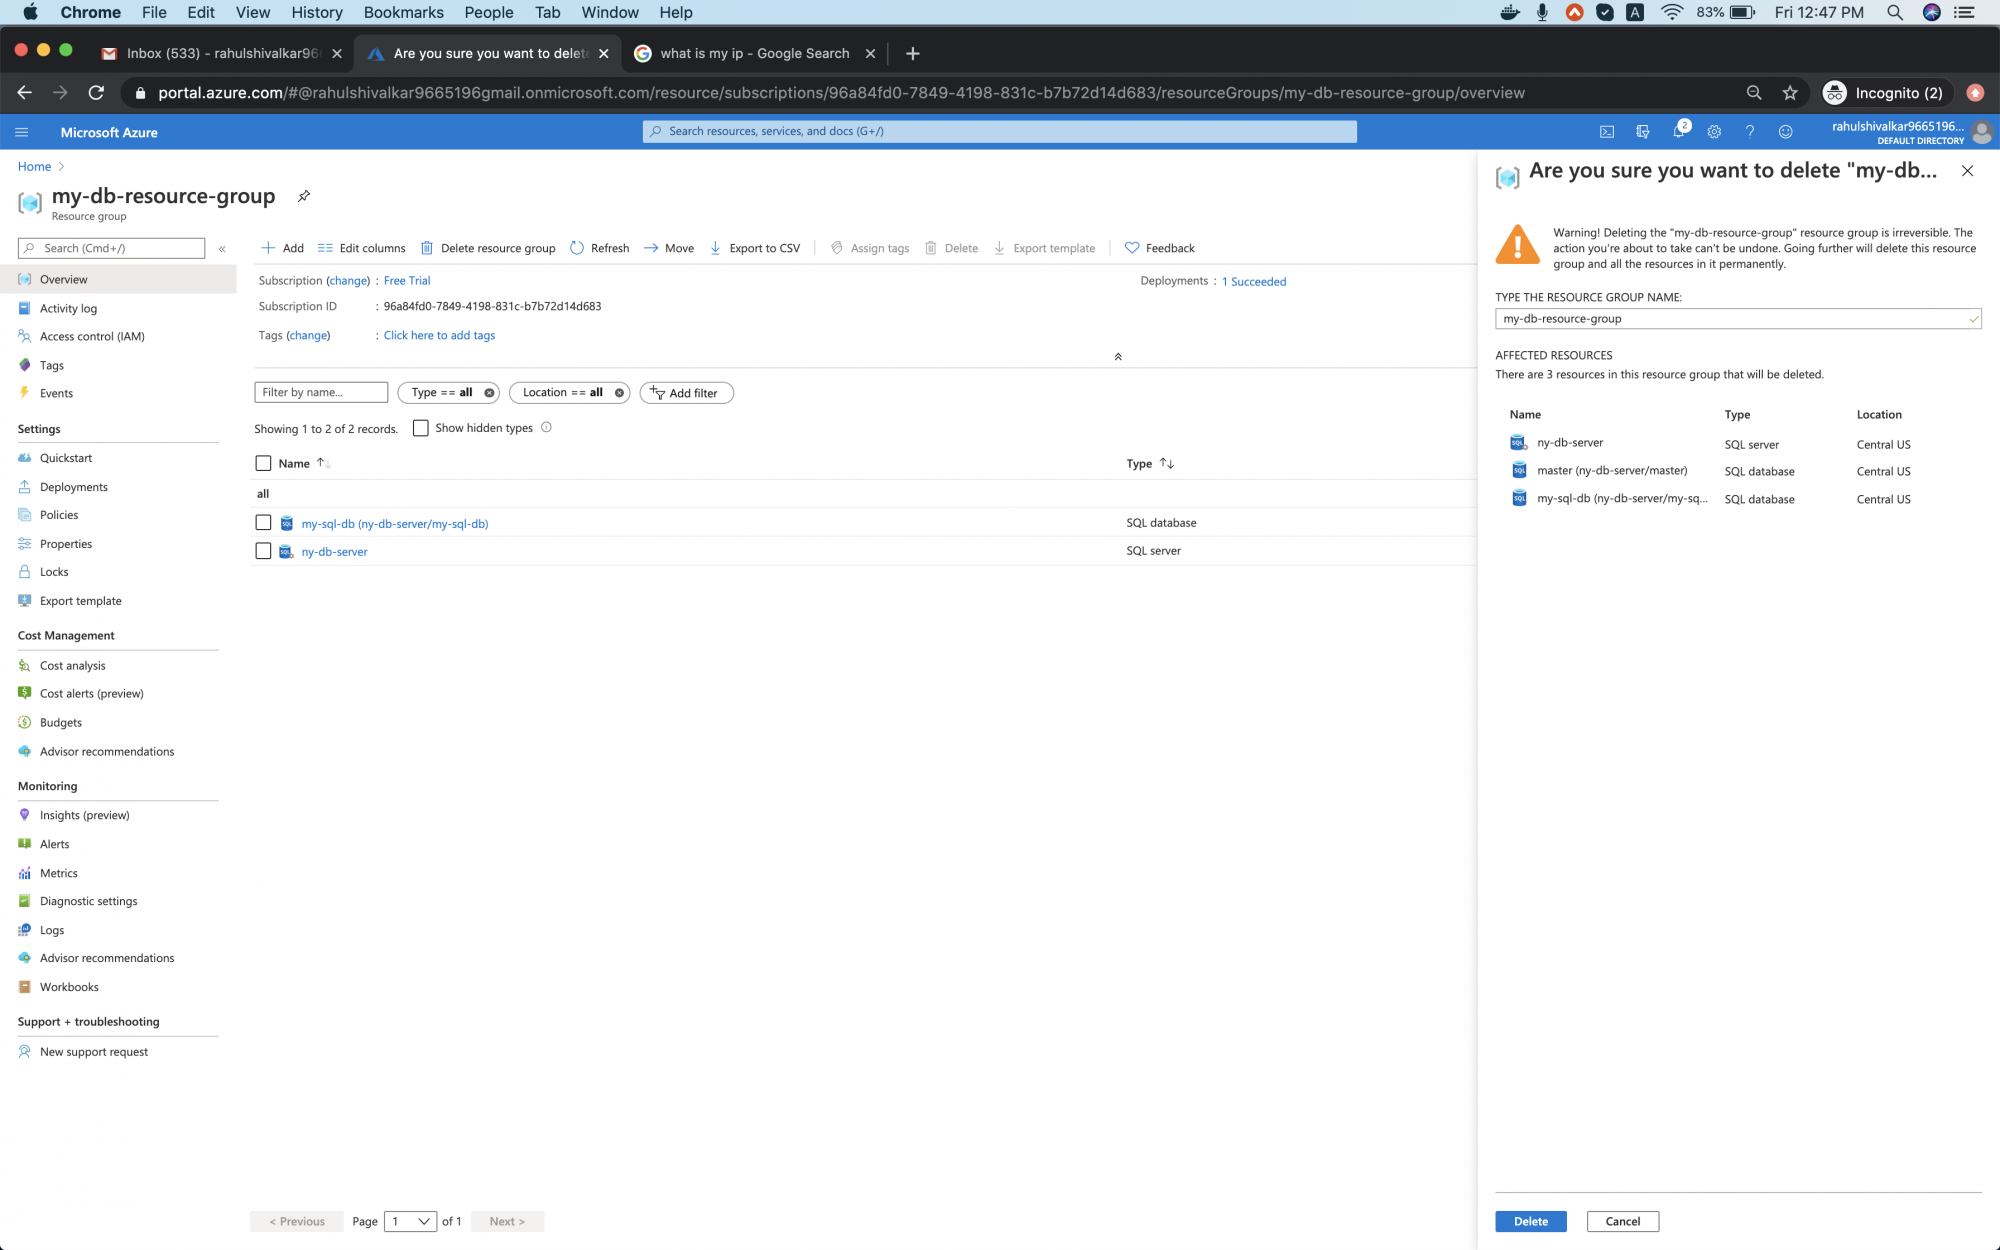
When you no longer need the Database, go back to the resource group and delete it to delete all the resources related to the SQL Server.

Click on "Delete resource group", type in the Resouce Group name, and click on "Delete".
Conclusion
In this article, we learned to create an SQL database. We saw how to whitelist our public IP in the firewall so that we can connect to the SQL Server. We also saw how to connect to the SQL Server using Query Editor and create a table in the database. Finally, we saw the steps to delete the Resource Group which in turn will delete all the resources available in it.

