How to Install Ruby on Rails with PostgreSQL on Rocky Linux 8.4
Ruby on Rails or RoR or Rails is a free and open-source web application framework written in Ruby with the MIT License. It is a full-stack web framework that uses the model-view-controller (MVC) pattern.
The Rails web framework provides structures for a database, web service, and web pages. Also, Rails includes some important tools such as scaffolding, Puma, Gems, etc.
Prerequisites
In this tutorial, you will learn how to install Ruby on Rails with the PostgreSQL database on the Rocky Linux system.
Before you start this guide, ensure you've got the following requirements in place:
For this example, we're using the following machine:
- Operating System: Rocky Linux 8.4 (Green Obisidian)
- IP Address: 192.168.1.10
Before you start this guide, complete the following PostgreSQL installation on your system.
How to Install PostgreSQL on Rocky Linux
If you're ready, let's start the Rails installation.
Install RVM (Ruby Version Manager)
Ruby Version Manager or RVM is a command-line tool for managing Ruby on the Linux system. Using RVM allows you to install multiple Ruby versions on a single operating system.
Firstly, you will be installing the RVM on the Rocky Linux system, the install specific version of Ruby with it.
1. Import GPG keys of RVM developers to your system using the following command.
curl -sSL https://rvm.io/mpapis.asc | gpg2 --import -
curl -sSL https://rvm.io/pkuczynski.asc | gpg2 --import -
2. Install RVM using the following command.
curl -L get.rvm.io | bash -s stable
After RVM installation completes, load the RVM profile to your shell.
source /etc/profile.d/rvm.sh
3. Next, reload the RVM and install all packages depencneis for RVM by executing the command below.
rvm reload
rvm requirements run
You're ready to install Ruby with the 'rvm' command when all packages dependencies installation completes.

4. Execute the 'rvm' command below to check the available version of Ruby on the RVM repository.
rvm list known
Installing Ruby with RVM
The current version of Rails requires Ruby 2.5 or later. In this step, you will be installing Ruby 3.0 using the RVM tool.
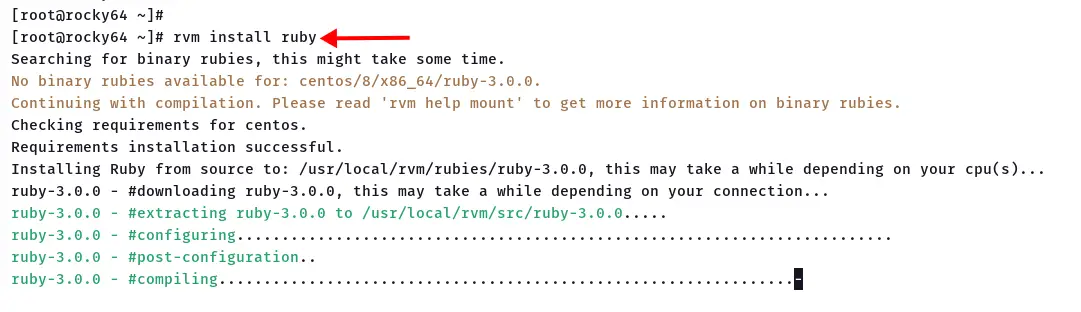
1. Execute the 'rvm' command below to install Ruby's latest version.
rvm install ruby
The installation will take some time, depending on your connection and system.
2. After Ruby installation completes, verify using the following command.
Check installed Ruby on the local machine using the 'rvm' command.
rvm list
Check the version of Ruby using the following command.
ruby --version
You will see the output 'ruby 3.0.0' as below.

Installing Node.js and Yarn on Rocky Linux
The Rails web framework uses HTML, CSS, and JavaScript for the user interface. The Rails require Node.js and yarn packages for managing JavaScript applications.
In this step, you will be installing the Node.js from the official Rocky Linux repository and installing Yarn using the Node Package Manager (NPM).
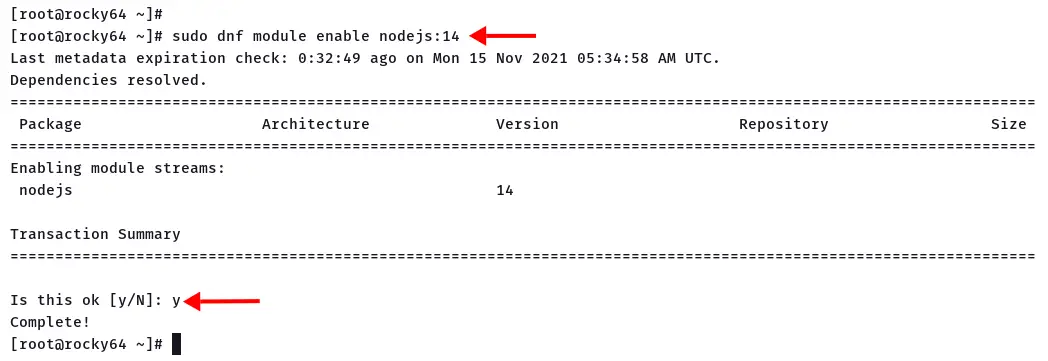
1. Before installing the Node.js package, execute the following command to enable the Node.js v14 repository.
sudo dnf module enable nodejs:14
Type 'y' and press 'Enter' to confirm.
2. Now install the Node.js and npm using the DNF command below.
sudo dnf install nodejs npm -y
3. After all installation completes, execute the npm command below to install Yarn globally system-wide.
npm install -g yarn
4. Verify Node.js and Yarn using the following command.
node --version
yarn --version
Below is the similar output you will get.
# current nodejs version
v14.17.5

# current yarn version
1.22.17
Now you're ready to install Ruby on Rails on the Rocky Linux system.
Installing Ruby on Rails (RoR) on Rocky Linux
To install Ruby on Rails, you can use the command-line 'gem'. Gem command is part of the Ruby package, available at the directory '/usr/local/bin'.
1. Before using the gem command, add the directory '/usr/local/bin' to the '$PATH' environment variable on the `~/.bashrc` configuration.
echo "export PATH=$PATH:/usr/local/bin" >> ~/.bashrc
Now run the command below to reload the current bash environment.
source ~/.bashrc
And you're ready to run the command 'gem'.
2. Execute the gem command below to install Ruby on Rails.
gem install rails
The gem command on top will install some RubyGems packages and Node.js library for the Rails.
3. After the Rails installation completes, verify using the following command.
rails --version
You will see a similar output as below. In this example, the current version of Rails is '6.1.x'.
Rails 6.1.4.1
Setup PostgreSQL User
Ensure you've completes the PostgreSQL server installation on the Rocky Linux system.
Now you will be installing some additional packages dependencies for the Rails project and creating a new PostgreSQL user.
1. Execute the DNF command below to install additional PostgreSQL dependencies.
sudo dnf install postgresql-devel libpq-devel -y
2. Next, log in to the PostgreSQL shell using the psql command below.
sudo -u postgres psql
3. Create a new user 'appuser' with the privilege 'CREATEDB' and password 'userpassword' using the following query.
CREATE ROLE appuser WITH CREATEDB LOGIN PASSWORD 'userpassword';
4. Verify available PostgreSQL users using the following query.
\du
You will see the user 'appuser' on the 'Role name' section as below.

Type '\q' and press 'Enter' to exit from the PostgreSQL shell.
Now you're ready to create a new Rails project with a PostgreSQL database.
Create New Rails Project with PostgreSQL Database
In this step, you will be creating a new Rails project with the PostgreSQL database.
1. Create a new directory '/var/www', then change your working directory into it.
mkdir -p /var/www; cd /var/www
2. Create a new Rails project 'appname' with the default database PostgreSQL using the rails command below.
rails new appname --database=postgresql
The command will create a new directory 'appname'.
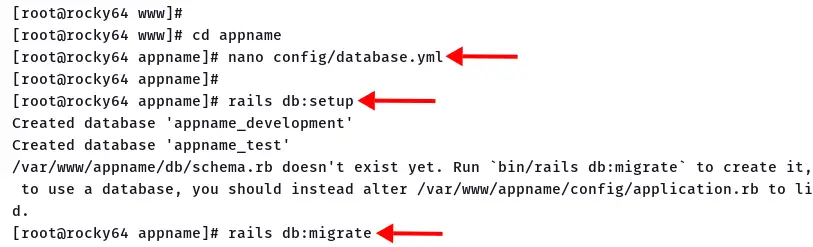
3. Change your working directory to the 'appname' and edit the database configuration 'config/database.yml'.
cd appname
nano config/database.yml
Change database username and password on the section 'development', 'test', and 'production'.
development:
  <<: *default
  database: appname_development
  username: appuser
  password: userpassword
  host: localhost
  port: 5432

test:
  <<: *default
  database: appname_test
  user: appuser
  password: userpassword
  host: localhost
  port: 5432

production:
  <<: *default
  database: appname_production
  username: appuser
  password: userpassword
  host: localhost
  port: 5432
Save the configuration and exit.
4. Next, execute the rails command below to migrate the PostgreSQL database for your project.
rails db:setup
rails db:migrate
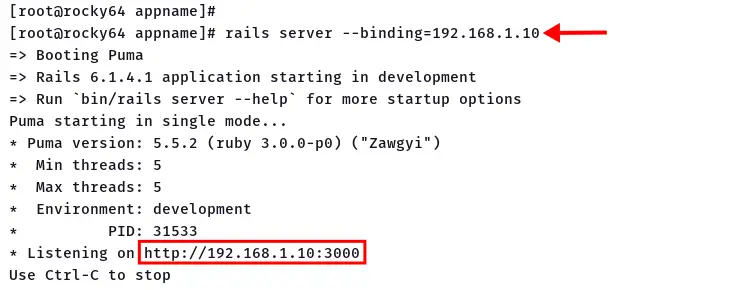
5. Now execute the following command to run your rails project. And make sure to change the IP address with your server IP address.
rails server --binding=192.168.1.10
The Rails project is running in the environment 'Development' with port '3000'.
6. Open your web browser and type the server IP address with port '3000' on the address bar.
http://192.168.1.10:3000/
Now you will see the default index page of Ruby on Rails as below.
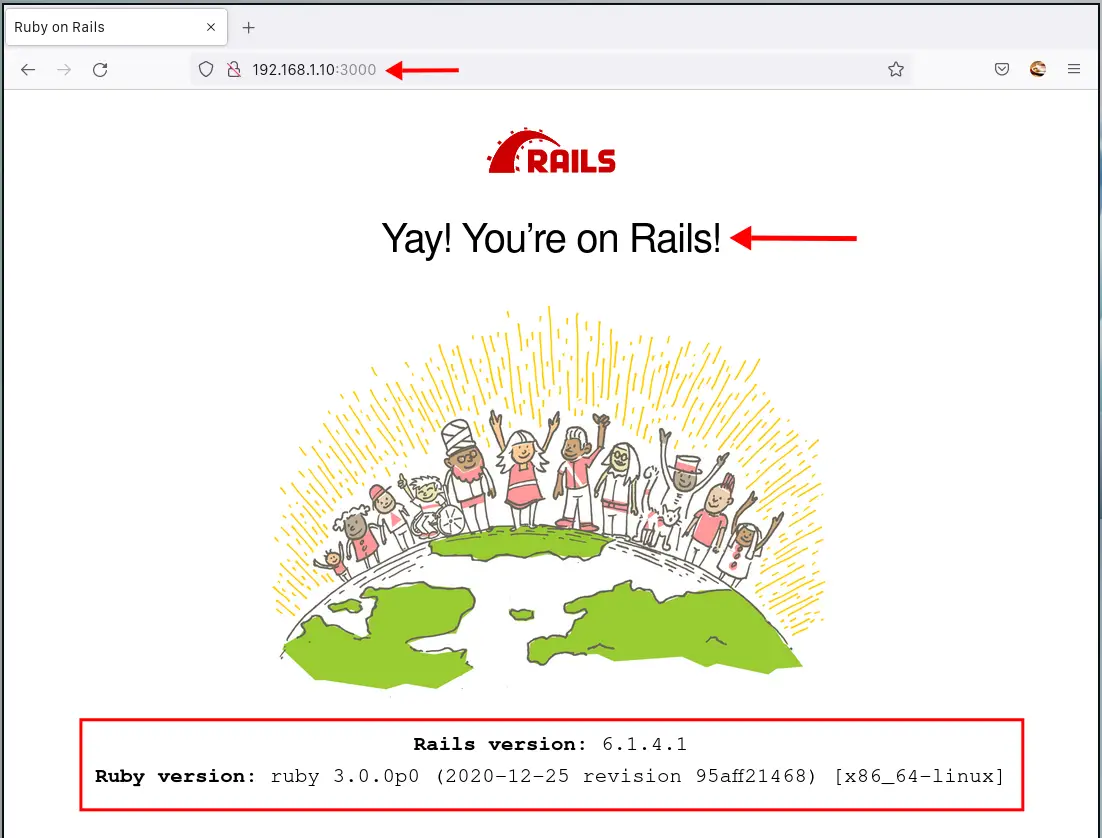
You've successfully created a Rails project with a PostgreSQL database.
Conclusion
Congratulation! You've learned the basic installation of Ruby on Rails with the PostgreSQL database on the Rocky Linux system. Also, you've learned the basic installation and basic usage of Ruby Version Manager (RVM) for managing Ruby.
For the next step, you may be interested to deploy your Rails project with Passenger and Nginx or Apache webserver.

