How to Install and Configure RabbitMQ on Debian 11
RabbitMQ is a free, open-source and one of the most popular message broker software. It supports multiple messaging protocols and uses plugins to communicate with popular messaging solutions like MQTT. A message broker is an application that stores messages for an application. Whenever an application wants to send data to another application, the app publishes the message onto the message broker. RabbitMQ can be deployed in distributed configurations to meet high-scale, high-availability requirements.
In this post, we will show you how to install and configure RabbitMQ message broker software on Debian 11.
Prerequisites
- A server running Ubuntu 20.04.
- A root password is configured on the server.
Add RabbitMQ Repository
By default, the RabbitMQ package is not included in the Debian 11 default repository. So you will need to add the RabbitMQ repository to your system.
First, install all required dependencies using the following command:
apt-get install gnupg2 curl wget apt-transport-https software-properties-common -y
Once all the dependencies are installed, download and install the Erlang repository package with the following command:
wget https://packages.erlang-solutions.com/erlang/debian/pool/esl-erlang_23.1.5-1~debian~stretch_amd64.deb
dpkg -i esl-erlang_23.1.5-1~debian~stretch_amd64.deb
You will get some dependency errors. You can fix them by running the following command:
apt-get install -f
Next, update the Erlang repository and install the Erlang package with the following command:
apt-get update -y
apt-get install erlang erlang-nox
Next, add the RabbitMQ repository with the following command:
add-apt-repository 'deb http://www.rabbitmq.com/debian/ testing main'
wget -O- https://www.rabbitmq.com/rabbitmq-release-signing-key.asc | apt-key add -
Once the repository is added, update the repository using the following command:
apt-get update -y
Once you are finished, you can proceed to the next step.
Install RabbitMQ Server
Now, you can install the RabbitMQ server by running the following command:
apt-get install rabbitmq-server -y
Once the installation is finished, start the RabbitMQ service and enable it to start at system reboot:
systemctl start rabbitmq-server
systemctl enable rabbitmq-server
You can check the status of the RabbitMQ service using the command below:
systemctl status rabbitmq-server
You will get the following output:
? rabbitmq-server.service - RabbitMQ Messaging Server
     Loaded: loaded (/lib/systemd/system/rabbitmq-server.service; enabled; vendor preset: enabled)
     Active: active (running) since Sun 2021-10-24 05:20:35 UTC; 16s ago
   Main PID: 29132 (beam.smp)
     Status: "Initialized"
      Tasks: 86 (limit: 4679)
     Memory: 79.4M
        CPU: 8.937s
     CGroup: /system.slice/rabbitmq-server.service
             ??29132 /usr/lib/erlang/erts-11.1.8/bin/beam.smp -W w -K true -A 64 -MBas ageffcbf -MHas ageffcbf -MBlmbcs 512 -MHlmbcs 512 -MMmc>
             ??29232 erl_child_setup 65536
             ??29282 inet_gethost 4
             ??29283 inet_gethost 4

Oct 24 05:20:29 debian11 systemd[1]: Starting RabbitMQ Messaging Server...
Oct 24 05:20:35 debian11 systemd[1]: Started RabbitMQ Messaging Server.
Once you are finished, you can proceed to the next step.
Create Admin User for RabbitMQ
Next, you will need to create an admin user for RabbitMQ. You can create it using the following command:
rabbitmqctl add_user admin password
Next, set a tag for your admin account using the following command:
rabbitmqctl set_user_tags admin administrator
Next, set proper permission with the following command:
rabbitmqctl set_permissions -p / admin ".*" ".*" ".*"
Next, enable the RabbitMQ management console using the following command:
rabbitmq-plugins enable rabbitmq_management
You will get the following output:
Enabling plugins on node rabbit@debian11:
rabbitmq_management
The following plugins have been configured:
  rabbitmq_management
  rabbitmq_management_agent
  rabbitmq_web_dispatch
Applying plugin configuration to rabbit@debian11...
The following plugins have been enabled:
  rabbitmq_management
  rabbitmq_management_agent
  rabbitmq_web_dispatch

started 3 plugins.
Once you are finished, you can proceed to the next step.
Access RabbitMQ Dashboard
By default, the RabbitMQ web console listens on port 15672. You can check it using the following command:
ss -antpl | grep 15672
You will get the following output:
LISTEN 0 1024 0.0.0.0:15672 0.0.0.0:* users:(("beam.smp",pid=29132,fd=96))
Now, open your web browser and access the RabbitMQ web console using the URL http://your-server-ip:15672/. You should see the RabbitMQ login page:

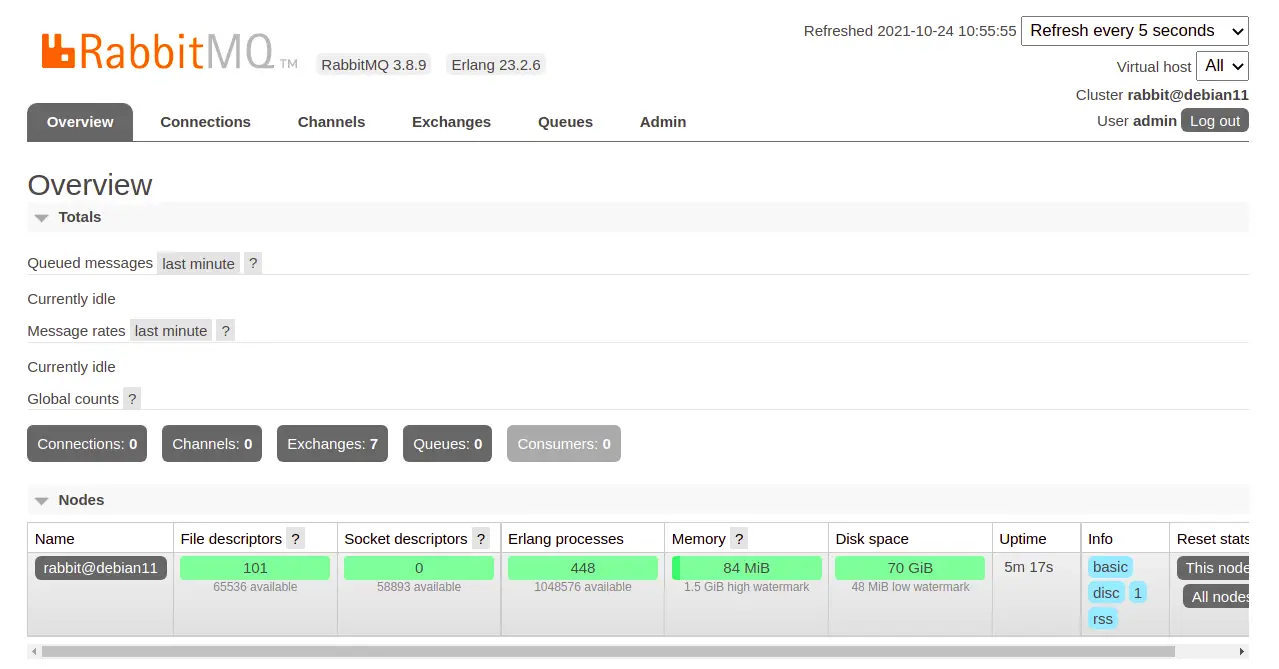
Provide your admin username, password and click on the Login button. You should see the RabbitMQ dashboard in the following page:
Conclusion
In the above guide, you learned how to install the RabbitMQ server on Debian 11. For more information, visit RabbitMQ official tutorials website.

