How to setup an RDS MySql (Relation Database MySql) instance on AWS
RDS(Relational Database Service) comes under “Database” services of AWS(Amazon Web Services) Cloud. RDS service provides a scalable and cost-efficient relational database capacity. It automates time-consuming administration tasks such as hardware provisioning, setup, backups, etc. It helps us to focus on our applications instead of database administration and maintenance tasks.
RDS provides us with 6 database engines, Amazon Aurora, MySQL, MariaDB, Oracle, Microsoft SQL Server, and PostgreSQL. RDS handles routine database tasks such as provisioning, patching, backup, recovery, failure detection, and repair.
Following are a few of its features.
- Easy to Administer:
Amazon RDS database instances are pre-configured with settings appropriate We can launch an RDS instance and connect to our application within minutes - Highly Scalable:
We can scale the memory resources powering our deployment up or down. - Available and Durable:
RDS Multi-AZ feature provides enhanced availability and durability for database instances we create. - Secure:
RDS allows us to encrypt our databases using keys that can be managed through AWS KMS Service. Data stored on the instance can be encrypted and saved. - Inexpensive:
RDS is free to try and we need to pay only for what you use. There is no minimum fee charged.
To know these features in detail click here.
Amazon RDS is free to try and we need to pay only for what we use.
To know more about the billing related to RDS, click here.
In this article, we will see how to create an RDS MySql 5.7.22 Instance, provision and terminate it.
Pre-requisites
- AWS Account (Create if you don’t have one).
What we will do?
- Login to AWS.
- Configure and Create a MySql RDS Instance.
- Terminate the Instance.
Login to AWS
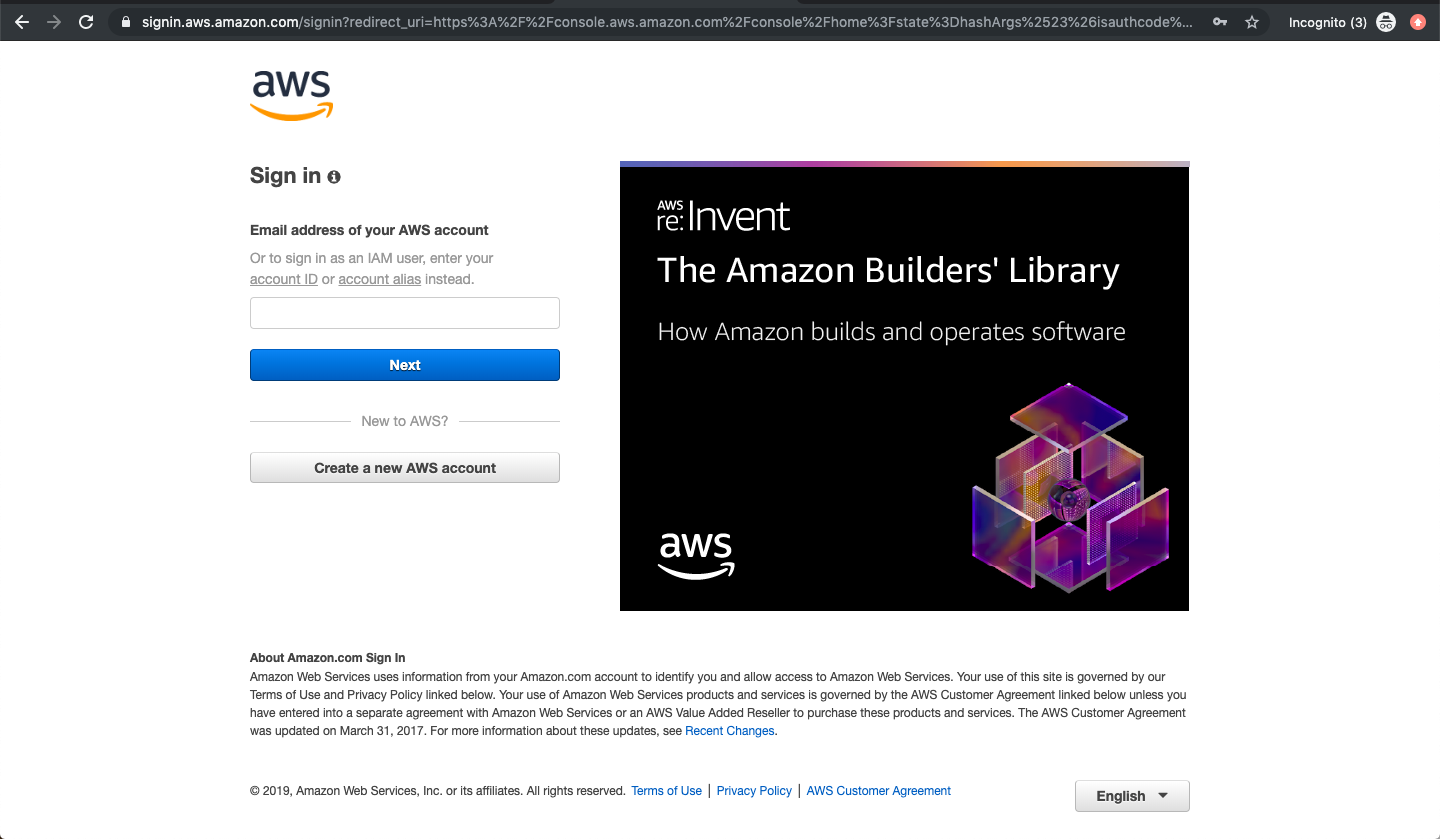
- Click here to go to AWS Login Page.
When we hit the above link, we will see a web page as follows where we are required to log in using our login details.
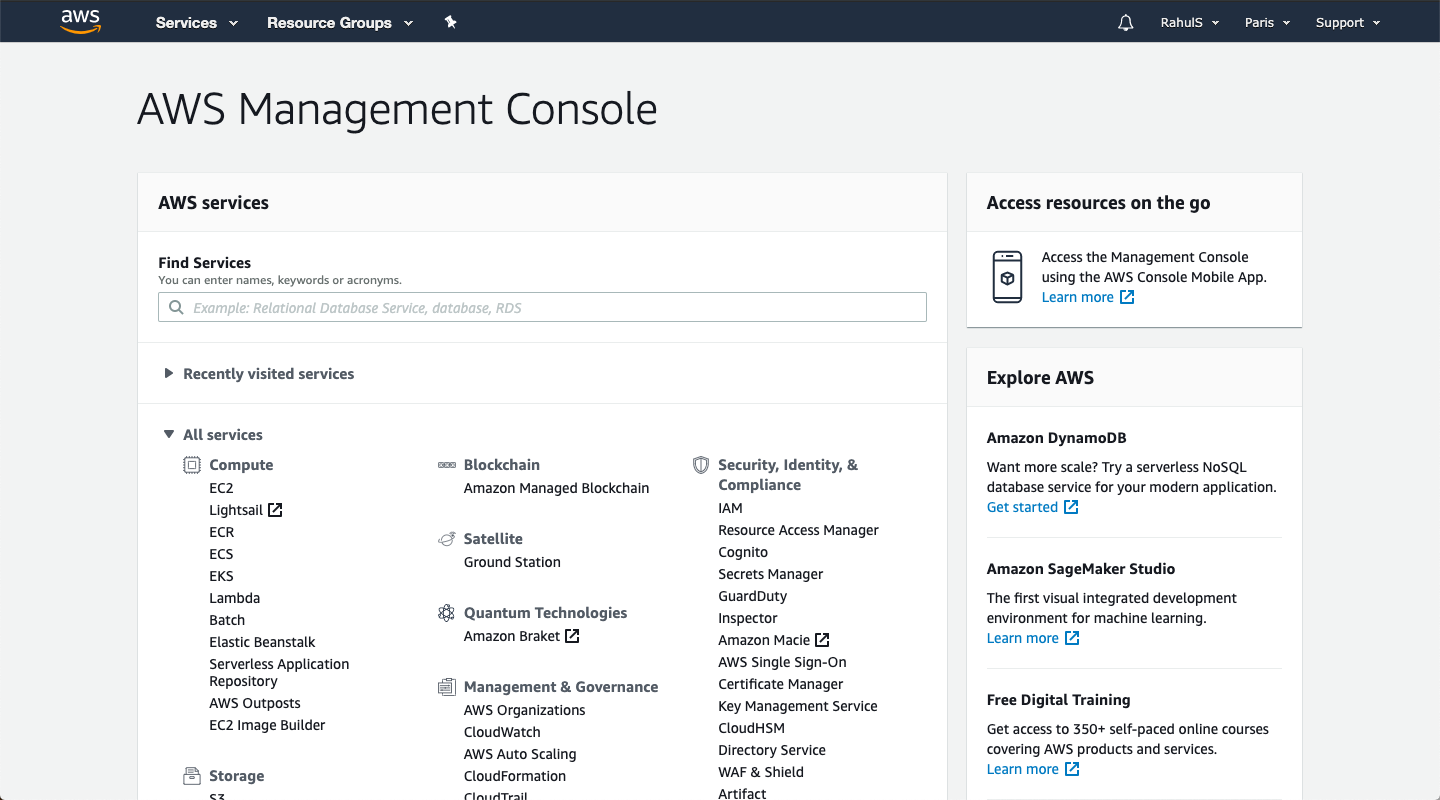
Once we login into AWS successfully, we will see the main console with all the services listed as follows.
Configure and Create a MySql RDS Instance.
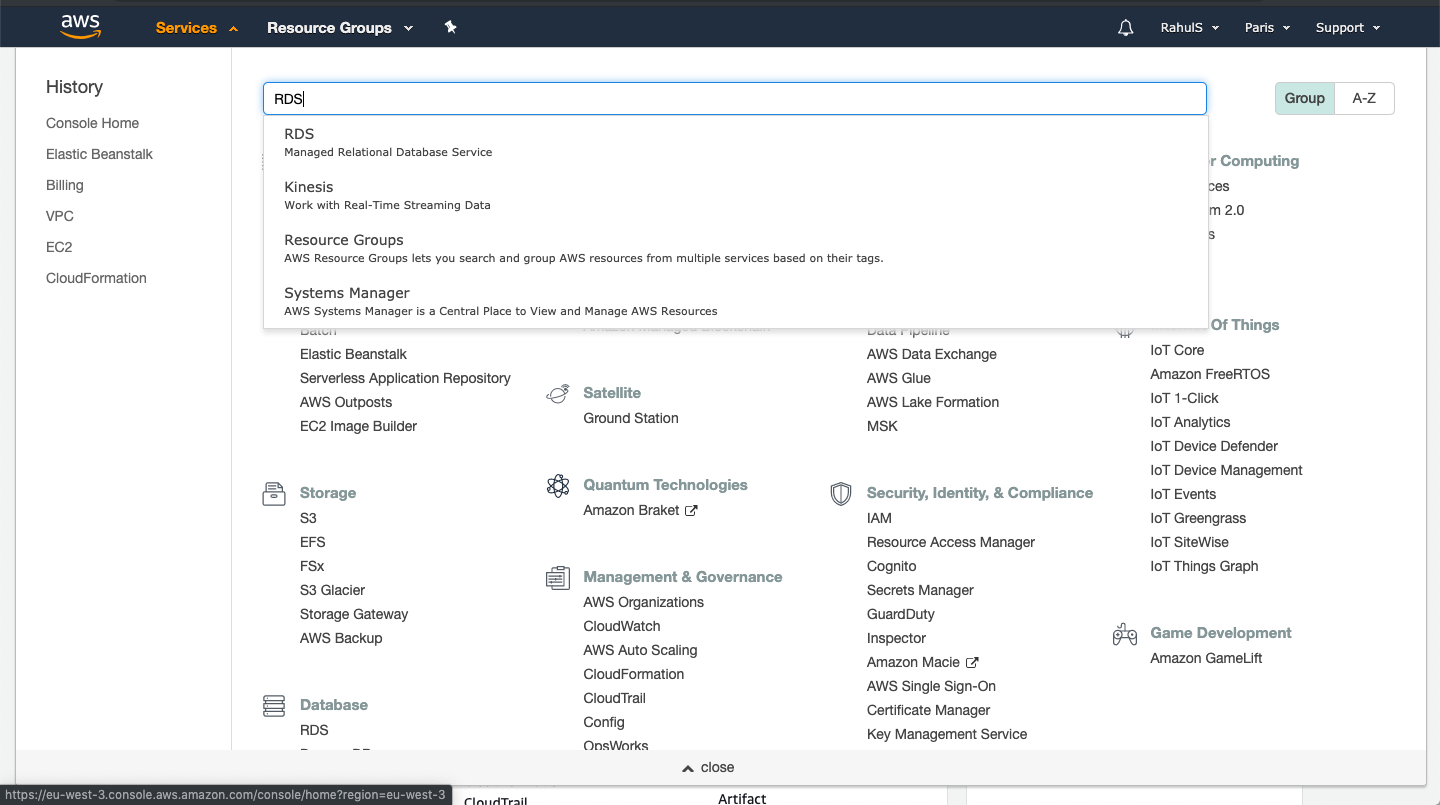
To create a MySql RDS Instance, Click on “Service” on the top left screen and search for “RDS” in the search box and click on the result.
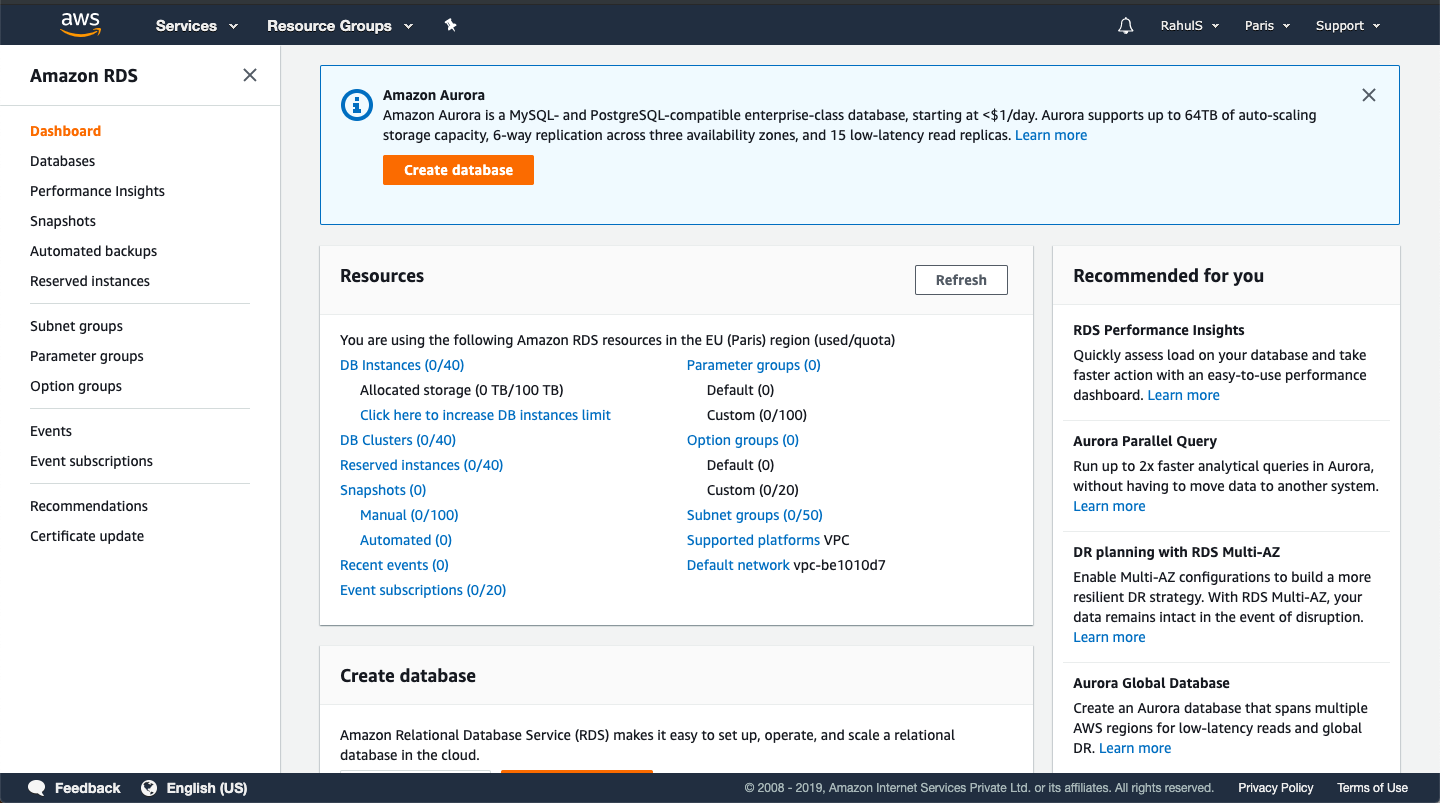
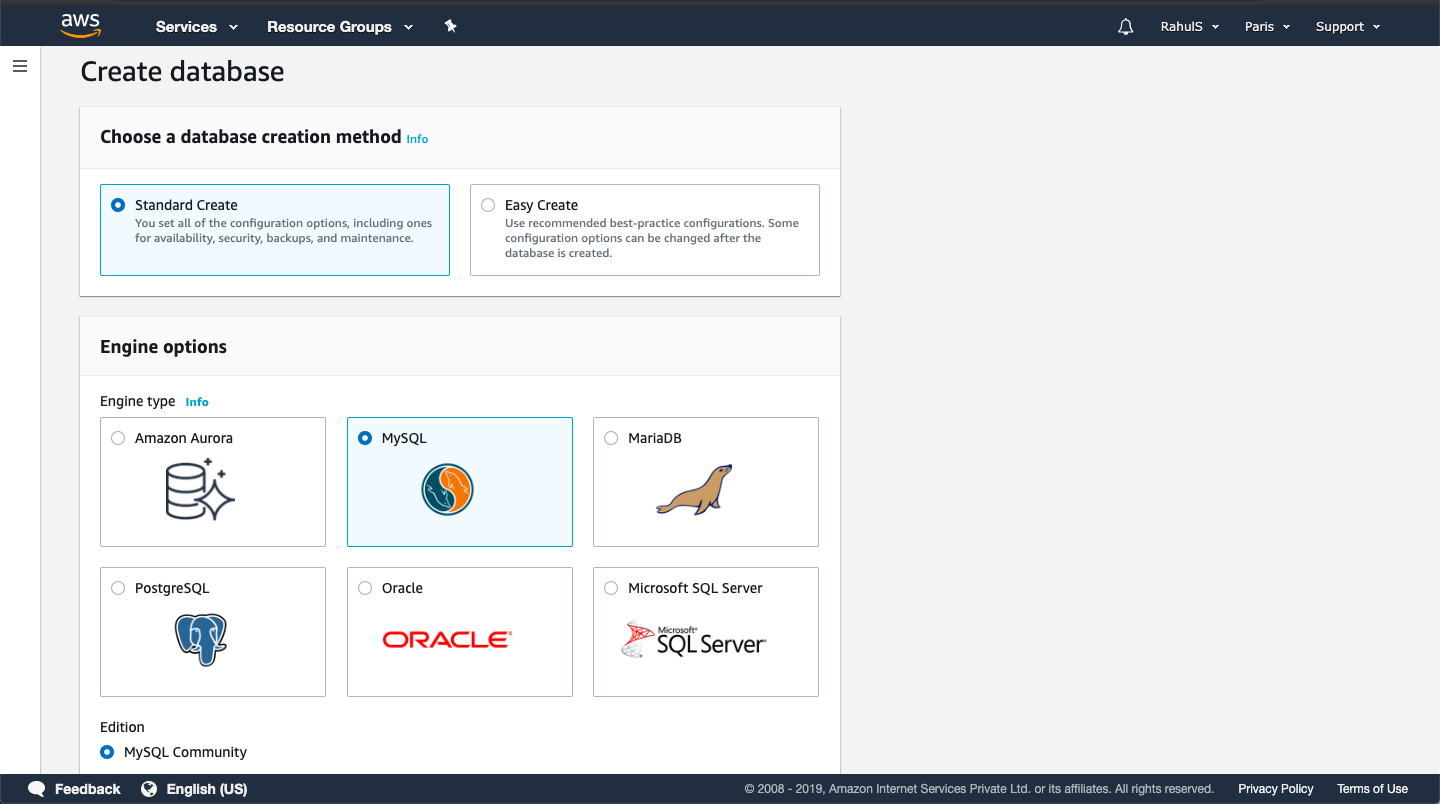
On this screen, click on “Create database” to create a database of our choice.
Here, we can choose a creation method between “Standard create” which takes care of all the configurations and settings for us and “Easy create” where we need to specify all the configurations and settings. Here I will proceed with “Standard Create”. Under “Engine Option”, I will go with “MySql”, you can choose a database of your choice.
Choose the version from the available list, select “Free Tier” from the templates available.
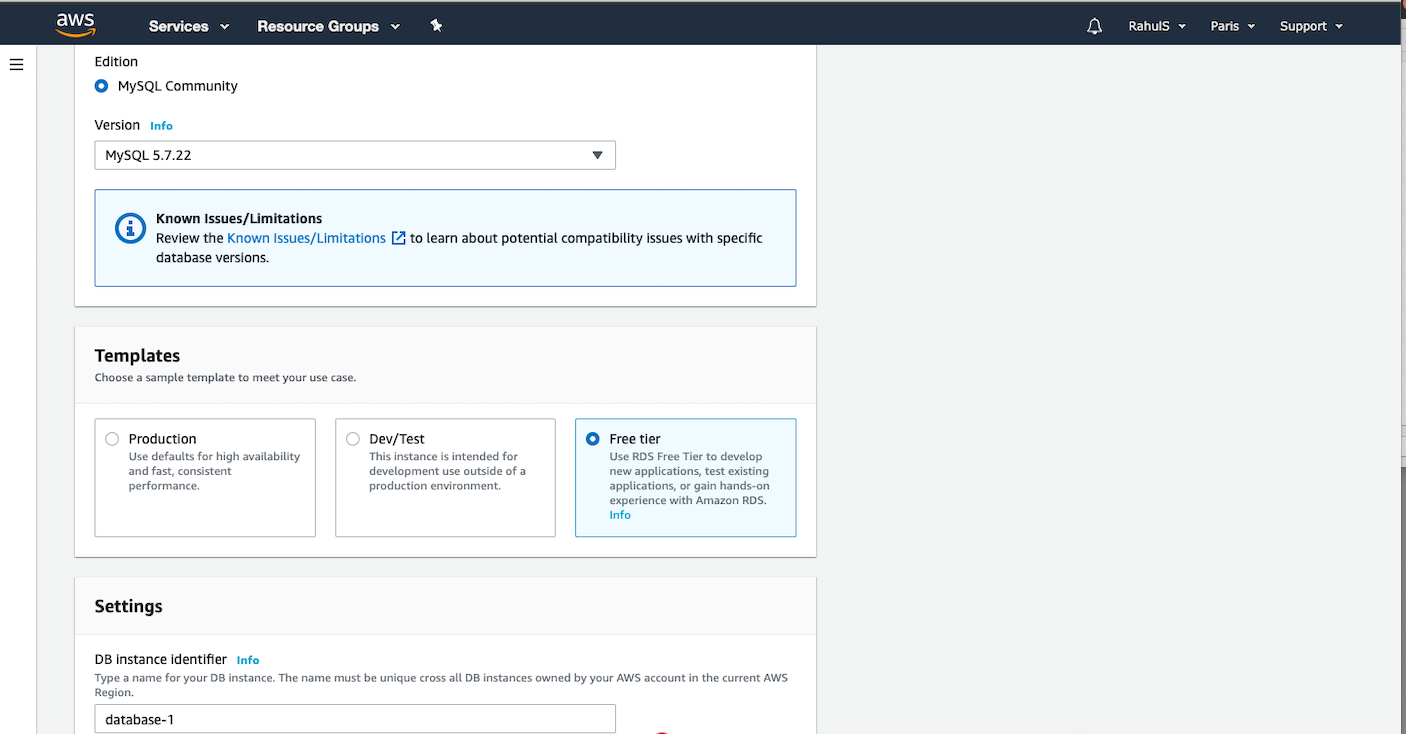
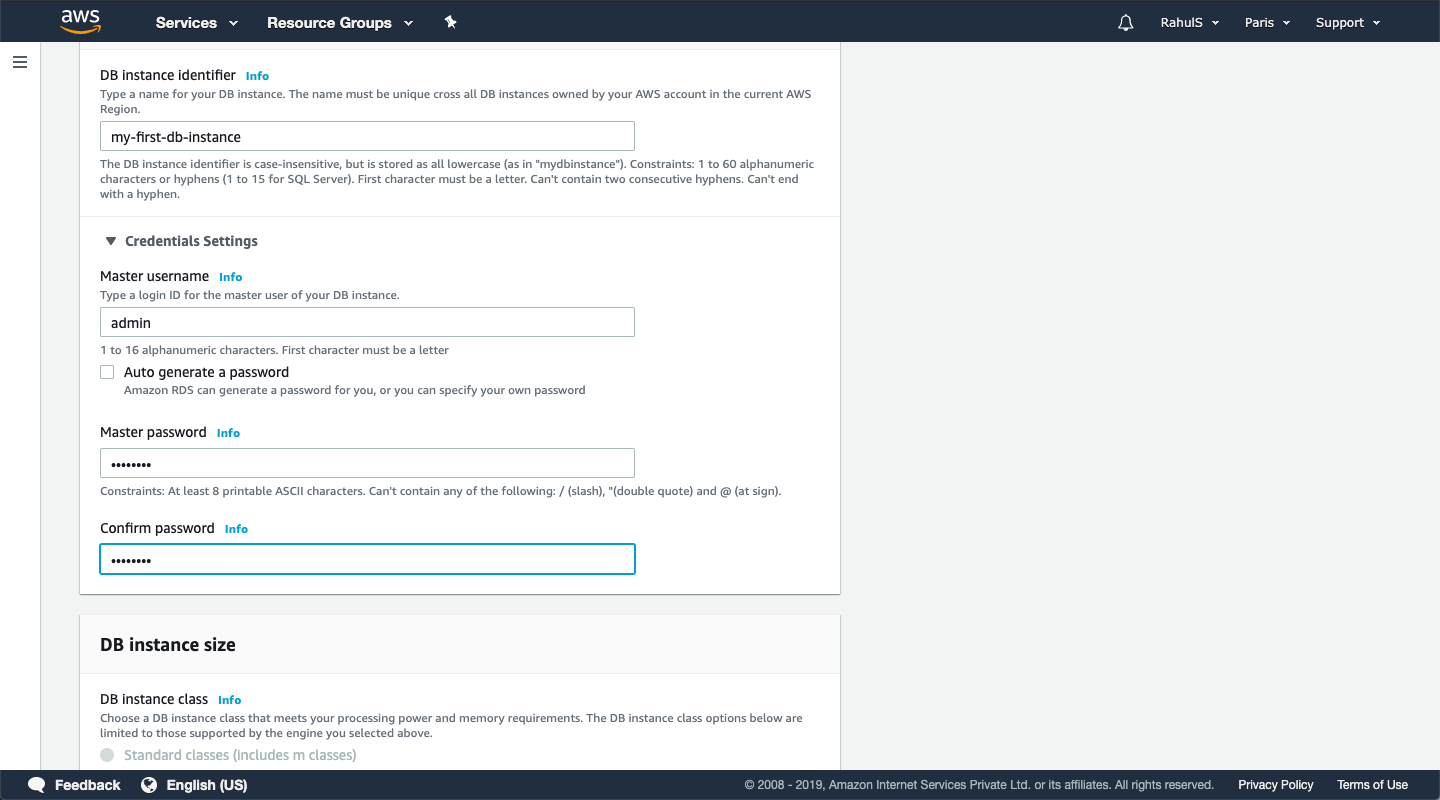
Give a name to the RDS instance that will get created. Specify a “Master username”, and password for the user.
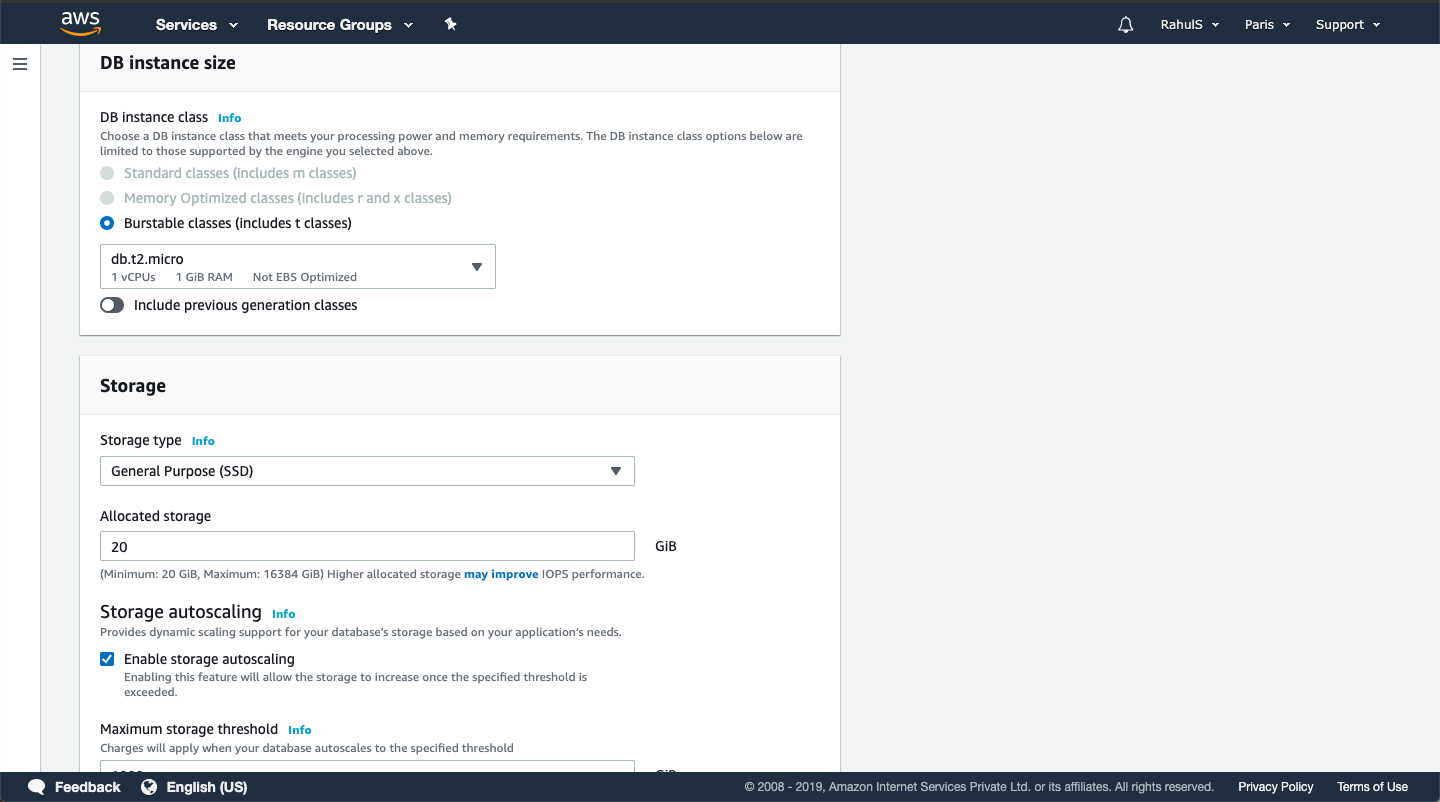
Choose the “Instance class” from the available list. This decides the processing power and memory of the instance. Define the “Storage type” and “Storage”. Keep the rest default. You can try other features yourself in detail.
Keep the default settings here, you can choose a VPC of your choice if you already have your VPC in your region.
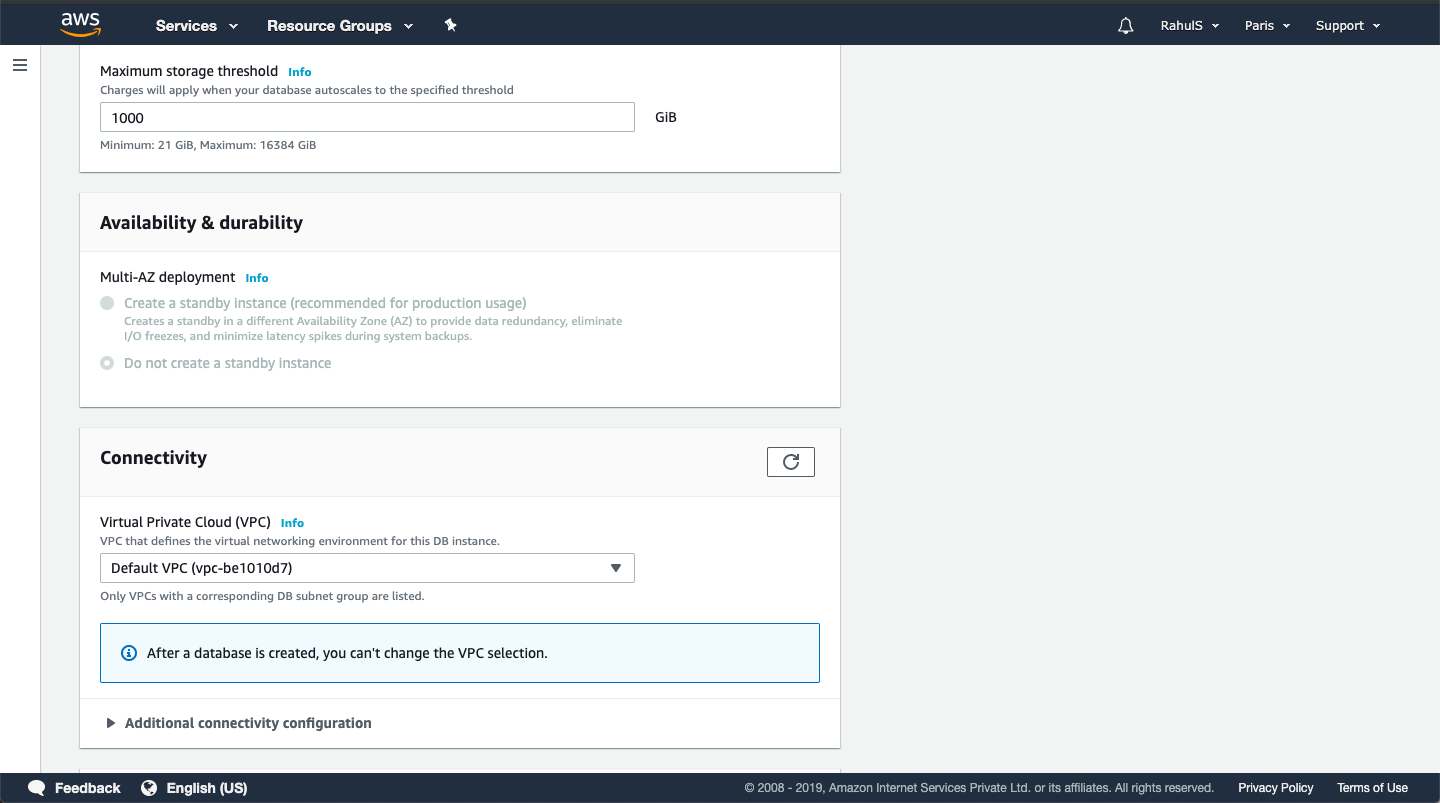
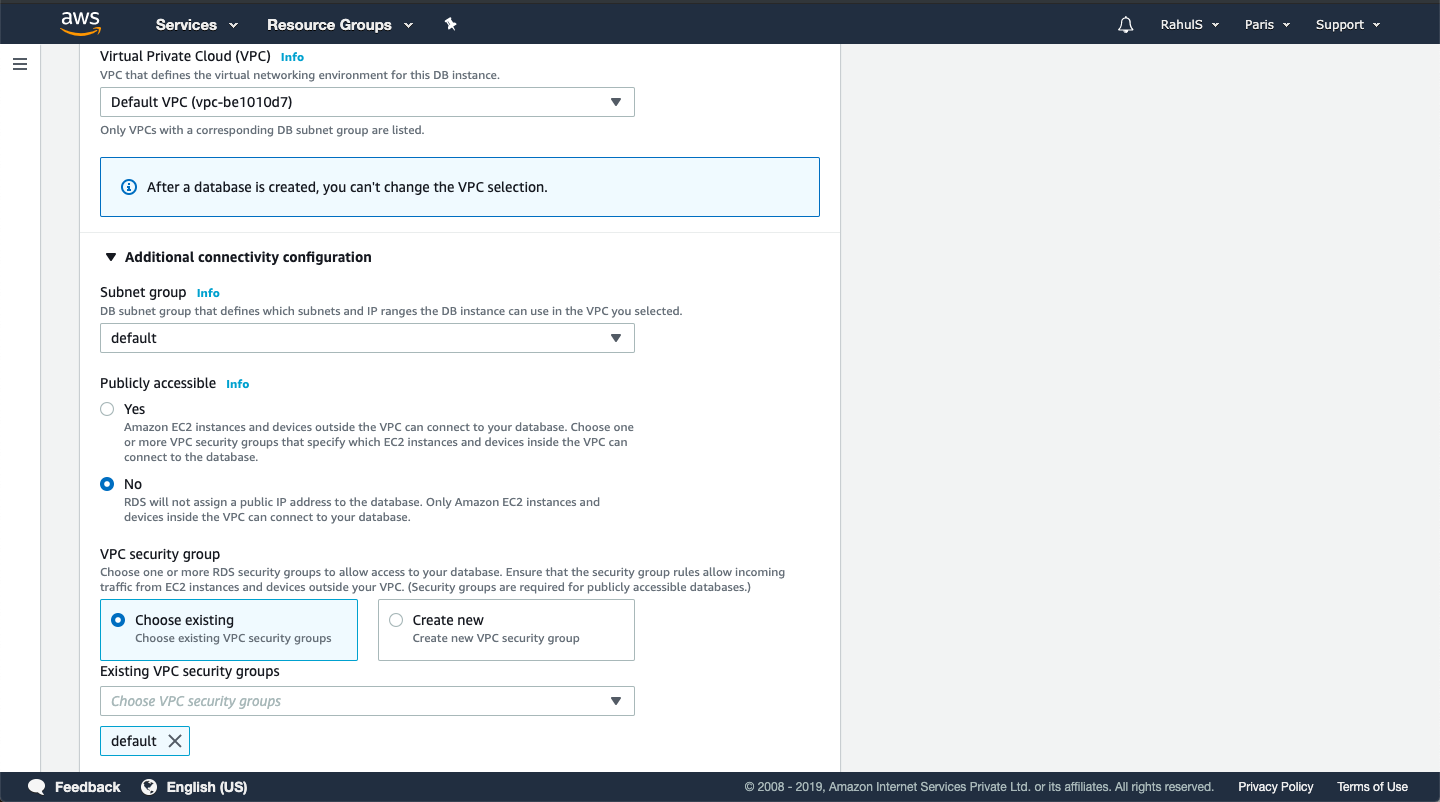
Choose the “Subnet group” or you can proceed with default. If you want to access the RDS instance from the External Network and not only from your VPC then select “Yes” for “Publicly Accessible” or select “No” if you want to keep your RDS instance private and only accessible from the VPC. Keep the rest default.
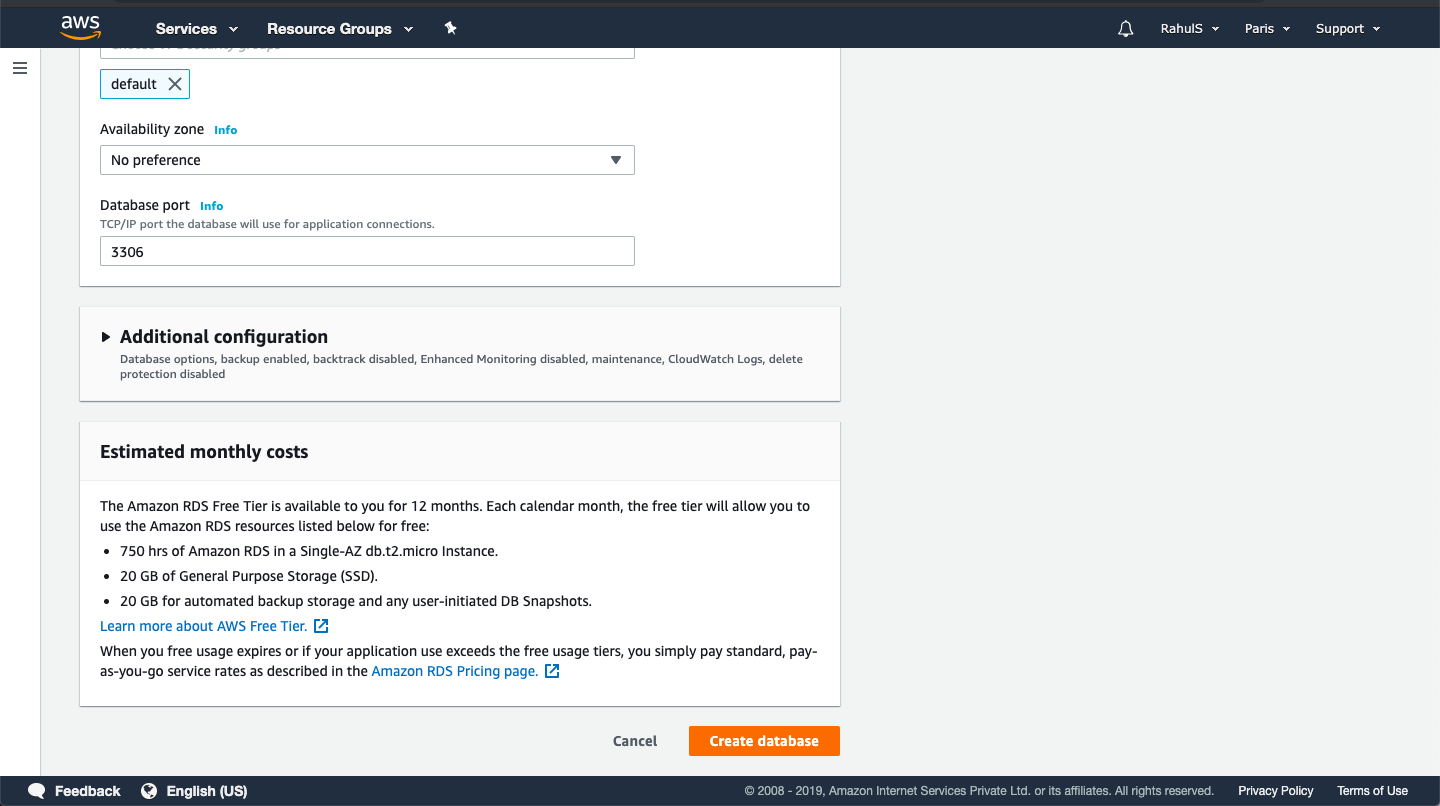
Keep the default settings here and click on “Create database”. You can try different features available under “Additional Configuration”.
Creating a database will take some time, around 15 minutes. Wait till then.
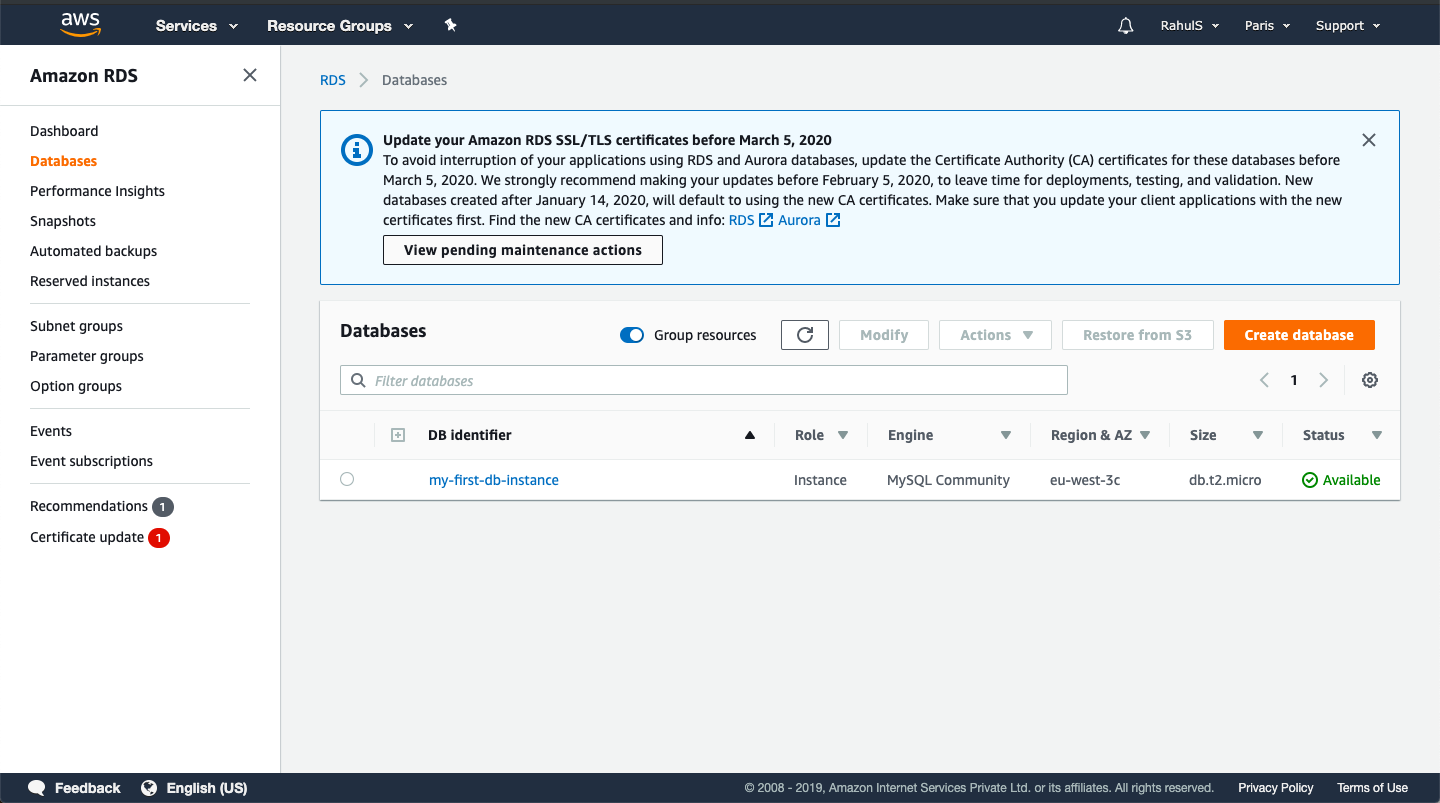
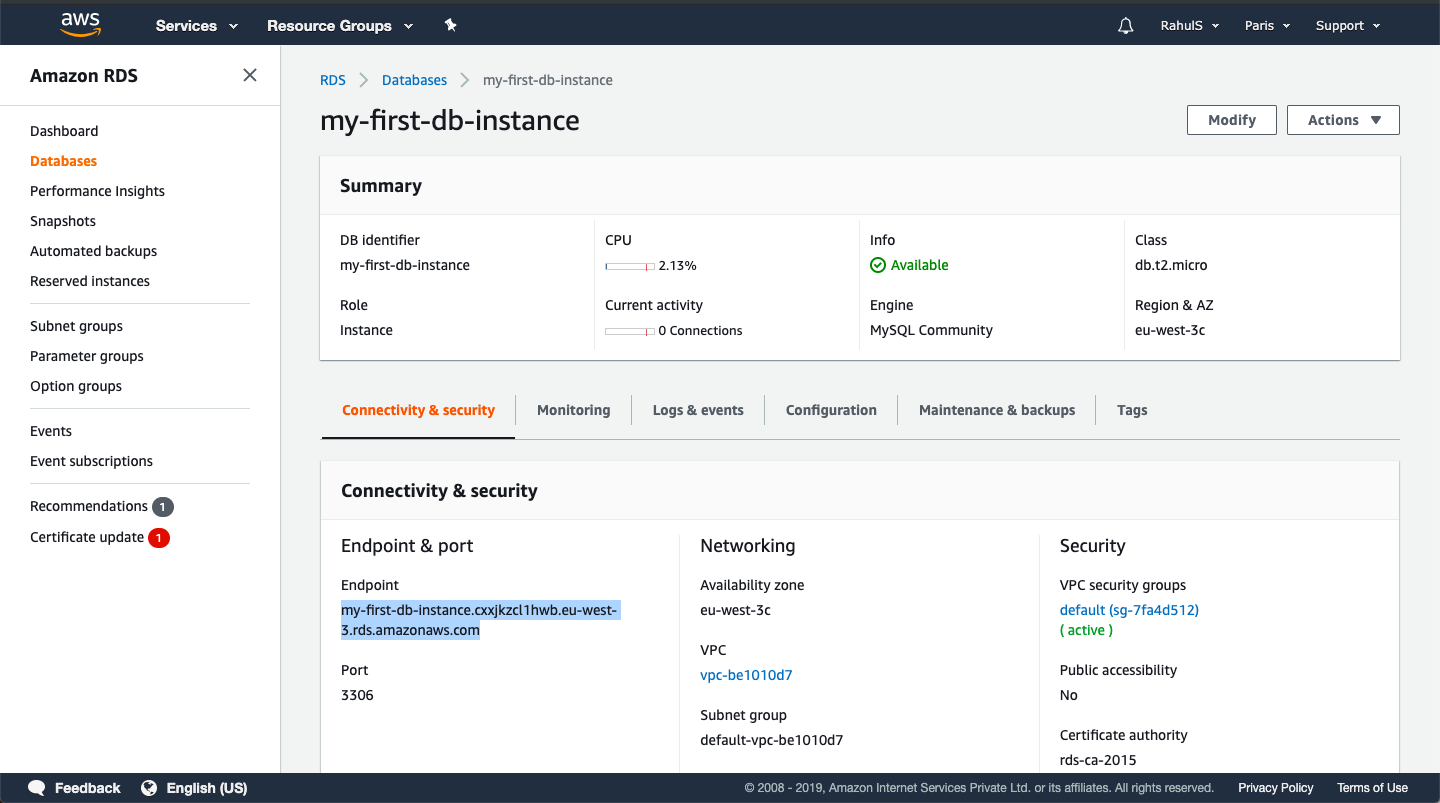
Once the database is ready, we can see its status as “Available”.
Click on the instance.
Here, we can use the “Endpoint” to connect to the instance.
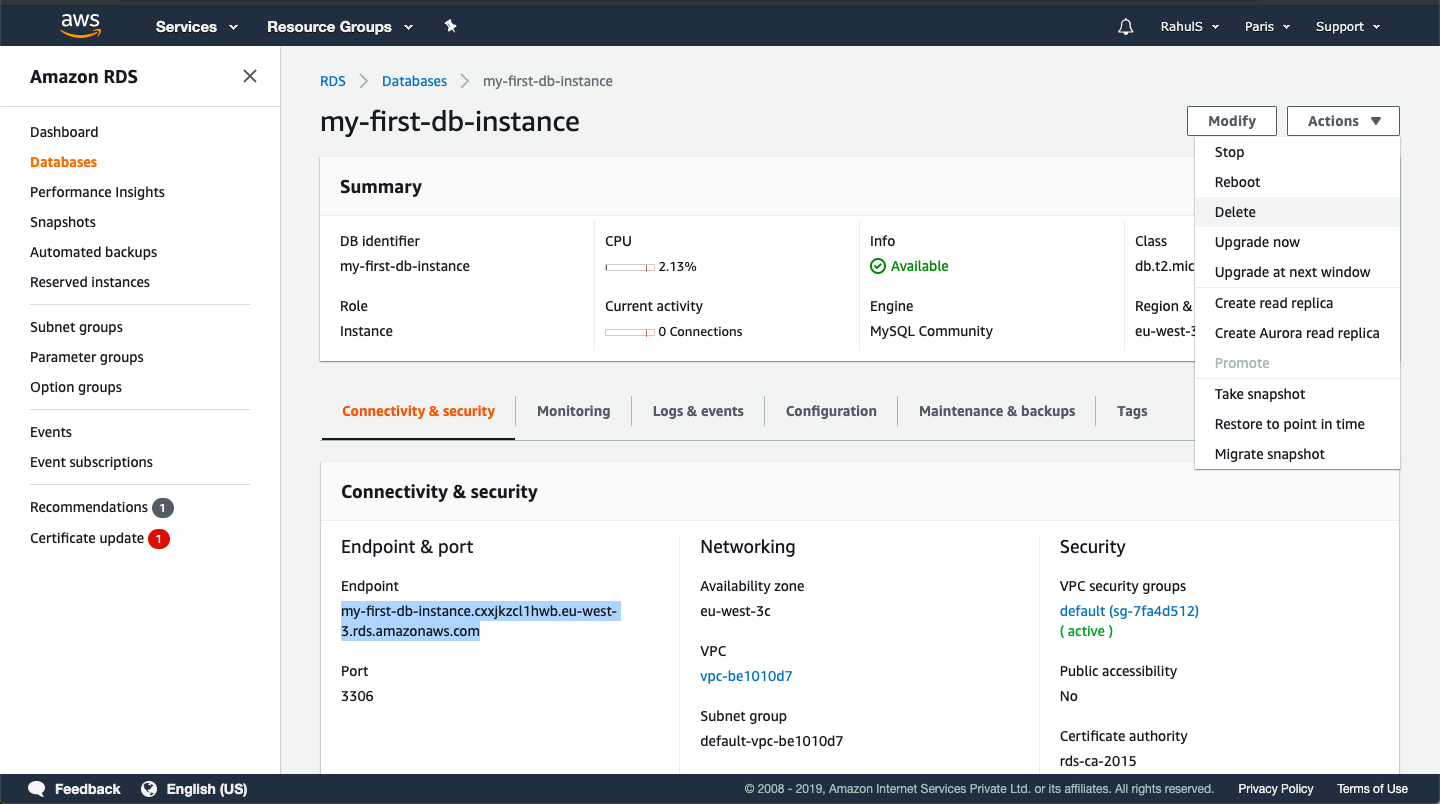
Terminate the instance
To delete the instance, click on “Actions” and select “Delete”.
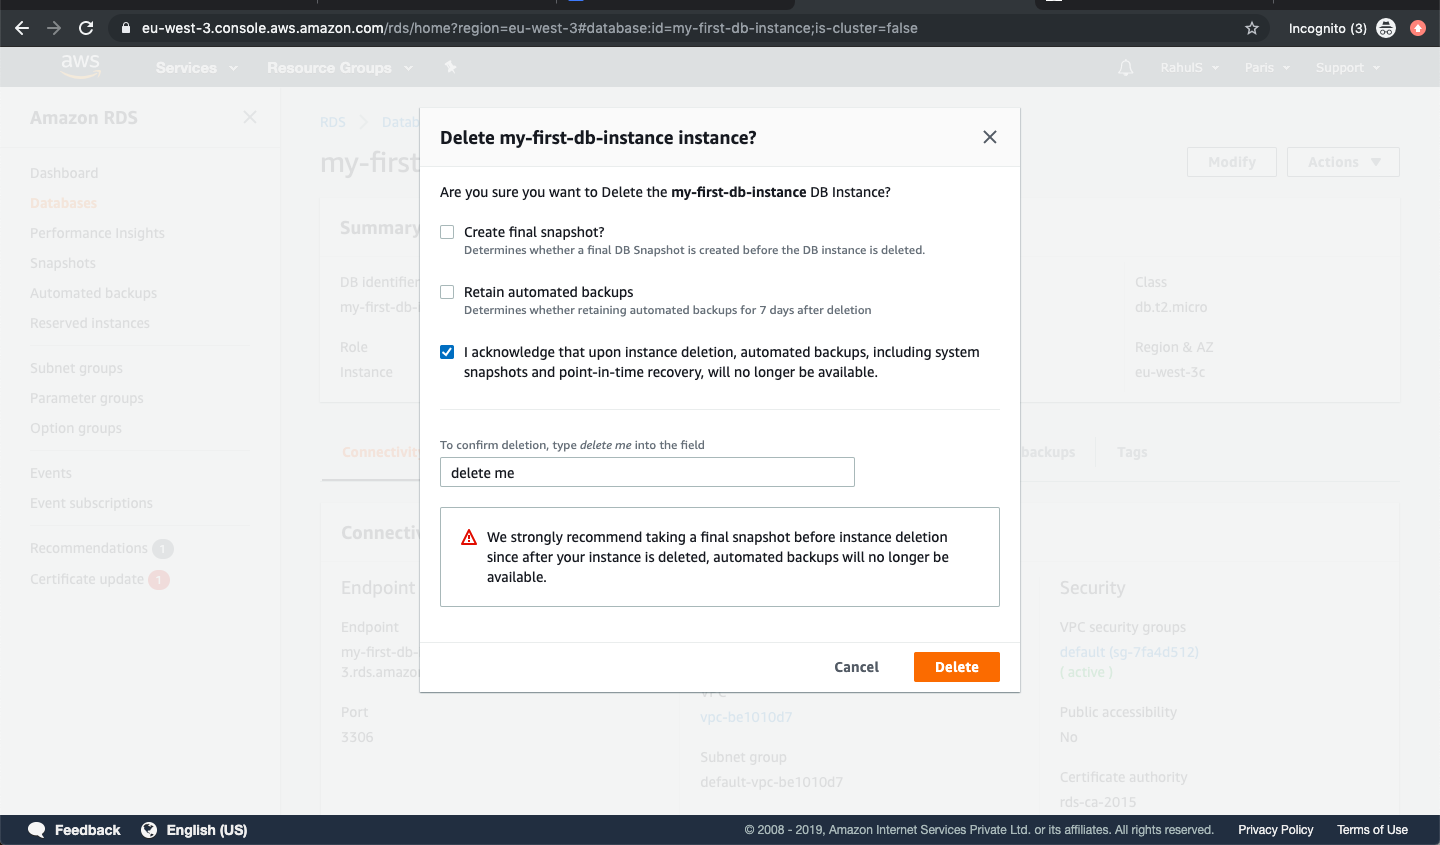
Before deleting the instance, we will be asked whether we want to take the final snapshot of the database which will be stored in our account, untick the checkbox if you don’t want to take the snapshot.
Check the “I acknowledge” checkbox, confirm by typing “delete me” and click on “Delete” to terminate the RDS instance.
Conclusion
In this article, we saw the steps to create a free tier AWS RDS MySql 5.7.22 instance. We also saw the steps to delete the instance we created.

