What is EFS (Elastic File System) in AWS and how to use it
Amazon Elastic File System(EFS) provides an NFS file system for use with AWS Cloud services and on-premises resources which is simple, scalable, fully managed. We can mount this file system either on AWS Cloud or our on-premises servers. It is built to scale on-demand, grows and shrinks automatically. This means it can grow and reduce its capacity as we add or delete files on it. It is an alternative to our legacy NFS Server.
Amazon EFS can be quickly and easily created from the Web Console of AWS. This service manages the infrastructure for us, which means we can avoid the complexity of deploying, patching, and maintaining complex file system configurations.
Amazon EFS supports the Network File System version 4 (NFSv4.1 and NFSv4.0) protocol.
To learn more about EFS, visit the AWS Official Page here.
In this article, we will focus on creating a simple EFS filesystem and mount it on Ubuntu EC2 instance.
Before we proceed, I assume that you are familiar with EC2 instances and if you are not and want to learn to create an Ubuntu 18.04 EC2 Instance from the AWS Console then Click here.
Pre-requisites
- AWS Account (Create if you don’t have one).
- Ubuntu EC2 Instance.
What will we do?
- Login to AWS.
- Create EFS
- Mount EFS on EC2.
Login to AWS
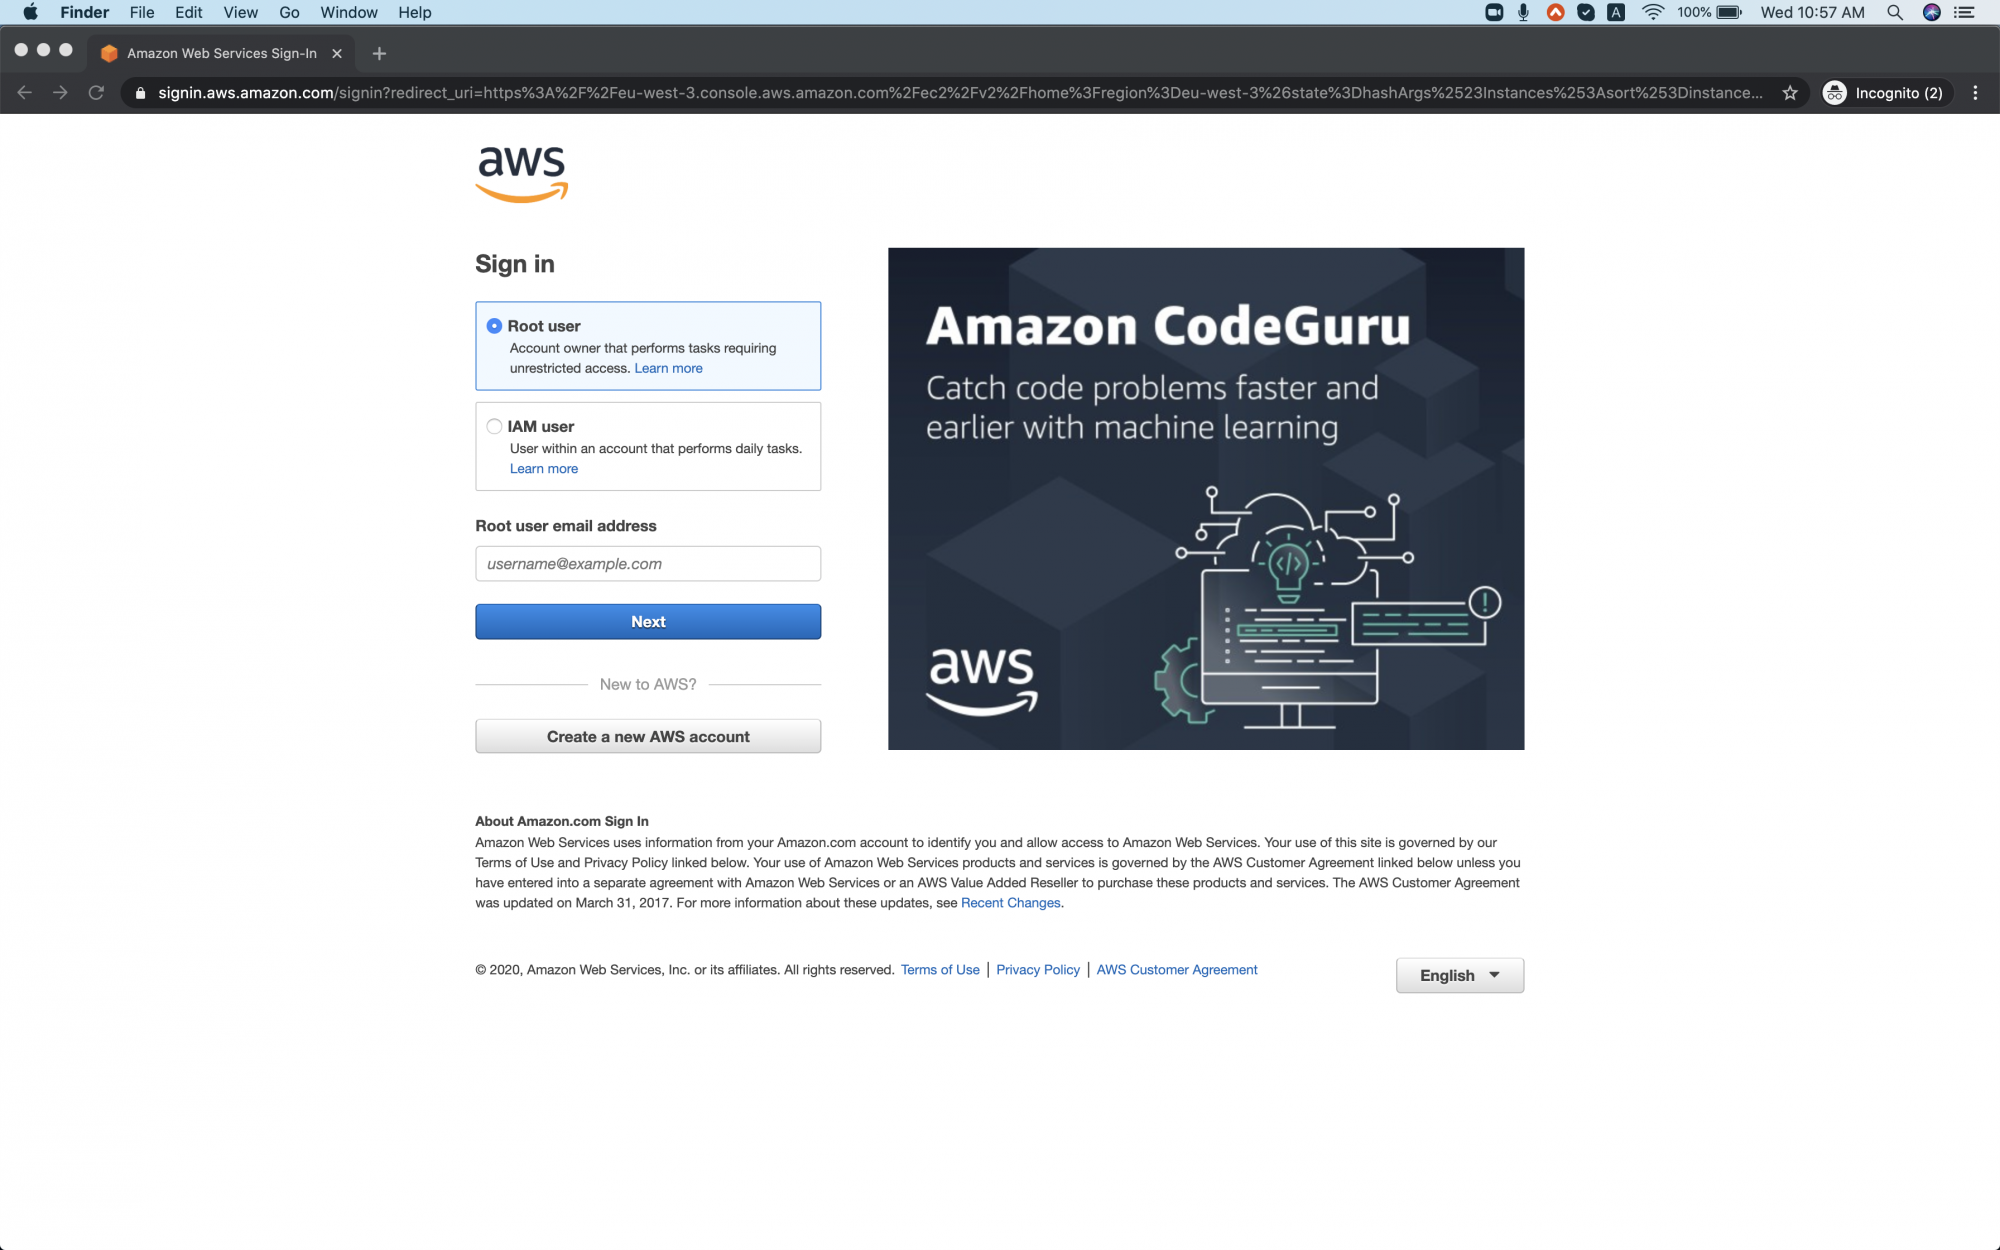
Click here to go to AWS Login Page.
When we hit the above link, we will see a web page as follows where we are required to login using our login details.
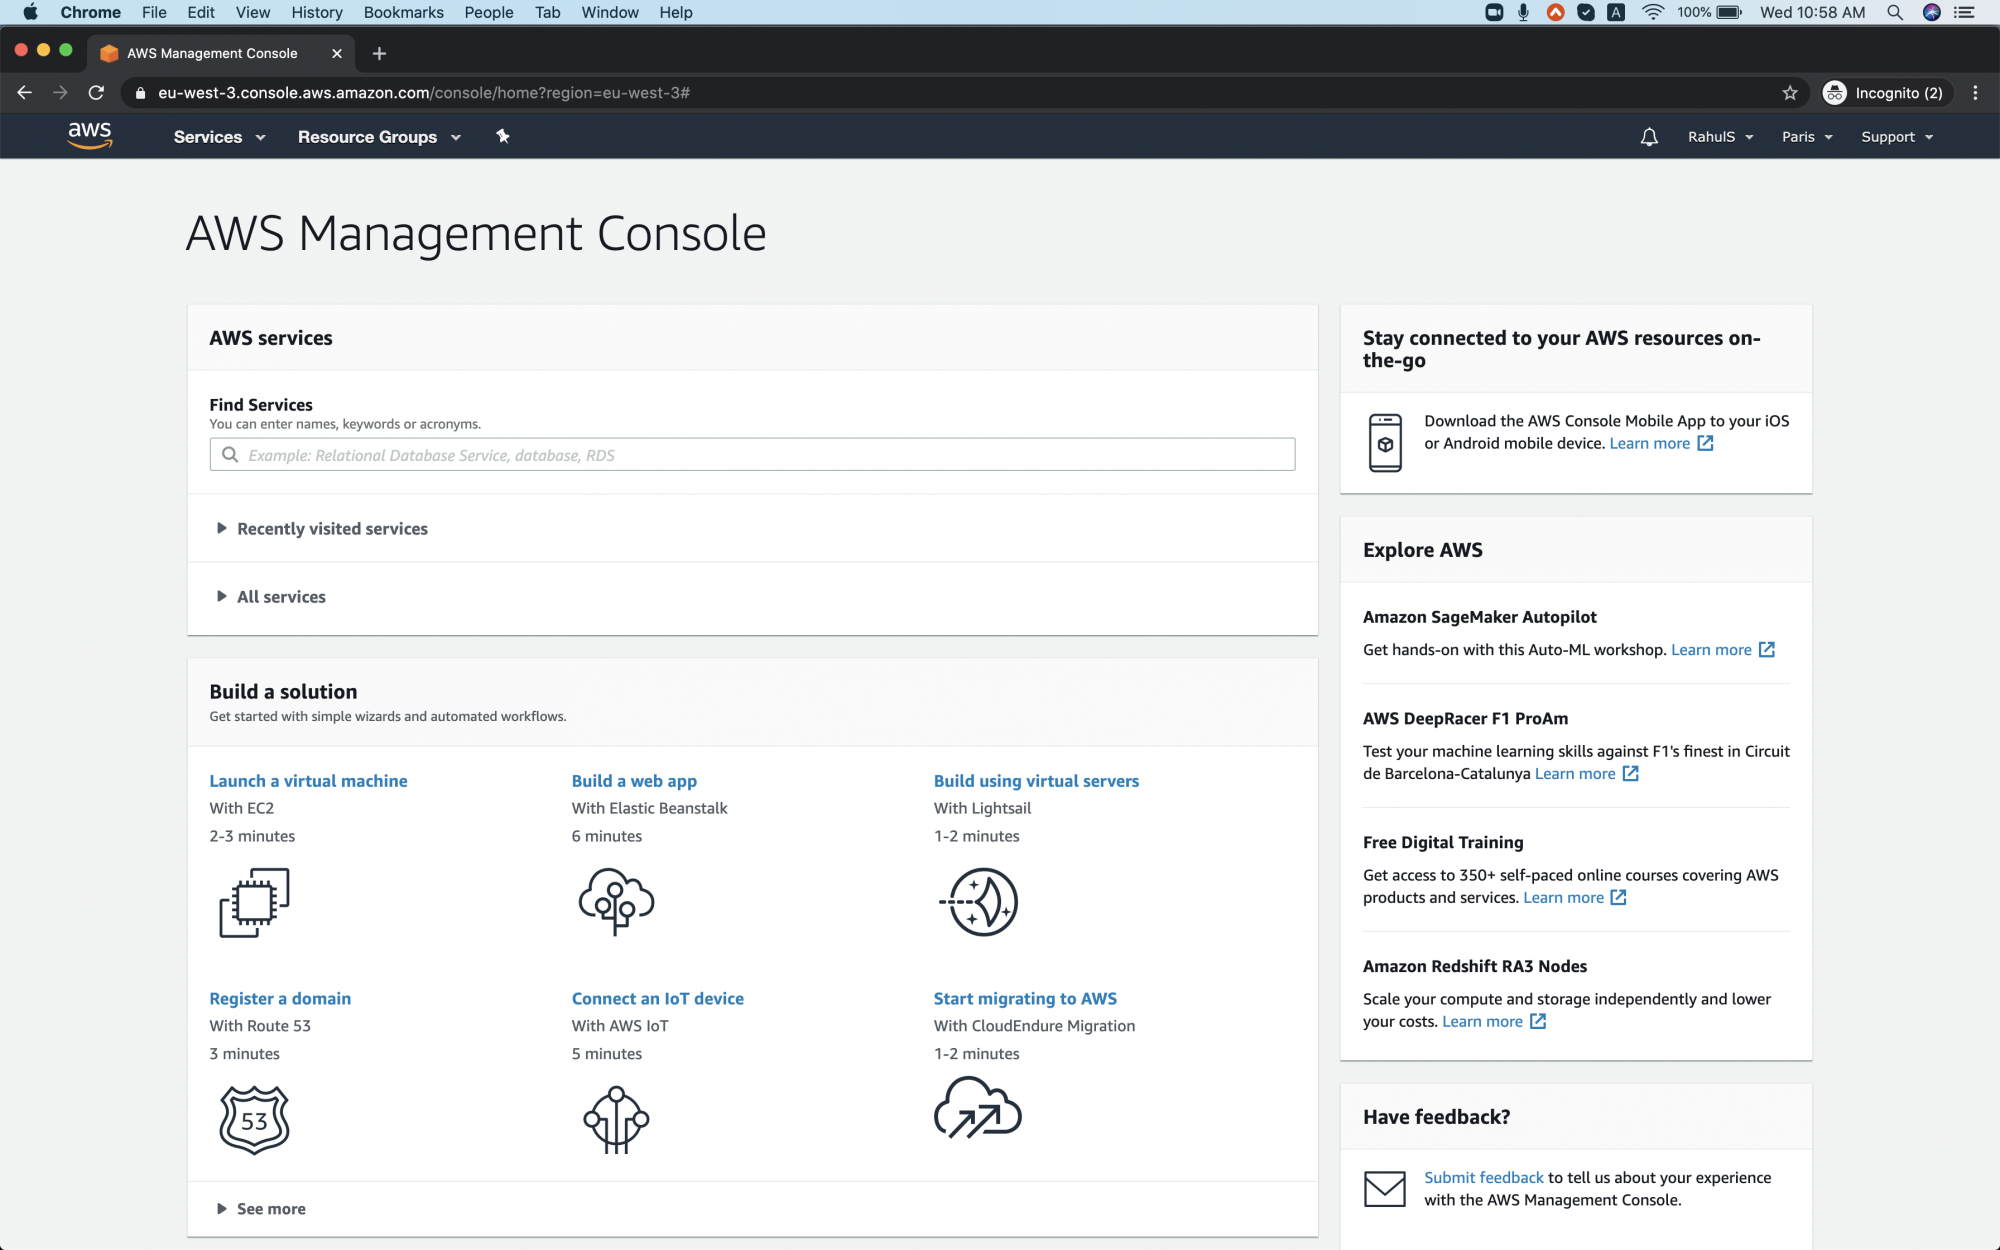
Once you successfully login in to your account, you will see the screen as follows.
Create EFS
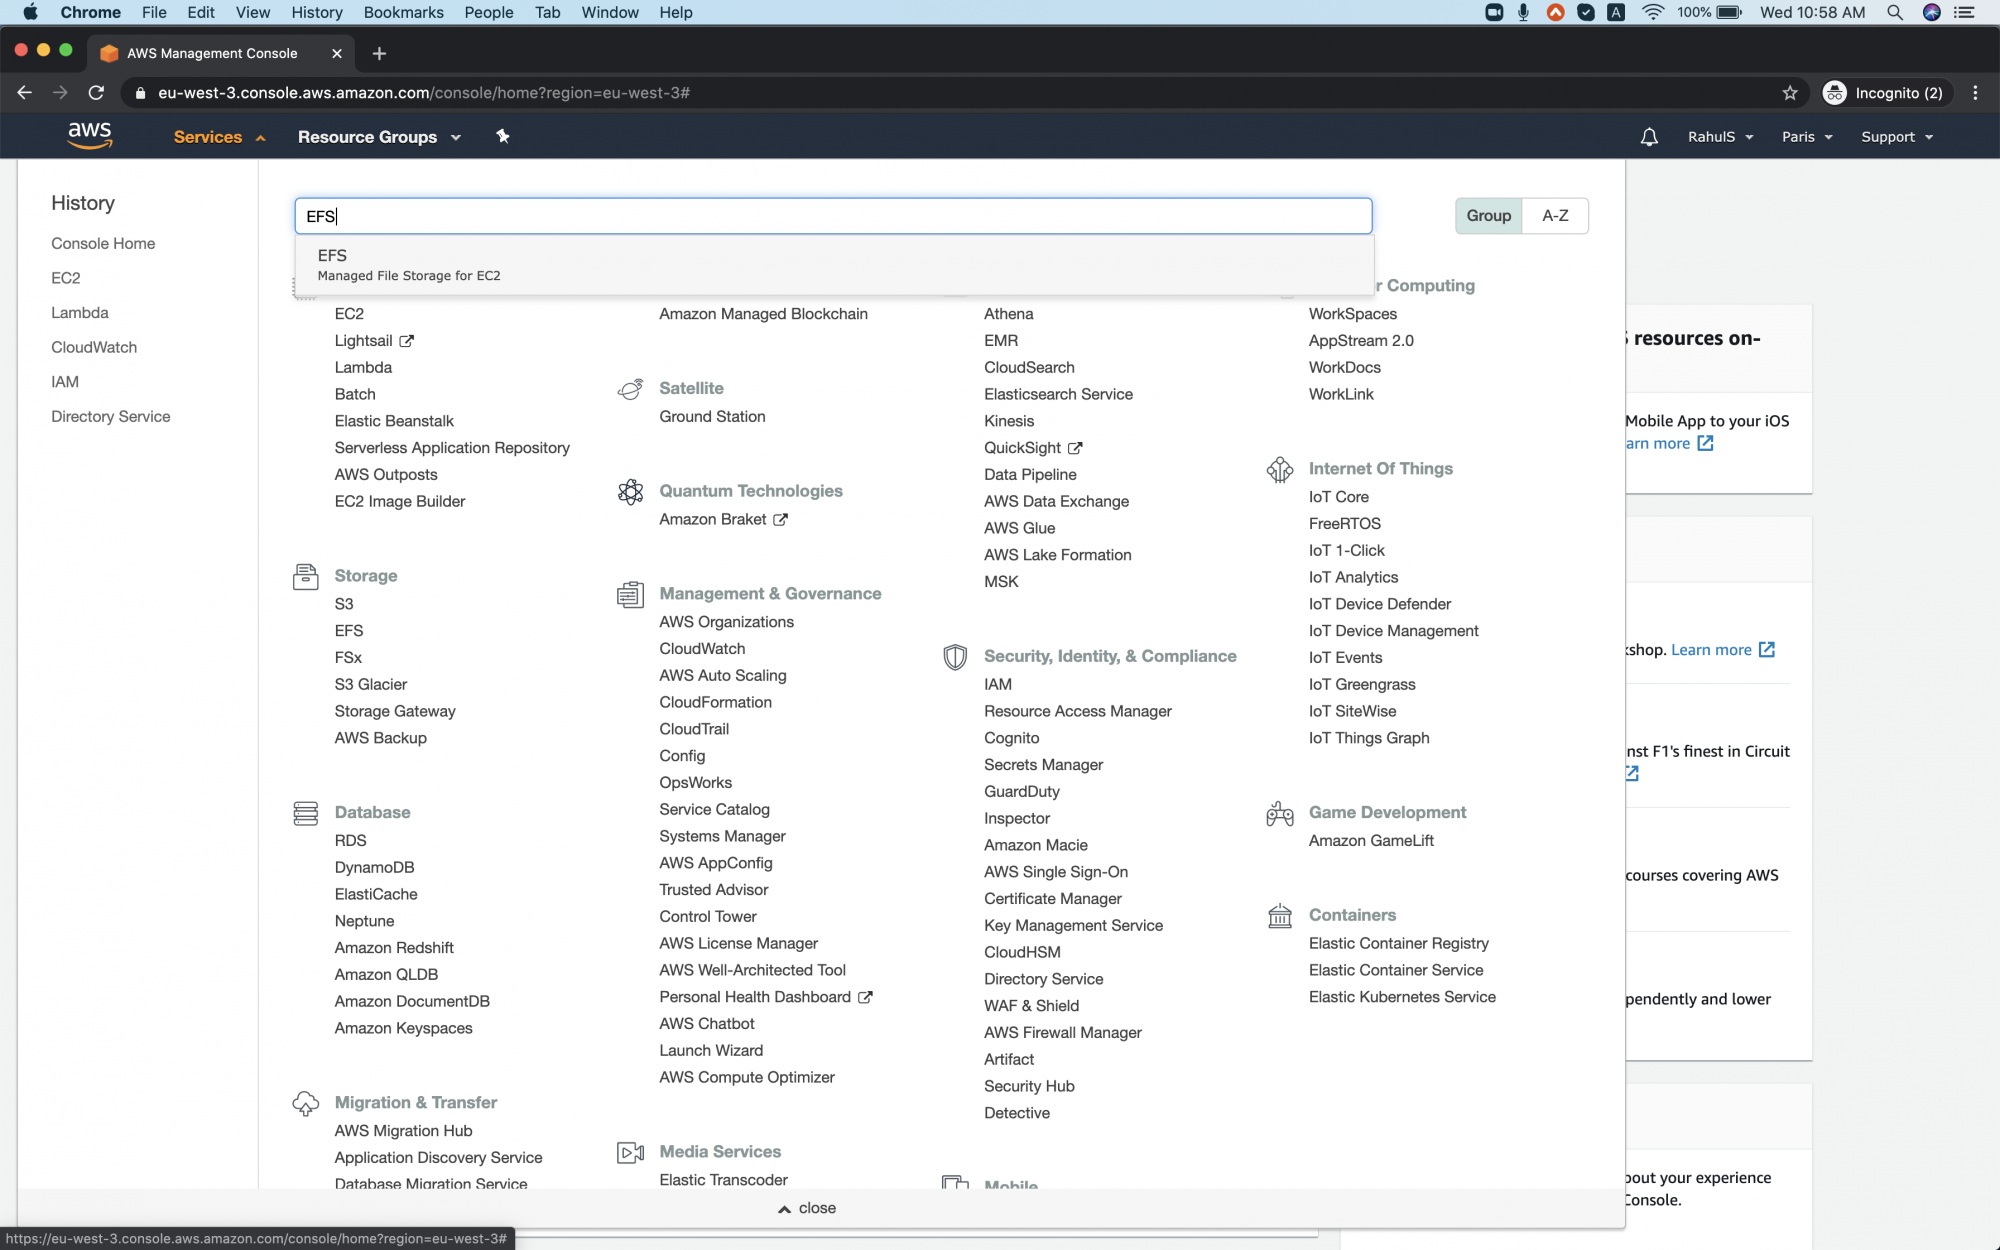
To create your first EFS File System on AWS, search for EFS and click on the result.
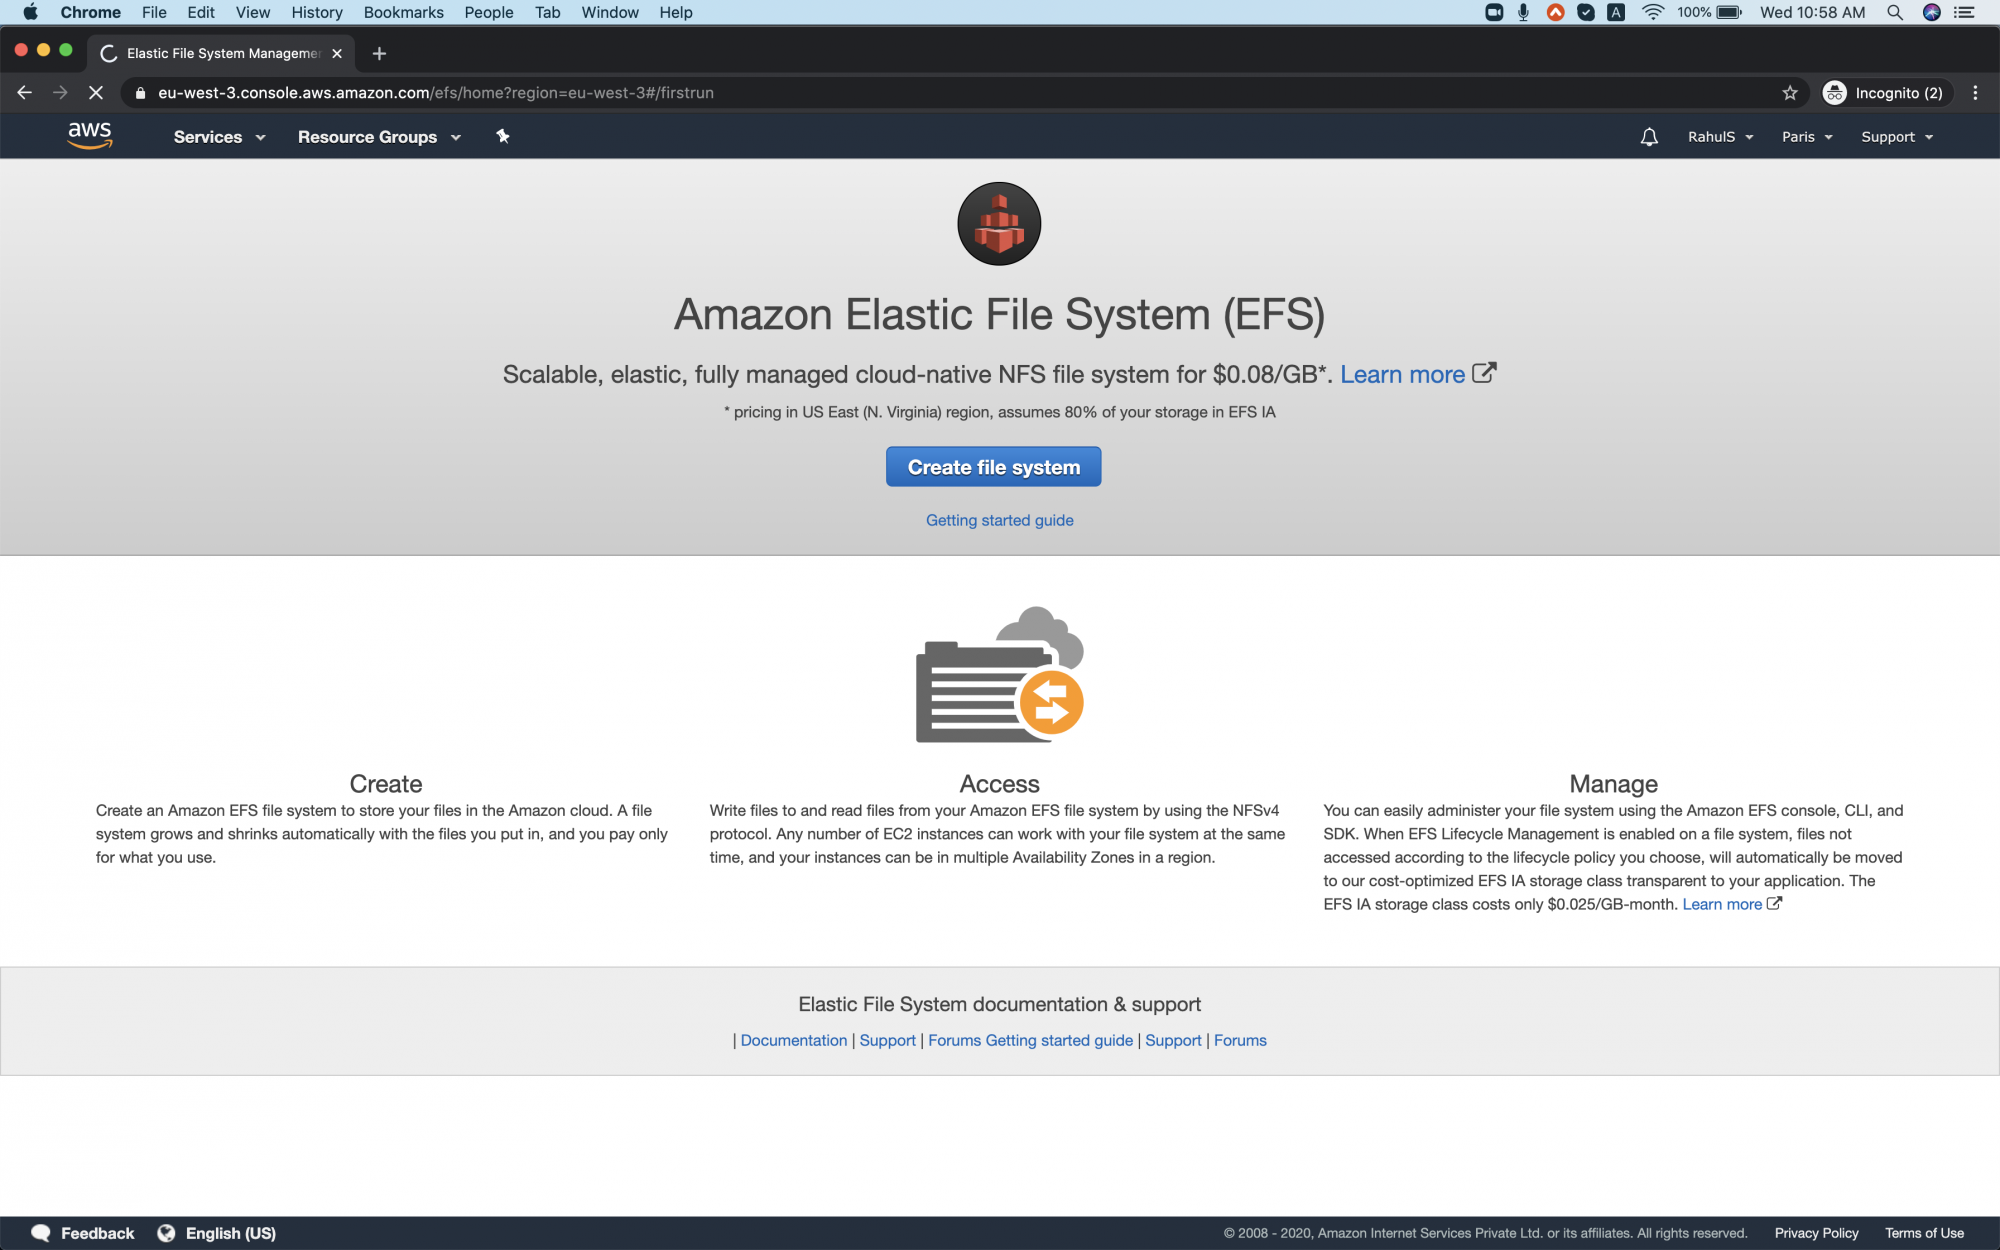
You will see the main dashboard of EFS. Here you can read a bit about EFS.
To create EFS click on "Create file system".
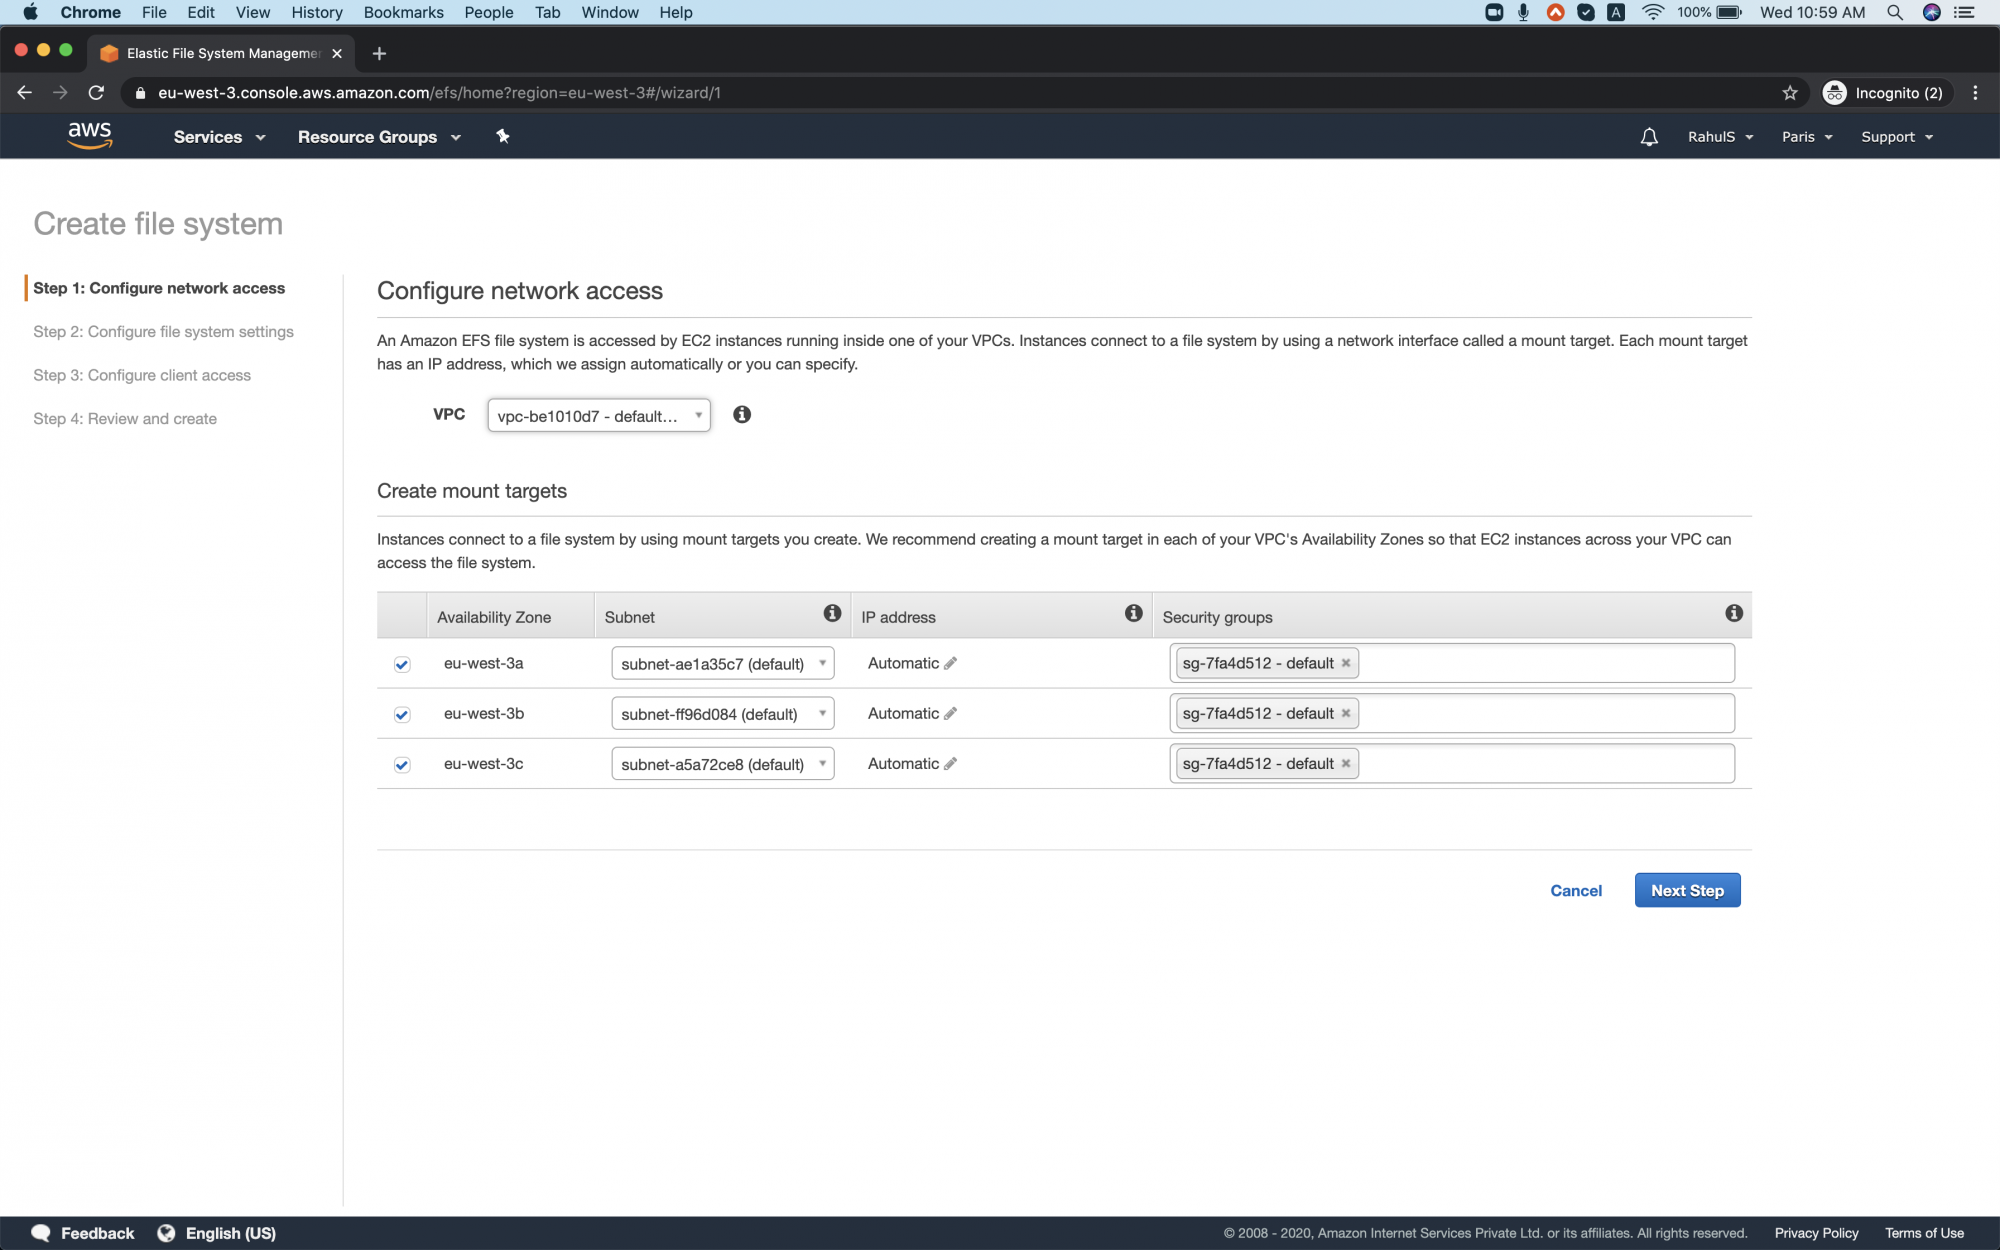
On the "Configure Network Access" page, select the VPC and checkboxes for Subnets in which you want to create an EFS and click on "Next Step". You can choose whichever VPC is available in the region you are creating the EFS.
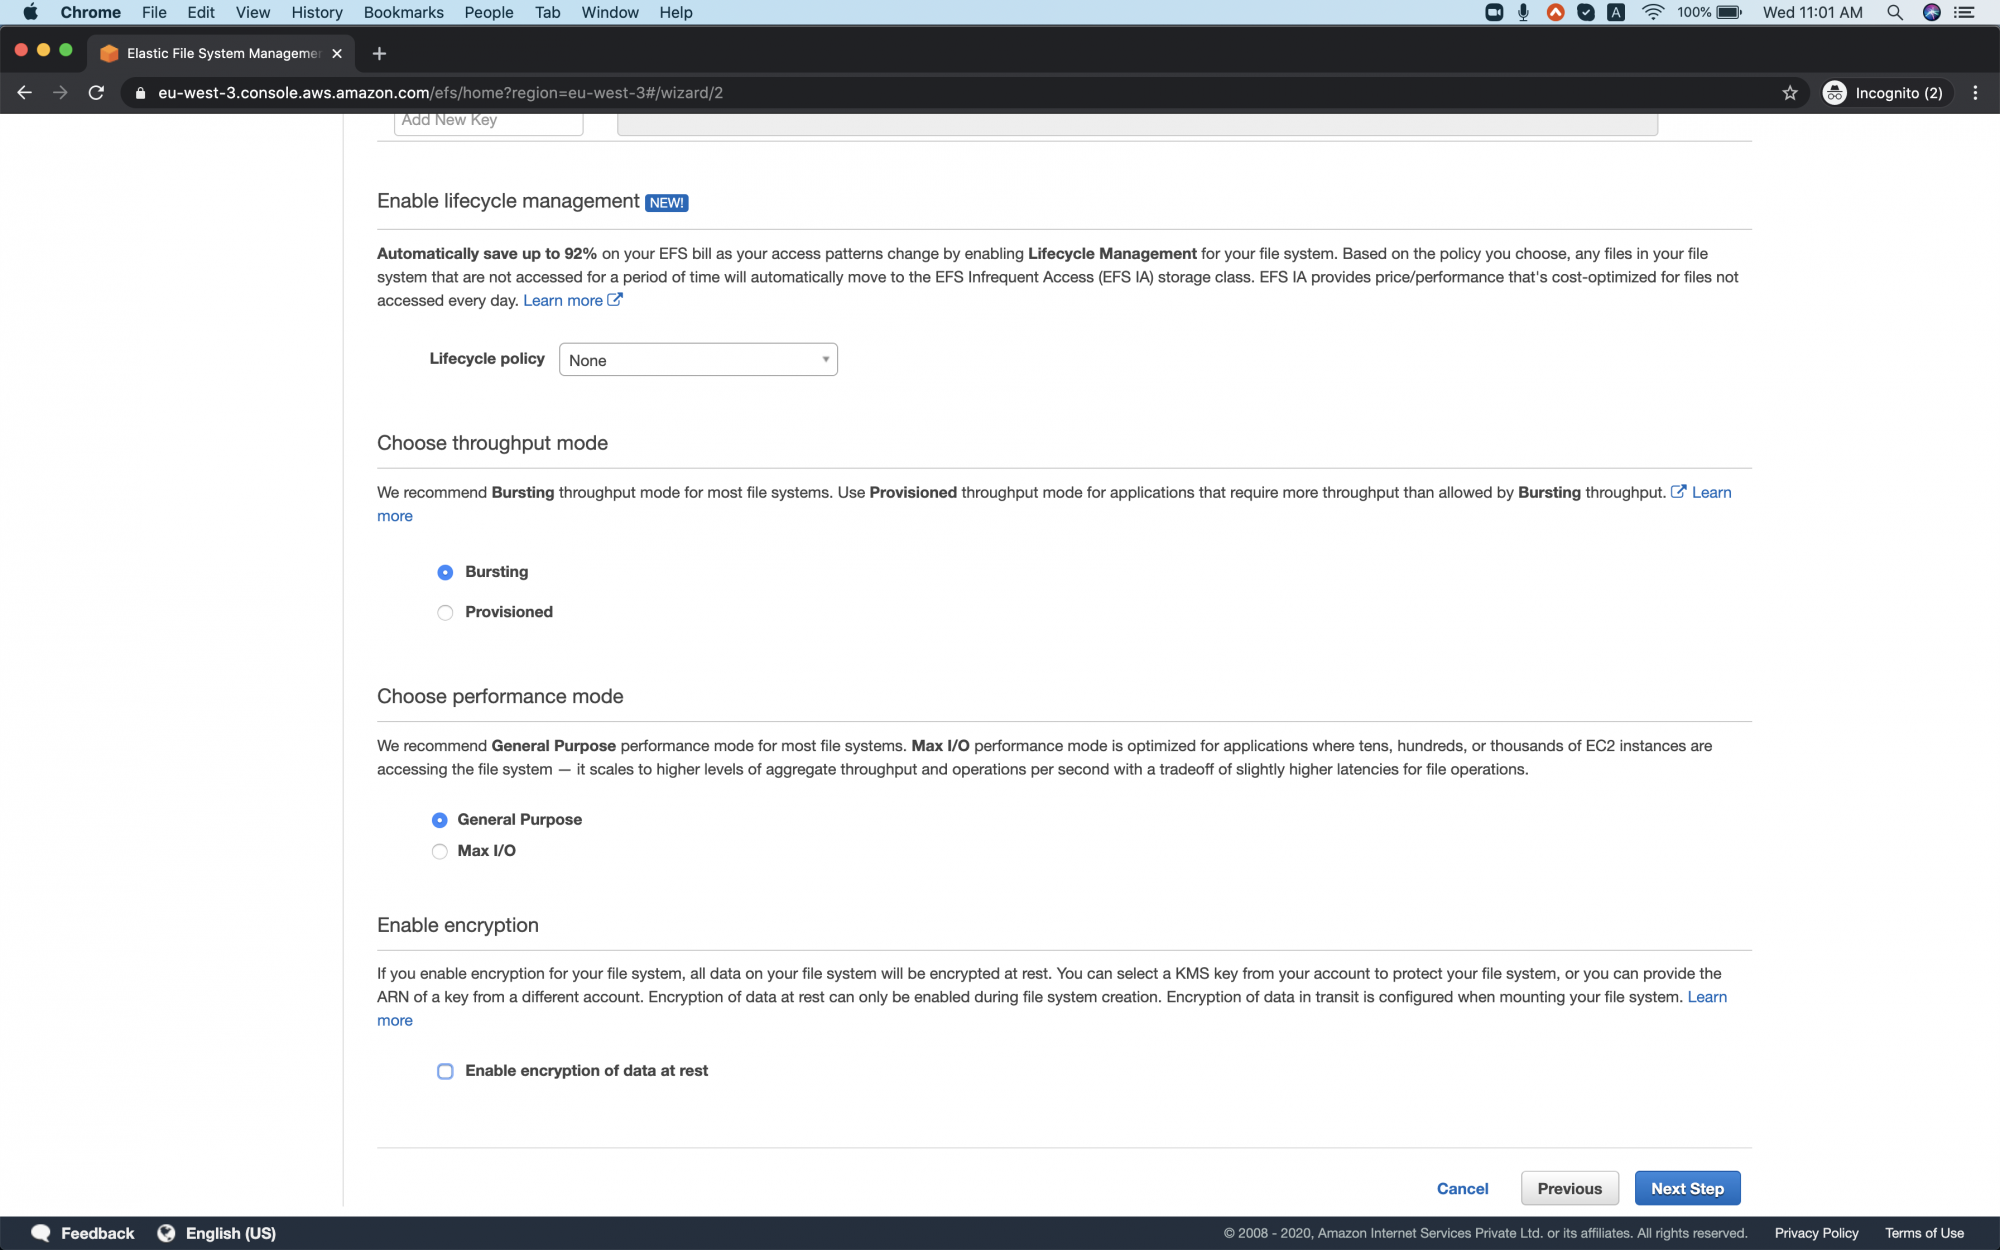
Give "key:value" if you want to add tags to the EFS, you can enable "Lifecycle Policy" so that the file system uses the lower-cost Infrequent Access storage class, keep it None for now. Keep throughput and performance mode as is.
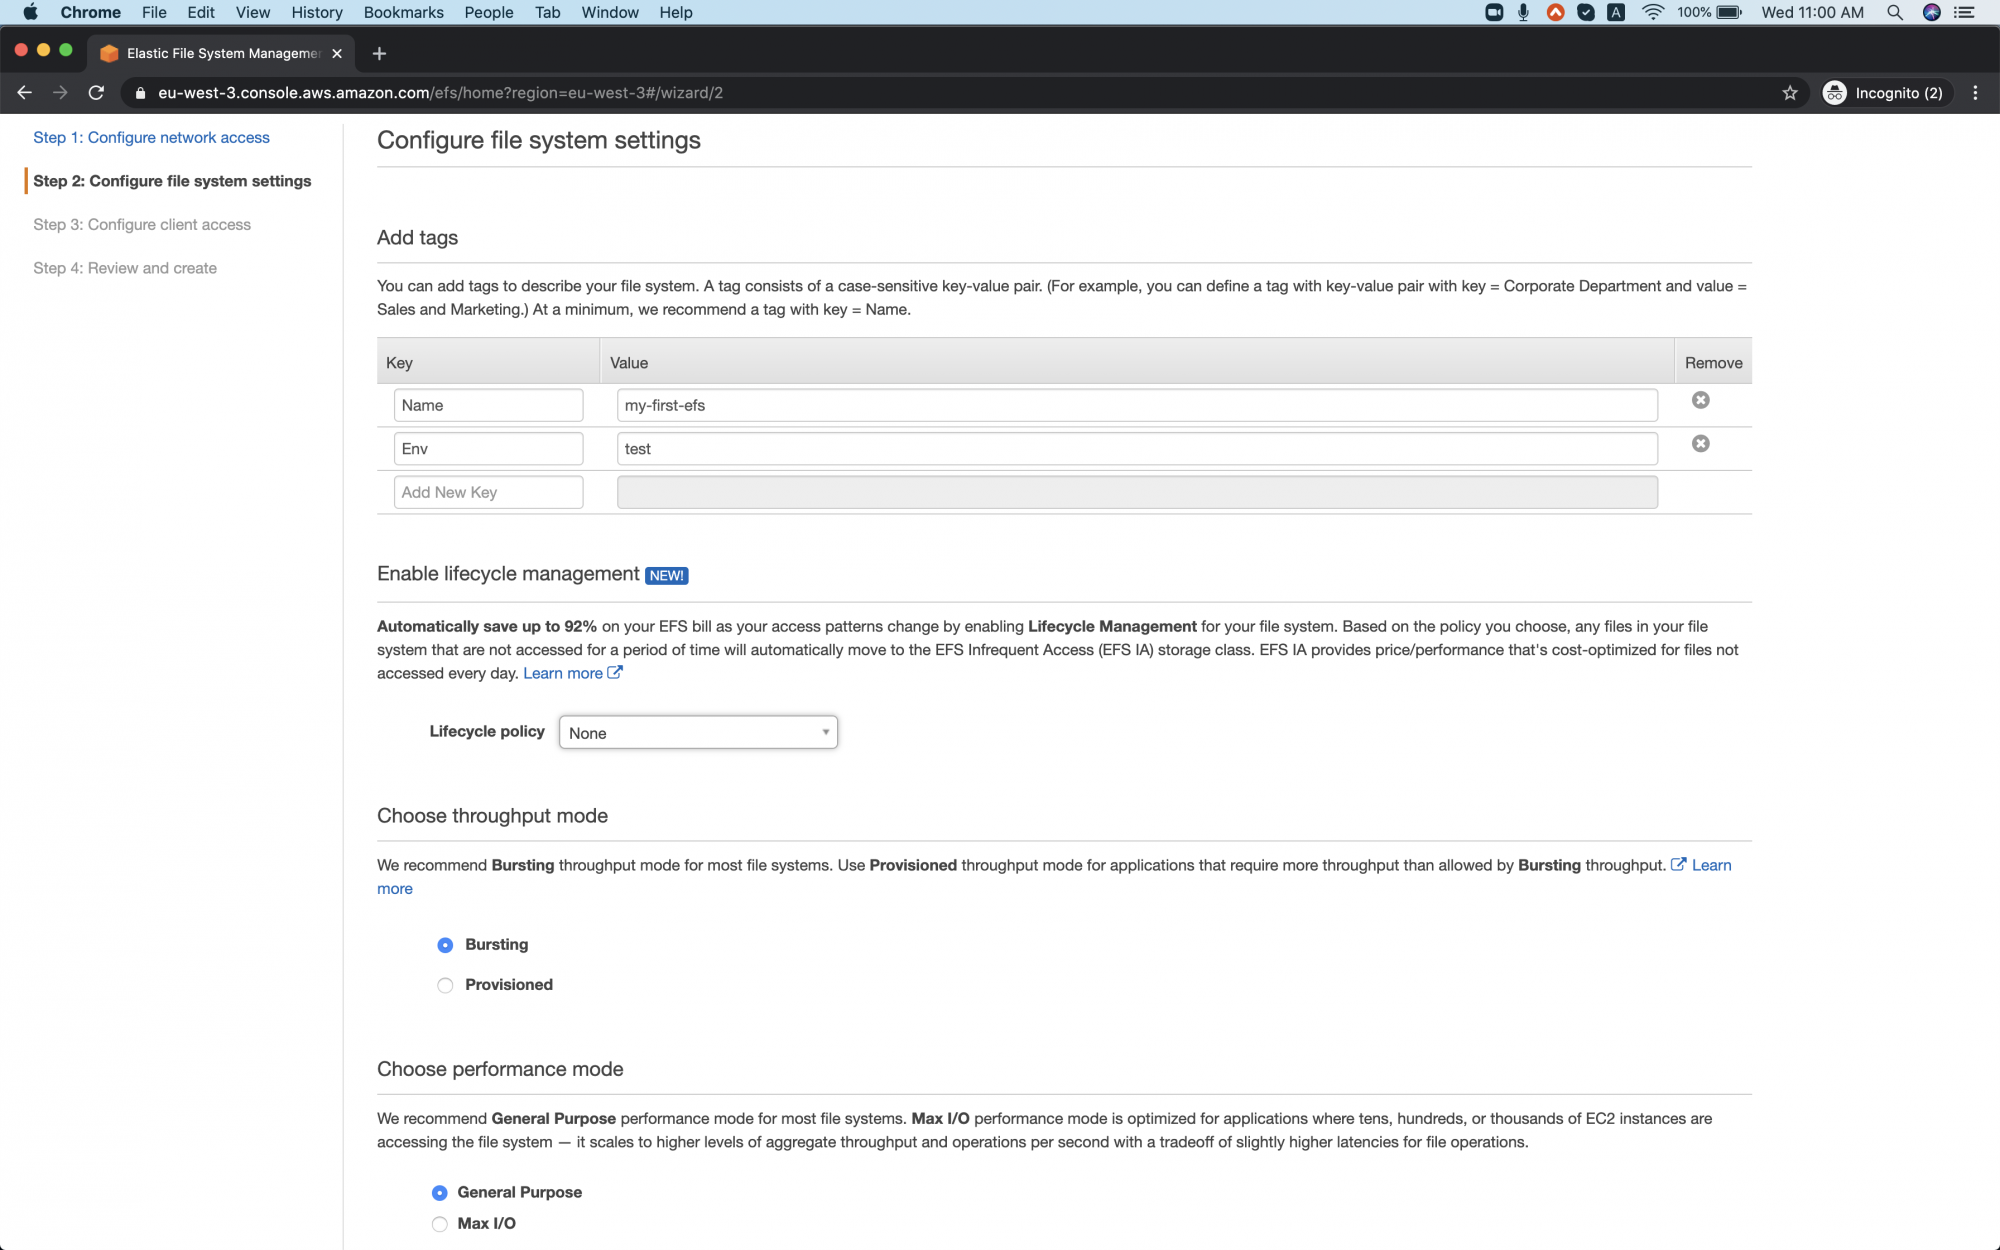
Do not enable encryption and proceed with default, click on "Next Step". You can try this later if you want to.
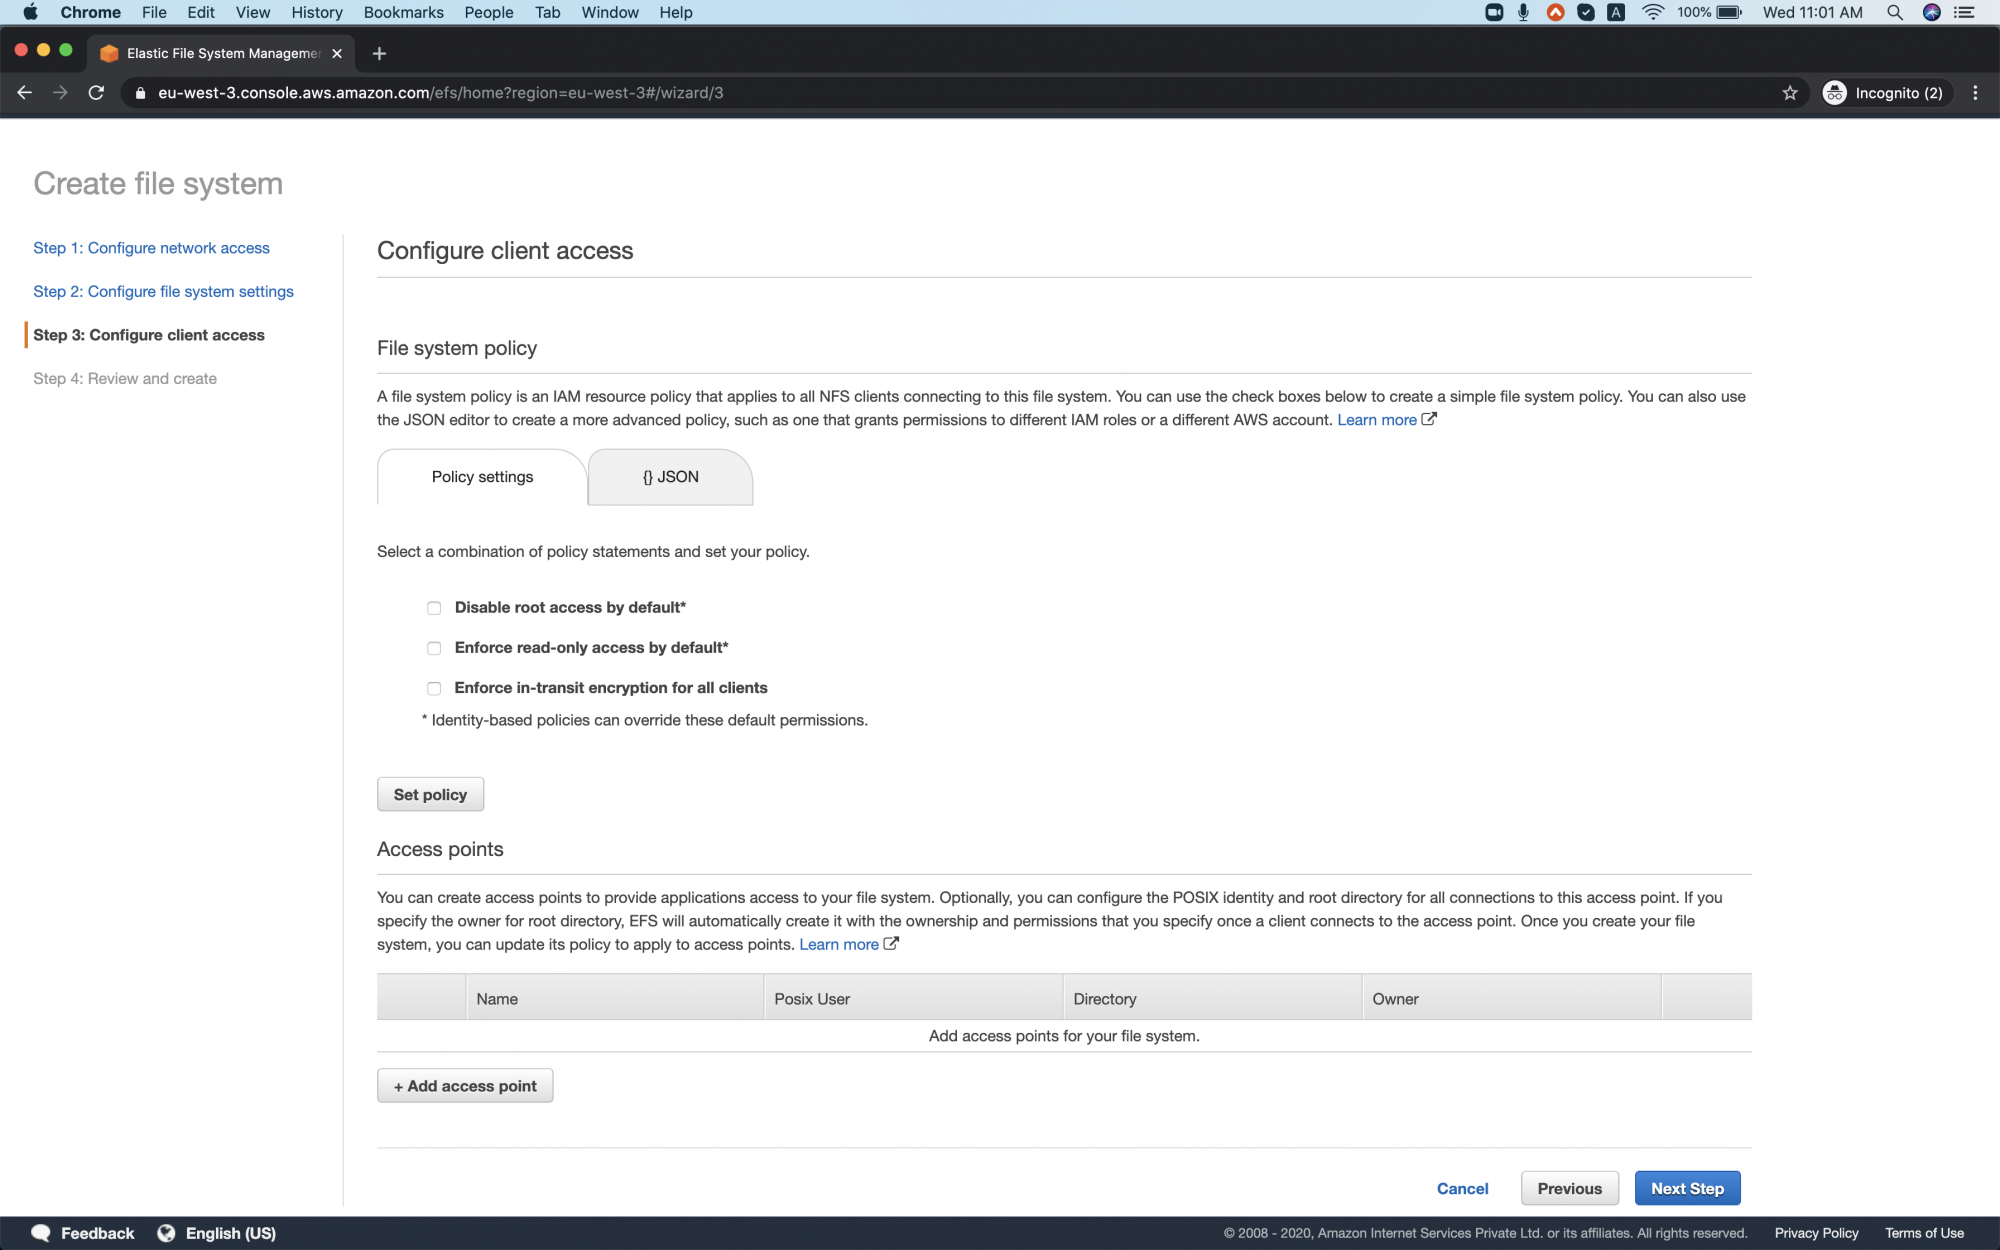
Keep all these options to default and click on "Next Step".
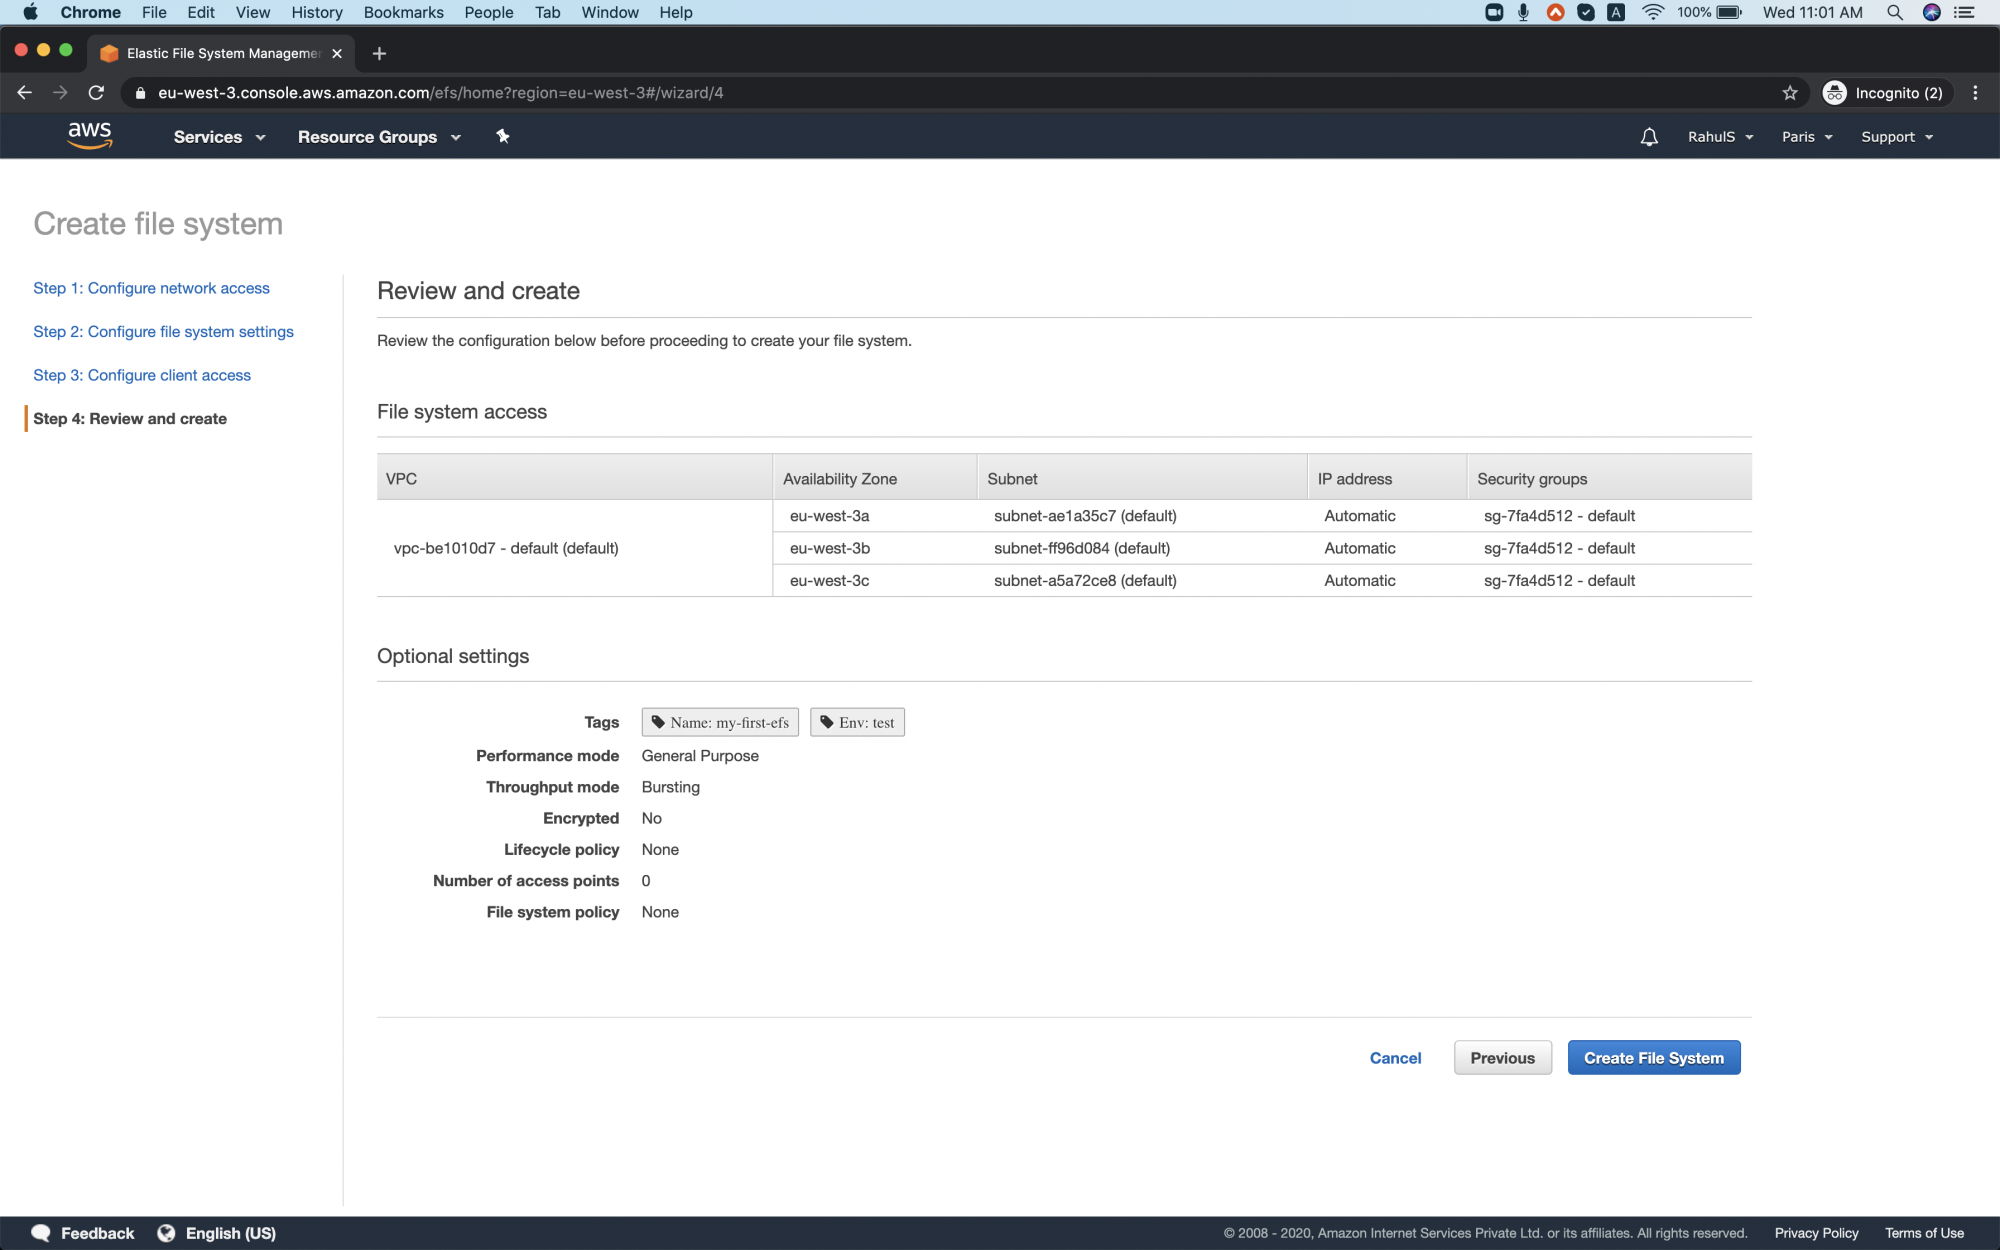
Review the configurations we did and click on "Create file system".
You can see that the creation was successful and mount targets are being created. Wait till the time Mount Target state changes to Available.
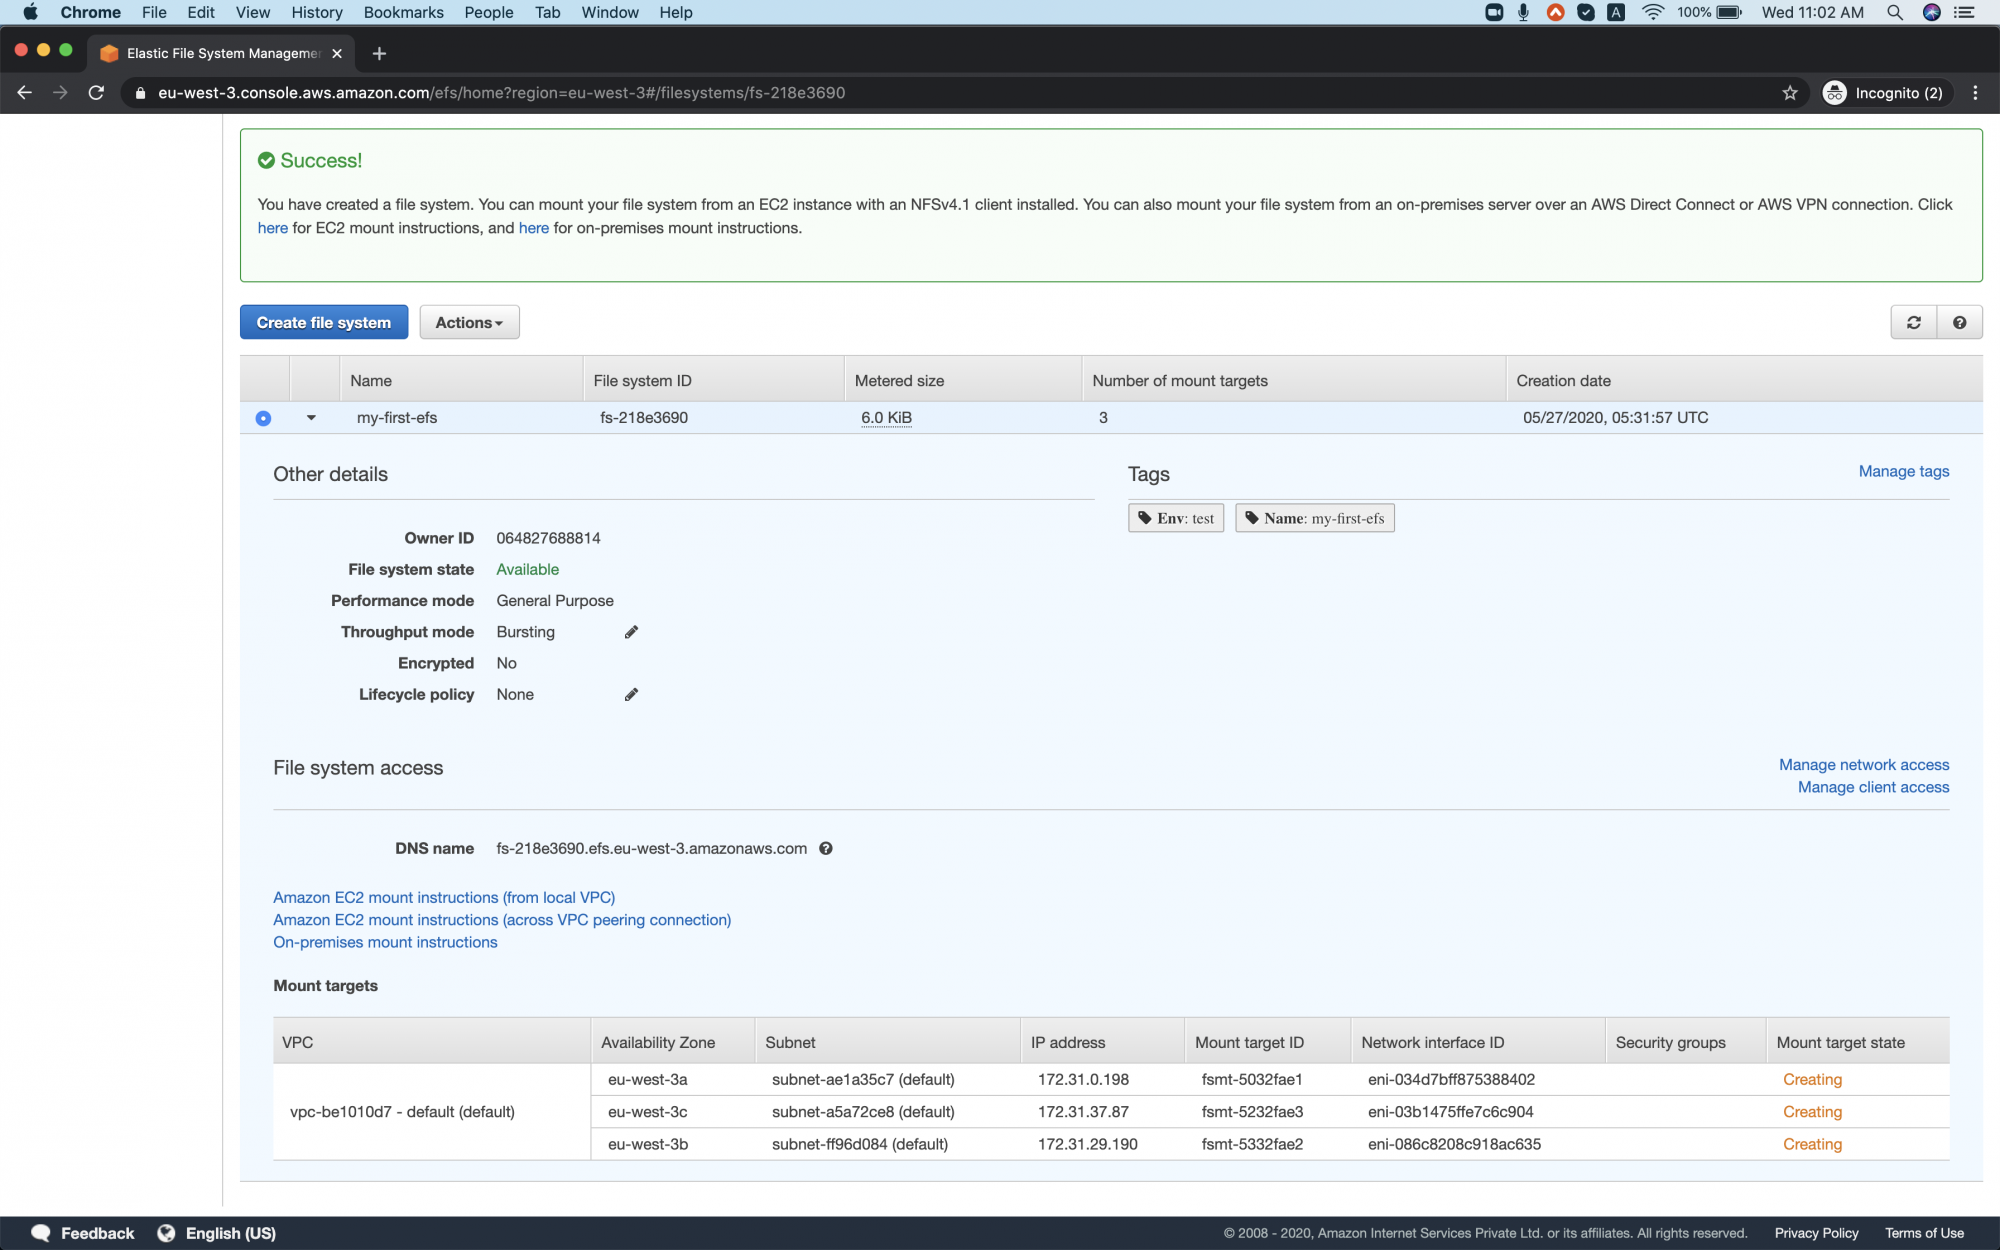
Once, the Mount target state changes to Available, we are ready to mount them on our EC2 instance.
Meanwhile, you can have a look at mount instructions.

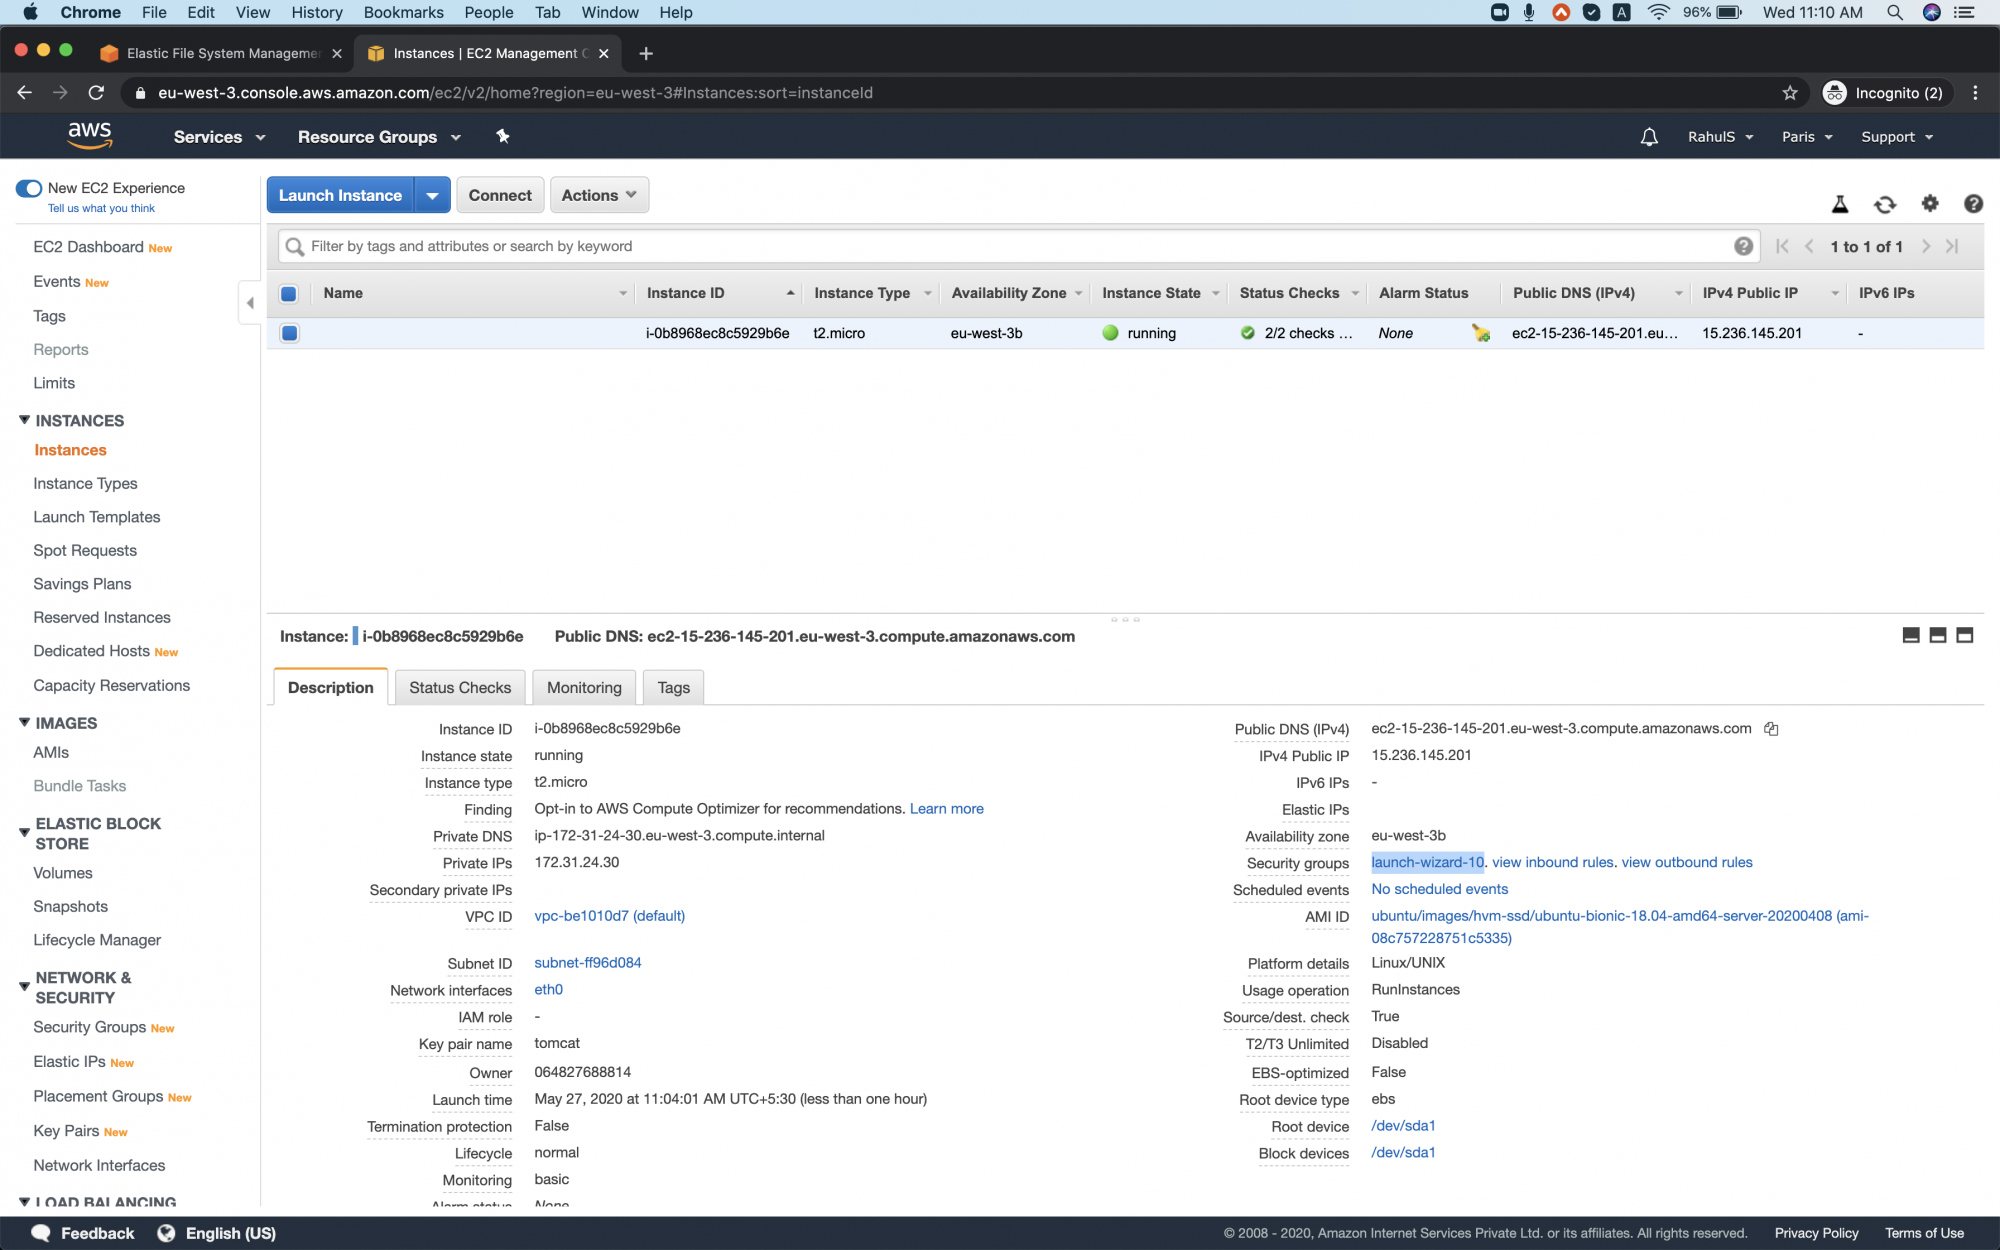
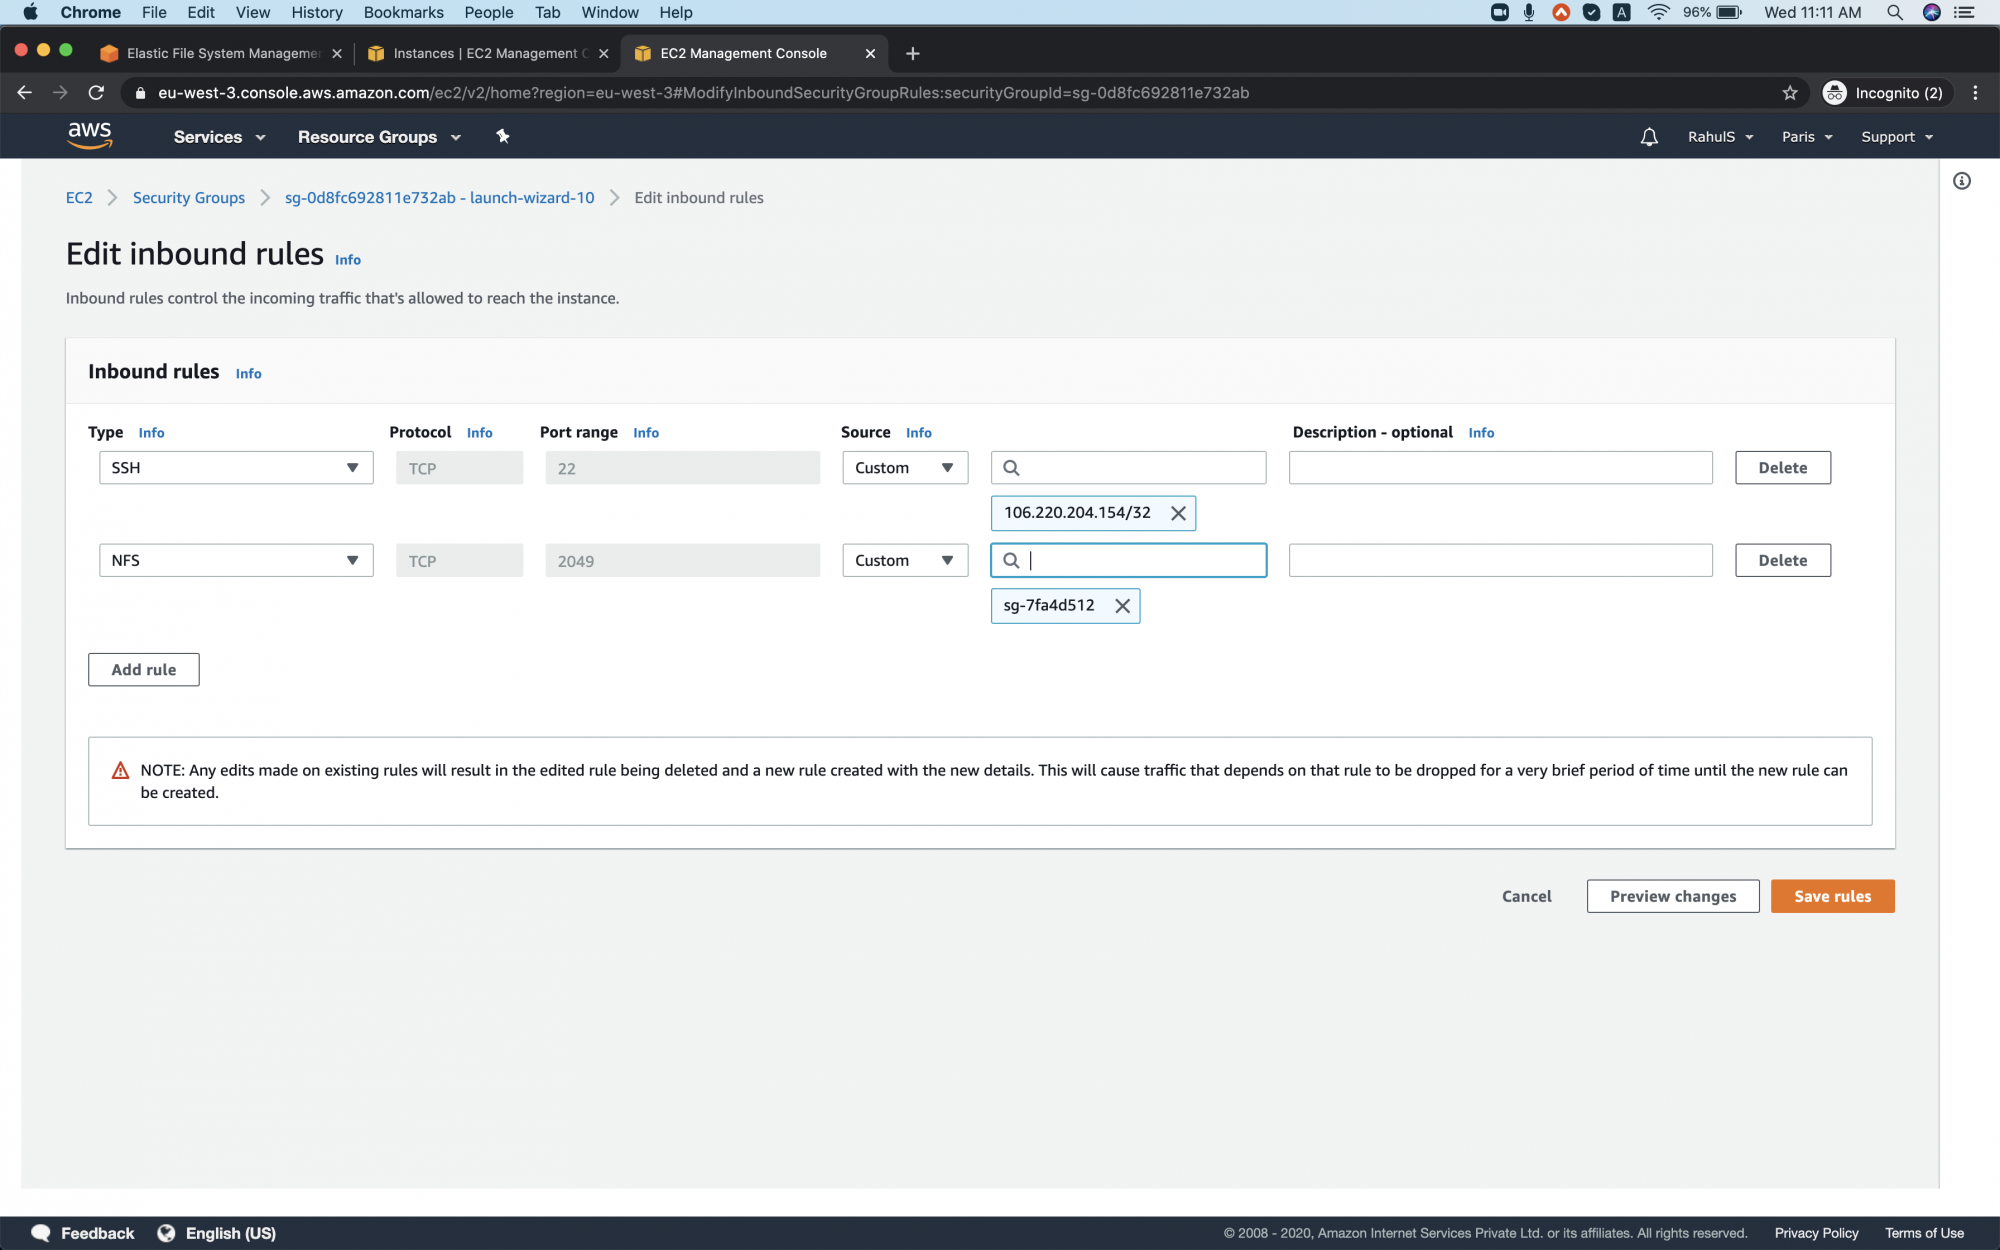
Now, before we connect to the EC2 instance, we need to add the Security group of the EFS to EC2's Security Group.
Go to the instance on which you want to mount the EFS we created and open its security group.
Edit "Inbound Rules".
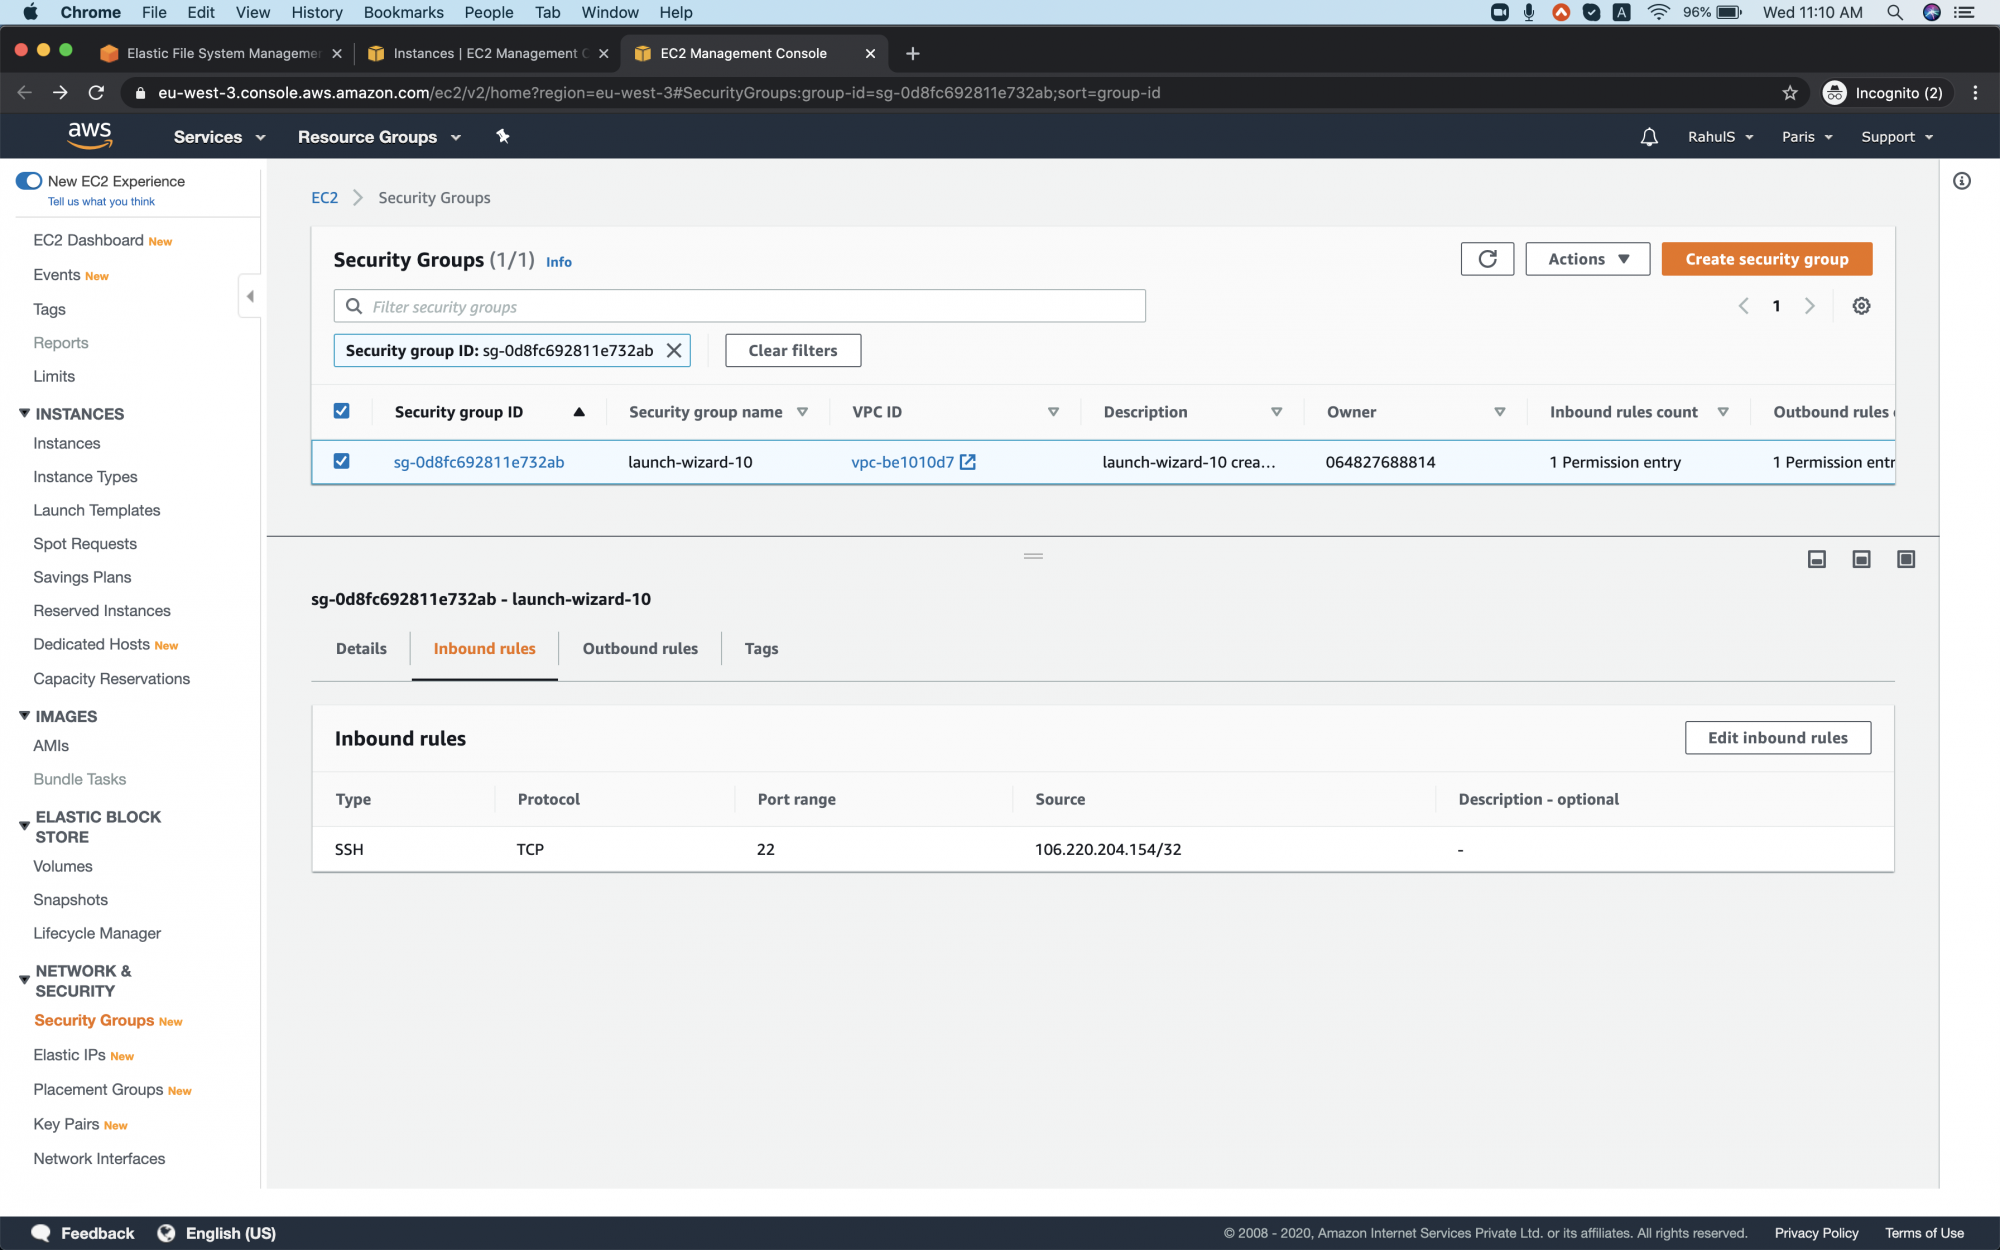
Here, allow the Security Group of the EFS to access NFS Port and save rules.
Mount EFS on EC2
Now we are ready to mount the EFS on EC2.
Connect to the instance and update the local package repo.
sudo apt-get update
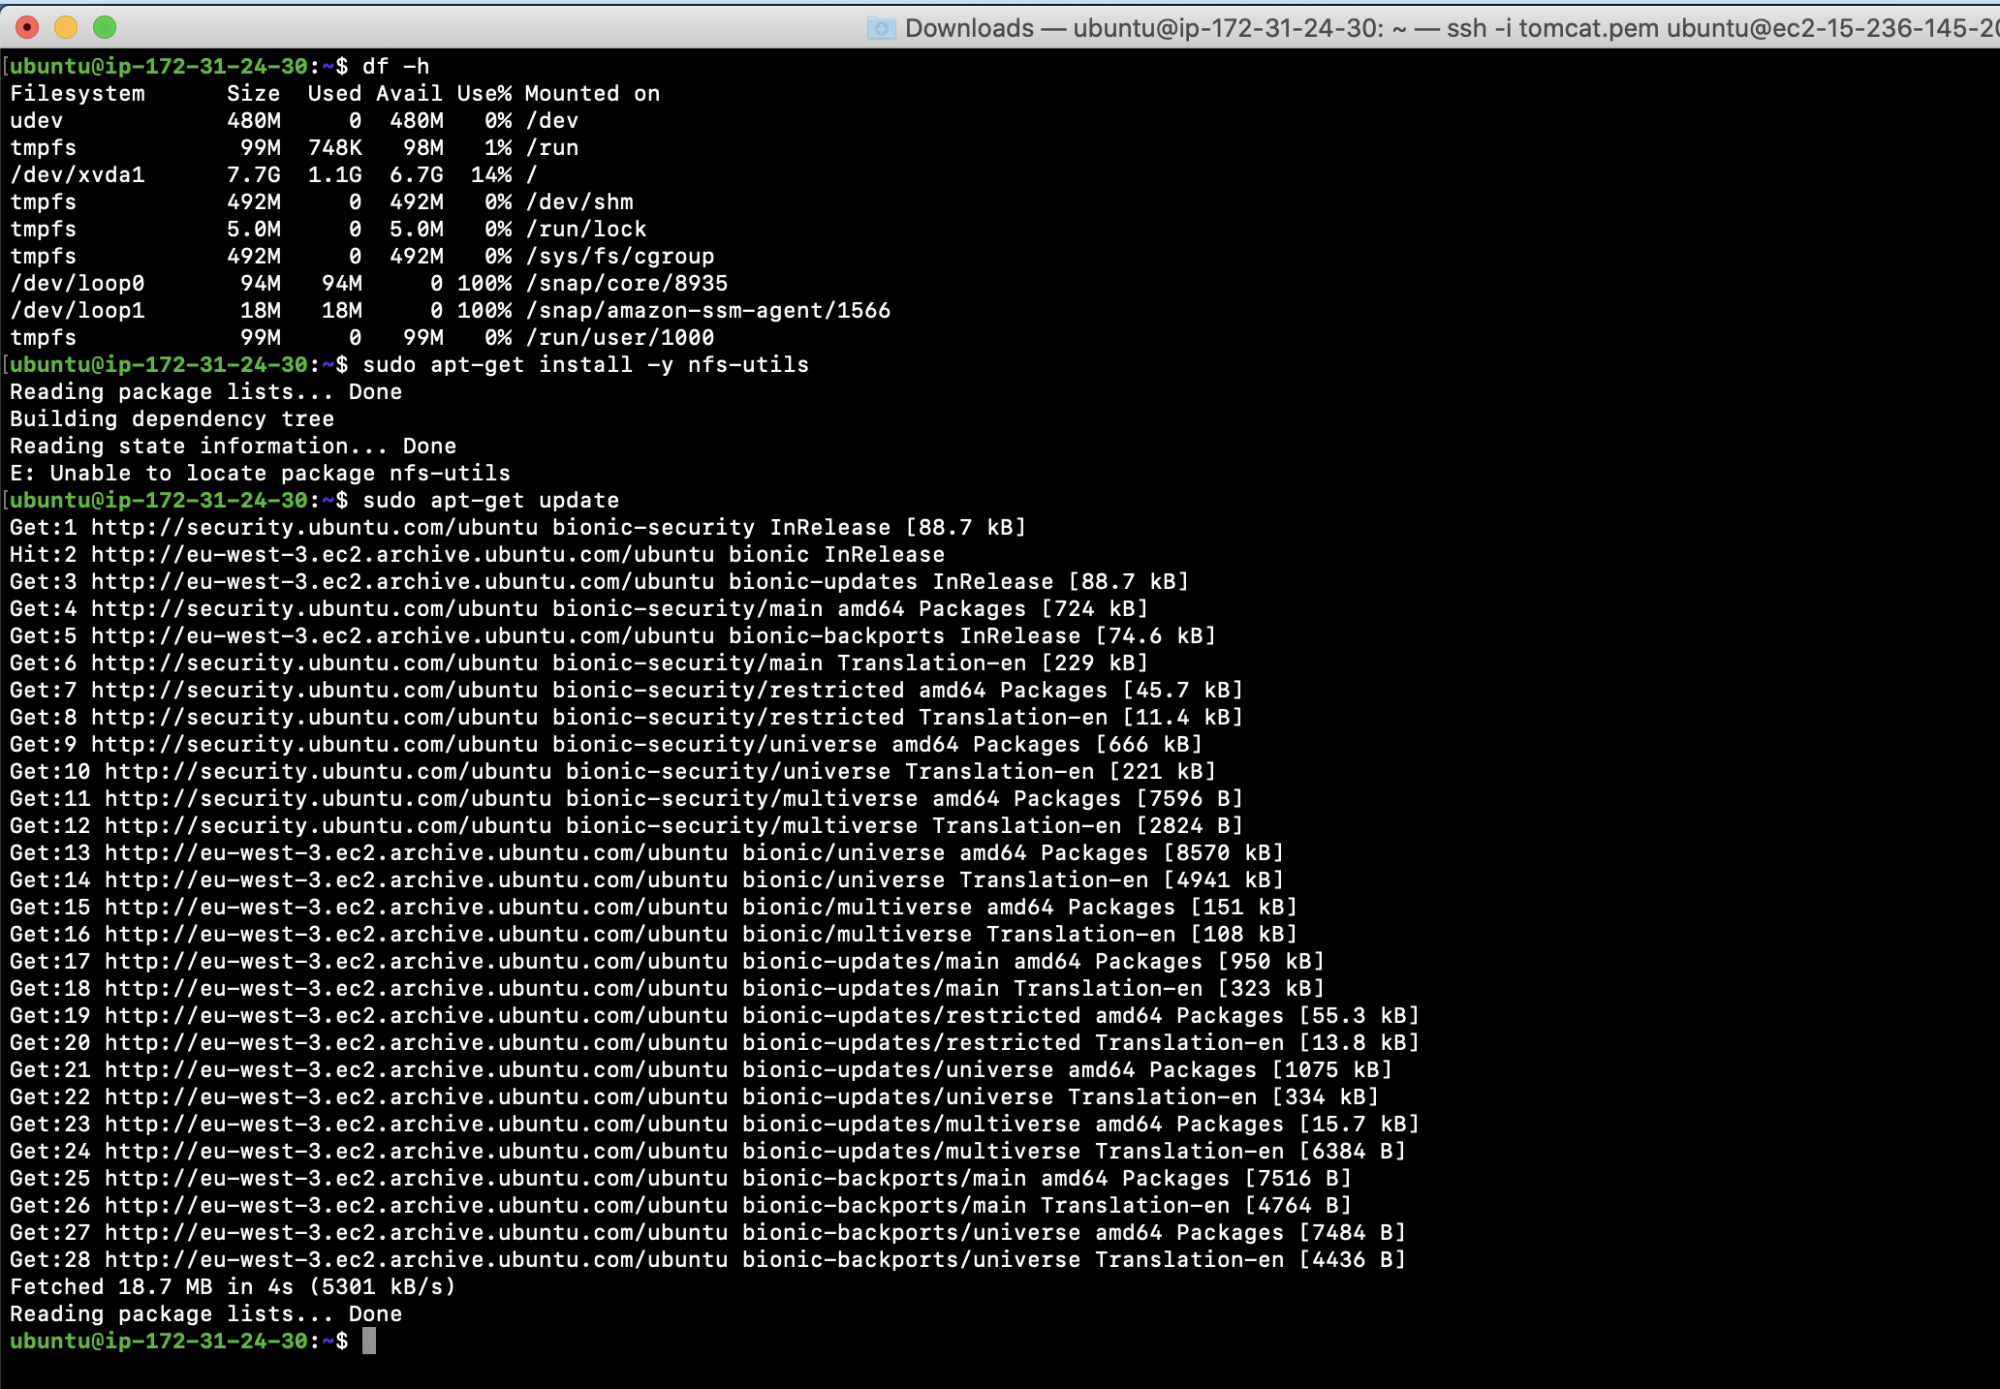
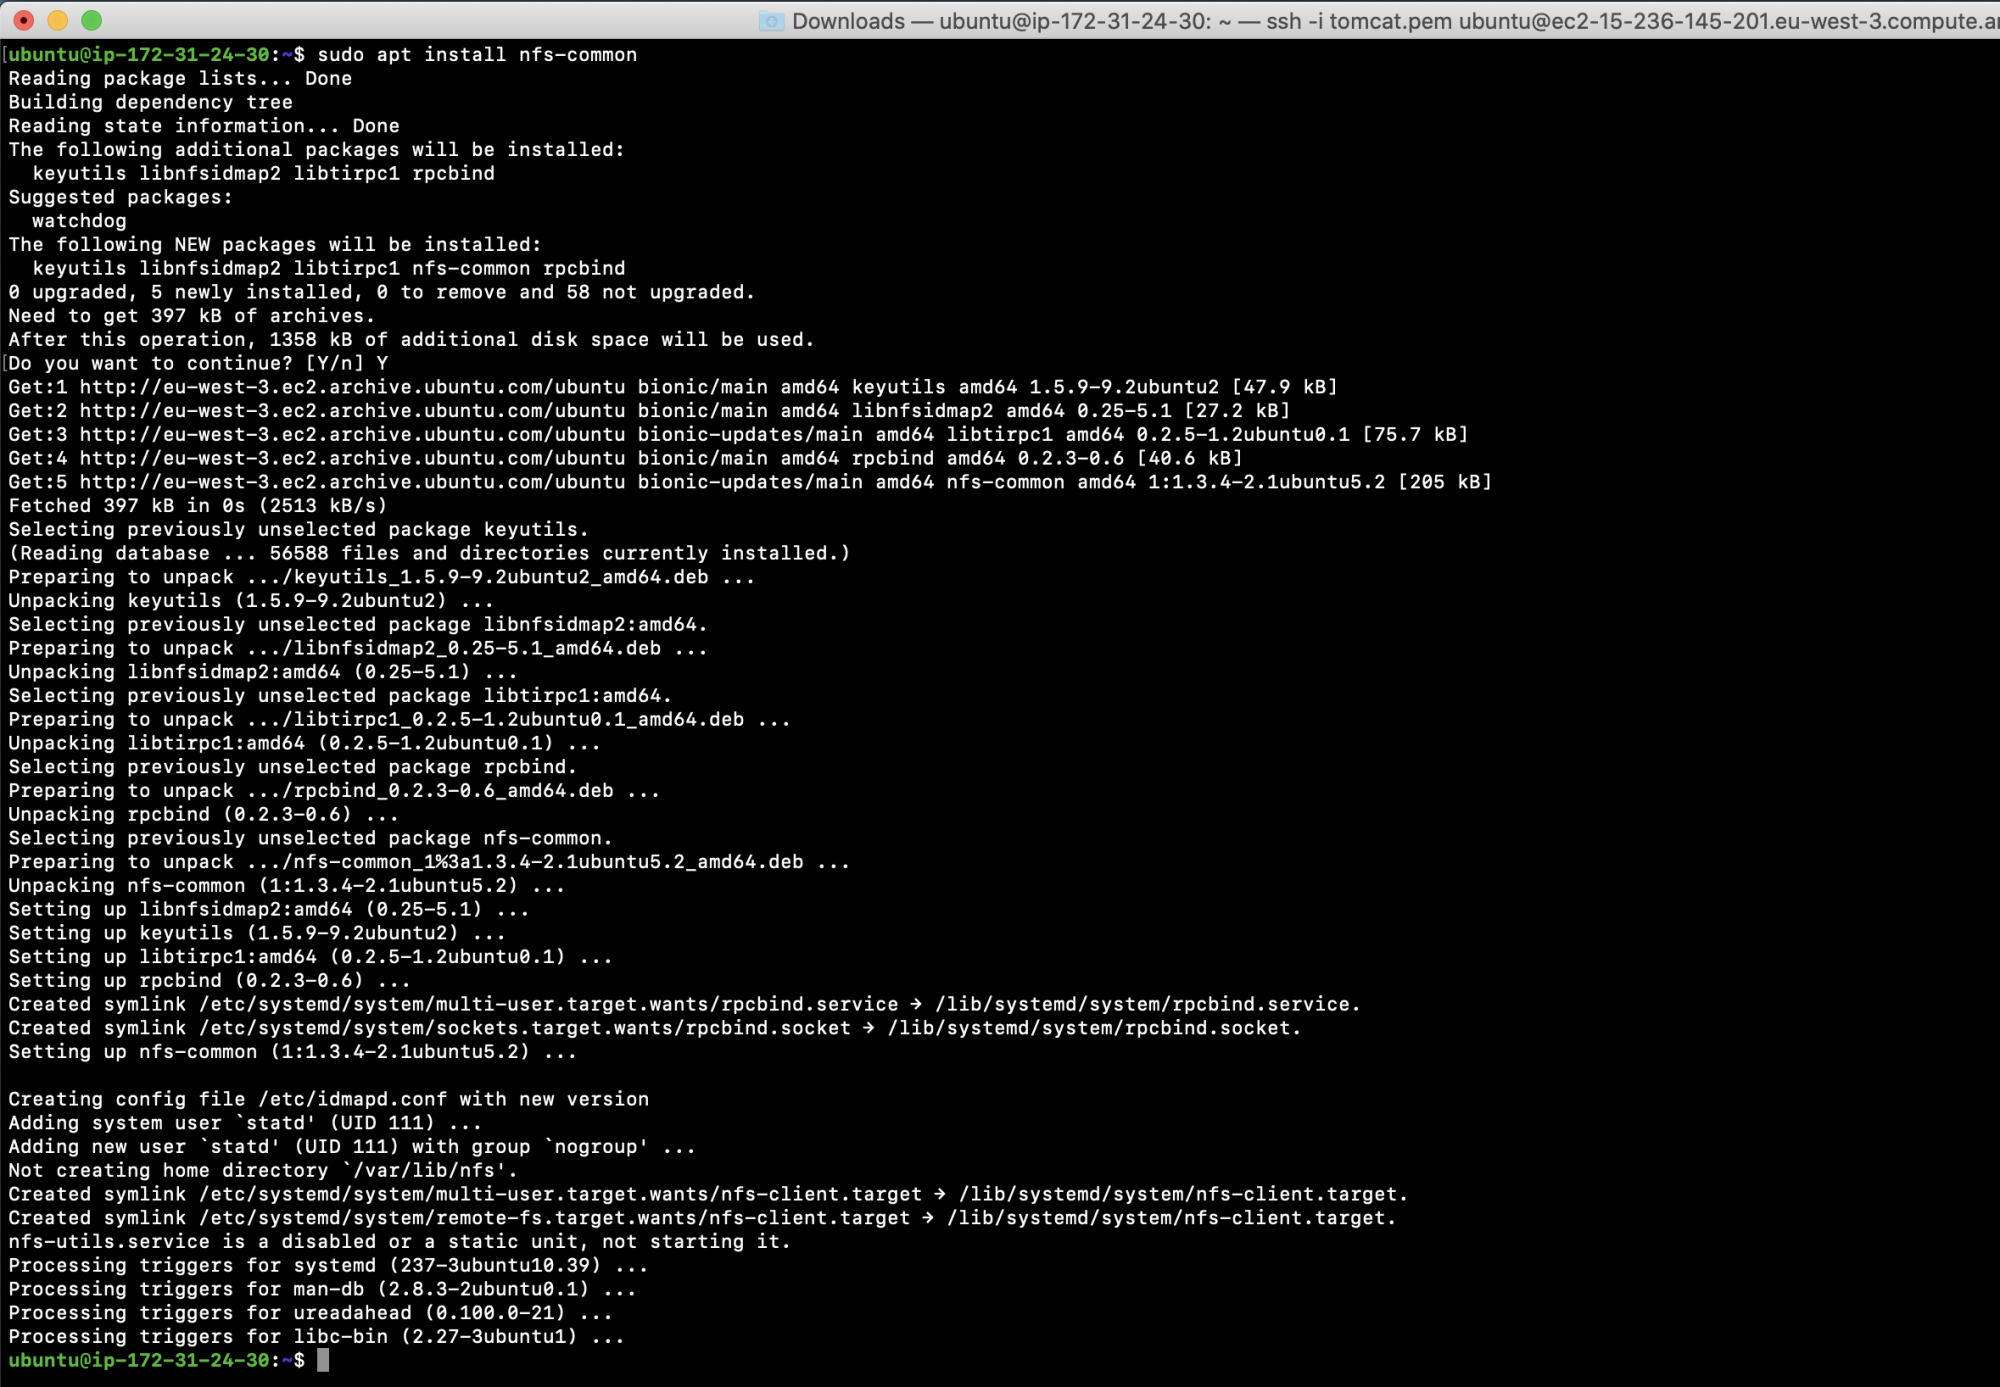
Install nfs-common on the instance.
sudo apt install nfs-common
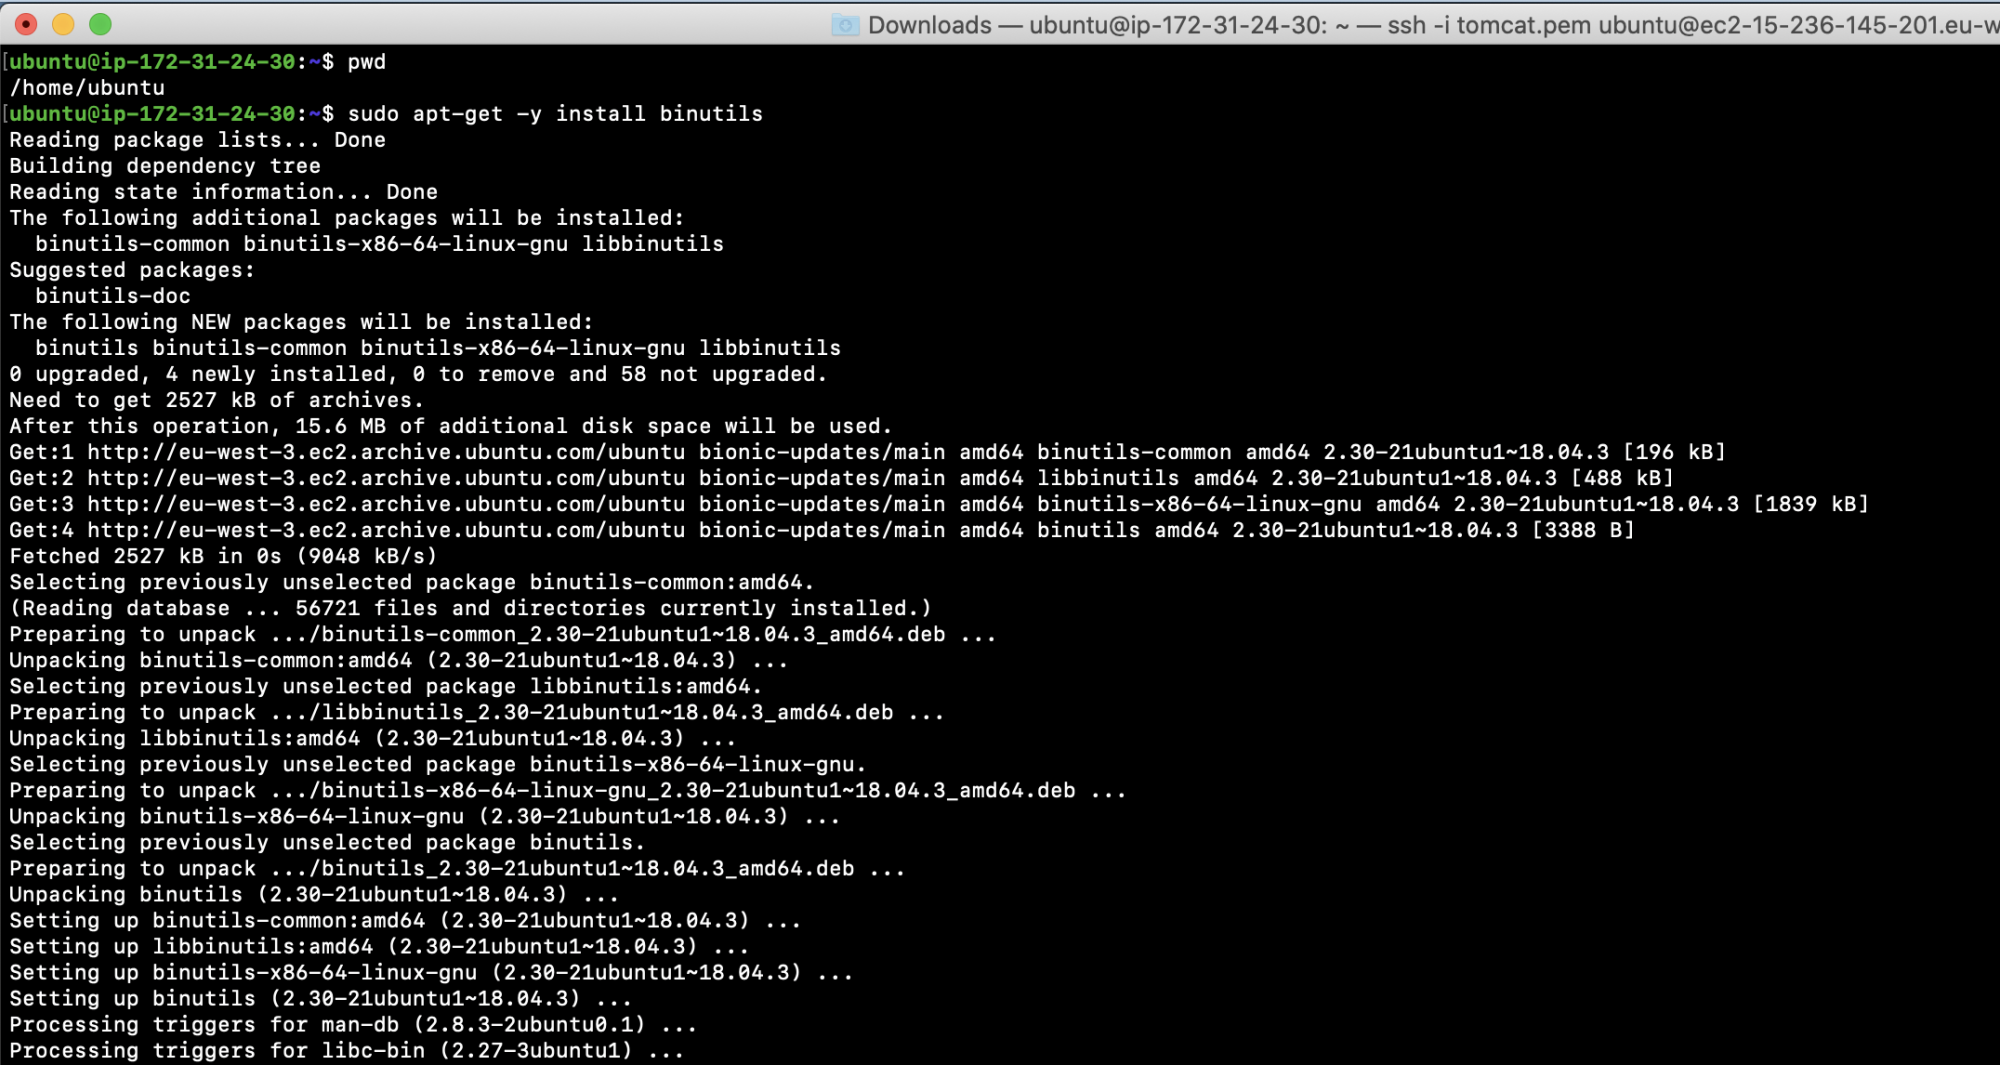
Install binutils
sudo apt-get -y install binutils
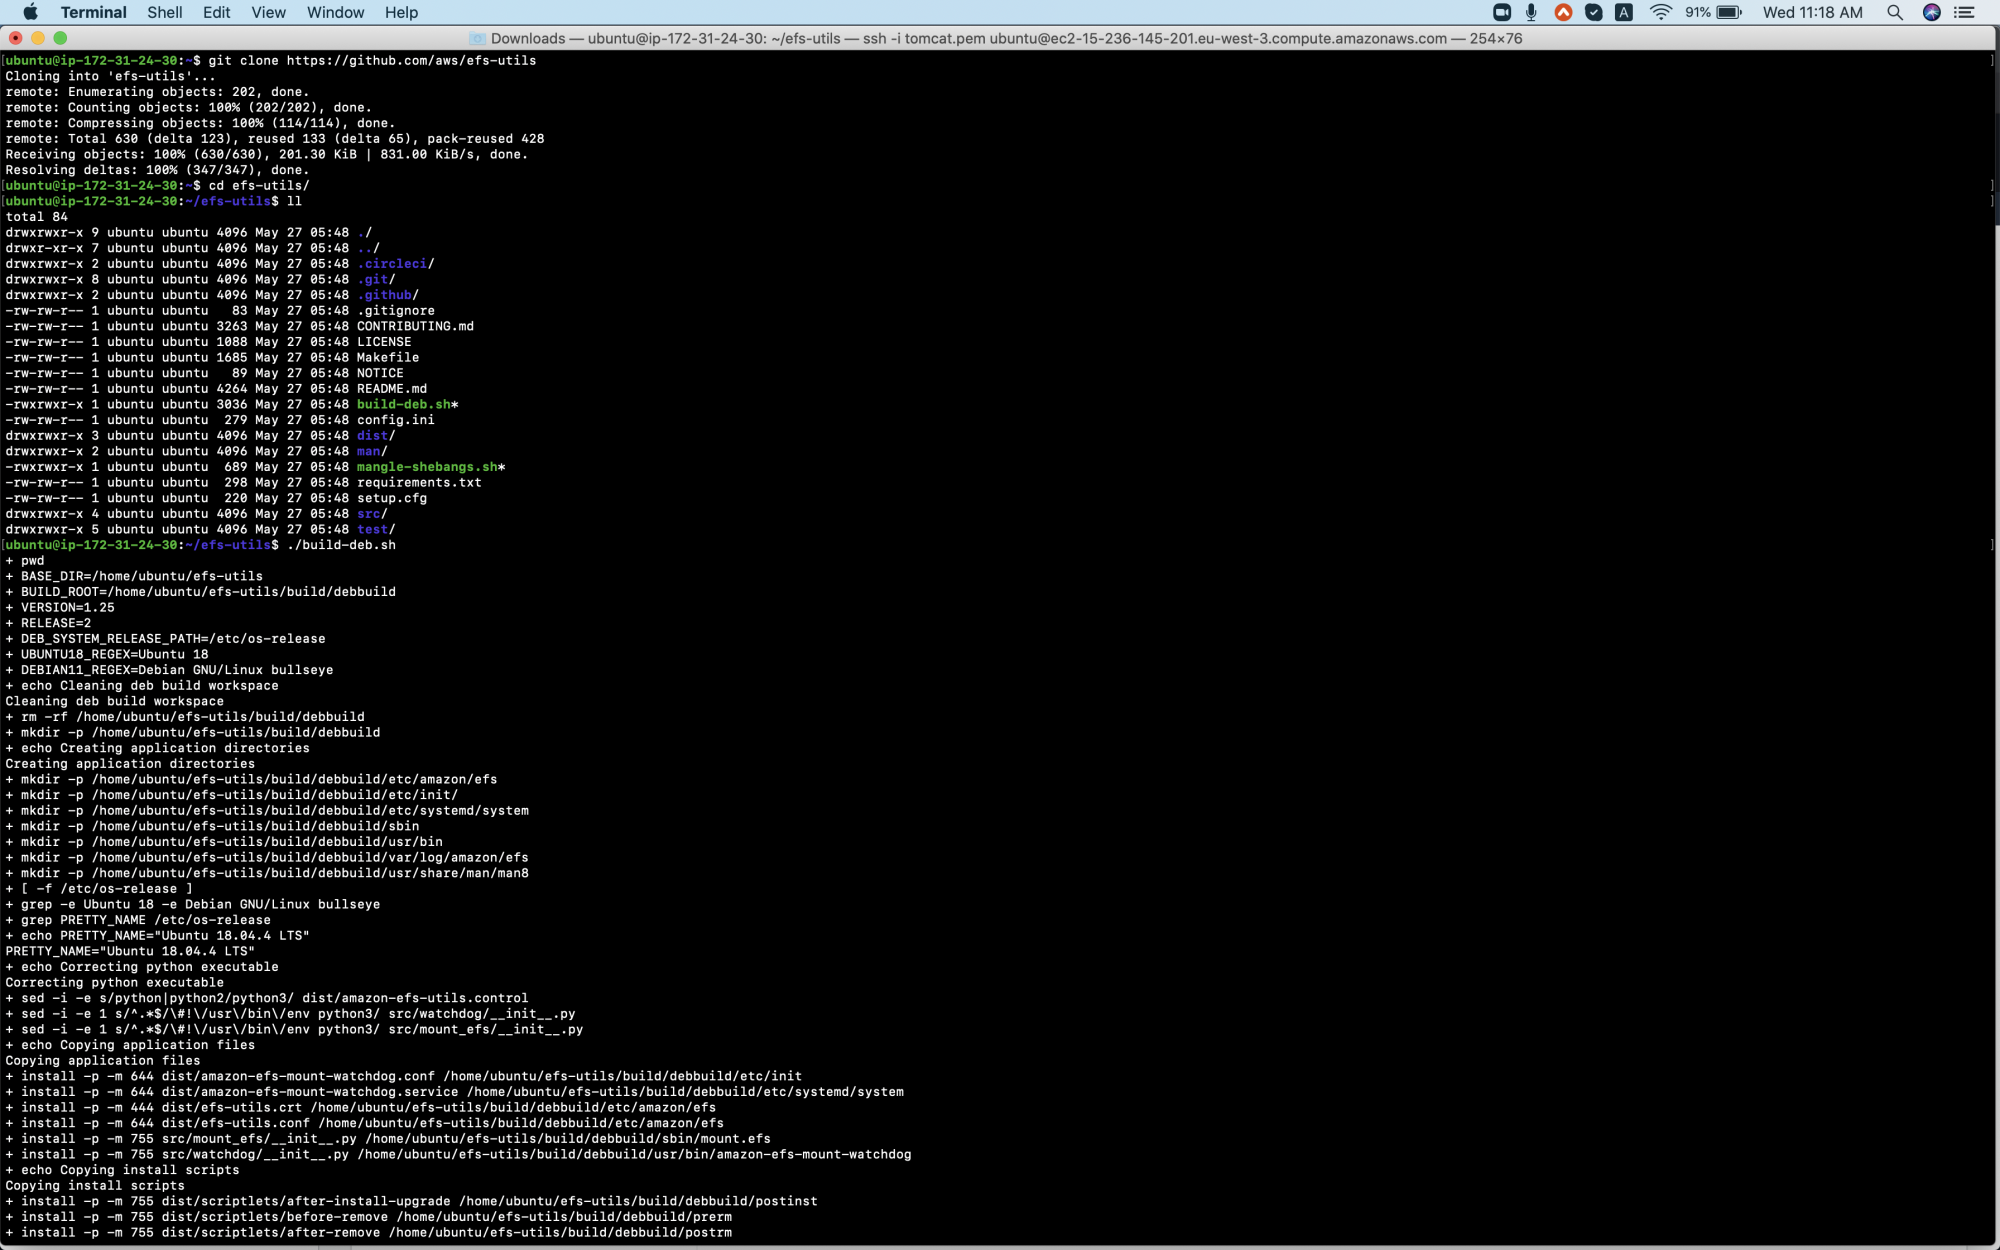
Clone efs-utils
git clone https://github.com/aws/efs-utils
Change the directory
cd efs-utils/
Build the package
./build-deb.sh
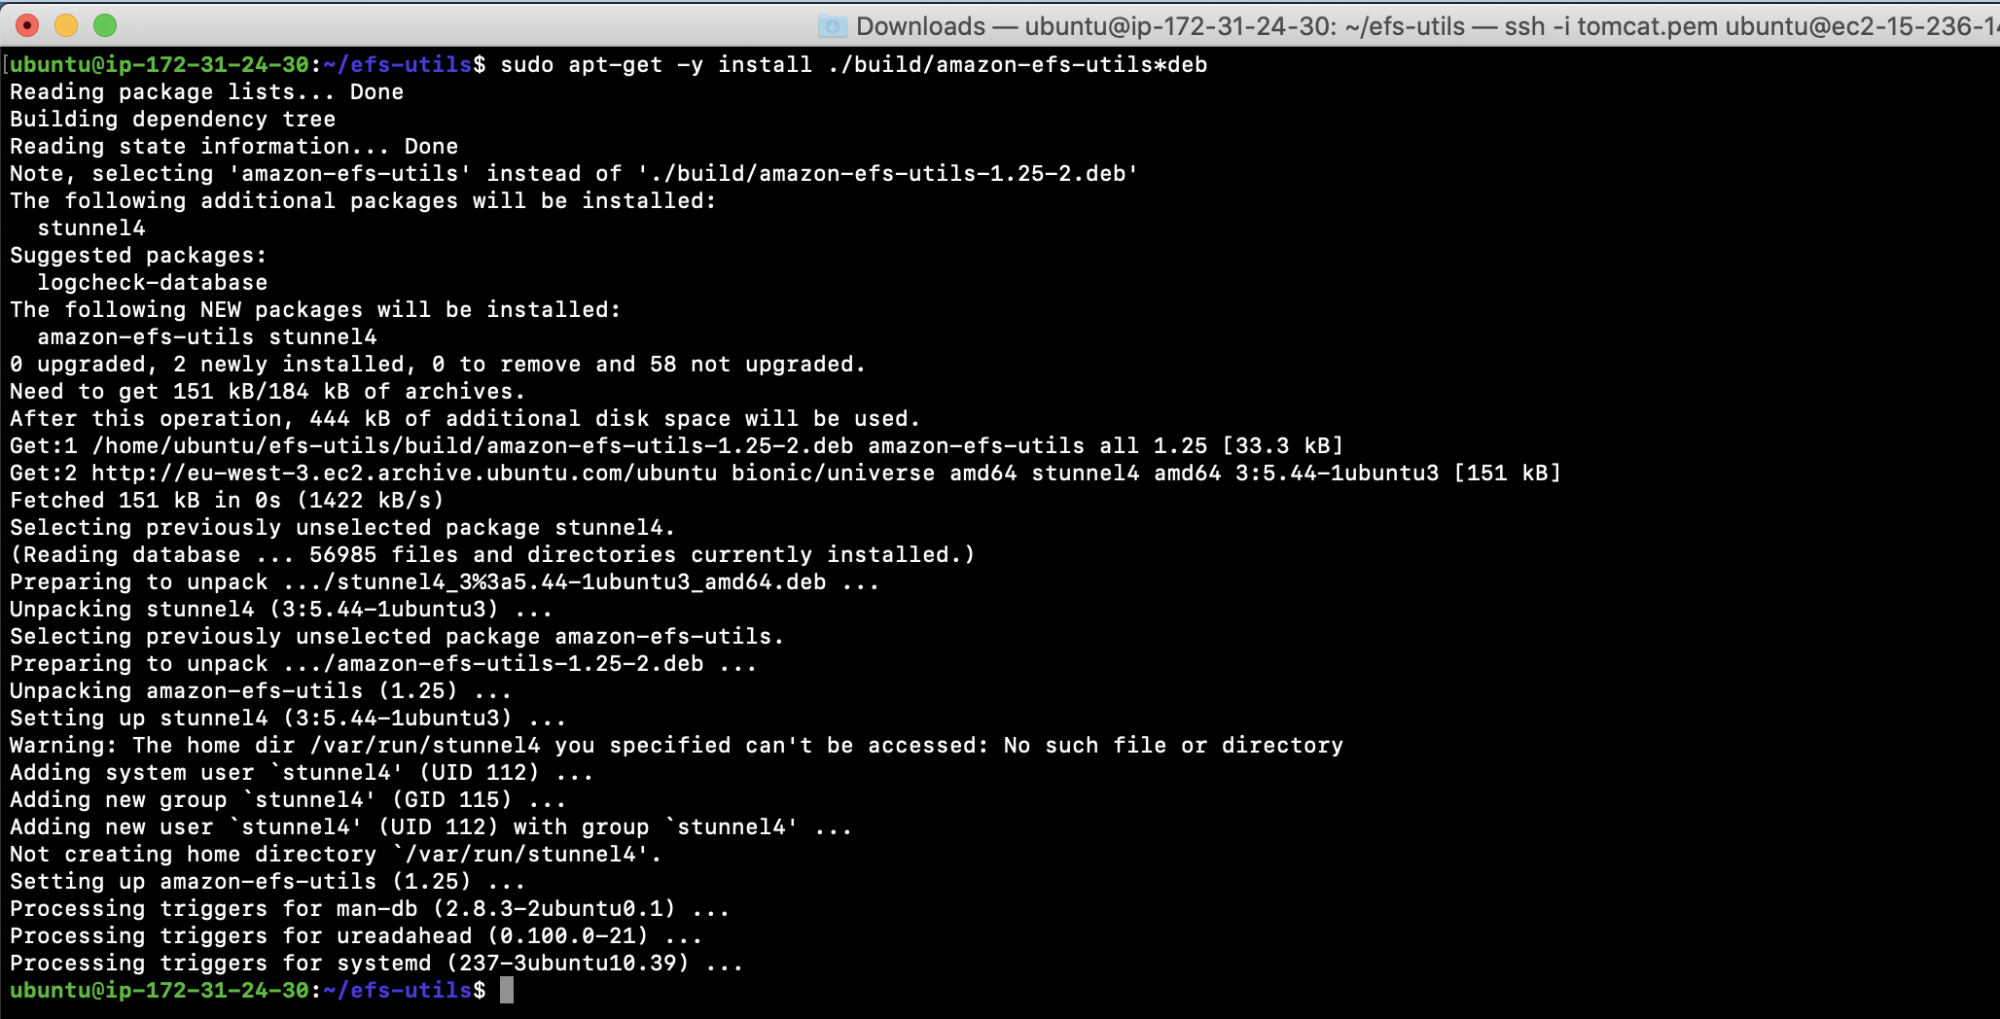
Install efs-utils package
sudo apt-get -y install ./build/amazon-efs-utils*deb
Create a directory where you wish to mount the EFS
sudo mkdir efs
Mount using the EFS mount helper:
Now you can Mount the EFS on your local directory using
sudo mount -t efs fs-218e3690:/ efs

Mount Using the NFS client:
First unmount the directory mounted in the previous step.
sudo umount /home/ubuntu/efs
Mount the EFS
sudo mount -t nfs4 -o nfsvers=4.1,rsize=1048576,wsize=1048576,hard,timeo=600,retrans=2,noresvport fs-218e3690.efs.eu-west-3.amazonaws.com:/ efs

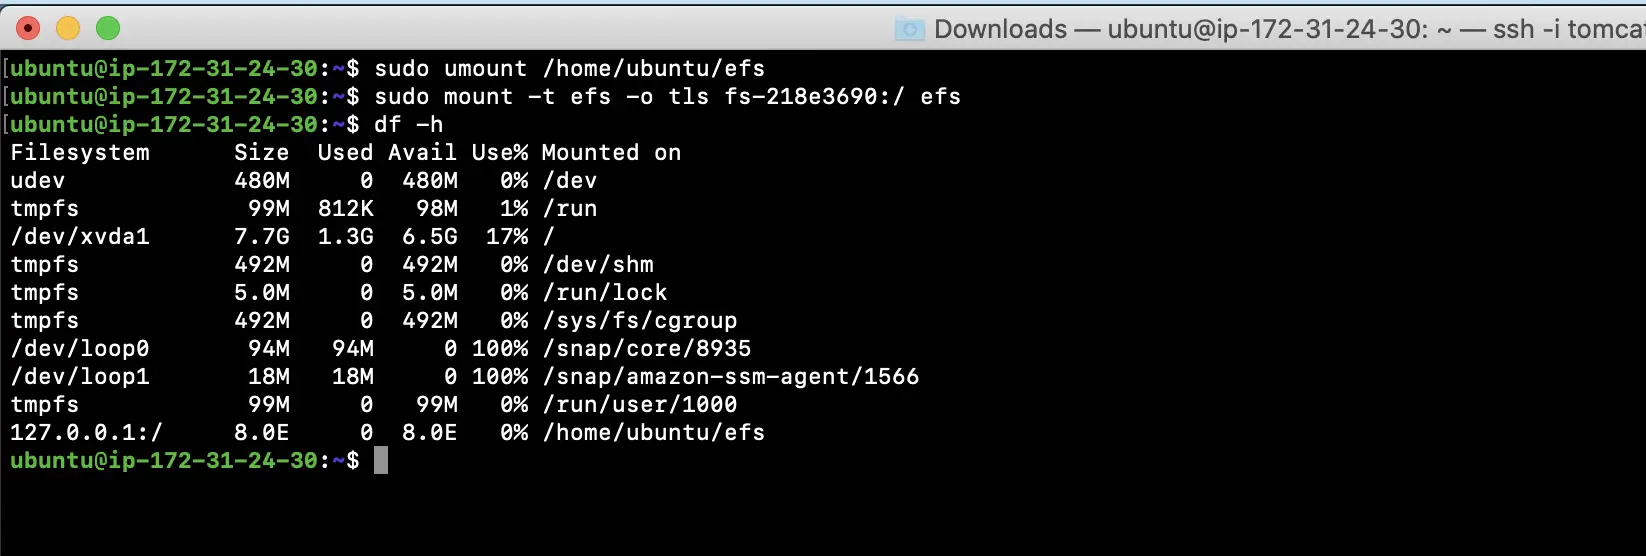
Mount using the EFS mount helper and the TLS mount option:
First unmount the directory mounted in the previous step.
sudo umount /home/ubuntu/efs
Mount the EFS
sudo mount -t efs -o tls fs-218e3690:/ efs
Conclusion
In this article, we learn to create a simple EFS file system. We tried to mount the EFS file system on Ubuntu 18.04 EC2 instance using different available options. You can customise and create the EFS as per your need you become familiar with its basics.

