How to Install and Use MongoDB on Rocky Linux 8
MongoDB is an object-oriented, schema-less, NoSQL database server used in developing modern dynamic apps. This implies that data objects are stored as separate documents in a collection unlike in traditional relational databases where rows and columns are used. MongoDB allows for quick traversing of nested data objects without requiring joins which improves performance greatly.
MongoDB is written in C++ for massive scalability and flexibility which offers easy querying and indexing for developers. It also provides an aggregation framework that makes it easier to query complex document-based data sets.
MongoDB has a rich and vibrant community and offers rich and powerful in-built features which include MapReduce, auto sharding among others.
MongoDB runs on all major operating system platforms such as Linux, Windows, Solaris and Mac OS X. It also supports many distributions like Red Hat Enterprise Linux (RHEL), CentOS, Ubuntu etc.
This tutorial will cover how to install MongoDB NoSQL database on Rocky Linux 8.
Prerequisites
- A fresh server running Rocky Linux 8 with a minimum of 10 GB of free disk space
- A non-root user with sudo privileges configured on the server
Update the System
Login to the system using root or sudo user depending on your privilege configuration, and update the system using the following command.
sudo dnf update -y
Installing MongoDB
The MongoDB package is not included in the default repositories for Rocky Linux 8 because it is not considered part of the "base" system. Thus, you need to add the repository containing the package before installing MongoDB.
MongoDB comes in two editions the community edition and the enterprise edition. The community edition is free while the enterprise edition offers additional features. This guide is for the community edition.
Run the following command to add the MongoDB Repository on your system.
cat > /etc/yum.repos.d/mongodb.repo << 'EOL'
[mongodb-org-4.4]
name=MongoDB Repository
baseurl=https://repo.mongodb.org/yum/redhat/$releasever/mongodb-org/4.4/x86_64/
gpgcheck=1
enabled=1
gpgkey=https://www.mongodb.org/static/pgp/server-4.4.asc
EOL
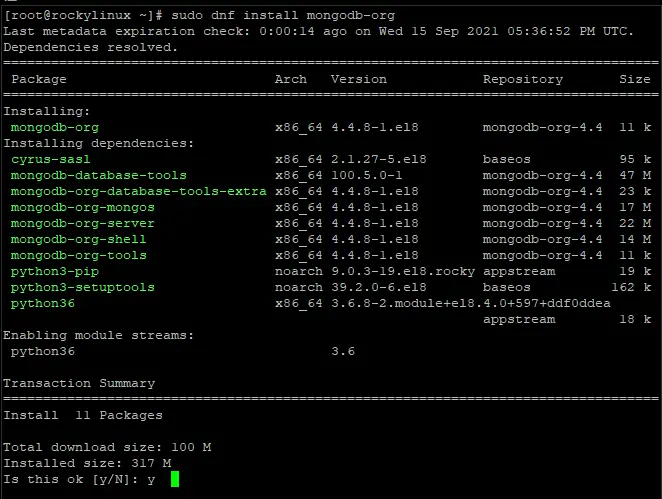
Once the repository is enabled, run the following command to install the mongoDB community edition.
sudo dnf update
sudo dnf install mongodb-org
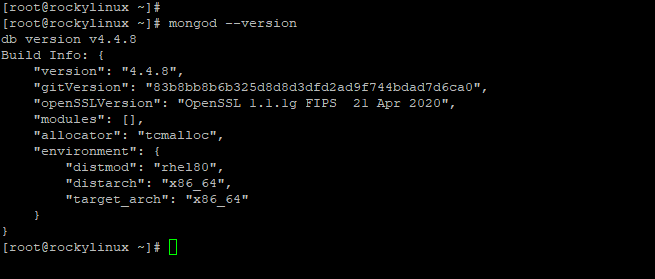
Once the installation is complete, verify the version installed as follows.
mongod --version
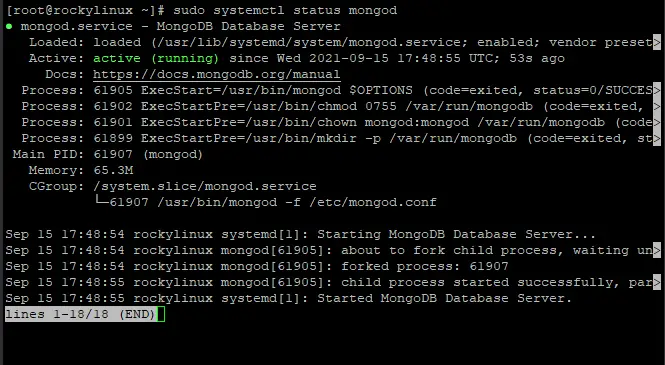
The MongoDB service doesn't start automatically after installation. You can verify this by running the command as follows.
sudo systemctl status mongod
The output should be similar to that below:

Since the service has not started, start it manually by running the following command.
sudo systemctl start mongodb
To enable MongoDB to automatically start on boot time, run the following command.
sudo systemctl enable mongodb
At this point, MongoDB has been installed and configured on the server. Verify the status of MongoDB service as follows.
sudo systemctl status mongod
Running MongoDB
The MongoDB service runs as a daemon mongod. The mongod process runs in the background as a non-root user. MongoDB uses /var/lib/mongo as the default data directory, and /var/log/mongodb for logging information.
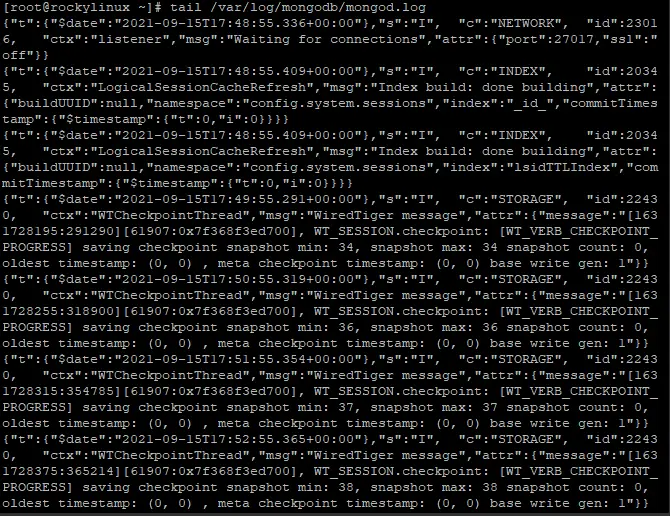
You can check the log file for any errors if you suspect MongoDB is not running correctly.
tail /var/log/mongodb/mongod.log
You should be able to see a line indicating that MongoDB is ready and waiting for connections.
MongoDB provides a shell interface that allows you to interact with the data directly.
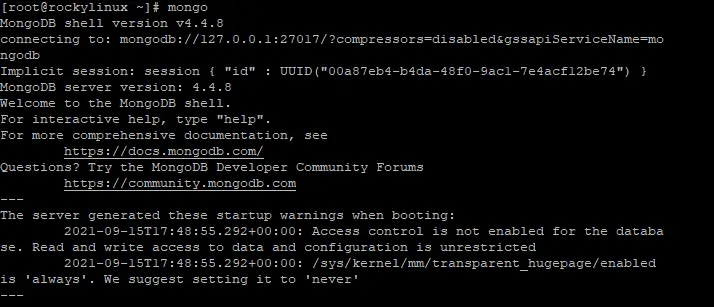
To access MongoDB shell, run the following command from any terminal session on the server.
mongo
From the shell interface, you can run the command below to show the databases currently present on your system. By default, MongoDB provides a database called test.
db

Create a new database
To create a new MongoDB database, switch 0to the new database using the use command with the name of your new database. We will create a database called test-db
use test-db
To insert data into your new database, run the following command from any terminal session on the server. The following command creates a collection of documents (data structure in MongoDB).
db.linux.insertOne(
  { "ubuntu" : "20.04",
   "centos" : "8",
   "debian" : "10"
  }
)
Hit Enter to insert the data.

To show documents in your database
show collections

To show the contents of your database collection, run the following command
db.linux.find()

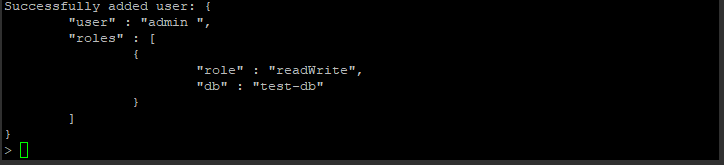
Creating a User
We will create a use call admin with read/write privileges.
db.createUser(
  {
   user: 'admin ',
   pwd: '$trongP@ssWord',
   roles: [ { role: 'readWrite', db: 'test-db' } ]
  }
 );
Hit Enter to add the new user
List all users
db.getUsers()

To exit the MongoDB database
exit
Conclusion
In this guide, we have installed and configured MongoDB on Rocky Linux 8. We also discussed how to install MongoDB using dnf command, starting, stopping, enabling, and checking the status of the MongoDB service as well as using the Mongo Shell interface to run commands to interact with a MongoDB database. We hope you found this guide is useful.

