Editor – This post is part of a 10-part series:
- Reduce Complexity with Production-Grade Kubernetes
- How to Improve Resilience in Kubernetes with Advanced Traffic Management
- How to Improve Visibility in Kubernetes
- Six Ways to Secure Kubernetes Using Traffic Management Tools
- A Guide to Choosing an Ingress Controller, Part 1: Identify Your Requirements (this post)
- A Guide to Choosing an Ingress Controller, Part 2: Risks and Future-Proofing
- A Guide to Choosing an Ingress Controller, Part 3: Open Source vs. Default vs. Commercial
- A Guide to Choosing an Ingress Controller, Part 4: NGINX Ingress Controller Options
- How to Choose a Service Mesh
- Performance Testing NGINX Ingress Controllers in a Dynamic Kubernetes Cloud Environment
You can also download the complete set of blogs as a free eBook – Taking Kubernetes from Test to Production.
When organizations first start experimenting with Kubernetes, they often don’t put a lot of thought into the choice of Ingress controller. They might think that all Ingress controllers are alike, and in the interests of getting up and running quickly it’s easiest to stick with the default Ingress controller for the Kubernetes framework they did choose. And it’s true that just about any Ingress controller is fine in testing or low‑volume production environments. But as you scale, your choice of Ingress controller becomes more important. That’s because Ingress controllers can provide much more than the basic functionality of moving your traffic from point A to point B.
From advanced traffic management to visibility to built‑in security, an Ingress controller can be one of the most powerful tools in your Kubernetes stack. In fact, at F5 NGINX we consider it to be the foundation of any production‑grade Kubernetes deployment. But many developers and Platform Ops teams don’t realize the full power of an Ingress controller – or the consequences of choosing one that can’t scale. Choosing an Ingress controller that doesn’t scale well or protect complex environments can prevent you from getting Kubernetes out of testing and into production. In this blog series we aim to educate you on the basics of Ingress controllers and how to make a wise choice that delivers the functionality and security you need, today and tomorrow.
What’s an Ingress Controller?
An Ingress controller is a specialized load balancer that manages the Layer 4 and 7 traffic entering Kubernetes clusters, and potentially the traffic exiting them. So that we’re all on the same page, here are the terms we use at NGINX (and they’re largely the same across the industry):
- Ingress traffic – Traffic entering a Kubernetes cluster
- Egress traffic – Traffic exiting a Kubernetes cluster
- North‑south traffic – Traffic entering and exiting a Kubernetes cluster (also called ingress‑egress traffic)
- East‑west traffic – Traffic moving among services within a Kubernetes cluster (also called service-to-service traffic)
- Service mesh – A traffic management tool for routing and securing service-to-service traffic
Why Do You Need an Ingress Controller?
By default, applications running in Kubernetes pods (containers) are not accessible from the external network, but only from other pods within the Kubernetes cluster. Kubernetes has a built‑in configuration object for HTTP load balancing, called Ingress, which defines how entities outside a Kubernetes cluster can connect to the pods represented by one or more Kubernetes services.
When you need to provide external access to your Kubernetes services, you create an Ingress resource to define the connectivity rules, including the URI path, backing service name, and other information. On its own, however, the Ingress resource doesn’t do anything. You must deploy and configure an Ingress controller application (using the Kubernetes API) to implement the rules defined in Ingress resources.
What Does an Ingress Controller Do?
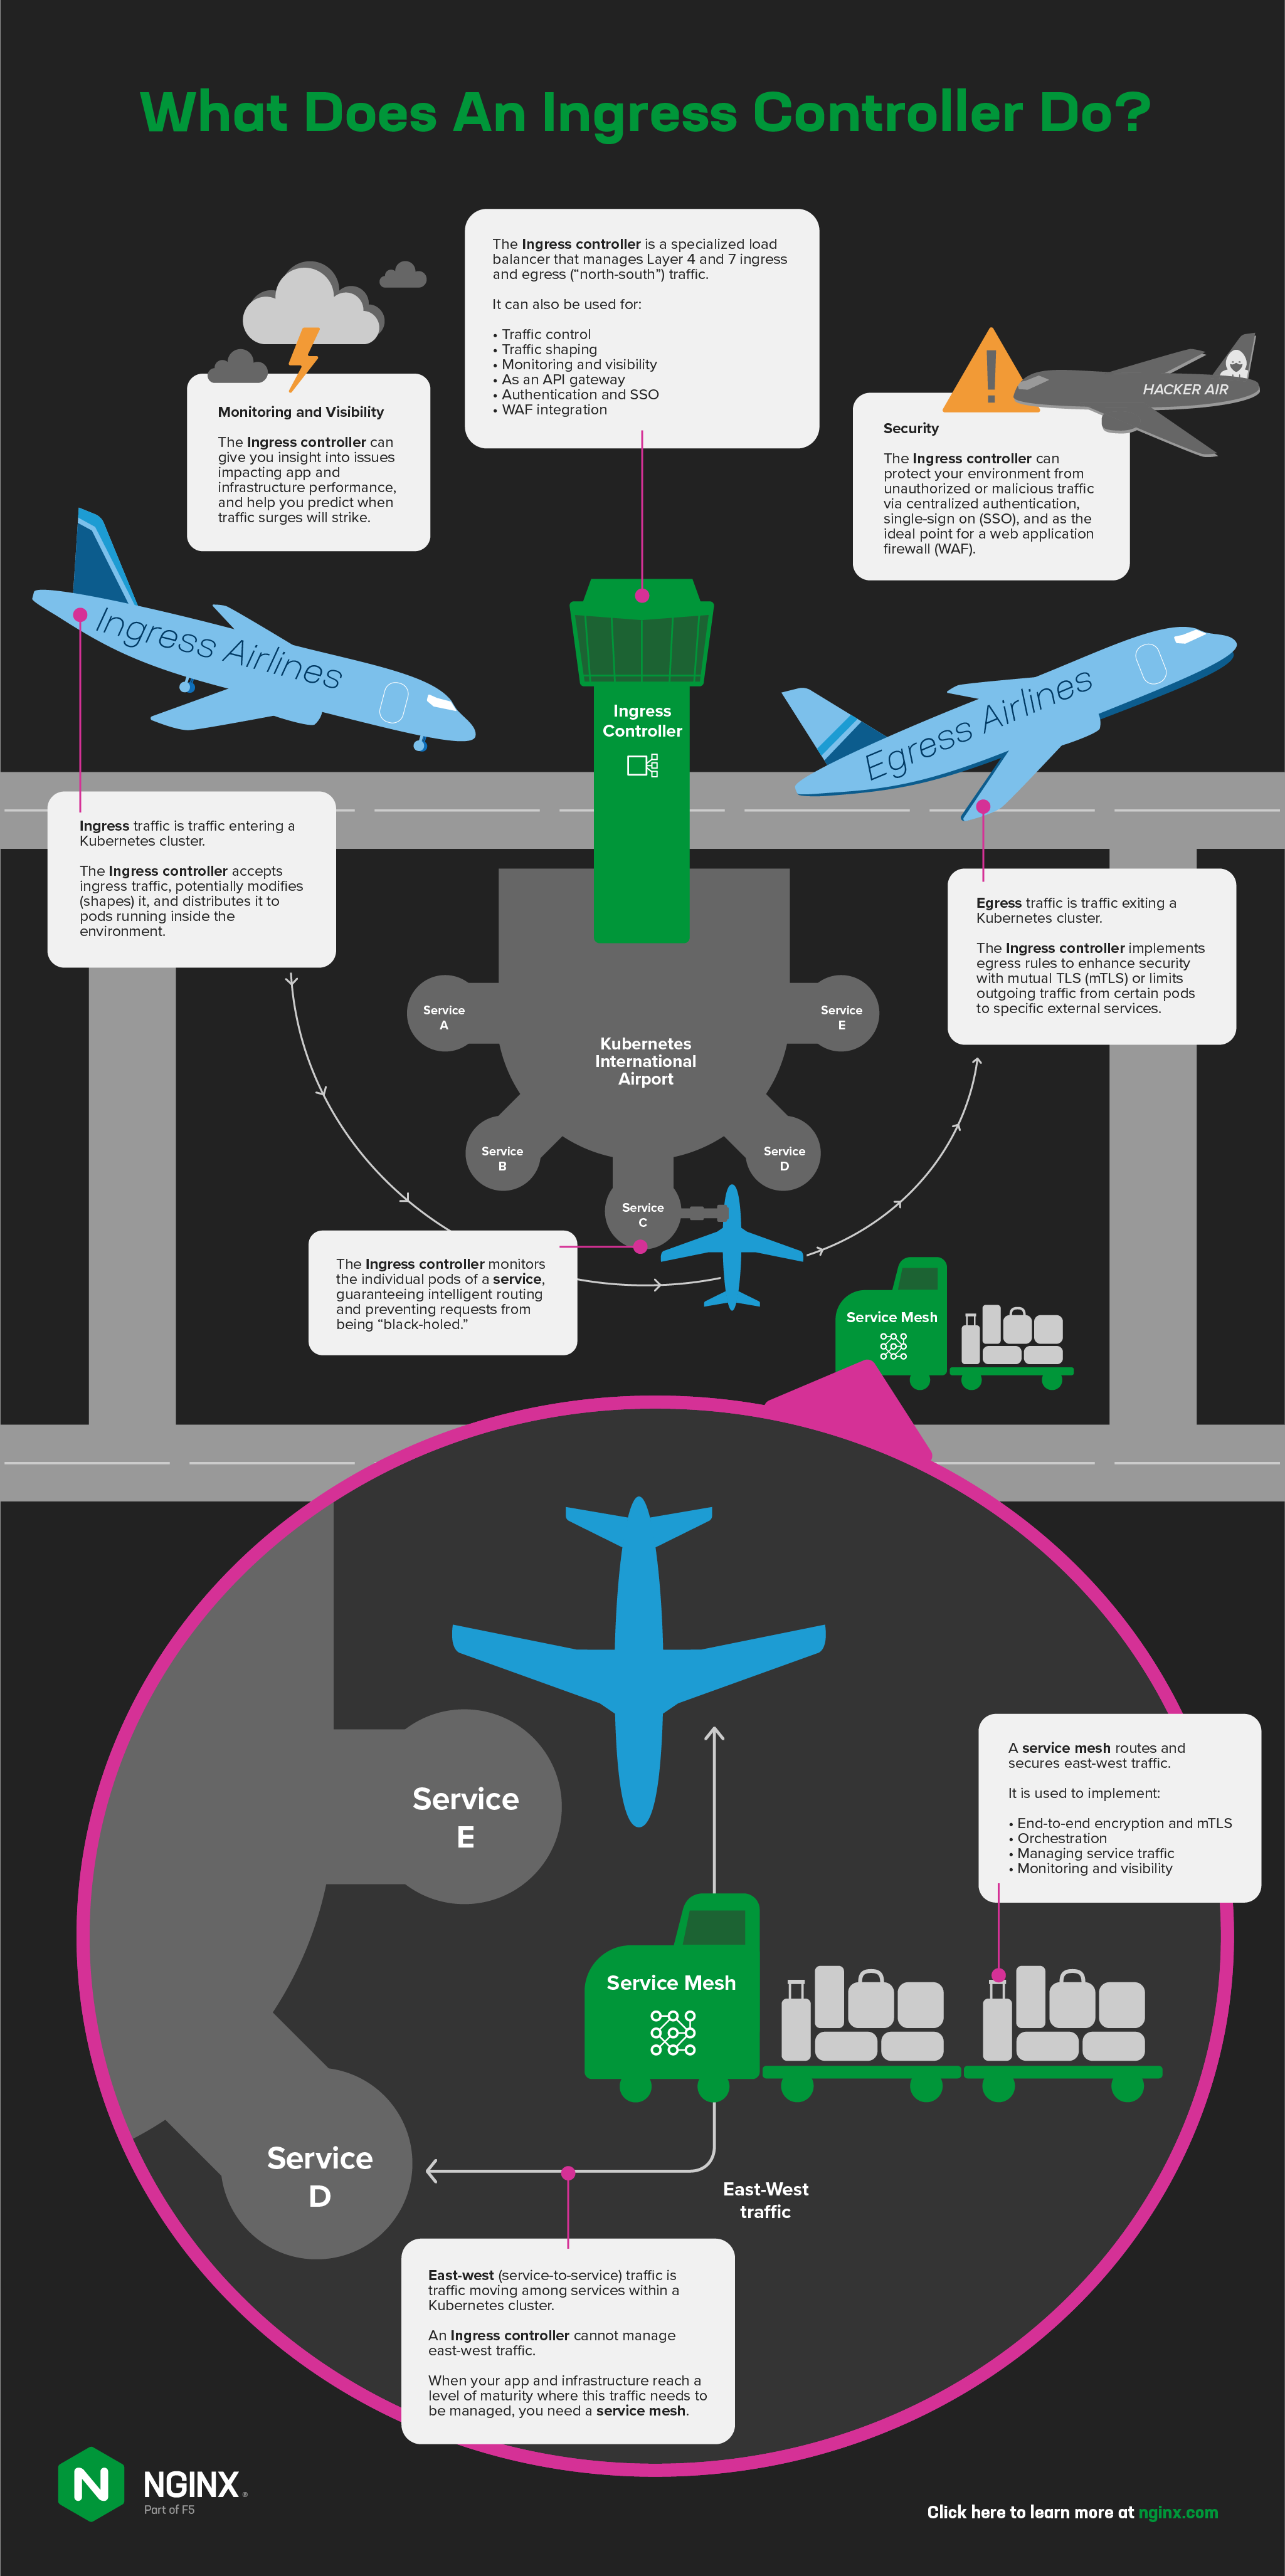
- Accepts traffic from outside the Kubernetes environment, potentially modify (shape) it, and distribute it to pods running inside the environment. The Ingress controller replaces the default
kube-proxytraffic distribution model, giving you additional controls like those that application delivery controllers (ADCs) and reverse proxies provide in non‑Kubernetes environments. - Monitors the individual pods of a service, guaranteeing intelligent routing and preventing requests from being “black‑holed“.
- Implements egress rules to enhance security with mutual TLS (mTLS) or limit outgoing traffic from certain pods to specific external services.
When it’s time to select an Ingress controller, it can be tempting to start with a feature list, but you might end up with an Ingress controller that has fantastic features but doesn’t satisfy your business needs. Instead make sure to explore two elements that impact how well the Ingress controller will work for your team and your apps: use cases (what problems it will solve) and resourcing (how you’re going to “pay” for it). We’ll cover these two topics in the remainder of this blog.
What Problems Do You Want the Ingress Controller to Solve?
The core use case for an Ingress controller is traffic management, so you probably want the Ingress controller to handle one or more of these common use cases:
- Load balancing (HTTP2, HTTP/HTTPS, SSL/TLS termination, TCP/UDP, WebSocket, gRPC)
- Traffic control (rate limiting, circuit breaking, active health checks)
- Traffic splitting (debug routing, A/B testing, canary deployments, blue‑green deployments)
But there’s no reason to settle for a “one‑trick pony” – most Ingress controllers can do more than manage traffic. By using the Ingress controller to solve multiple problems, not only do you reduce the size and complexity of your stack, but you can also offload non‑functional requirements from the apps to the Ingress controller. Let’s look at four non‑traditional Ingress controller use cases that can help make your Kubernetes deployments more secure, agile, and scalable while making more efficient use of your resources.
Monitoring and Visibility
Lack of visibility into the Kubernetes cluster is one of the biggest challenges in production environments, contributing to difficulty with troubleshooting and resiliency. Because Ingress controllers operate at the edge of your Kubernetes clusters and touch every bit of traffic, they’re well situated to provide data that can help you troubleshoot (and even avoid) two common problems: slow apps and resource exhaustion in the Kubernetes cluster or platform. For Ingress controller to improve visibility, it needs to:
- Provide metrics in real time so you can diagnose what’s happening “right now”
- Be able to export metrics to popular visibility tools, like Prometheus and Grafana, that plot values over time to help you predict traffic surges and other trends
API Gateway
Unless you’re looking to perform request‑response manipulation in Kubernetes, it’s very likely that the Ingress controller can double as your API gateway. Depending on its feature set, an Ingress controller might be able to provide core API gateway functions including TLS termination, client authentication, rate limiting, fine‑grained access control, and request routing at Layers 4 through 7.
Authentication and Single Sign‑On
Offloading authentication of login credentials from your Kubernetes services to your Ingress controller can solve two issues.
- Enable users to log into multiple apps with a single set of credentials by implementing single‑sign on (SSO) with OpenID Connect (OIDC).
- Eliminate the need to build authentication functionality into each application, allowing your developers to focus on the business logic of their apps.
Web Application Firewall Integration
It’s not that an Ingress controller can serve as a web application firewall (WAF), but rather that the WAF can be consolidated with the Ingress controller. Although a WAF can be deployed at many places outside and within Kubernetes, for most organizations the most efficient and effective location is in the same pod as the Ingress controller. This use case is perfect when security policies are under the direction of SecOps or DevSecOps and when a fine‑grained, per‑service or per‑URI approach is needed. It means you can use the Kubernetes API to define policies and associate them with services. Further, the Ingress controller’s role‑based access control (RBAC) functionality can enable SecOps to enforce policies per listener while DevOps users set policies per Ingress resource.
How Are You Going to Resource the Ingress Controller?
Every Ingress controller comes at a cost…even those that are free and open source (perhaps you’ve heard the phrase “free like a puppy”). Some costs can be assigned predictable dollar amounts as line items in your budget, while others depend on how much time your team has to spend dealing with the consequences of which Ingress controller you choose (increased complexity, lack of portability, and so on). Let’s look at the costs – in terms of both time and money – to consider when budgeting for an Ingress controller: time and money.
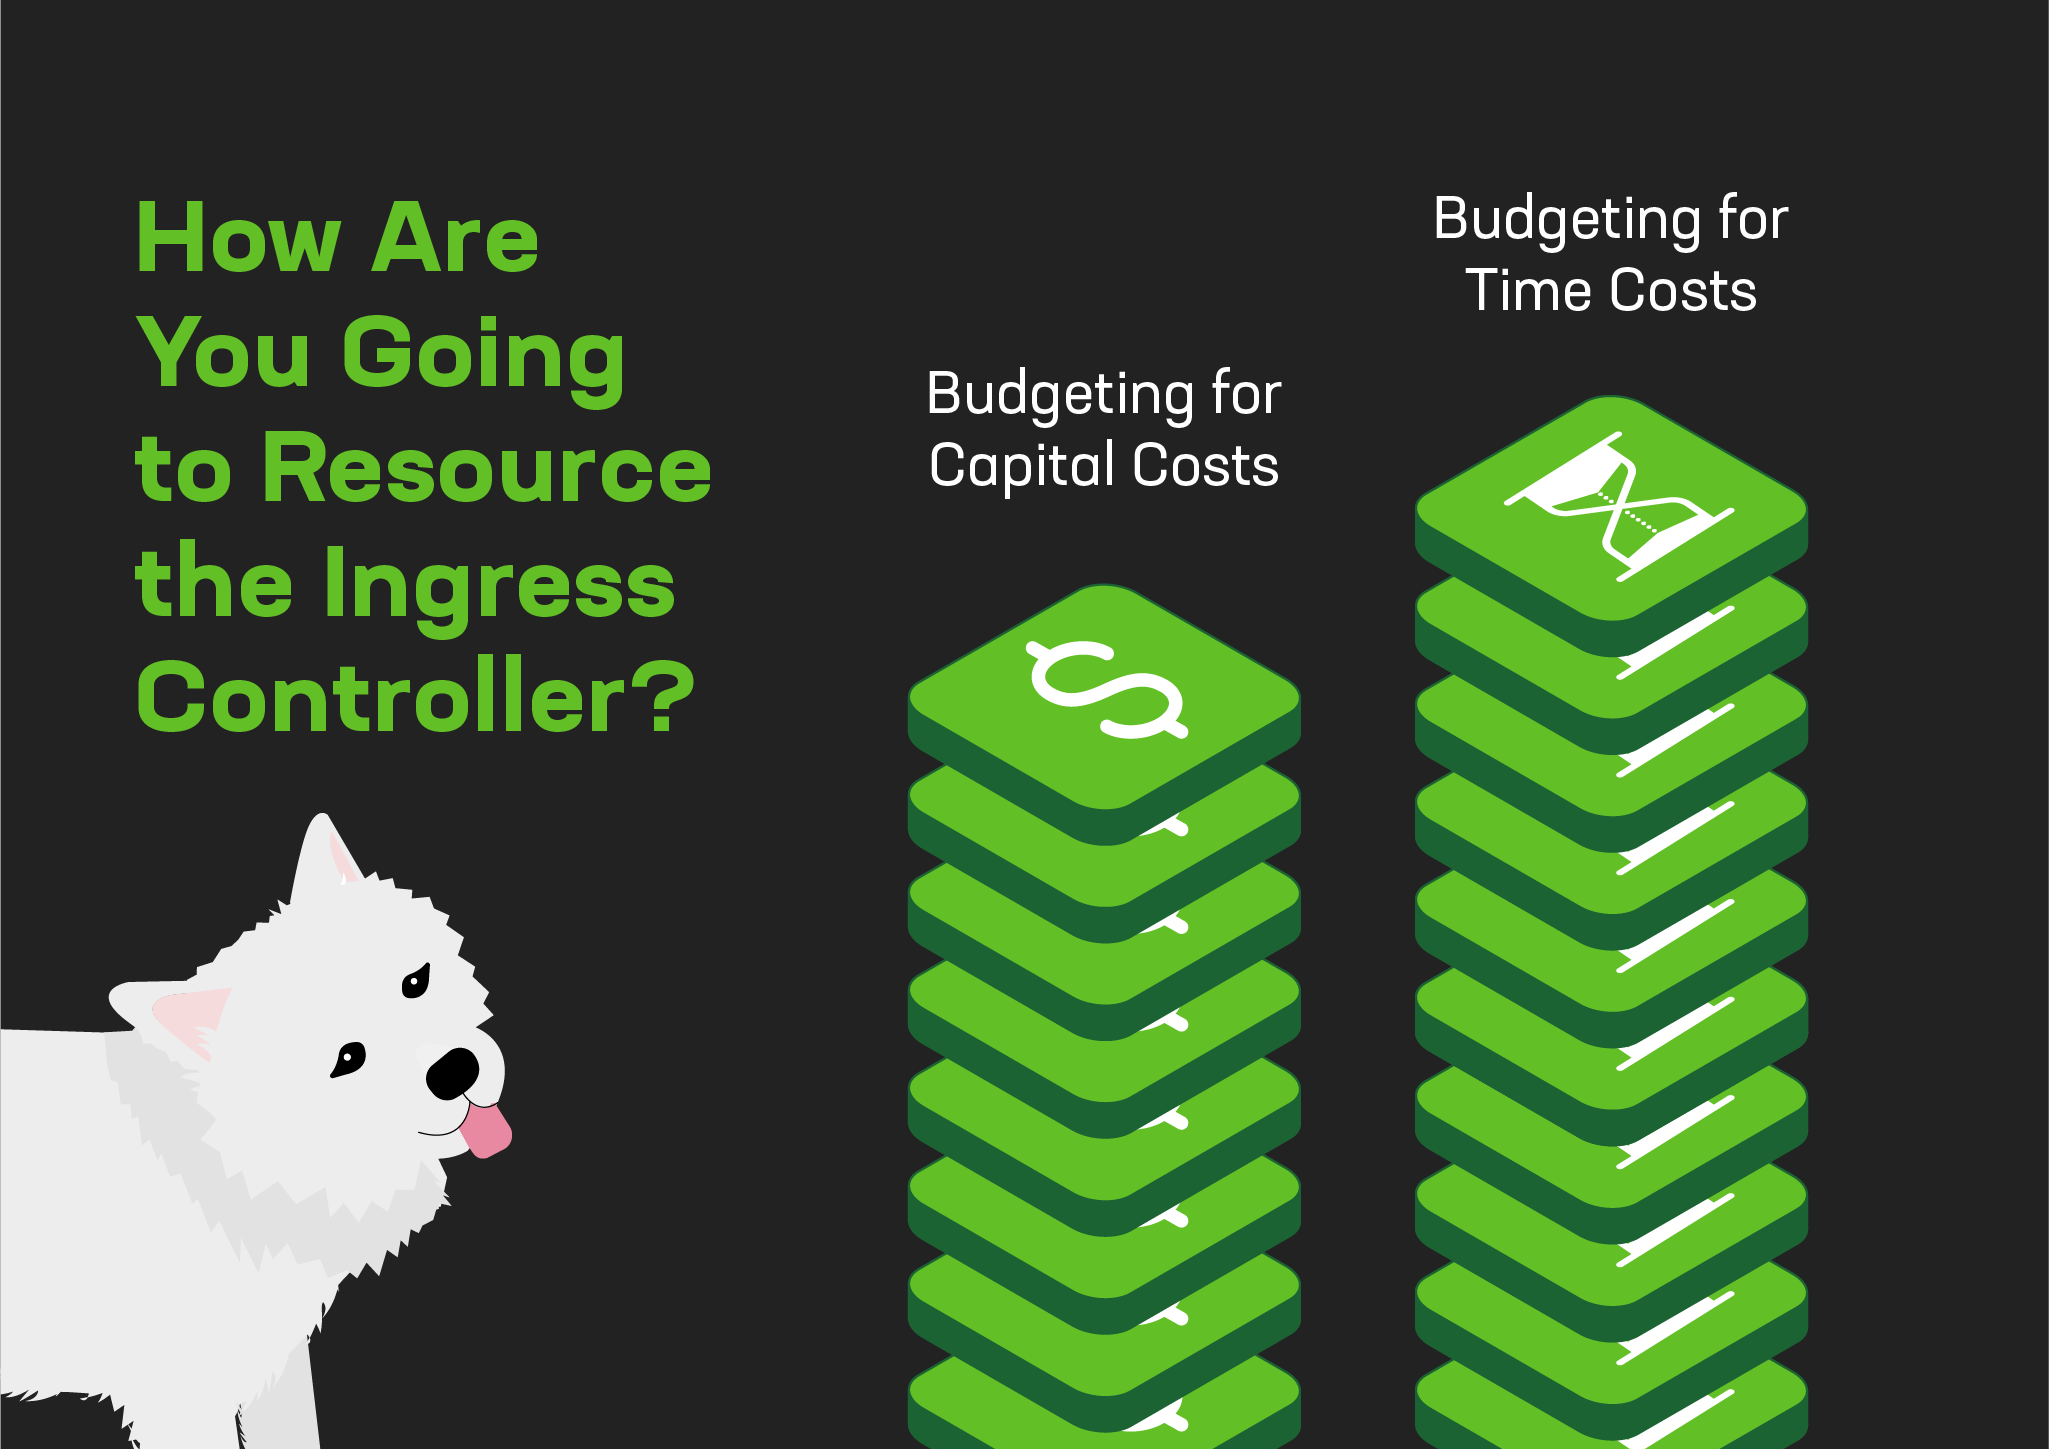
Budgeting for Time Costs
Budgeting for headcount can be far more challenging than for fixed‑cost line items, especially when you’re trying to resource a project in an unfamiliar space. You need to ask questions like:
- Who will configure and administer the Ingress controller? Is it part of their full‑time job (for example, as members of your Platform Ops team) or are they taking it on as an extra responsibility (as developers)?
- Can you make time for employees to take formal training? Or must the tool be simple enough to learn quickly and easily on the job?
- Are you prepared to have employees tinker with it whenever a new feature is needed, or spend extensive time troubleshooting when there’s a problem? Or do you need them to deliver other business value?
A Note on Kubernetes Tool Ownership
We’ve observed a trend in the industry toward consolidating tools and ownership under the domain of NetOps teams. While this can go a long way towards simplifying your stack and improving security, we advocate for thoughtful duplication of tools based on team goals. It makes sense to have NetOps team manage perimeter tools (like external load balancers) because they focus on the broader platform, but DevOps teams care most about the services deployed close to the app code and need more agility and finer‑grained control than they get from NetOps tools. Kubernetes tools, including the Ingress controller, have the best chance of success when they’re selected by DevOps. That’s not to say you must grant developers complete freedom of choice for tools! Some brutal standardization of tooling within Kubernetes is still a best practice.
Budgeting for Capital Costs
When organizations first experiment with Kubernetes, they often don’t budget much for tools or support. If you have the people resources to truly support an Ingress controller that needs more “hand holding”, then no monetary budget is okay…at first. But as your Kubernetes investment increases, you may find yourself limited by the tool’s features, or wanting to dedicate your team to other priorities. That’s when the scale tips towards paying for an easier-to-use, more stable tool with enterprise features and support.
When you’re ready to pay for an Ingress controller, be aware that the licensing model matters. Based on traditional pricing models outside of Kubernetes, pricing for Ingress controllers is often “per instance” or “per Ingress proxy”. While there are use cases when this still makes sense in Kubernetes, licensing an Ingress controller on a “per cluster” basis instead means you pay based on application tenancy rather than “number of proxies.”
Here are our recommendations for different scenarios:
- New to Kubernetes? Choose per‑cluster licensing.
When you’re inexperienced with Kubernetes, it’s very difficult to accurately predict the number of Ingress controller instances you need. If forced to choose a number of instances, you may underestimate – making it difficult to achieve your goals – or overestimate and waste dollars better spent on other parts of the Kubernetes project. Negotiating a relatively low fixed price for a “small cluster” increases your chance for success. - Scaling Kubernetes? Choose per‑cluster licensing.
It’s nearly impossible to predict how much and how often you’ll need to scale Kubernetes resources up and down (bursting and collapsing). Per‑instance pricing forces your team to impose arbitrary thresholds to stay within licensing caps. With per‑cluster licensing, you don’t have to track individual Ingress containers, and depending on the vendor (such as NGINX), bursting may be included at no additional cost. - Advanced or static deployments? Choose per‑instance licensing.
If you’re savvy enough with Kubernetes to know exactly how you’re going to use the Ingress controller, and you plan to use a small number of Ingress proxies per‑cluster, and you don’t need any bundled services that might come along with the tool, then per‑instance pricing can be a great choice.
Next Steps: Risk Tolerance and Future‑Proofing
Now that you have a grasp on your requirements, the next step is to decide as a team what your tolerance is for the risks an Ingress controller might introduce, and to figure out how you’ll need the Ingress controller to scale as you grow your Kubernetes deployment. We take up those topics in Part 2.