How to Set Up a Mail Server with PostfixAdmin on Debian 11
PostfixAdmin is a free, open-source, and web-based interface used for managing Postfix mail server from the web browser. It allows you to add users, aliases, set a disk quota, add and remove domains from the web-based interface. It supports several database backends including PostgreSQL, MySQL, MariaDB, and SQLite. It can be integrated with Squirrelmail and Roundcube via plugins.
In this article, I will explain how to install PostfixAdmin on Debian 11.
Prerequisites
- A server running Debian 11 with postfix installed.
- A valid domain name is pointed with your server IP address.
- A valid MX record is pointed with your server IP address.
Getting Started
First, update your system packages with the latest version using the following command:
apt-get update -y
Once your system is updated, set the fully qualified hostname of your server.
hostnamectl set-hostname mail.domain.com
Next, run the following command to apply the changes.
hostname -f
Once you are done, you can proceed to the next step.
Install Nginx, MariaDB and PHP
Next, you will need to install the Nginx web server, MariaDB, PHP, and other required PHP extensions to your server. You can install all of them with the following command:
apt-get install nginx mariadb-server php-fpm php-cli php-imap php-json php-mysql php-opcache php-mbstring php-readline unzip sudo -y
Once all the packages are installed, you can proceed to the next step.
Create a PostfixAdmin Database
Next, you will need to create a database and user for PostfixAdmin. First, log in to the MariaDB console with the following command:
mysql
Once you are connected, create a database and user with the following command:
MariaDB [(none)]> CREATE DATABASE postfixadmin;
MariaDB [(none)]> GRANT ALL ON postfixadmin.* TO 'postfixadmin'@'localhost' IDENTIFIED BY 'securepassword';
Next, flush the privileges and exit from the MariaDB shell with the following command:
MariaDB [(none)]> FLUSH PRIVILEGES;
MariaDB [(none)]> EXIT;
At this point, the MariaDB database is created for PostfixAdmin. You can now proceed to the next step.
Install PostfixAdmin
First, you will need to download the latest version of PostfixAdmin from the Sourceforge website. You can download it with the following command:
wget https://webwerks.dl.sourceforge.net/project/postfixadmin/postfixadmin-3.3.8/PostfixAdmin%203.3.8.tar.gz
Once the download is completed, extract the downloaded file with the following command:
tar -xvzf PostfixAdmin\ 3.3.8.tar.gz
Next, move the extracted directory to the Nginx web root directory:
mv postfixadmin-postfixadmin-7d04685 /var/www/html/postfixadmin
Next, create a directory required to install PostfixAdmin:
mkdir /var/www/html/postfixadmin/templates_c
Next, set proper ownership to PostfixAdmin directory:
chown -R www-data: /var/www/html/postfixadmin/
Next, create a config.local.php file:
nano /var/www/html/postfixadmin/config.local.php
Add the following lines:
<?php
$CONF['configured'] = true;

$CONF['database_type'] = 'mysqli';
$CONF['database_host'] = 'localhost';
$CONF['database_user'] = 'postfixadmin';
$CONF['database_password'] = 'securepassword';
$CONF['database_name'] = 'postfixadmin';

$CONF['default_aliases'] = array (
 'abuse' => '[email protected]',
 'hostmaster' => '[email protected]',
 'postmaster' => '[email protected]',
 'webmaster' => '[email protected]'
);

$CONF['fetchmail'] = 'NO';
$CONF['show_footer_text'] = 'NO';

$CONF['quota'] = 'YES';
$CONF['domain_quota'] = 'YES';
$CONF['quota_multiplier'] = '1024000';
$CONF['used_quotas'] = 'YES';
$CONF['new_quota_table'] = 'YES';

$CONF['aliases'] = '0';
$CONF['mailboxes'] = '0';
$CONF['maxquota'] = '0';
$CONF['domain_quota_default'] = '0';
?>
Save and close the file then create the schema for the PostfixAdmin database with the following command:
sudo -u www-data php /var/www/html/postfixadmin/public/upgrade.php
Next, you will need to create a super admin account for PostfixAdmin. You can create it with the following command:
bash /var/www/html/postfixadmin/scripts/postfixadmin-cli admin add
Provide your admin username, password, and domain as shown below:
Welcome to Postfixadmin-CLI v0.3
---------------------------------------------------------------

Admin:
> [email protected]

Password:
> Secure@12345

Password (again):
> Secure@12345

Super admin:
(Super admins have access to all domains, can manage domains and admin accounts.) (y/n)
> y

Domain:
> domain.com

Active: (y/n)
> y

The admin [email protected] has been added!

---------------------------------------------------------------
Configure Nginx for PostfixAdmin
Next, you will need to create an Nginx virtual host configuration file for PostfixAdmin. You can create it with the following command:
nano /etc/nginx/conf.d/domain.com.conf
Add the following lines:
server {
        listen 80;
        root /var/www/html/postfixadmin/public;
        index index.html index.htm index.php;
        server_name mail.domain.com;

        location ~ \.php$ {
          fastcgi_split_path_info ^(.+\.php)(/.+)$;
          fastcgi_pass unix:/var/run/php/php7.4-fpm.sock;
          fastcgi_index index.php;
          include fastcgi_params;
          fastcgi_param SCRIPT_FILENAME $document_root$fastcgi_script_name;
          fastcgi_intercept_errors off;
          fastcgi_buffer_size 16k;
          fastcgi_buffers 4 16k;
          fastcgi_connect_timeout 600;
          fastcgi_send_timeout 600;
          fastcgi_read_timeout 600;
        }


   location / {
       try_files $uri $uri/ =404;
   }

}
Save and close the file then restart the Nginx service to apply the changes:
systemctl restart nginx
You can also check the status of Nginx with the following command:
systemctl status nginx
You should get the following output:
? nginx.service - A high performance web server and a reverse proxy server
     Loaded: loaded (/lib/systemd/system/nginx.service; enabled; vendor preset: enabled)
     Active: active (running) since Sat 2021-08-28 08:13:22 UTC; 7s ago
       Docs: man:nginx(8)
    Process: 74644 ExecStartPre=/usr/sbin/nginx -t -q -g daemon on; master_process on; (code=exited, status=0/SUCCESS)
    Process: 74645 ExecStart=/usr/sbin/nginx -g daemon on; master_process on; (code=exited, status=0/SUCCESS)
   Main PID: 74646 (nginx)
      Tasks: 2 (limit: 2341)
     Memory: 3.2M
        CPU: 57ms
     CGroup: /system.slice/nginx.service
             ??74646 nginx: master process /usr/sbin/nginx -g daemon on; master_process on;
             ??74647 nginx: worker process

Aug 28 08:13:22 mail.domain.com systemd[1]: Starting A high performance web server and a reverse proxy server...
Aug 28 08:13:22 mail.domain.com systemd[1]: nginx.service: Failed to parse PID from file /run/nginx.pid: Invalid argument
Aug 28 08:13:22 mail.domain.com systemd[1]: Started A high performance web server and a reverse proxy server.
Access PostfixAdmin
At this point, PostfixAdmin is installed and configured. You can now access it using the URL http://mail.domain.com. You will be redirected to the PostfixAdmin login page:
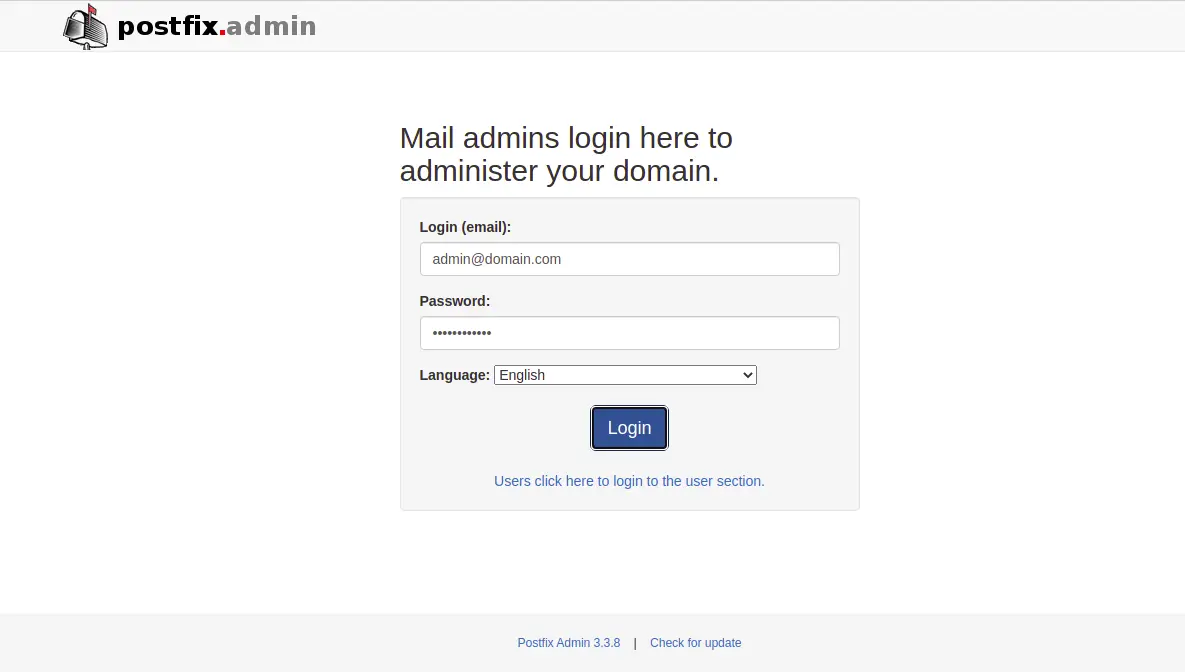
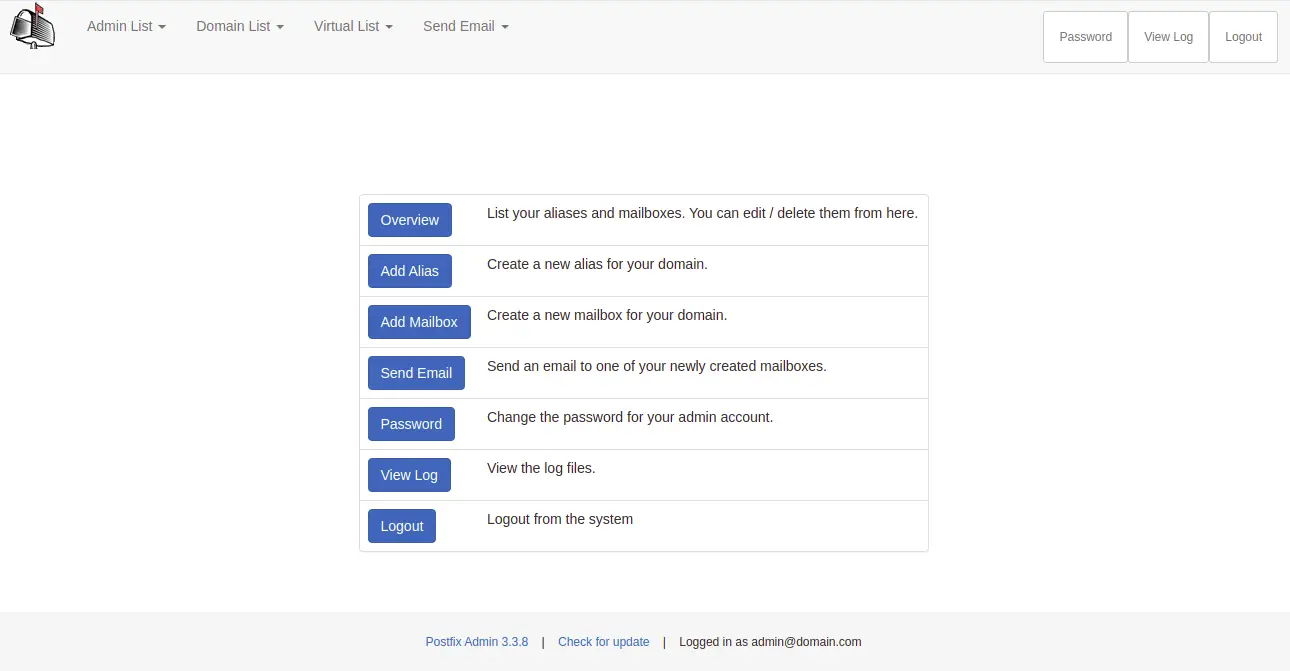
Provide your admin email, password and click on the Login button. You should see the PostfixAdmin dashboard on the following screen:
Conclusion
Congratulations! you have successfully installed PostfixAdmin on Debian 11. You can now easily manage your Postfix mail server from the web browser. Feel free to ask me if you have any questions.

